When you click on links to various merchants on this site and make a purchase, this can result in this site earning a commission. Affiliate programs and affiliations include, but are not limited to, the eBay Partner Network.
Hey guys thanks for the kind words and advice! ramairetransam, I am pretty much making this a strip car that I can drive to and from the track with, and be able to build up more as time goes on and I get further into a career and such. And I will recheck my pump next time I go home, but I was under the impression that I was able to just stick it on and go due to the fact that Texas Speed ported and shimmed each oil pump they do. Thanks for the advice! I am hoping to get a Racetronix mild output pump soon and be able to drop my third gen tank and put in the new fourth gen pump and tank. My birthday is coming up and I am getting some mount pads from Hawks and LS9 head gaskets and I'll pretty much be good to drop the motor in... I am trying to sell my 317s and if I sell those anytime soon, I will be able to buy some ARP head studs but no luck on selling the 317s so far... haha
Just ordered my LS9 head gaskets from TSP last night and my mount pads from Hawks last night as well. Hoping I can get someone to buy my 317s soon like I said above so I can get head studs. After that, the only things I will need for my motor to be able to drop it in are springs and pushrods which will be installed before long. I am planning on doing BTR .660" springs with Tick pushrods 7.400", 5/16" diameter, .105" wall... then for an intake I am doing the Holley Hi-ram for cathedral port heads. Just giving you guys an idea for what I want to do for my whole motor.
Found an LS1 Camaro master cylinder on ebay for $20 shipped so I picked that up and my head gaskets and motor mount pads already came in. Hoping to get a lot done over spring break if the weather will warm up enough for me to spray out and paint my engine bay... we got about 8" of snow in southern Indiana and about 7-8" here in southern illinois so I'm gonna be stuck on the car for quite awhile... Hoping it warms up a lot during spring break enough for me to get a lot done but I suppose we'll have to see.
Just got home earlier today from the Missouri Valley Conference basketball tournament for the men's SIU team so haven't had many updates... Got home tho and I have my LS1 master cylinder, mount pads, LS9 head gaskets, and some ARP head studs. Along with some Spohn motor mount bolts cuz I wanted to get new bolts and wanted to make sure I got the right ones. Haha. Should be working on the car a lot tomorrow and I'll try to keep updates on here so keep watching for updates if anyone looks. Haha
Hey guys! Finally got some good updates. Got everything installed that I got in besides my LS master cylinder and even got to paint my engine bay because of the semi-nice day.
Got in my head studs and the box was possibly the best box I've ever gotten in.
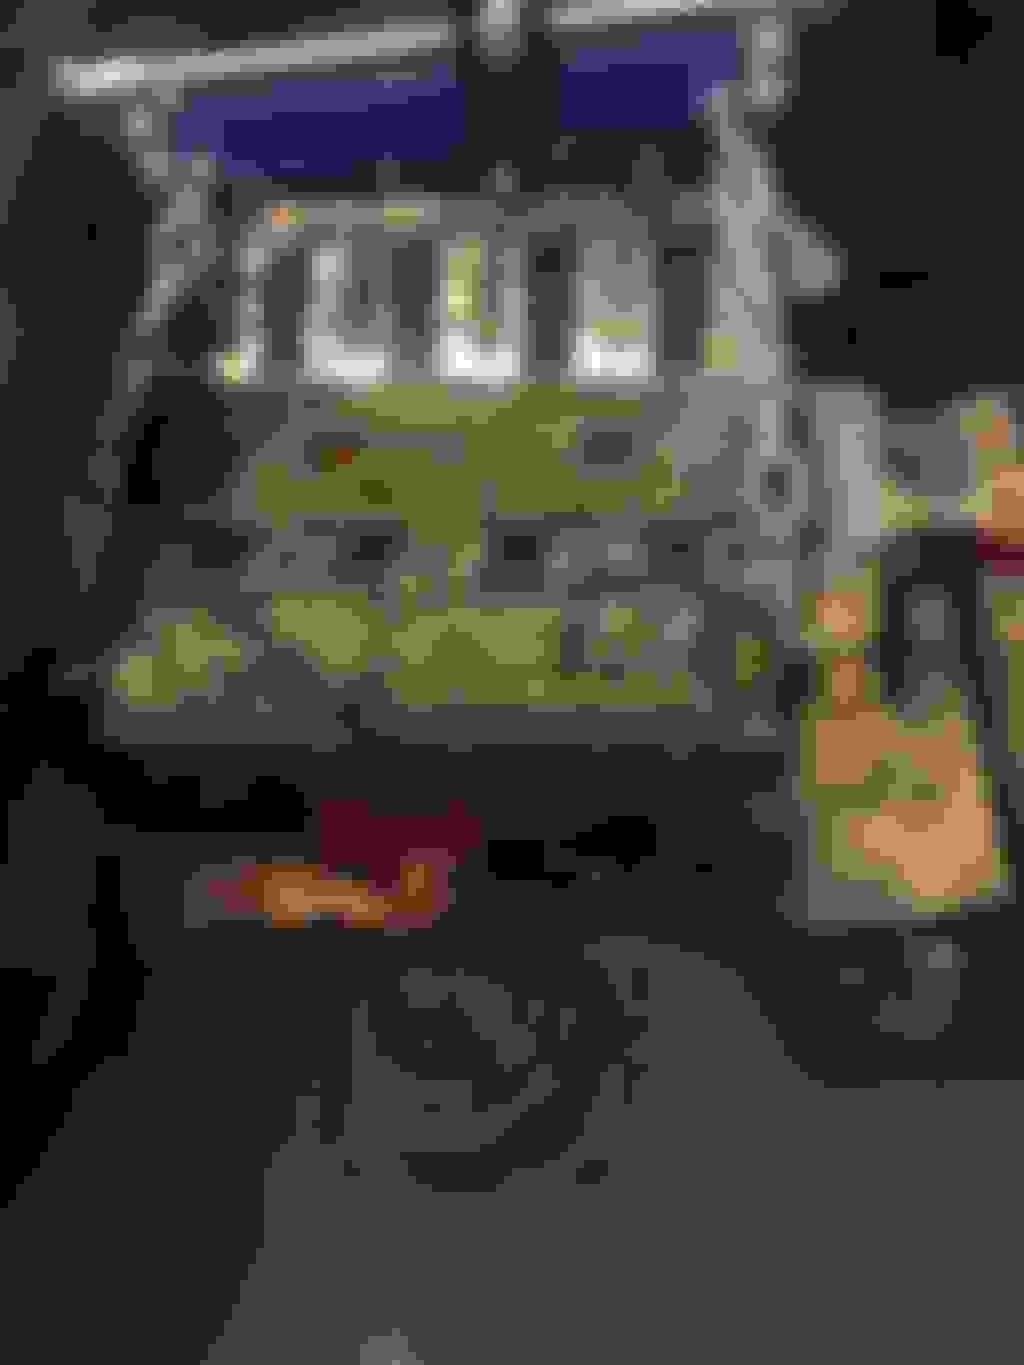
Then after that I started on my Hawks' LS swap mount pads which let me say SUCKED... But I managed to get it done with a swivel head ratchet wrench on the bottom and here are some pics, including a comparison between new mounted and old both sitting next to it and mounted.
Soon after I did that, Cody and I rolled the car out into the driveway to spray it down with the hose and then to paint it with rustoleum matte black paint and it turned out great for two amateurs with rattle cans! Might do a little touch up before I drop the motor in this week...
Last update for now.. My head studs installed! They look even better on the motor and I'm keeping the box as a souvenir. Hahaha.
Now I'm waiting on my check from SIU for doing marching band last semester and I'll hopefully be able to buy my BTR springs & Tick pushrods and then the motor will be completely done besides intake!
Cool project! Are you not going to wash and degrease the engine, heads, valve covers, etc. and paint it?
I'm still trying to decide if I am going to clean it up or not. Definitely not going to paint it but I do plan to try and degrease the valve covers, valley cover, and sides of the block.
Went on a road trip with the lady yesterday and today down to Nashville to go shopping for our five year then stayed the night at her apartment in bowling green (she goes to WKU) and her present to me was a tour of the Corvette plant and it was AWESOME!! I got to start a blacked out 2015 Z07 for its first ever start before it was even off of the assembly line for testing and it was an amazing feeling to do that! But after I got home, cody came over and we Got a lot of progress done today and I am so happy! But before updates, here are some silly pics just for gits & shiggles.
As always, safety first!
And here is just cuz Cody wanted in the engine bay. This is right after we had rolled the car out again and we sprayed a second coat in the engine bay.
Here's a pic of the engine ready to be lifted off of the stand and rotated around into the engine bay.
And again, safety first. Haha. I was lowering the engine down and cody slid the motor mount bolts in.
Here's the drivers side done which was the easiest side to do!
The passengers side was a lot worse! The back hole was about 1/8"-1/4" off and we couldn't move the motor enough because of the tab at the front... So we loosened the mount pads from the K-member so we could wiggle it around then tightened everything down and the motor was in!!
Next I torqued the motor mount thru-bolts to 70 ft-lbs and then detached the engine from the hoist!
Then here's a couple of pics of me that I wanted to take cuz this was my first ever successful engine swap and I felt really accomplished so I had Cody take these for me.
Next here are some pics of the engine sitting in the engine bay with the truck intake back on.
All-right, major milestone!
Consider replacing the stock strut mounts (sloppy bushings) to Spohn units. Koni yellow struts and those mounts will greatly improve handling.
All-right, major milestone!
Consider replacing the stock strut mounts (sloppy bushings) to Spohn units. Koni yellow struts and those mounts will greatly improve handling.
Now it's time to accessorize.
It really was a great milestone! And I do plan on doing suspension after I finish drivetrain. Saving up for my Jake's stage 2 TH400 now tho
Ended up buying it! Got a working (so I was told) TH400 with torque converter for 300 bucks flat which I can't complain about. Here's a pic! Somehow managed to fit it in the backseat of my Camaro! Haha
EDIT: PICTURE WILL NOT UPLOAD; WILL UPDATE WHEN POSSIBLE
Looks like you're making some steady progress. Gives me motivation to hopefully start work on my '84 soon.
Can you do me a favor - please measure how much room you have between your engine and the firewall at it's closest point. I bought Spohn swap mounts which look a lot like yours and am debating getting the adjustable UMI ones, but wanted to know how the rear fit is first.
Thanks.

 02-02-2015, 01:41 PM