Fabricating custom oilpan.
#1
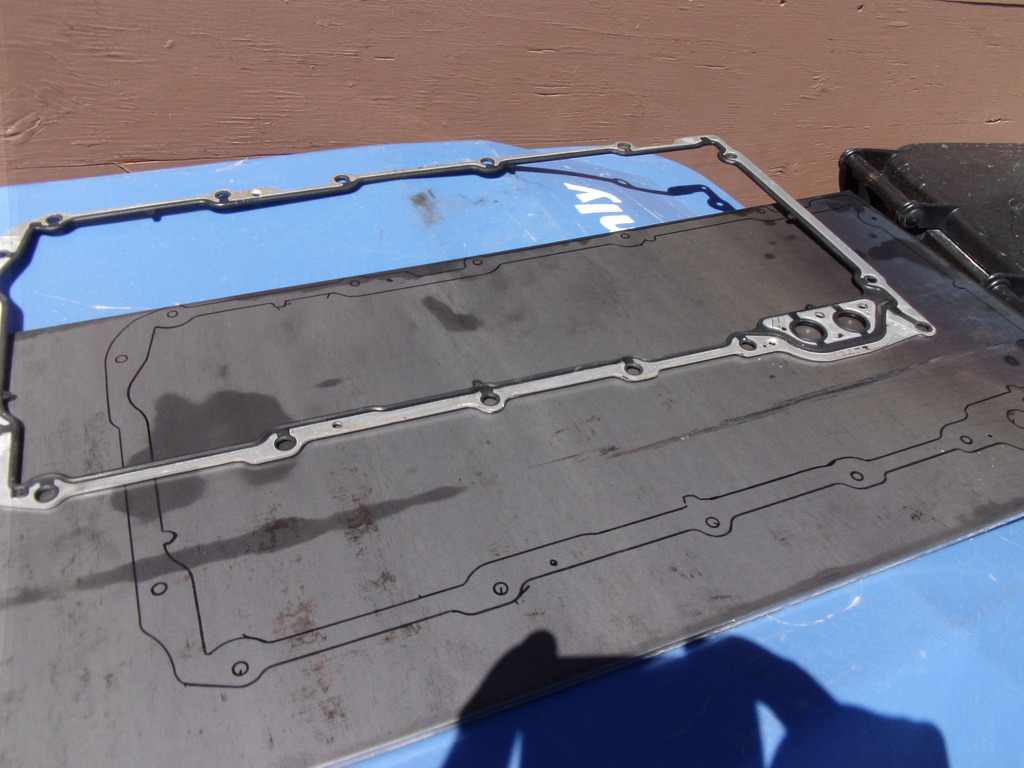
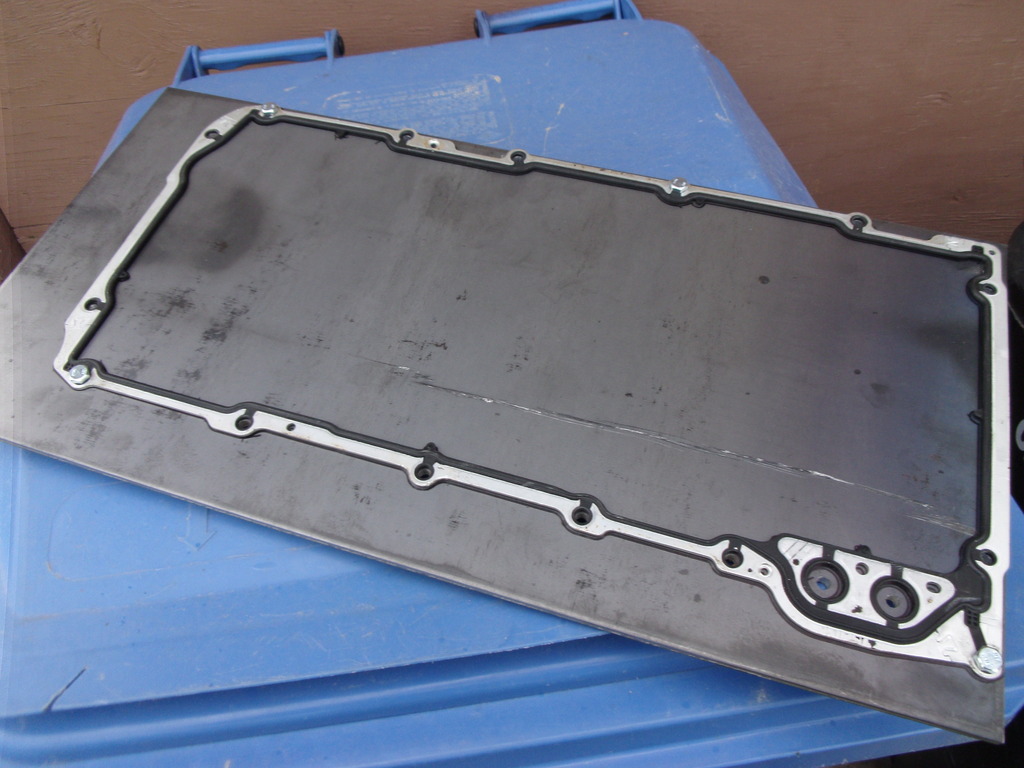
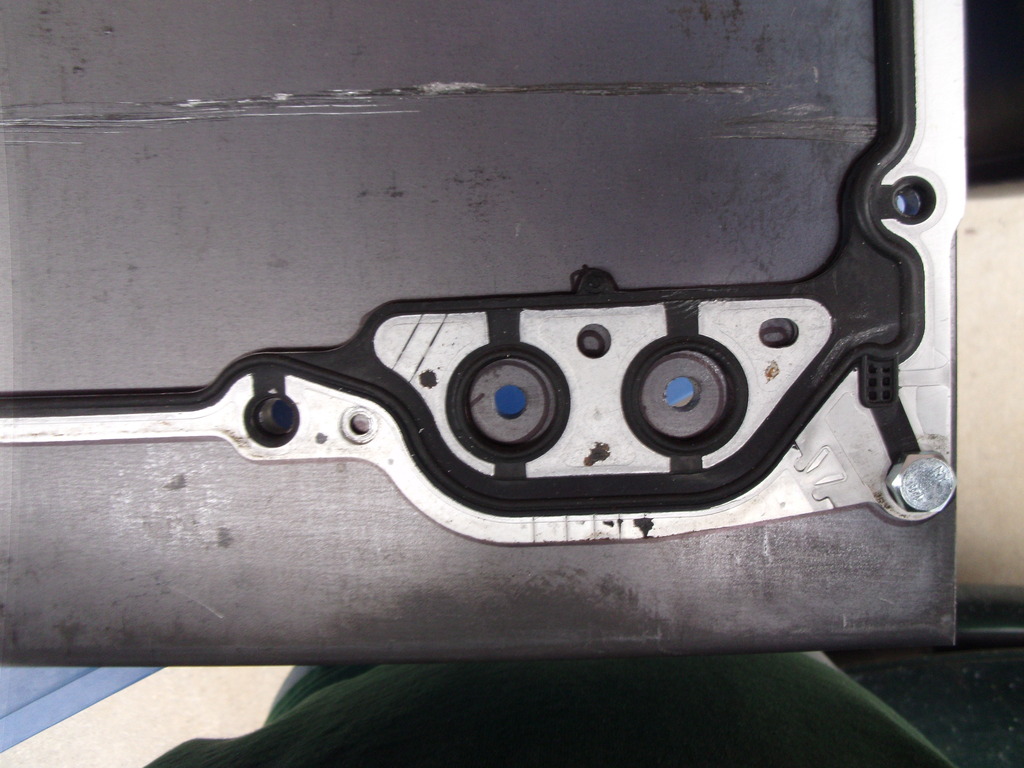
This will be a slow thread, but I'm going to show my efforts to make my own. Input and questions welcome.
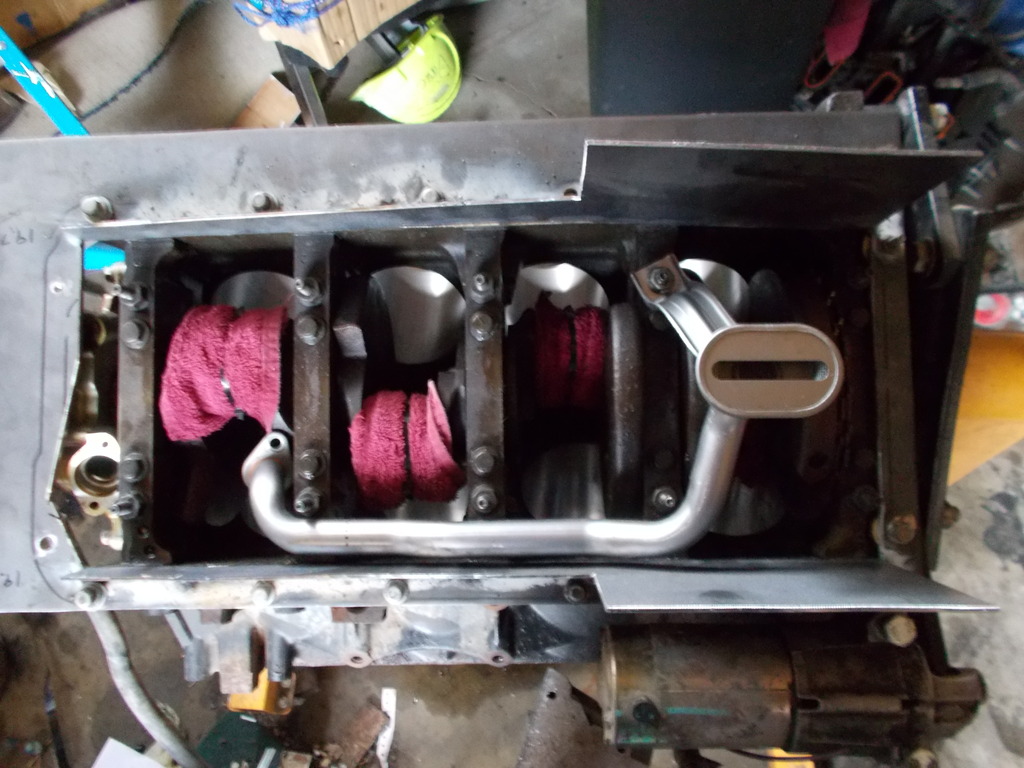
I have a pair of '01 4.8L LR4s, and I want one in my '94 Camaro. The truck pan I modified for my '86 Camaro is likely to prove nowhere near fitting, and I'd rather not buy a '98-up LS1 crossmember either. I may "clearance" the 3.4L crossmember if it proves necessary. Anything to save a dollar.
The '98-up pans are $220+, and I see no good reason why, especially when there are so many available.
I ordered a new pan gasket, $23+ shipping, and I cheated a little bit by ordering a new in-pan pickup tube, or suction screen, or whatever you like to call it, for $43, delivered.
Then I spent $36 on 2 sheets of mild steel. One is quarter inch by 12 inches by 24 inches, the other is eighth inch by10 inches by 42 inches.
Not sure yet about the drain plug or oil filter, probably remote-mount the filter.
I'm not going to count the cost of the drill, but I'll count the cost of any and all drill bits used for this. Likewise jigsaw blades but not my jigsaw, cutting discs but not my angle grinder, welding supplies but not my welder.
Sure, this seems a bit heavy, I'll weigh the finished result.
#2
TECH Senior Member
iTrader: (7)
This will be a slow thread, but I'm going to show my efforts to make my own. Input and questions welcome.
I have a pair of '01 4.8L LR4s, and I want one in my '94 Camaro. The truck pan I modified for my '86 Camaro is likely to prove nowhere near fitting, and I'd rather not buy a '98-up LS1 crossmember either. I may "clearance" the 3.4L crossmember if it proves necessary. Anything to save a dollar.
The '98-up pans are $220+, and I see no good reason why, especially when there are so many available.
I ordered a new pan gasket, $23+ shipping, and I cheated a little bit by ordering a new in-pan pickup tube, or suction screen, or whatever you like to call it, for $43, delivered.
Then I spent $36 on 2 sheets of mild steel. One is quarter inch by 12 inches by 24 inches, the other is eighth inch by10 inches by 42 inches.
Not sure yet about the drain plug or oil filter, probably remote-mount the filter.
I'm not going to count the cost of the drill, but I'll count the cost of any and all drill bits used for this. Likewise jigsaw blades but not my jigsaw, cutting discs but not my angle grinder, welding supplies but not my welder.
Sure, this seems a bit heavy, I'll weigh the finished result.
I have a pair of '01 4.8L LR4s, and I want one in my '94 Camaro. The truck pan I modified for my '86 Camaro is likely to prove nowhere near fitting, and I'd rather not buy a '98-up LS1 crossmember either. I may "clearance" the 3.4L crossmember if it proves necessary. Anything to save a dollar.
The '98-up pans are $220+, and I see no good reason why, especially when there are so many available.
I ordered a new pan gasket, $23+ shipping, and I cheated a little bit by ordering a new in-pan pickup tube, or suction screen, or whatever you like to call it, for $43, delivered.
Then I spent $36 on 2 sheets of mild steel. One is quarter inch by 12 inches by 24 inches, the other is eighth inch by10 inches by 42 inches.
Not sure yet about the drain plug or oil filter, probably remote-mount the filter.
I'm not going to count the cost of the drill, but I'll count the cost of any and all drill bits used for this. Likewise jigsaw blades but not my jigsaw, cutting discs but not my angle grinder, welding supplies but not my welder.
Sure, this seems a bit heavy, I'll weigh the finished result.
I bet when you add it all up, you are better off just buying the parts that already fit and save yourself a bunch of trouble. Having said all that, I am in for some fabrication mayhem.
Andrew
#4
TECH Senior Member
iTrader: (12)
Are you going to make a complete lil pan from scratch ? And out of the steel metal ?..
I have seen and have sold 98+ F-Body pan for $125-$150... if you could score one in that range
You will be ahead of the game.
Will be watching this thread to see what develops.
BC
I have seen and have sold 98+ F-Body pan for $125-$150... if you could score one in that range
You will be ahead of the game.
Will be watching this thread to see what develops.
BC
#5

When I don't have a family to spend my free time with, and there's no way available to me to earn more money during that free time, then I can use that time for this, and count my labor as free. I enjoy making things, it doesn't feel like work. So my time is worth nothing.
I checked ads on several websites, including here and ebay, $220 was the cheapest.
I have the GMPP retrofit musclecar oilpan kit, I test installed it once, in my s-10, now I'm scrapping the S-10 so I'm thinking about trying to sell my GMPP pan kit for half the going rate for new.
#6
TECH Addict
iTrader: (4)

#7
Isolde,
How are you going to ensure flatness of the mating surface of the pan after you finish welding it up? You know it won't be flat when you're done. At minimum, I'd suggest you get it Blanchard ground.
Andy1
How are you going to ensure flatness of the mating surface of the pan after you finish welding it up? You know it won't be flat when you're done. At minimum, I'd suggest you get it Blanchard ground.
Andy1
Trending Topics
#11
I don't even recall if the front kmember for the 3400 is the same as the LT1. But IIRC, the 94 LT1 pan is darn near identical dimensions as the 86 LB9 pan, so I'd at least bother test fitting it. That said, I'd like to see the modded pan for the 86. P.S. I love working on the top of my recycle / trash bins for the extra high work surface too. 

#12
I expect the heat of welding to destroy the gasket, so I've been thinking about doing the welding without the tube or gasket in place. Tack everything together, then weld the pan floor, then the vertical velds, and do the flange last.
Today I'll center punch all the bolt holes,so the drill doesn't wander. I hope to start the drilling, if I can make time.
#15
Staging Lane
iTrader: (1)
Join Date: Apr 2009
Location: Utah
Posts: 75
Likes: 0
Received 0 Likes
on
0 Posts
Wow, I didn't know they regulate where Argon can be. Hope that doesn't happen to my area. I am just over the mountain from you. In this situation my suggestion is tig is your best tool to use, but I understand you use what you have. If you want to pm me, I can offer up my wire feed mig or tig. You would have to use them at my place and all I ask is to pitch in for the consumables. These bottles are expensive to refill and the wire isn't much cheaper. I will gladly teach you what I know about tigging, but I am somewhat a beginner myself.
#16
Funny thing is, Argon is an inert gas, it can't burn / explode. I think the problem is the cylinder itself. You know what happens if the valve gets knocked off.
Anyway, I got paid to learn Mig, then I got paid to learn stick. Then I had my ugly welds tested, and they passed. So I no longer care how my welds look. That's what grinding, JB Kwik, and paint are for, as I see it. I've fabbed plenty of hitches, none has ever cracked a weld, AFAIK.
Your offer is very kind, so I appreciate it, but I'll decline for now.


