
Optic Armor Install F+R, How To
 01-30-2017, 03:43 PM
#41


its just the traffic lights and driving when the sun is setting that really screw with you. You can drive in the neighborhood all day and its never gonna effect much. His was a daily driver on nice days and it bothered him too much since he drives all the time.
 02-11-2017, 10:24 AM
#43
TECH Senior Member
Thread Starter
iTrader: (96)
Join Date: Aug 2007
Location: Turnin' Wrenches Infractions: 005
Posts: 24,240
Likes: 0
Received 79 Likes
on
70 Posts

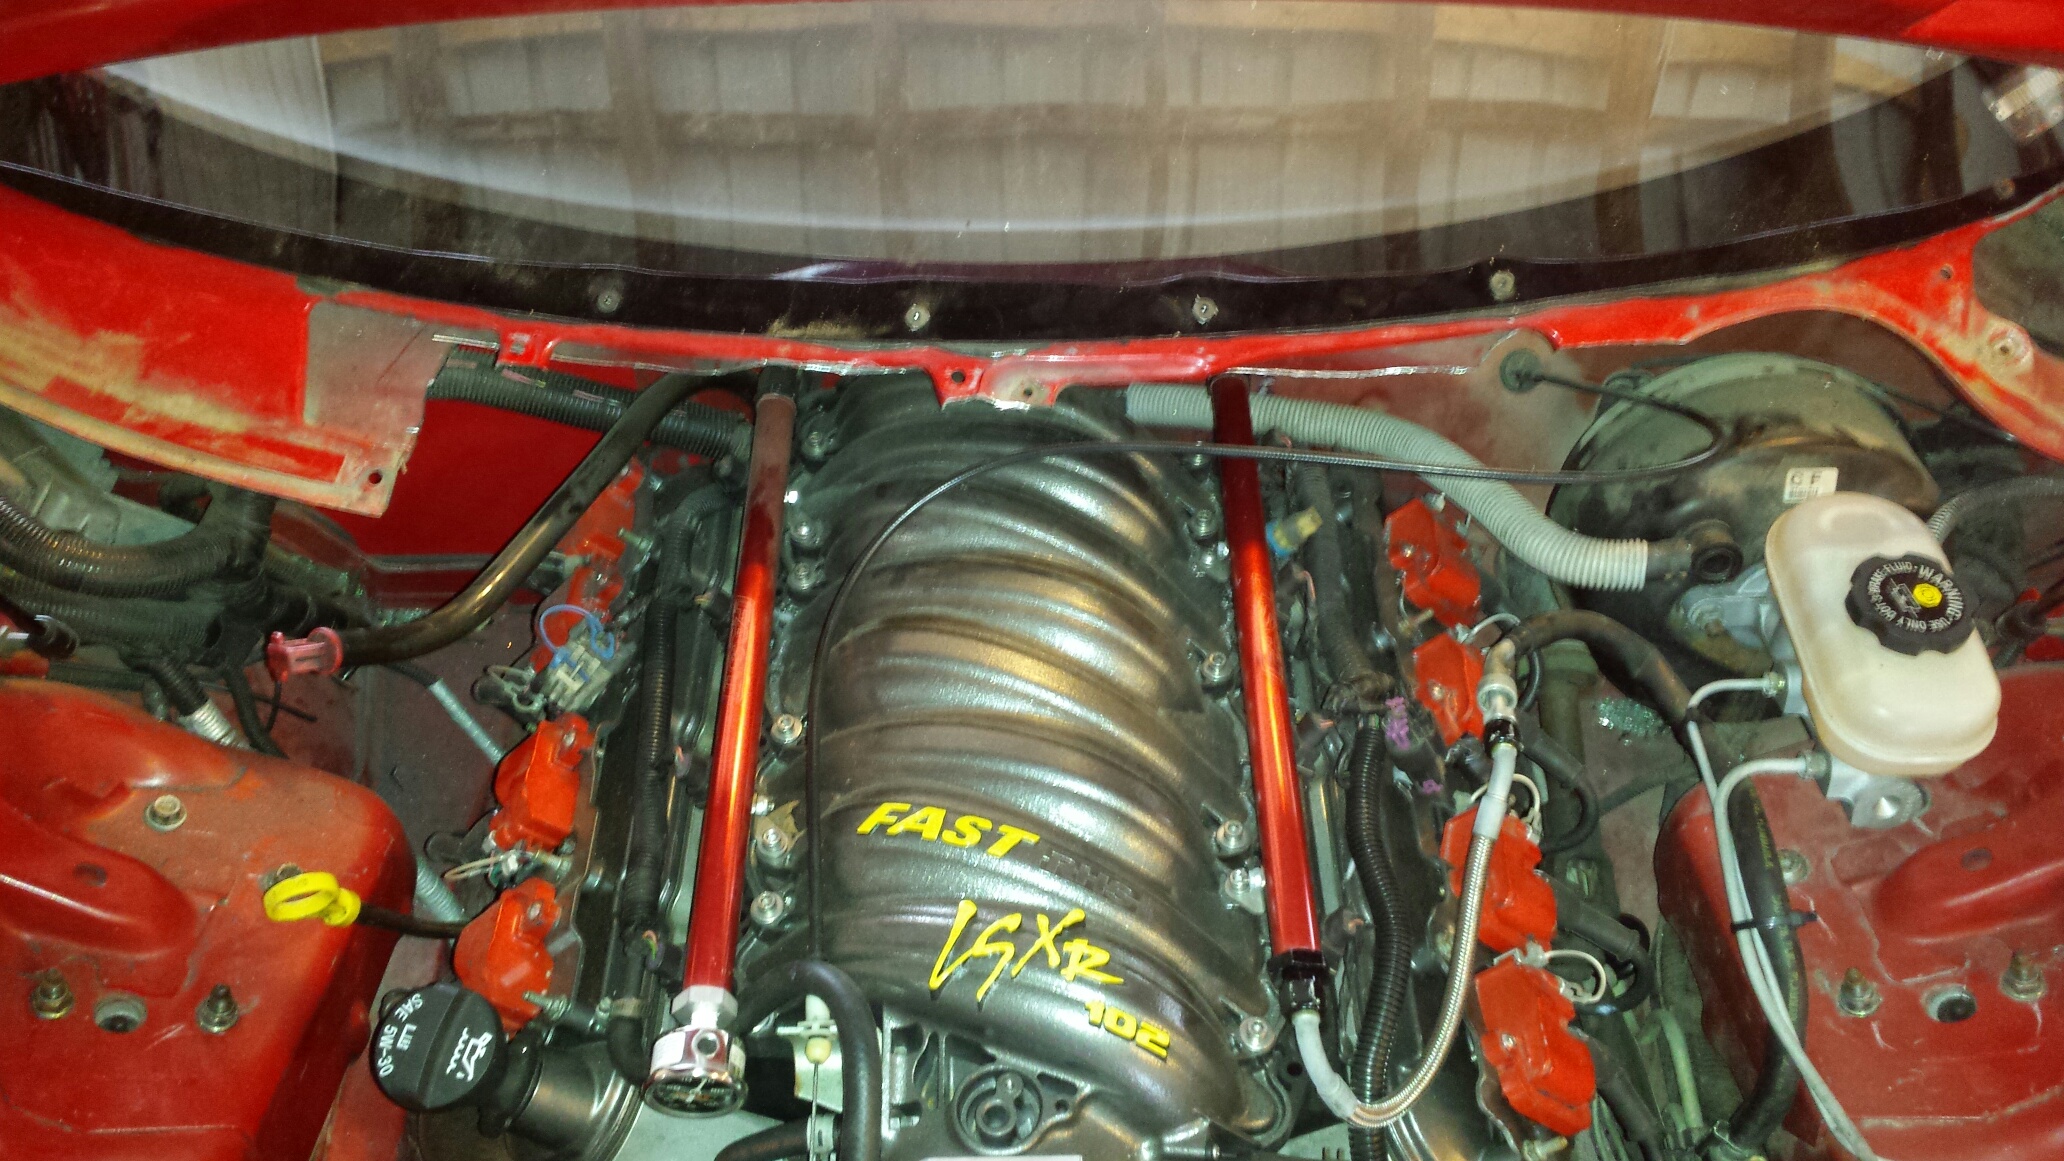
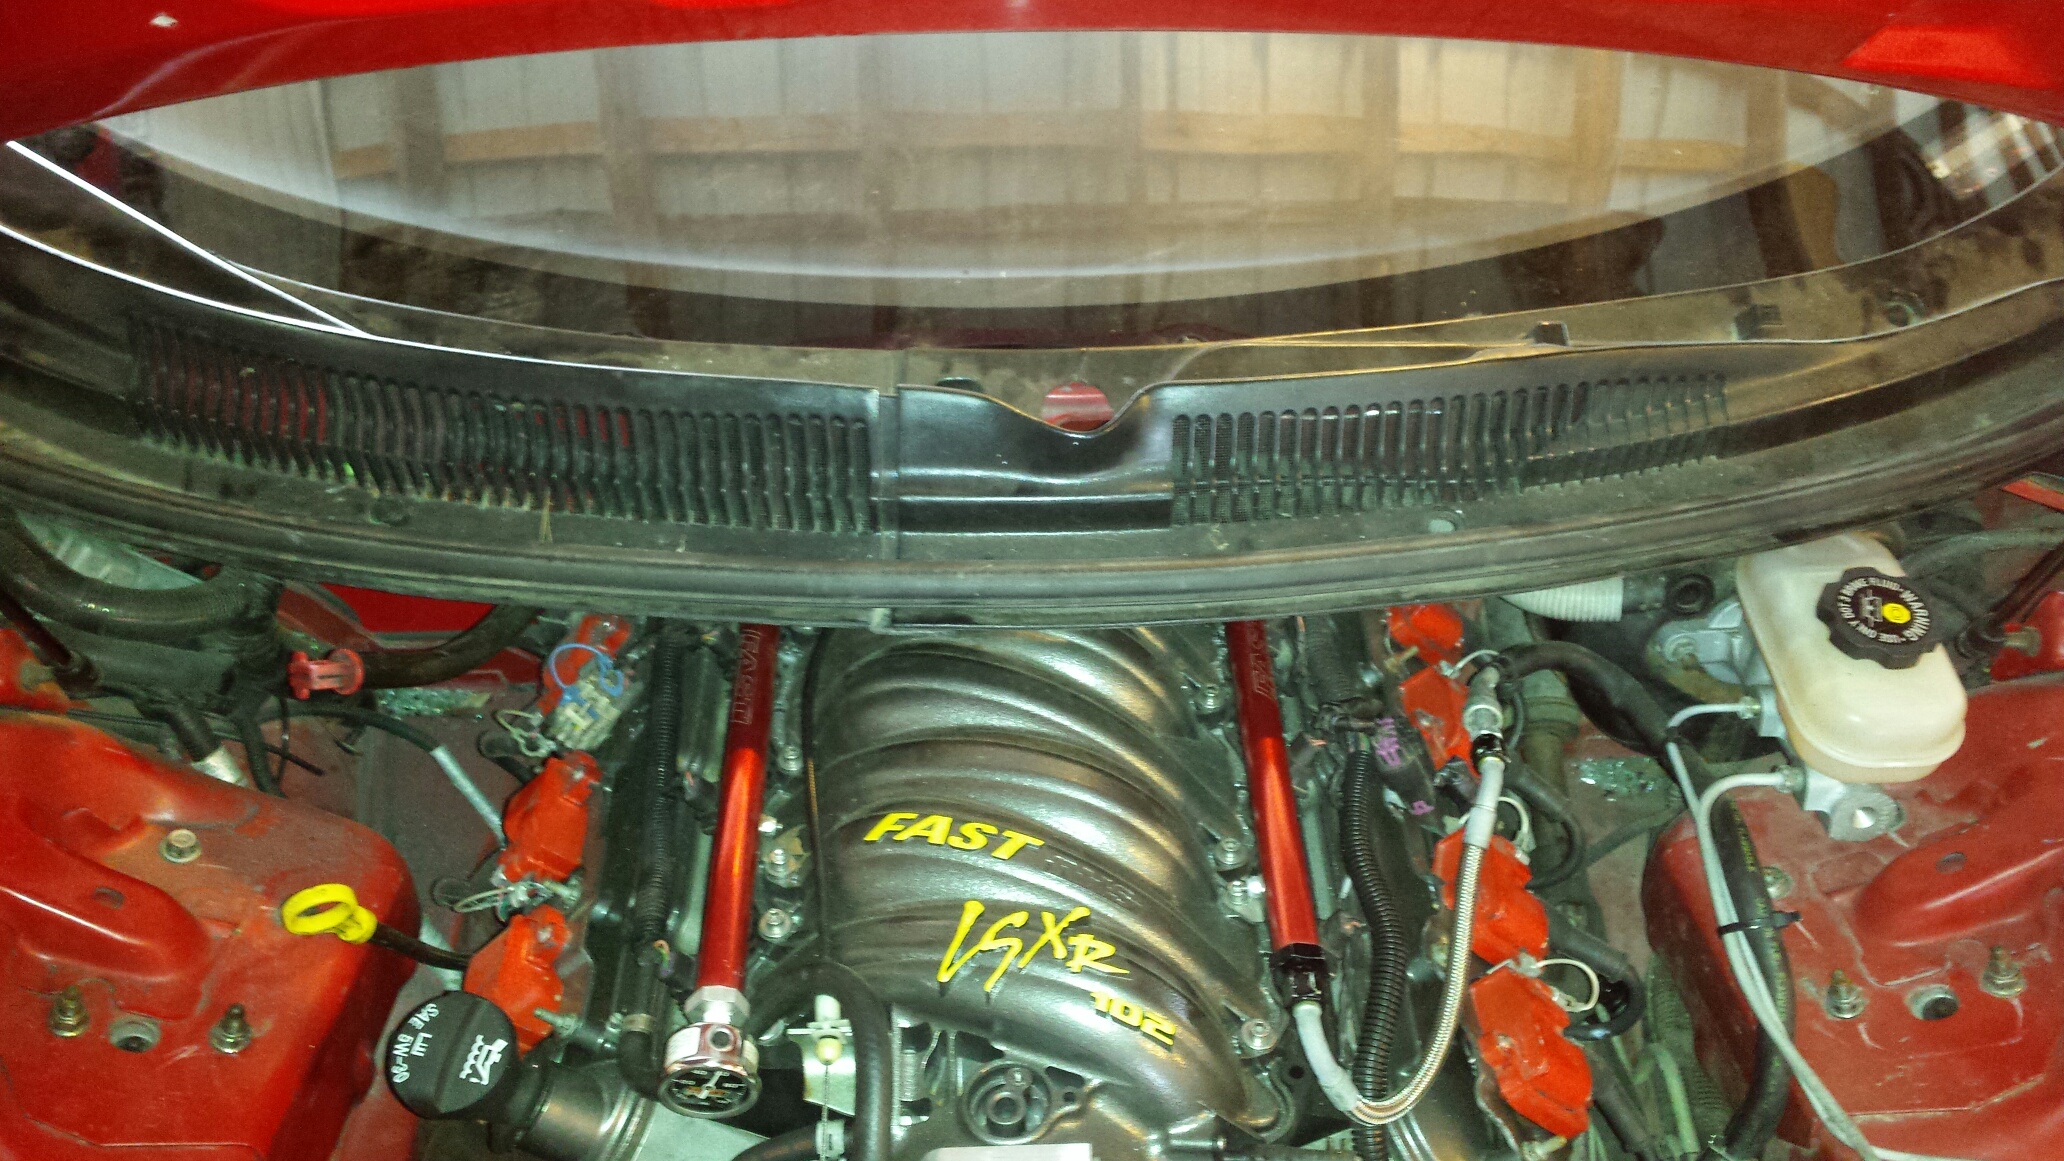
The rear ended up wanting to lift along the lower lip, the adhesion wasnt great for whatever reason. It either didnt stick to the car, didnt stick to the lexan, or I didnt use enough urethane. At any rate, I had to improvise to ensure it didnt cause damage later down the road.
I also trimmed the cowl, mostly for ease of intake removal, and added a couple screws in the front glass just for good measure. You can see I left enough material for the stock plastic to be reinstalled and look pretty much as it came from the factory. I had to trim the cowl in multiple pieces (about 10) because I did it while the intake was still installed. It wasn't much fun.


I also trimmed the cowl, mostly for ease of intake removal, and added a couple screws in the front glass just for good measure. You can see I left enough material for the stock plastic to be reinstalled and look pretty much as it came from the factory. I had to trim the cowl in multiple pieces (about 10) because I did it while the intake was still installed. It wasn't much fun.

 02-11-2017, 12:14 PM
#45
02-11-2017, 03:22 PM
#46
11 Second Club
I did 160mph with the windows down and never had a problem with the rear Optic glass.. Do you have any pics of the glass where it meets the sail panel?
02-12-2017, 06:08 AM
#47
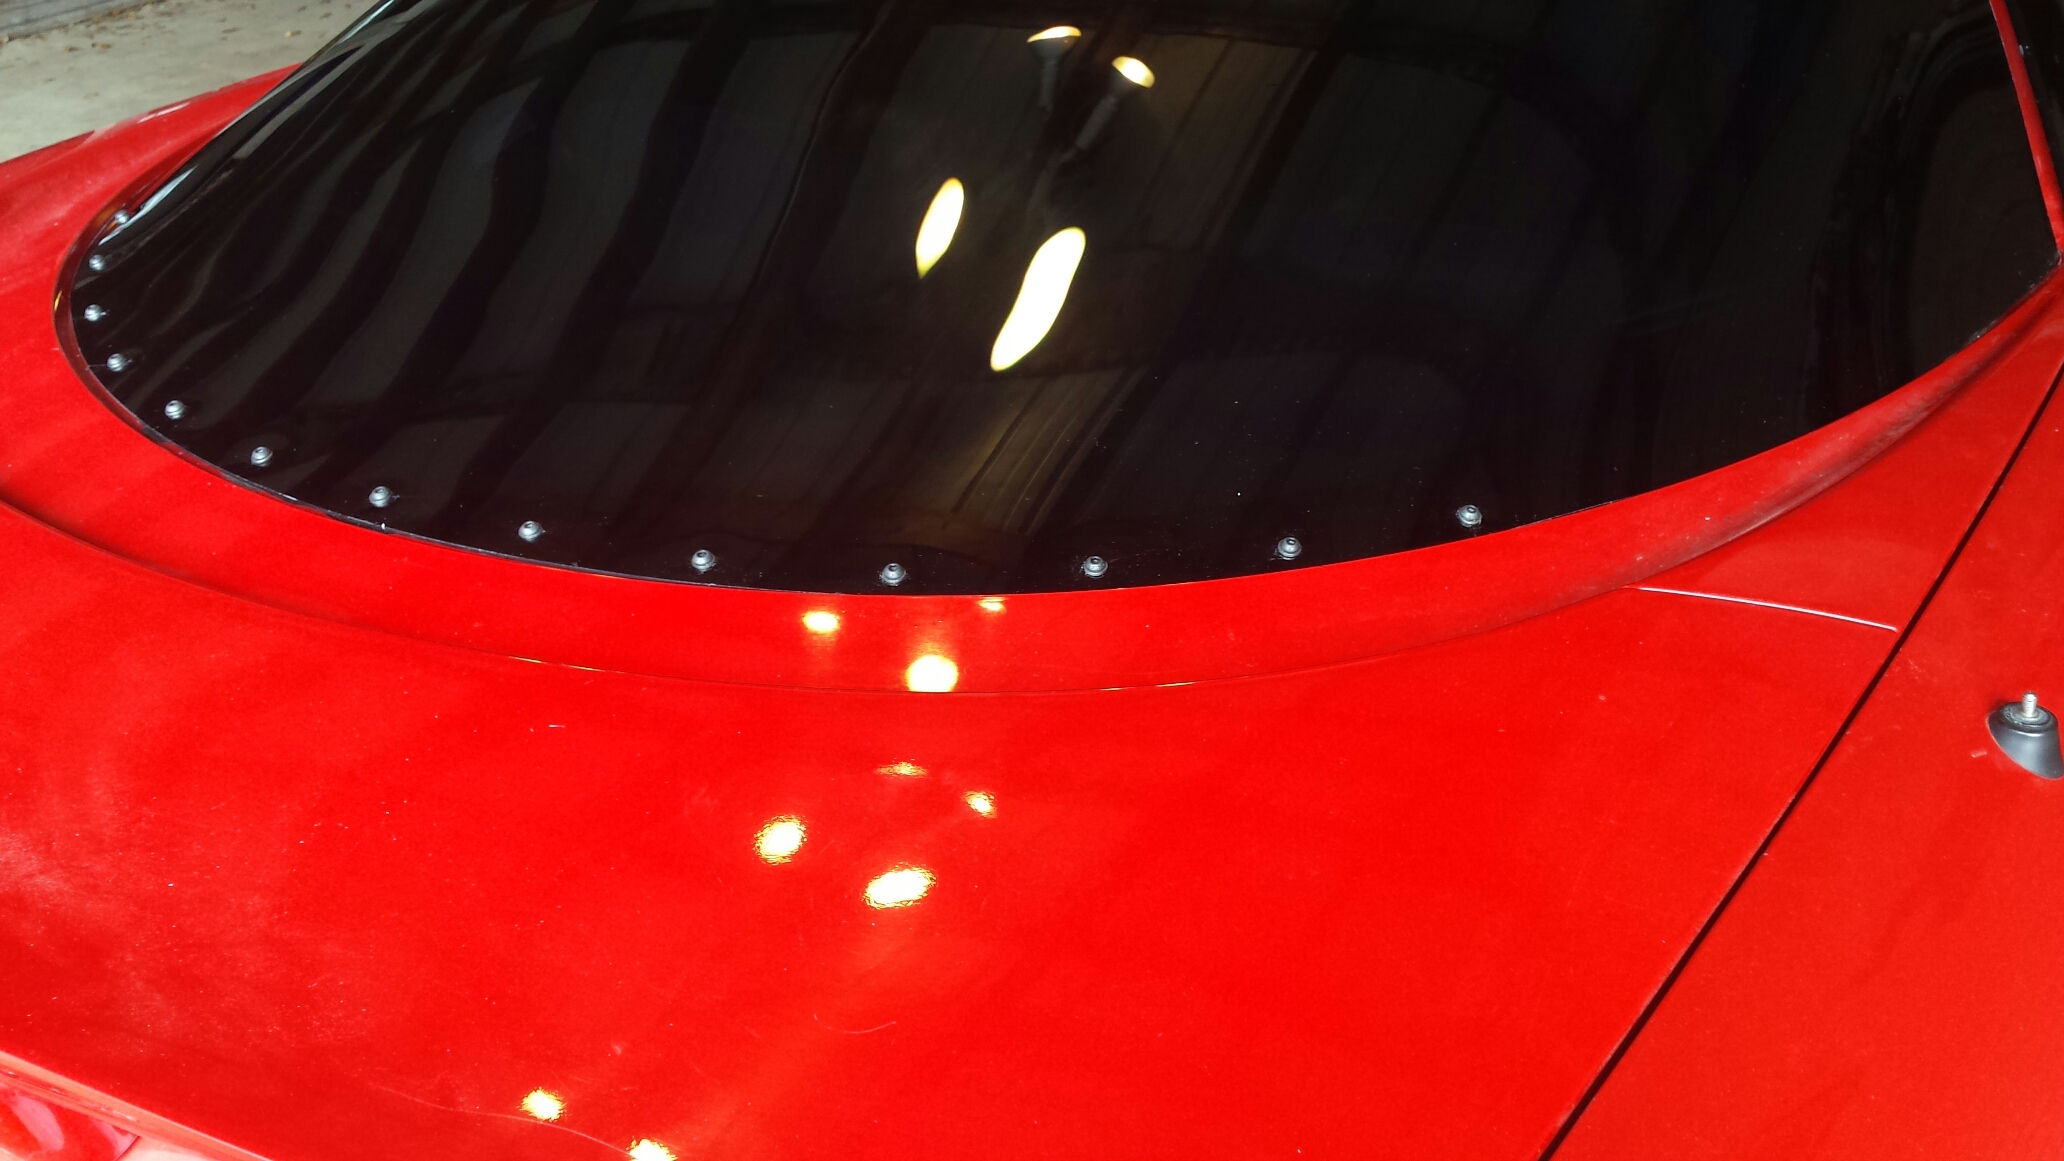
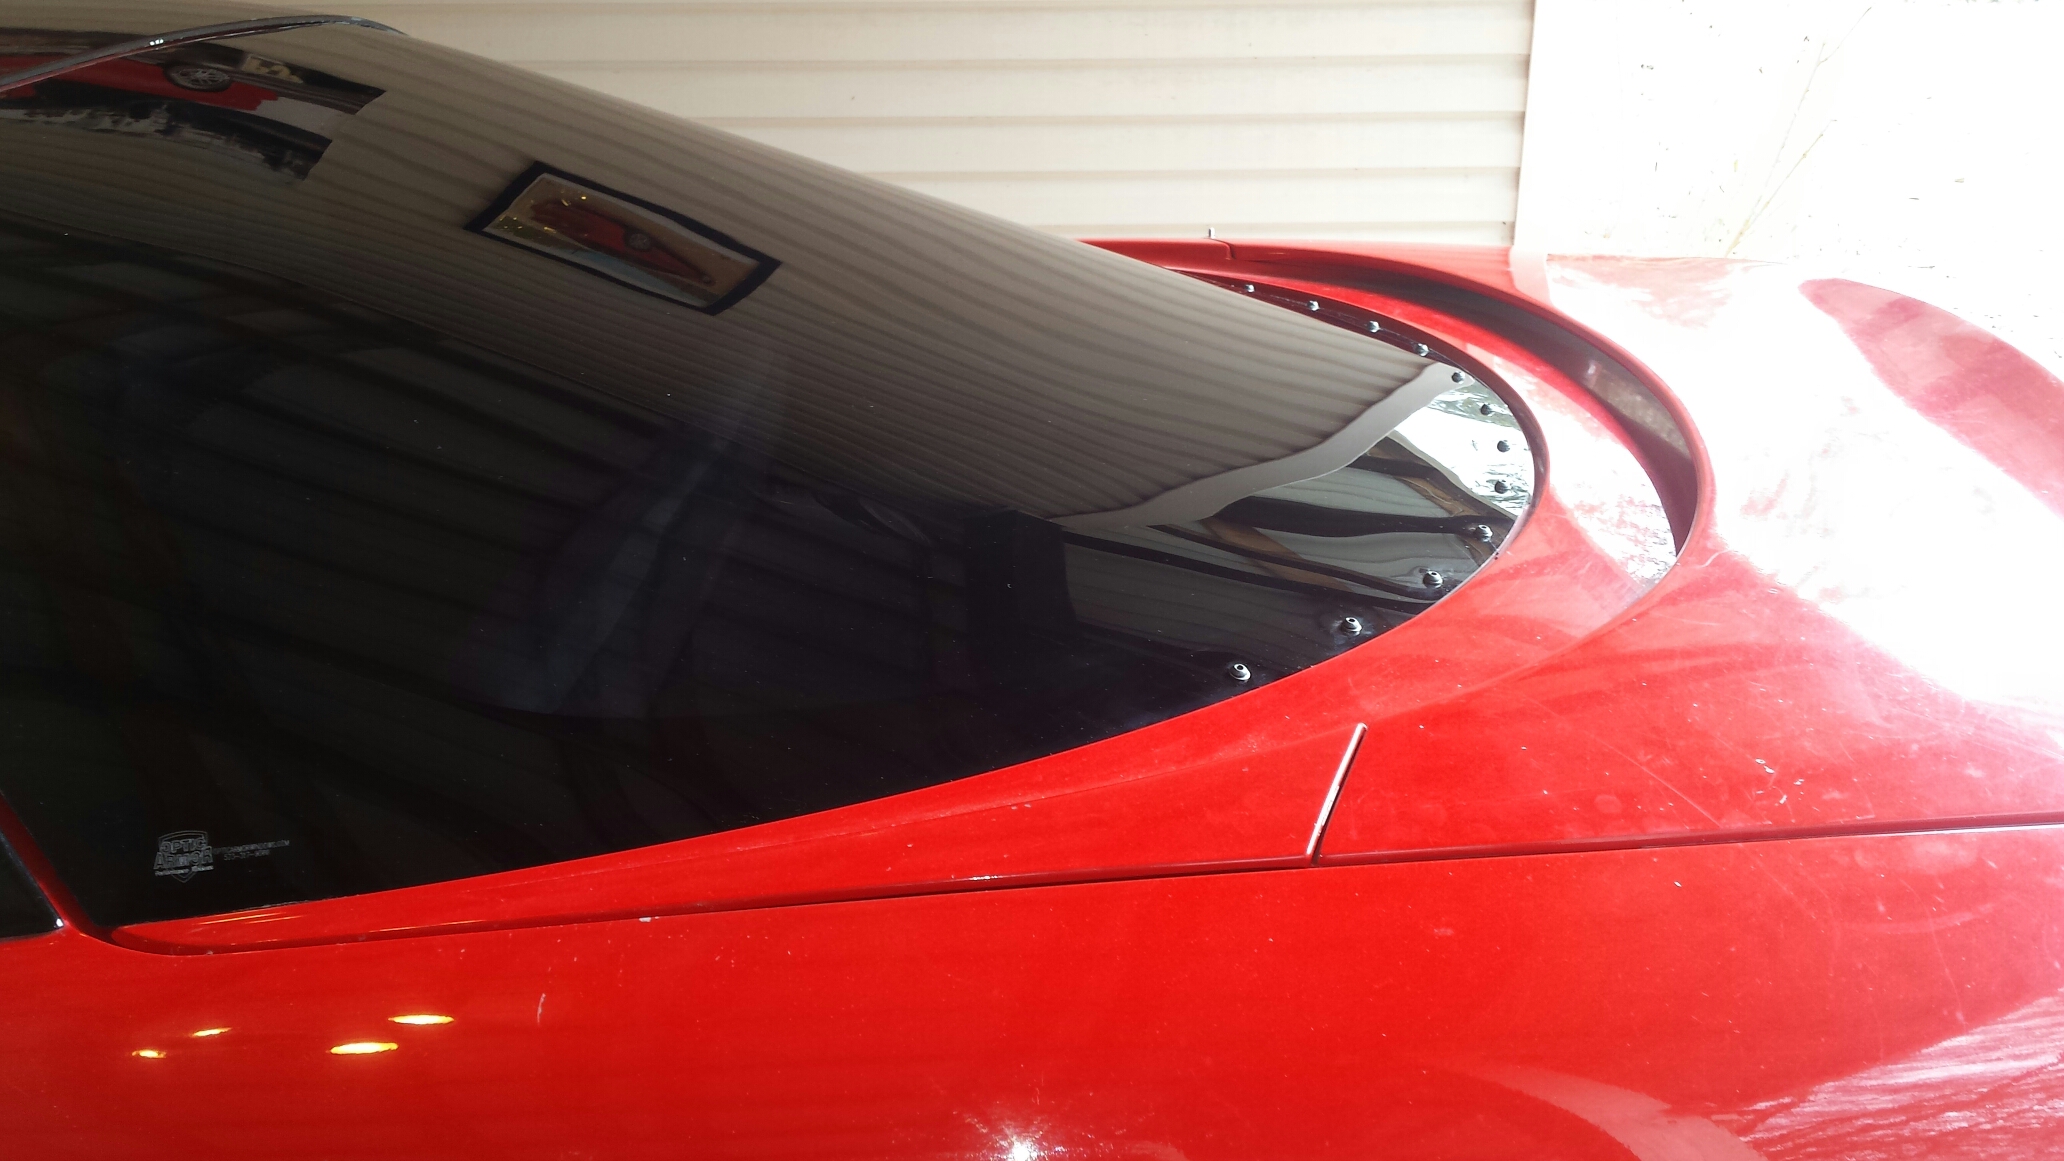
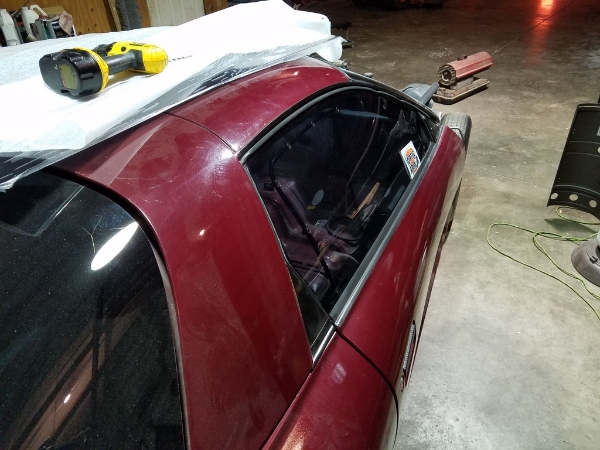
Here are a couple pics. One is looking through the windshield and the other is a picture of the same thing not looking through it. Make sure you use the glue optic armor sells. Funny thing is its actually covered in dust from sitting all winter. Still looks Crystal clear. You push too hard in one spot, or your car is slightly tweaked from the old one wheel hang and it will distort.
Last edited by TTur1996; 02-12-2017 at 06:21 AM.
02-12-2017, 04:02 PM
#48
Here are a couple pics. One is looking through the windshield and the other is a picture of the same thing not looking through it. Make sure you use the glue optic armor sells. Funny thing is its actually covered in dust from sitting all winter. Still looks Crystal clear. You push too hard in one spot, or your car is slightly tweaked from the old one wheel hang and it will distort.
Now for the back, the Optic is the way to go!
And mine is a track car only. 2860lbs now.
02-12-2017, 05:03 PM
#49
TECH Senior Member
Thread Starter
iTrader: (96)
Join Date: Aug 2007
Location: Turnin' Wrenches Infractions: 005
Posts: 24,240
Likes: 0
Received 79 Likes
on
70 Posts
Here are a couple pics. One is looking through the windshield and the other is a picture of the same thing not looking through it. Make sure you use the glue optic armor sells. Funny thing is its actually covered in dust from sitting all winter. Still looks Crystal clear. You push too hard in one spot, or your car is slightly tweaked from the old one wheel hang and it will distort.
 02-12-2017, 06:27 PM
#50
When you install them make sure you us a healthy bead that stays as evenly high as possible. You will need three people. One to hold the middle. The middle needs to touch the glue first lightly. Then the two guys on the sides lightly let their sides down till they touch the glue. Have someone sit in the car and watch for any distortions. Take a soft cloth and start in the middle on the top and bottom and with little but steady pressure slide it right above the glue only from middle out. Same on the sides. We never had to mess with it after installing it like this. But if you see any distortions you can try to push back easy in that spot. But hold around it on the outside. This would have to be done immediately while the glue is still wet. Then don't touch it for at least 24hrs. 48 even better. On the back hatch double bead it on the bottom as far apart as possible. They wont come off. Its very important to let them dry completely.
02-12-2017, 06:42 PM
#51
TECH Senior Member
Thread Starter
iTrader: (96)
Join Date: Aug 2007
Location: Turnin' Wrenches Infractions: 005
Posts: 24,240
Likes: 0
Received 79 Likes
on
70 Posts
The lip on the lower hatch is tiny, and the stock glue basically peeled right off the fiberglass. I think it's a less then ideal situation. The front I have no worries about, it is solid.
02-12-2017, 07:03 PM
#52
That's weird. Ours was like 5" wide at the bottom.
02-12-2017, 09:41 PM
#53
02-13-2017, 09:52 AM
#54
My rear was the same way. I will be screwing the back one down. The adhesive did not hold very well. My front is screwed in so i am not to worried about it. Mine is clear as day not distorted at all.
Just a suggestion, if you swap out those button head bolt to a countersunk flat head black bolt , or paint the stainless steel black, it allows a much cleaner look. Do not use the black oxide because they will rust, per my chassis guy.
Here is an side window i did for my car.
Just a suggestion, if you swap out those button head bolt to a countersunk flat head black bolt , or paint the stainless steel black, it allows a much cleaner look. Do not use the black oxide because they will rust, per my chassis guy.
Here is an side window i did for my car.
 02-13-2017, 10:04 AM
#55
TECH Senior Member
Thread Starter
iTrader: (96)
Join Date: Aug 2007
Location: Turnin' Wrenches Infractions: 005
Posts: 24,240
Likes: 0
Received 79 Likes
on
70 Posts
Yep I already figured they may rust, if they do I will paint the heads black or swap them out to something different. And, I did orginally put in a countersunk head but what I realized is its hard to sink the bevel into only 1/4" deep material. I'm ok with it sticking up. Also, boys and girls, DO NOT overtighten them, the lexan will start to crack. Hand tighten only.
02-13-2017, 10:16 AM
#56
Yep I already figured they may rust, if they do I will paint the heads black or swap them out to something different. And, I did orginally put in a countersunk head but what I realized is its hard to sink the bevel into only 1/4" deep material. I'm ok with it sticking up. Also, boys and girls, DO NOT overtighten them, the lexan will start to crack. Hand tighten only.
As my neighbor says. "If there to worried about how your car looks, your not fast enough."
02-18-2017, 07:55 PM
#59
TECH Senior Member
Thread Starter
iTrader: (96)
Join Date: Aug 2007
Location: Turnin' Wrenches Infractions: 005
Posts: 24,240
Likes: 0
Received 79 Likes
on
70 Posts
Went 100+mph today with the windows half down. Wow, the windshield moves in and out a ton. Back window didn't fly out thank god. Gonna get the window really clean and snap some clearness pics.
