Detailing (01 CamaroSS SLP)
 04-17-2012, 06:37 AM
#1
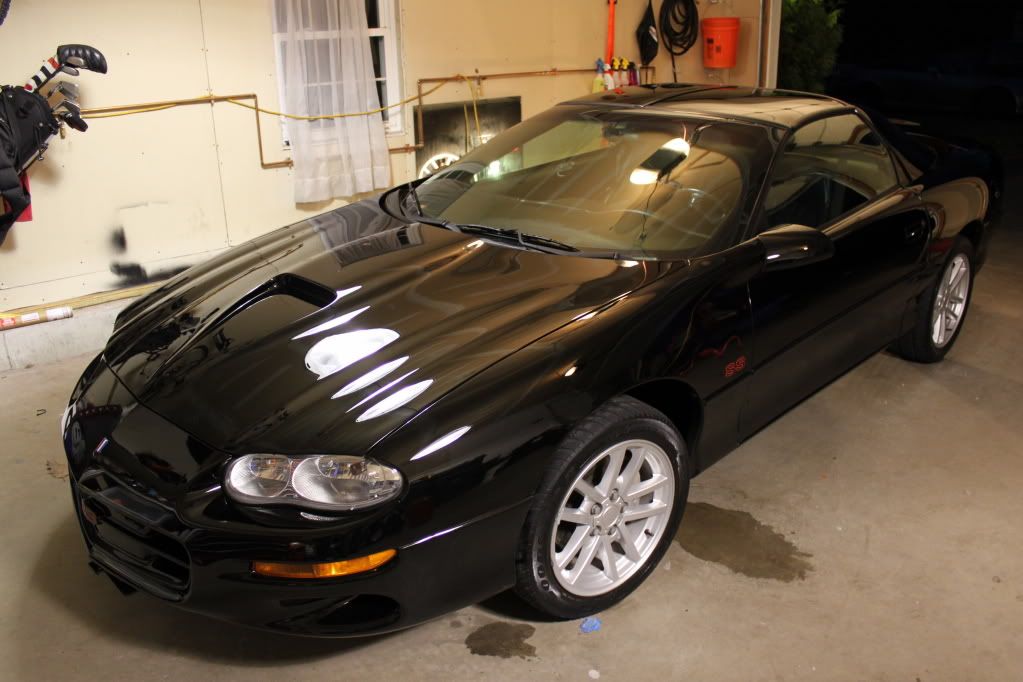
Finally starting back up for the summer with my friend and got a nicely kept 2001 Chevy Camaro to kick it off right!
This is a 2nd owner LOW mileage car <30k miles. It has been looked after for the 10+yrs it has been around but overall the car was in decent shape and the black hid it�s imperfections pretty well until it got under the lights, then it screamed "I needed lots of love."
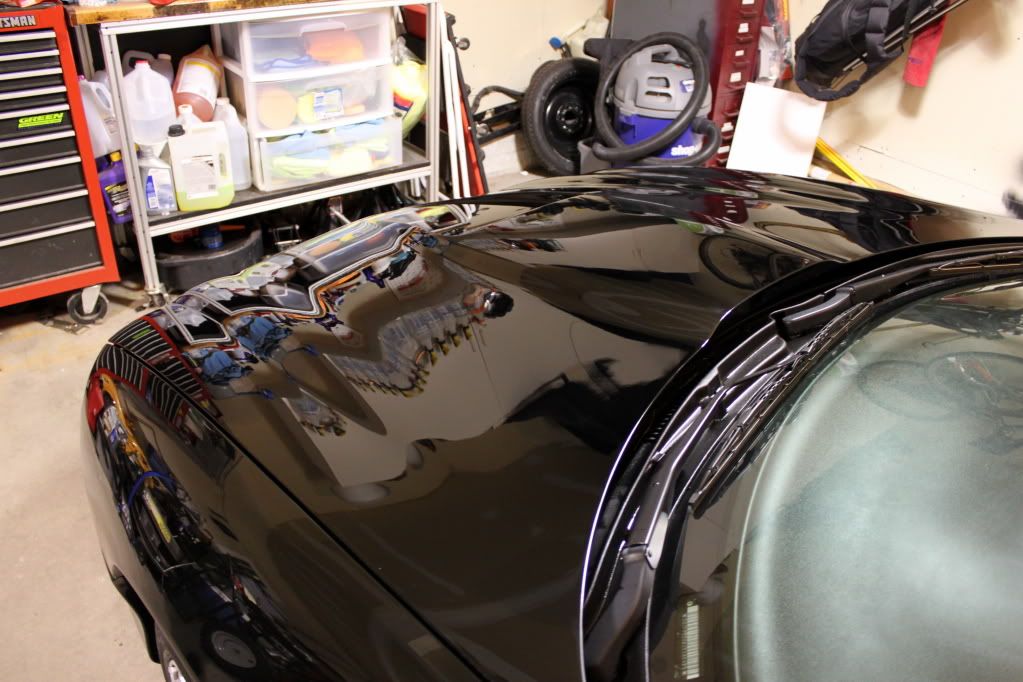
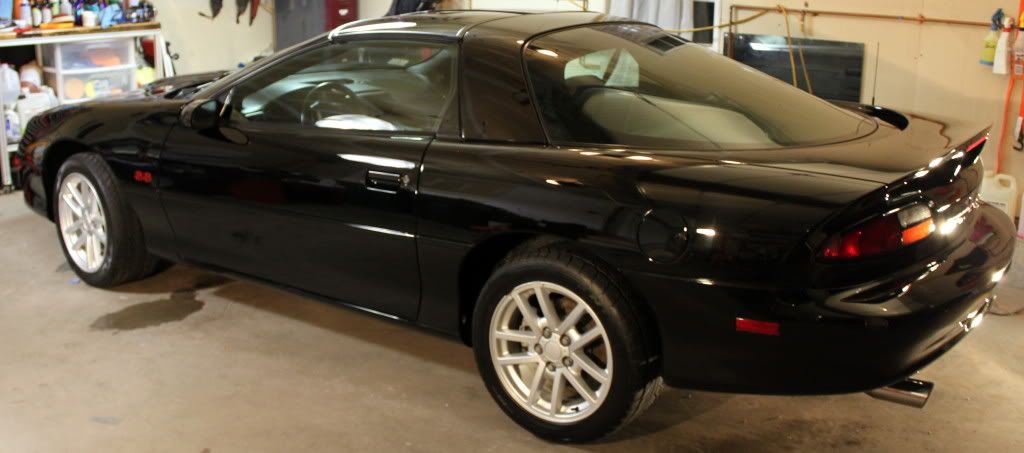
After a long 24man hours the outcome is a 9.5/10, there were a couple of deep scratches we could not get out (time to consider adding wet sanding to the arsenal!), besides those few items we were beyond pleased with the results, car looks soaking wet when there isn�t a drop of water to be seen
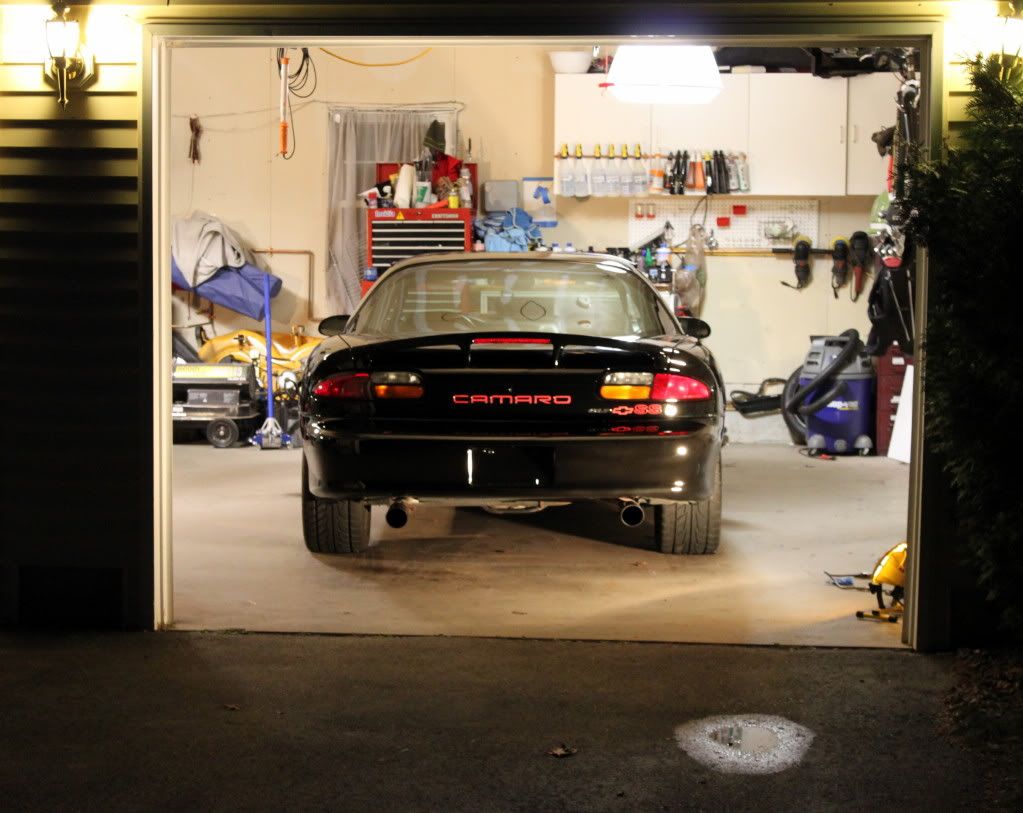
Sorry no pics in the day light now it was LATE when we finished up ! Owner stayed with us the WHOLE time and lent a hand at the end. Thanks for sticking with us Taylor! Hopefully we will have some outdoor pics at the end of the week from our local F-body dyno day.
Enough of that on to the detail, Oh and I hope you enjoy!!!
Materials:
CG Maxi Suds II
Westley�s Bleach White
Sonax Full Effect Wheel Cleaner
Mother�s Clay Bar Kit
ONR Clay Bar Dilution
IPA wipe down Dilution
Menzerna S34A
Menzerna PO203
Menzerna 106FA
Prima Amigo
Menzerna Powerlock
Autoglym HD
Stoner�s Invisible Glass
NXT2 Liquid Wax
Prima Slick
CG Xtreme Shine
CG Bare Bones
No. 7 Chrome Polish
Uber 5.5� Orange
Uber 5.5� Green
Uber 5.5� Blue
Uber 5.5� Black
Uber 3� Orange
Swissvax Wheel Brush
Uber Boar�s head brush
Uber Wheel Brush
Swissvax interior brushes
Uber UFO Red Applicator Pads
Uber UFO Blue Applicator Pad
Misc MF Towels
Q-tips
3M Painters Tape
Process
Exterior: APC lower panels, CG Maxi Sud II Foaming with Micro Fiber Mitt, dried, taped, claybar, S34A w/orange on the DEEP stuff, PO203 w/ Orange (1 passes), 106FA w/Green (1 pass), IPA wipe down, Prima Amigo w/ Blue (1 pass, really made it POP!),Powerlock w/ Black (45min set-up), Autoglym HD, Prima Slick wipe down to cut the static.
Wheels: Sonax Full Effect, Westly�s Bleach White, Wheel Brushes, dried, ONR wipe down, clay bar, NXT w/ hand applicator, tires dressed with CG Xtreme Shine
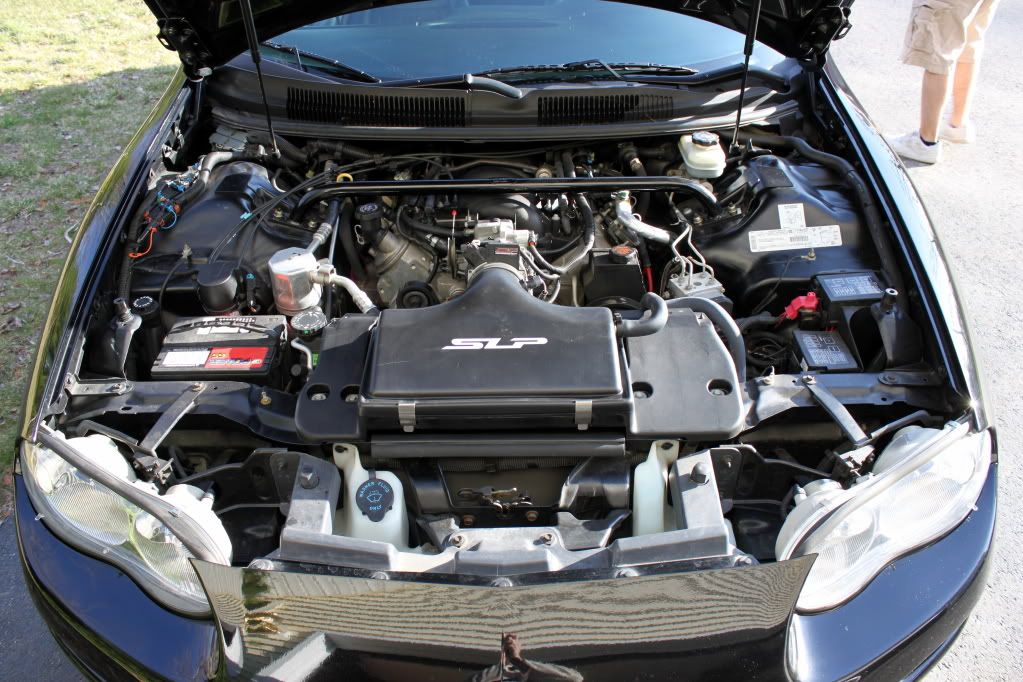
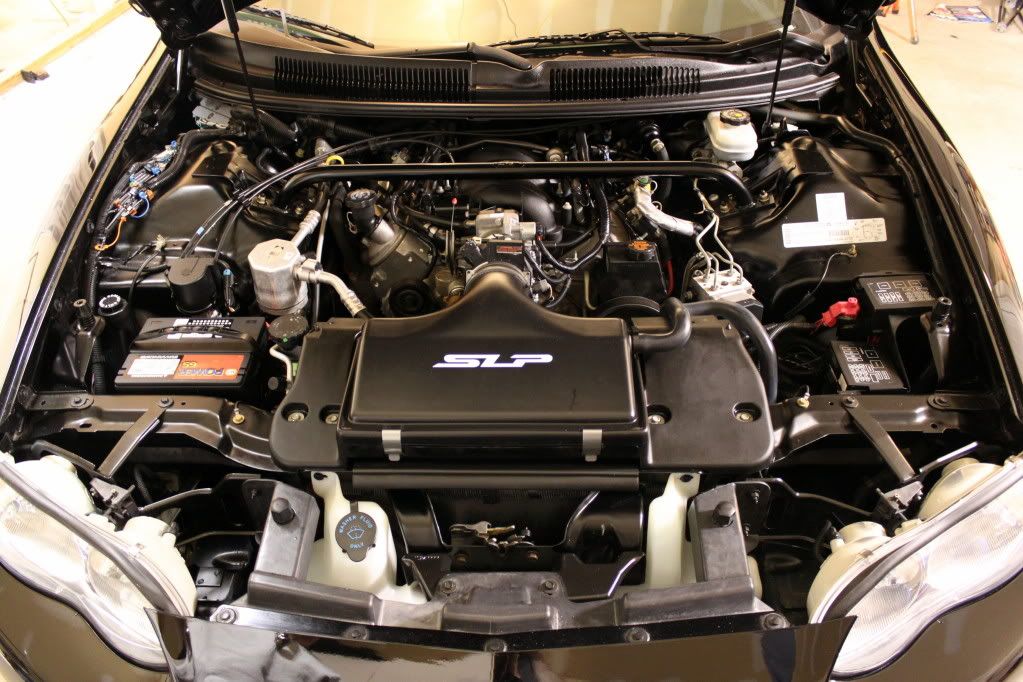
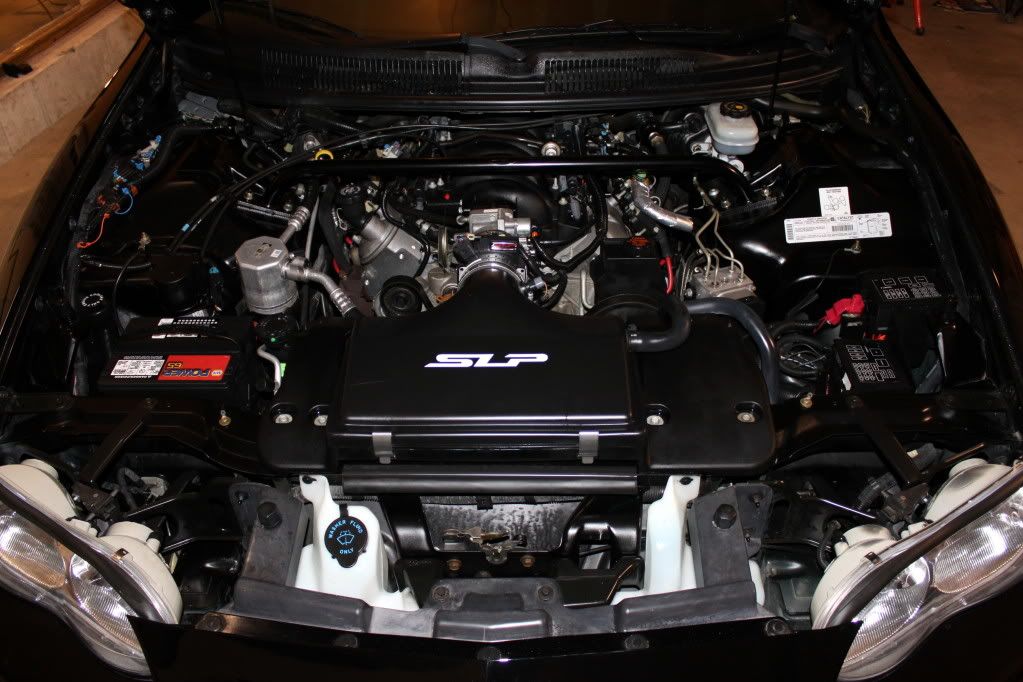
Engine Compartment: Adam�s APC, misc brushes, CG citrus wash by hand, rinse, dried, dressed with Xtreme Shine
Onto the Pics!
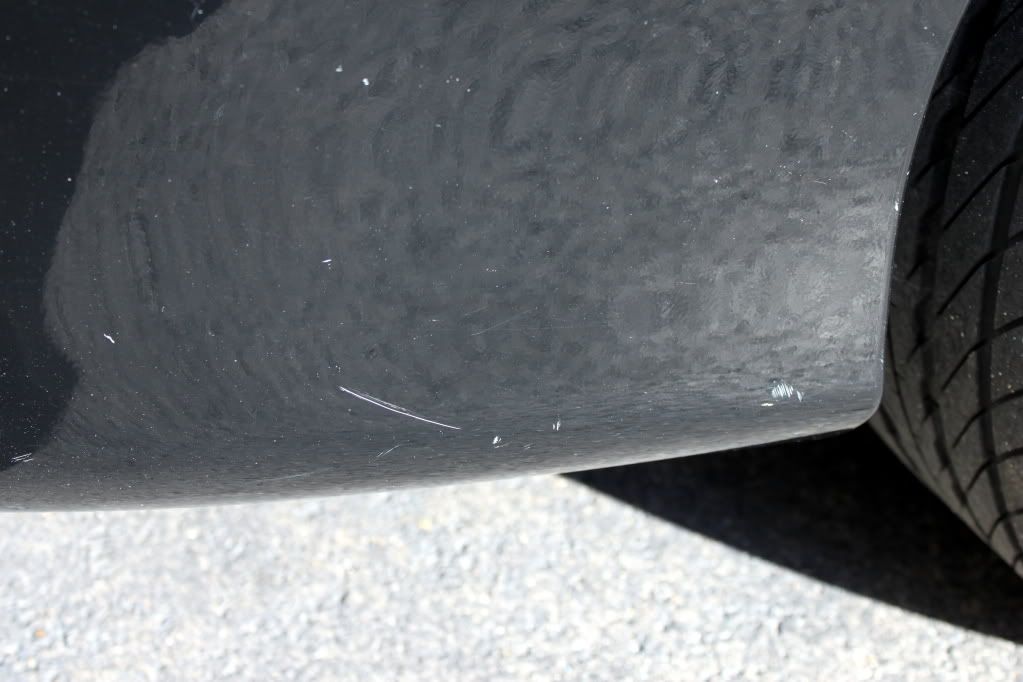
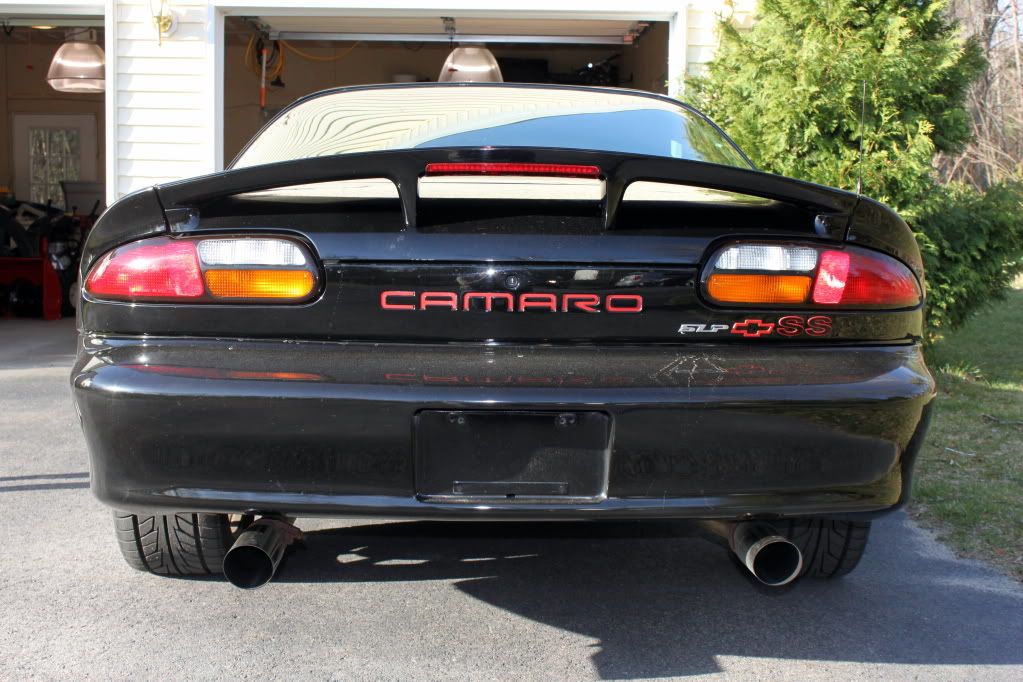
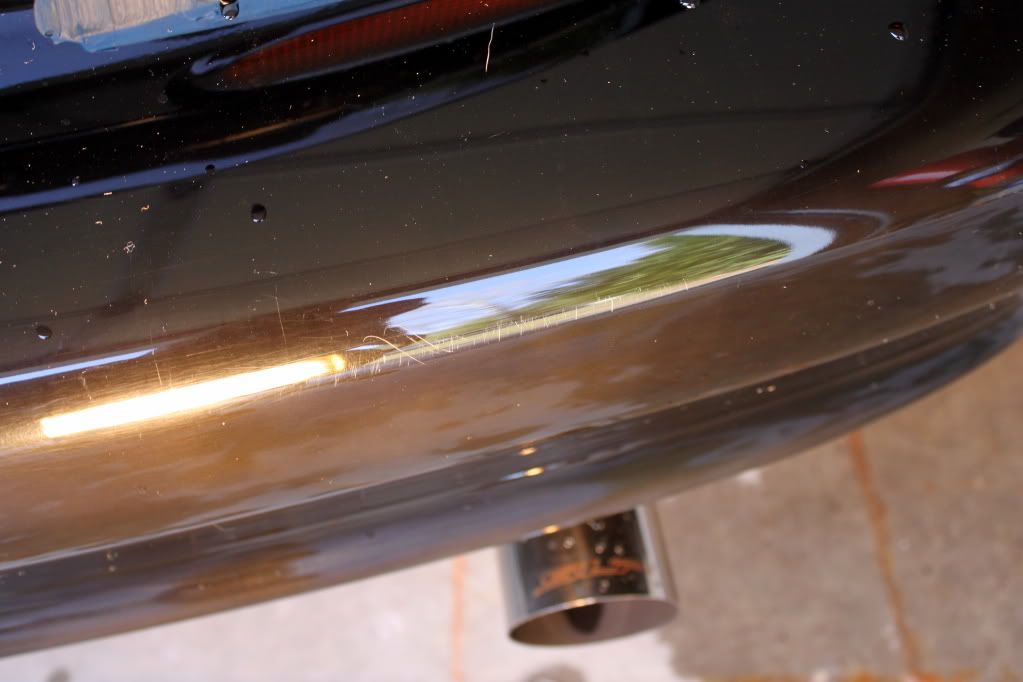
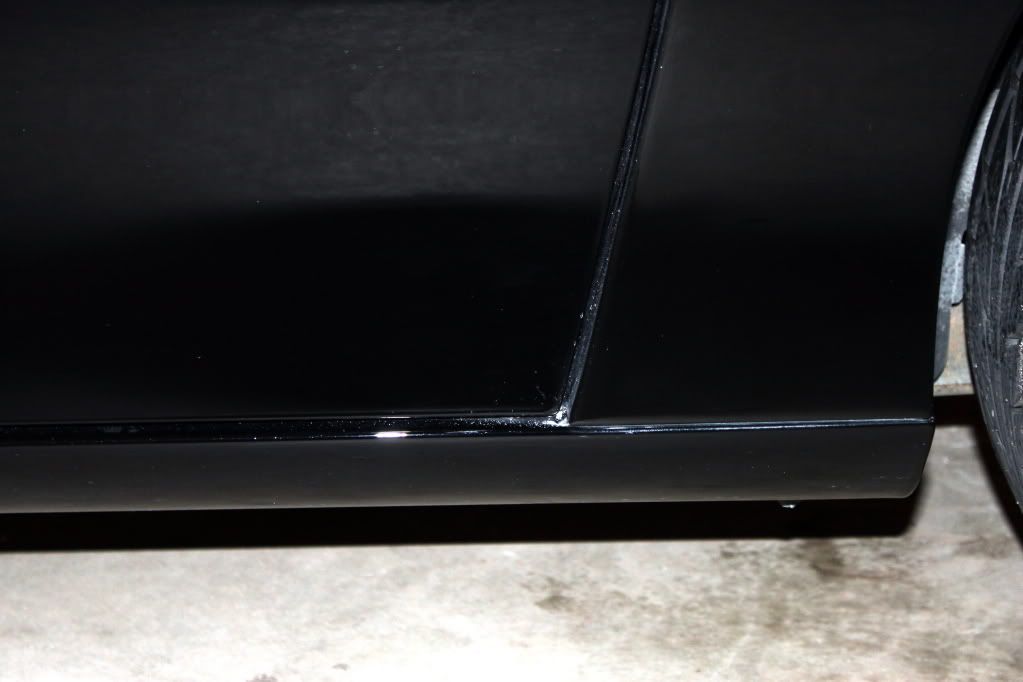
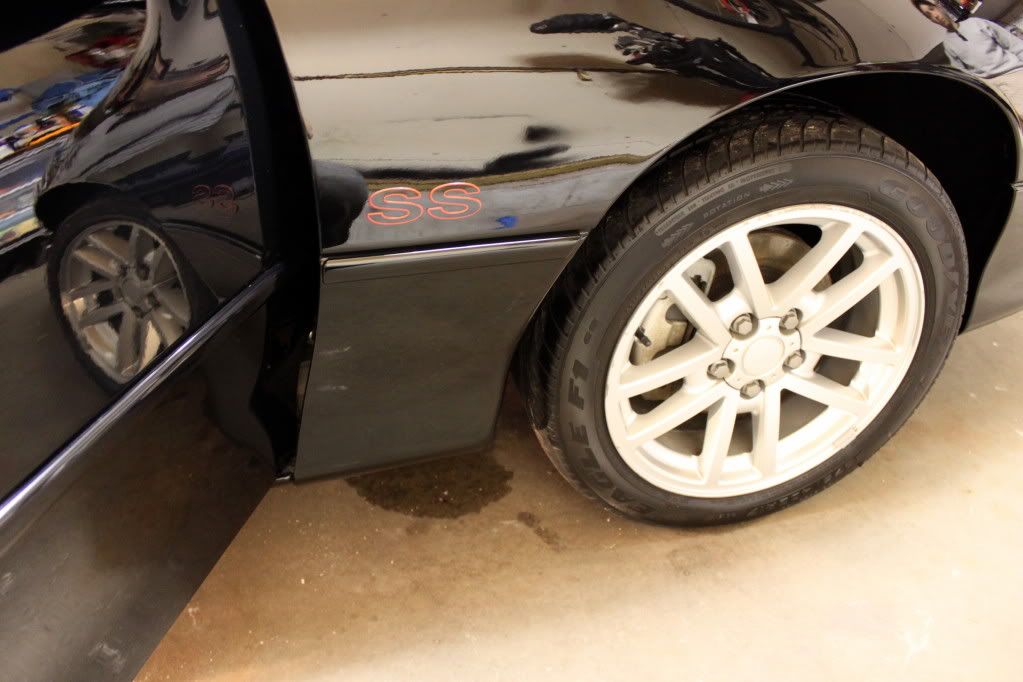
Delivery walk around

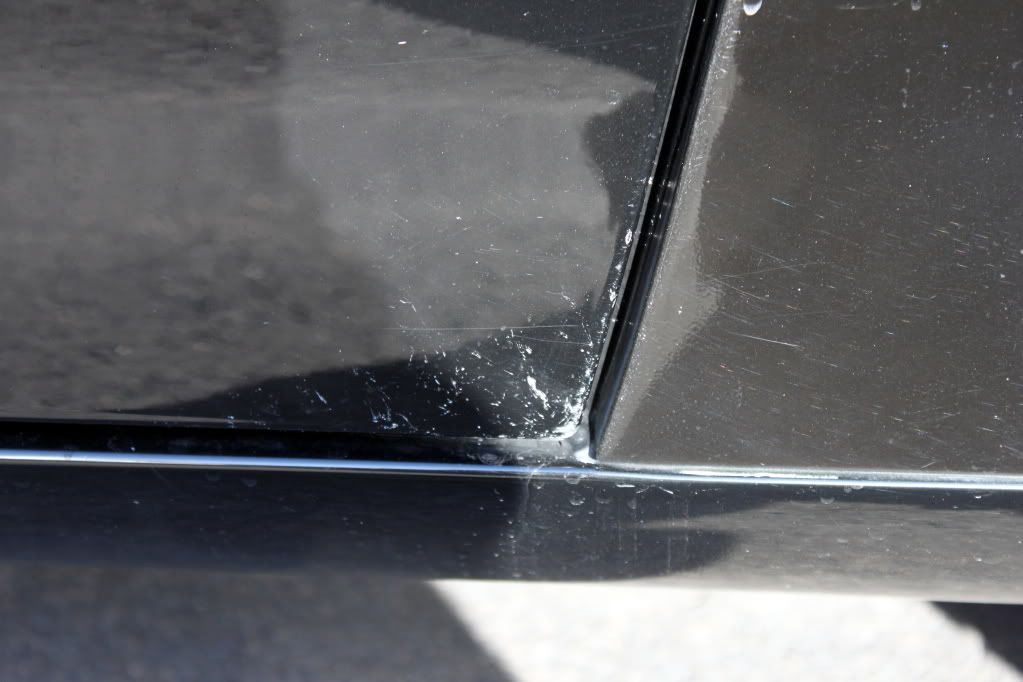
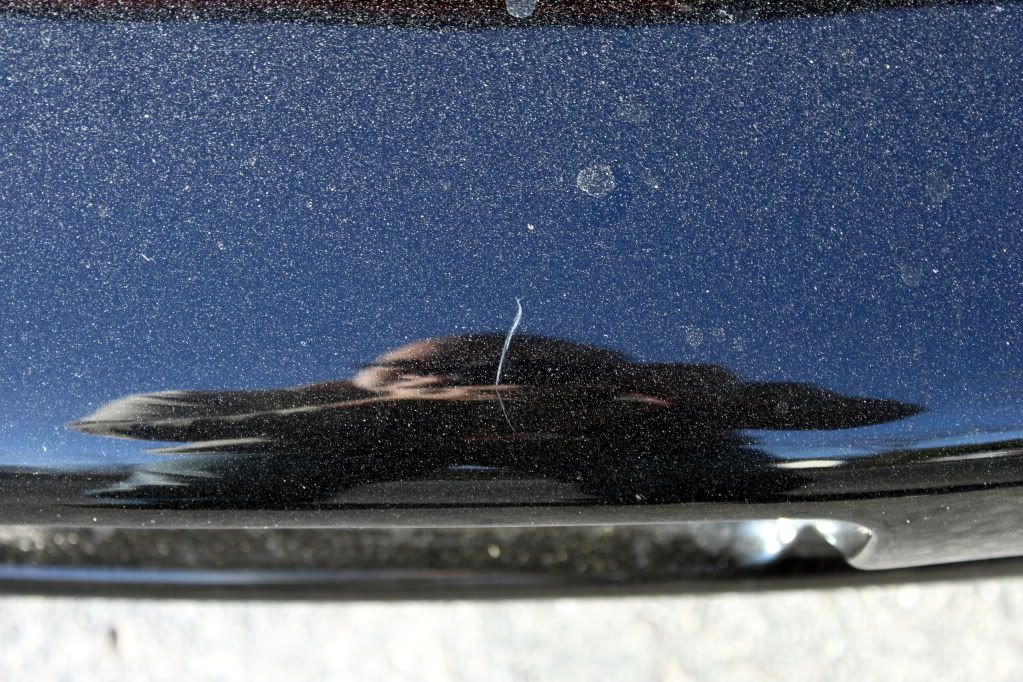
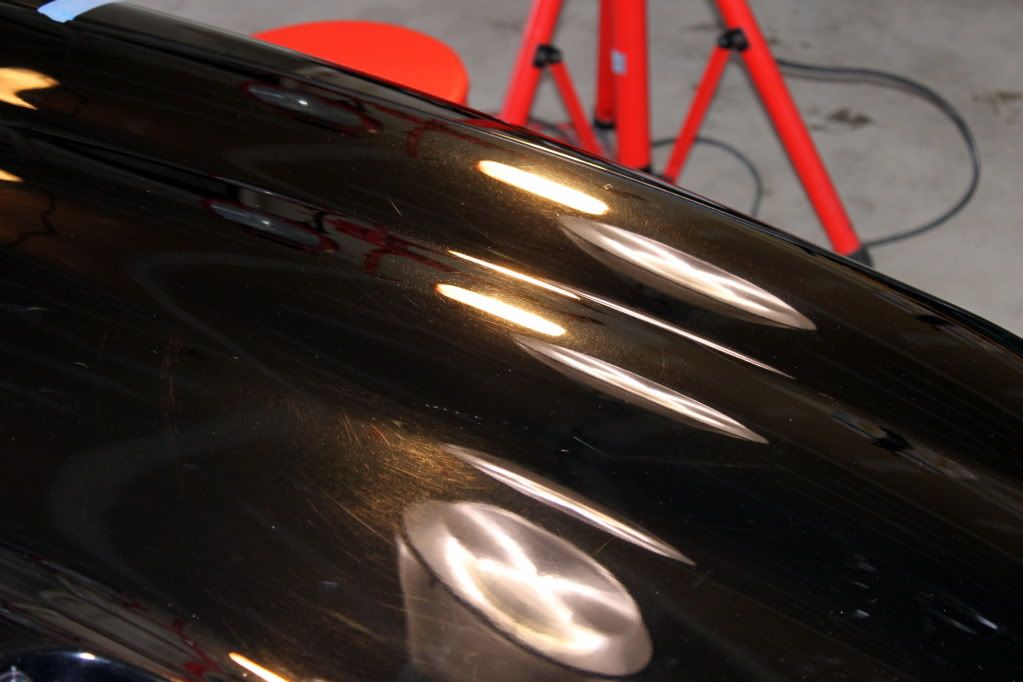
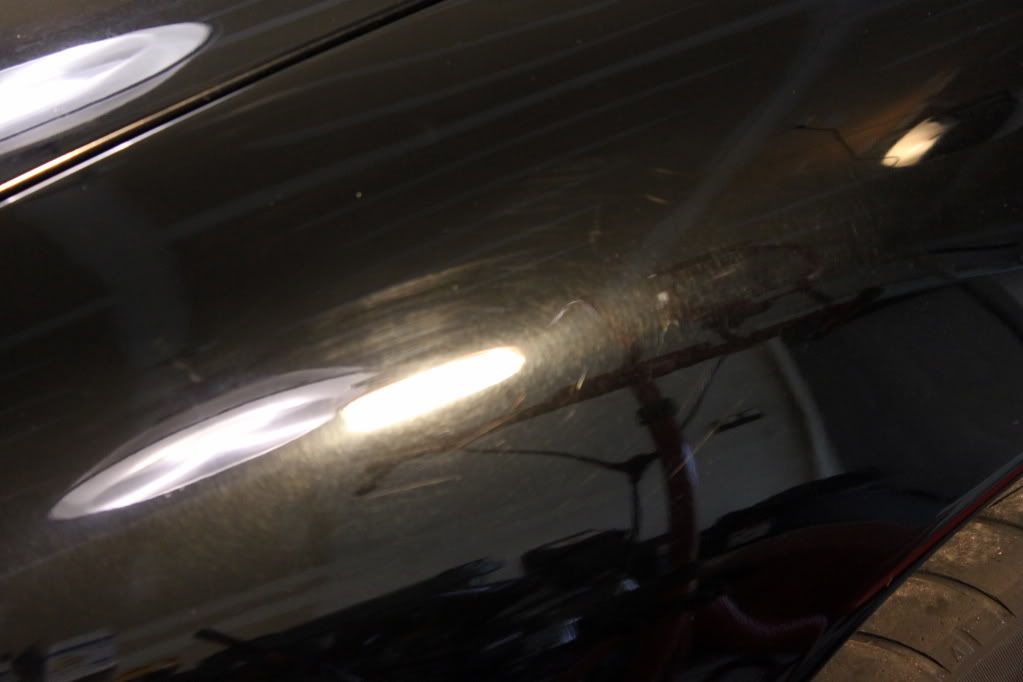
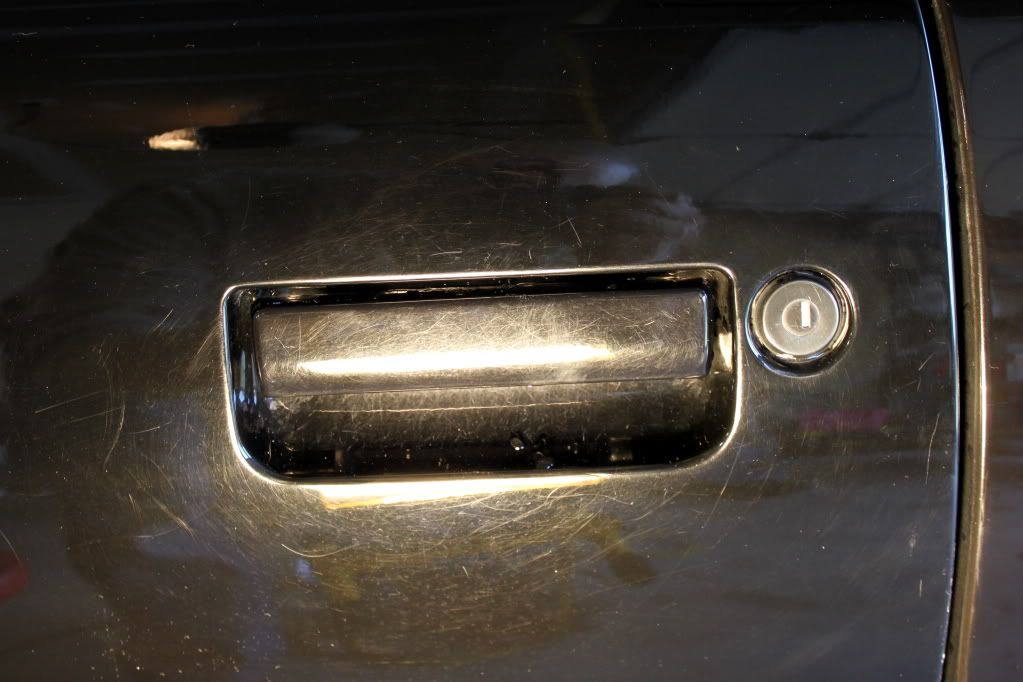
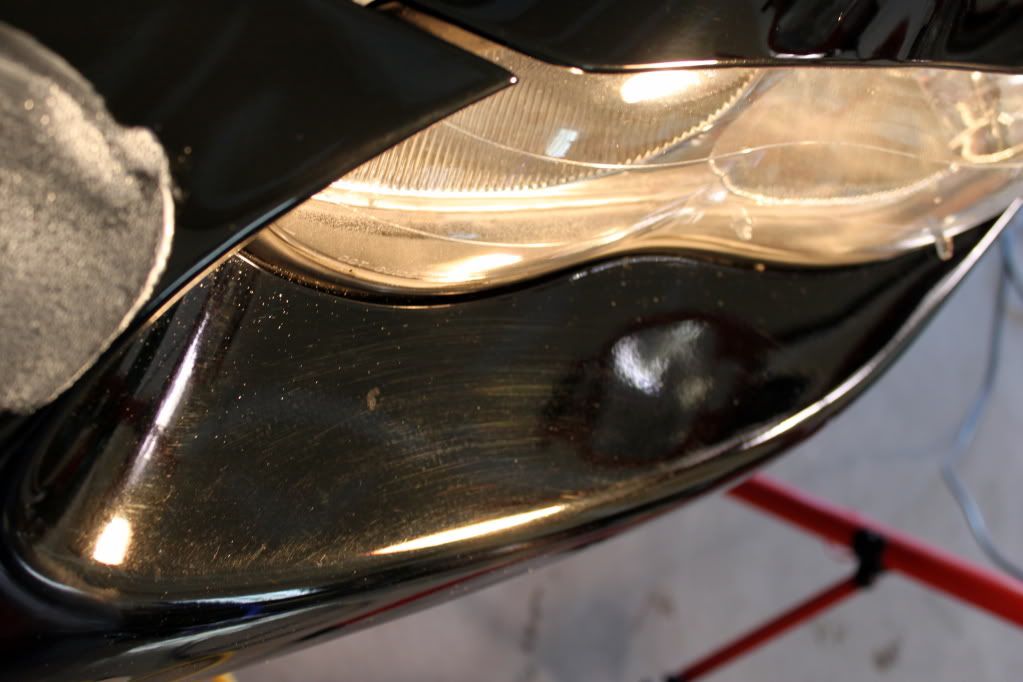
Couple of noticeable scuffs and scratches
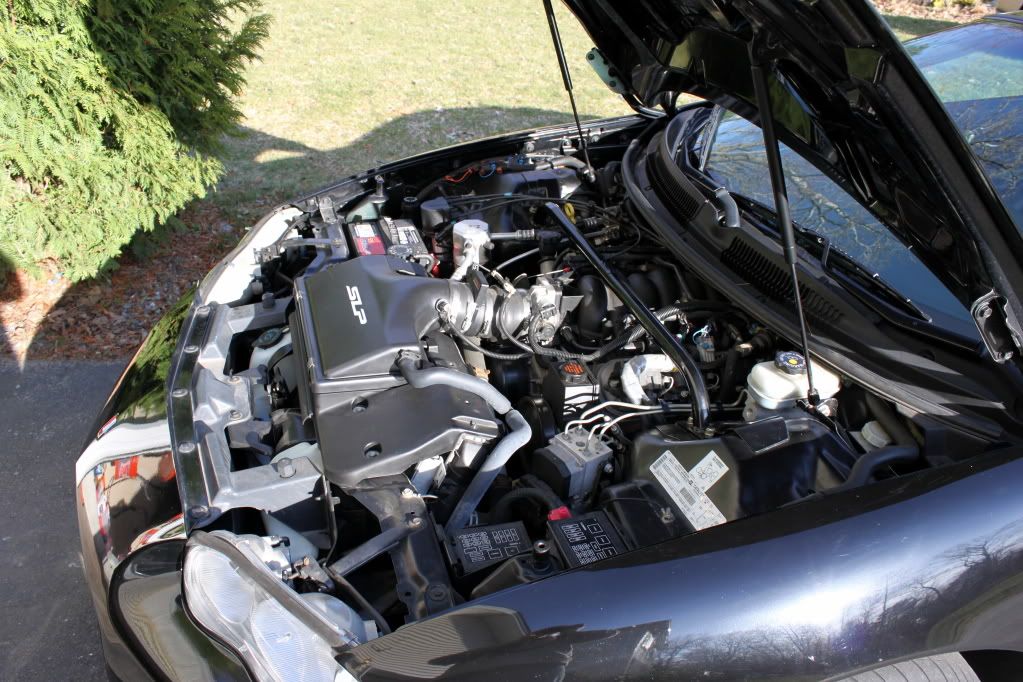
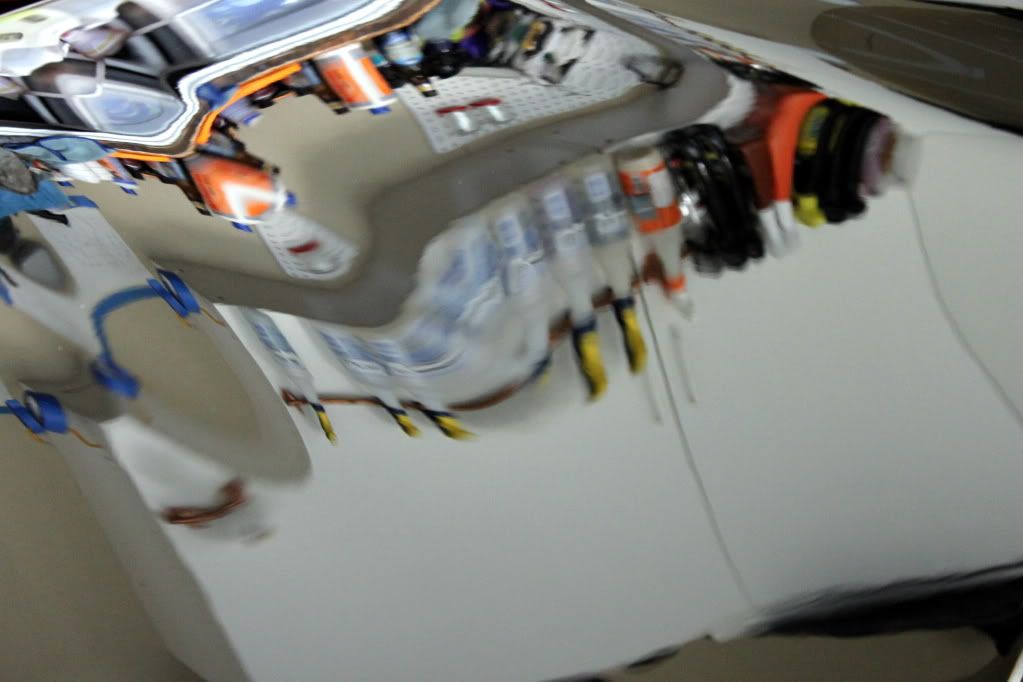
Engine bay
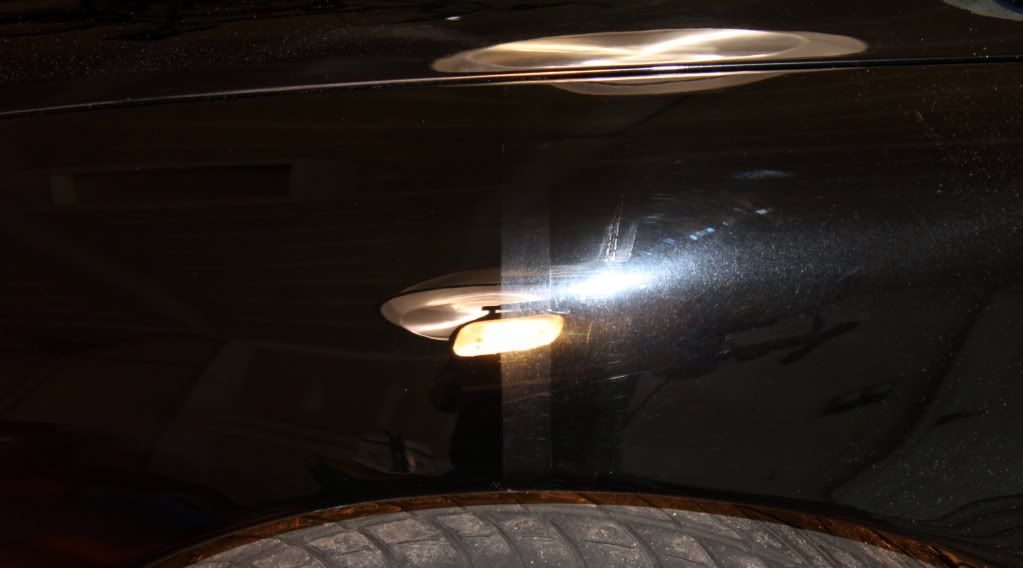
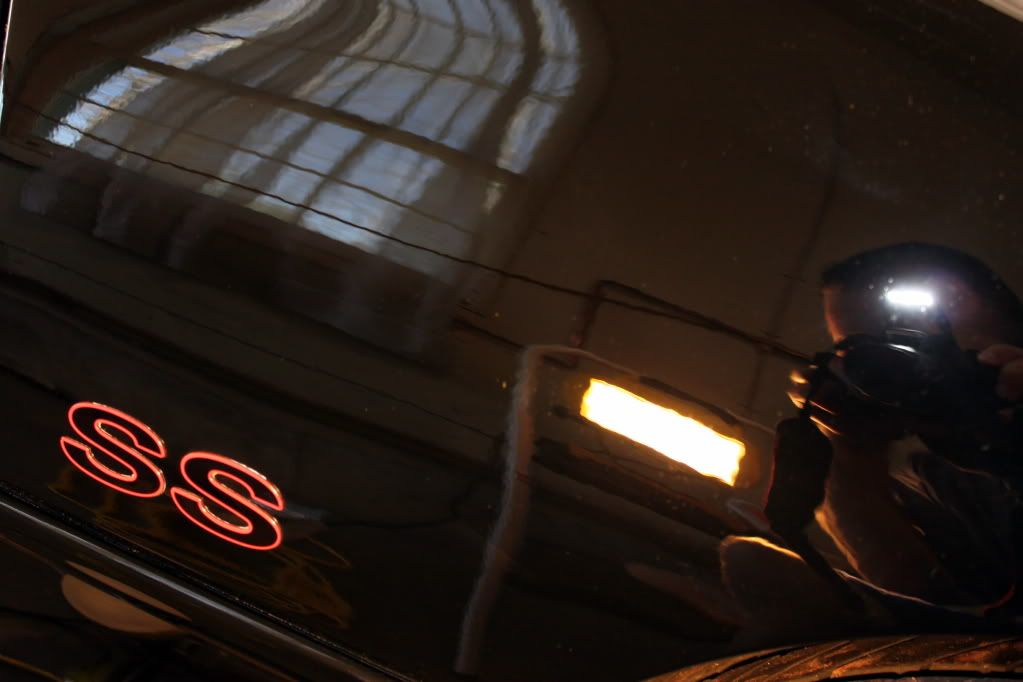
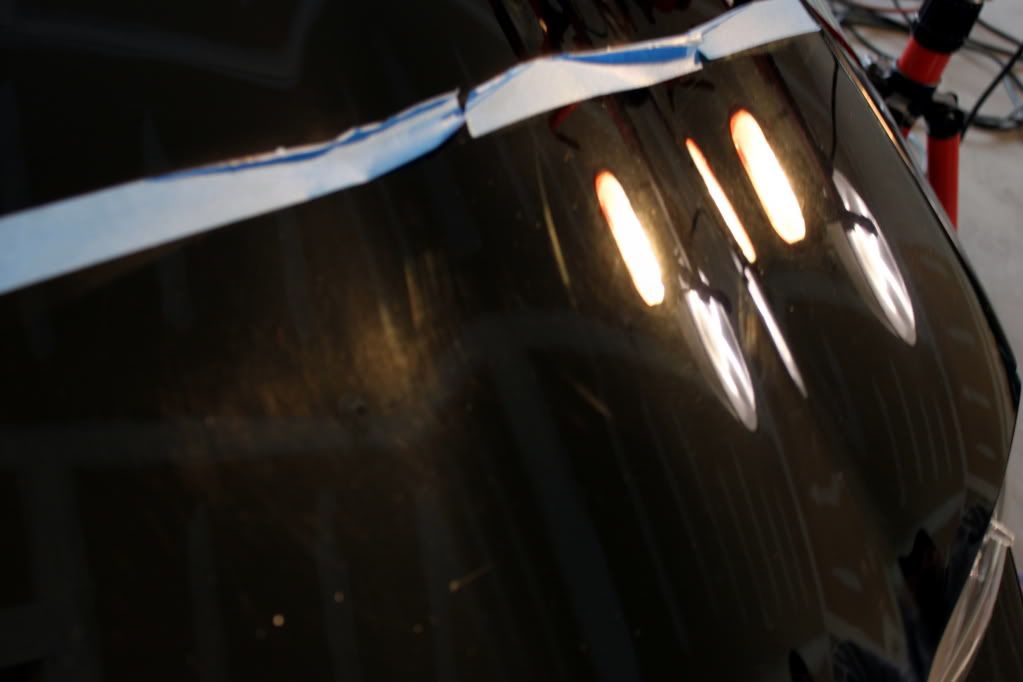
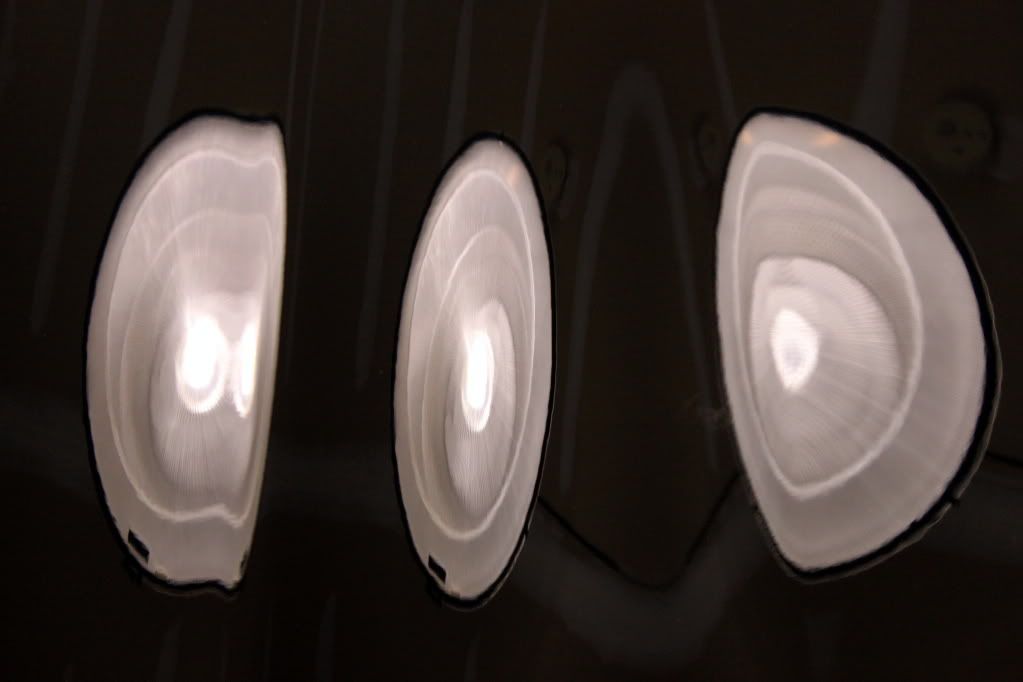
Under the lights setting up for a 50/50
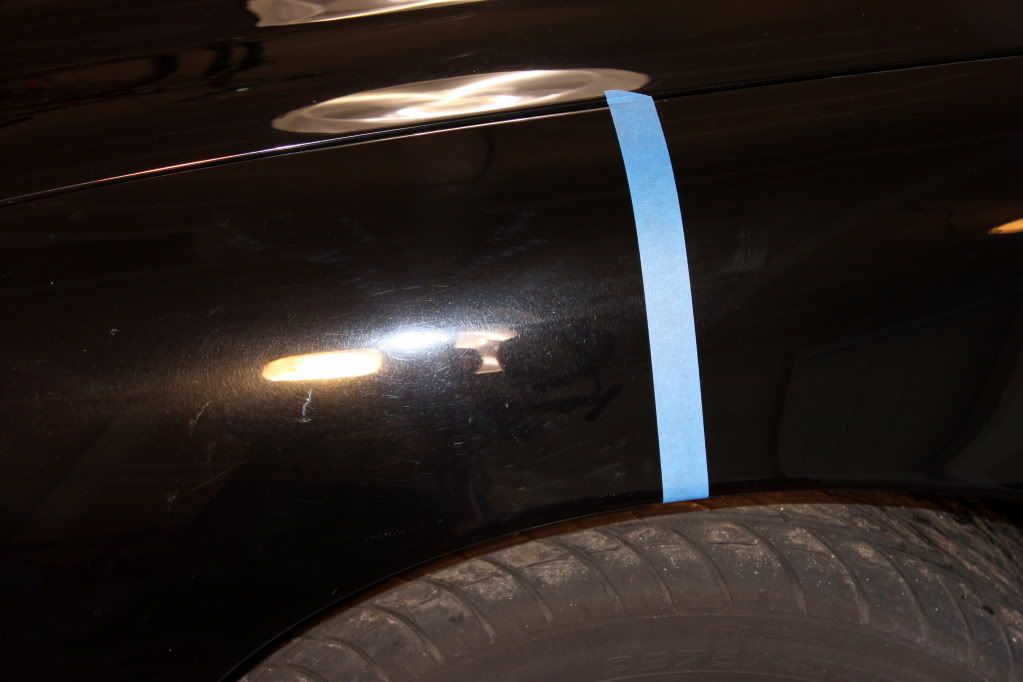
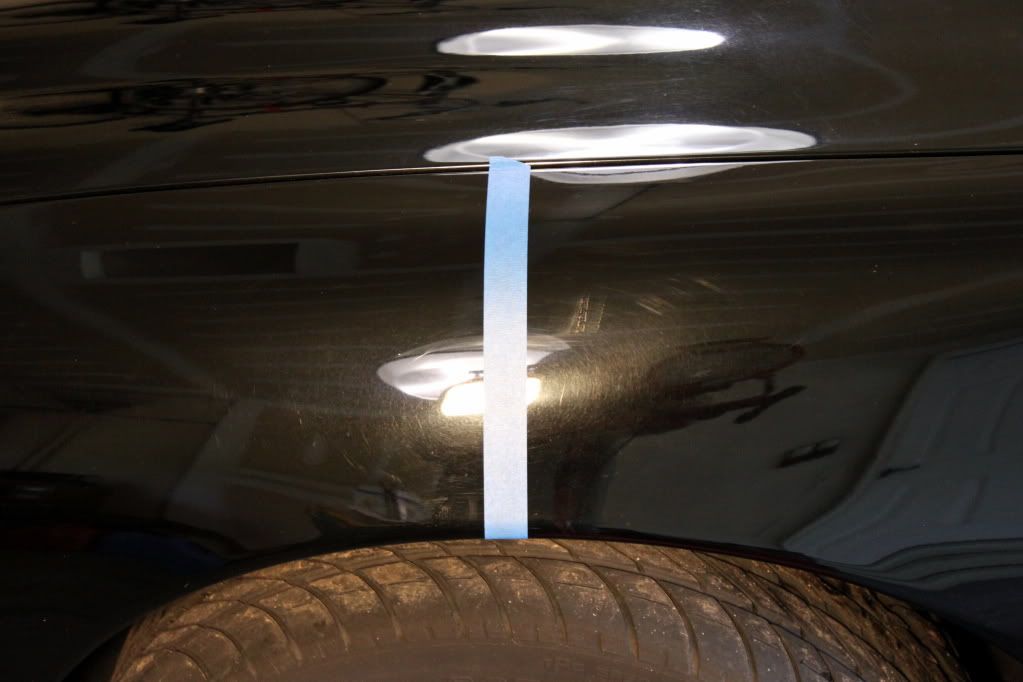
AND the result for the test spot.......
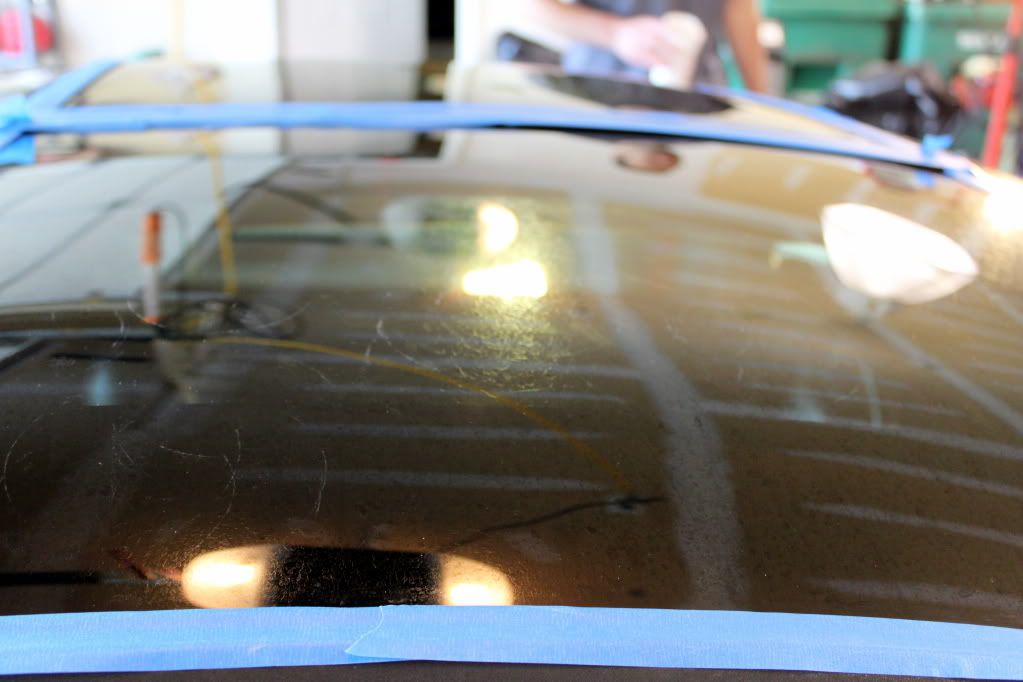
Alright process selected onto more before pics
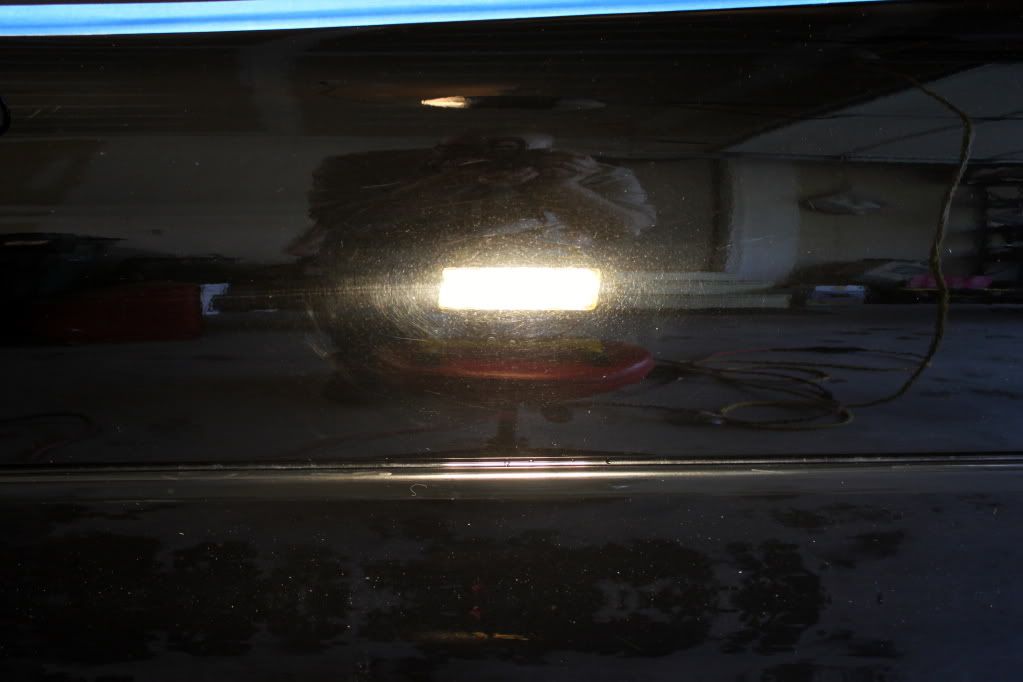
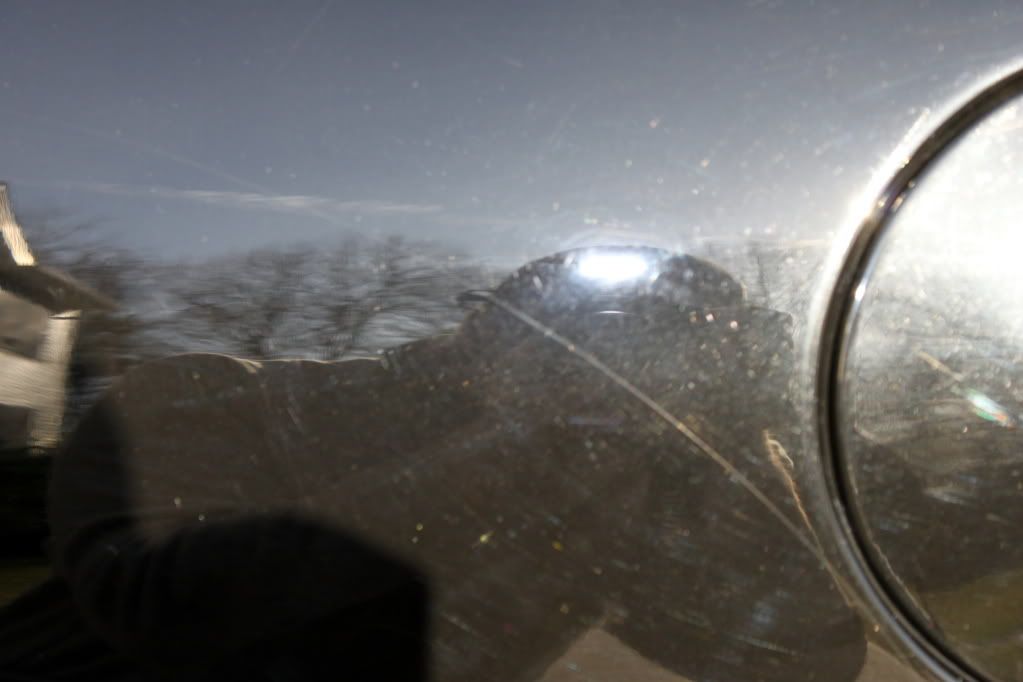
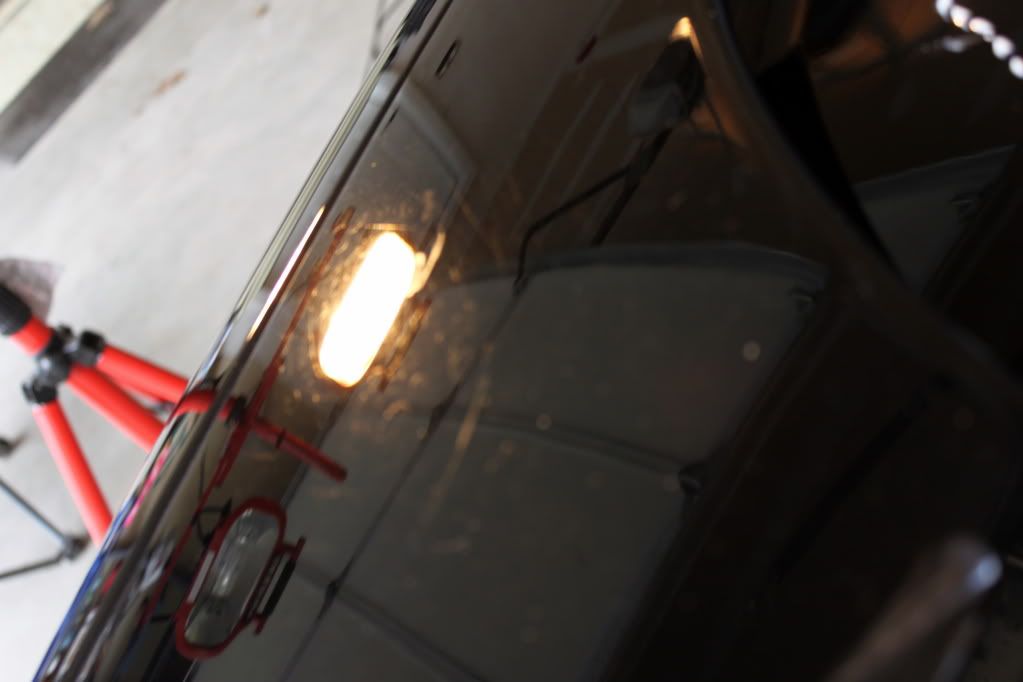
Water etching on the T-Tops...
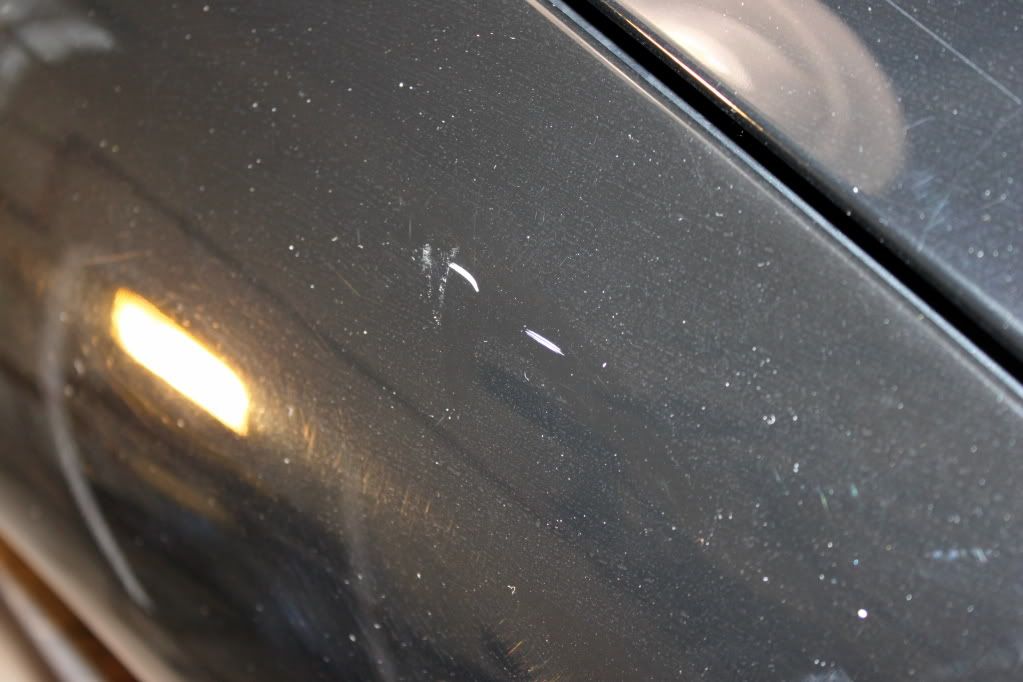
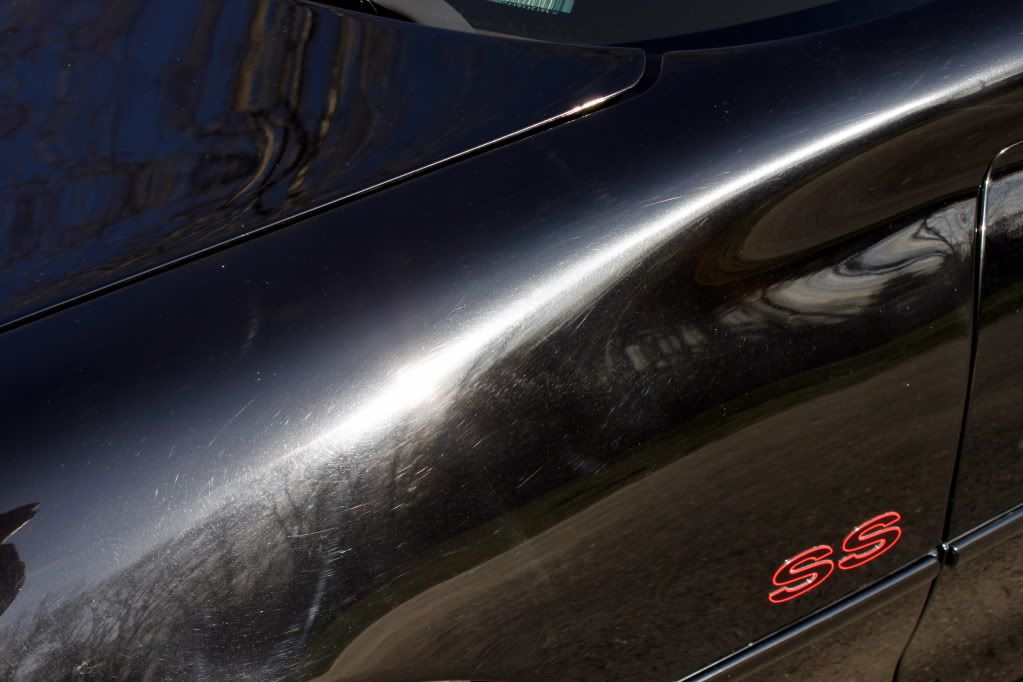
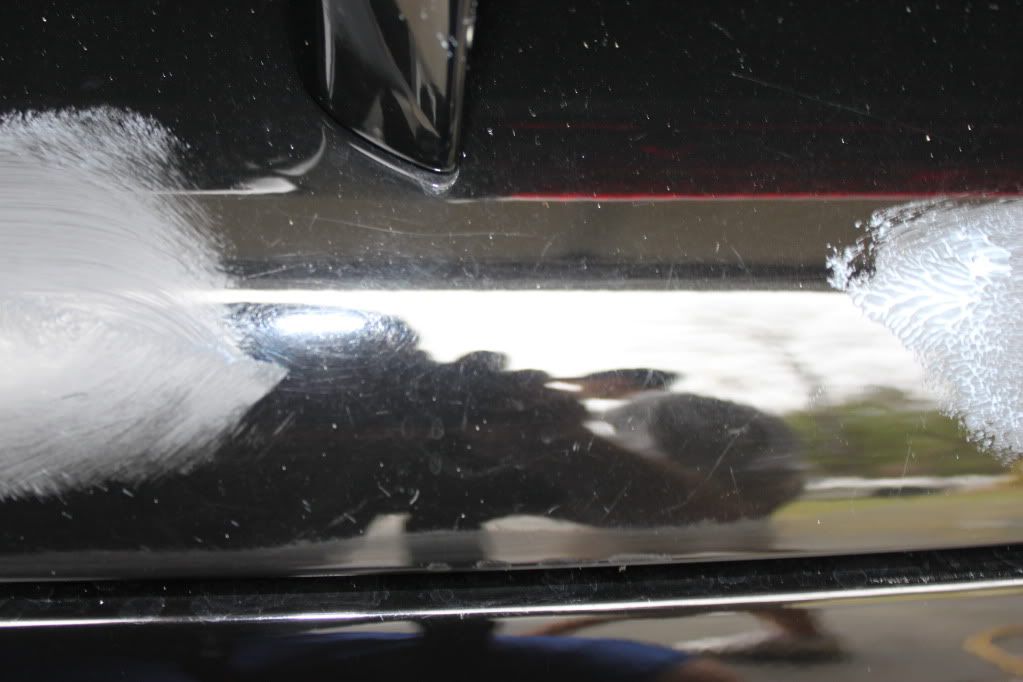
Hard to see but there is an uber deep scratch that runs the length of the passenger side of the car. Car looked to have had a key dragged on it... 90% out when we finished
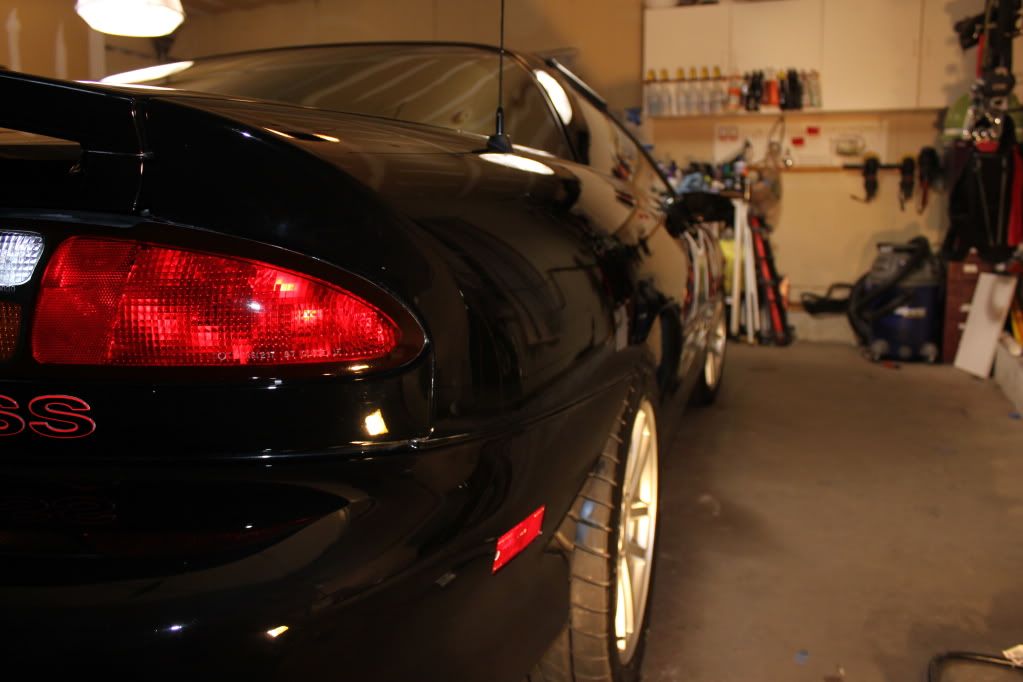
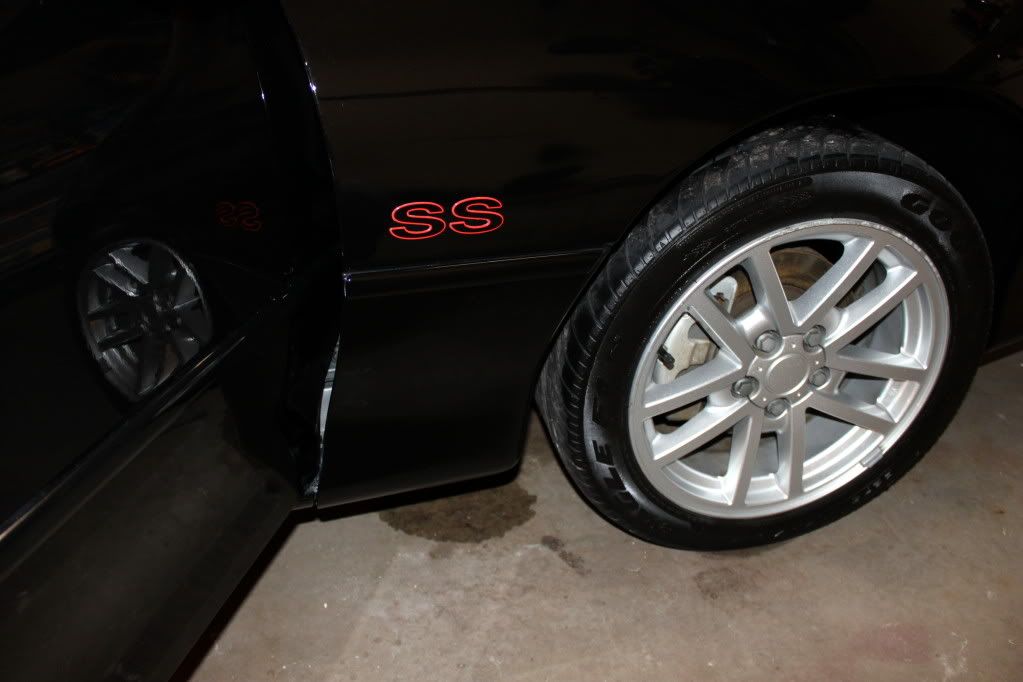
After....
More..
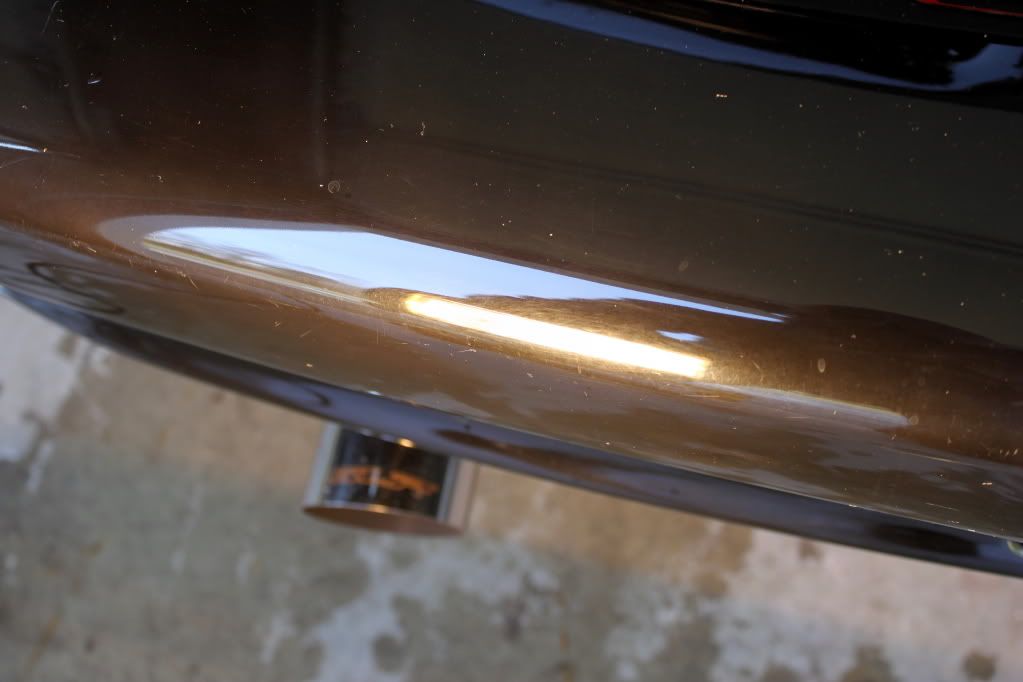
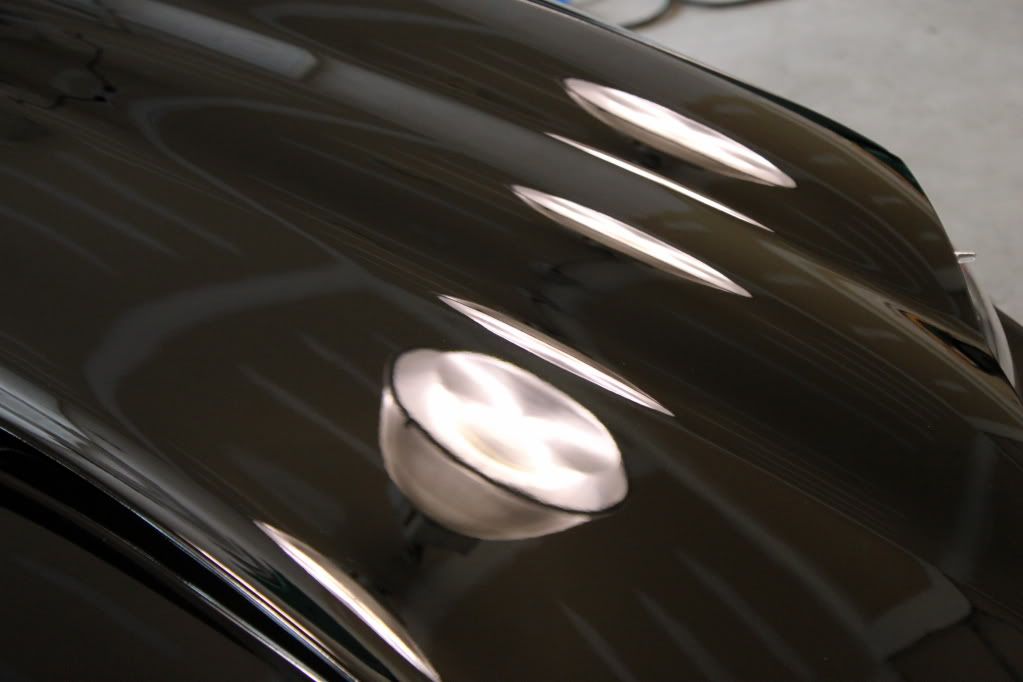
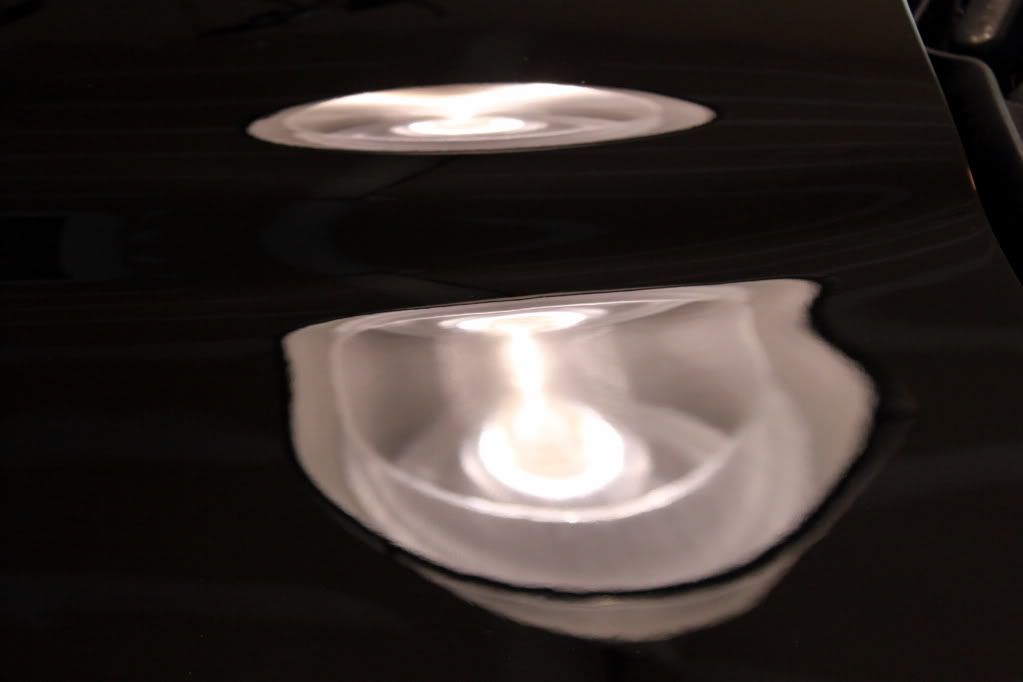
Enough of that... How about some highlights...
Before:
After: (don't mind the dust cleaned that out after :\ )
Before:
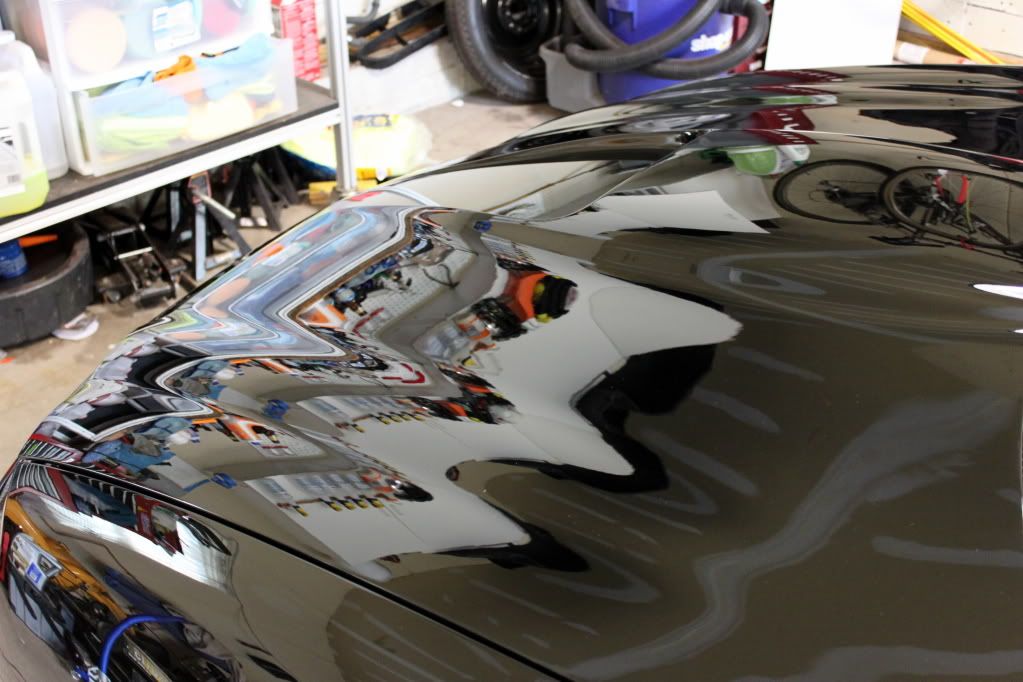
After: Almost all the way out

Before:
After:
This is a 2nd owner LOW mileage car <30k miles. It has been looked after for the 10+yrs it has been around but overall the car was in decent shape and the black hid it�s imperfections pretty well until it got under the lights, then it screamed "I needed lots of love."
After a long 24man hours the outcome is a 9.5/10, there were a couple of deep scratches we could not get out (time to consider adding wet sanding to the arsenal!), besides those few items we were beyond pleased with the results, car looks soaking wet when there isn�t a drop of water to be seen
Sorry no pics in the day light now it was LATE when we finished up
! Owner stayed with us the WHOLE time and lent a hand at the end. Thanks for sticking with us Taylor! Hopefully we will have some outdoor pics at the end of the week from our local F-body dyno day. Enough of that on to the detail, Oh and I hope you enjoy!!!
Materials:
CG Maxi Suds II
Westley�s Bleach White
Sonax Full Effect Wheel Cleaner
Mother�s Clay Bar Kit
ONR Clay Bar Dilution
IPA wipe down Dilution
Menzerna S34A
Menzerna PO203
Menzerna 106FA
Prima Amigo
Menzerna Powerlock
Autoglym HD
Stoner�s Invisible Glass
NXT2 Liquid Wax
Prima Slick
CG Xtreme Shine
CG Bare Bones
No. 7 Chrome Polish
Uber 5.5� Orange
Uber 5.5� Green
Uber 5.5� Blue
Uber 5.5� Black
Uber 3� Orange
Swissvax Wheel Brush
Uber Boar�s head brush
Uber Wheel Brush
Swissvax interior brushes
Uber UFO Red Applicator Pads
Uber UFO Blue Applicator Pad
Misc MF Towels
Q-tips
3M Painters Tape
Process
Exterior: APC lower panels, CG Maxi Sud II Foaming with Micro Fiber Mitt, dried, taped, claybar, S34A w/orange on the DEEP stuff, PO203 w/ Orange (1 passes), 106FA w/Green (1 pass), IPA wipe down, Prima Amigo w/ Blue (1 pass, really made it POP!),Powerlock w/ Black (45min set-up), Autoglym HD, Prima Slick wipe down to cut the static.
Wheels: Sonax Full Effect, Westly�s Bleach White, Wheel Brushes, dried, ONR wipe down, clay bar, NXT w/ hand applicator, tires dressed with CG Xtreme Shine
Engine Compartment: Adam�s APC, misc brushes, CG citrus wash by hand, rinse, dried, dressed with Xtreme Shine
Onto the Pics!
Delivery walk around
Couple of noticeable scuffs and scratches
Engine bay
Under the lights setting up for a 50/50
AND the result for the test spot.......
Alright process selected onto more before pics
Water etching on the T-Tops...
Hard to see but there is an uber deep scratch that runs the length of the passenger side of the car. Car looked to have had a key dragged on it
... 90% out when we finishedAfter....
More..
Enough of that... How about some highlights...
Before:
After: (don't mind the dust cleaned that out after :\ )
Before:
After: Almost all the way out
Before:
After:


Trending Topics


 04-17-2012, 03:45 PM
#11
TECH Apprentice
iTrader: (22)
Join Date: Sep 2006
Location: Northern, VA
Posts: 300
Likes: 0
Received 0 Likes
on
0 Posts
Looks amazing...almost like a new paint job.
If your willing to share, what can i do with the heavy water spots? Hard water/acid rain? All of the t-tops/hatch/side windows of my car. Have tried very fine grade steel wool with some cleaner and didn't even touch it.
If your willing to share, what can i do with the heavy water spots? Hard water/acid rain? All of the t-tops/hatch/side windows of my car. Have tried very fine grade steel wool with some cleaner and didn't even touch it.
 04-17-2012, 06:21 PM
#13
TECH Regular
Join Date: Sep 2010
Location: Mass
Posts: 486
Likes: 0
Received 0 Likes
on
0 Posts

Id like to thank Dan and Scott for all there hard work, car really came out nice. Yeah i have noticed one exhaust exhaust tip is hanging a little bit lower, ill have to mess with it. Again car came out amazing and these guys are very professional, will get it detailed by them again down the road if needed. 

 04-18-2012, 07:40 AM
#19
Thanks for all the Awesome compliments guys 
Thanks again Taylor, I know I mentioned it but its guys like you that make it all worth it in the end, thanks!
Yes most of the car had little orange peel when done. I am pretty confident that the car has had correction done to it before as we noticed a few detailing "mistakes" before we started presumably with a rotary, after our pass it leveled out most of what was left with the orange peel on the hood/fenders. This car I would do a few more times without thought but much more I'd get the paint metered 1st.
stevo92z28, for water spots we used S34A w/orange on a porter cable. You could use any aggressive compound though (like meg 105), glass is tough you won't hurt it. We were short on time with this car and I didn't get all the edges of the glass like I wanted too, poor guy was with us for 12hrs, we can touch up the rest later, but yes the process knocks out the etching completely. This car had very bad water spot etching to start.
04-18-2012, 08:28 AM
#20
Looks great Danno.
There are times a D/A a good choice and sometimes a Rotary is a better one. I have gotten some time with the rotary and like it tons, it does amazing work quickly. I recently got my hands on a Porter Cable D/A and had another wonderful exp with final de-swirling and jeweling the clear coat to a brilliant finish.
This car look awesome and the quality is in the work. I do look fwd to finally starting to post some project pics. I will have to PM you questions on taking photos. I see what your doing but just a few so I can show the results.