My new suspension!!!!
 09-19-2007, 08:57 PM
#1

http://www.need2speed.com/vb_forums/...d=1#post739520
Sorry this is the easiest way to post it! It's time to see if 1.3x is possible for my car?
Sorry this is the easiest way to post it! It's time to see if 1.3x is possible for my car?


Trending Topics
09-19-2007, 09:22 PM
#9
THIS IS COPIED AND PASTED - the original poster will come in eventually.
Originally Posted by Transman
For awhile now, Pauly has had a little bit of a hard time hooking, especially when he tries to leave on the nitrous. The car is on FACTORY suspension. The only changes it has are lower relocation brackets and drag radials. Everything else is stock. So we've made an attempt at correcting that problem. This is how it came to us...
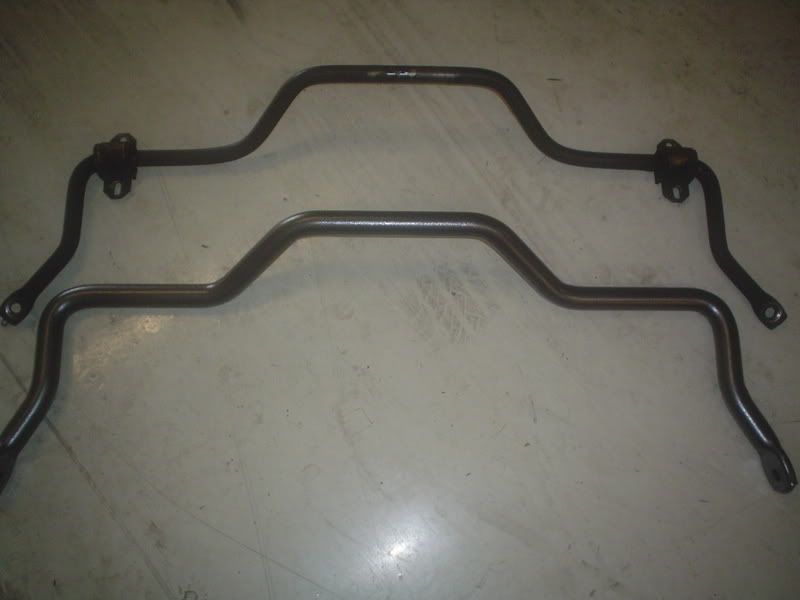
We started by purchasing a BMR rear sway bar. The rear sway bar in the car is tiny. We got the extreme one from BMR and it's quite fatter. Here's a pic of the sway bars to compare and the install kit from BMR.
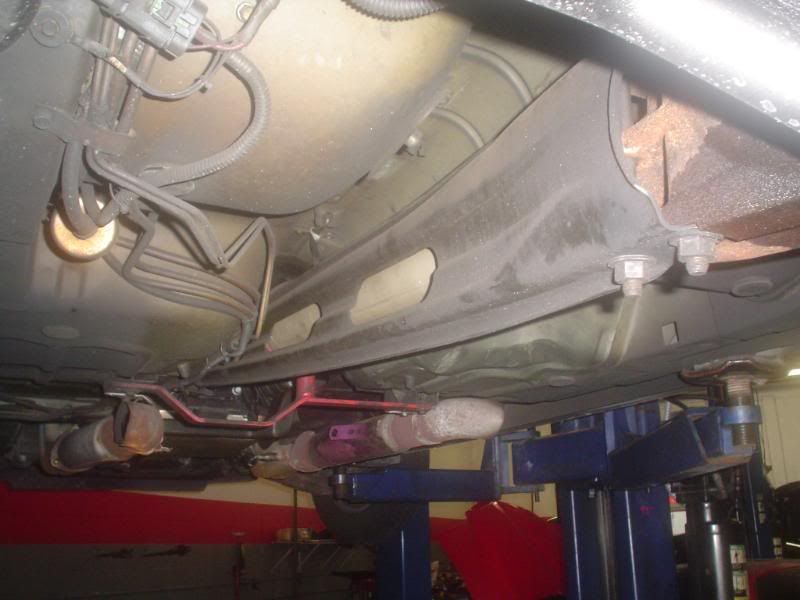
The end link brackets were welded in and endlinks installed.
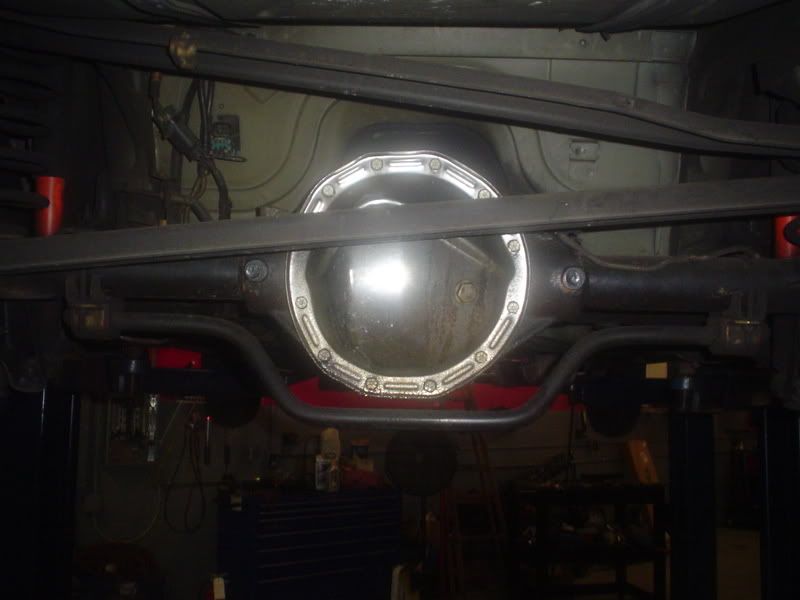
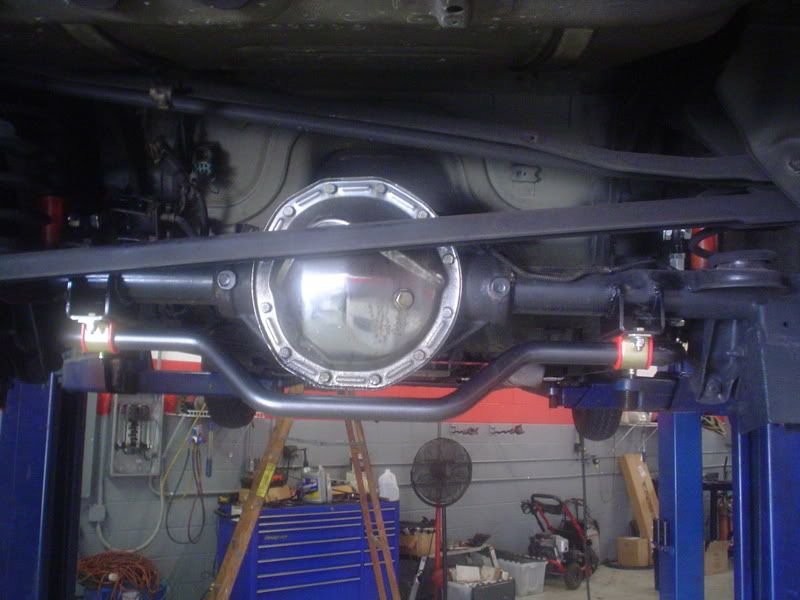
Then the other brackets were welded to the Rear end housing and the sway bar was installed. Here's the finished product...
Next up... The torque arm. We decided against buying a torque arm off the shelf. We wanted to make our own. Yes... I know... BMR makes one. I've had a million people tell me that now and they think we're crazy for building our own. I have nothing against BMR. They make great products and we use them all the time. We just WANTED to build one, just to say we did.
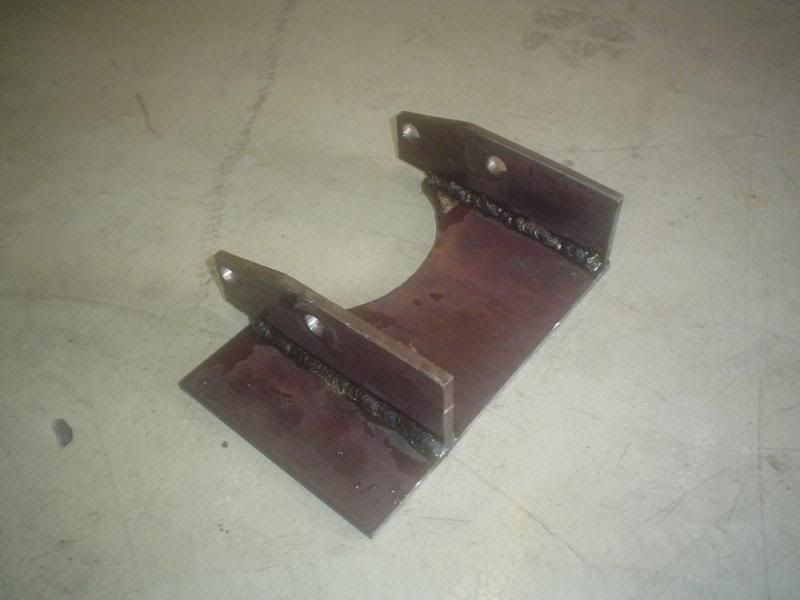
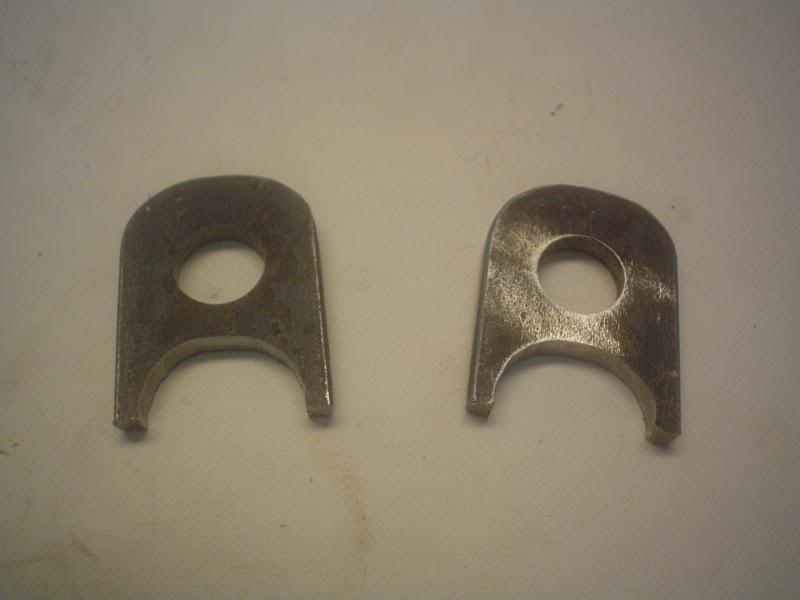
Sooooo.... We started by building the rearmost mount where the torque arm connets to the diff. Out comes the plasma cutter and we cut out some steel to make the following parts...
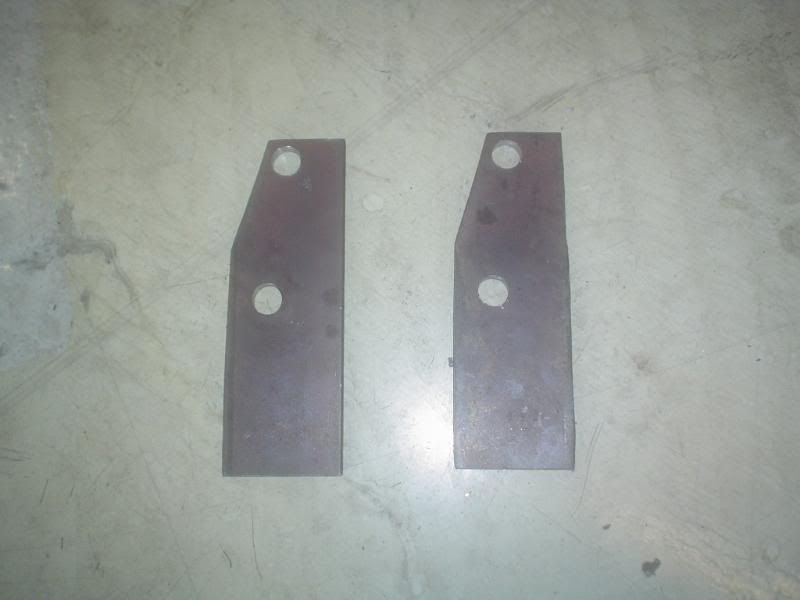
They were fitted up to the diff and tacked in place.
Then removed from the diff and finish welded.
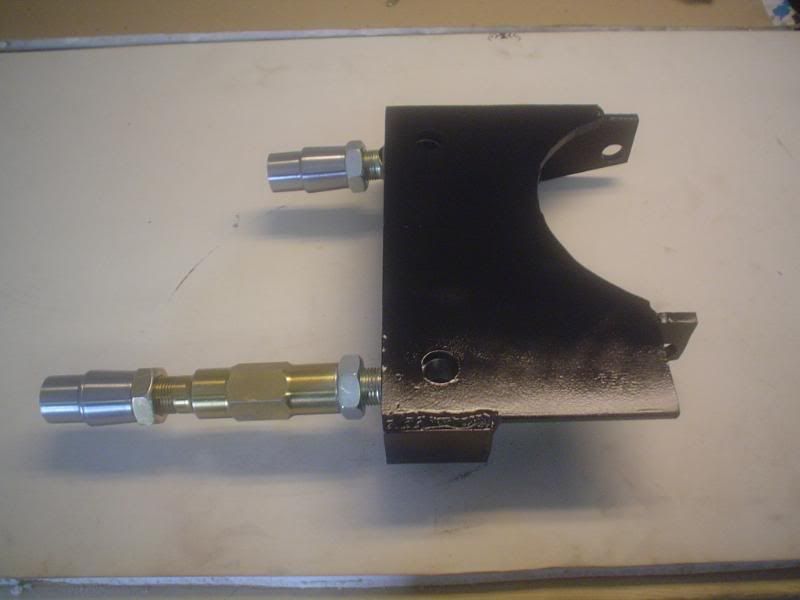
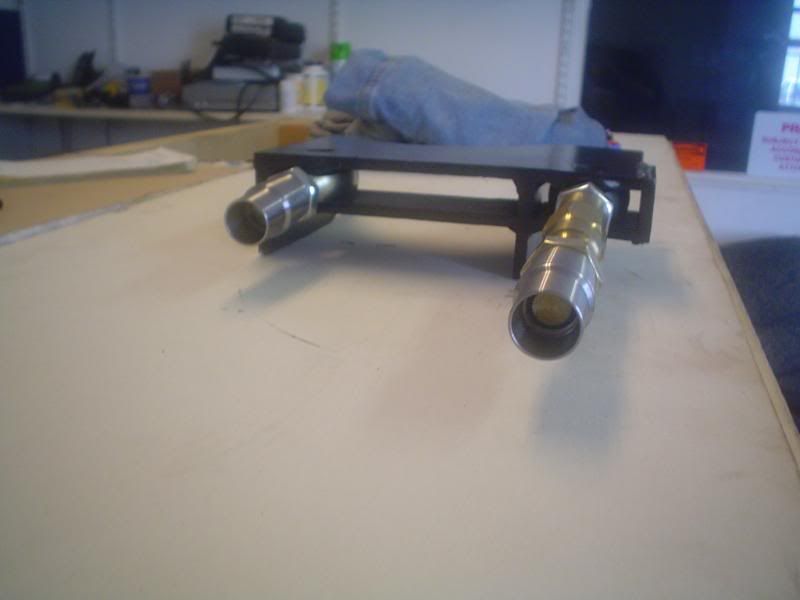
Then some more bracing added where the rod ends come through..
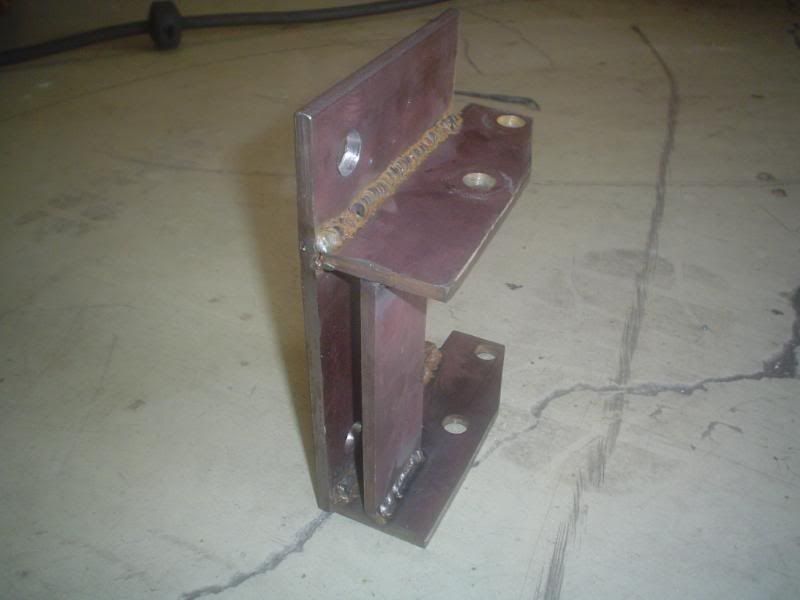
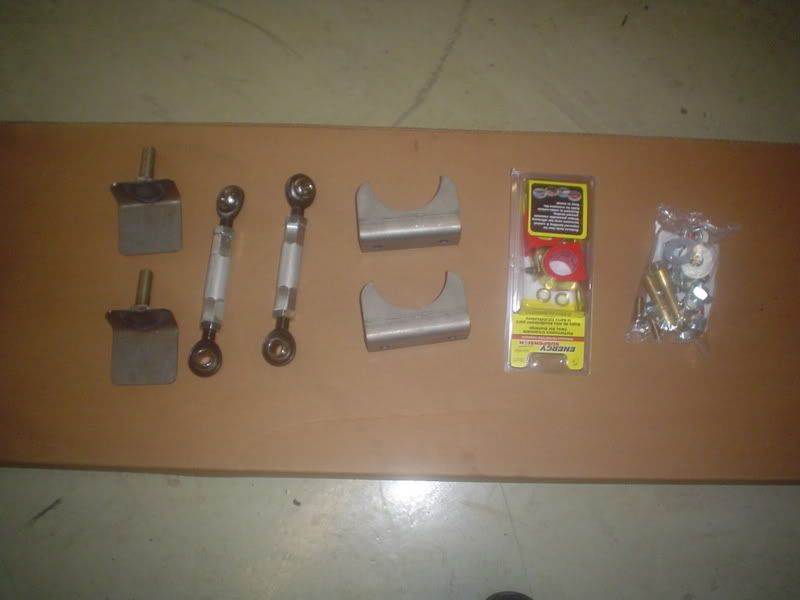
Here are the rod ends we bought from A.R.T.
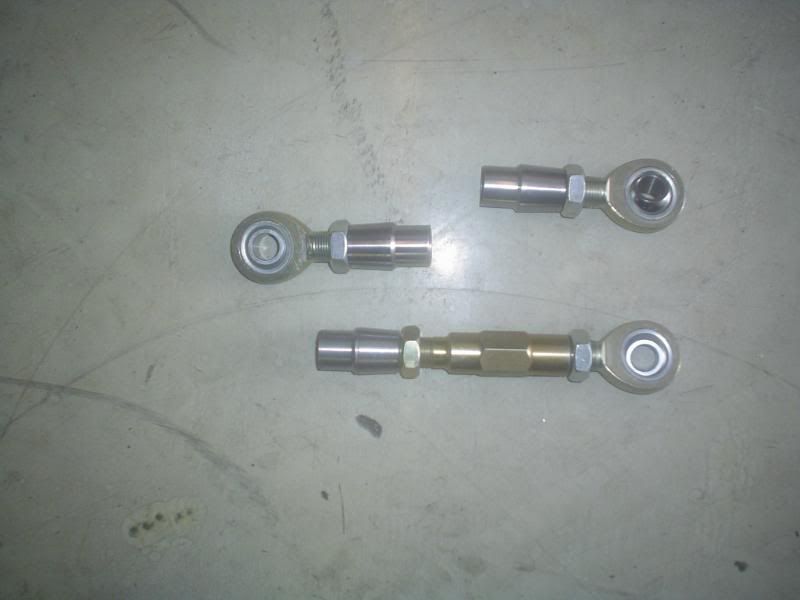
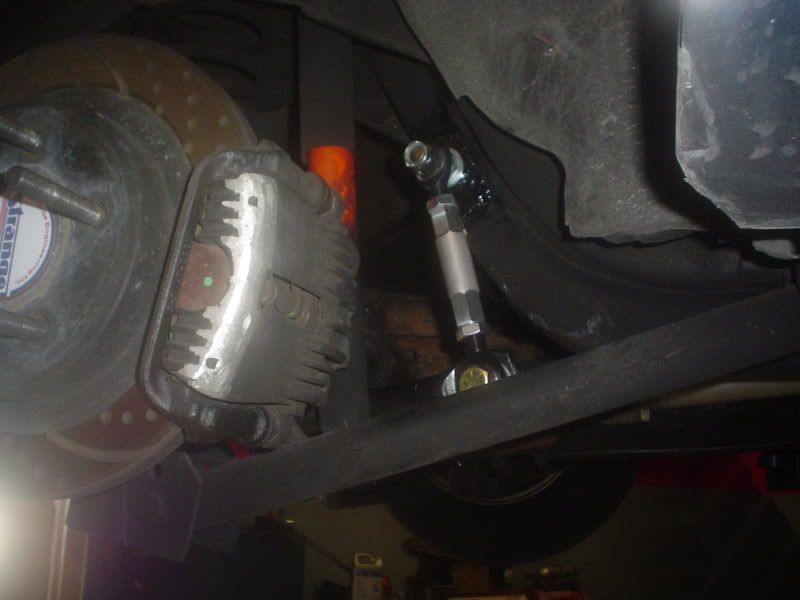
Then the rod ends were assembled onto the new bracket with 5/8 bolts and painted.
We started by purchasing a BMR rear sway bar. The rear sway bar in the car is tiny. We got the extreme one from BMR and it's quite fatter. Here's a pic of the sway bars to compare and the install kit from BMR.
The end link brackets were welded in and endlinks installed.
Then the other brackets were welded to the Rear end housing and the sway bar was installed. Here's the finished product...
Next up... The torque arm. We decided against buying a torque arm off the shelf. We wanted to make our own. Yes... I know... BMR makes one. I've had a million people tell me that now and they think we're crazy for building our own. I have nothing against BMR. They make great products and we use them all the time. We just WANTED to build one, just to say we did.
Sooooo.... We started by building the rearmost mount where the torque arm connets to the diff. Out comes the plasma cutter and we cut out some steel to make the following parts...
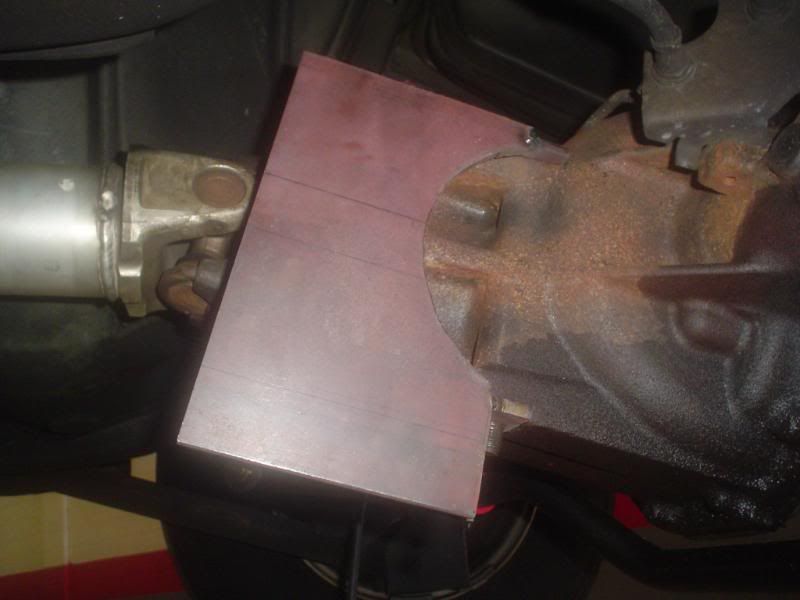
They were fitted up to the diff and tacked in place.
Then removed from the diff and finish welded.
Then some more bracing added where the rod ends come through..
Here are the rod ends we bought from A.R.T.
Then the rod ends were assembled onto the new bracket with 5/8 bolts and painted.
09-19-2007, 09:23 PM
#10
here is the rest of the post
Originally Posted by Transman
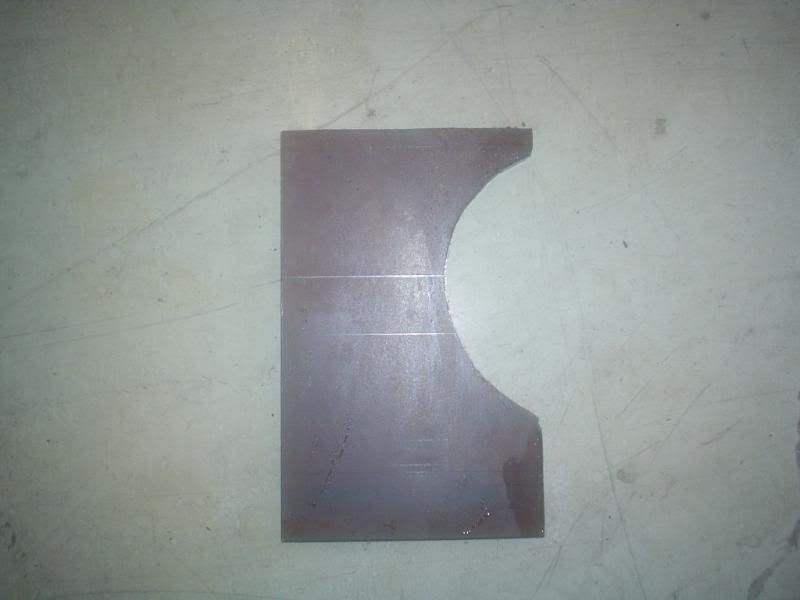
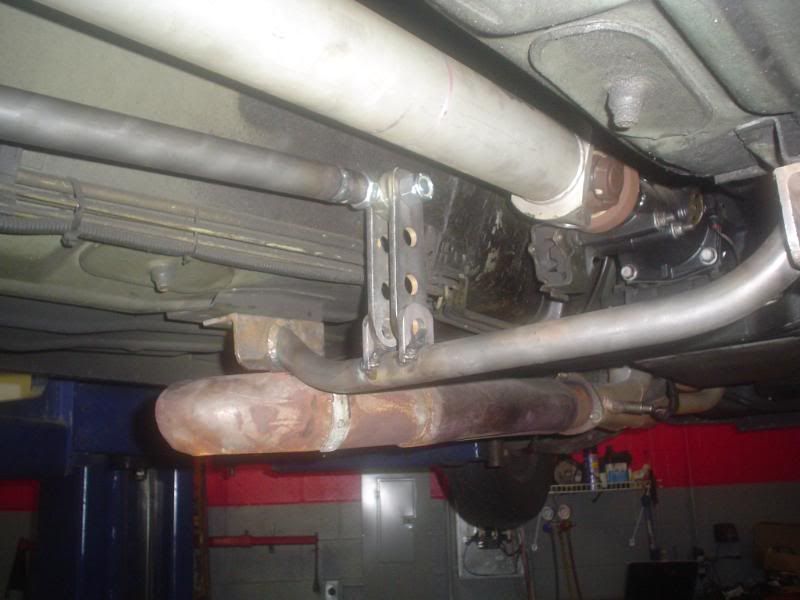
Next we needed to make the front mounting system. We wanted a shorter torque arm so we decided to mount it where the original factory bracing went. Another thing we wanted was to have front adjustments. We wanted to move the torque arm up and down so we could change the instant center. So we made these multi-point brackets and these smaller brackets to attach to our new cross member.

Then we bent piece of chromoly tubing to make our cross member, attached our brackets and installed the lower arm of the torque arm.
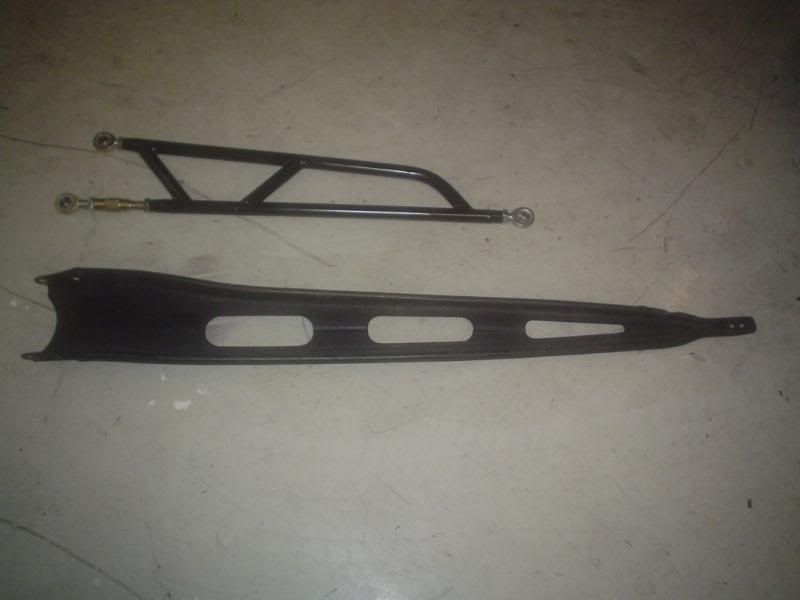
Then we bent another piece of chromoly and made the top arm. After that we built some supports for the middle and welded/assembled the torque arm. Here is the new torque arm next to the original. You can see how much shorter it is.
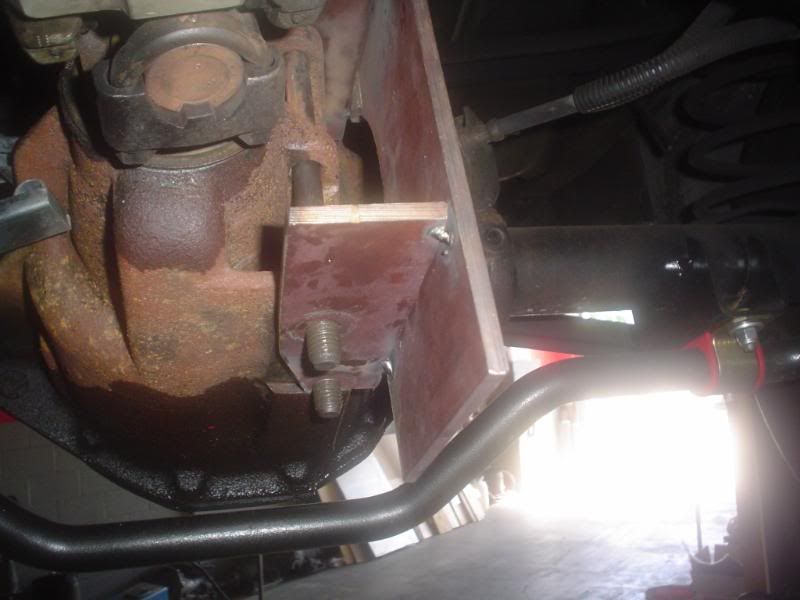
We then made a new driveshaft safety loop and installed it all in the car. Here is the final product.
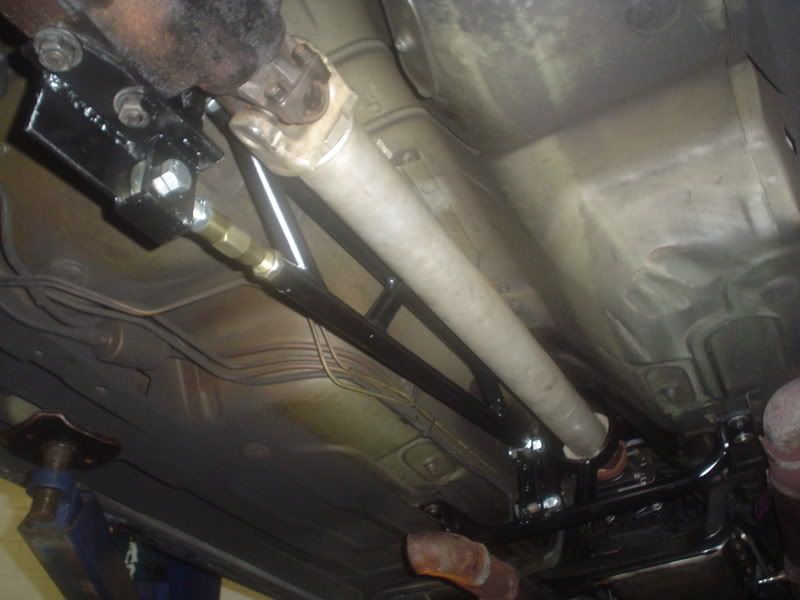

We set the pinion angle at -2 degrees and left the torque arm on the top hole. I'd like to see what it does there and we'll make changes as necessary. Hope it works. Maybe we'll get to find out tomorrow. By the way, much credit to the Chris, the wookie. He built all of this. I only did a little welding on it. Good job for a first torque arm. (and last.)
Then we bent piece of chromoly tubing to make our cross member, attached our brackets and installed the lower arm of the torque arm.
Then we bent another piece of chromoly and made the top arm. After that we built some supports for the middle and welded/assembled the torque arm. Here is the new torque arm next to the original. You can see how much shorter it is.
We then made a new driveshaft safety loop and installed it all in the car. Here is the final product.
We set the pinion angle at -2 degrees and left the torque arm on the top hole. I'd like to see what it does there and we'll make changes as necessary. Hope it works. Maybe we'll get to find out tomorrow. By the way, much credit to the Chris, the wookie. He built all of this. I only did a little welding on it. Good job for a first torque arm. (and last.)
09-19-2007, 09:35 PM
#13
what is amazing is this is a sweet combination of the Madman, BMR, and Spohn tq arms. i cant believe no one has come up with the best of all the manufacturers and designed one like this. awesome piece. too bad you guys dont want to build this stuff on a bigger scale b/c i know it will sell.
09-19-2007, 09:36 PM
#14
10 Second Club
iTrader: (1)
Join Date: Jul 2003
Location: St Petersburg, Fl
Posts: 568
Likes: 0
Received 0 Likes
on
0 Posts
Originally Posted by gator's 99TA
what is amazing is this is a sweet combination of the Madman, BMR, and Spohn tq arms. i cant believe no one has come up with the best of all the manufacturers and designed one like this. awesome piece. too bad you guys dont want to build this stuff on a bigger scale b/c i know it will sell.
+1...Awsome Design.


 09-20-2007, 11:11 AM
#20
10 & 11 Second Club
iTrader: (2)
Join Date: Nov 2002
Location: Orlando Fl.
Posts: 2,584
Likes: 0
Received 0 Likes
on
0 Posts

Good looking stuff but its hard to get into the suspension market unless you have fast cars at the big races then lots of people see the product working.