When you click on links to various merchants on this site and make a purchase, this can result in this site earning a commission. Affiliate programs and affiliations include, but are not limited to, the eBay Partner Network.
HOW TO: Replace Power Steering Rack In LS1 FBODY - Sawzall Method - PIC HEAVY
This is my first ever how-to. Moderators, feel free to move this if it belongs in a different section.
<br>
<br> TOOLS REQUIRED: (Probably forgot a few but it's a start)
-1 jack, 2 is nice
-2 jack stands
-19mm deep well socket
-Impact gun
-Half inch ratchet/extensions
-Tie rod end remover tool
-18mm deep well socket
-15mm wrench or socket&ratchet
-Vice grips
-16mm box wrench (maybe possible to use regular 16mm wrench)
-Sawzall w/ atleast an 8 inch blade made for cutting metal
-Various wrench sizes for adj. tie rod ends if you're doing a poor mans alignment
-Torque wrench
-Drain pans with cardboard to put underneath
<br> Parts Needed:
-A1 Cardone reman rack from Rockauto $135
-3qts PS fluid
-New rack bushing (My A1 Cardone rack came with one)
-New tie rod ends (if needed) I went with Autozone Duralast
-New high pressure line (if needed)
-New driver side mounting bolt since you will be cutting it: M12X1.75
-O-rings for fittings (my rack and high pressure line came with them)
Step 1:
Jack up the front end of the vehicle and place safety jacks underneath. Please don't be lazy and shrug off the safety jacks. You will get crushed and die.
Step 2 (If doing poor mans alignment):
There really isn't much I can say for this step because it's somewhat technical and requires patience and meticulous attention to detail. But before you take your wheels off,<br>center your steering wheel, make your markings, and then take the measurement needed to be able to do your poor mans alignment once everything is reassembled.<br> Sorry, but I won't go into detail on this because most people will just elect to get a real alignment done.
Step 3:
Remove front wheels. It's a 19mm deep socket for the lugs and wheel lock key. If you don't have an air compressor and impact gun, you will need<br> a half inch ratchet and extension also.
Step 4:
Center your steering wheel again and lock it. If you don't, you may damage the airbag clock spring apparently. In other threads, some people used a bungie cord or rope to tie it in place, but I didn't see the need.
Step 5:
Remove the 11mm bolt connecting the steering shaft to the power steering rack. Sorry, I didn't get a picture before removing it but it is obvious.
Also loosen the 11mm bolt mid way up the steering shaft to give you enough play to pull the steering shaft off of the rack. For this you will need a 12 inch extension for your ratchet.
Step 6:
Remove tie rod ends. You can rent the tool at any parts store. I use Autozone. Your tool may require a different size socket then mine.
My tie rod ends were trashed. I replaced mine with Duralast tie rod ends from Autozone with lifetime warranty. When/if they bust, take them off<br> and return them with your receipt for a brand new set, free.
Step 7: USE EXTREME CAUTION
Remove driver side rack mounting bolt. This step is the most difficult part of the whole process and it can have disastrous consequences if you don't pay attention, as I almost learned the hard way.<br>From the factory, this mounting bolt is inserted from the top and it does not have enough clearance to be removed without lifting up the motor. Even after lifting the motor some people are unable<br> to get the bolt out which then requires pulling the motor.
Here is the top of the bolt:
You will need an 18mm deep well socket and half inch ratchet/extension to get to the bottom nut, and a 15mm wrench to hold the top of the bolt. Remove the nut and then it's time to cut.
SAWZALL TIME. USE EXTREME CAUTION.
Next, use a set of vice grips to grab the head of the bolt from the front of the rack:
Take a look underneath the car and take note of how close the oil pan is to bolt you will be cutting with the Sawzall. You have about an inch of room between the bolt and<br> where your sawzall will contact the pan. It's a very tight space to cut in. We ALMOST cut into the oil pan and I'm still shocked that my dad and I lucked out. Must have been a<br> thick part of the pan. My dad is very mechanically inclined and we both just had a moment where we didn't fully analyze the situation.
If you're unsure of your skills with a Sawzall I would recommend trying the method of jacking up the motor by undoing the motor mounts. Or if possible, acquire the help of someone who is.
Here is a look at the damage:
I am keeping an eye on this cut and I even sealed it up with RTV just in case.
ONCE YOU UNDERSTAND THE RISK, TIME TO CUT.
With someone holding the vice grips and keeping an eye on the oil pan, get your sawzall snaked up from behind the rack, parallel with the motor/transmission.<br> The best way my dad found was to lay on his back with his legs pointing out of the front end having the sawzall above his chest/stomach. Sorry no picture of this.
Step 8:
Remove the passenger side rack mounting bolt. Easy and self explanatory. Take this bolt to a local hard ware store and get another one to replace the one you cut.<br> It's an M12X1.75 and compare it with the passenger side bolt for the correct length.
Step 9:
Put your drain pans and cardboard underneath the rack and disconnect the high pressure & return lines. You will need a 16mm box wrench. May be able to do it with normal wrenches but I didn't try.<br>
Step 10:
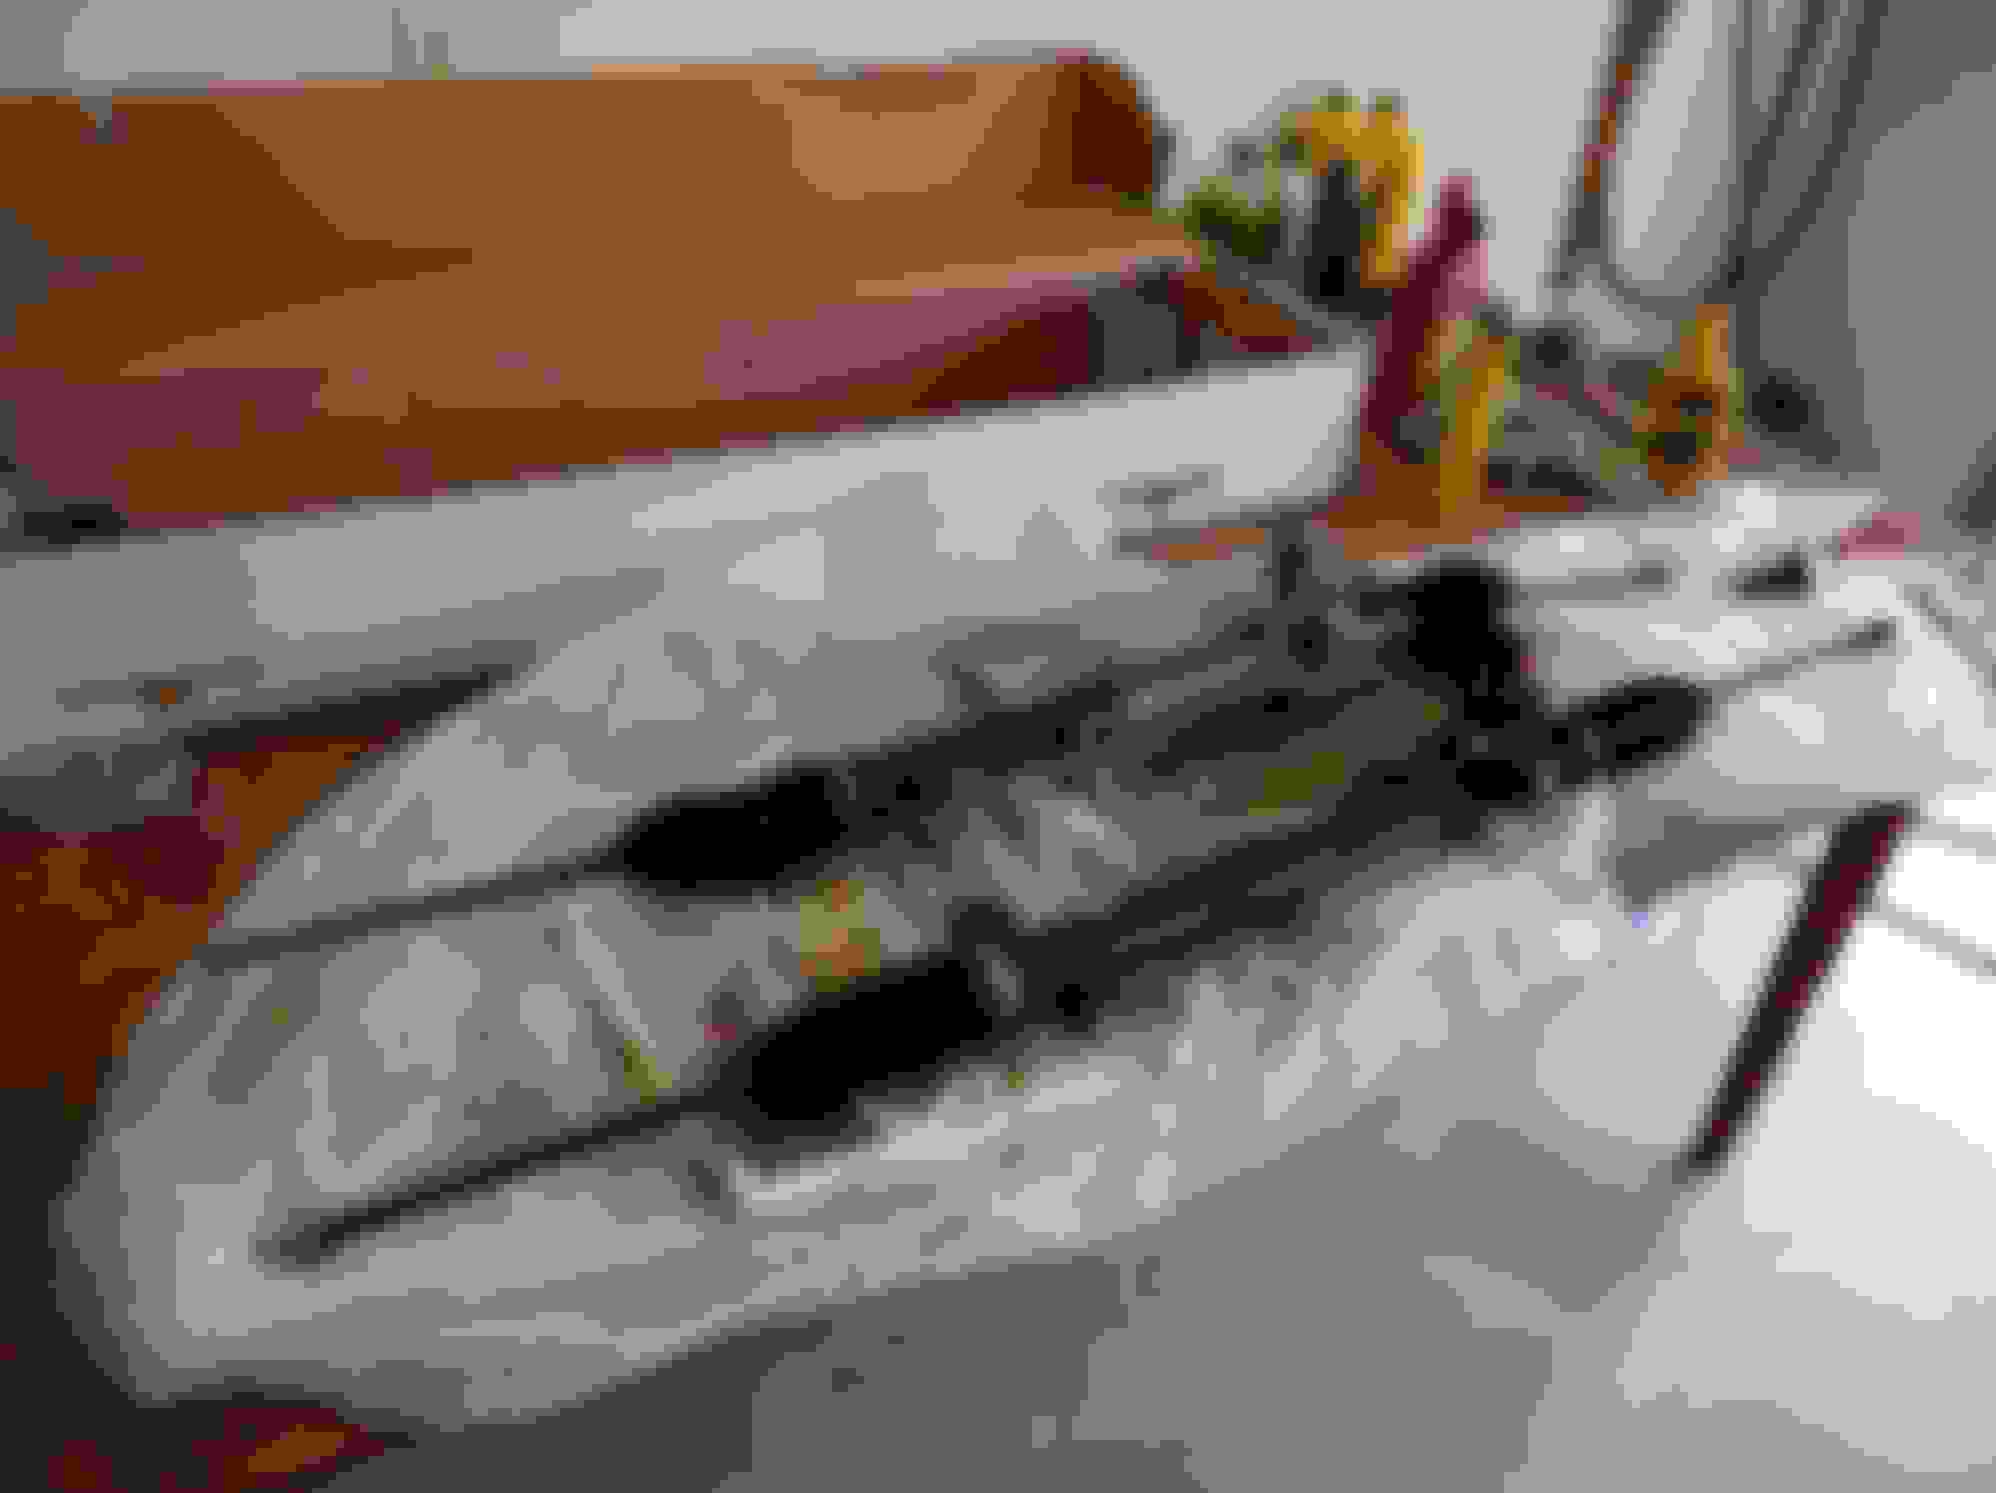
Remove the power steering rack. Mine was stuck on the passenger side and it turned out to be the rack bushing just getting old and crusted onto the sub frame.<br> Just use a screw driver or something to pry it loose and drop it down.
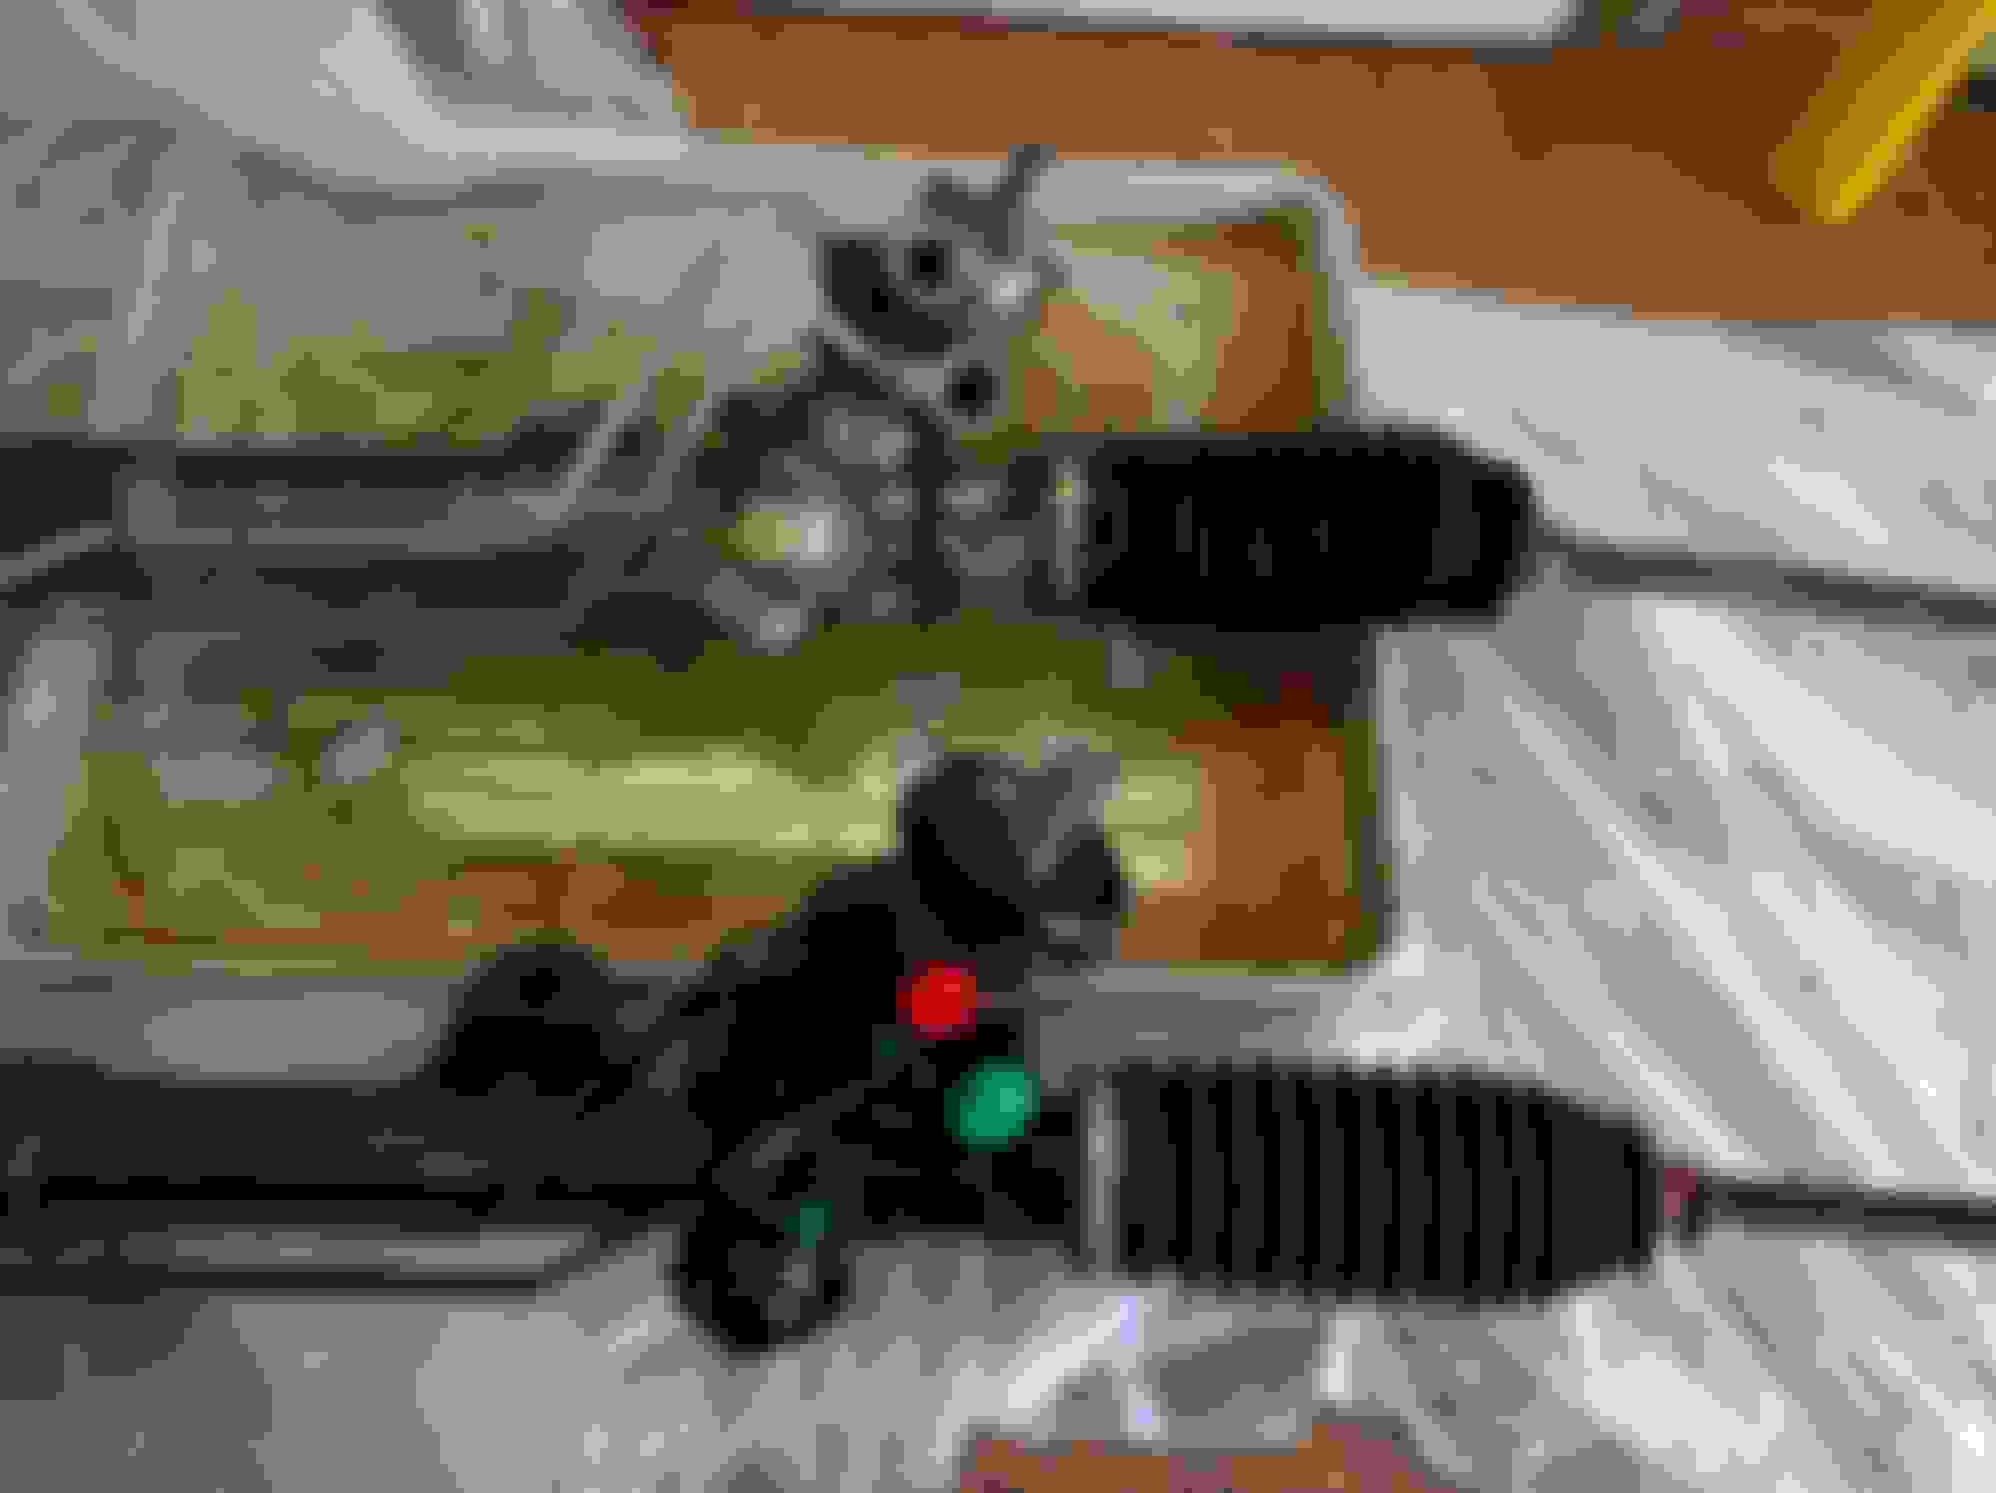
A1 Cardone rack vs. old rack:
Special notes:
1. Make sure the that the output shaft from the rack is aligned relatively similar to the old rack so that your steering shaft will slide on easily when installing.
2. When taking the tie rod ends off of the rack count the number of turns it takes. This will allow you to install the new tie rod ends closely to what they were<br> before which will hopefully keep you from having your alignment so far off.
Step 11:
Install new rack bushing on the passenger side of the rack. You can press it in with your hand. My A1 Cardone rack came with a new one.<br> If you have to order one, you only need one and its about $7 on Rockauto.
Step 12:
Flush your reservoir and return line by pouring fresh fluid in the reservoir and letting it run down the return line and into a drain pan. I put a new power steering pump<br> on less than 100 miles ago and also put a new high pressure line on while doing the rack so I wasn't too worried.
Step 13:
-Position the new rack in
-Slide on the steering shaft and tighten both 11mm bolts from step 5
-Tighten both mounting bolts with the nut on top and bolt head on bottom
-Attach tie rod ends with new cotter pins
-Connect high pressure and return lines to the rack with new o-rings supplied
All buttoned up:
Step 14:
Fill up the power steering reservoir pretty full. The level will drop substantially once the system is started.
Step 15:
Start the car and listen for any strange sounds before turning the wheel. Go lock-to-lock several times and shut the car off. Look for any leaks underneath and top off<br> the PS reservoir to the hot level. It will probably drop a little bit after you go for a test drive. Just keep and eye on the level and any leaks. Don't forget to torque your wheels!
Last edited by gongshow71; 04-29-2016 at 11:01 AM.
I've only put about 50 miles on it so far. I will say that my steering feels tighter and smoother, but that expected because my old rack had a tear in the rubber bellow and it let water into the system.
I'll report back after putting some mileage on it and let you know if it holds up. It has a 3yr/36k mile warranty so that's a plus.
Nice write-up. Appreciate the time you took to do this.
I would do everything in my power to avoid Cardone myself. I'm in the parts industry and their quality control is horrible right now. On that note, I installed one from a rackdoctor website and have had good luck so far. You can see the difference in quality. Cardone throws a coat of paint on them whereas these guys take the time to sand blast them making them look OE.
That's what I narrowed it down to, A1Cardone and The RackDoctor. Good thing is that since I have cut the driver side mounting bolt and flipped it, it wouldn't take me more than 2 hours to do this job again if the A1Cardone unit fails on me. Only time will tell!
It is if you want the bolt out. You either need to raise the engine 6 inches or cut it. I suggest a Sawzall from the back and have someone watching the blade from the front
It is if you want the bolt out. You either need to raise the engine 6 inches or cut it. I suggest a Sawzall from the back and have someone watching the blade from the front
I didn't raise mine 6 inches. More like 2-3. Or you can drop the K which isn't the big deal you'd think it would be.
When I did this. I put a towel over the power steering lines to rest the saw on from the front. Used a medium length 14 tooth Dewalt blade on and 18 volt saw and used tap magic to lubricate the cut. I went slow at about a 1/4 or 1/3 of the trigger pull, stopped like 5 times to add oil. I read many people using multiple blades just to get the bold, but I did with a used blade that could do it 10 more times still. I used a magnet on the bottom to hold the bolt up in the K member and I cut from center out angling the blade outward just enough so I didn't hit anything else. I did just hit the power steering hard lines when it finally cut through, but those parts were going as a core anyways.
Back from the dead, about to do this job and I�m wondering if it needs to be a sawsall? Could a dremel do the job? Maybe cutting peices of the bolt off the top of the head? I�m m asking because I have a dremel and if I don�t need a sawzall then that�s money saved. But if I do need a Swaziland then what kind should I get? Size?
Back from the dead, about to do this job and I�m wondering if it needs to be a sawsall? Could a dremel do the job? Maybe cutting peices of the bolt off the top of the head? I�m m asking because I have a dremel and if I don�t need a sawzall then that�s money saved. But if I do need a Swaziland then what kind should I get? Size?
If I remember correctly it's somewhat of a thick bolt. I think it would take too long with a dremel (if it is even able to cut the bolt.) My Dad and I just used a DeWault sawzall with a blade that was around 8 inches. Its a tight space down there to maneuver. Be mindful of the oil pan!
If I remember correctly it's somewhat of a thick bolt. I think it would take too long with a dremel (if it is even able to cut the bolt.) My Dad and I just used a DeWault sawzall with a blade that was around 8 inches. Its a tight space down there to maneuver. Be mindful of the oil pan!
hey thanks for the info quick reply! I was hoping I could save some $ but it seems like I�m just going to have to get one lol
If you have a Harbor Freight in your area, pick one up there as they are around $30
I�m going to head there after work, how well do they hold up vs the other brands like Dewalt?i won�t really be using it except for this job and maybe some exhaust work.
Back in May 2013,I got a RackDoctor rack for eventual replacement, for my Z. Driver side bellows started,in 2012, a 'seep',got worse over time but still,currently, would be considered minor. I watched the rack replacement threads over the years and knew I'd eventually be doing it. A few years back I had the pump off to replace the pressure and return line. Disconnecting the tie rod ends and steering shaft is ok and keeping everything at proper steering settings is ok as I use to work (part time) at a Tuffy service center and have done that stuff. Now the question is to those that have 'sawzalled', I picked up a couple years ago at Canfield auto swap meet some long blades,12 inchers. Will they be of benefit ?
Back in May 2013,I got a RackDoctor rack for eventual replacement, for my Z. Driver side bellows started,in 2012, a 'seep',got worse over time but still,currently, would be considered minor. I watched the rack replacement threads over the years and knew I'd eventually be doing it. A few years back I had the pump off to replace the pressure and return line. Disconnecting the tie rod ends and steering shaft is ok and keeping everything at proper steering settings is ok as I use to work (part time) at a Tuffy service center and have done that stuff. Now the question is to those that have 'sawzalled', I picked up a couple years ago at Canfield auto swap meet some long blades,12 inchers. Will they be of benefit ?
Those blades will probably work. I used a Diablo Steel Demon blade and it did a great job.
I didn't raise mine 6 inches. More like 2-3. Or you can drop the K which isn't the big deal you'd think it would be.
This is why I like doing things at the same time. Will be replacing my rack at the same time a new K goes in. Will be sending my rack to turn one for a rebuild however.
 04-26-2016, 05:45 PM