
Volant hole plug - HOW TO - PICS INSIDE
 12-17-2008, 06:55 PM
#1
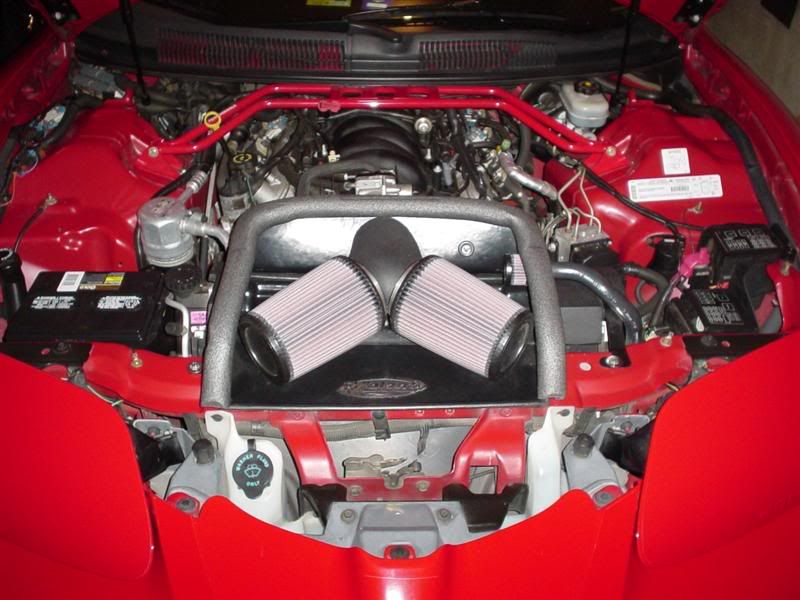
Ok, so I just recently got my new volant intake. Problem was it came with the extra hole in it for emissions equipped cars. Seeing as I don't have that, I wanted to plug up the hole without it looking like a hackjob of bondo, epoxy, or whatever most people would try.
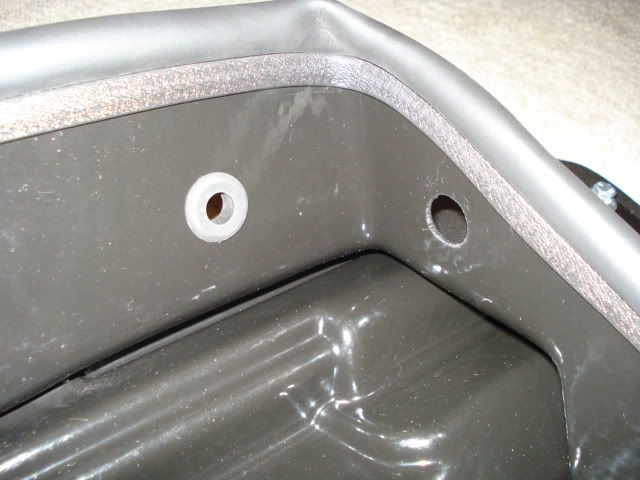
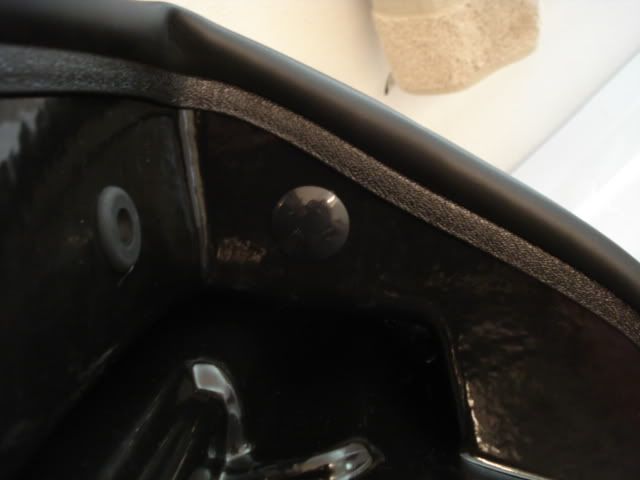
Here's a closeup picture of the 2 small holes the intake comes with. The one on the left is for the IAT sensor so no problem there. However the one on the right is used for the small little filter which I believe would normally hookup to an A.I.R. system in someway... This is the one I needed to find out how to plug up.
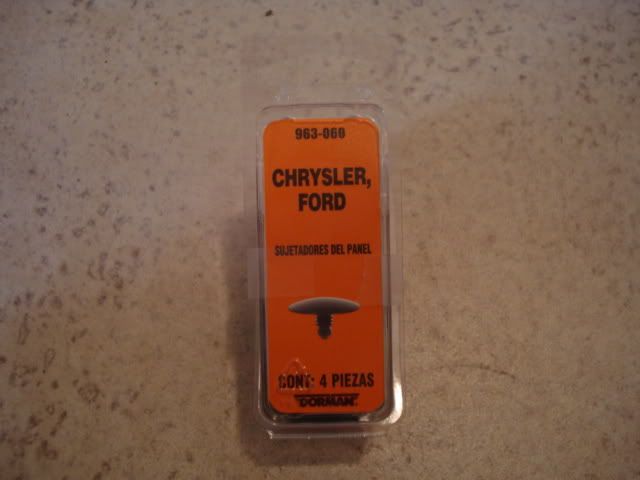
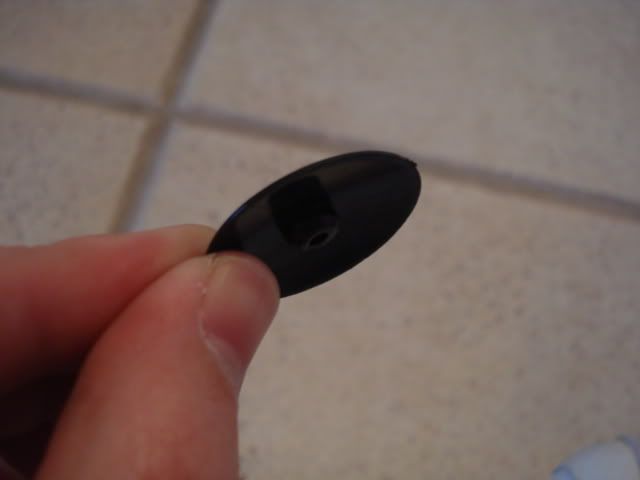
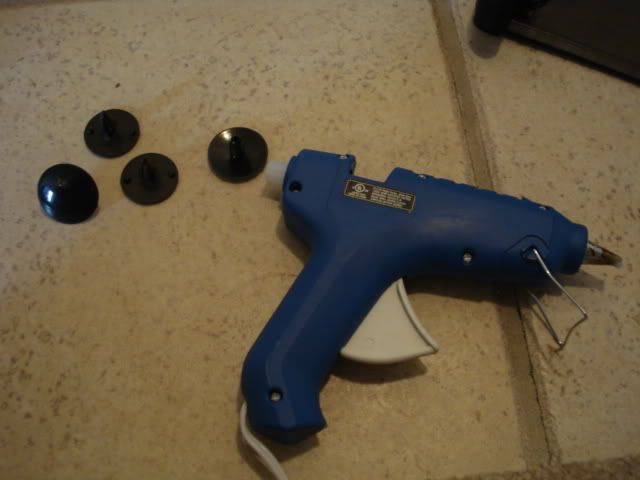
So... I made a little trip to the nearest Autozone, where I picked up a set of these screw buttons... they come in a pack of four. 2 of them have a glossy finish and 2 have more of a satin finish. Use whichever you like best... I chose the glossy as I thought it matched the plastic housing of the intake better...
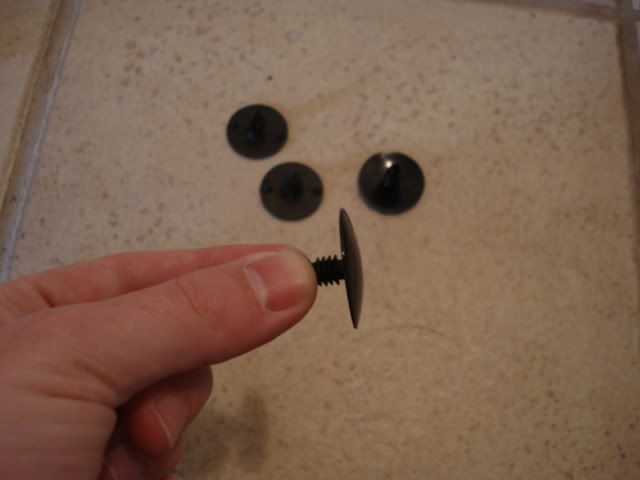
Here's a few pics of the screw buttons...
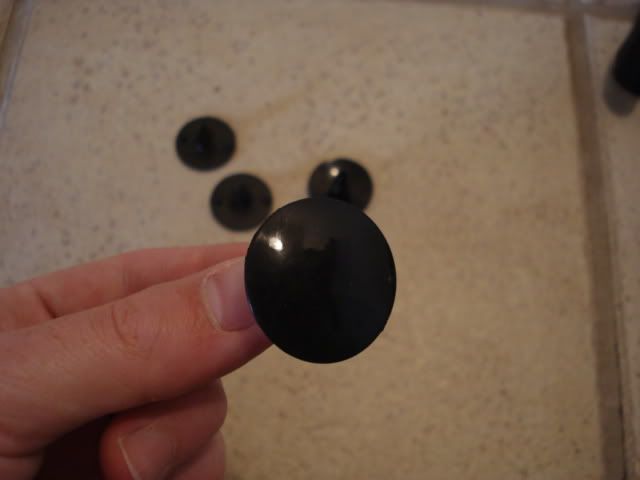
Take your button and snip off the screw threads to a short stubble...
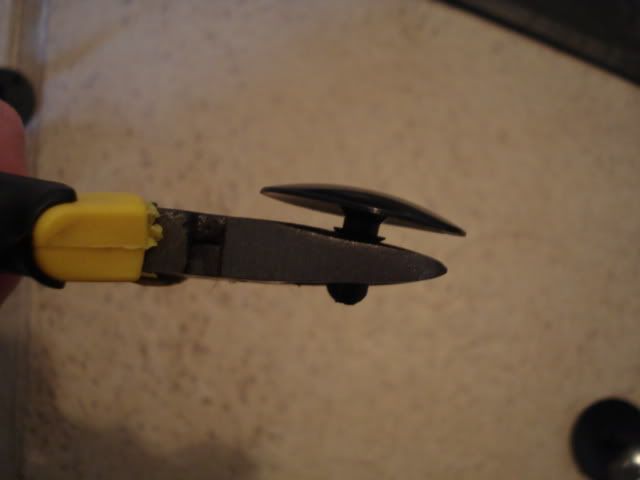
Take your screw button and tape it into place on the intake...
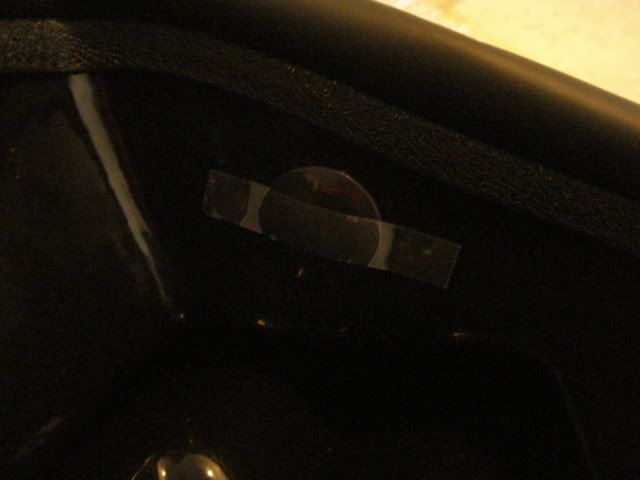
view from the inside of the intake...
view from the outside of the intake...
Now, take your hot glue gun and liberally fill up that hole with glue...
Take the other button and securely press it on the outside of the intake hole... so that the two button sides cure together... (sorry forgot to get a pic of this)
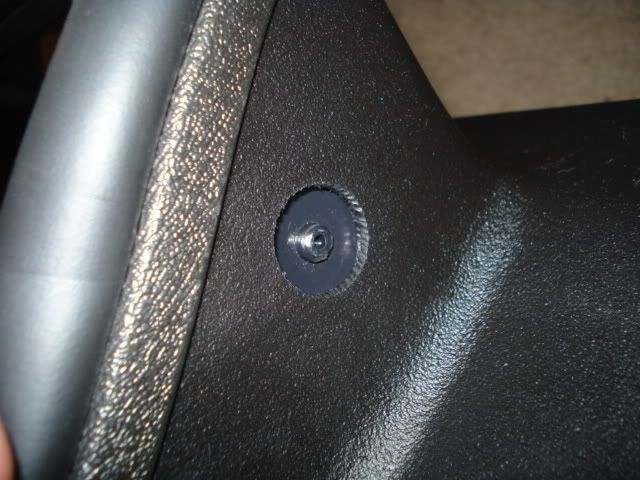
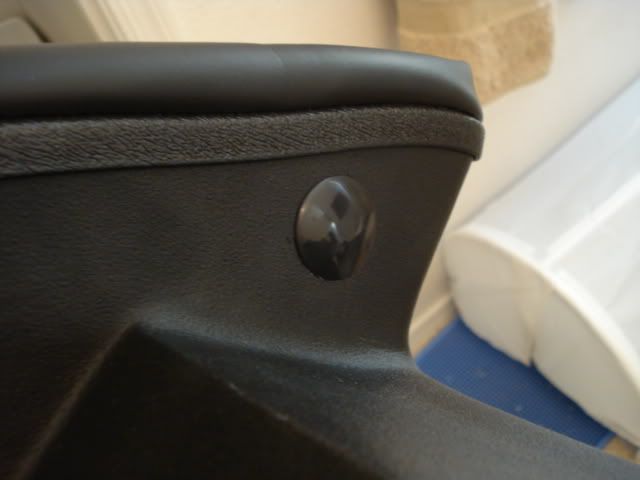
Here's the finished product... NICE AND CLEAN
Inside
Outside
Here's a closeup picture of the 2 small holes the intake comes with. The one on the left is for the IAT sensor so no problem there. However the one on the right is used for the small little filter which I believe would normally hookup to an A.I.R. system in someway... This is the one I needed to find out how to plug up.
So... I made a little trip to the nearest Autozone, where I picked up a set of these screw buttons... they come in a pack of four. 2 of them have a glossy finish and 2 have more of a satin finish. Use whichever you like best... I chose the glossy as I thought it matched the plastic housing of the intake better...
Here's a few pics of the screw buttons...
Take your button and snip off the screw threads to a short stubble...
Take your screw button and tape it into place on the intake...
view from the inside of the intake...
view from the outside of the intake...
Now, take your hot glue gun and liberally fill up that hole with glue...
Take the other button and securely press it on the outside of the intake hole... so that the two button sides cure together... (sorry forgot to get a pic of this)
Here's the finished product... NICE AND CLEAN
Inside
Outside


Trending Topics
12-17-2008, 11:23 PM
#8

Last edited by Soul TKR; 03-17-2010 at 03:22 PM.
12-17-2008, 11:35 PM
#9
TECH Resident
iTrader: (7)
Join Date: Apr 2007
Location: STL, Mo
Posts: 954
Likes: 0
Received 0 Likes
on
0 Posts

no kidding?  that's funny...
I wanted to clean it up though... didn't like the look of an open hole there... as far as sealing goes, if it really bothers you, you can do what nytmare did and just get some thicker weatherstripping and put on it... he claims it seals completely now...
I'm not a huge fan of the aesthetic look of the thicker foam weatherstripping, but it's an option... I'll probably leave mine as is...
12-17-2008, 11:39 PM
#10
you talking about the part in the hood?
you could always start like this guy did... post # 14
http://www.ls1.com/forums/showthread.php?t=60641
you could always start like this guy did...
http://www.ls1.com/forums/showthread.php?t=60641
12-17-2008, 11:44 PM
#11
TECH Resident
iTrader: (7)
Join Date: Apr 2007
Location: STL, Mo
Posts: 954
Likes: 0
Received 0 Likes
on
0 Posts
you talking about the part in the hood?
you could always start like this guy did... post # 14
http://www.ls1.com/forums/showthread.php?t=60641
you could always start like this guy did...
http://www.ls1.com/forums/showthread.php?t=60641

