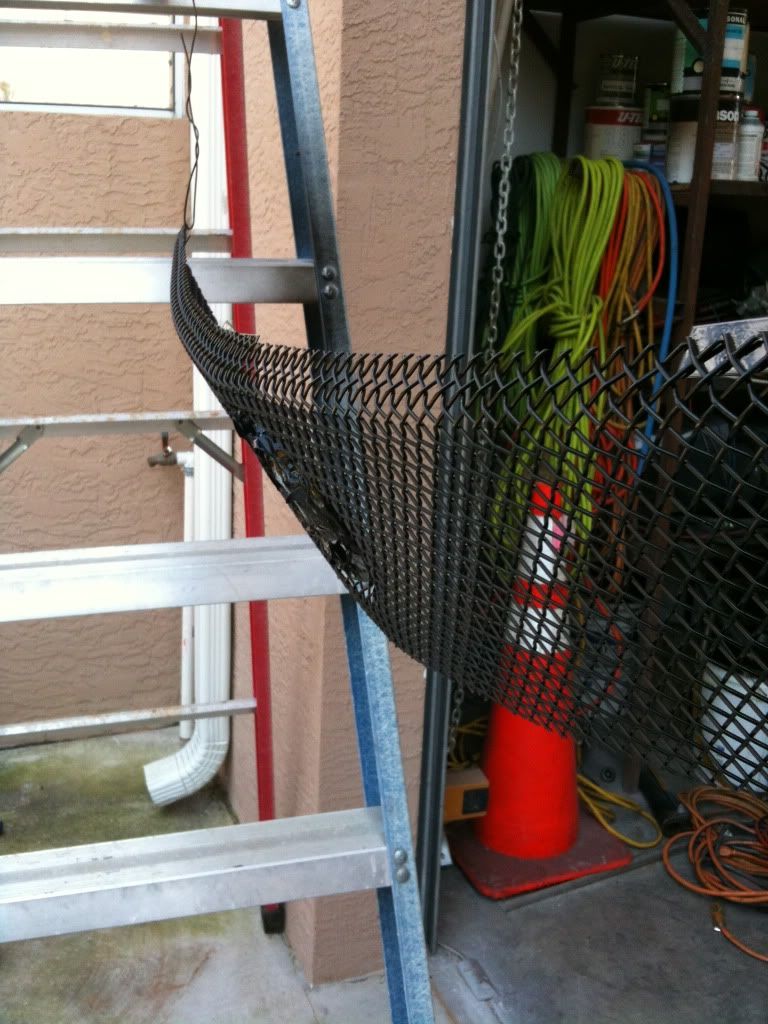
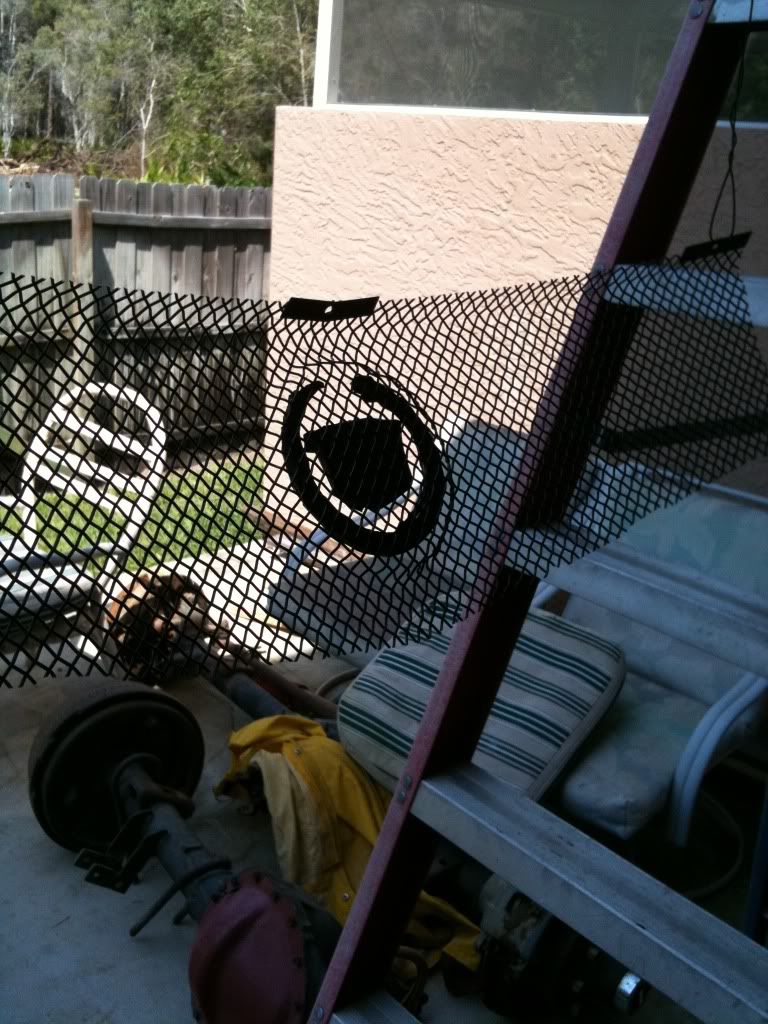
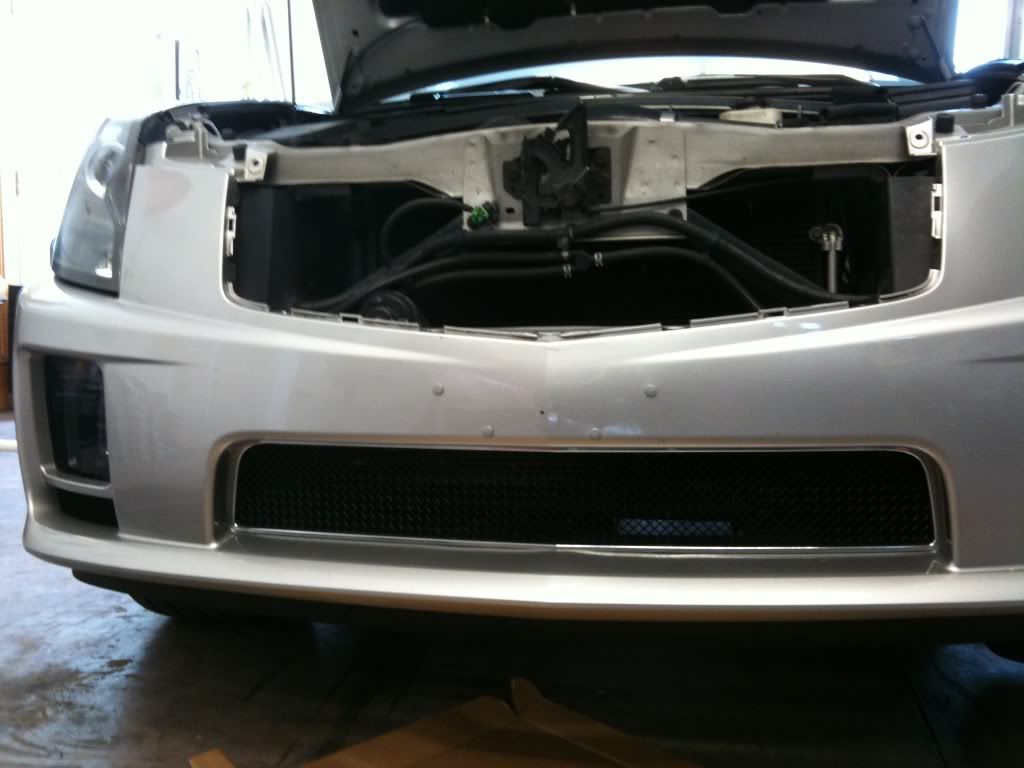
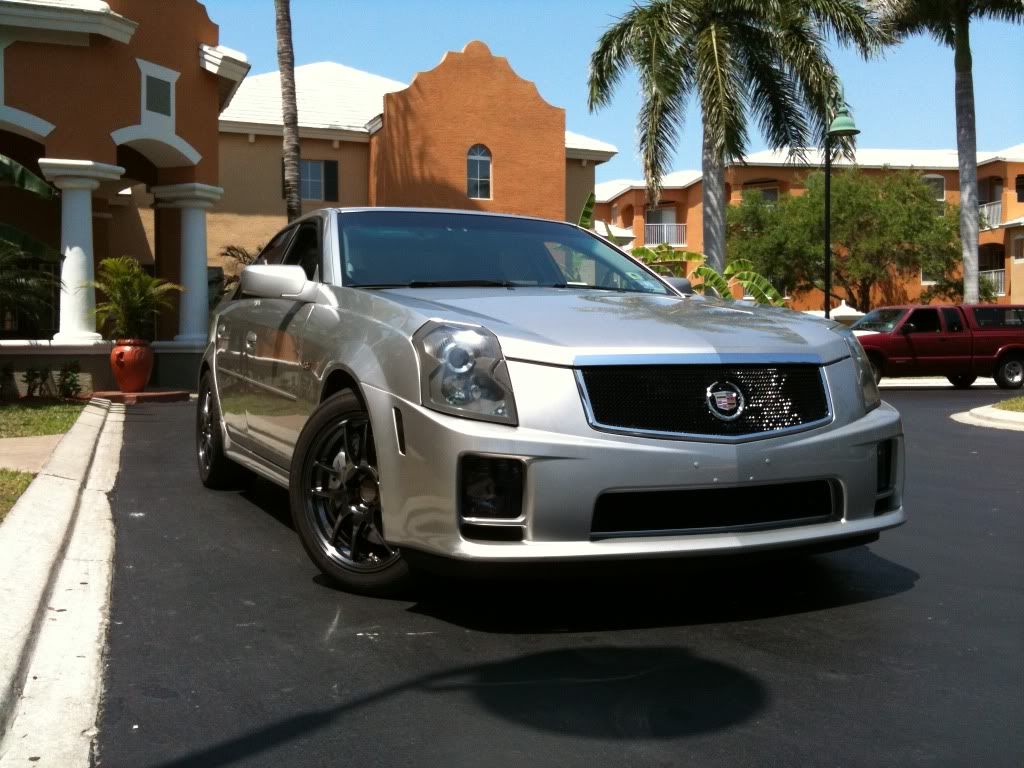
Painted my grill
 04-11-2011, 10:55 AM
#1
TECH Fanatic
Thread Starter

- Used 3M soctchbrite sponge pads
- Kleanstrip Bulldog Adhesion Promoter
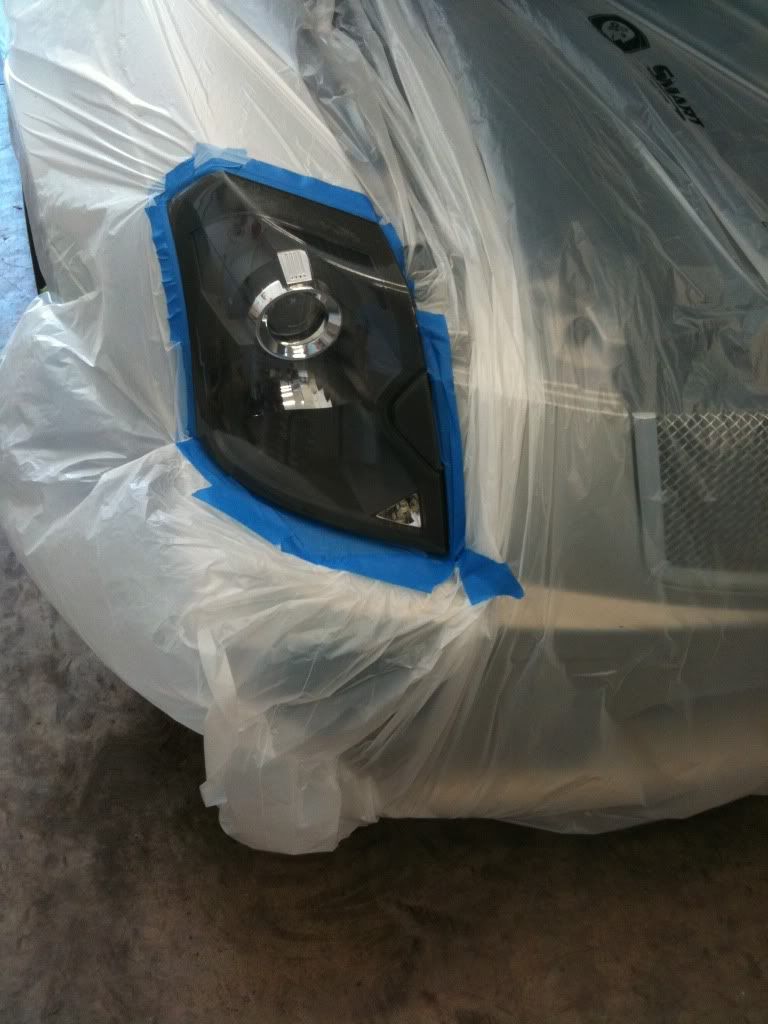
- taped off the cadi logo
- then shot it with a single stage black
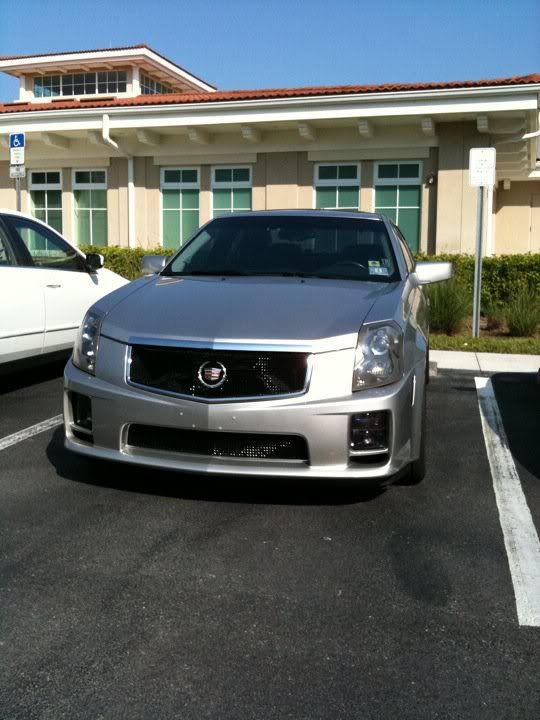
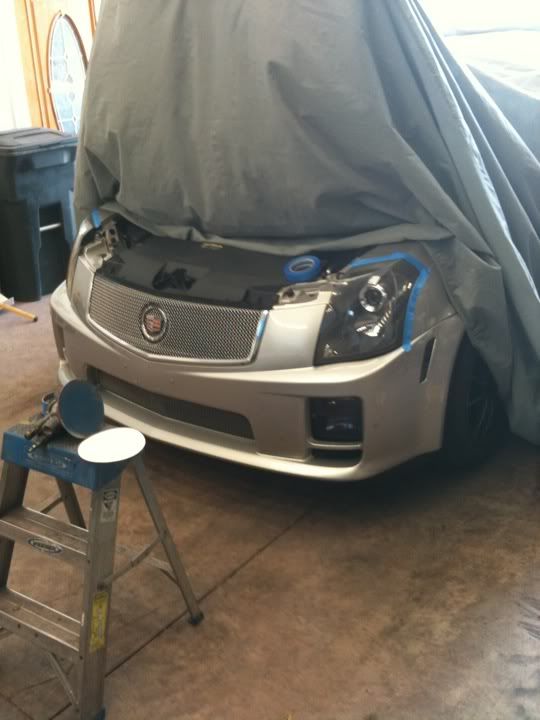
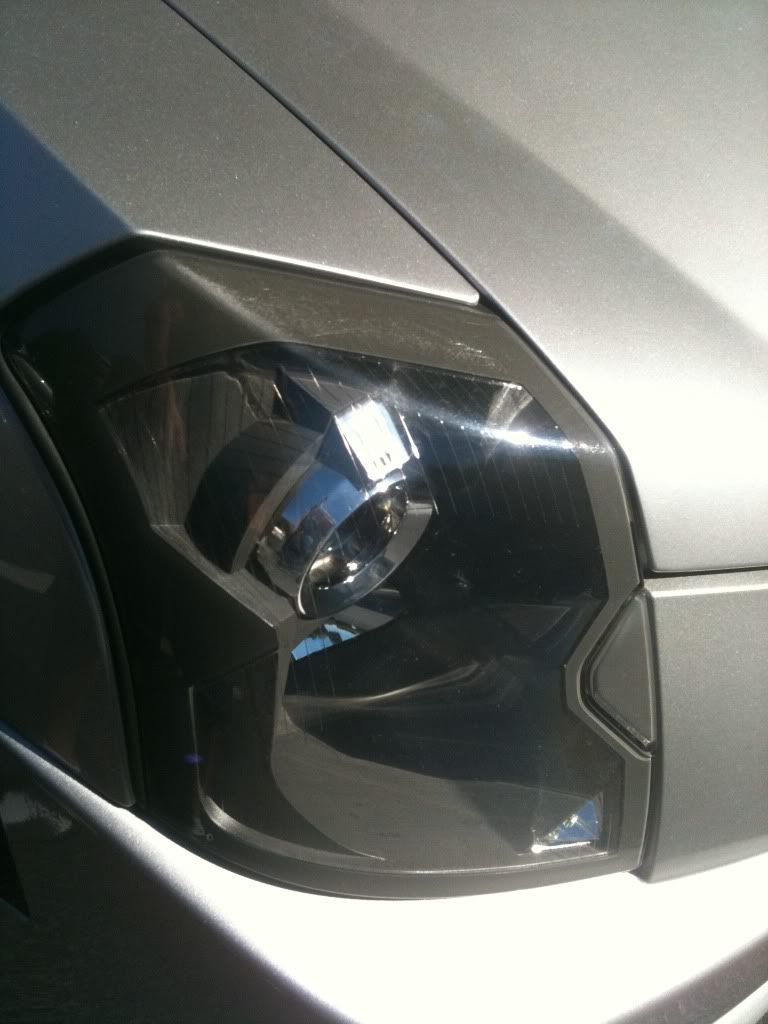
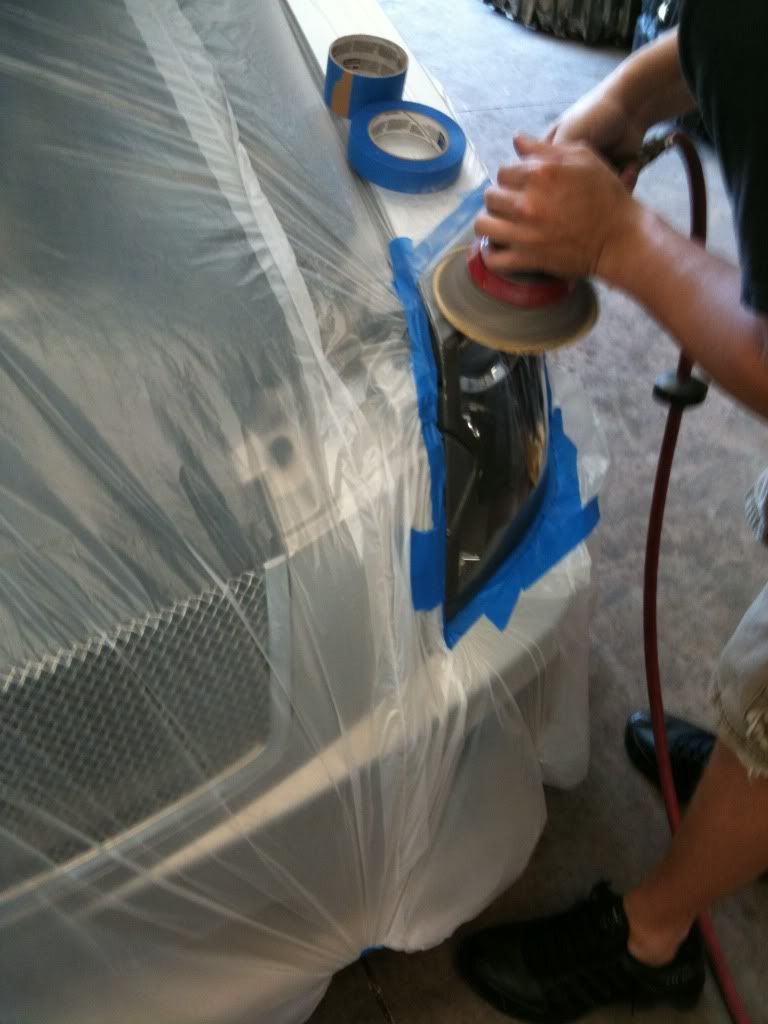
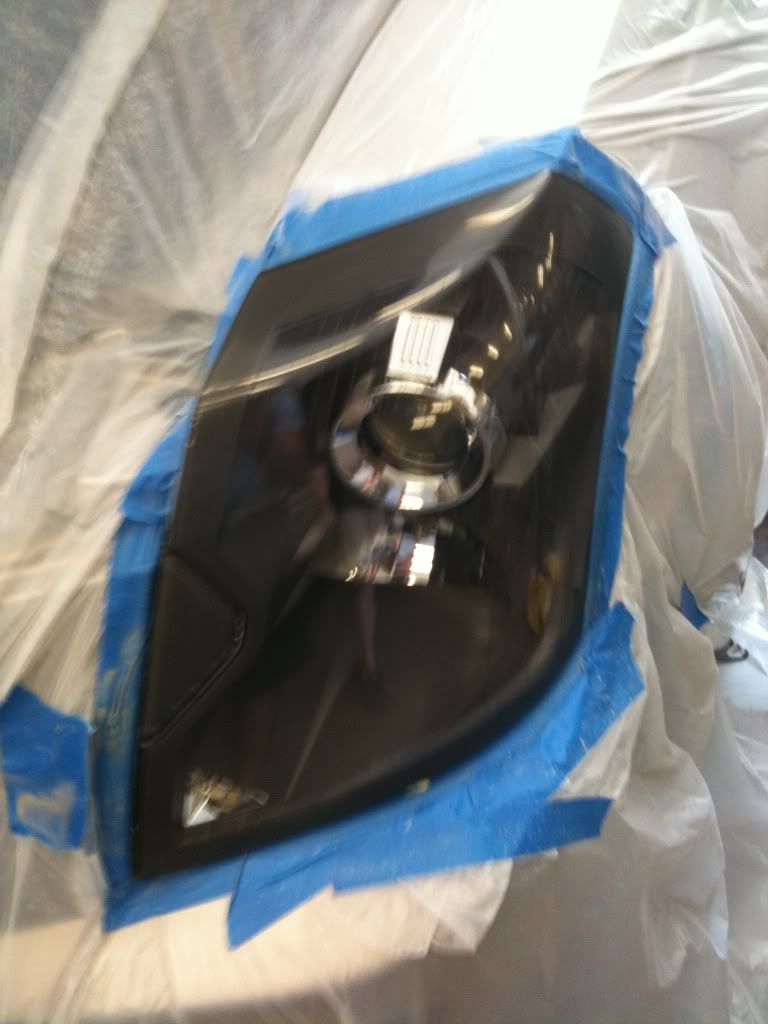
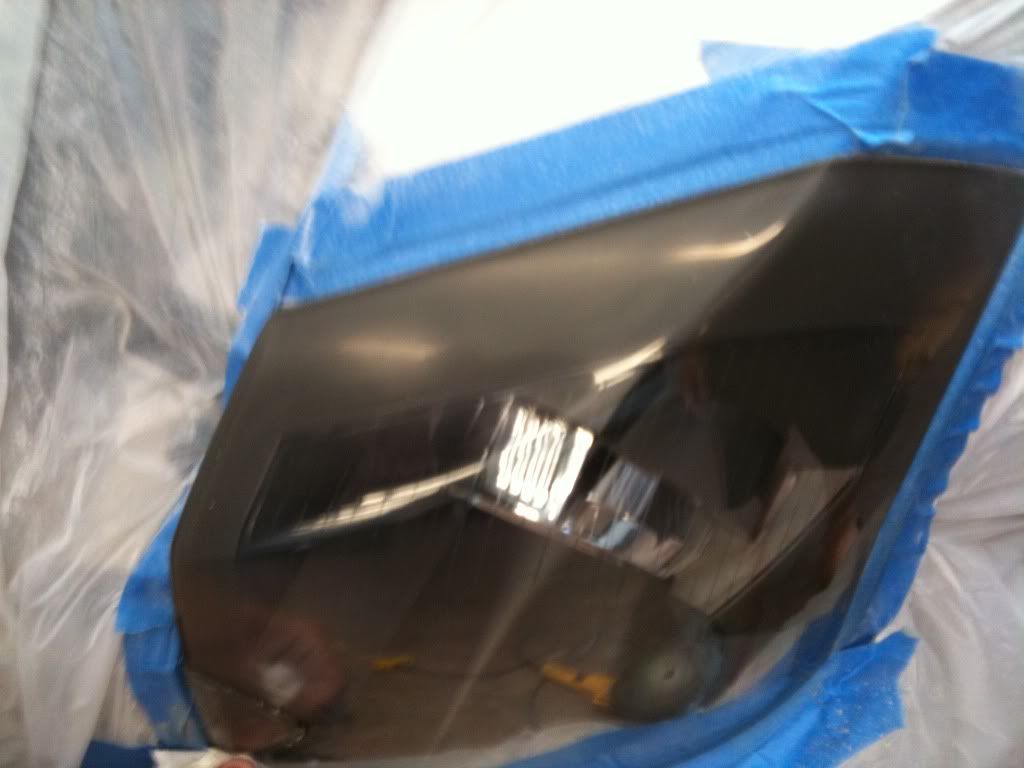
The whole reason i did this mod was beasue of the headlights.. the inital plan was to do a head light outline+ eyelids but after sanding off the scratches the lenses looked better then new.. so we said leave as stock for now.. gonna try to seal them with rain-x or sumthing cause the UV coating is what was pealing and what made it look shity and now its gone any ideas??
old:
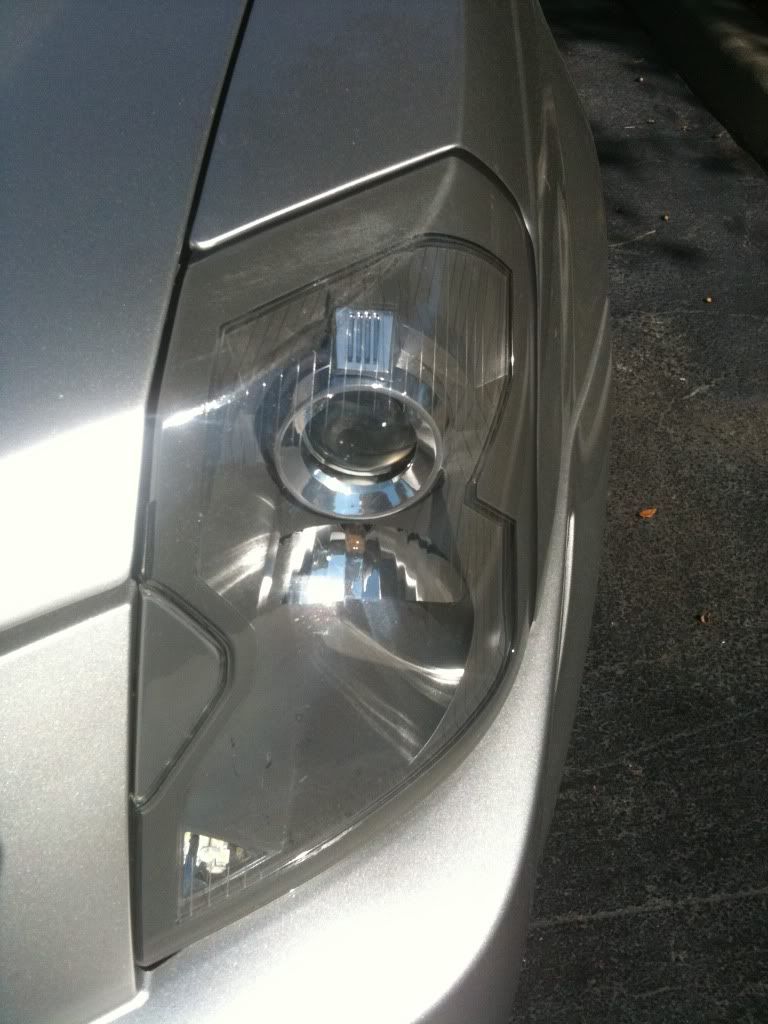
headlight polishin
400grit
1200grit
#1 polishing compound on the buffer

Last edited by shadyLS6; 04-11-2011 at 03:08 PM. Reason: pics arent workin... will update later


 . What compound did you use to restore the headlights?
 Trending Topics
04-12-2011, 10:30 AM
#8
TECH Fanatic
Thread Starter
thanks guys lets hope it holds up. i have only heard good things about Bulldog Adhesion Promoter
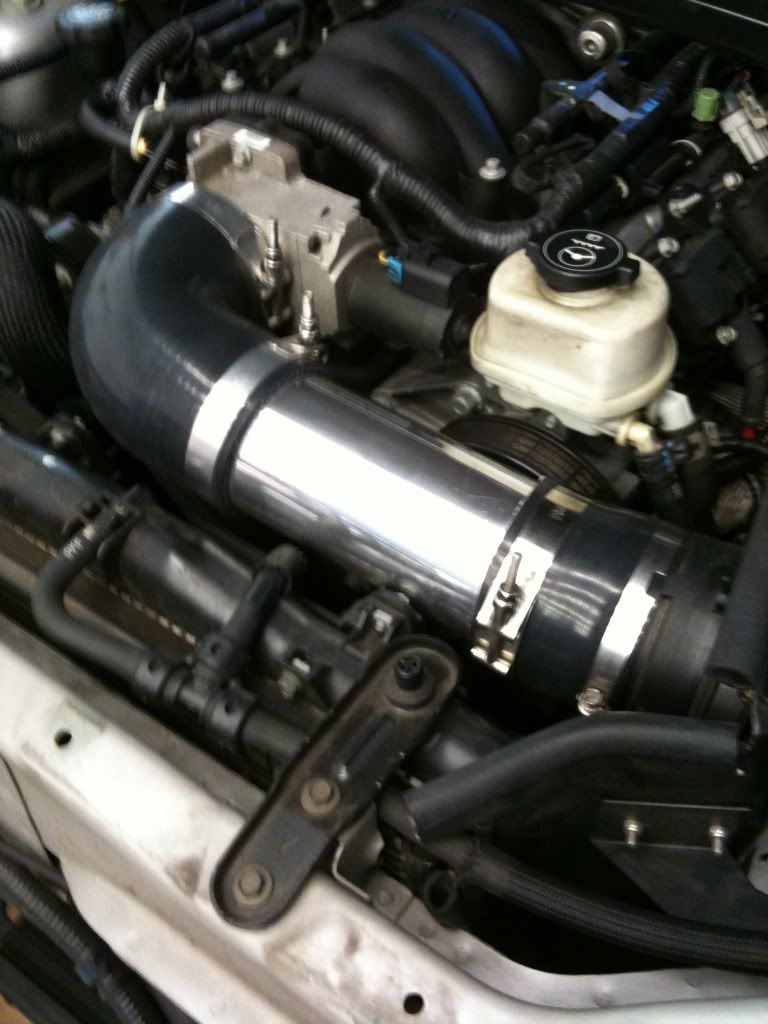
just standard 1200 grit 3m rubbing compound, i used Wicked metal polish to polish all the trim and AL intake pipe. Wicked is the ****! really brings out the shine...ill try and get some non blury pics. the 3g sucks
just standard 1200 grit 3m rubbing compound, i used Wicked metal polish to polish all the trim and AL intake pipe. Wicked is the ****! really brings out the shine...ill try and get some non blury pics. the 3g sucks
Last edited by shadyLS6; 04-12-2011 at 10:35 AM.

 04-13-2011, 07:32 AM
#13
TECH Fanatic
Thread Starter
had some PM's heres some more info:
so go at the headlights with a rotary variable speed sander, 400 grit to get all the scratches and pealing off, then hit it with 1200 to remove that damage .. keep cleaning the lights off to see where your at.. looking for glass like smoothness.. i didnt do this but hit it wit 3000g if your really ****. again make it glass smooth, keep moving evenly..
standard +1200g rubbing compound with a varabile speed buffer.. if its still looking hazy, build up some heat and work the haze out from the center out..
Gloss black. single stage paint w/ clear, 3 coats on top of the bullydog adhesion primer. looks flawless in person.. well see how the rocks and fl bugs treat it
deff still gonna get good pics this week when i get some time and shes clean
04-23-2011, 09:50 AM
#15
TECH Fanatic
Thread Starter

600+miles, 2 trips across Gator alley.. 3 car washes tons of driect impact bug suicides and still brand fukin new
 04-23-2011, 02:01 PM
#17
Staging Lane

Join Date: Feb 2010
Posts: 80
Likes: 0
Received 0 Likes
on
0 Posts
04-24-2011, 06:41 AM
#20

As for protecting the now non-UV coated plastic: I have been reading up on detailing and supplies lately and remember reading about a product specifically made to follow up a "headlight restoration". Check out autogeek.net and dig around, I think I saw it there under the headlight stuff (Meguiar's)? From what I know about this, I would recommend putting something on them. Under UV plastic degrades pretty fast.