

 05-10-2016, 02:54 PM
Last edit by: IB Advertising
See related guides and technical advice from our community experts:
- Camaro and Firebird How to Paint Rims Using Plasti Dip<br>Step by step instructions for do-it-yourself repairs.

my plasti dip experience - hood stripes.
08-07-2011, 04:52 PM
#1
TECH Apprentice
Thread Starter
iTrader: (2)
Join Date: May 2010
Location: Somerset NJ
Posts: 391
Likes: 0
Received 0 Likes
on
0 Posts
i jumped on the bandwagon, my silver stripes were fading, falling apart so i figured why not, grabbed two cans and started masking.
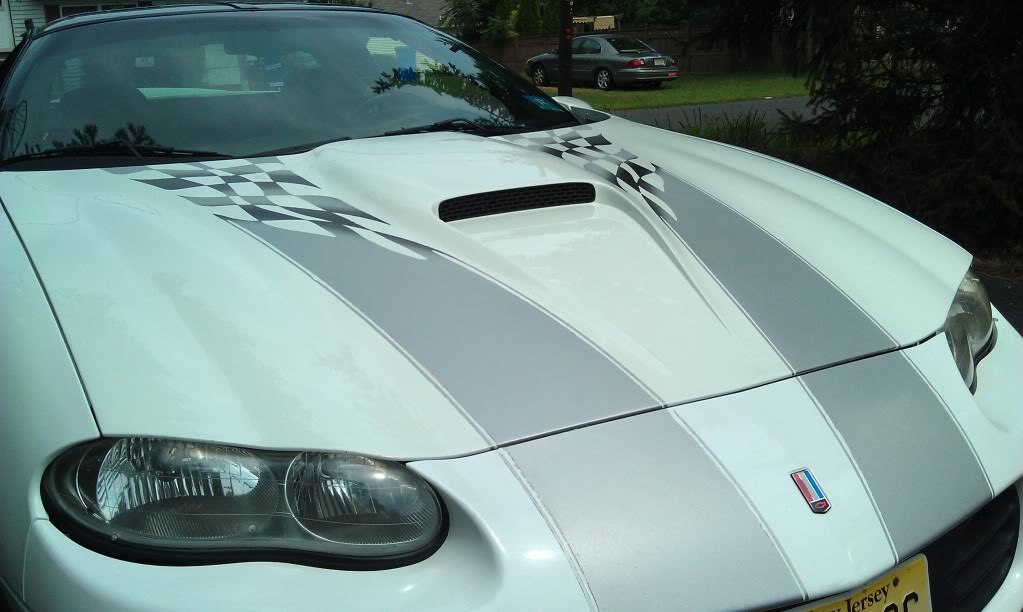
the most difficult part was masking in the checkered flag, if you're doing something solid it will be MUCH easier.
here is the after, took a can, but i wanted a little more and used a bit of the 2nd.
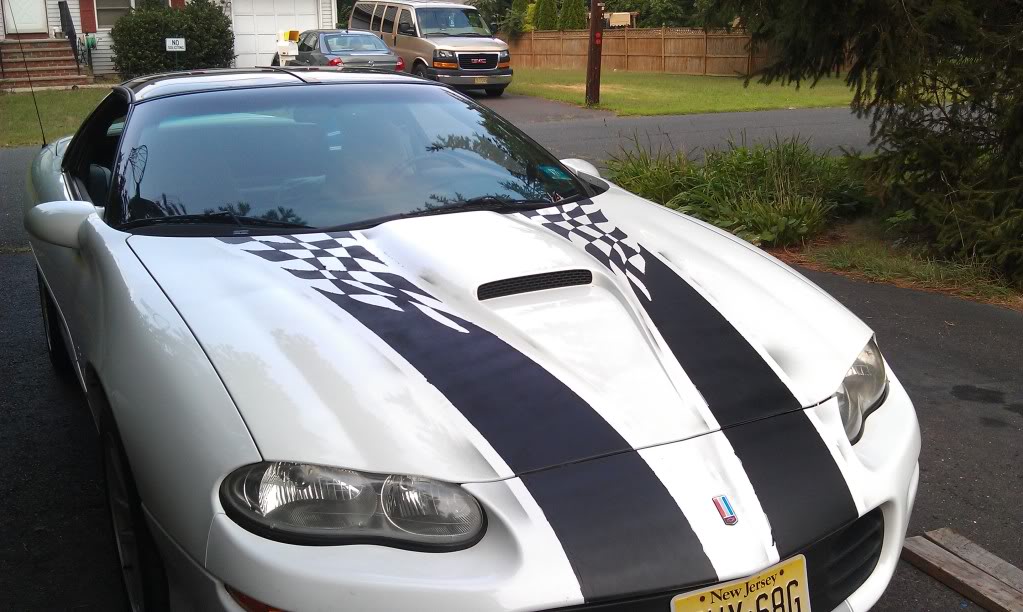
well aware of the overspray, but i'm not going to cry about it, a claybar will easily take it off.
i did everything the can said not to do, in direct sunlight, in heat, in humidity and they came out alright, the only parts that got messed up were when i was removing the blue painter's tape. not that big of a deal since my stripes are on their way out themselves. will definetly need touching up, but i'm satisfied, might do solid stripes.
things i've learned and to take away from this
if you want SUPER temporary, use blue painters tape evenly, and spray over it, and to take off just peel it.
if you're doing curves or even straight edges, when taking off the masking tape, have a razor to cut it so it doesnt stick together and rip off the part you wanted to keep.
i think i'm going to keep the flat look, but if you want gloss, just buy some duplicolor or rustoleom clear gloss and spray over. it will be removed with the plasti dip.
maybe i should have waited longer to take the tape off for it to be more solidified.
the most difficult part was masking in the checkered flag, if you're doing something solid it will be MUCH easier.
here is the after, took a can, but i wanted a little more and used a bit of the 2nd.
well aware of the overspray, but i'm not going to cry about it, a claybar will easily take it off.
i did everything the can said not to do, in direct sunlight, in heat, in humidity and they came out alright, the only parts that got messed up were when i was removing the blue painter's tape. not that big of a deal since my stripes are on their way out themselves. will definetly need touching up, but i'm satisfied, might do solid stripes.
things i've learned and to take away from this
if you want SUPER temporary, use blue painters tape evenly, and spray over it, and to take off just peel it.
if you're doing curves or even straight edges, when taking off the masking tape, have a razor to cut it so it doesnt stick together and rip off the part you wanted to keep.
i think i'm going to keep the flat look, but if you want gloss, just buy some duplicolor or rustoleom clear gloss and spray over. it will be removed with the plasti dip.
maybe i should have waited longer to take the tape off for it to be more solidified.

 08-08-2011, 06:00 AM
#3

This is a bad joke right? The lines and edges on that are terrible man. I would pull the plasti and the stripes and leave it bare. The car will look good without it anyway!

Trending Topics
08-08-2011, 07:30 PM
#9
I would pull them off and do a black teardrop or manta or something.
 08-08-2011, 08:05 PM
#10
im not trying to hijack, but how long does this **** last?
To the op, I think if you took the darkest color in your original stripes, made that the primary color, and then went into black where that color is now, In gloss mind you. It would look sick.
To the op, I think if you took the darkest color in your original stripes, made that the primary color, and then went into black where that color is now, In gloss mind you. It would look sick.
08-09-2011, 09:01 AM
#11
TECH Junkie
iTrader: (7)
Join Date: Oct 2006
Location: lebanon,mo
Posts: 3,750
Likes: 0
Received 0 Likes
on
0 Posts

1: use this
http://www.google.com/products/catal...7662250716720#
2: remove the tape when the paint is wet and it will not mess up your edges
3: start over
http://www.google.com/products/catal...7662250716720#
2: remove the tape when the paint is wet and it will not mess up your edges
3: start over