
My first try at painting...
 12-11-2011, 04:45 AM
#1
TECH Regular
Thread Starter
iTrader: (3)
Join Date: Mar 2011
Location: Killeen, TX
Posts: 493
Likes: 0
Received 0 Likes
on
0 Posts
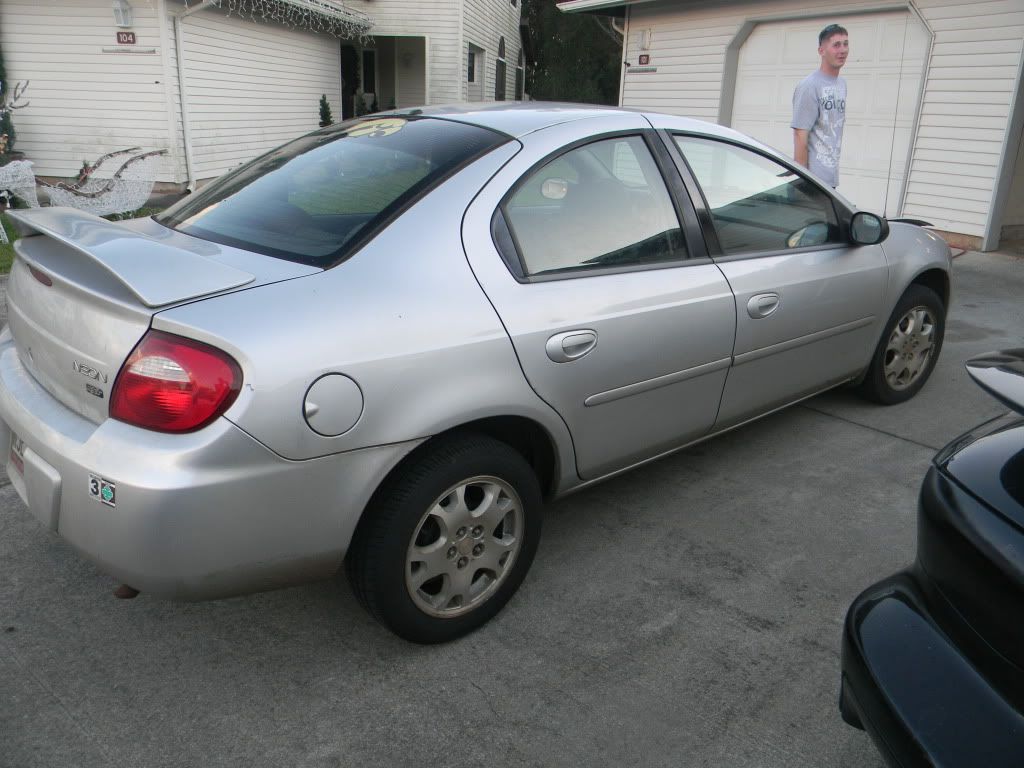
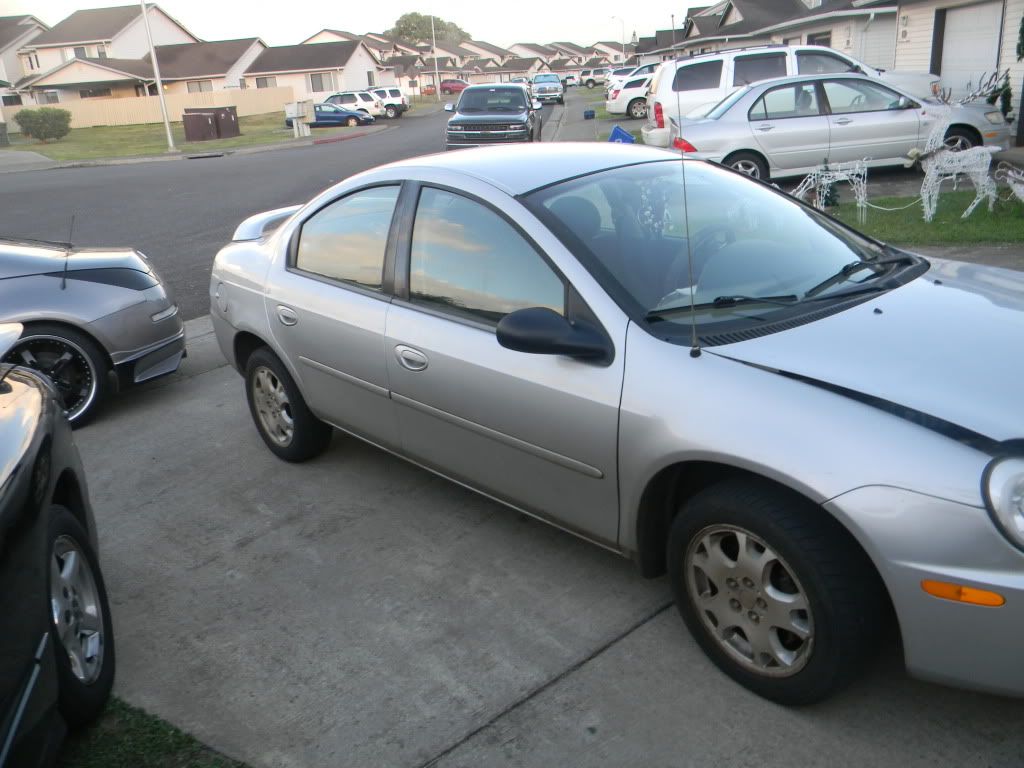
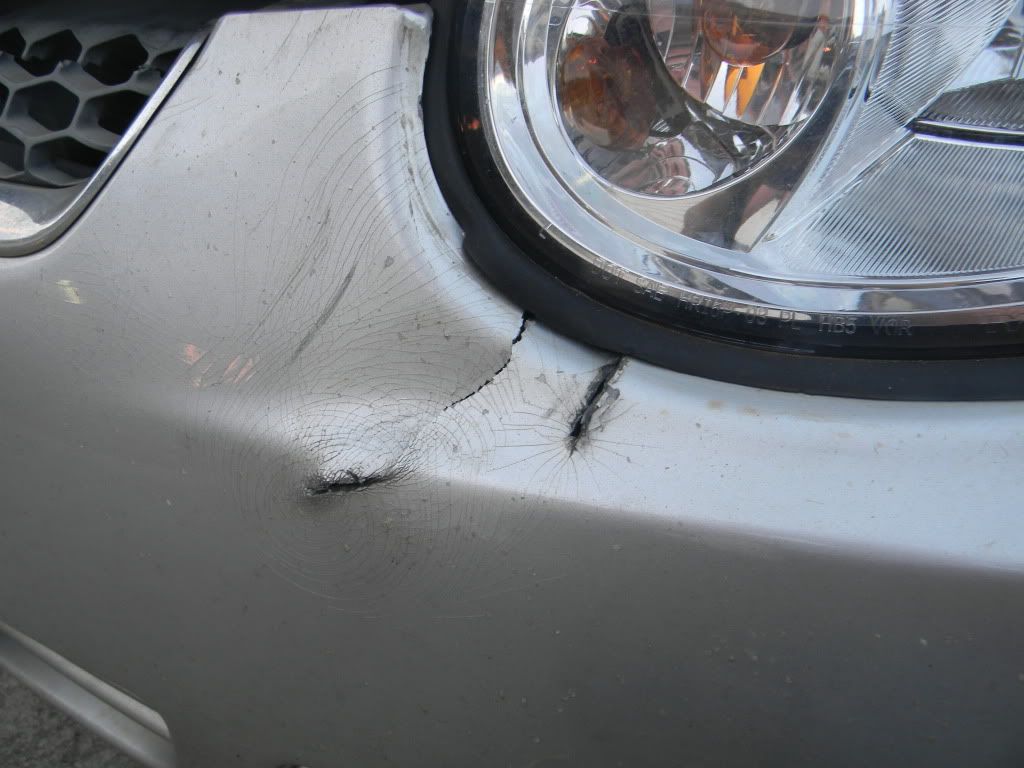
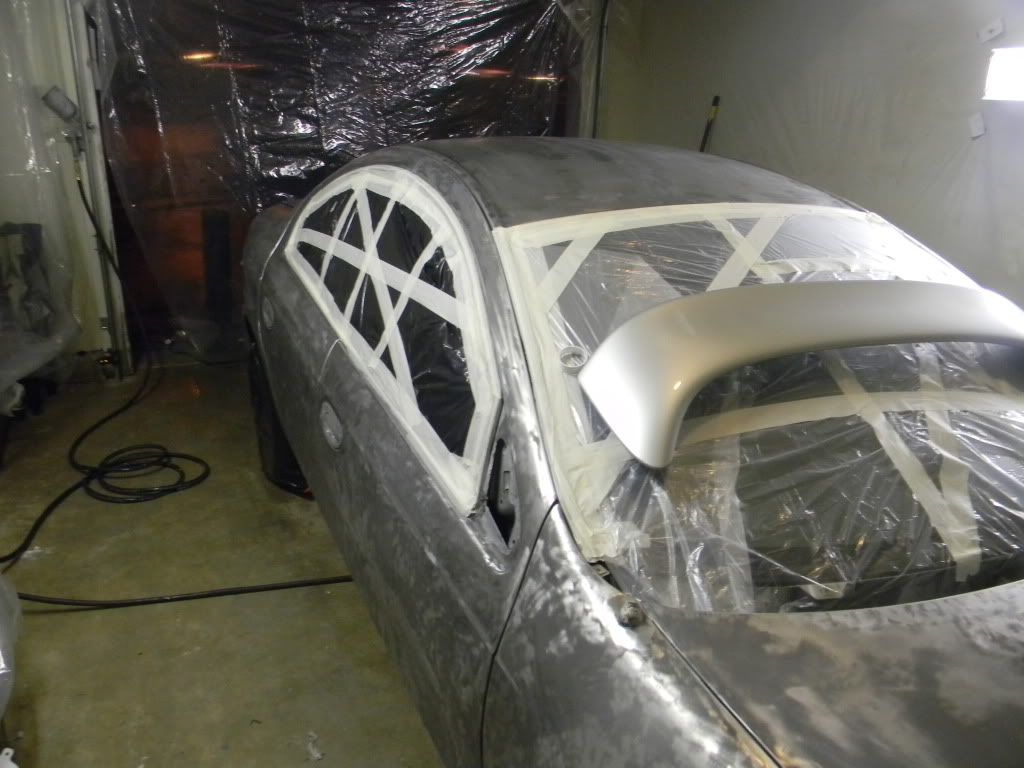
Well I decided to go for it and use the wife's car as a test vehicle... Decided to go with ppw shop line products due to the pricing and this is my first time( with help from a buddie who painted one car and a few bumpers here and there do we're both new). Anyway like said went with ppw shop line products... The car is a silver 2005 neon that rear ended someone so some damage to front. We "built" a little shop
In the garage by hanging 4 mil plastic all around the walls. Decided to take the car to metal and start fresh so I have epoxy primer, black bc and then the cc. We used a gallon of aircraft stripper to get most paint off, worked good but not all the way(tough to apply to the side of the vehicle in a thick enough coat for it to do its business) got most paint off and then I went and bought some aircraft stripper in an arasol can. That stuff was AMAZING!!! Sprayed it on and 10 mins later the paint was literally falling off. Would use that for a whole car but it's ten bucks a can and only covers a panel per can.
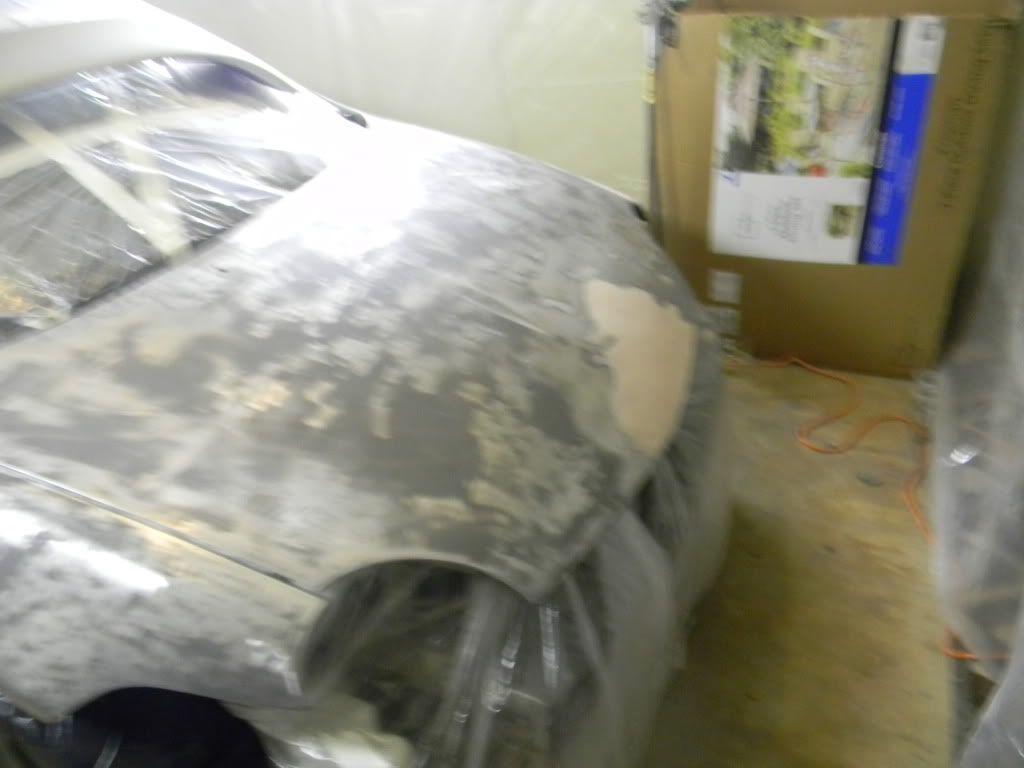
Anyway after this we used a die grinder with a paint romover wheel to remove the little spots here and there. Now we have cleaned the surface with a tack rag and a quick wipe with acetone.
Just finished spraying 3 coats of primer and heading to bed to let dry until morning where we will sand and lay another coat of primer and then seal that. Plan to have it finished tomorrow night... Sounds like a rush I think but car is needed Monday morning!!! Oh well lol. Will post pictures when I figure out how
I learned how to post pictures... here you go
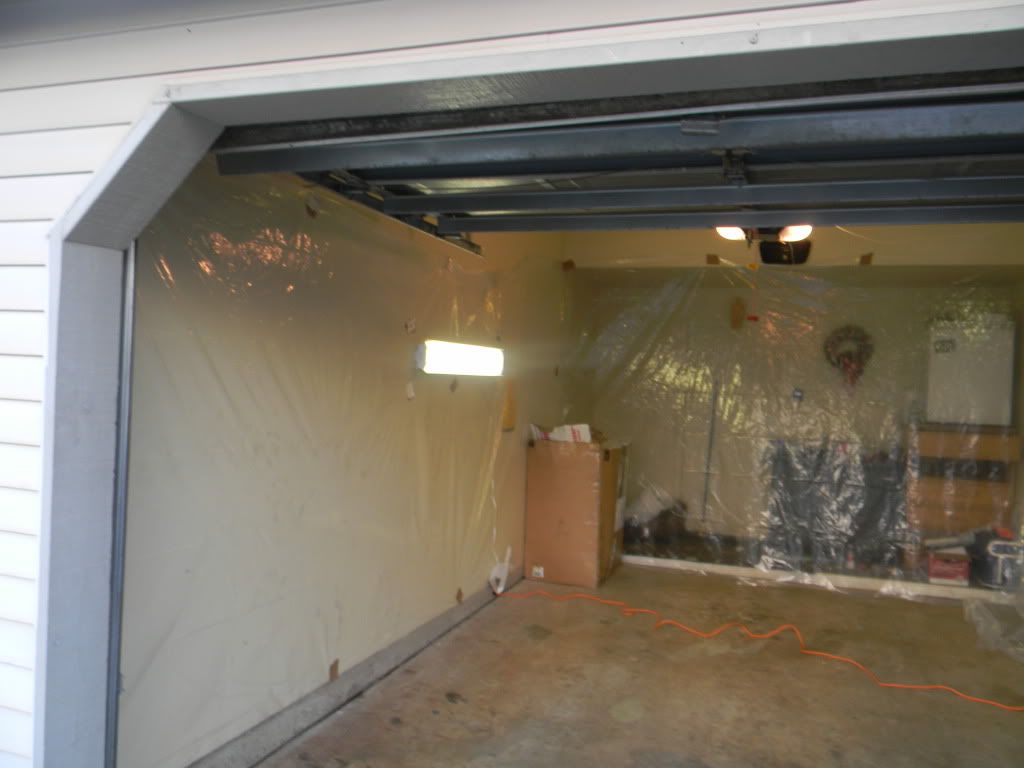
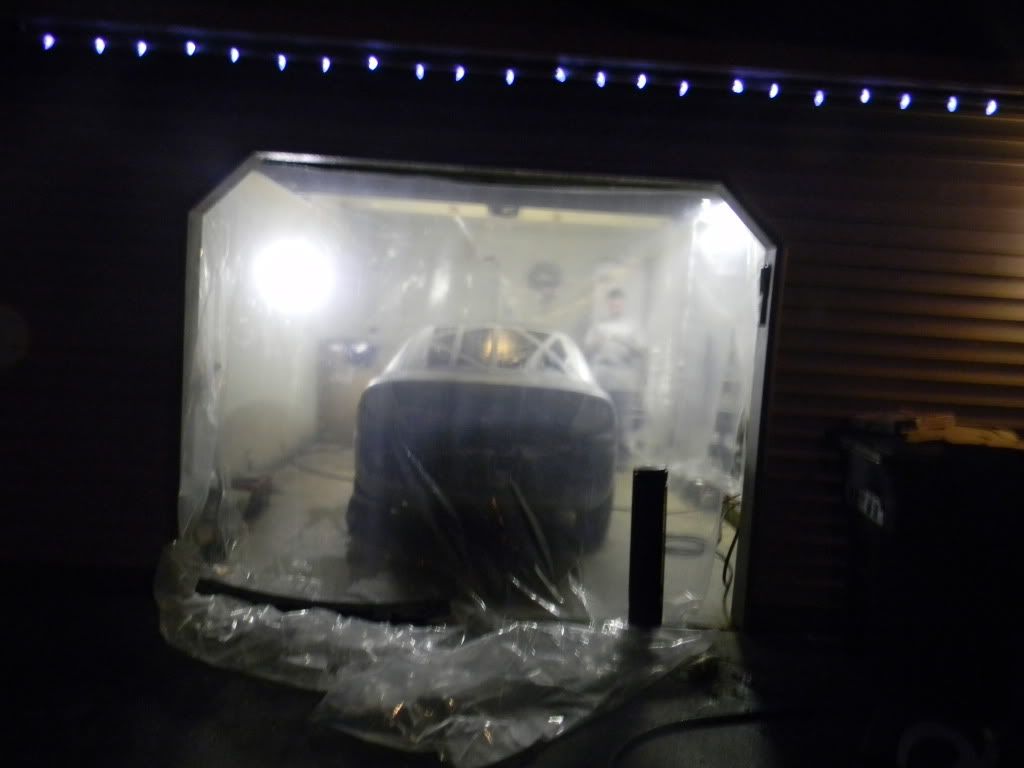
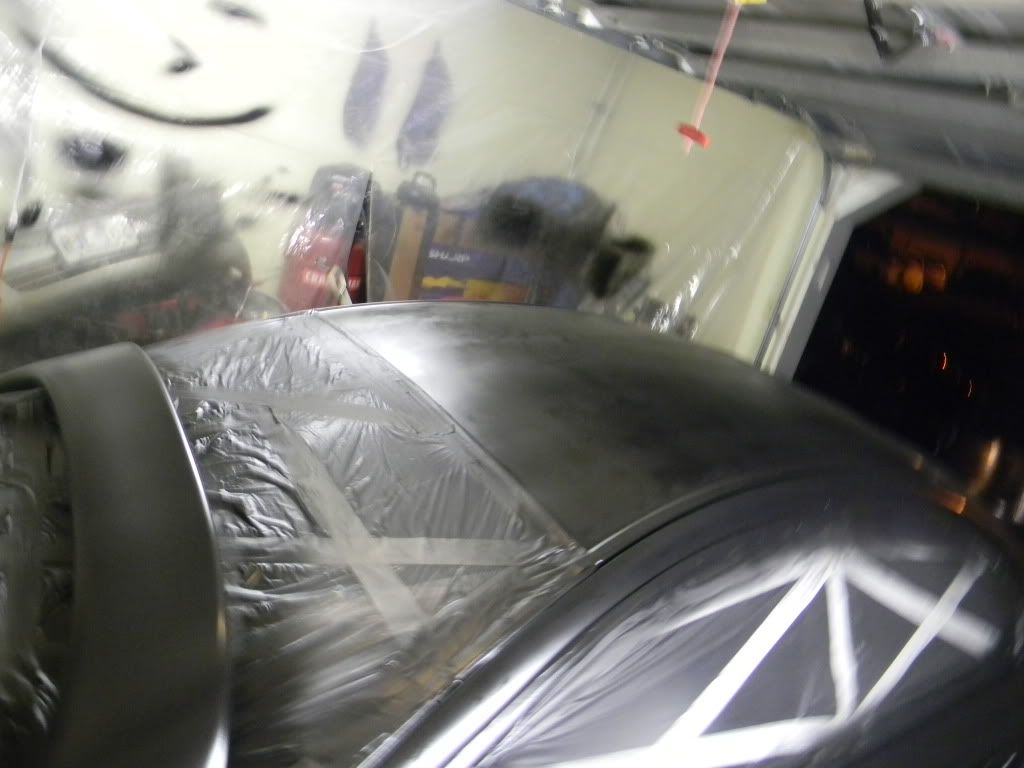
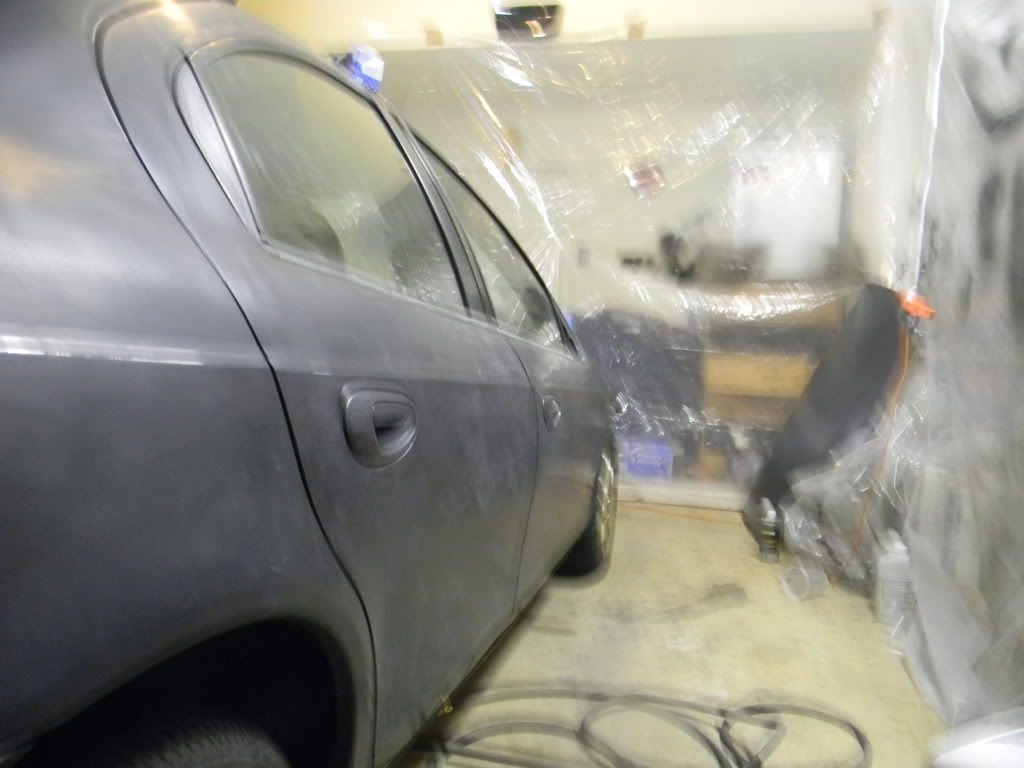
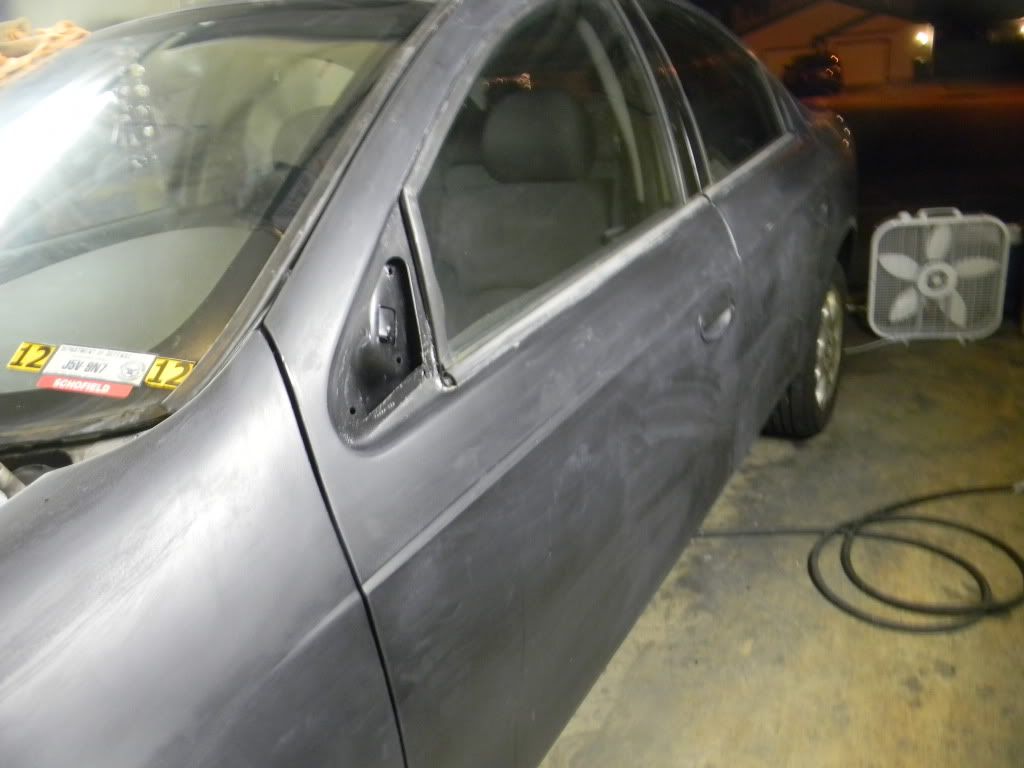
this is my home made paintbooth

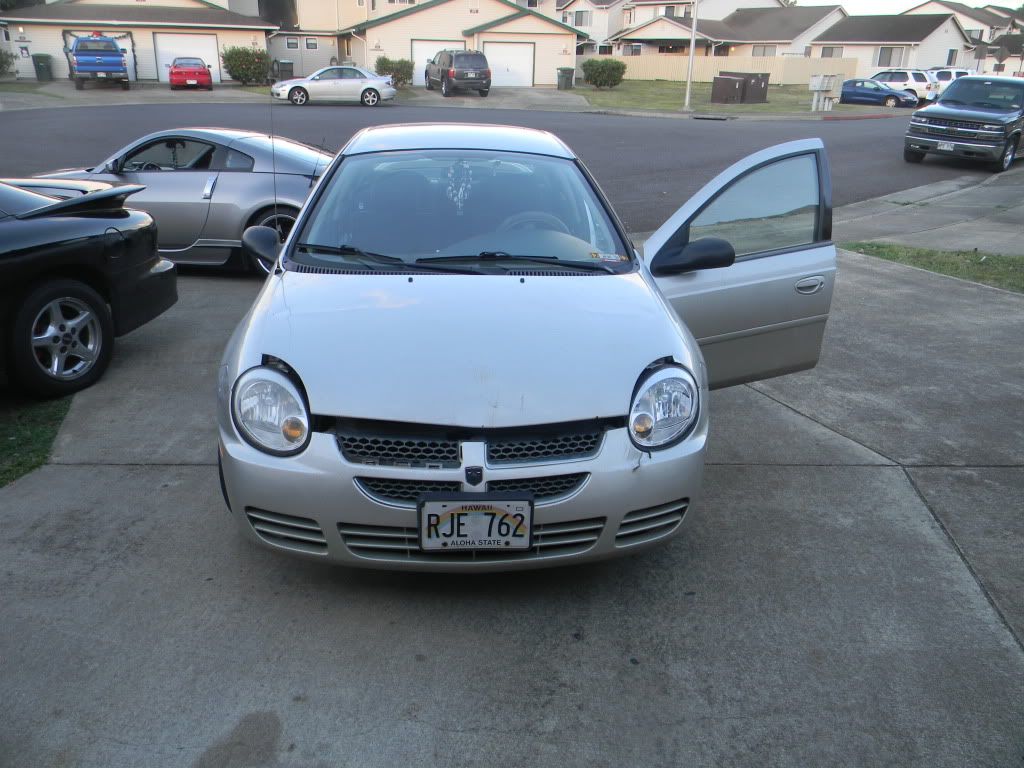
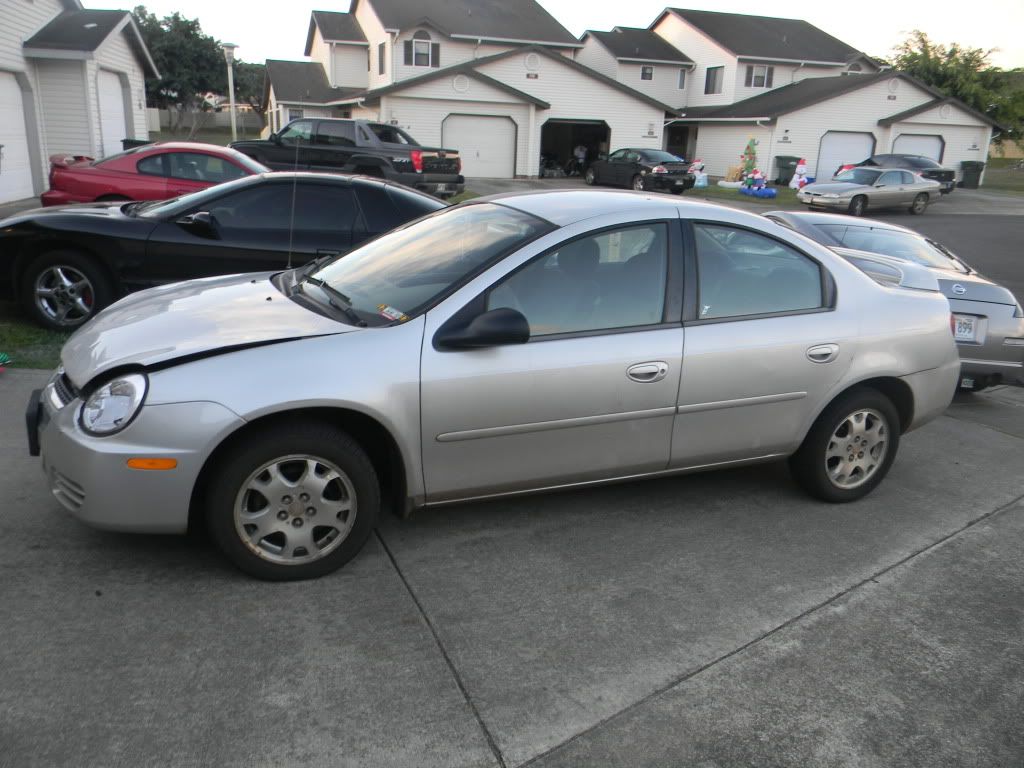
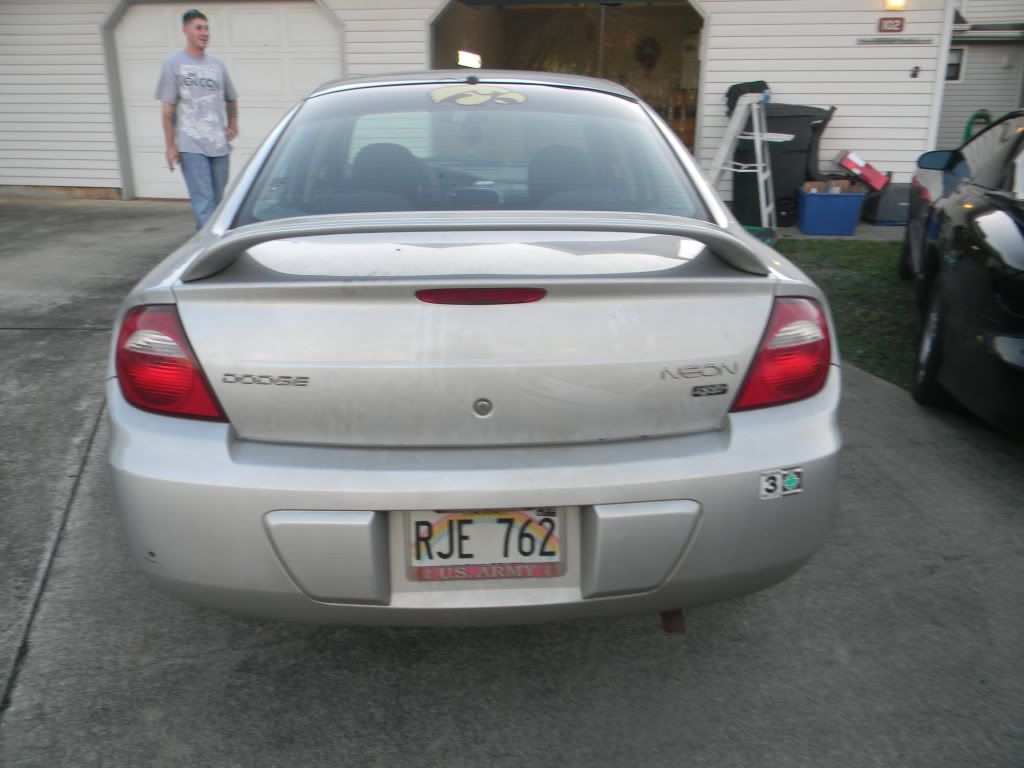
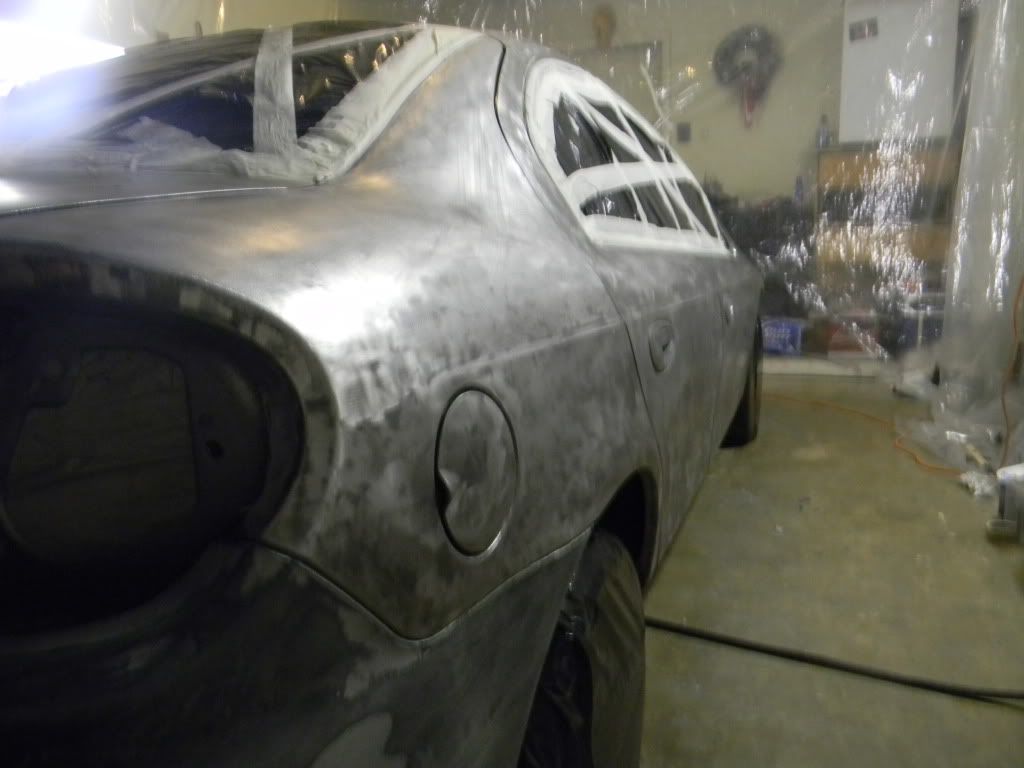
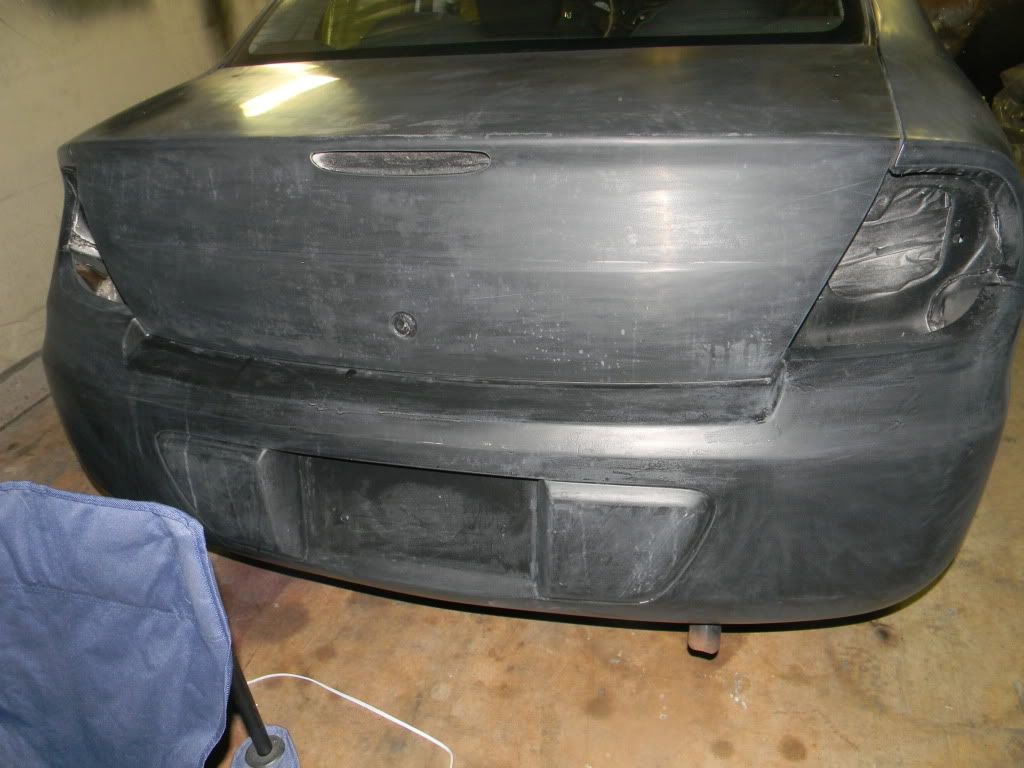
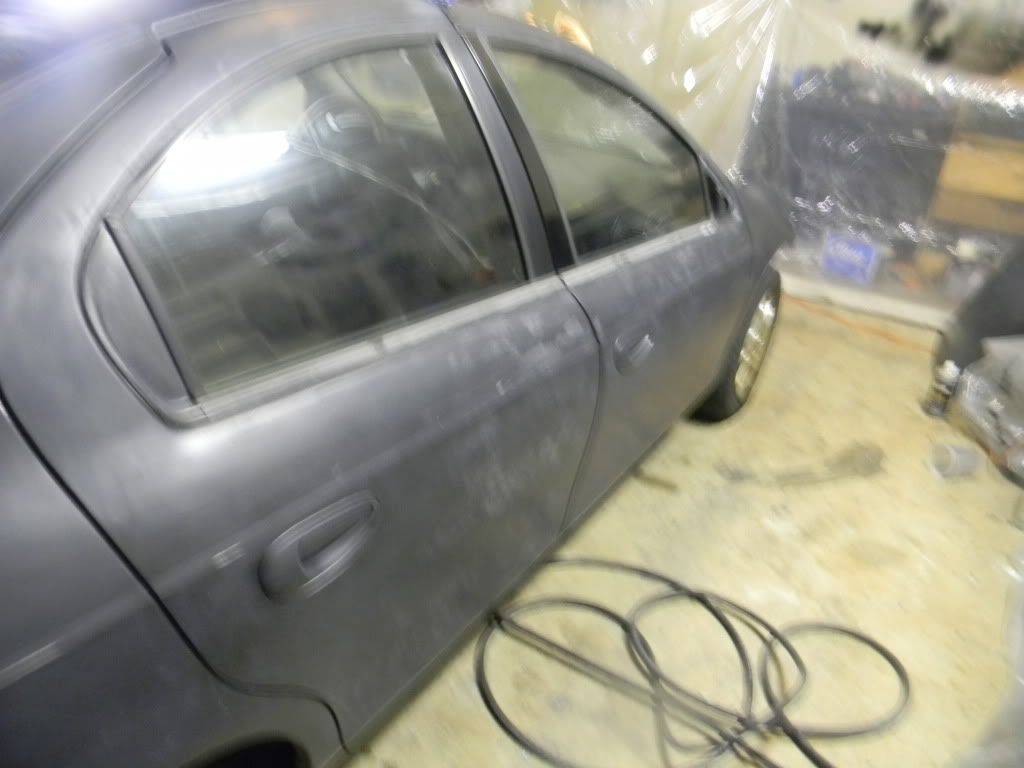
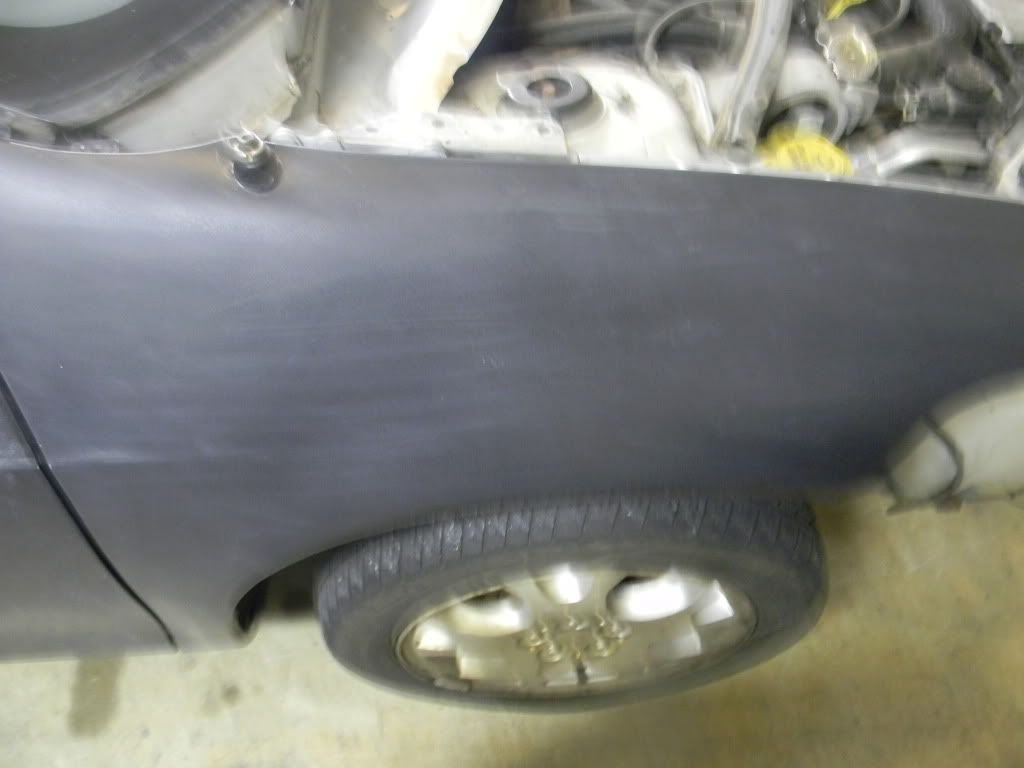
these are before pictures

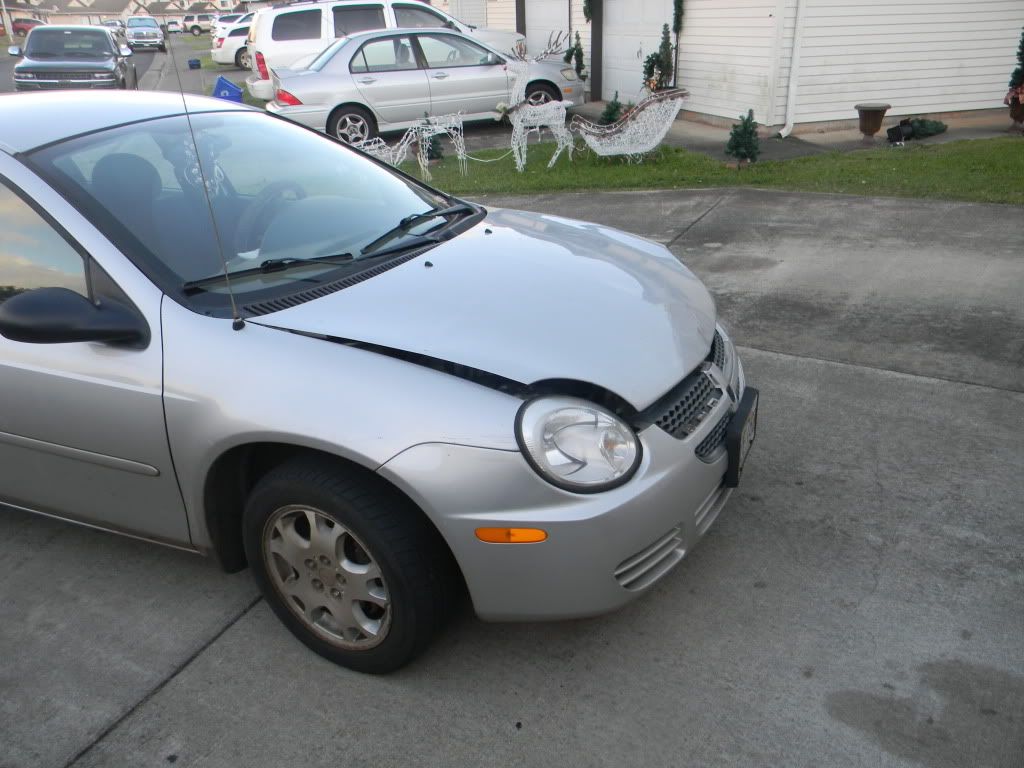
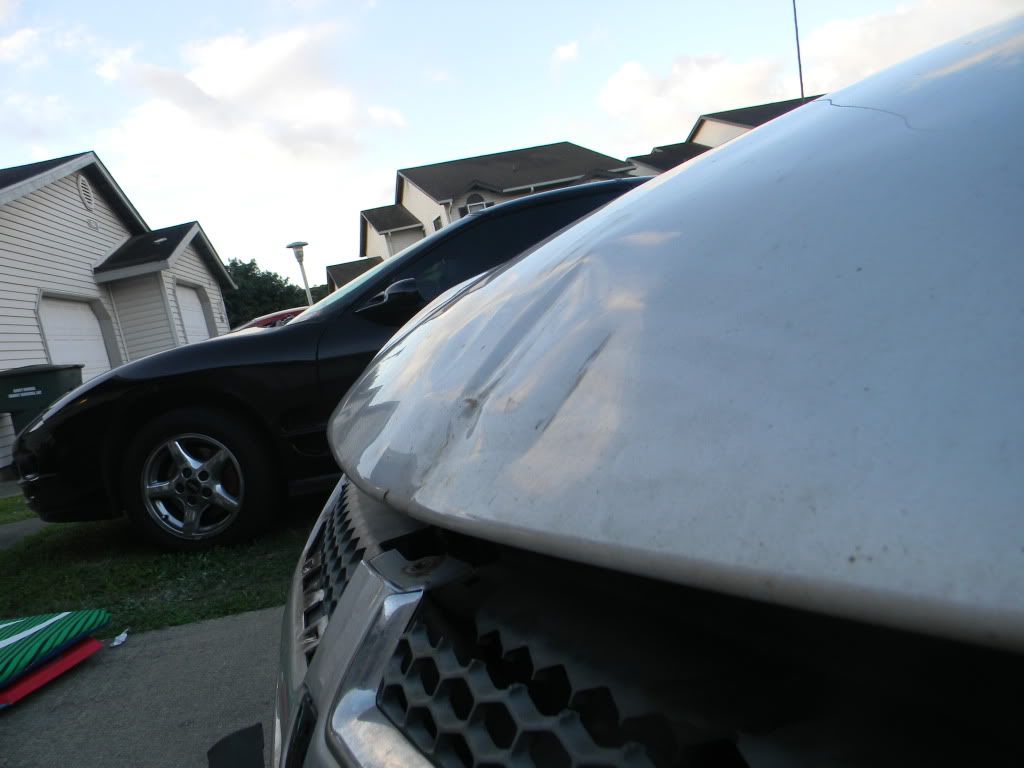
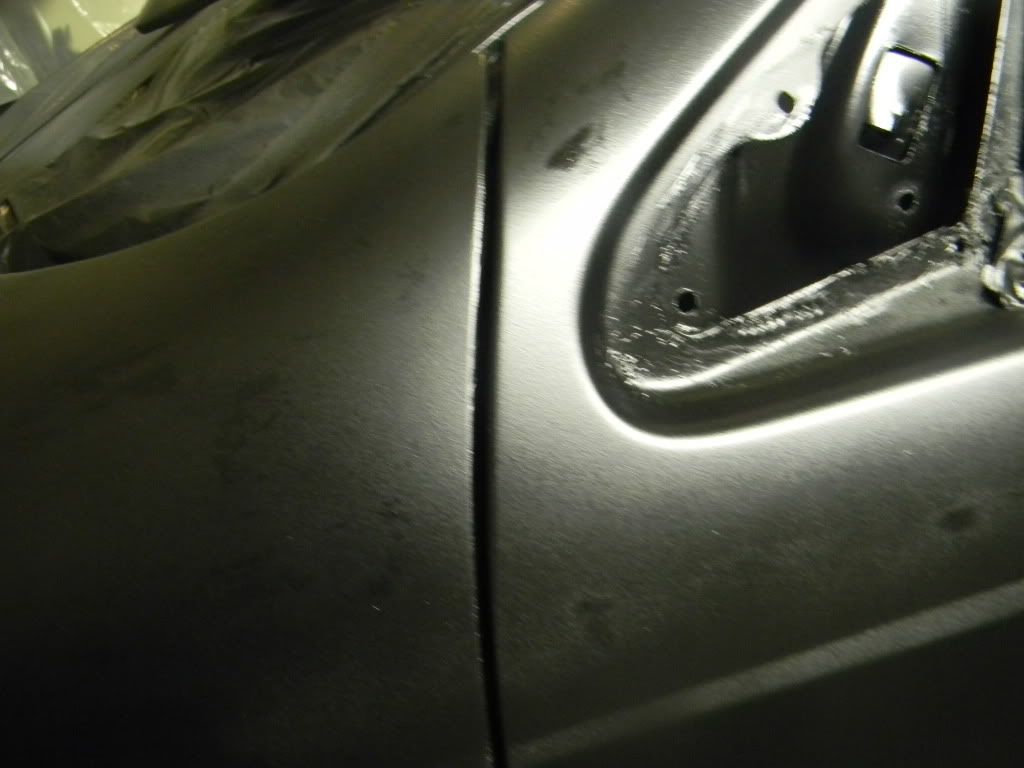
We used aircraft stripper as said about to strip most of the paint... then used a right angle die grinder with paint remover wheel to hit the rest... also we bondo the hood
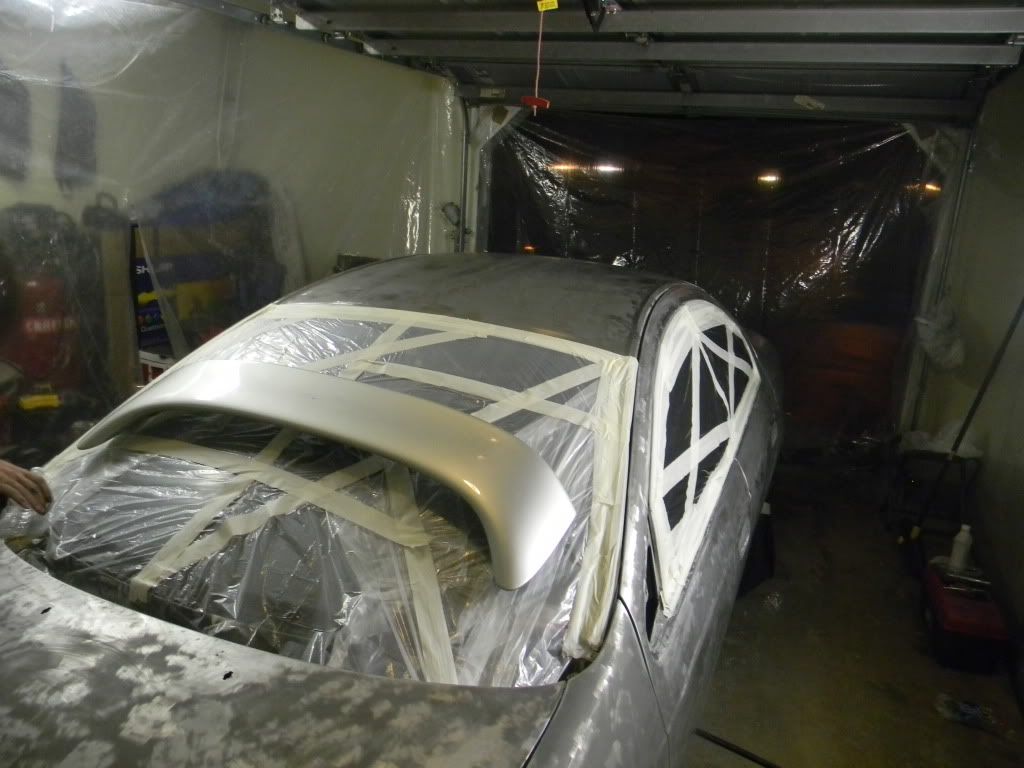
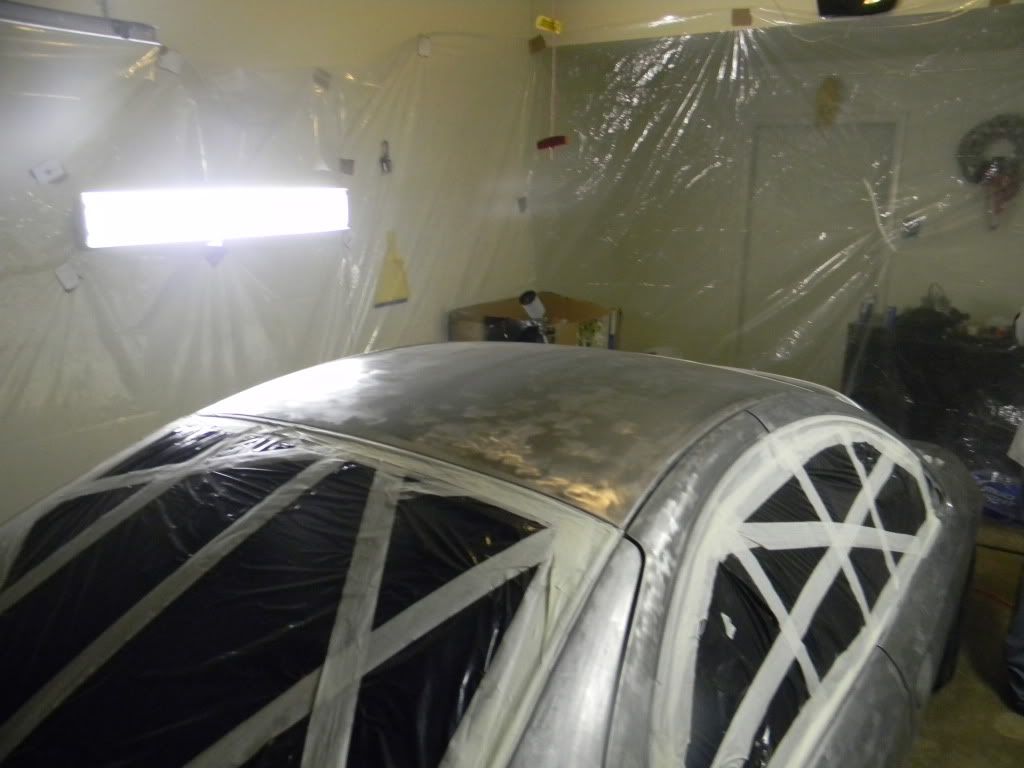
Getting ready to spray epoxy primer
First coat of primer
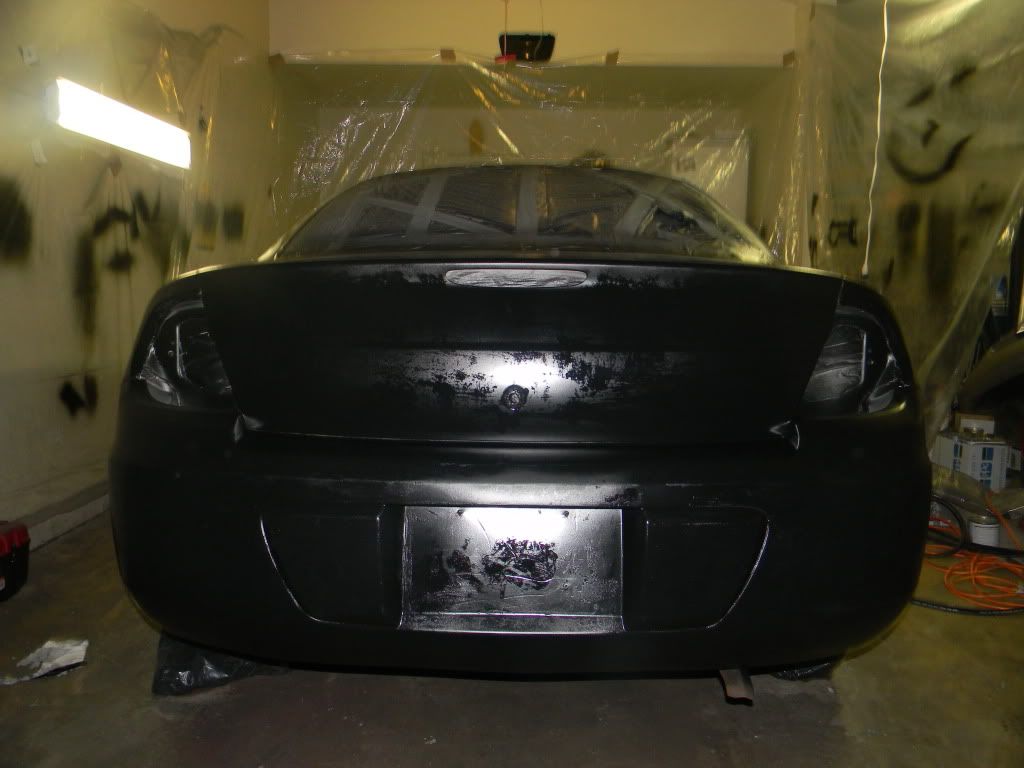
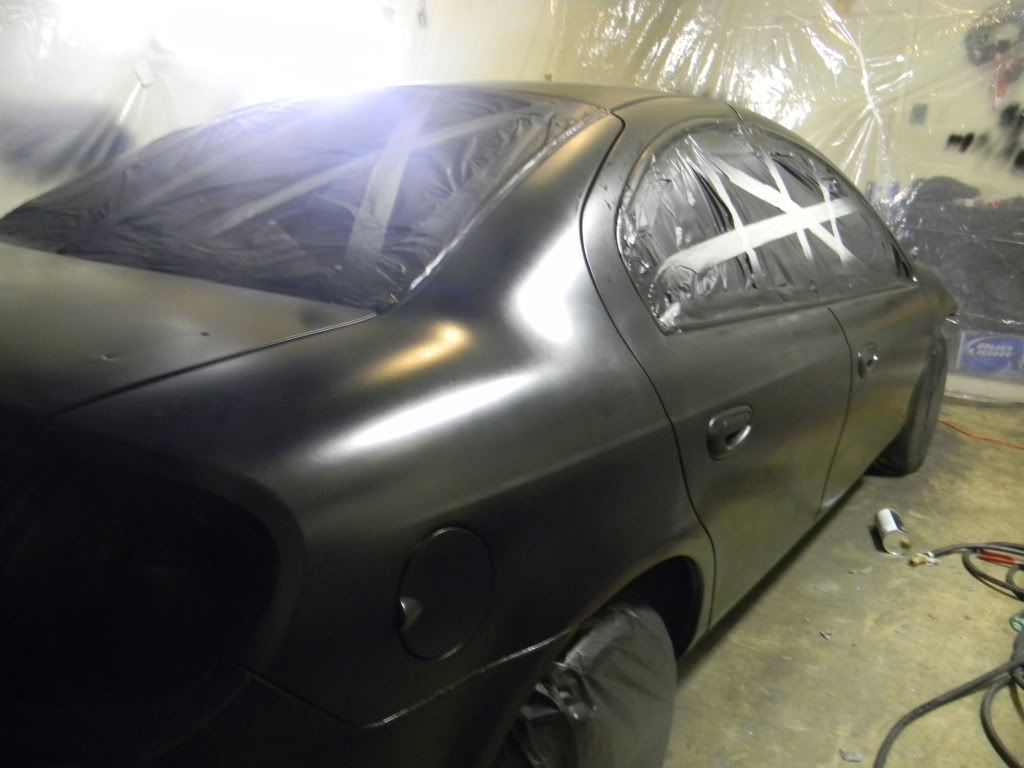
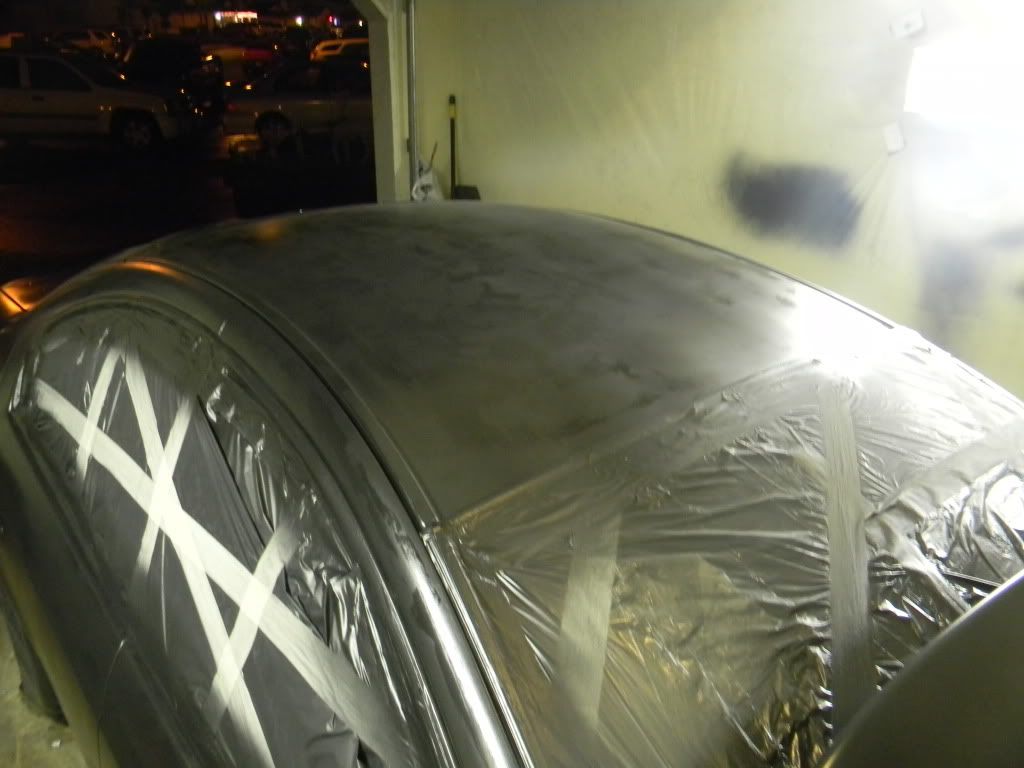
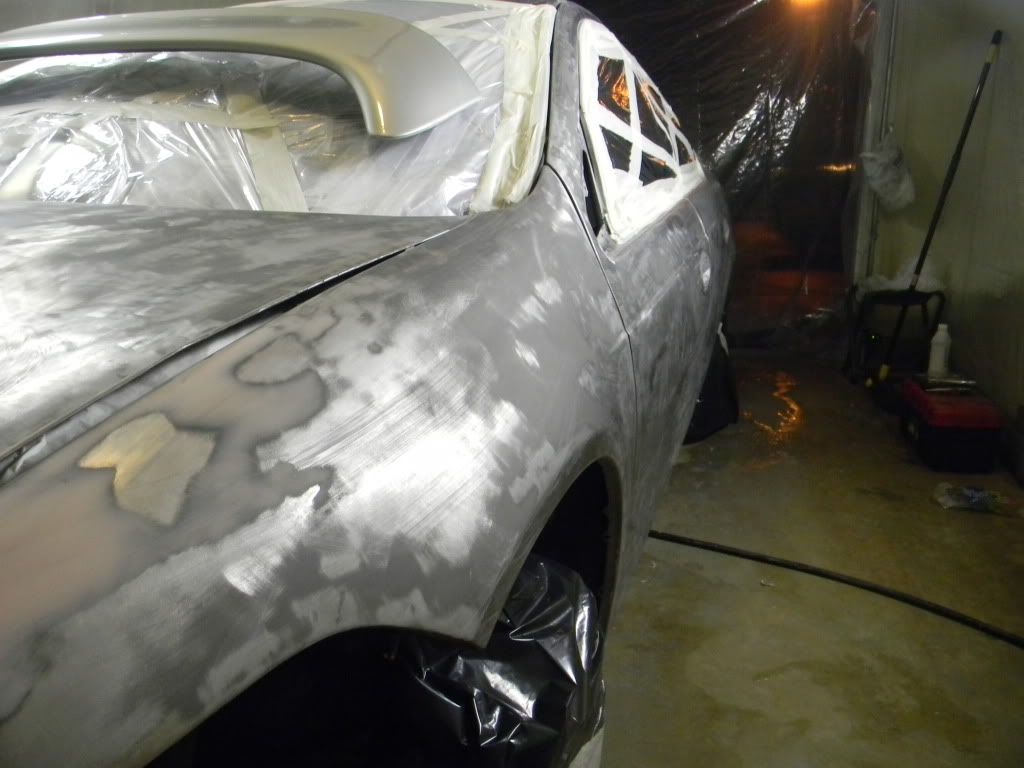
not sure when the pictures go from primer to after sanding and getting ready for base coat but i think this is it
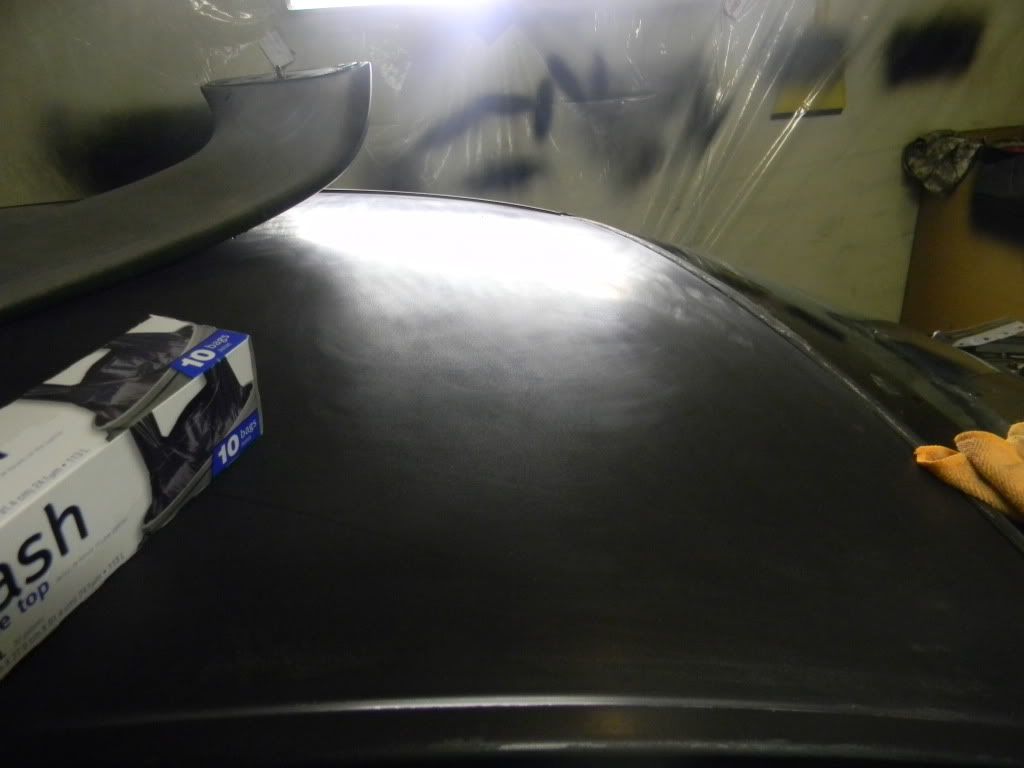
(no we are not painting the jams or anything...)
The rest of the photos for now are below in post 21
In the garage by hanging 4 mil plastic all around the walls. Decided to take the car to metal and start fresh so I have epoxy primer, black bc and then the cc. We used a gallon of aircraft stripper to get most paint off, worked good but not all the way(tough to apply to the side of the vehicle in a thick enough coat for it to do its business) got most paint off and then I went and bought some aircraft stripper in an arasol can. That stuff was AMAZING!!! Sprayed it on and 10 mins later the paint was literally falling off. Would use that for a whole car but it's ten bucks a can and only covers a panel per can.
Anyway after this we used a die grinder with a paint romover wheel to remove the little spots here and there. Now we have cleaned the surface with a tack rag and a quick wipe with acetone.
Just finished spraying 3 coats of primer and heading to bed to let dry until morning where we will sand and lay another coat of primer and then seal that. Plan to have it finished tomorrow night... Sounds like a rush I think but car is needed Monday morning!!! Oh well lol. Will post pictures when I figure out how
I learned how to post pictures... here you go
this is my home made paintbooth
these are before pictures
We used aircraft stripper as said about to strip most of the paint... then used a right angle die grinder with paint remover wheel to hit the rest... also we bondo the hood
Getting ready to spray epoxy primer
First coat of primer
not sure when the pictures go from primer to after sanding and getting ready for base coat but i think this is it
(no we are not painting the jams or anything...)
The rest of the photos for now are below in post 21
Last edited by bones_c; 12-14-2011 at 02:58 AM. Reason: Posted Photos

 12-11-2011, 05:34 PM
#6
TECH Resident
iTrader: (8)

Join Date: Apr 2010
Location: NJ
Posts: 902
Likes: 0
Received 0 Likes
on
0 Posts

Checking in, figured we would be seeing a slick black paint job by now...... On serious side and a good trick to do when using aircraft stripper is to cover the area its being used with plastic.. This way you will slow down the volatizing process.... It will work alot better and more concentrated over the area being applied

Trending Topics
12-11-2011, 07:32 PM
#8
TECH Regular
iTrader: (4)
Join Date: Apr 2010
Location: Bristol,TN
Posts: 472
Likes: 0
Received 0 Likes
on
0 Posts
^ good tip it's what we do at the shop, also tape off the edges 1/4 in or so to keep the stripper from getting on the back side, especially on jobs where u won't be changing the color.
12-12-2011, 04:44 PM
#9
TECH Regular
Thread Starter
iTrader: (3)
Join Date: Mar 2011
Location: Killeen, TX
Posts: 493
Likes: 0
Received 0 Likes
on
0 Posts
Well like I said I gotta figure out how to do pics but it's a sun up sun down project so they prolly won't be up until finished... We're about to lay down the primer sealer and then on to base coat
12-13-2011, 01:30 AM
#11

are you baking it? it really depends on humidity and temperature.. in ideal conditions without baking it, 3 days should be good... Id wait a week so be safe but it really can be done anytime after a week or so.... just make sure you dont seal or wax it for a while... a month at least...
12-13-2011, 04:51 PM
#14
TECH Regular
iTrader: (4)
Join Date: Apr 2010
Location: Bristol,TN
Posts: 472
Likes: 0
Received 0 Likes
on
0 Posts
Did it get below 55 degrees after you let it dry? If so maybe give it anouther day then wet sand n buff, when you get done buffing with compound wipe it with wax n grease remover if it brings the haze back from wet sanding you need to buff with some compound again then polish.
When clear gets below a certain temp it will harden but not completely cure underneath n when you wet sand it n buff it sometimes will come back(the sand marks). Some compounds are kind of waxy also so it will shine up then when you wash it you'll notice some haze on it, by wipeing with wax n grease remover it wipes off the compound n shows if you need to buff somemore.
When clear gets below a certain temp it will harden but not completely cure underneath n when you wet sand it n buff it sometimes will come back(the sand marks). Some compounds are kind of waxy also so it will shine up then when you wash it you'll notice some haze on it, by wipeing with wax n grease remover it wipes off the compound n shows if you need to buff somemore.
12-13-2011, 05:12 PM
#15
Just wait... It can be sanded and buffed anytime after its cured... hell, I did it to my car when I got it and it was already 10 years old...
Oh, and uhhh.. pics would be nice...
Oh, and uhhh.. pics would be nice...
12-13-2011, 07:07 PM
#16
TECH Regular
iTrader: (4)
Join Date: Apr 2010
Location: Bristol,TN
Posts: 472
Likes: 0
Received 0 Likes
on
0 Posts
Different clears act deferent my advice is not to wait to long but wait a few days so everything has had time to soak down, if you wait to long most good clears get hard as concrete and become extremely hard to buff
12-13-2011, 08:09 PM
#18
TECH Regular
Thread Starter
iTrader: (3)
Join Date: Mar 2011
Location: Killeen, TX
Posts: 493
Likes: 0
Received 0 Likes
on
0 Posts
Im in Hawaii so no freezing temps will try to put up pics tonight... Trying to get this done before my leave is up I only got one day left then back to work... I figure I'll wait until next weekend to buff it out
12-13-2011, 11:04 PM
#19
Launching!
Join Date: Mar 2009
Location: Weatherford Tx 76085 corner of N. Hwy 51 and 150 Green branch Rd.
Posts: 274
Likes: 0
Received 0 Likes
on
0 Posts
 If you plan on color sanding be sure your confident in bringing back the shine. Wet sanding is easy, the buffing is where a lot of people struggle to get the shine back out and black is not as forgiving as other colors may be. watch out for SWIRLS (Black is horrible for this) cause in the shade you won's see them so bring the car out in the sun and see if you buffed it out enough. There is no rush in color sanding I'd wait til next weekend that way it will give the paint a chance to settle in and bring out any scratch marks that may come out within the week so when you do get ready to wet sand you can remove the scratch marks as well as the orange peel. Good Luck man. Ernest
12-14-2011, 01:40 AM
If you plan on color sanding be sure your confident in bringing back the shine. Wet sanding is easy, the buffing is where a lot of people struggle to get the shine back out and black is not as forgiving as other colors may be. watch out for SWIRLS (Black is horrible for this) cause in the shade you won's see them so bring the car out in the sun and see if you buffed it out enough. There is no rush in color sanding I'd wait til next weekend that way it will give the paint a chance to settle in and bring out any scratch marks that may come out within the week so when you do get ready to wet sand you can remove the scratch marks as well as the orange peel. Good Luck man. Ernest
12-14-2011, 01:40 AM
#20
TECH Regular
Thread Starter
iTrader: (3)
Join Date: Mar 2011
Location: Killeen, TX
Posts: 493
Likes: 0
Received 0 Likes
on
0 Posts
Well it's a little late for that.. Already hit it with 1500 going to do 2000 tomorrow... Working on the bumper now gotta do some fiberglassing cause it was broken... The car rear ended someone before I bought it