Camaro and Firebird: How to Replace Ball Joints
You can replace the ball joints in your Camaro or Firebird yourself with some patience.
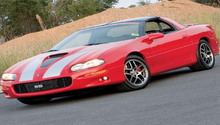
This article applies to the Chevrolet Camaro and Pontiac Firebird (1993-2002).
Bad or loose ball joints can make your car handle poorly, make noise, and not pass state inspections. Ball joints need to be tight to hold your alignment and help the car handle like it was designed to. Ball joints work with the A-arms, spindles, shock absorbers, springs, sway bar, and tires to allow the movement needed for driving; not too much movement, though. If the ball joints are worn, none of the alignment specs will stay where they were set and premature tire wear can occur. If a ball joint fails completely, you are risking a crash, as the A-arm will collapse. A busted ball joint isn't safe! However, as long as you are ready for some heavy work using more than a screwdriver, you can change them. Let's go.

Materials Needed
- 1/2" drive ratchet, extensions, various size sockets
- 3/8" drive ratchet, extensions, various size sockets
- Grinder
- Hammers
- Punch
- Drill and bits
- Jack
- Jack stand
- Scraper
- Ball joint press tool
- Grease gun
The upper ball joint is much easier to replace than the lower.
Step 1 – Remove wheel
Remove the front wheel. Place that side on jack stand under the subframe. Allow enough room to get your jack under the lower A-arm.
Pro Tip
Be very careful working near the suspension. There is a tremendous amount of energy stored in the spring.
Step 2 – Remove spindle from ball joint
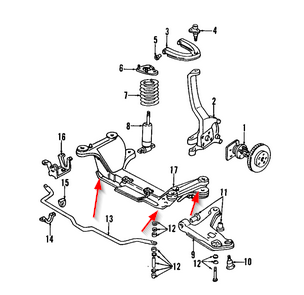
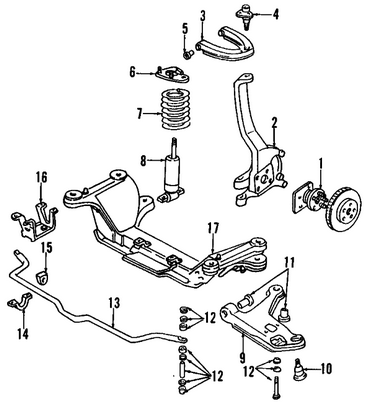
Below is an overall diagram of the F-body suspension. Take a look at the diagram and familiarize yourself with its orientation.
- Remove the cotter pin from the castle nut holding the ball joint to the spindle. Loosen the castle nut, but do not remove.
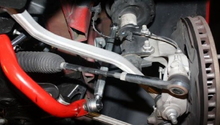
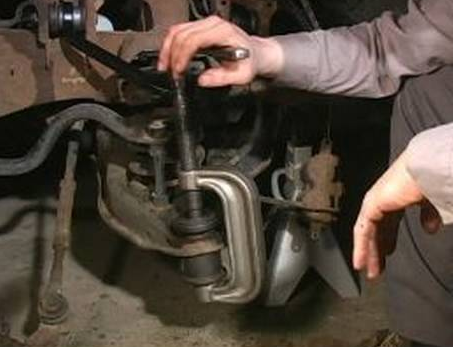
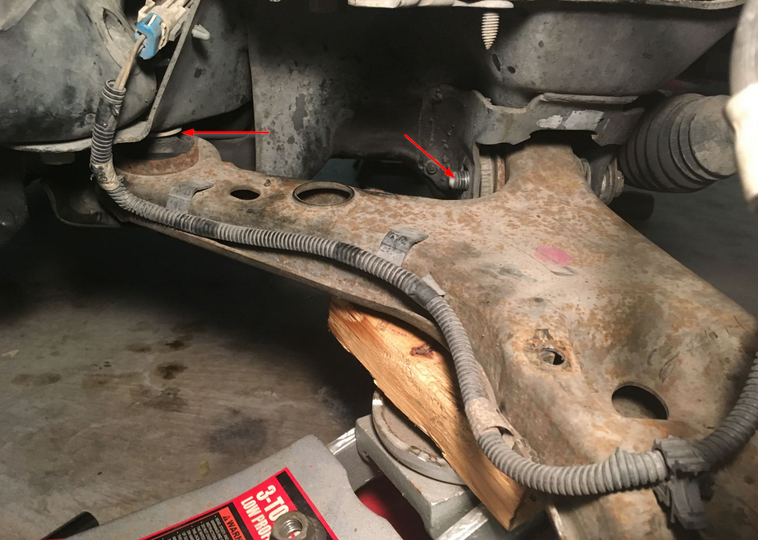
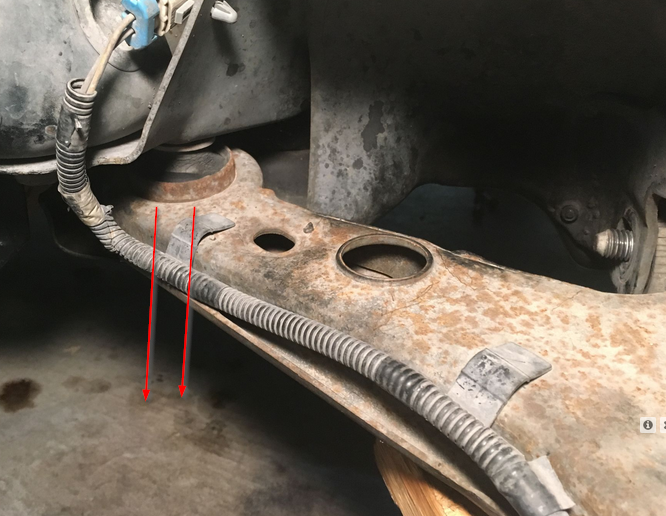
- Now, using a pickle fork or a hammer, jar the spindle loose from the ball joint. Figures 4 and 5 are examples of where to either insert the pickle fork or smack with the hammer.
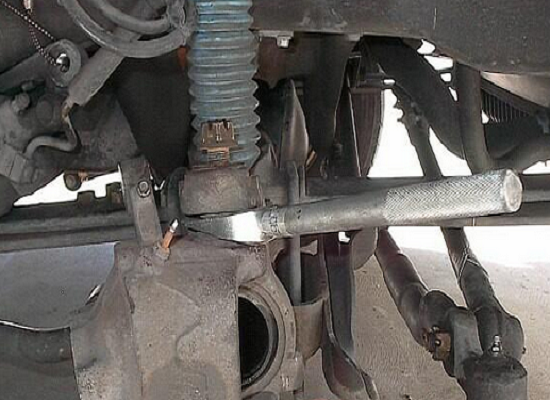
Figure 4. Example of pickle fork. 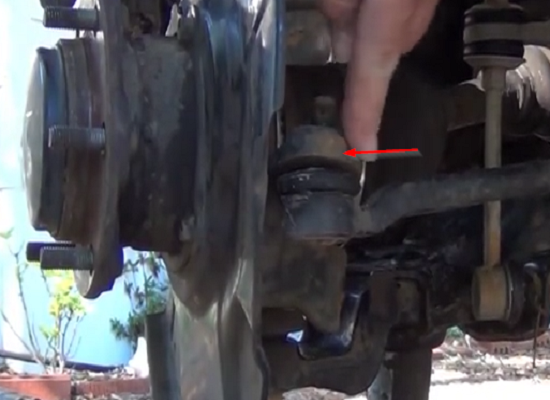
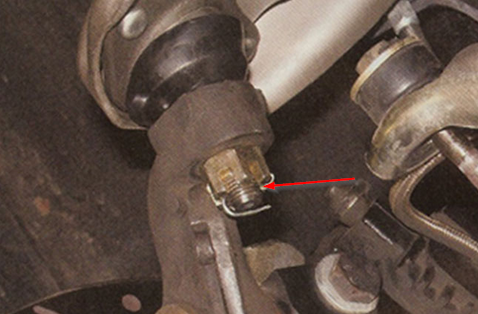
Figure 5. Part to hammer against.
Looking back at Figure 2, the ball joint (#4) should be free from the spindle (#2). The upper ball joint is held into the A-arm with three rivets from the factory. These have to be removed by drilling, grinding or chiseling the heads off and then, using a punch, drive the rivet out. The lower ball joint is pressed in. Remove the castle nut and the ball joint should come out.
Pro Tip
Pickle forks can break or tear up the rubber boot on the joint. The boot can not be reused if torn. Smacking the spindle with a hammer requires caution, too, so nothing is damaged. It may be a plus to hold a hammer against the opposite side of where you will be smacking.
The next step is for the upper ball joint.
Step 3 – Replace upper ball joint
The replacement ball joint bolts in. You may have to drill the holes in the A-arms out slightly for them to fit. Be sure the A-arm is clean before installing the ball joint. Install ball joint into spindle and torque castle nut to spec on instructions. Install cotter pin. Go to the last step to finish.
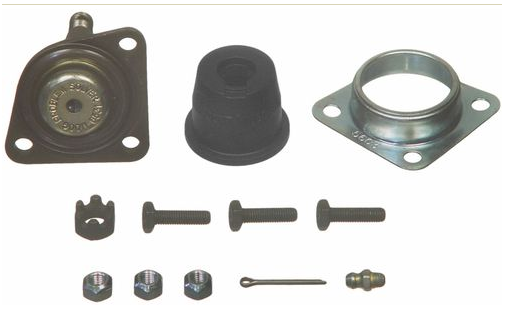
Pro Tip
Use the best parts you can. The old saying goes - "buy the best and only cry once."
This step is for the lower ball joint.
Step 4 – Replace lower ball joint
The lower ball joint is pressed into the A-arm. There are many ways to remove it. None of them are particularly easy. A ball joint press tool that you can rent or use free from most auto supply stores is made to press a ball joint in and out. You can certainly use it, but it is not as easy as it looks.
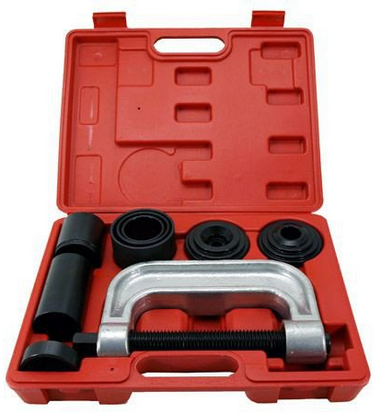
The ball joint is pressed in and is tight! A lot of pressure has to be put on it to get it out. Plus, the tool has to be positioned accurately to work. Be patient and use the biggest breaker bar and friend you can.
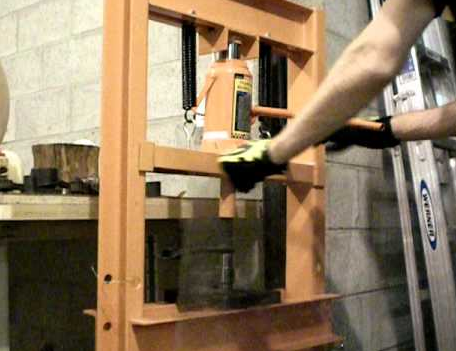
The lower A-arm can also be removed, so it can be taken to a shop with a hydraulic press to press the ball joint out and in. This adds the step of removing the A-arm to the mix, but it is much easier to get the ball joint in and out.
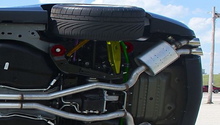
The strut assembly is bolted to the lower A-arm with two bolts, so remove them. Remove the two bolts holding the lower A-arm to the subframe. Un-clip the anti-lock brakes wiring.
The A-arm is loose now, but the bolt going up requires some wiggling to get out. Pull out on the A-arm and it will eventually come out.
Now you can take the A-arm assembly to a shop to have the ball joint pressed. It is easier than using the tool yourself and costs a small amount. Install the lower A-arm with the new ball joint, torque all of the bolts per spec, install the castle nut and cotter pin.
Pro Tip
Having a shop press the ball joint avoids a lot of frustration.
Step 5 – Replace wheel
Grease the new ball joints and double check that all of the bolts are tight. Replace the wheel and torque the lug nuts.
Pro Tip
When all is said and done, your vehicle's wheel alignment will be severely off after all of this, so take the car for a safe test drive right to your local alignment shop for a touch up alignment.
Featured Video: Upper and Lower Ball Joint Replacement
Related Discussions
- How to Replace Ball Joints - LS1Tech.com
- Lower Ball Joint Install - LS1Tech.com
- How to for Ball Joint Replacement - LS1Tech.com
- Replacing Upper/Lower Ball Joints - LS1Tech.com