Another Headlight Sanding and Polishing Success Story
 12-21-2008, 08:17 PM
#1
Well, had this car since September and had some horrible headlights when I bought it. I polished up the headlights on my last car and they looked so-so, but at least I had some experience with it. So right after I got the car I sanded them down, down to a 2000 grit. Then I took a mother's power ball, drill, and some cheap no-name polish/clear coat cutter and went to town. Results weren't that great
So fast forward to this weekend. I've had a rotary buffer for awhile, but never really used it to it's potential. I was asked by my dad to detail a "92 Subaru SVX that my brother is getting for Christmas. So I went out and bought some Meguiar's 83 cutting/polishing compound. Also bought a yellow cutting pad and a black finishing pad at a local paint/detailing place that supplies local body shops. Well had a few hours to mess around this afternoon and decided to redo the headlights, only got enough time/daylight for one though. But, let me tell you that I'm MORE than impressed with the results. These pics don't do it justice, it really looks like a brand new headlight. Just goes to show you with the PROPER equipment, time, and elbow grease, these lights will be just like new. Now for the pics.
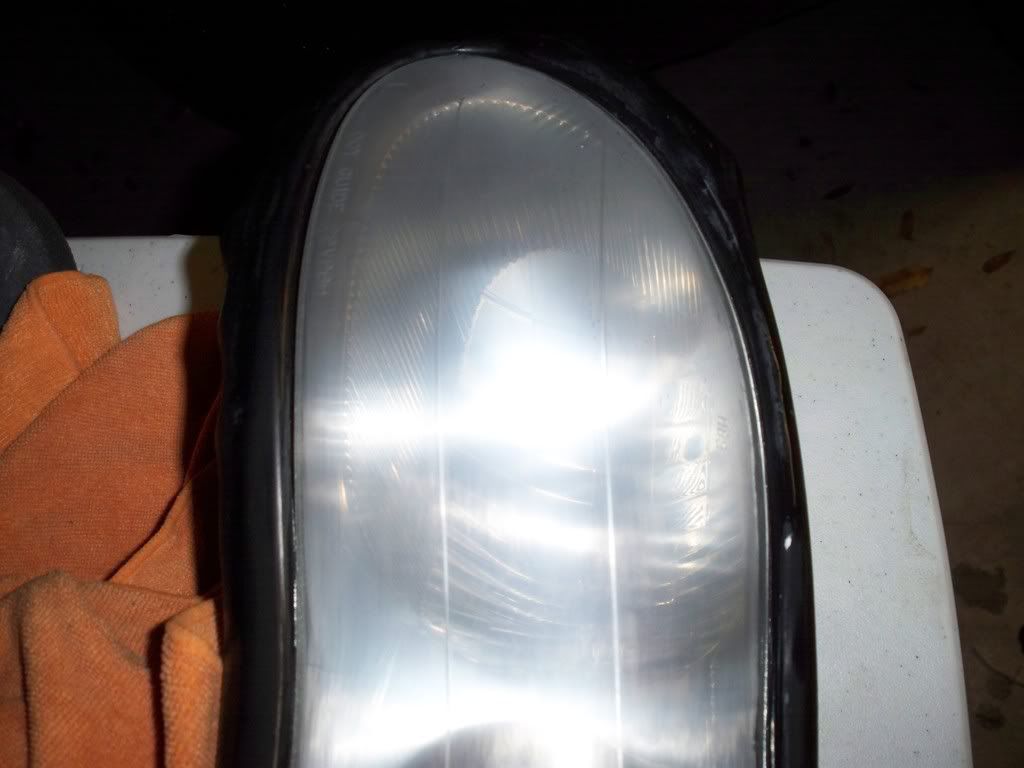
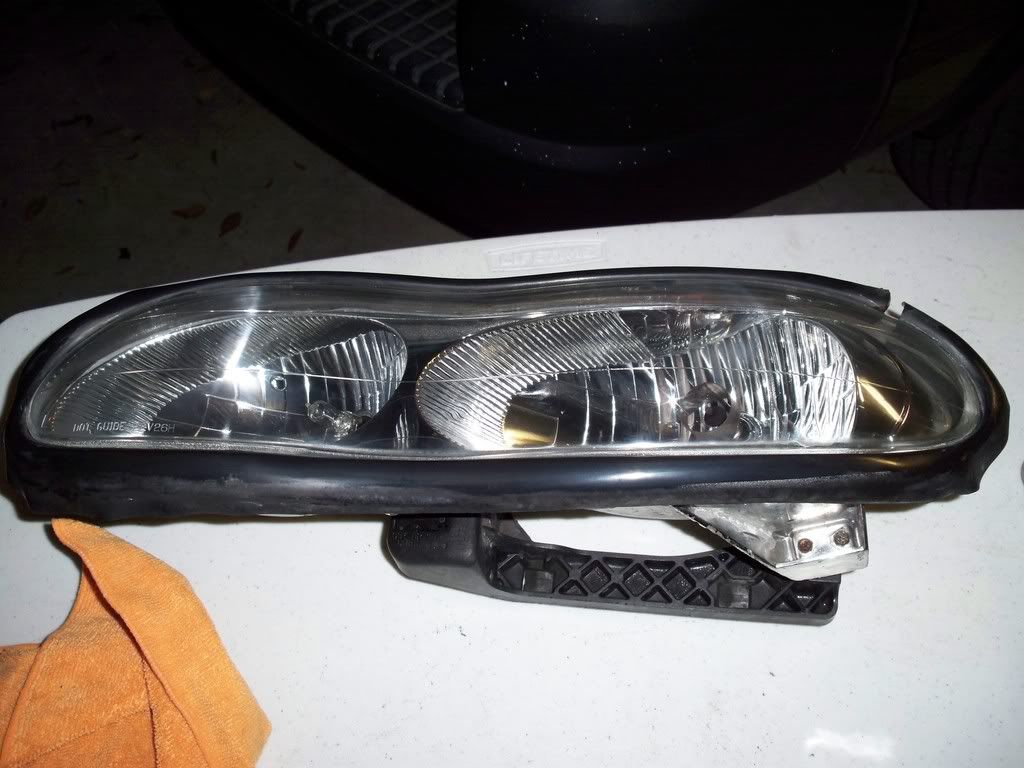
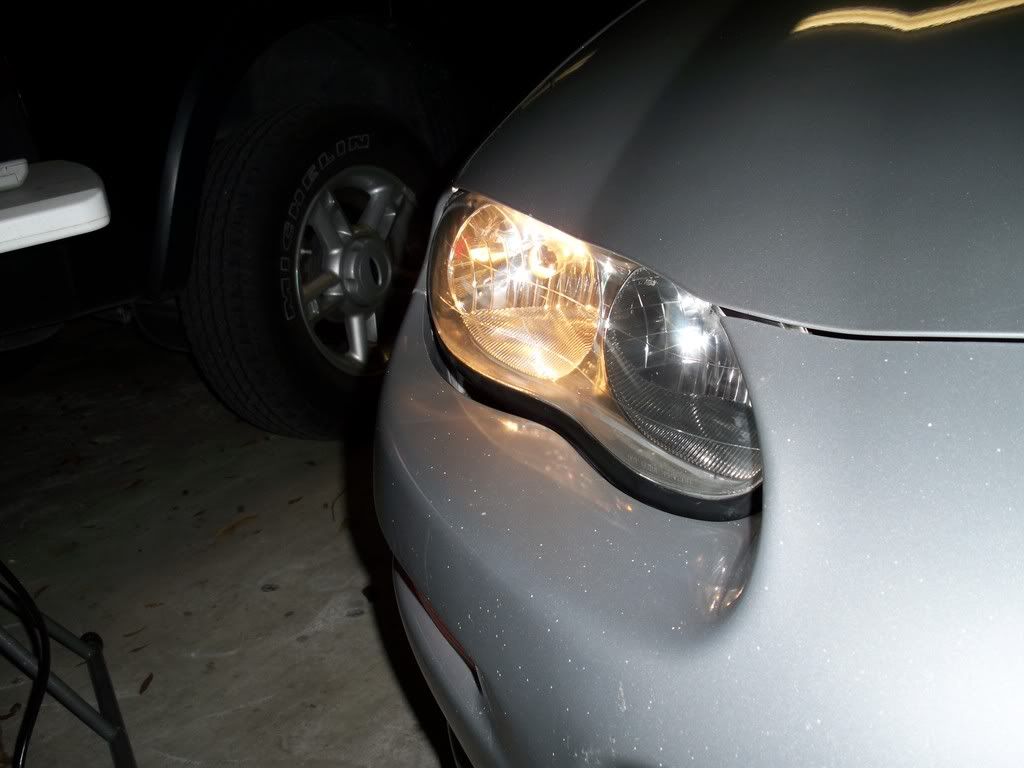
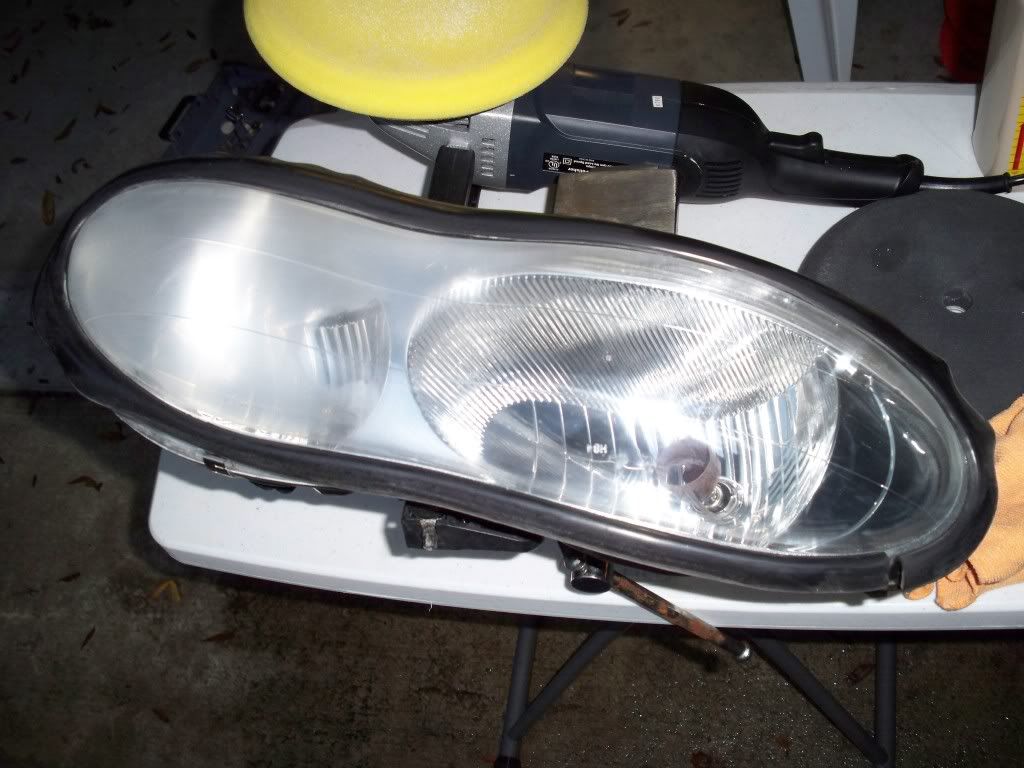
This one is just after barely hitting the one side with the polish
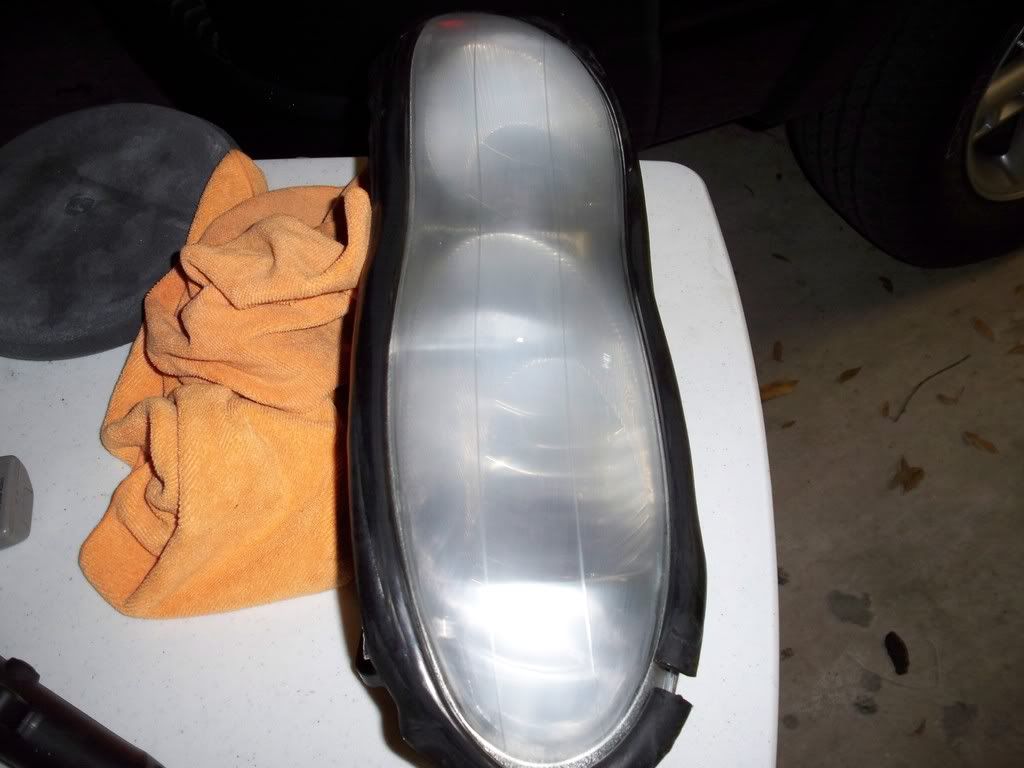
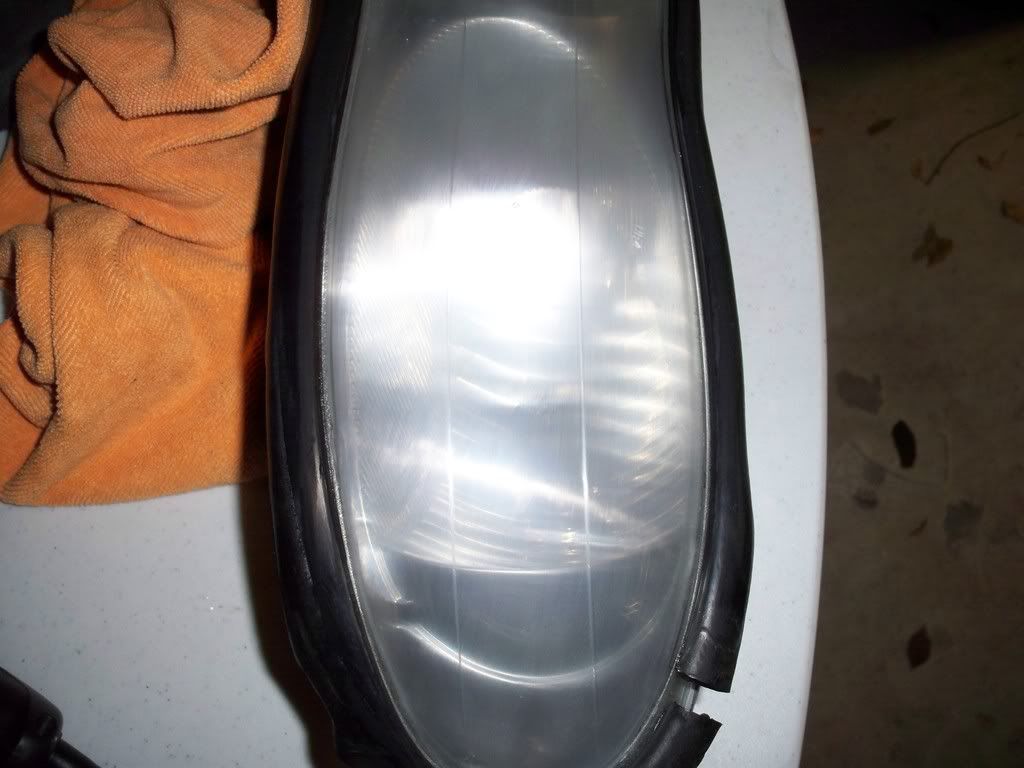
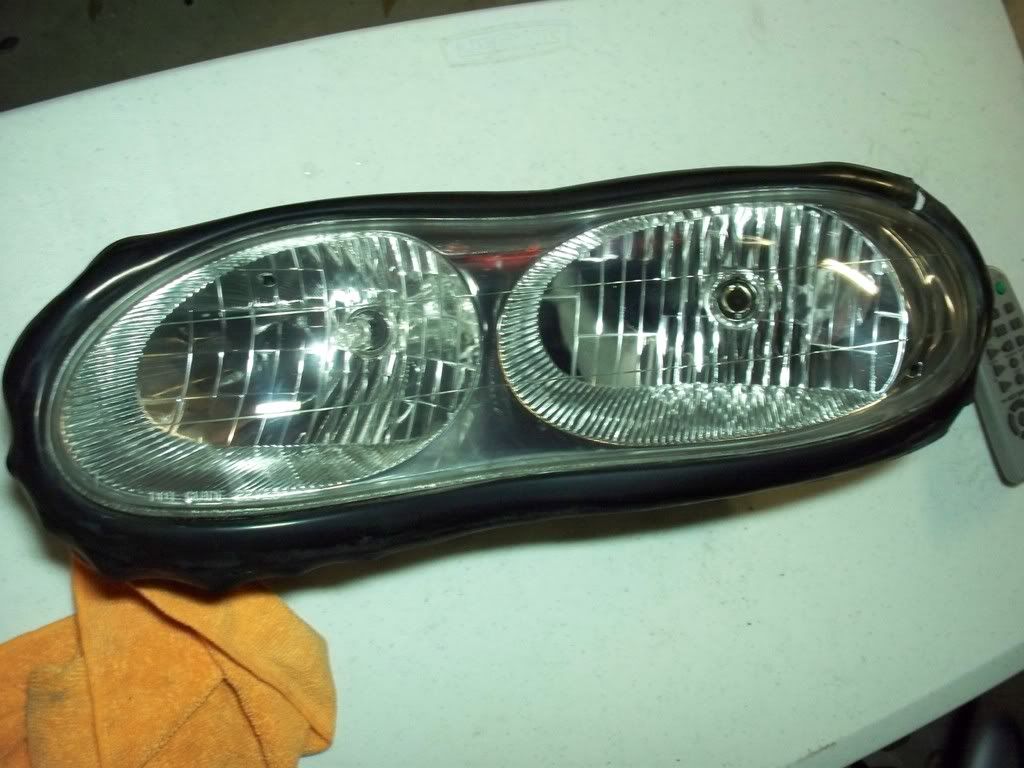
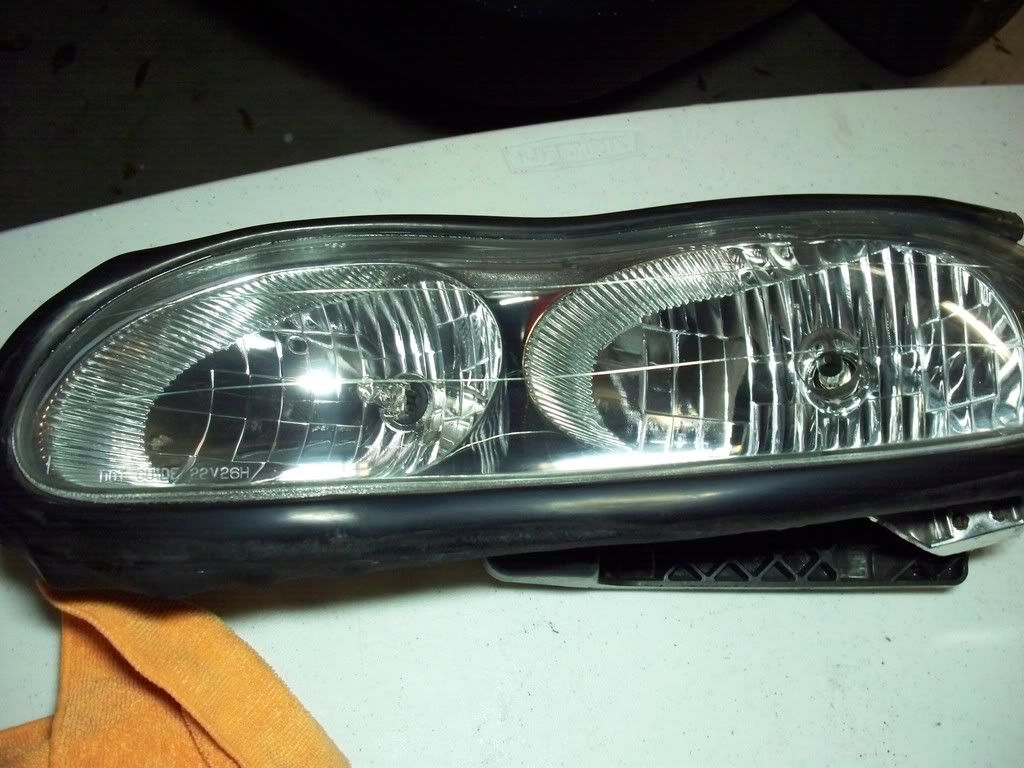
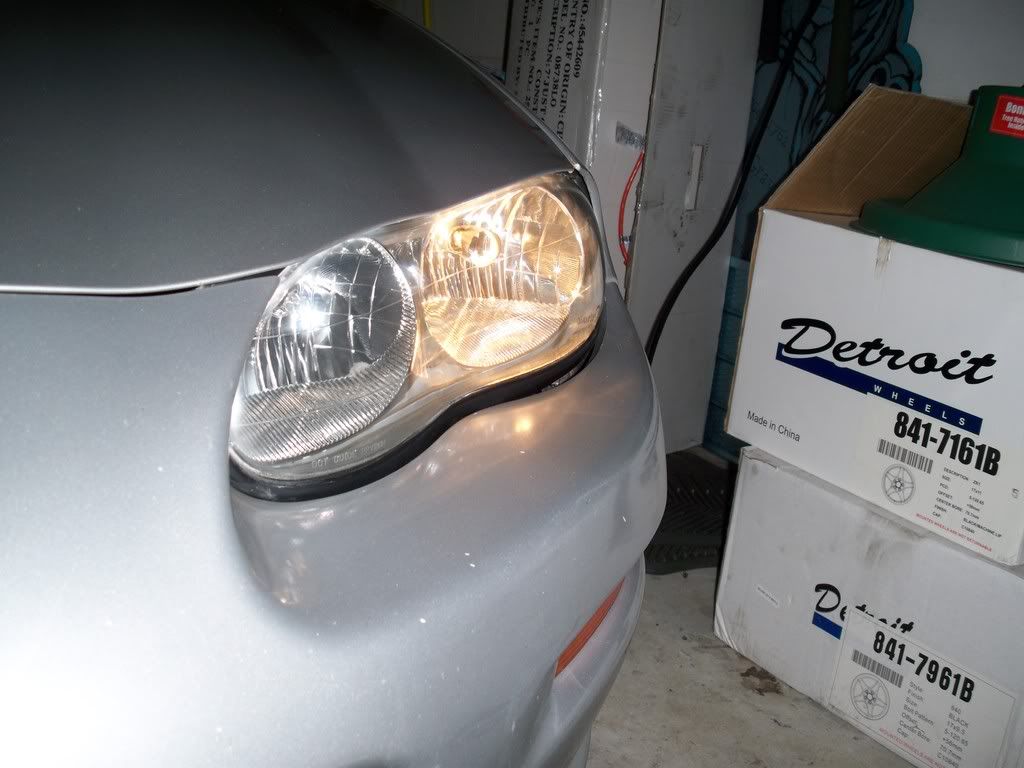
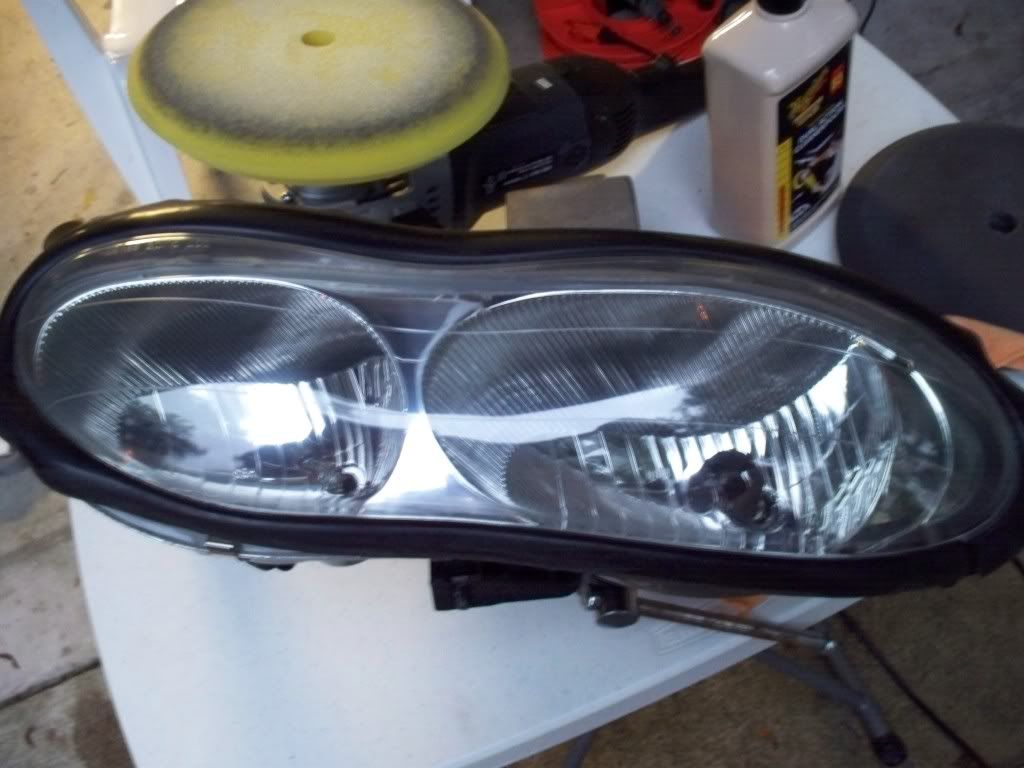
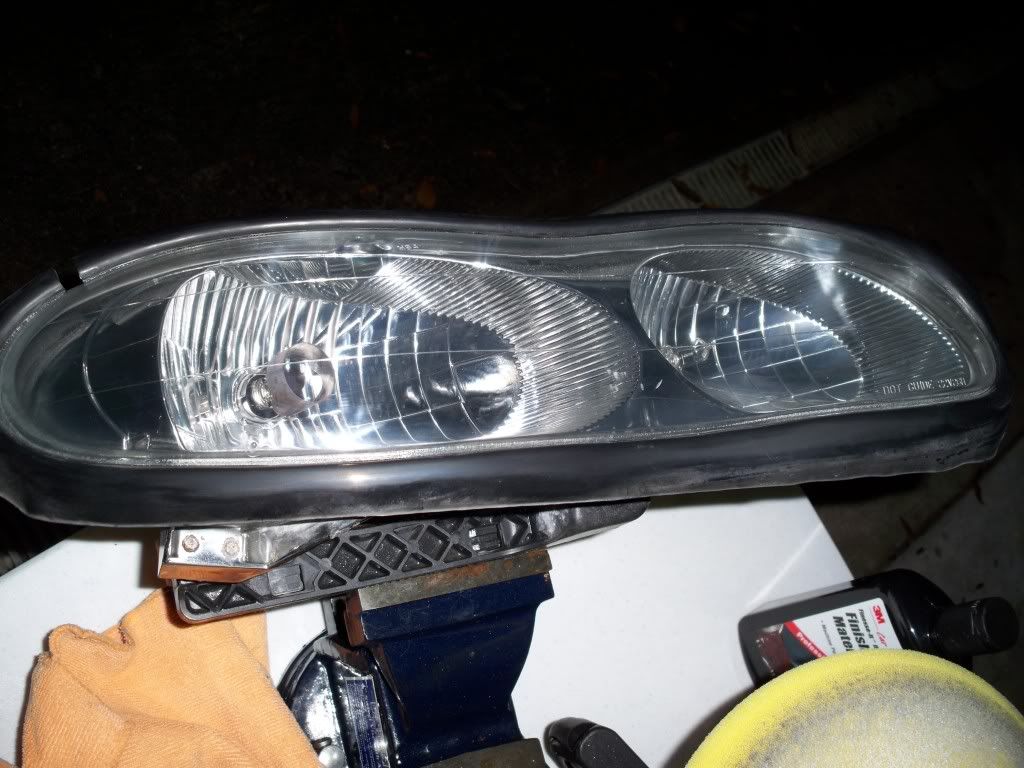
These two are of the finished product.
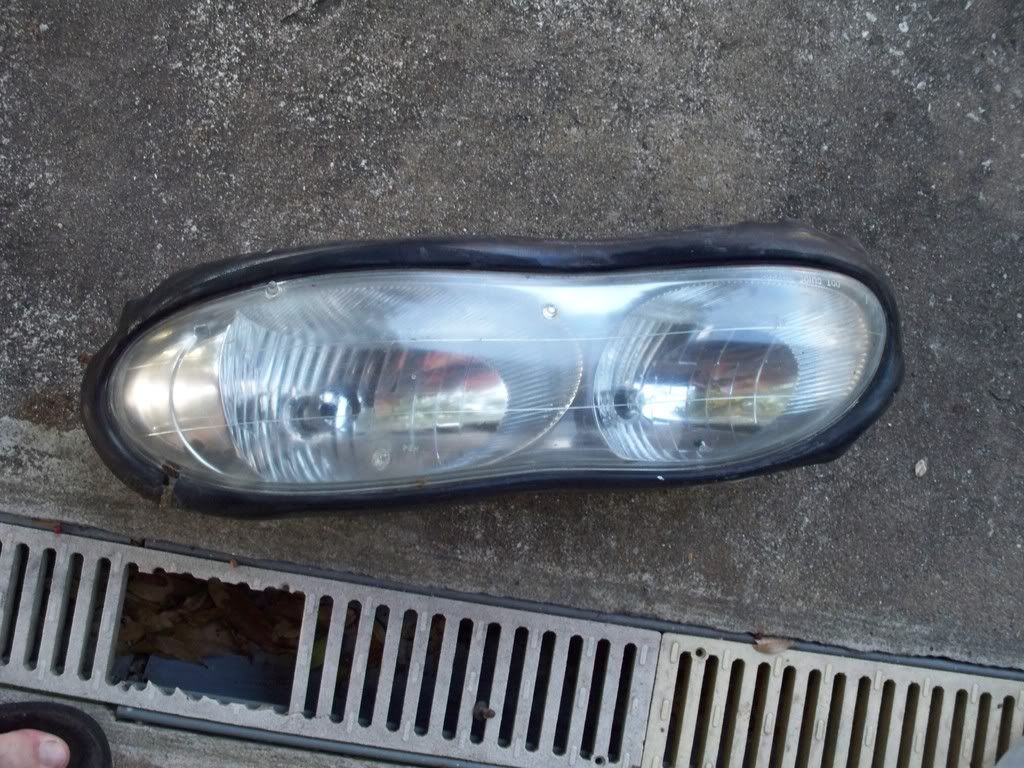
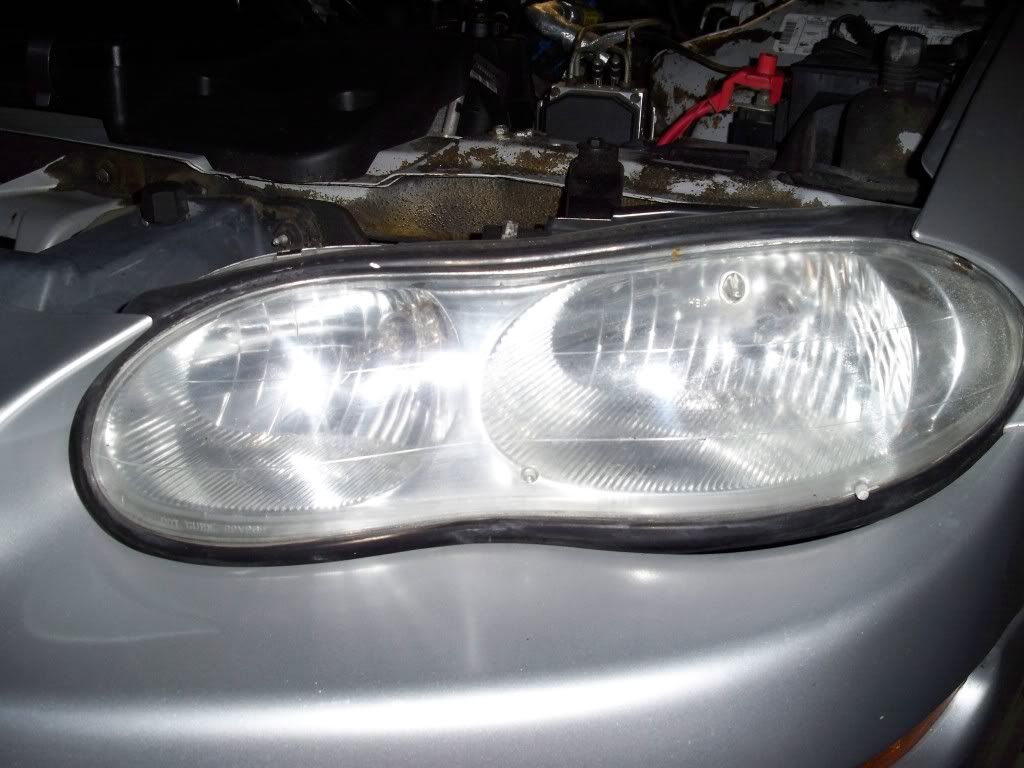
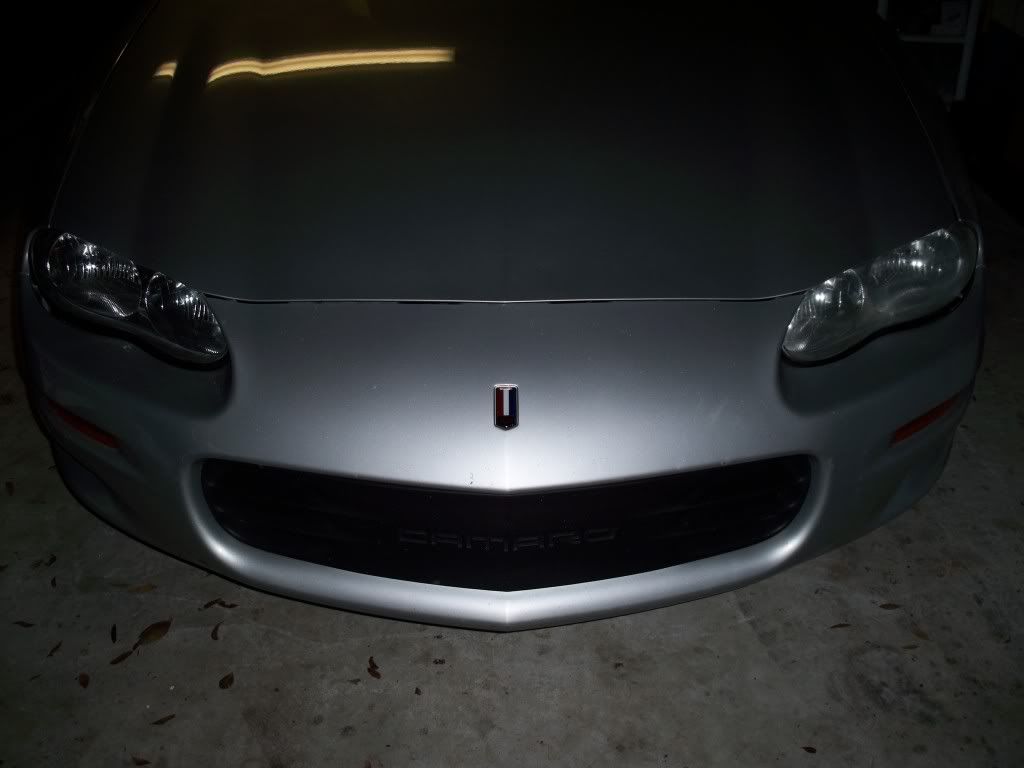
here's a pic of the other headlight. I didn't get a before pic, but it looked just like this one
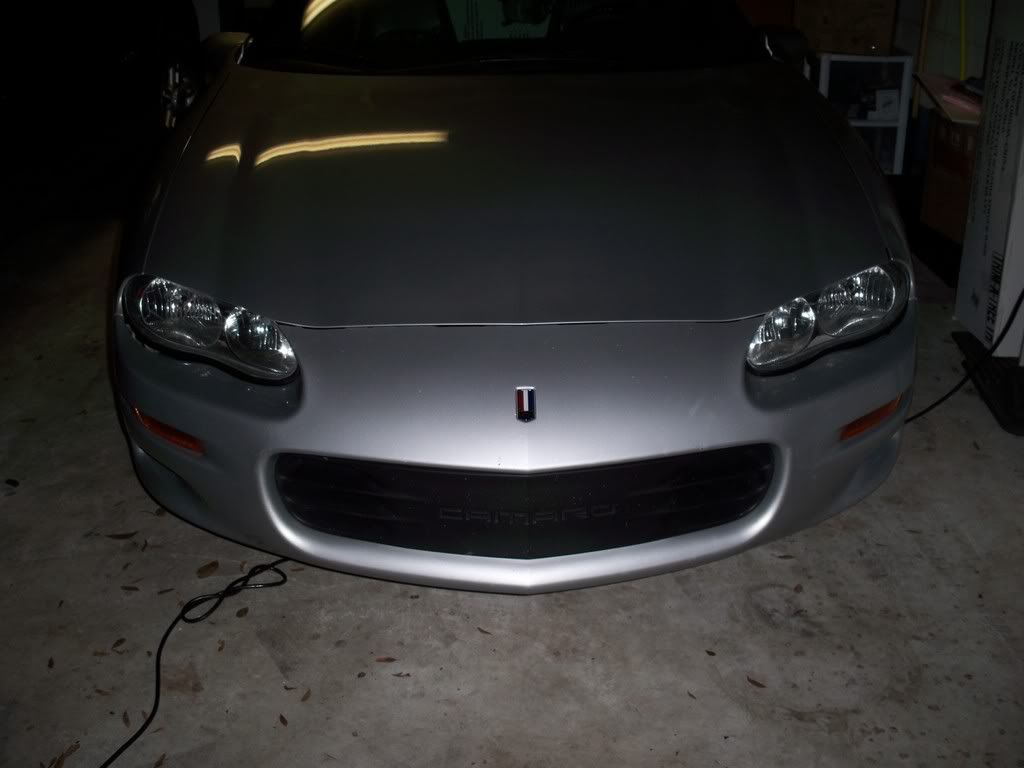
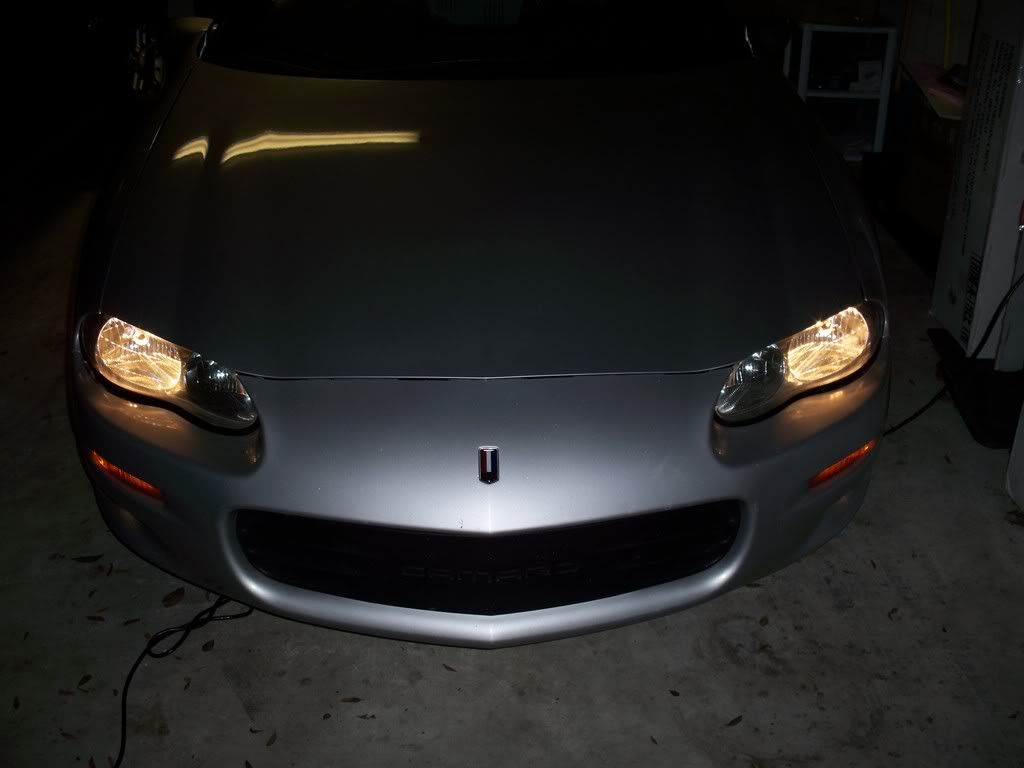
Here are a couple of comparison pics
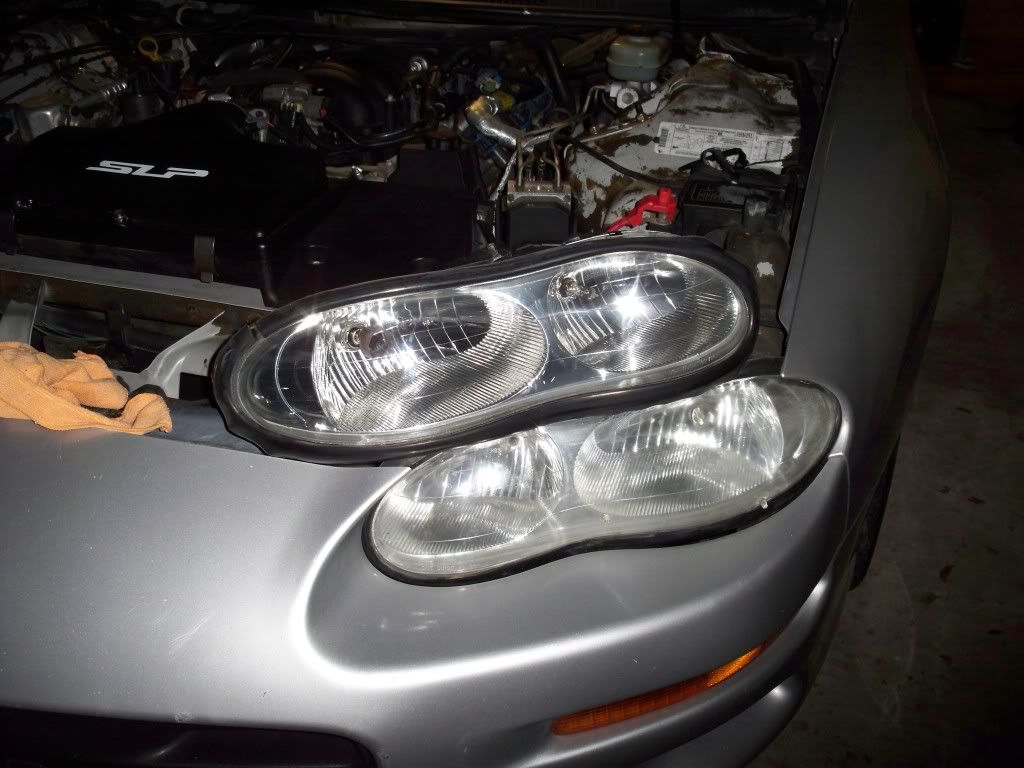
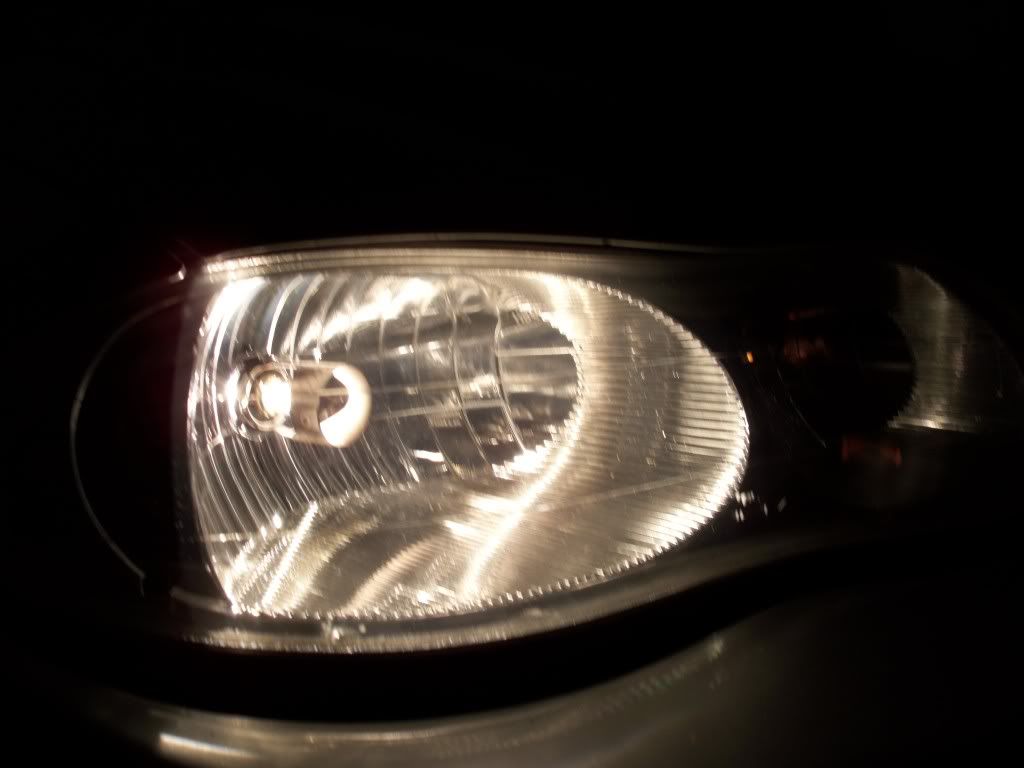
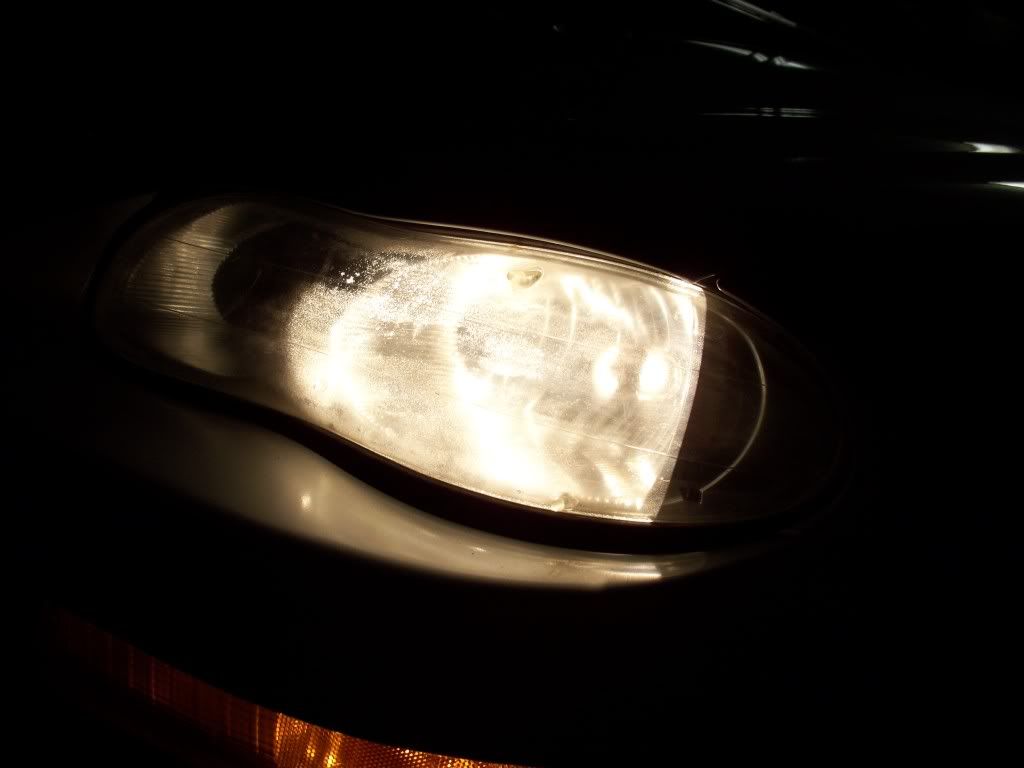
These two are with the lights on. First one is the polished light, second is of the other light.
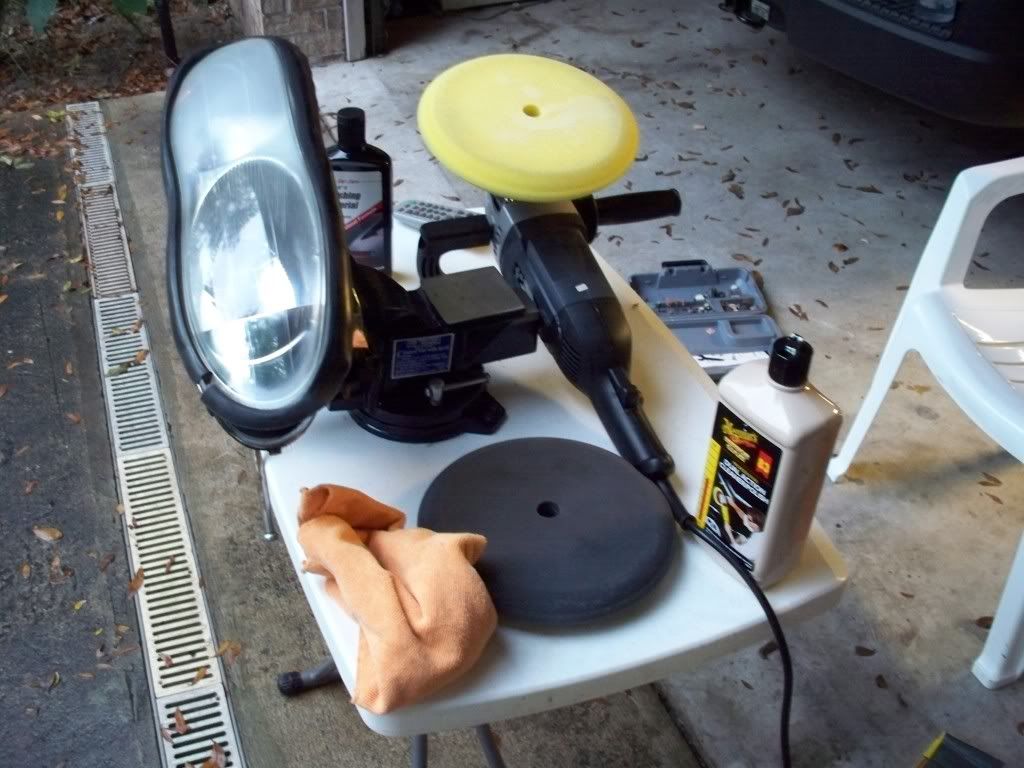
And here's the stuff I was working with.
Like I said the pics just don't do it justice.
If anyone is wondering the process here it is. I cut the nipples off and sanded them down with a dremel. Then I proceeded to begin the wet sanding with 800 grit. I did this for a LONG time, to make sure I got all of the outer/old plastic off. Thinking about it now, I should have started with 600 grit.
After that I proceeded with 1000 grit, then 1500 grit, then finished with 2000 grit making sure I got everywhere before moving on to the next grit. Then I dried her off and let it sit for about 20 minutes.
After she was completely dry I slapped on the yellow pad on the orbital, put on a liberal amount of Meguiar's 83, and polished away. I kept the speed very low, at it's lowest setting to be exact, as not to burn the plastic. I also moved it along the headlight fairly quickly as not to get one area too hot.
After going over the headlight a couple of times with the 83, I moved on to a black pad. I had some 3M machine polisher finishing polish sitting around, and I used that. I really didn't see a difference after this step, but I'm sure it helped get rid of some very small scratches.
Then I put on a coat of wax, and slapped her back on!
So fast forward to this weekend. I've had a rotary buffer for awhile, but never really used it to it's potential. I was asked by my dad to detail a "92 Subaru SVX that my brother is getting for Christmas. So I went out and bought some Meguiar's 83 cutting/polishing compound. Also bought a yellow cutting pad and a black finishing pad at a local paint/detailing place that supplies local body shops. Well had a few hours to mess around this afternoon and decided to redo the headlights, only got enough time/daylight for one though. But, let me tell you that I'm MORE than impressed with the results. These pics don't do it justice, it really looks like a brand new headlight. Just goes to show you with the PROPER equipment, time, and elbow grease, these lights will be just like new. Now for the pics.
This one is just after barely hitting the one side with the polish
These two are of the finished product.
here's a pic of the other headlight. I didn't get a before pic, but it looked just like this one
Here are a couple of comparison pics
These two are with the lights on. First one is the polished light, second is of the other light.
And here's the stuff I was working with.
Like I said the pics just don't do it justice.
If anyone is wondering the process here it is. I cut the nipples off and sanded them down with a dremel. Then I proceeded to begin the wet sanding with 800 grit. I did this for a LONG time, to make sure I got all of the outer/old plastic off. Thinking about it now, I should have started with 600 grit.
After that I proceeded with 1000 grit, then 1500 grit, then finished with 2000 grit making sure I got everywhere before moving on to the next grit. Then I dried her off and let it sit for about 20 minutes.
After she was completely dry I slapped on the yellow pad on the orbital, put on a liberal amount of Meguiar's 83, and polished away. I kept the speed very low, at it's lowest setting to be exact, as not to burn the plastic. I also moved it along the headlight fairly quickly as not to get one area too hot.
After going over the headlight a couple of times with the 83, I moved on to a black pad. I had some 3M machine polisher finishing polish sitting around, and I used that. I really didn't see a difference after this step, but I'm sure it helped get rid of some very small scratches.
Then I put on a coat of wax, and slapped her back on!

The following users liked this post:
JoshuaGrooms83 (01-28-2020)
12-21-2008, 09:19 PM
#5
Yes, but my own fault. On two of the three nipples I went a little too aggressive with the sanding bit on the dremel. I could feel the indentations with my finger. It's obviously thinner at those points now, but not a problem whatsoever.


Trending Topics
The following users liked this post:
JoshuaGrooms83 (01-28-2020)
12-23-2008, 07:34 AM
#10
On The Tree
Join Date: Aug 2006
Location: Ocala,FL
Posts: 159
Likes: 0
Received 0 Likes
on
0 Posts

Will Do.. i tried to do it myself but dont have a porter cable.. just a 10" orbital so it didnt spin fast enough...Cleaned them up better than what they were but not great..Could be done better... You still got the Exhaust setup? or did you sell it?
 BOSS APPROVED!
 12-23-2008, 01:49 PM
#15
TECH Addict
iTrader: (3)
Join Date: Oct 2007
Location: Orange County
Posts: 2,542
Likes: 0
Received 0 Likes
on
0 Posts
nice. i have a success story like yours. while my mom was driving home from las vegas, she went through a sand storm that basically sand blasted the front of her car. the windshield was toast (insurance covered that thank god) and the headlights where covered in tiny holes. she brought it in to a place to get an estimate and they told her both lights need to be replaced. she drives an sl 500 so apparently the lights are $1800 each (i was outraged when i saw those figures on the estimate paper).
So anyways i spent an afternoon, sanded them and polished them and they look brand new (despite the fact she was told there was no way of fixing them, sounds like some bs to me).
so moral of the story, a little elbow grease can go a long way
So anyways i spent an afternoon, sanded them and polished them and they look brand new (despite the fact she was told there was no way of fixing them, sounds like some bs to me).
so moral of the story, a little elbow grease can go a long way