
 04-29-2016, 05:34 PM
Last edit by: IB Advertising
See related guides and technical advice from our community experts:
- Camaro and Firebird How to Repair Wrap Dash<br>Step by step instructions for do-it-yourself repairs.

how to fix or wrap your dash pad to look brand new
10-24-2009, 02:03 PM
#81
TECH Enthusiast

Join Date: Apr 2004
Location: Wausau, WI
Posts: 617
Likes: 0
Received 0 Likes
on
0 Posts

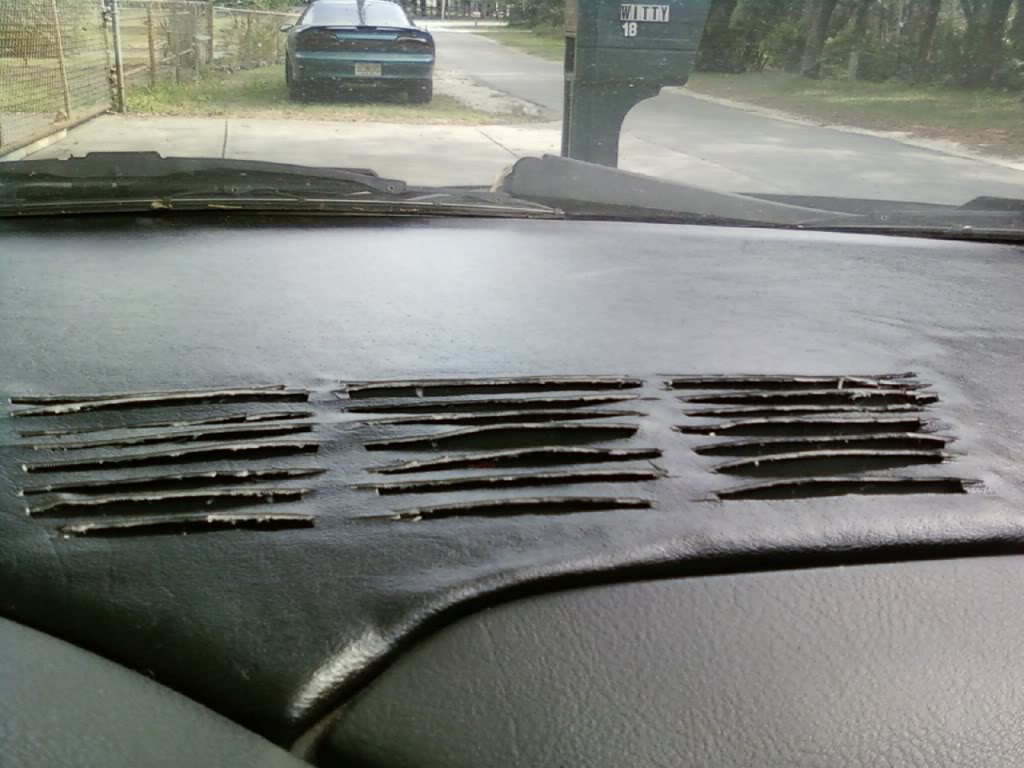
I would like to do this with the dash on my car but I hate that there is no good way to get around the vent. If there was a good way to make some kind of bezel or trim piece to cover the vinyl edge that comes into the vent area and maybe the vent to make it look more complete and like it came that way. I don't know how to get this made but maybe we can get on 6LE or emblem pros for something like this.
 10-25-2009, 12:00 AM
#82
TECH Apprentice
iTrader: (12)
Join Date: Sep 2009
Location: San Diego, Florida, New York
Posts: 350
Likes: 0
Received 0 Likes
on
0 Posts
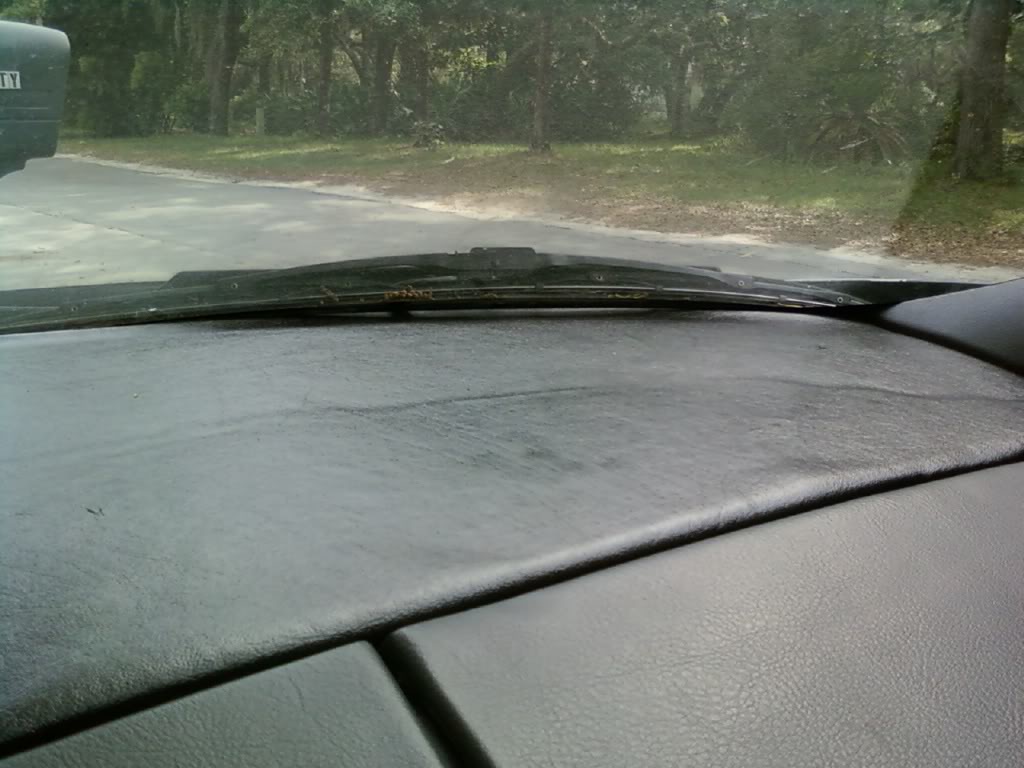
If you need to replace it I'm guessing it is broke so it will be easy for you. snap off the a pillars ( interior plastic runnng from bottom windshield to top windshield, left and right side,) if you have t-tops take off the t-tops and unscrew the two small screws. lift upward off dash board. those pillars are keeping the dash pad (cover) from coming up. Once off you can lift dash pad (cover off) Lift off from the velcro that is up front close to the windshield under the dash pad(cover). Then slide one side of the dash pad (cover) up towards the top corner of windshield,towards roof, you then have to try and bend the dash pad (cover) just a little to squeeze it through the wind shield pillar and the roof corner. While your doing this the other end is staying low as possible You have to be slow and gentle. One side low the other side high. Installation is the same way put one end in low to the dash board and the other end goes in last high to the roof and corner of windshield. It is very tough to do because these things snap easy. I found the 97 and up is easier than the 93-96, . john

 04-22-2010, 06:33 PM
#91
As i was walking with the 7 or so pieces in my hand into the house, one fell out and landed right under my foot. . . and goodbye project.
needless to say I made a detour to the garbage instead then rerouted to a cold beer. . . or three.
05-23-2010, 04:45 PM
#93
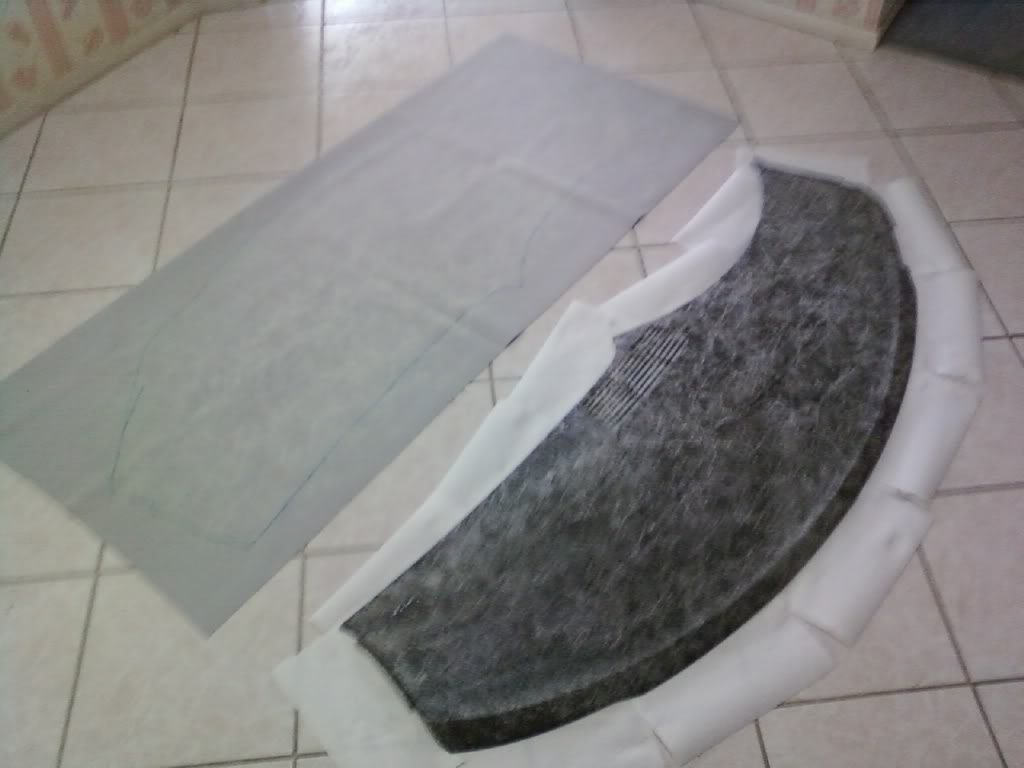
I'm going to preempt this with this statement: I'm about the un-craftiest person I know. I always sucked at sewing and art and stuff like that. This is no different. Well actually it would have turned out better if my dog didn't step on it about half way through gluing it back together, breaking off 4 new pieces, including obliterating the vent section.
As you will see in the first few pictures I didn't have much of a disaster, but well it got worse.
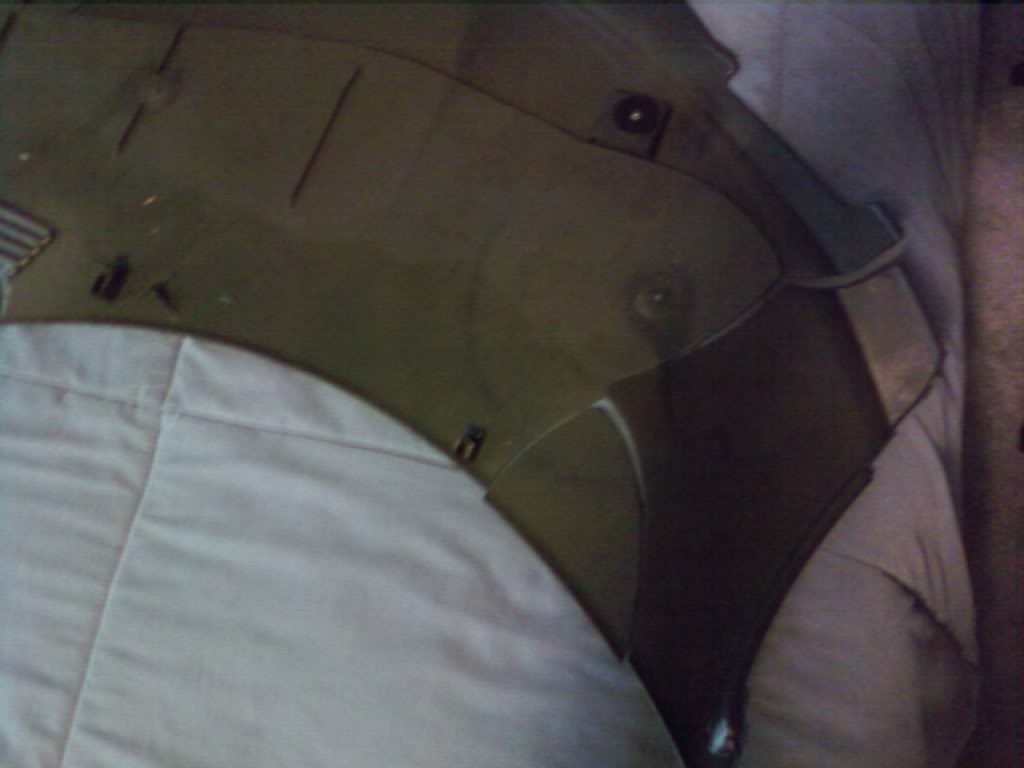
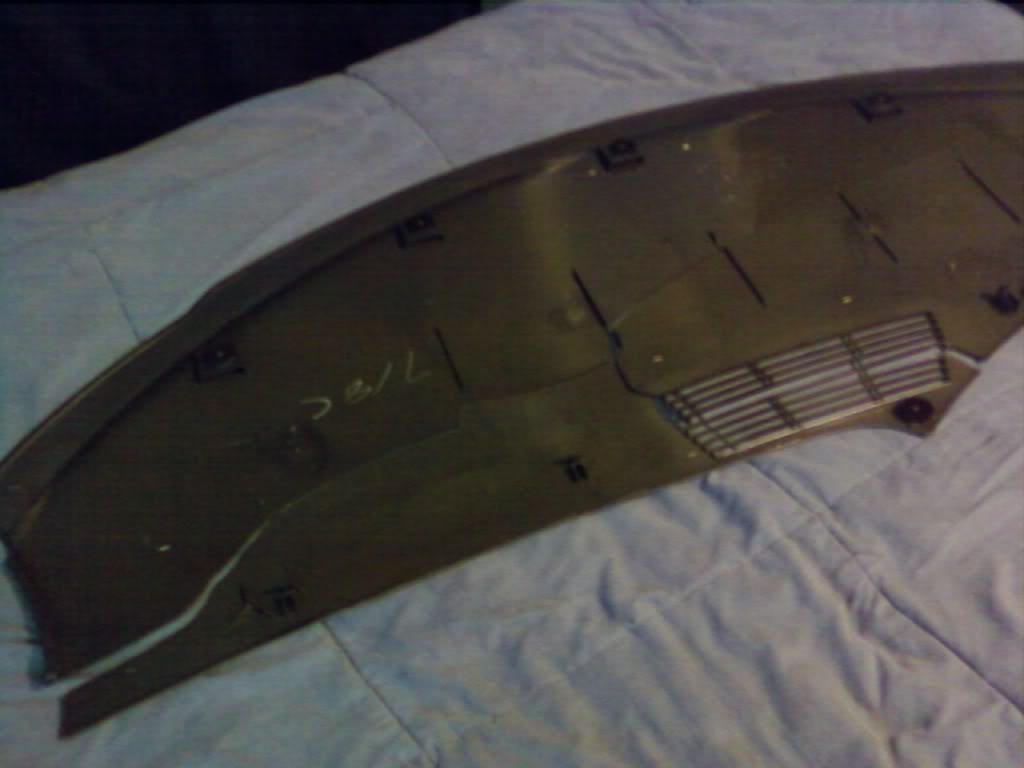
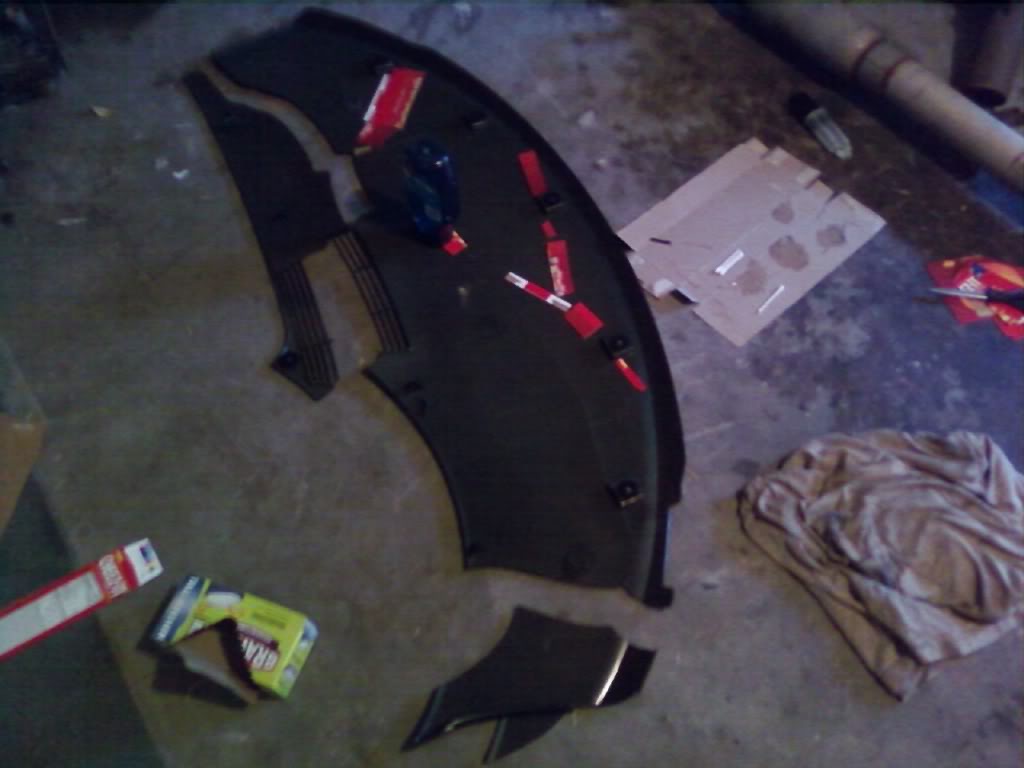
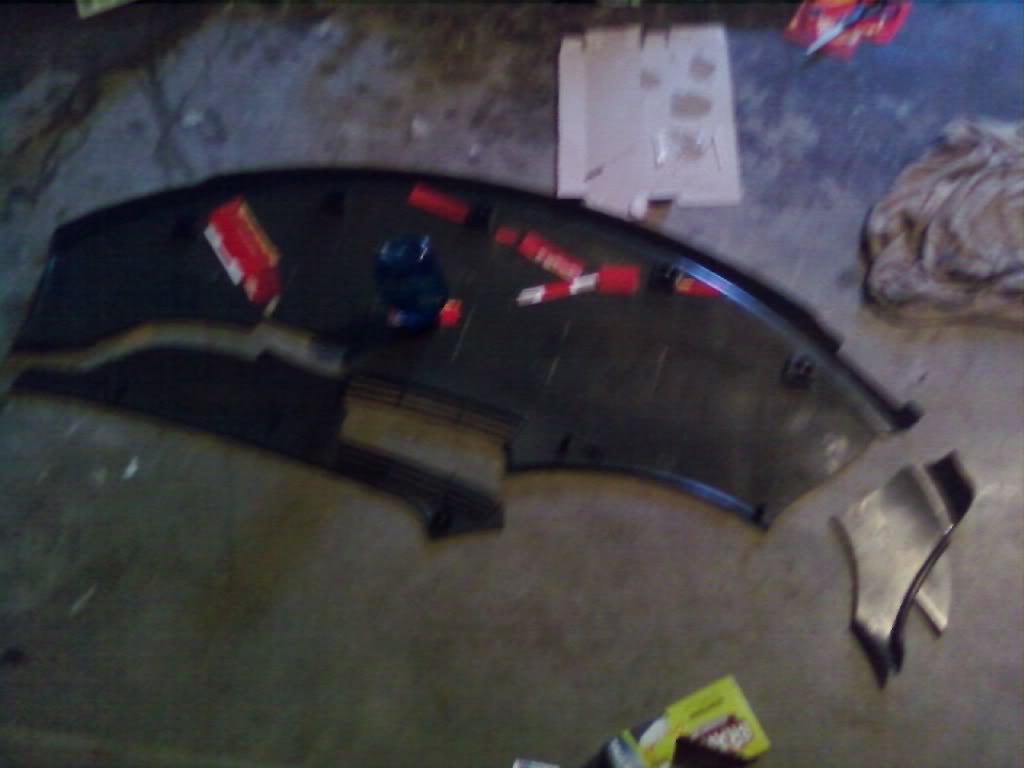
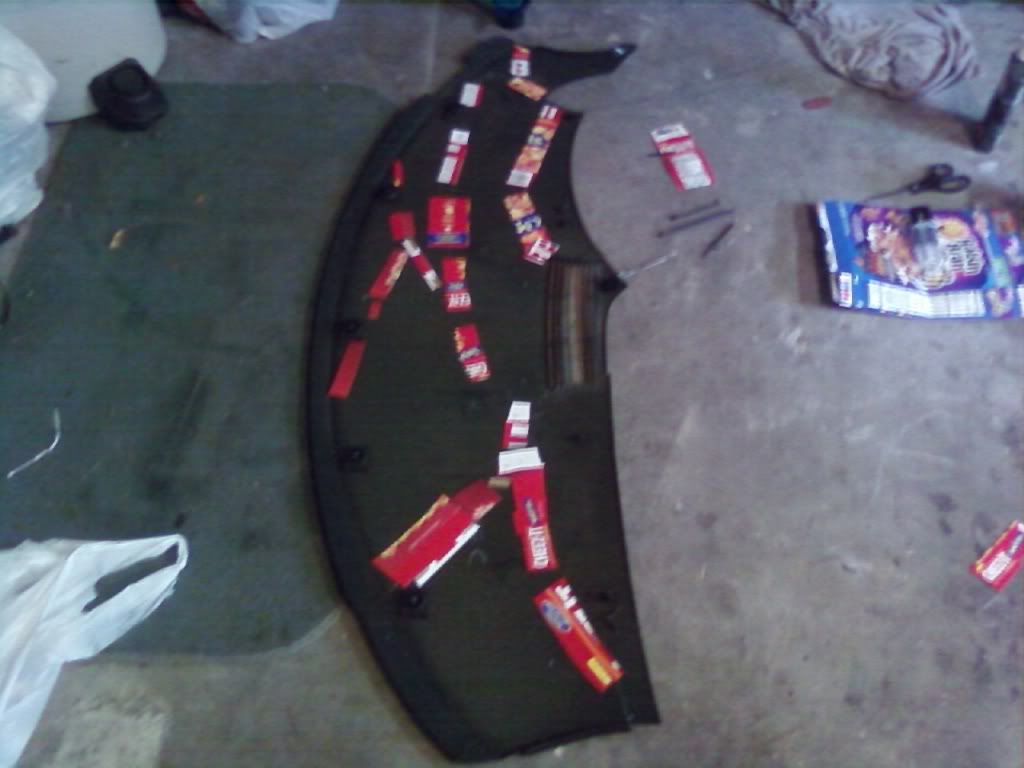
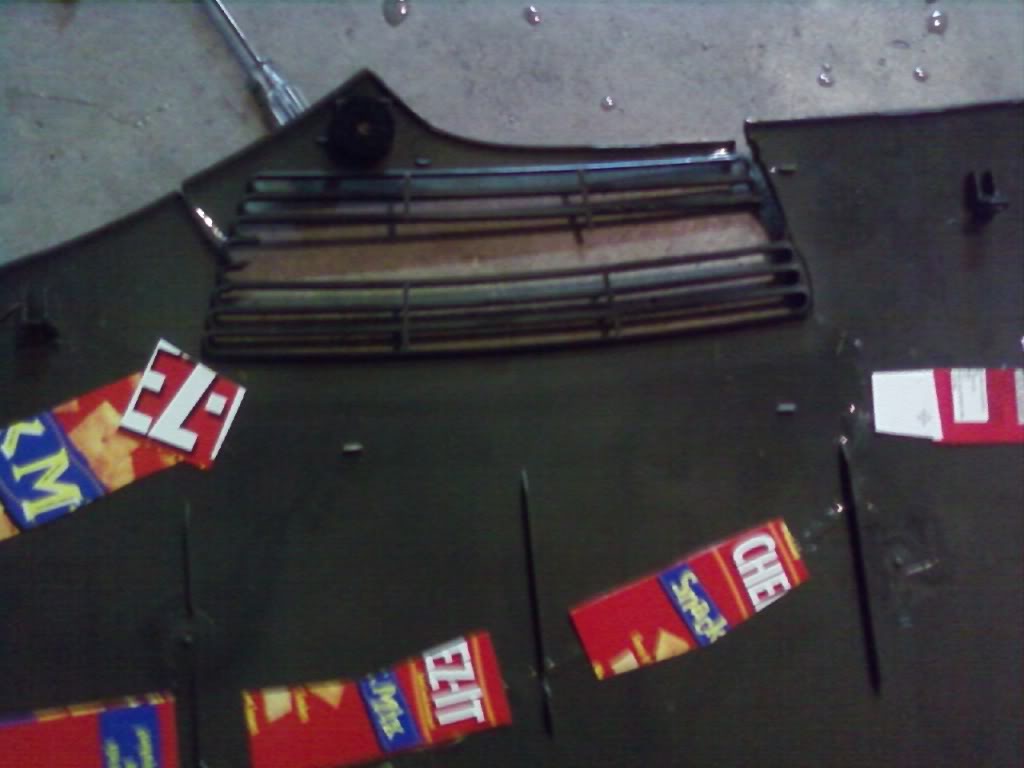

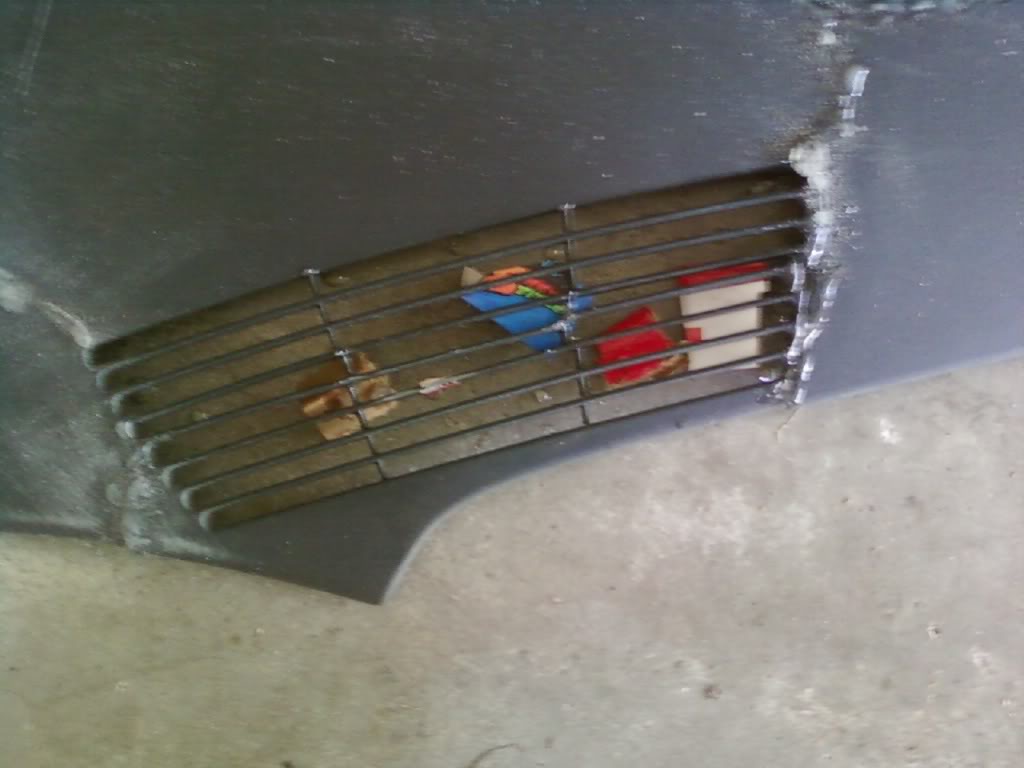
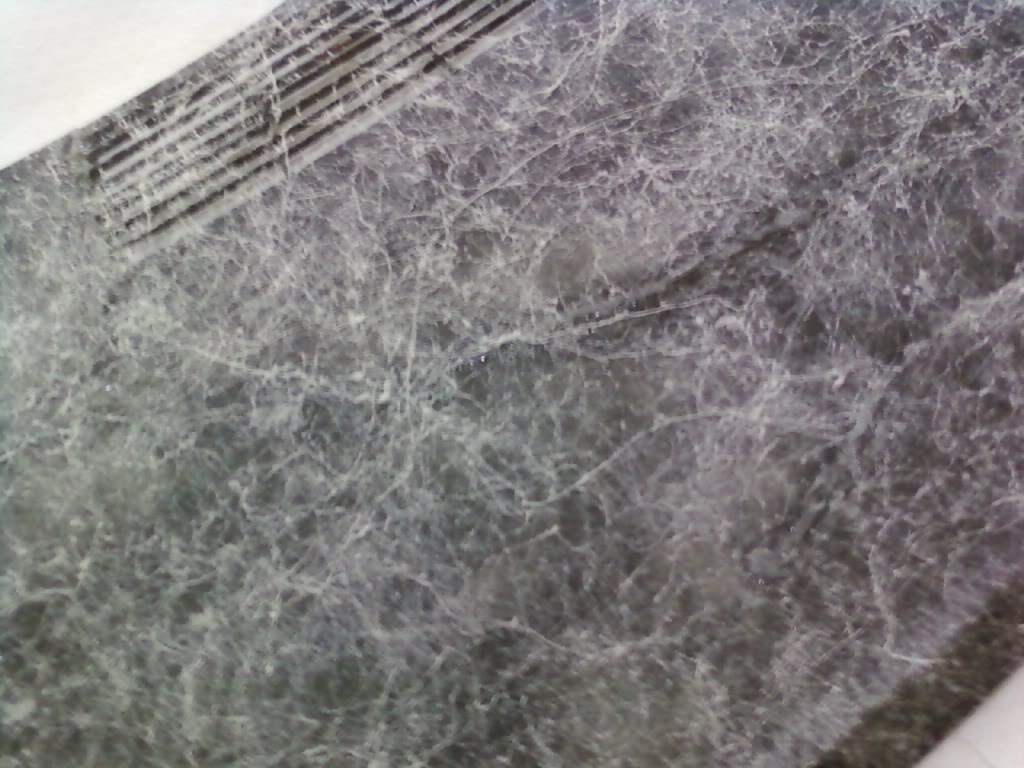


As you can see it didn't turn out perfectly, especially in the area of the vent. I thought that maybe there I could have just cut out all the gridded plastic as it was all broke and then put maybe porch screening material there instead or something. All I know is that I'm happy with it, and it looks better than a cracked dash with chunks missing that had slid underneath. Not perfect but good enough for me, I'm not driving a show car by any means.
In closing: Don't be worried about doing this. You would have to really mess it up for it to turn out worse than looking at a pile of destroyed plastic every time you sat down in your car.
As you will see in the first few pictures I didn't have much of a disaster, but well it got worse.
As you can see it didn't turn out perfectly, especially in the area of the vent. I thought that maybe there I could have just cut out all the gridded plastic as it was all broke and then put maybe porch screening material there instead or something. All I know is that I'm happy with it, and it looks better than a cracked dash with chunks missing that had slid underneath.
In closing: Don't be worried about doing this. You would have to really mess it up for it to turn out worse than looking at a pile of destroyed plastic every time you sat down in your car.
Last edited by camar0corey; 05-23-2010 at 04:54 PM.
05-23-2010, 09:44 PM
#94
TECH Fanatic

Join Date: Jul 2007
Posts: 1,516
Likes: 0
Received 0 Likes
on
0 Posts
I'm going to preempt this with this statement: I'm about the un-craftiest person I know. I always sucked at sewing and art and stuff like that. This is no different. Well actually it would have turned out better if my dog didn't step on it about half way through gluing it back together, breaking off 4 new pieces, including obliterating the vent section.
As you will see in the first few pictures I didn't have much of a disaster, but well it got worse.
As you can see it didn't turn out perfectly, especially in the area of the vent. I thought that maybe there I could have just cut out all the gridded plastic as it was all broke and then put maybe porch screening material there instead or something. All I know is that I'm happy with it, and it looks better than a cracked dash with chunks missing that had slid underneath. Not perfect but good enough for me, I'm not driving a show car by any means.
In closing: Don't be worried about doing this. You would have to really mess it up for it to turn out worse than looking at a pile of destroyed plastic every time you sat down in your car.
As you will see in the first few pictures I didn't have much of a disaster, but well it got worse.
As you can see it didn't turn out perfectly, especially in the area of the vent. I thought that maybe there I could have just cut out all the gridded plastic as it was all broke and then put maybe porch screening material there instead or something. All I know is that I'm happy with it, and it looks better than a cracked dash with chunks missing that had slid underneath.
In closing: Don't be worried about doing this. You would have to really mess it up for it to turn out worse than looking at a pile of destroyed plastic every time you sat down in your car.
05-24-2010, 08:20 AM
#95
Gotcha. I might just wait til my roommates gets a new dash, their dash isn't nearly as destroyed as mine was, or if I get around to it I'll do as you suggested. Some of that isn't where its loose but higher or lower than the surrounding area. Once the dog stepped on it I didn't have much hope for it.
I suppose the vent area could be fixed some more if there was a way I could cut all the vents out. Those are the hugest offenders for the lumps you see to the right where the vent is, my dash was in really sad shape for a start.
I suppose the vent area could be fixed some more if there was a way I could cut all the vents out. Those are the hugest offenders for the lumps you see to the right where the vent is, my dash was in really sad shape for a start.

 ... I will post pics as soon as im done with it...
08-14-2010, 09:15 PM
... I will post pics as soon as im done with it...
08-14-2010, 09:15 PM
#97

Wrapping is hard.. Ive come to the conclusion that you either get it. Or you dont. Ive tried my hand at doing it more than once and its not came out right either time.
Wish that some of the wrapping fools on this site lived closer so I could get some learning in from them.
Wish that some of the wrapping fools on this site lived closer so I could get some learning in from them.
08-14-2010, 10:19 PM
#99
 08-14-2010, 10:47 PM
#100
TECH Regular
Join Date: May 2008
Location: Marissa, Il
Posts: 458
Likes: 0
Received 0 Likes
on
0 Posts
