LT1 Camaro Z28 with HID's


 02-12-2009, 10:49 AM
#22
11 Second Club
Thread Starter
iTrader: (7)
Join Date: Sep 2005
Location: Eagle Pass, TX
Posts: 1,930
Likes: 0
Received 0 Likes
on
0 Posts

The cops are reall A$$holes down here and they'll pull ya over for no frontplates...
I can't wait til' SEP '09, no more front plates required in TX.
I can't wait til' SEP '09, no more front plates required in TX.
02-12-2009, 05:08 PM
#23
02-13-2009, 12:04 AM
#26
11 Second Club
Thread Starter
iTrader: (7)
Join Date: Sep 2005
Location: Eagle Pass, TX
Posts: 1,930
Likes: 0
Received 0 Likes
on
0 Posts
The pictures pretty much show ya how to do it...
1) Just remove your stock headlights
2) Take some channel locks and twist the ribbed piece behind the housing.
* twist until u feel it click, about 1 full rotation should do it (see pic 4)
3) Grab the stock bulb by the base and 'wiggle' it out (should take a lil' force)
4) Apply a small amount of silicone around the inner part of the stock housing were the stock bulb was inserted.
5) Get the HID bulb and place it into the stock opening (do not get silicone on the bulb) and make sure both HID bulbs face the same way...I position them with the 'wire' on the side facing down. (see pic 5)
6) Let the silicone cure for a bit (a lil' more than tacky) and apply more silicone around both the ribbed piece and on the rear of HID bulb. (see pics 7, 8)
7) Allow the silicone to fully cure per manufacturer's specifications.
8) Then re-install the stock housing into the stock brackets. (pay attention to the 2 small tabs of the bracket that holds the stock housings in place.
9) Run HID wires and mount ballasts (plug & play) and check for correct install.
10) Sit back and ENJOY. (see pics 9, 10)
DON'T FORGET to adjust them so that they don't 'blind' oncoming traffic.
02-22-2009, 04:26 PM
#27
Teching In

Join Date: Oct 2003
Posts: 6
Likes: 0
Received 0 Likes
on
0 Posts
make sure your wiring harness has a relay with a fuse holder and the ballasts are directly connected to your battery through that harness. If you just plug everything into your stock wiring harness in about 6 months your headlight wires will be fried and you could have an underhood fire. They sell the correct wiring harnesses for our bulbs on ebay. just an fyi.
 02-22-2009, 10:23 PM
#31
11 Second Club
Thread Starter
iTrader: (7)
Join Date: Sep 2005
Location: Eagle Pass, TX
Posts: 1,930
Likes: 0
Received 0 Likes
on
0 Posts
make sure your wiring harness has a relay with a fuse holder and the ballasts are directly connected to your battery through that harness. If you just plug everything into your stock wiring harness in about 6 months your headlight wires will be fried and you could have an underhood fire. They sell the correct wiring harnesses for our bulbs on ebay. just an fyi.
06-15-2009, 10:45 AM
#33
so when you are driving down a back road and someone in the oncoming lane goes head-on with you or swerves off the road because your beam pattern is now scattered all over the place, are these still going to be cool? proper cutoff is critical to using hid's and the stock sealed beam is incapable of this.
06-15-2009, 04:40 PM
#34
11 Second Club
Thread Starter
iTrader: (7)
Join Date: Sep 2005
Location: Eagle Pass, TX
Posts: 1,930
Likes: 0
Received 0 Likes
on
0 Posts
so when you are driving down a back road and someone in the oncoming lane goes head-on with you or swerves off the road because your beam pattern is now scattered all over the place, are these still going to be cool? proper cutoff is critical to using hid's and the stock sealed beam is incapable of this.
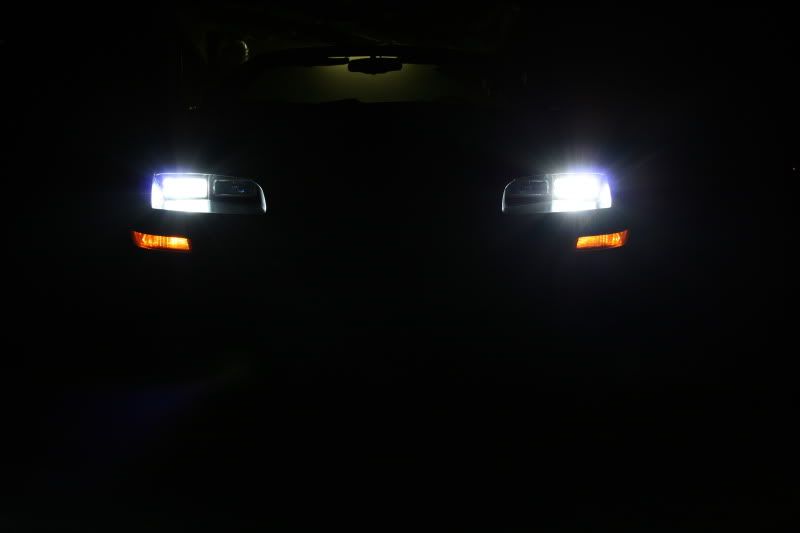
She didn't have any problems with oncoming traffic.

U can adjust the headlamps so that the halogen housing's lighting isn't as bad.
06-15-2009, 04:57 PM
#35
11 Second Club
iTrader: (35)
Join Date: Dec 2004
Location: NW Chicago burbs
Posts: 2,163
Likes: 0
Received 0 Likes
on
0 Posts
Those look great. Speed Inc now sells HID's for about $190 for the kit comes with new housings and all I plan to purchase those soon.
off topic but is that hood a Harwood hood?
off topic but is that hood a Harwood hood?

 06-16-2009, 02:41 AM
#38
TECH Enthusiast
iTrader: (6)
Join Date: Nov 2008
Location: Puyallup WA
Posts: 698
Likes: 0
Received 0 Likes
on
0 Posts
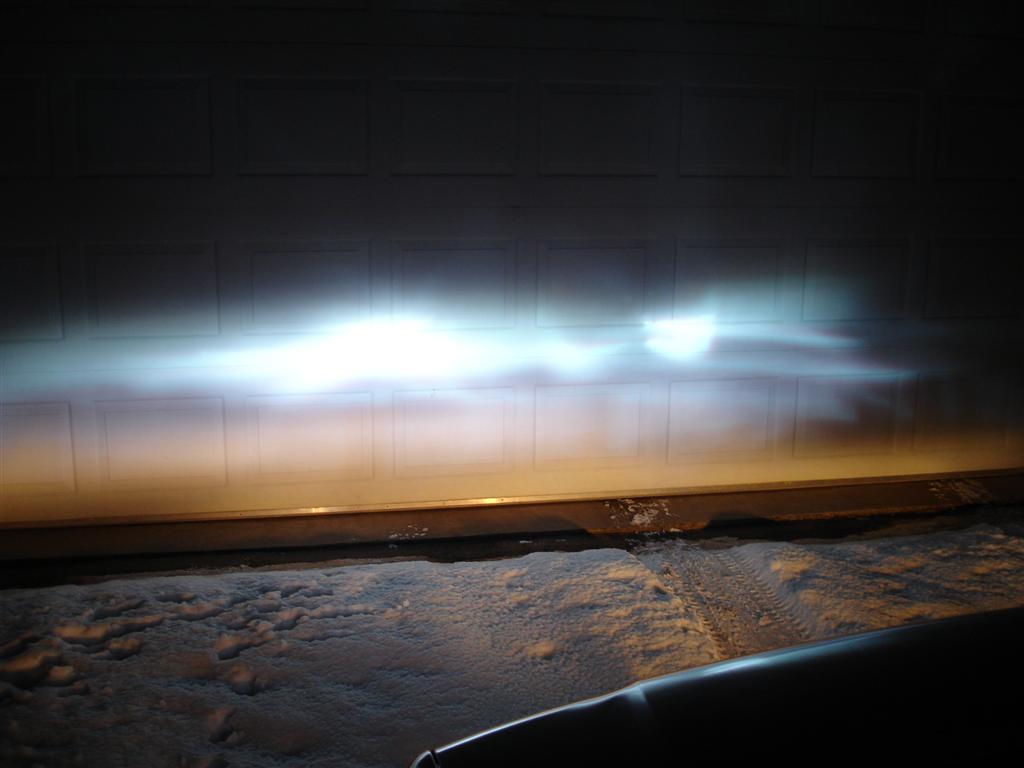
heres my old euro lights vs my 6000k hids
euros

HIDS
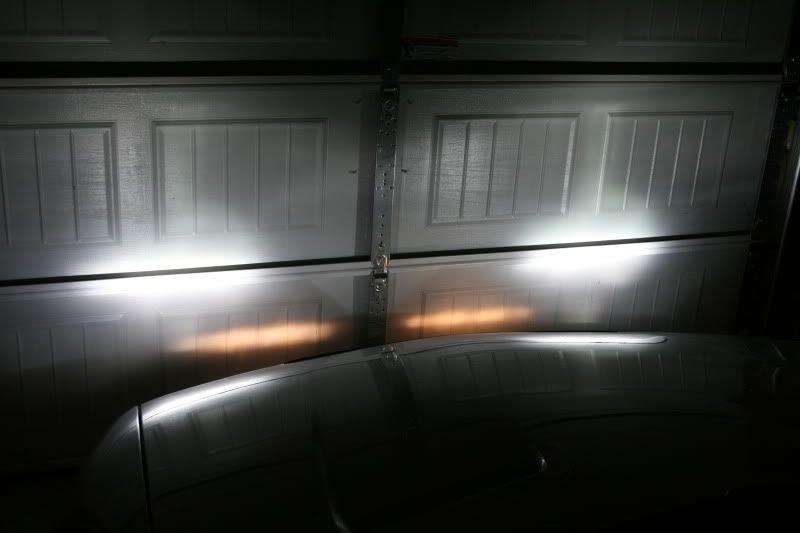

yes, I know my drive side light needs to come down a little bit, but still don't have any problems with being flashed..
euros
HIDS
yes, I know my drive side light needs to come down a little bit, but still don't have any problems with being flashed..
