
New hydrodipped parts - LS6 intake and C6 Z06 pieces
 03-11-2010, 09:44 PM
#1
FormerVendor
Thread Starter
iTrader: (32)
Join Date: Jul 2003
Location: Lexington, KY
Posts: 3,654
Likes: 0
Received 0 Likes
on
0 Posts

This is an extension of our original thread: https://ls1tech.com/forums/appearanc...o-dipping.html
Okay, so this has been a huge PITA, but it is looking pretty darn good. Let me explain what all has been done so far:
1 - Prep the intake with a degreaser
2 - Pre-mask all openings, threaded holes, injector bosses, and lines
3 - Apply adhesion promoter
4 - Primer
5 - Sand
6 - Silver basecoat - 2 coats
7 - Dip in carbon fiber print
8 - Wash
9 - Clearcoat - 3 coats!
Here's where it gets tricky
10 - Re-sand the entire piece to scuff the clear
11 - Mask off the runners
12 - Black basecoat to exposed areas (everything but the runners) - 2 Coats
13 - Remove masking tape to expose all surface area for clearcoat
14 - Clean and reclear with 3 more coats
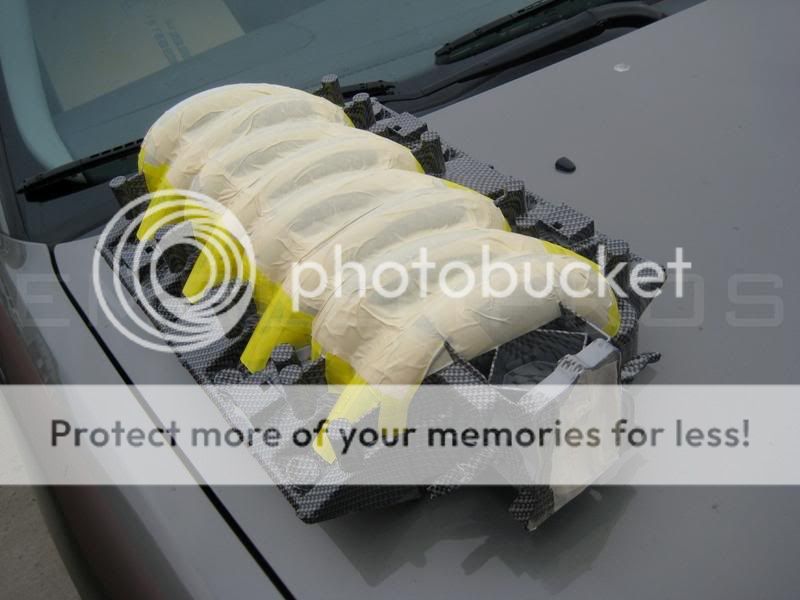
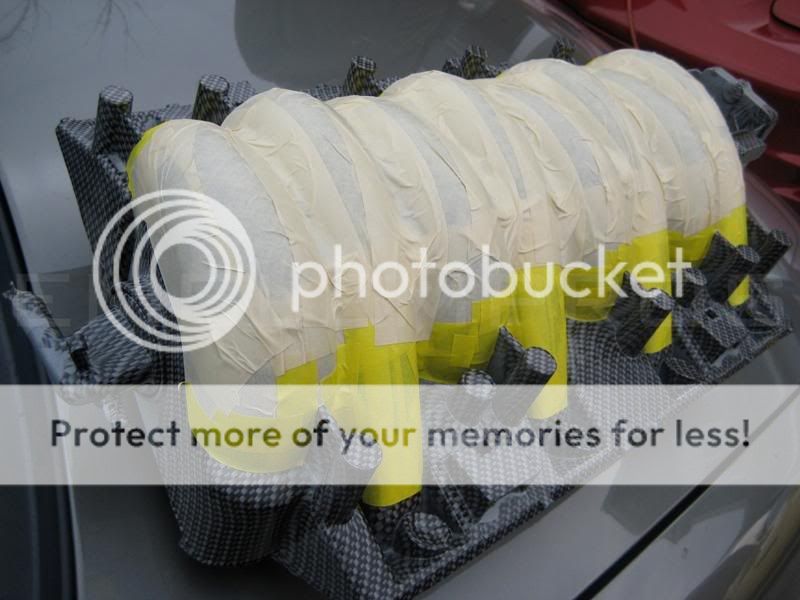
Here are some pics:
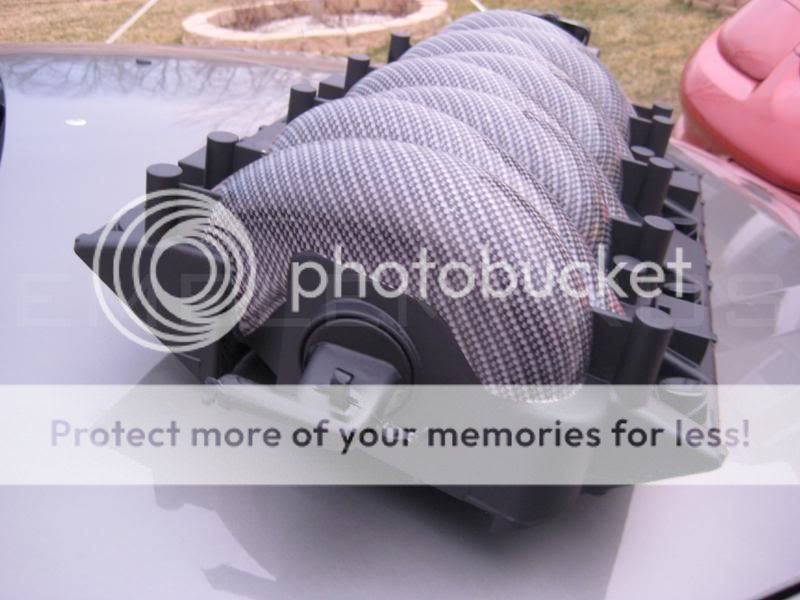
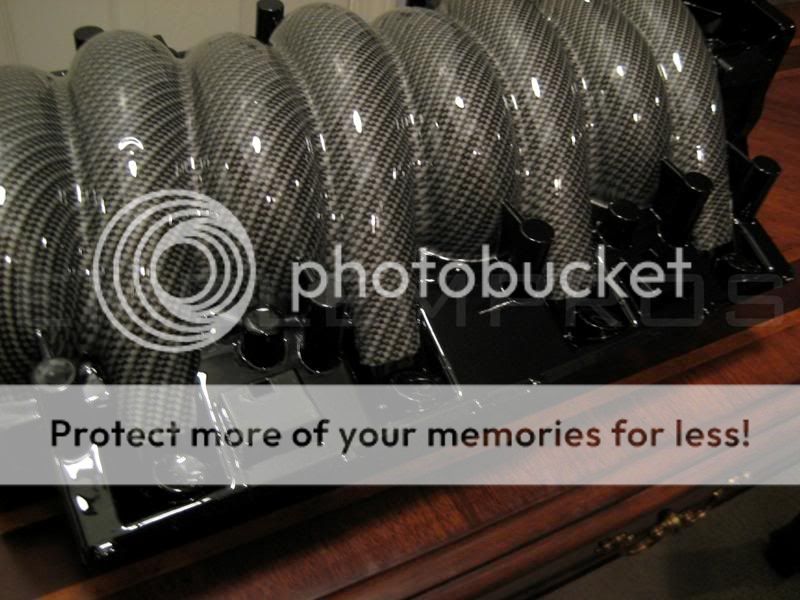
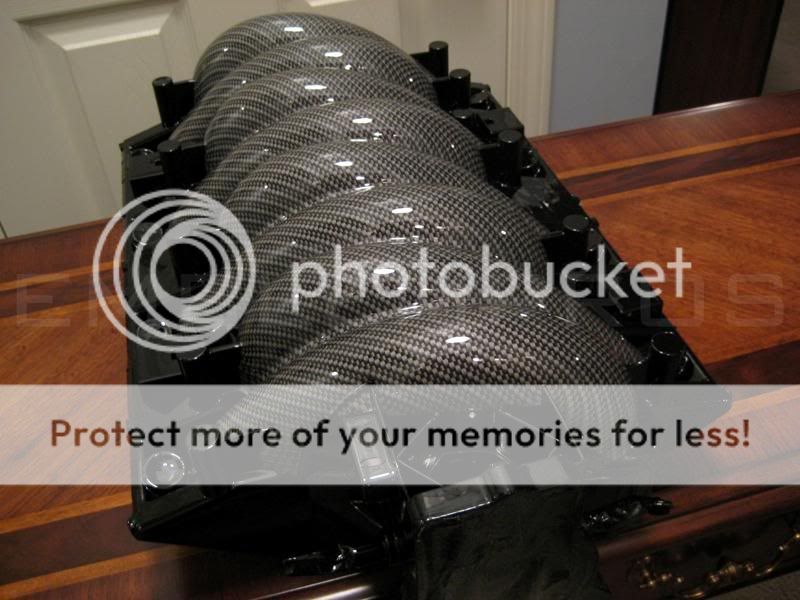
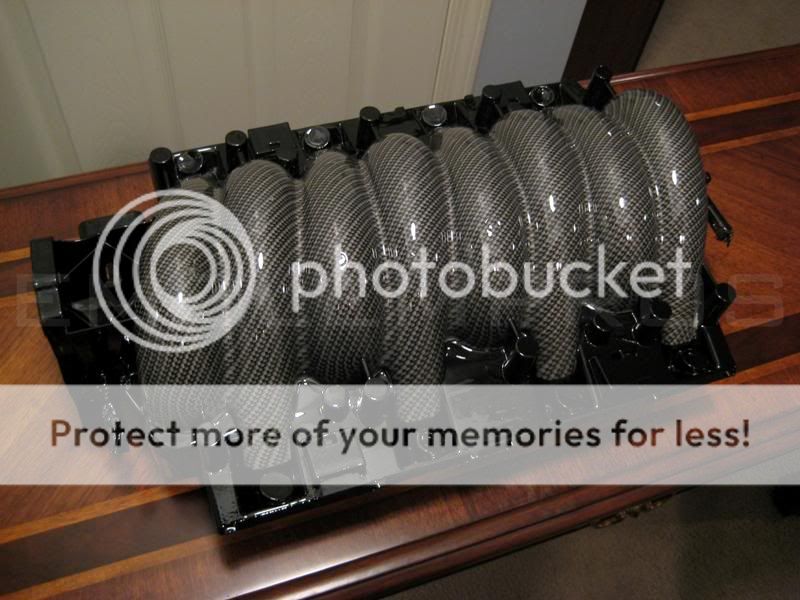
Even under the masking tape, the whole part is dipped in this pattern. We masked off the sides to repaint the edges because the pattern becomes distorted around the posts, and we decided to make it look extremely professional by redoing the sides in solid gloss black:

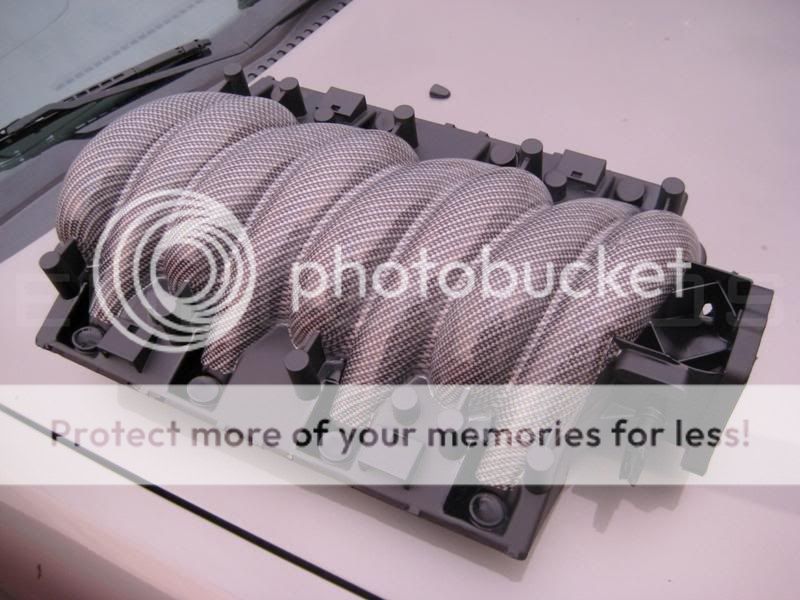
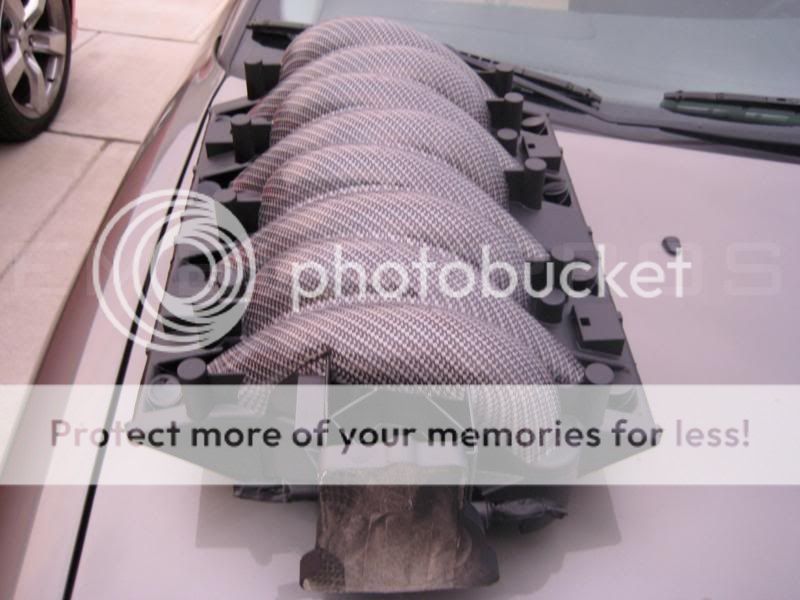
Masking tape removed from runners... Still needs clearcoat:
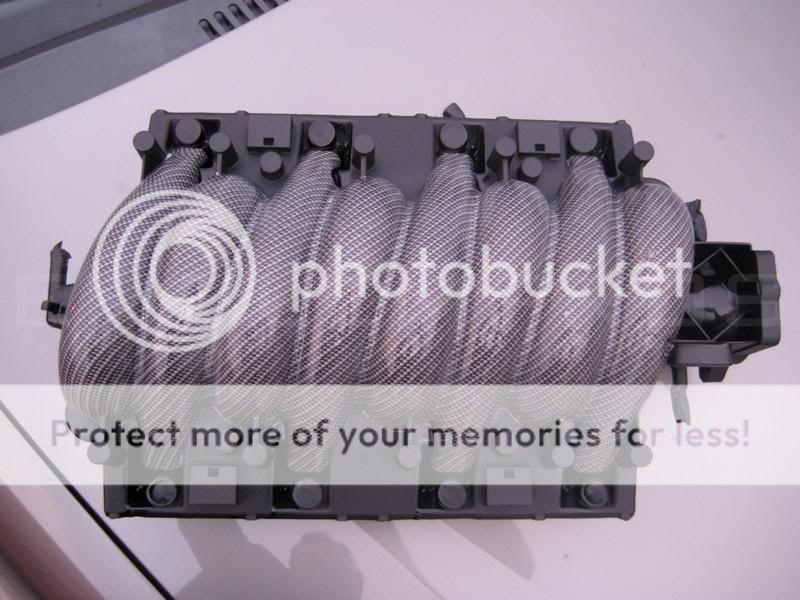
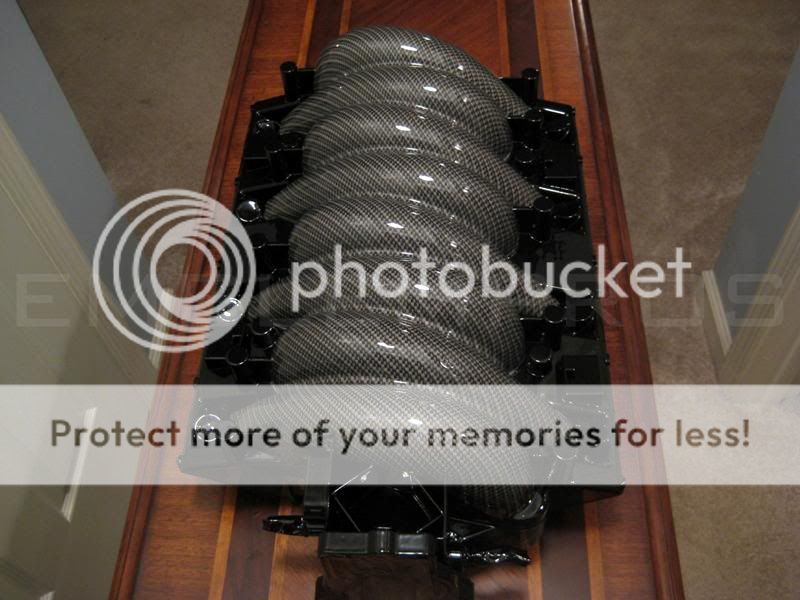
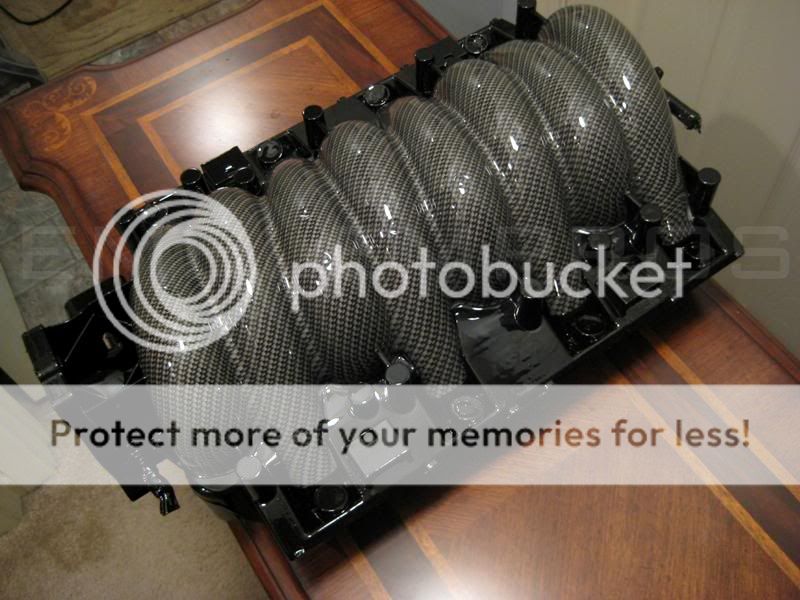
Still got to do some buffing and de-masking, but here is the nearly finished piece:
Okay, so this has been a huge PITA, but it is looking pretty darn good. Let me explain what all has been done so far:
1 - Prep the intake with a degreaser
2 - Pre-mask all openings, threaded holes, injector bosses, and lines
3 - Apply adhesion promoter
4 - Primer
5 - Sand
6 - Silver basecoat - 2 coats
7 - Dip in carbon fiber print
8 - Wash
9 - Clearcoat - 3 coats!
Here's where it gets tricky
10 - Re-sand the entire piece to scuff the clear
11 - Mask off the runners
12 - Black basecoat to exposed areas (everything but the runners) - 2 Coats
13 - Remove masking tape to expose all surface area for clearcoat
14 - Clean and reclear with 3 more coats
Here are some pics:
Even under the masking tape, the whole part is dipped in this pattern. We masked off the sides to repaint the edges because the pattern becomes distorted around the posts, and we decided to make it look extremely professional by redoing the sides in solid gloss black:
Masking tape removed from runners... Still needs clearcoat:
Still got to do some buffing and de-masking, but here is the nearly finished piece:
Last edited by dragonZ28; 03-12-2010 at 09:53 PM.
 03-11-2010, 09:46 PM
#2
FormerVendor
Thread Starter
iTrader: (32)
Join Date: Jul 2003
Location: Lexington, KY
Posts: 3,654
Likes: 0
Received 0 Likes
on
0 Posts
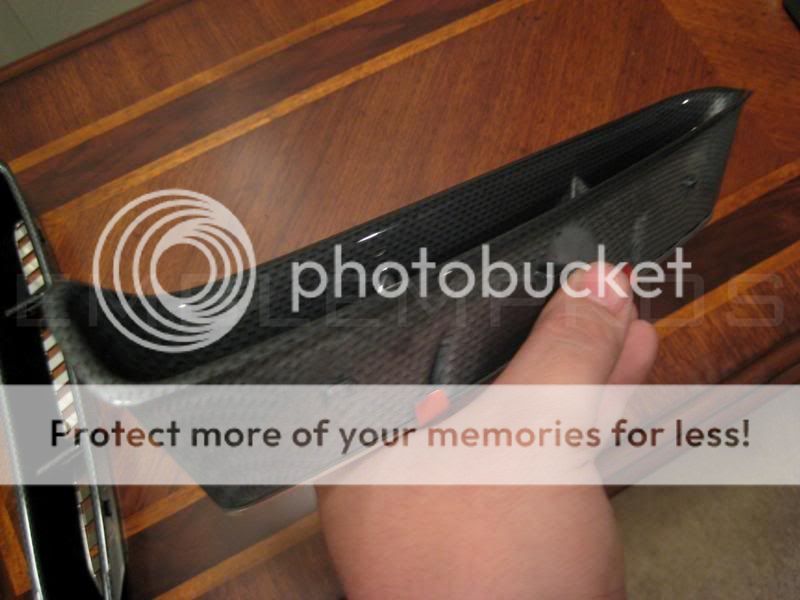
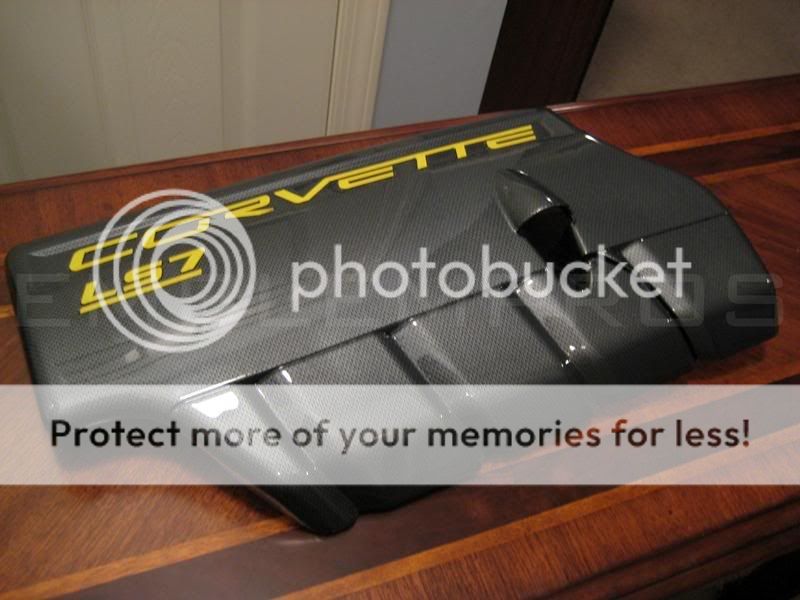
Here are some starting pieces we have finished on our Z06:
Hydrodipped fender gills with custom made stainless backings that match up with the openings:
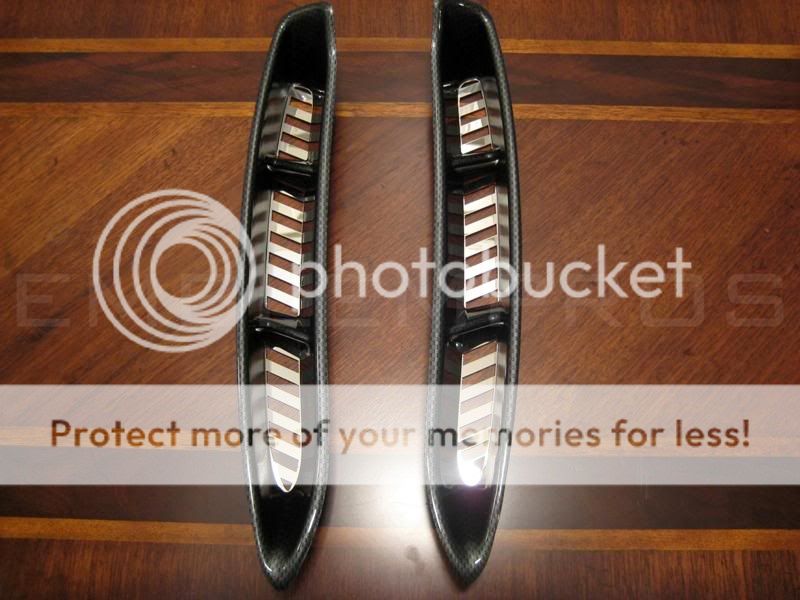
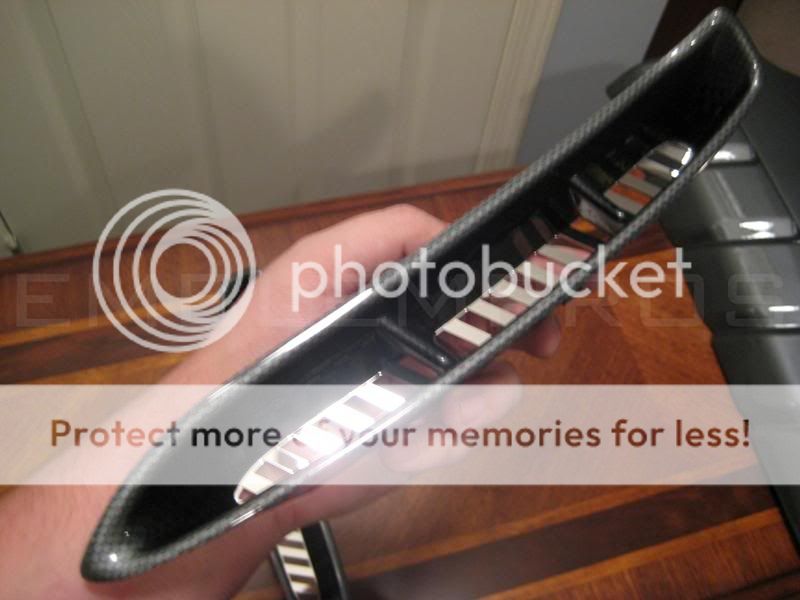
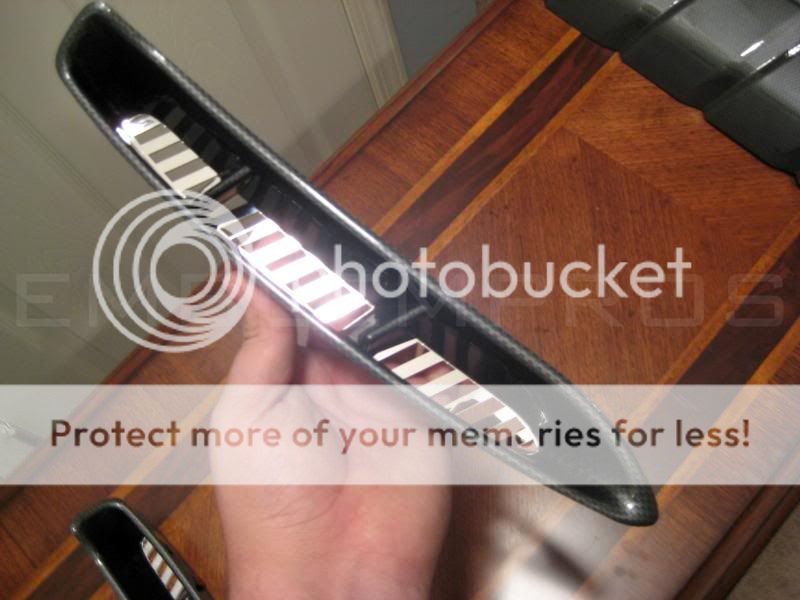
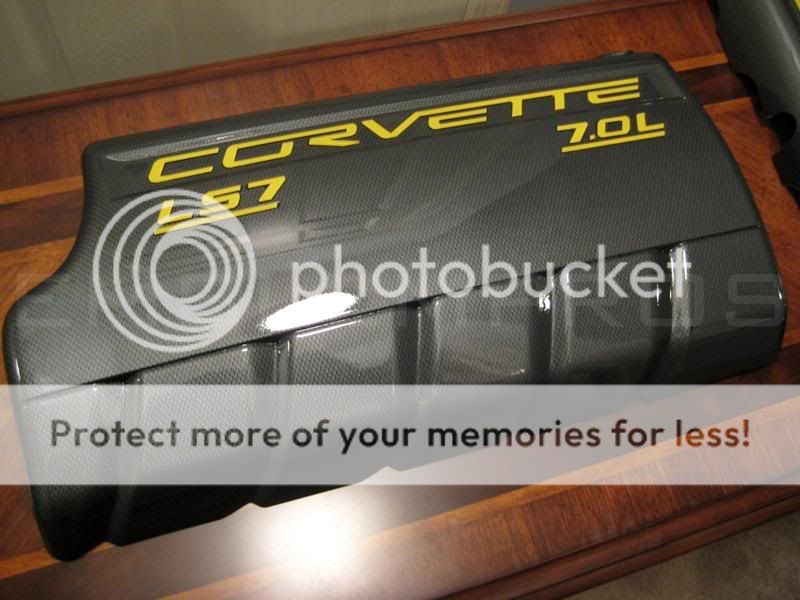
LS7 Fuel rail covers dipped, and done with yellow insert trim to finish off the look. The lettering has a clear top over a yellow base, which gives the letters an internal 3-dimensional depth; really cool:

Hydrodipped fender gills with custom made stainless backings that match up with the openings:
LS7 Fuel rail covers dipped, and done with yellow insert trim to finish off the look. The lettering has a clear top over a yellow base, which gives the letters an internal 3-dimensional depth; really cool:


Trending Topics
 03-11-2010, 11:22 PM
#14
FormerVendor
Thread Starter
iTrader: (32)
Join Date: Jul 2003
Location: Lexington, KY
Posts: 3,654
Likes: 0
Received 0 Likes
on
0 Posts
I'll start by saying the pricing on this piece will turn some of you off immediately, but it is a hell of a lot of work, and the finished product is absolutely amazing.
The price is $300 due to the masking time, and materials. Six coats of clear is pretty expensive. I know it's a lot of money, but if you have a show car, this will be a rather unique piece that's sure to catch attention.
This is one of the most expensive pieces I have, but I understand it's not for everybody. Plus, if I do multiple pieces for the same car at once, I cut a nice discount due to efficiency.
If this stuff is in an engine bay at a car show next to you, it is sure to steal the spotlight. It's a pretty unique piece.
I hate to charge so much, but that's what I have to do on this particular piece.
Originally, we were doing these for $150, and this piece was done for that price as well - we honored what we said we'd do it for without ever having the issue brought up. But, we didn't anticipate having to mask it off, and repaint the sides, which literally more than doubled our time investment. I hope you guys understand why it costs so much. I promise I'm not trying to scare you away - I always try to be inexpensive.
 03-12-2010, 06:05 AM
#19

Hell, thats not going on my car, thats going on my desk at WORK!!!!

BEAUTIFUL ROGER, sorry it was a Pain, that is gorgeous! It will be a shame to hide that in my engine bay! You gentleman do some high quality work, awesome. That pattern came out great w/the silver underlay color.
