
Showed the Camaro some love, Engine bay detailing/painting. HELLUVA LOT OF PICS!!!
 03-16-2010, 02:12 AM
#1
Well, I decided to spruce up the engine bay a little bit. I thought I was just gonna clean up a tad bit, ended up going a little more
This car, along with the Trans Am are going up for sell very soon, just doing a few final touches before they go. So DON�T mention the hidden wire mod. I�d do it if I were keeping the car, but stuff like that will only hurt the sell. My goal was simply to bring it back to looking new again. I'm not done yet, but i've pretty much accomplished that i think
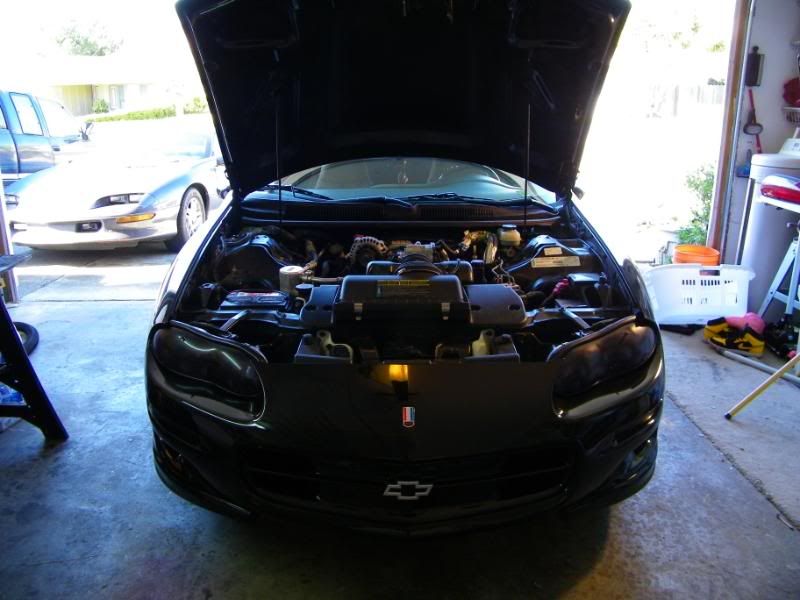
Let me get right to the good part�. The Before and After!!!

also got rid of the blackouts to show the whistlered lights that hid beneath.

Okay, now for the step by step.
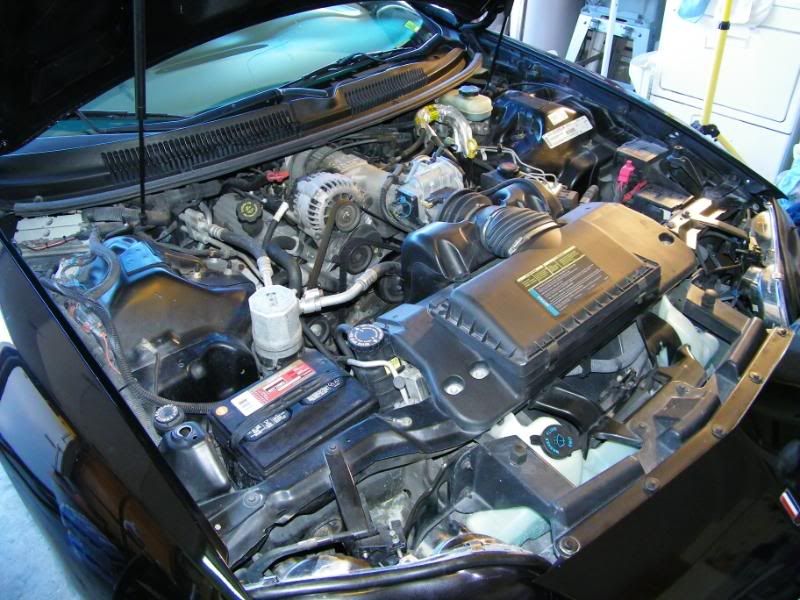
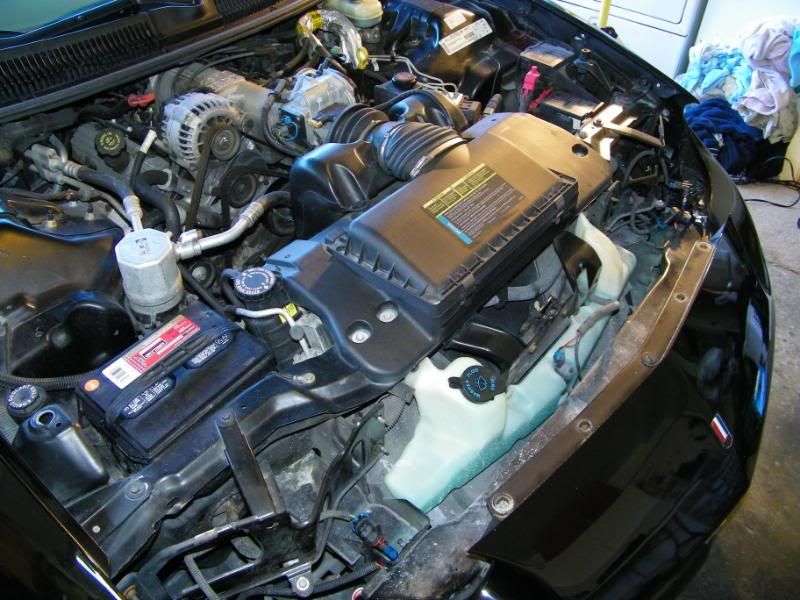
How the car looked when I pulled it in for the day.
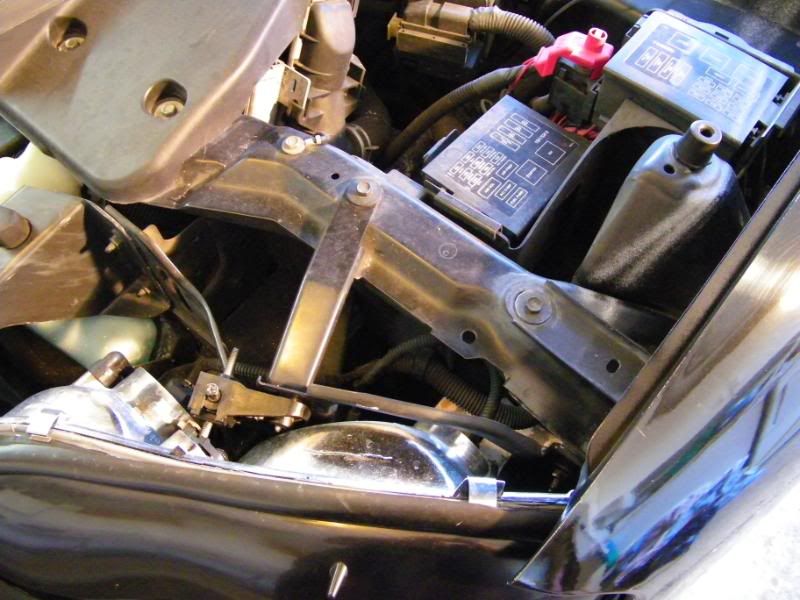
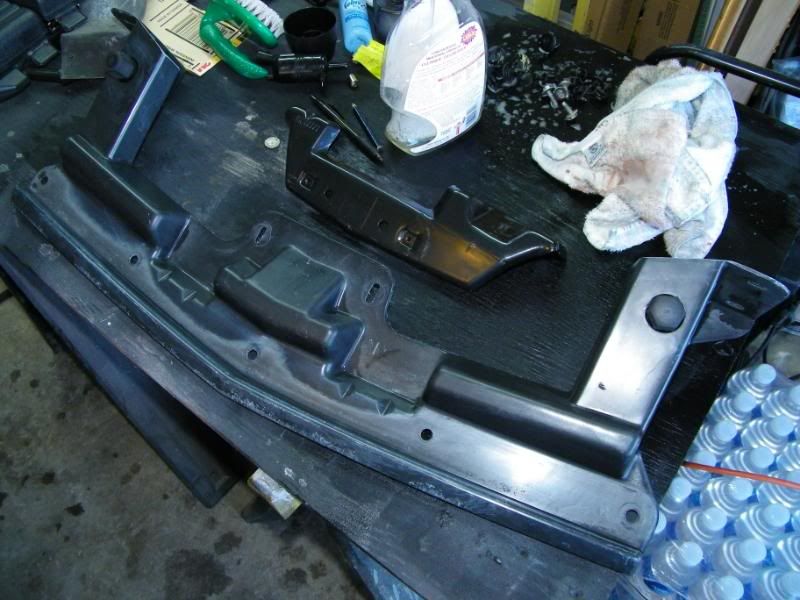
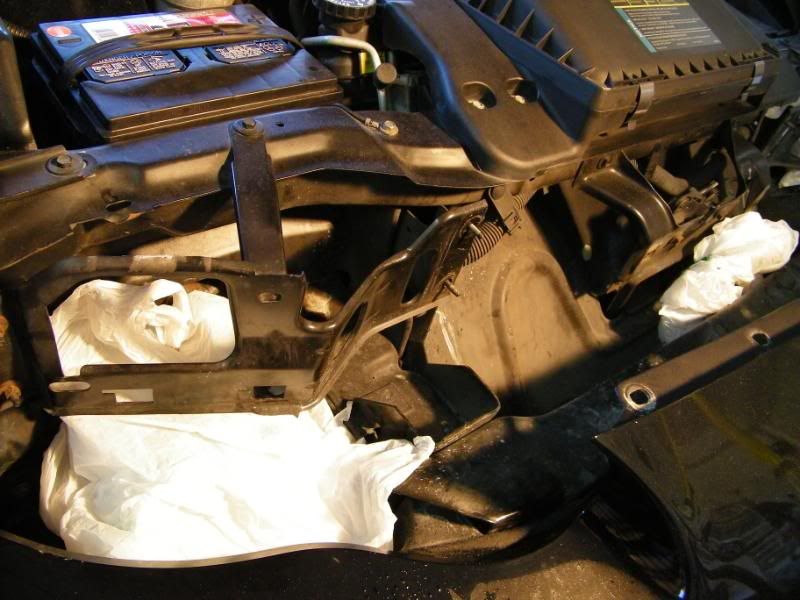
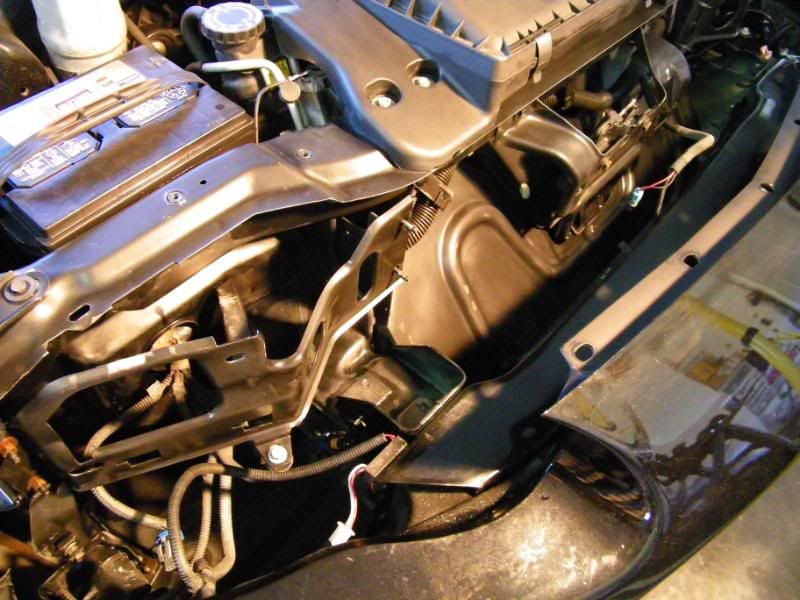
Began pulling stuff out- headlights and bumper supports came out first.
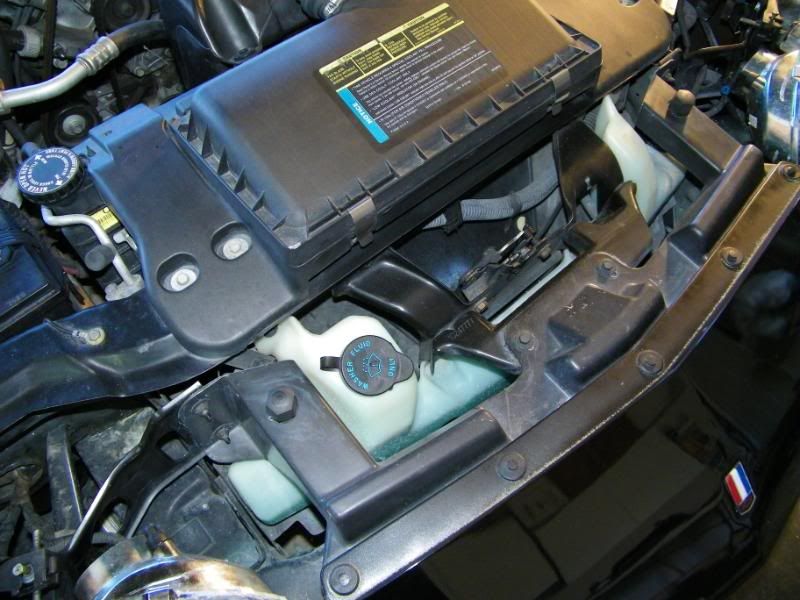
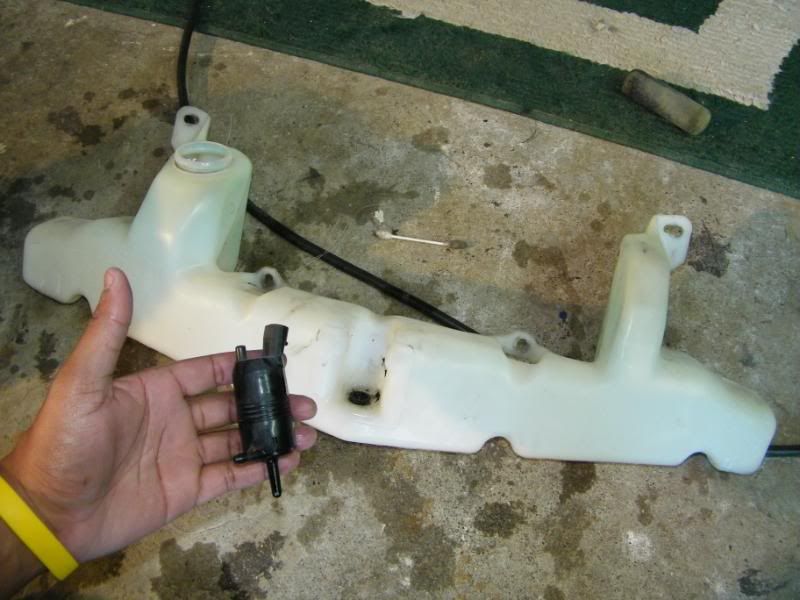
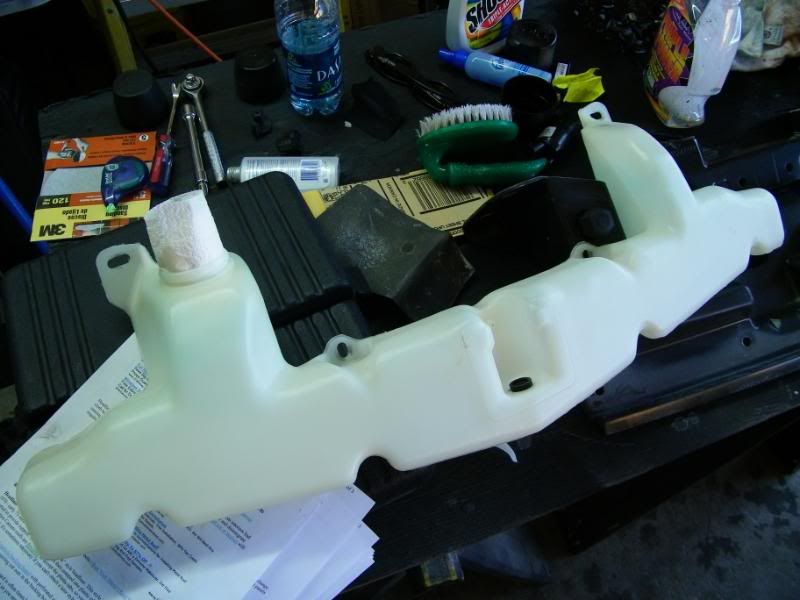
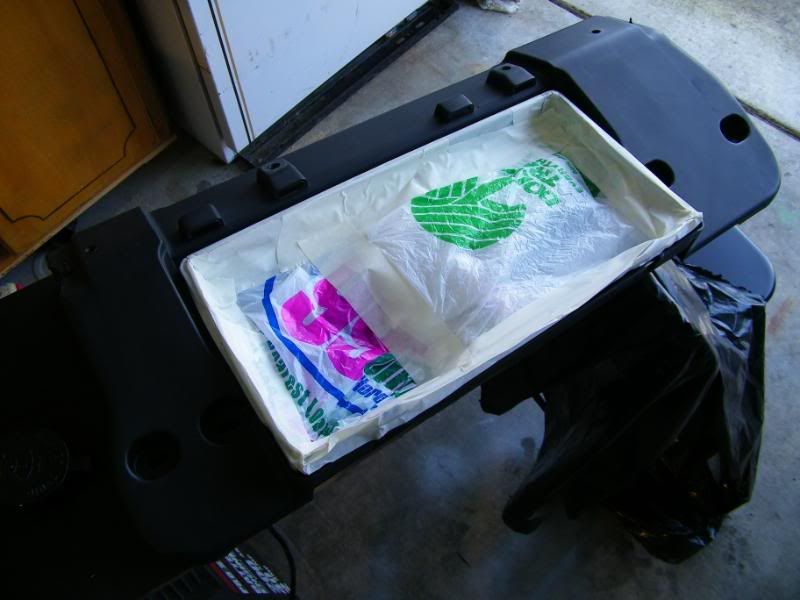
Then pulled the windshield wiped fluid bottle out.
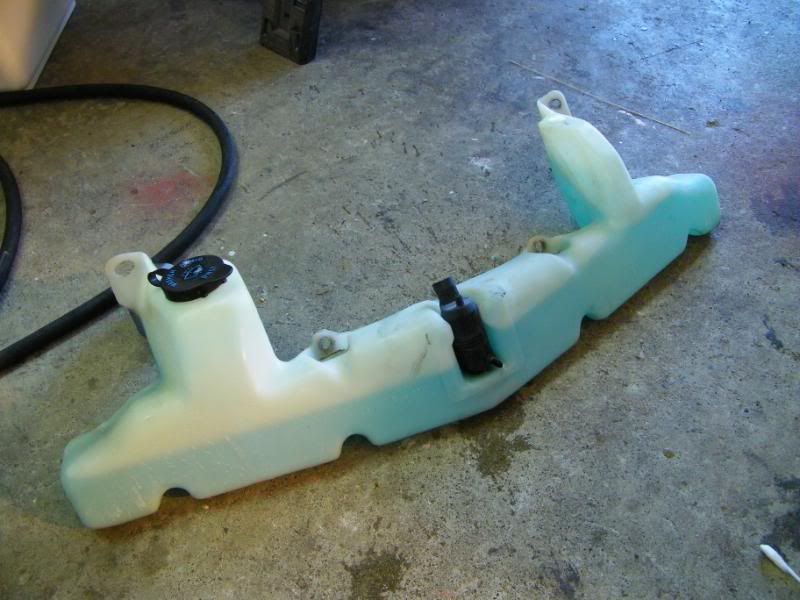
Pulled the black thing out and emptied the bottle. -empty into a CLEAN bucket so you can reuse it once you're done
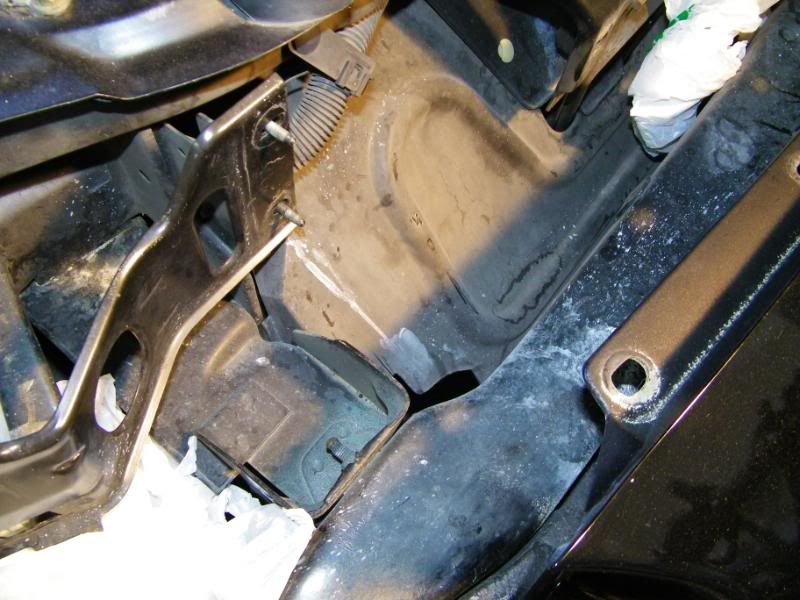
cleaned up
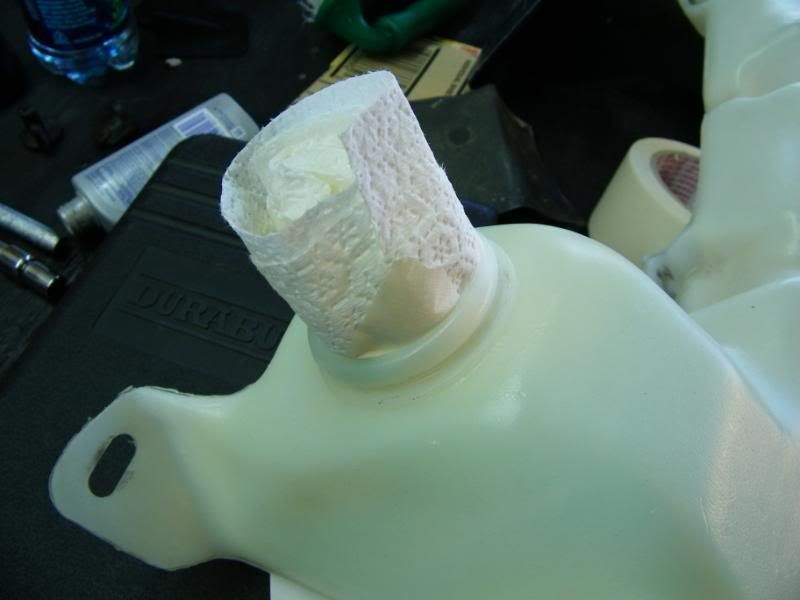
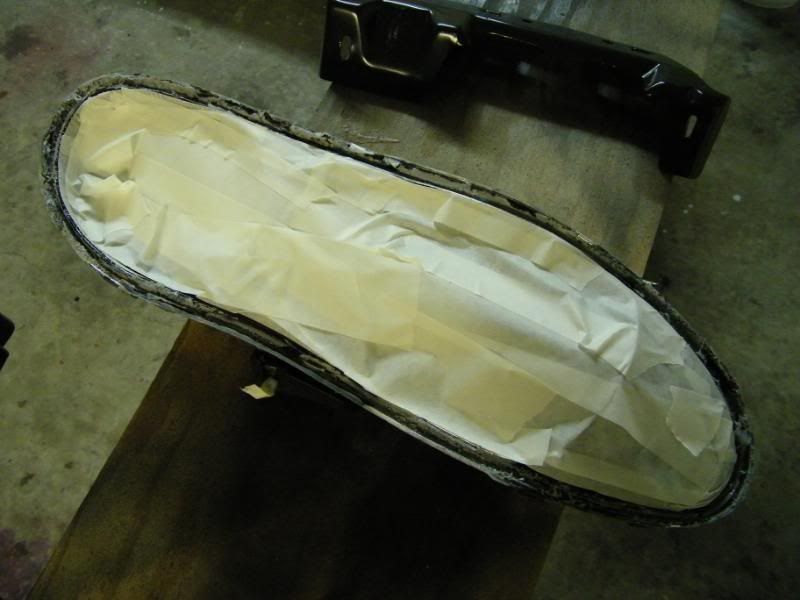
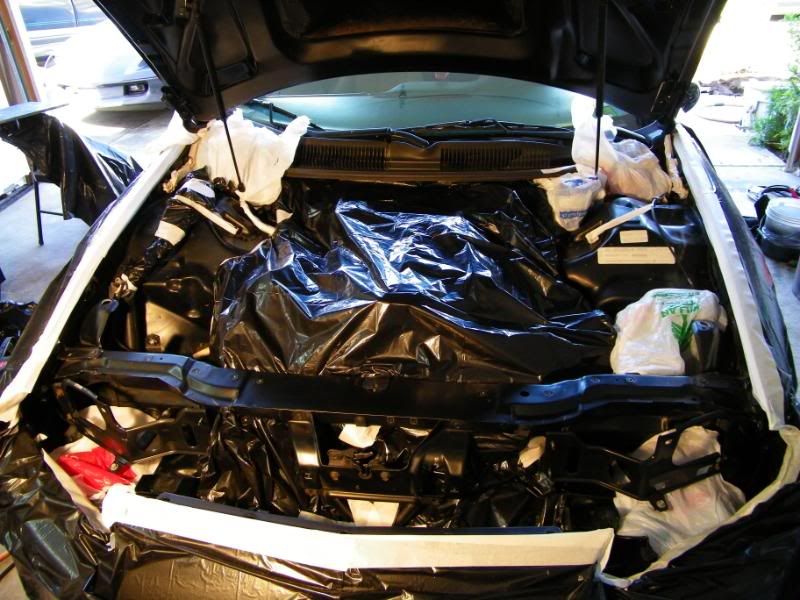
cleaned and prepped for paint. Used some paper towels to stuff the hole, so as not to get paint inside
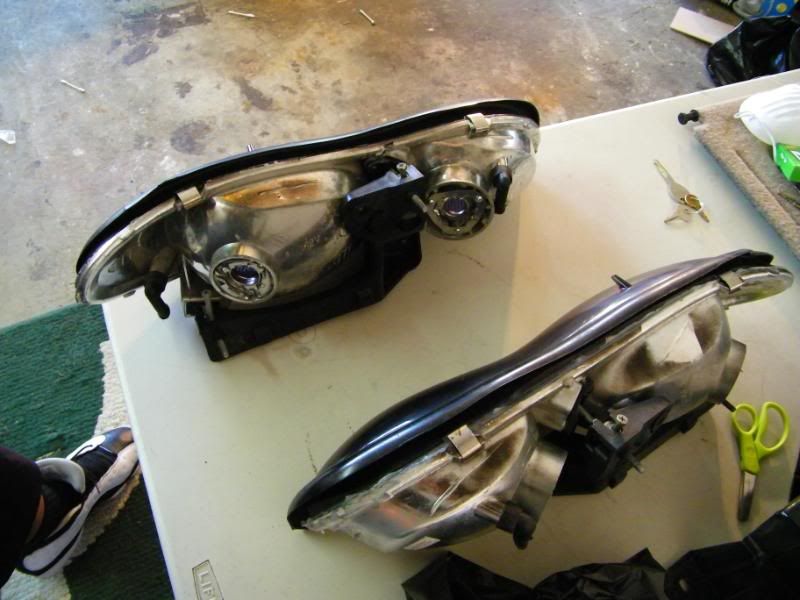
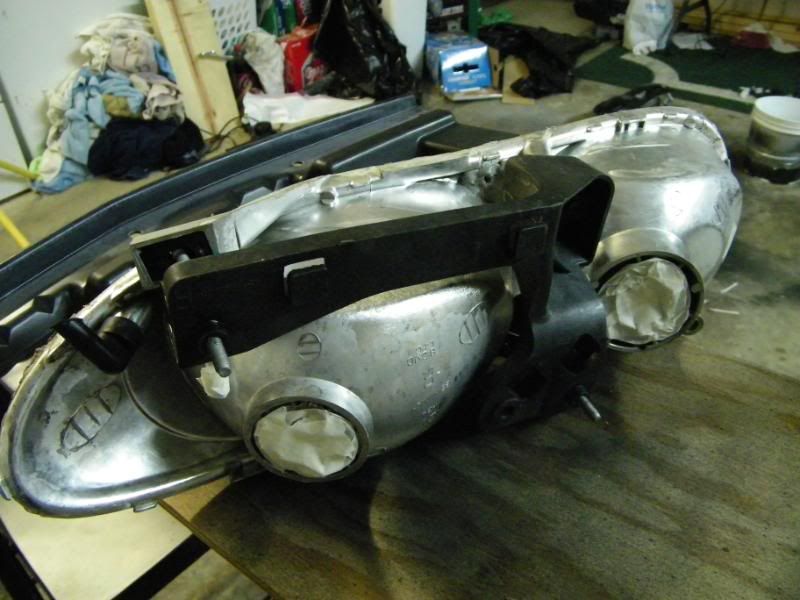
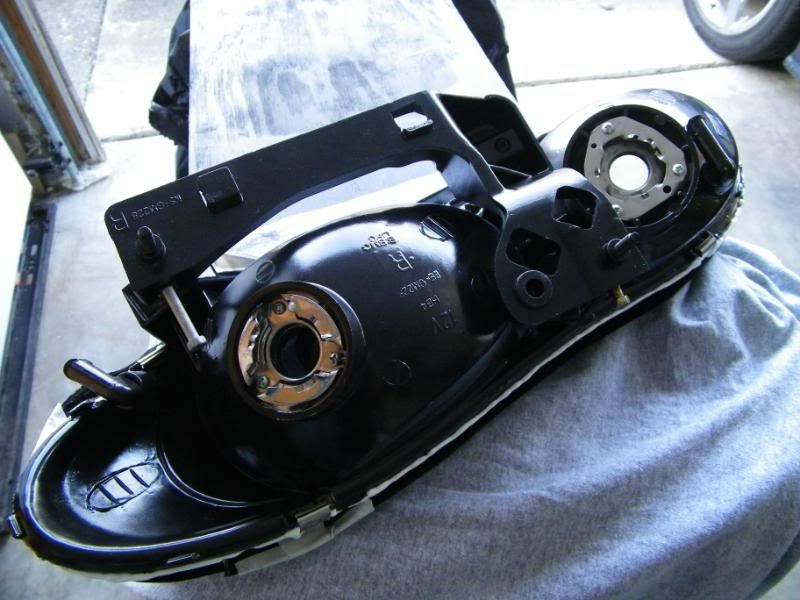
Pulled the lights apart to fix the mistake I made last time I did the whistler mod. And I painted the housings so it would look better with everything.
This car, along with the Trans Am are going up for sell very soon, just doing a few final touches before they go. So DON�T mention the hidden wire mod. I�d do it if I were keeping the car, but stuff like that will only hurt the sell. My goal was simply to bring it back to looking new again. I'm not done yet, but i've pretty much accomplished that i think
Let me get right to the good part�. The Before and After!!!
also got rid of the blackouts to show the whistlered lights that hid beneath.
Okay, now for the step by step.
How the car looked when I pulled it in for the day.
Began pulling stuff out- headlights and bumper supports came out first.
Then pulled the windshield wiped fluid bottle out.
Pulled the black thing out and emptied the bottle. -empty into a CLEAN bucket so you can reuse it once you're done
cleaned up
cleaned and prepped for paint. Used some paper towels to stuff the hole, so as not to get paint inside
Pulled the lights apart to fix the mistake I made last time I did the whistler mod. And I painted the housings so it would look better with everything.
Last edited by crimson_bird; 03-16-2010 at 02:18 AM.
 03-16-2010, 02:12 AM
#2
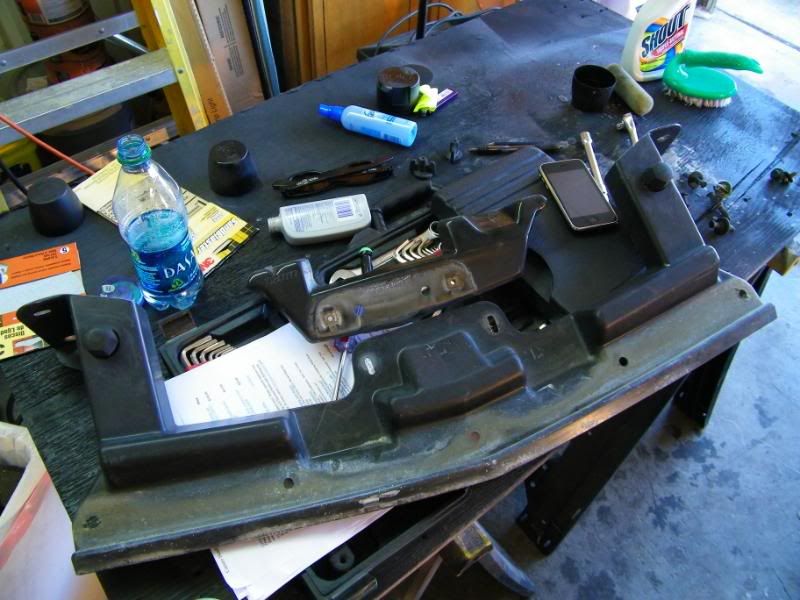
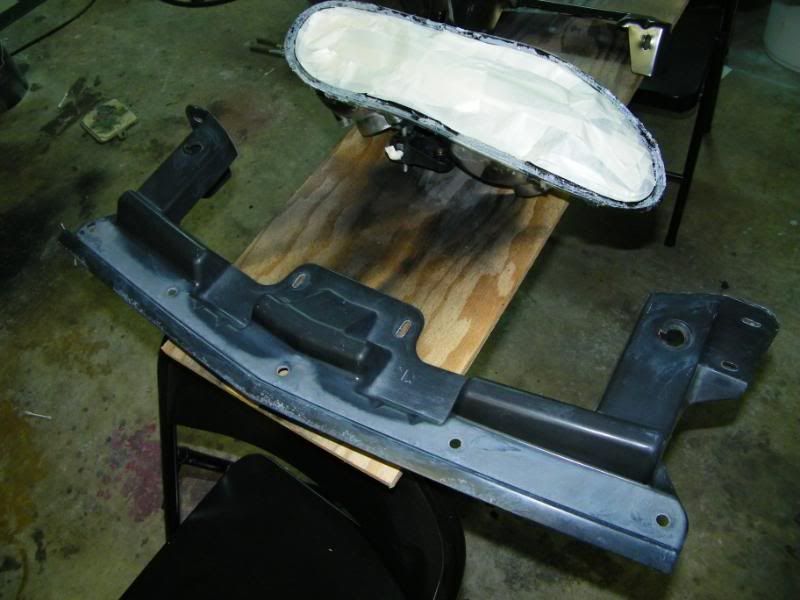
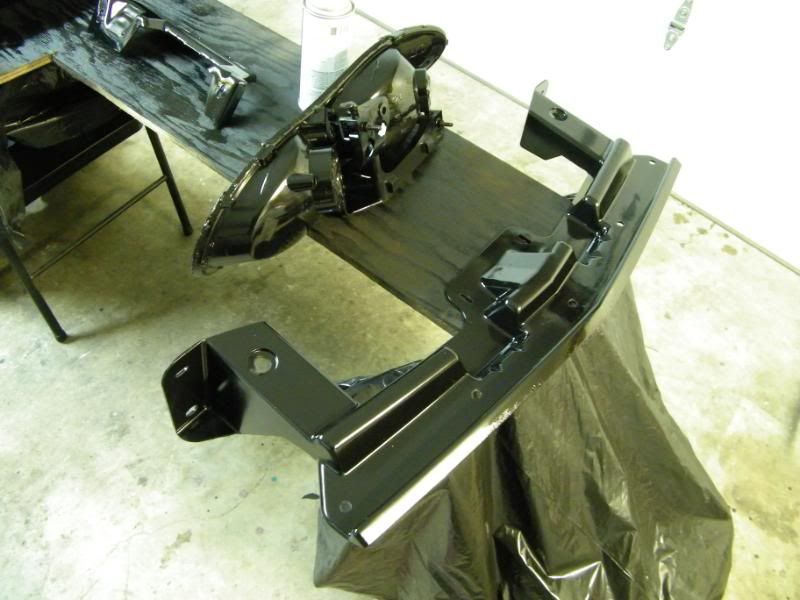
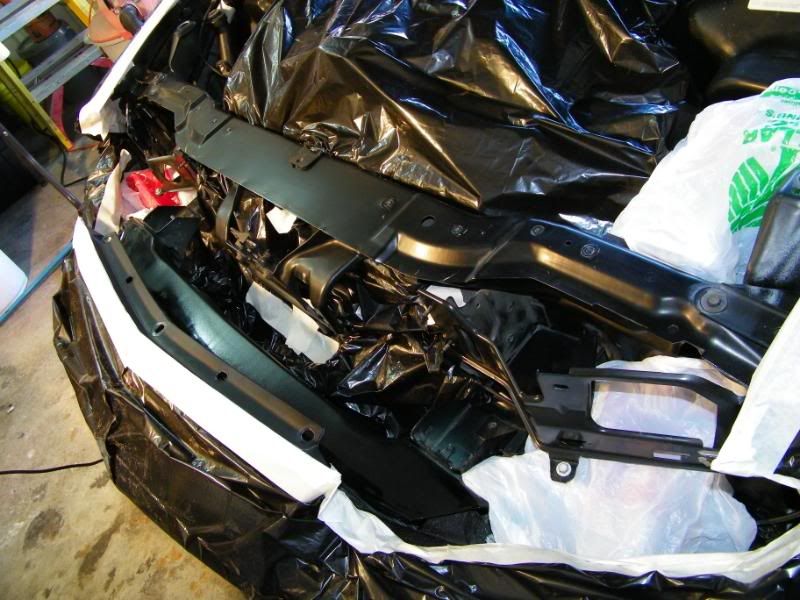
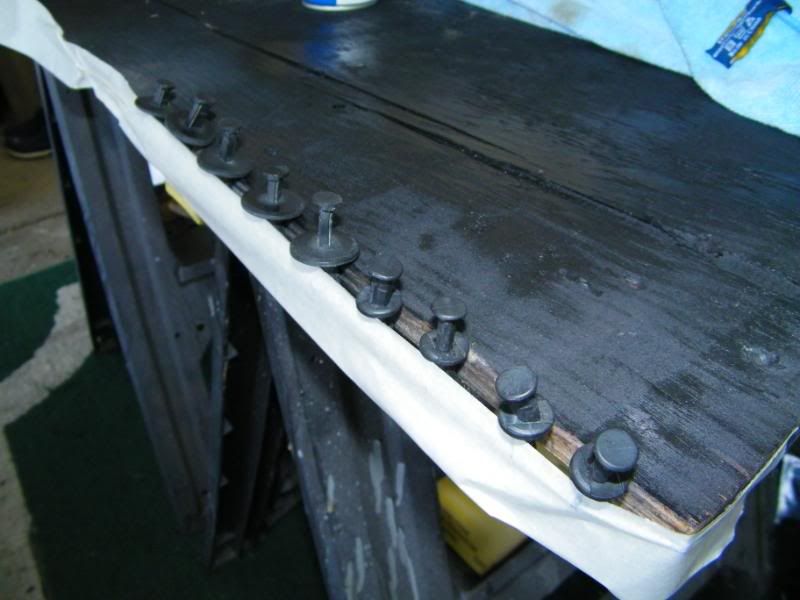
You can see how worn the bumper support was. looks BAD
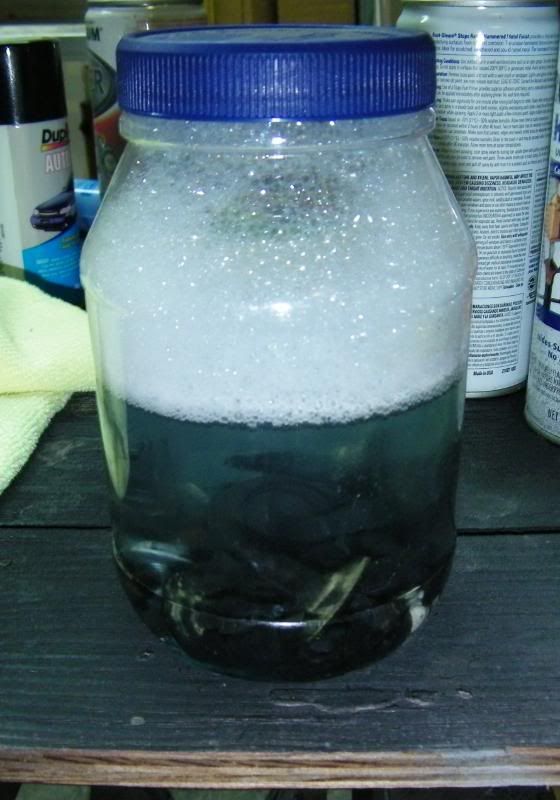
All of the screws, nuts, clips, fastners soaking in HOT, soapy water.
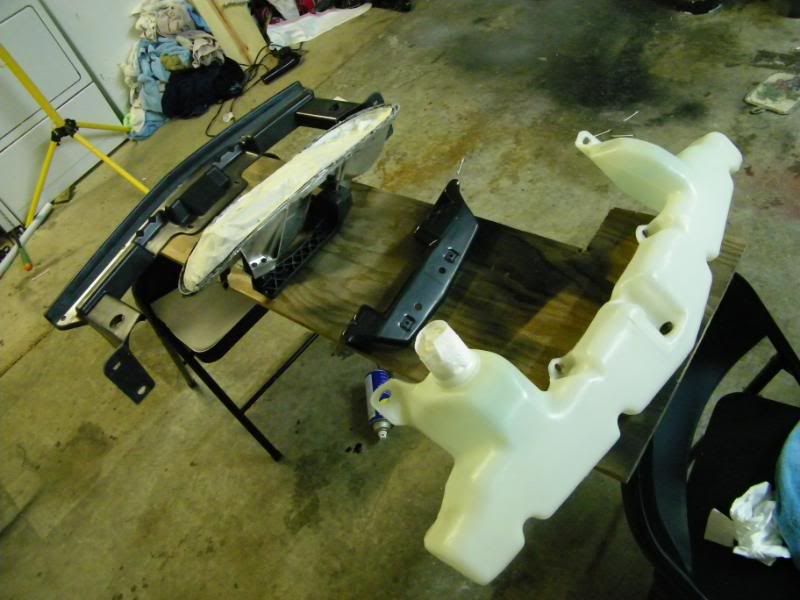
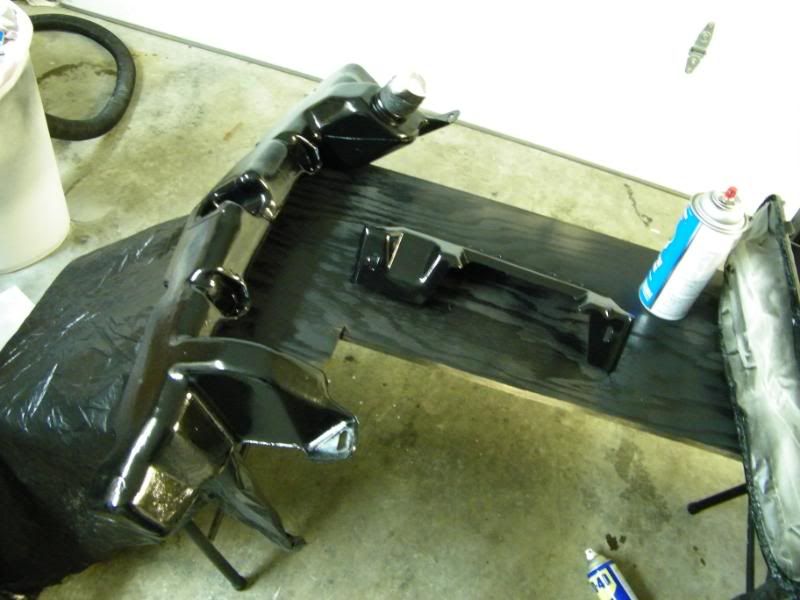
first coat of paint
covered up the electrical to get ready to clean.

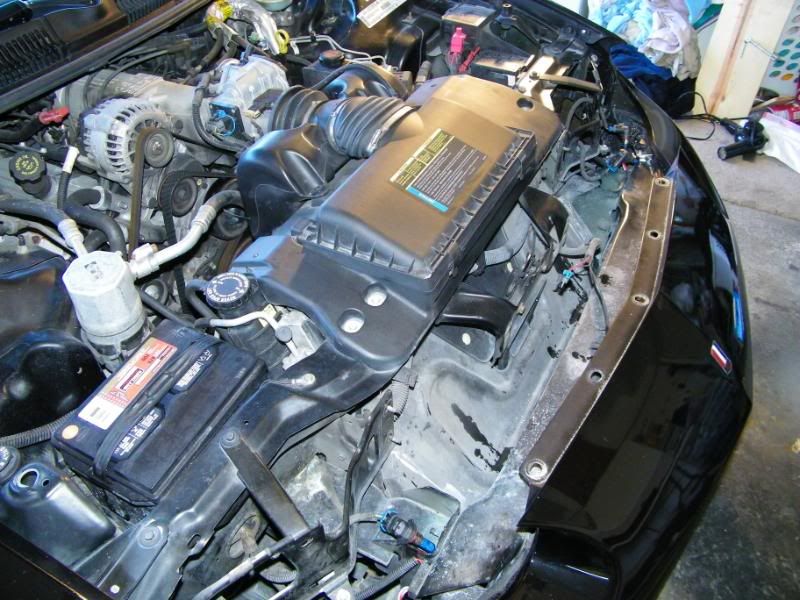
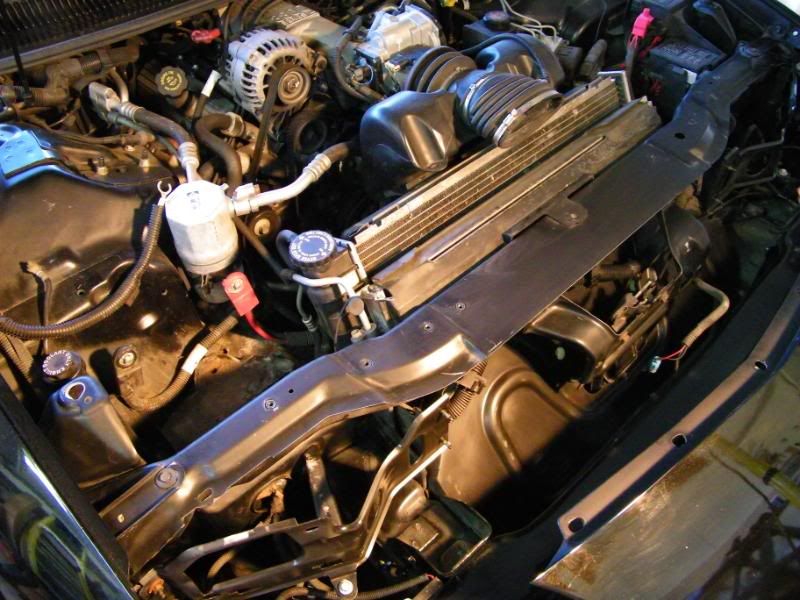
decided to pull of the air box and pull the battery out, so I could clean up better.
second cleaning done. scuffed up, masked off, and ready for paint.
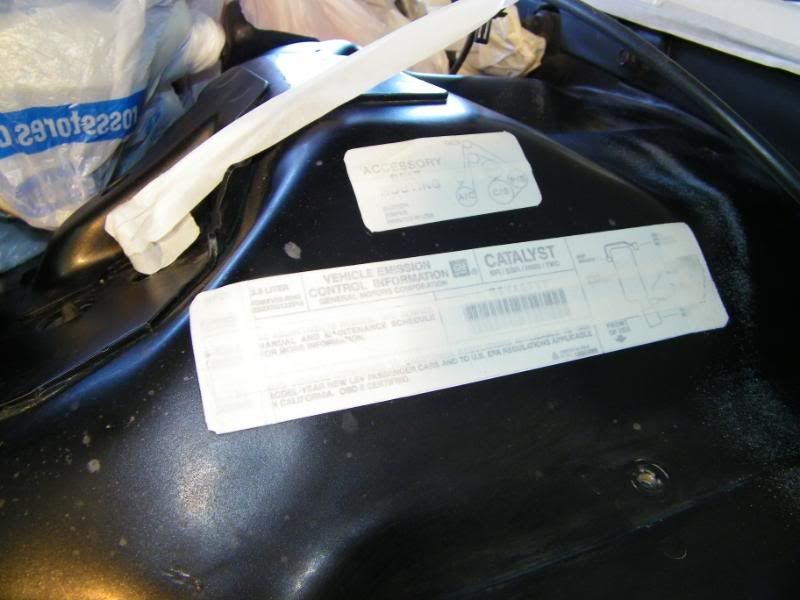
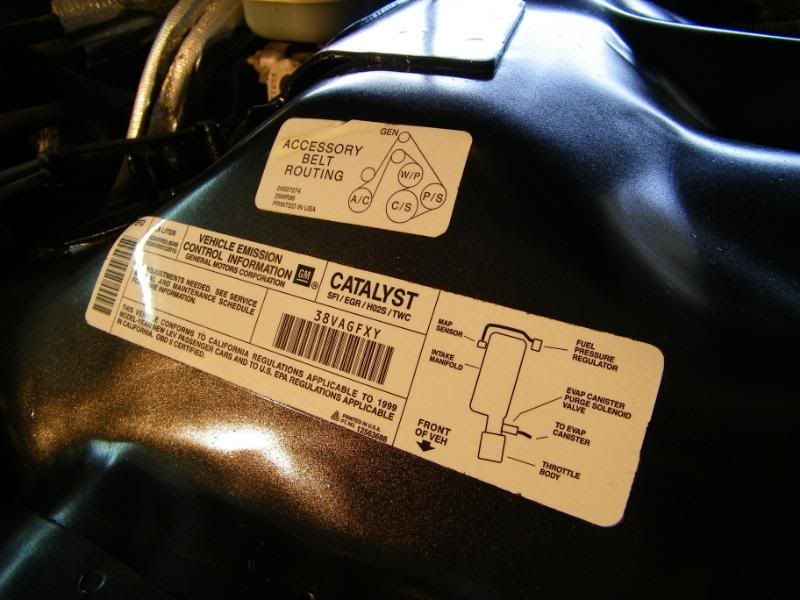
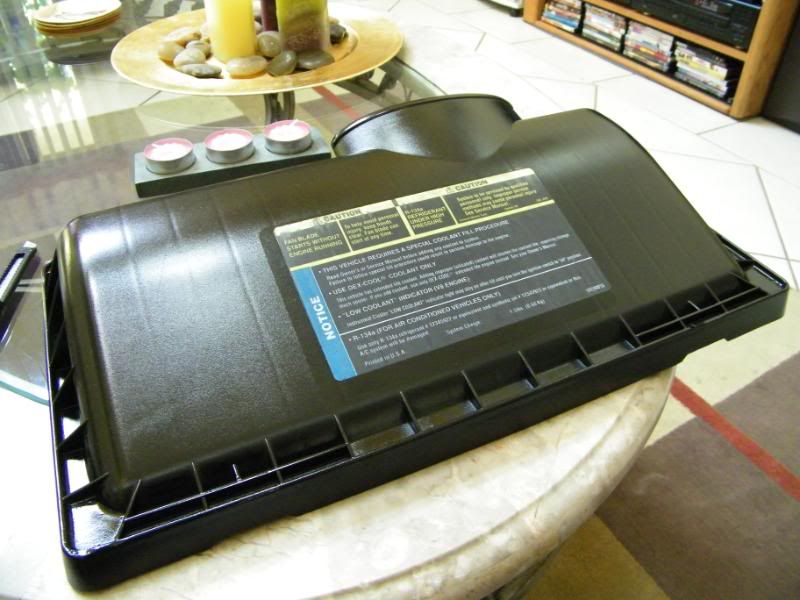
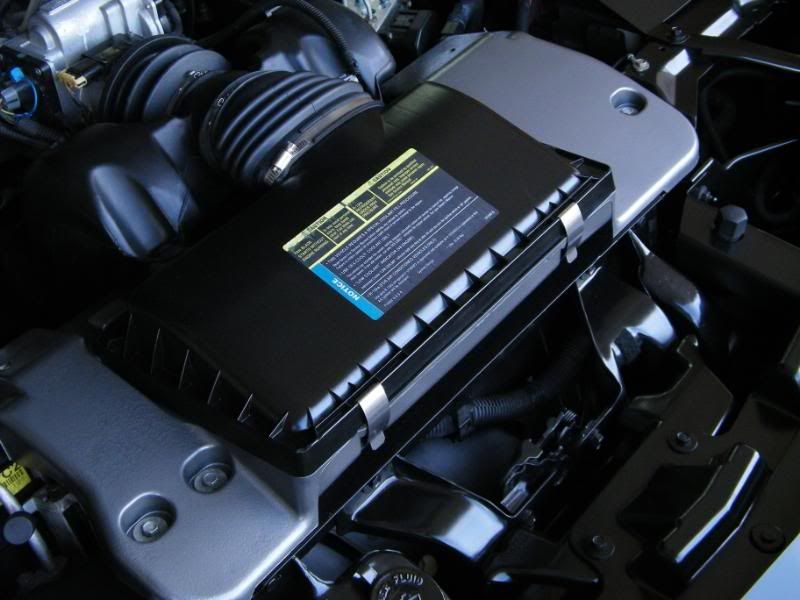
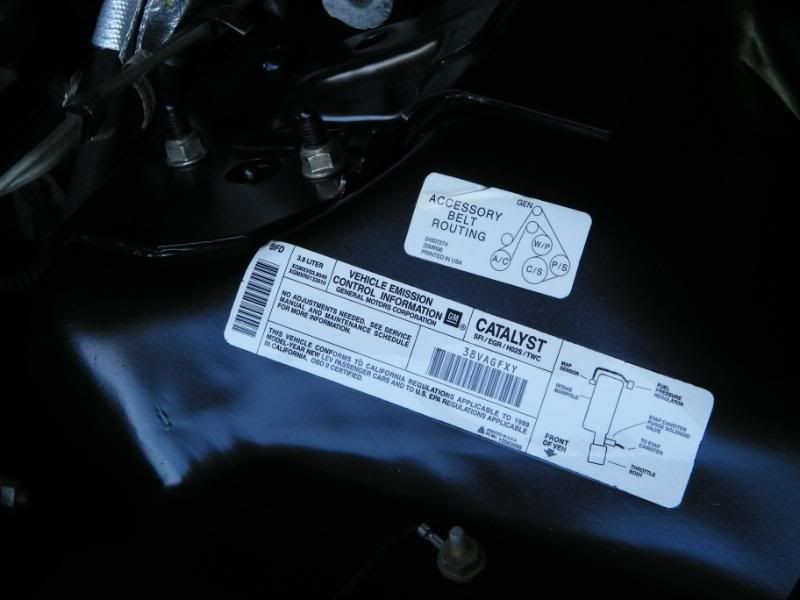
masked off the factory labels, instead of removing them. I’m about to sell the car so I figured I’ll leave all of the factory stuff. I’ll let the new owner decide if they want to remove them.
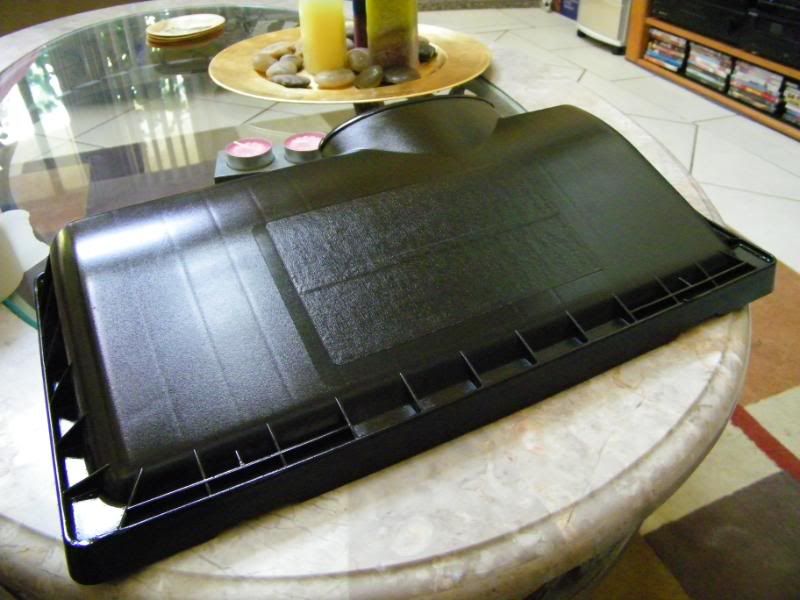
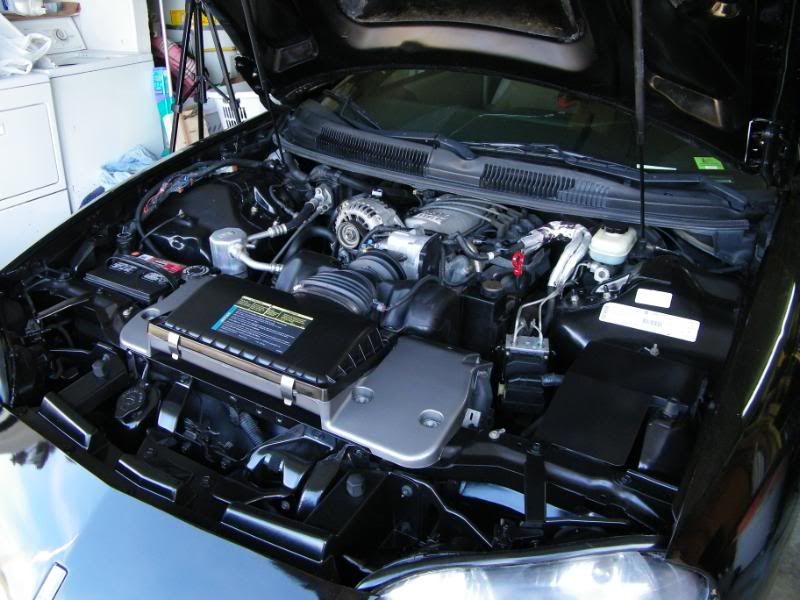
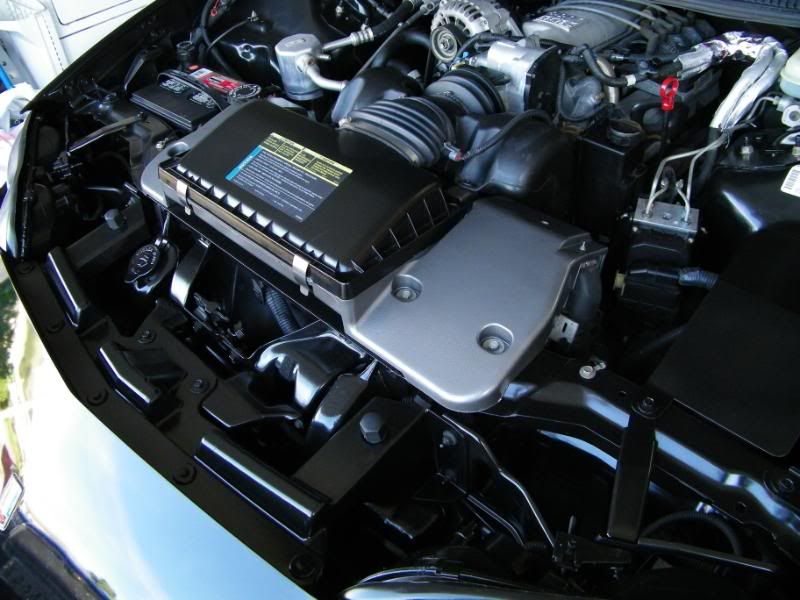
lower air box- only thing painted Hammer-tone Grey, instead of black
getting the fastners ready to be painted as well.
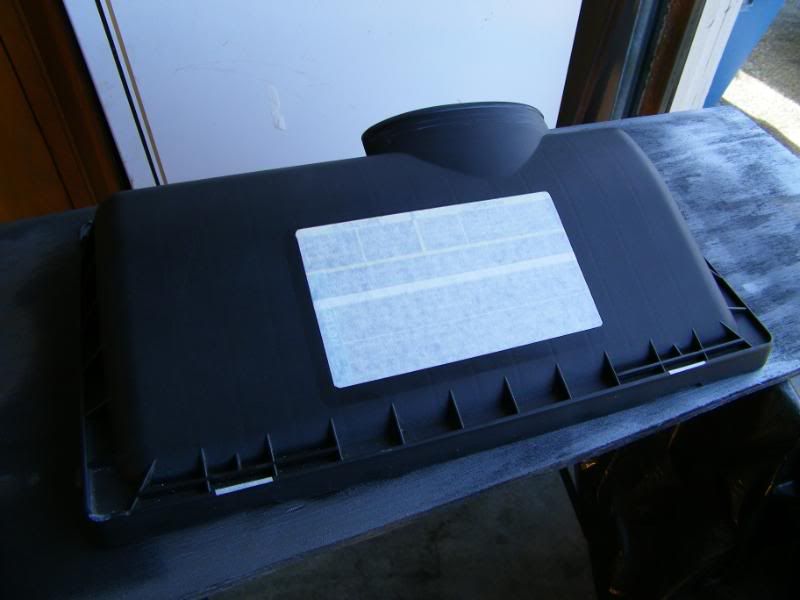
label masked off on the air lid
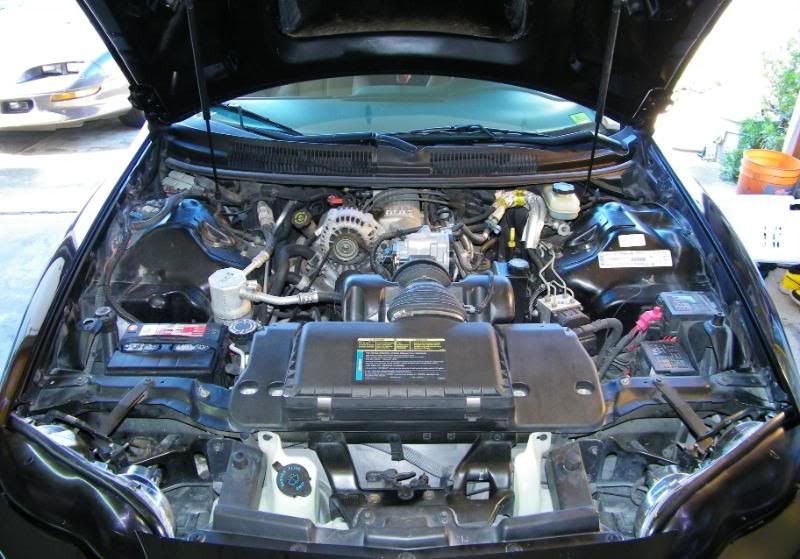
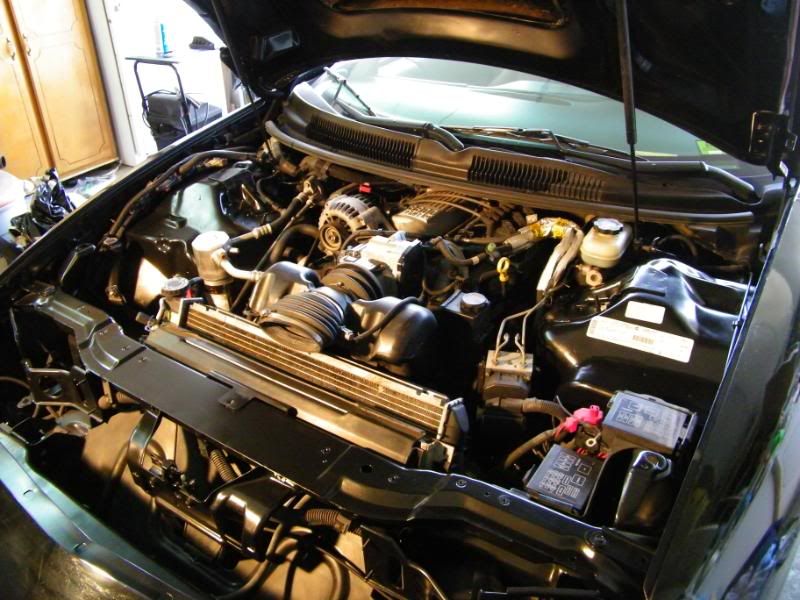
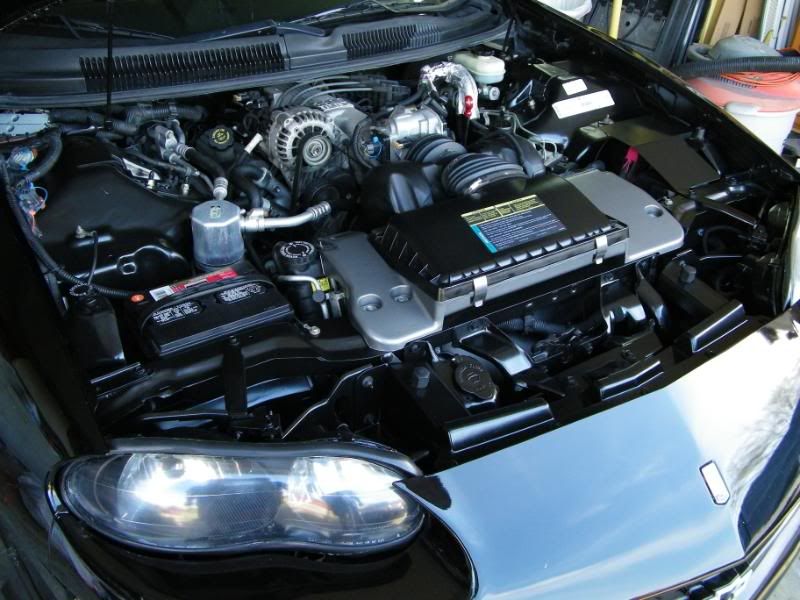
engine bay paint done. (pictures do it no justice)
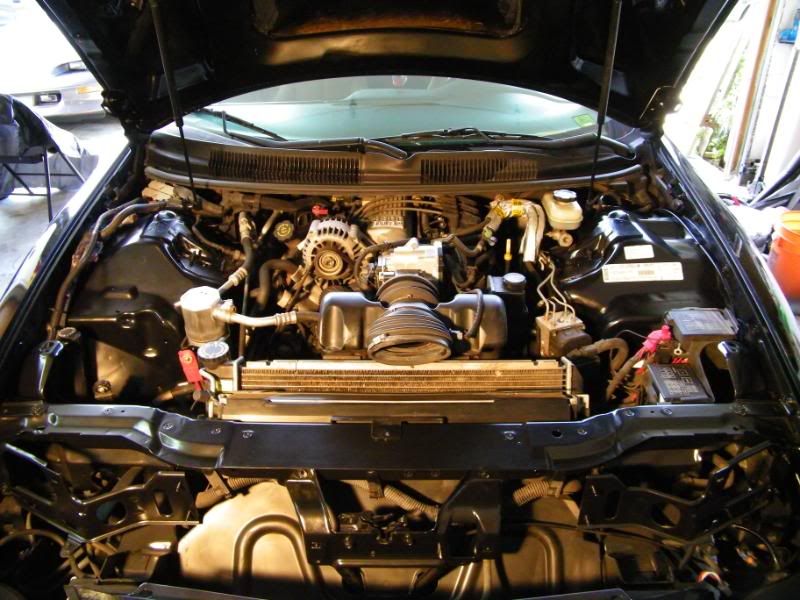
labels came out perfect.
All of the screws, nuts, clips, fastners soaking in HOT, soapy water.
first coat of paint
covered up the electrical to get ready to clean.
decided to pull of the air box and pull the battery out, so I could clean up better.
second cleaning done. scuffed up, masked off, and ready for paint.
masked off the factory labels, instead of removing them. I’m about to sell the car so I figured I’ll leave all of the factory stuff. I’ll let the new owner decide if they want to remove them.
lower air box- only thing painted Hammer-tone Grey, instead of black
getting the fastners ready to be painted as well.
label masked off on the air lid
engine bay paint done. (pictures do it no justice)
labels came out perfect.
Last edited by crimson_bird; 03-16-2010 at 02:25 AM.
03-16-2010, 02:12 AM
#3
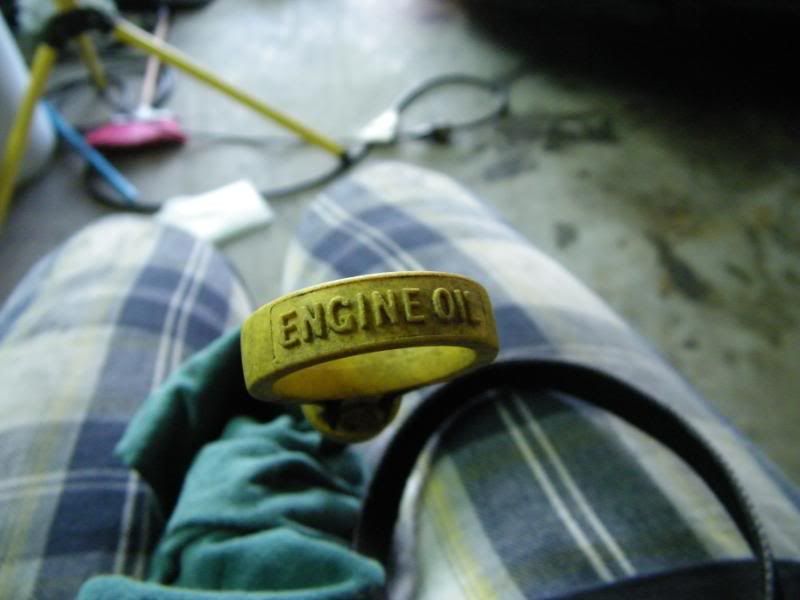
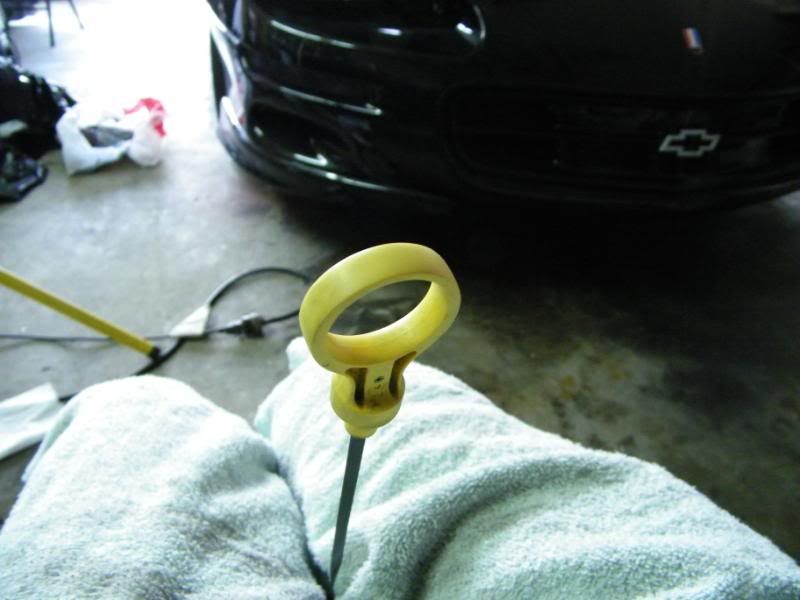
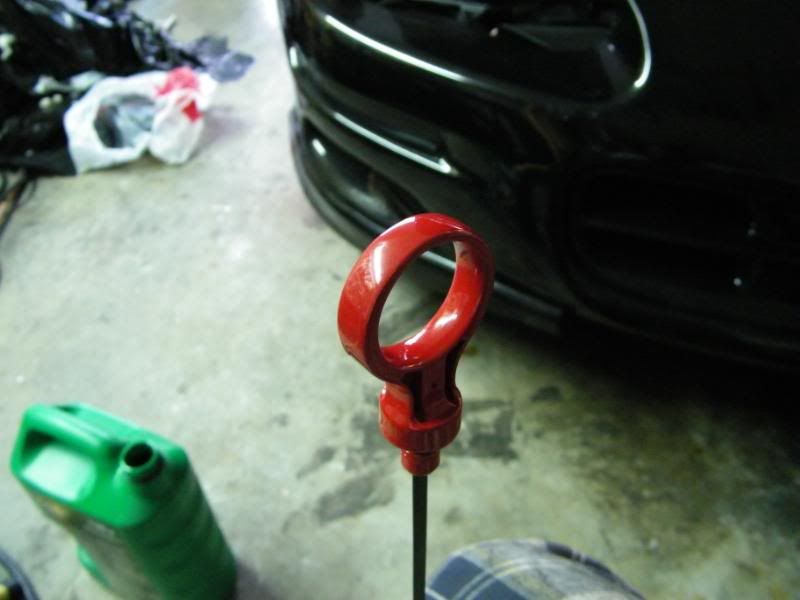
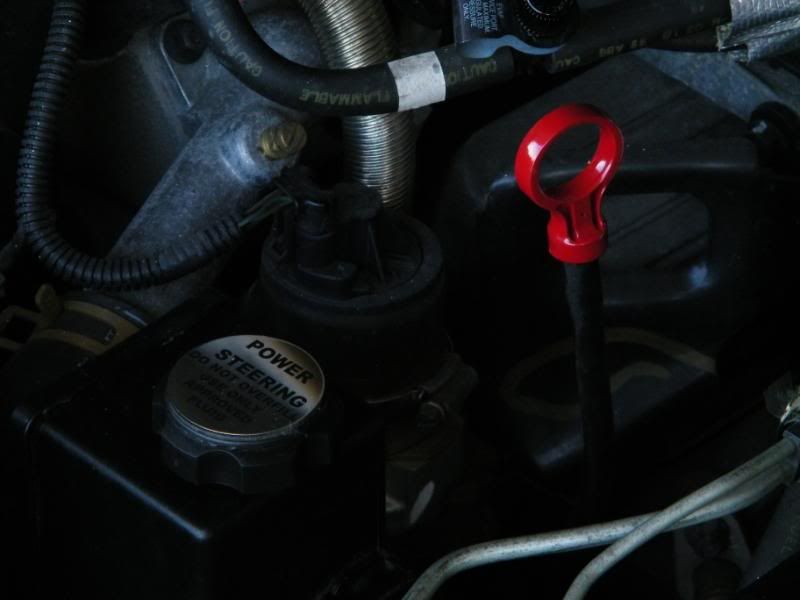
shaved/painted the engine oil dipstick
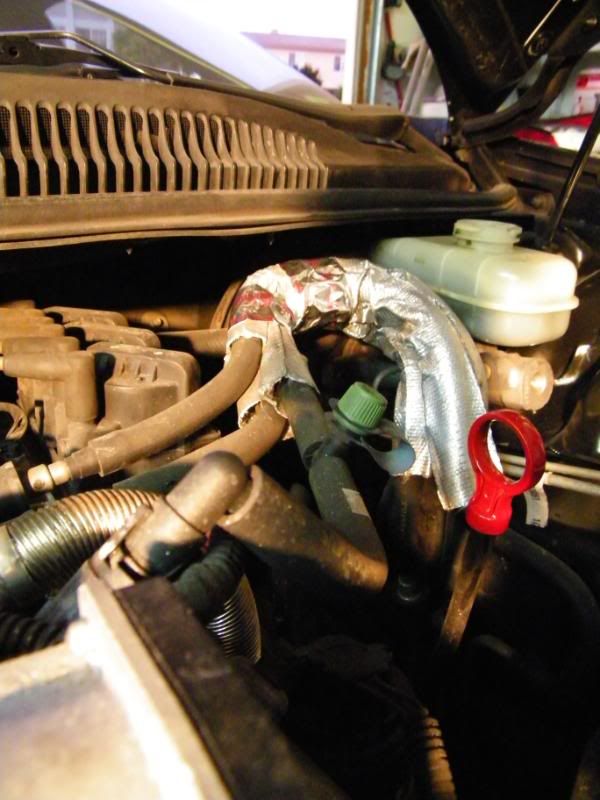
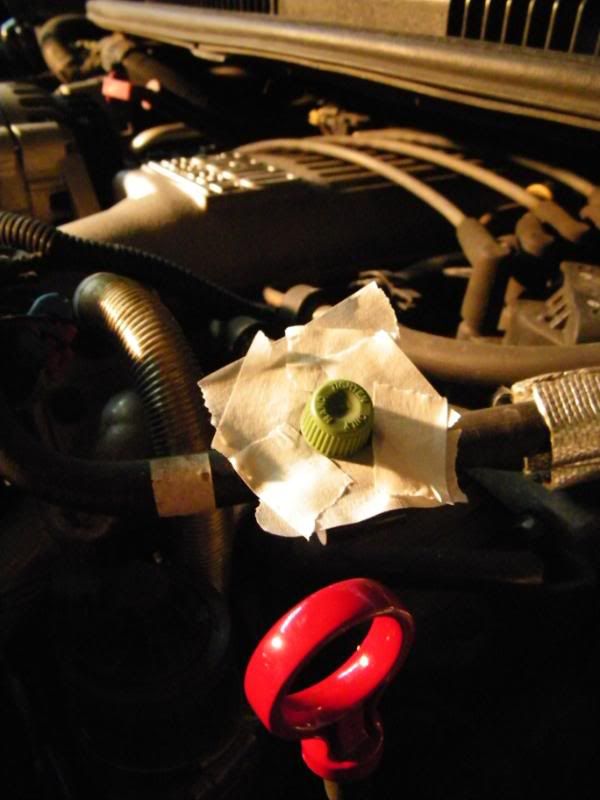
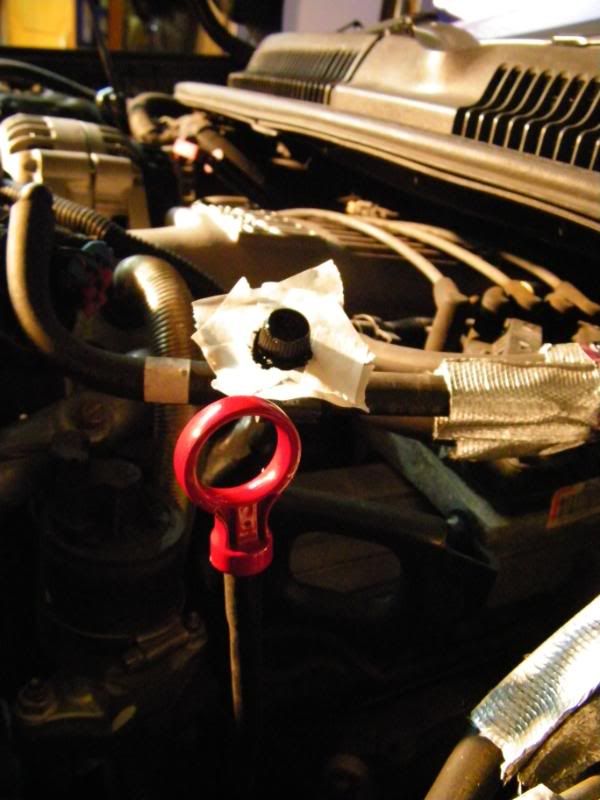
once it was back in, I realized I didn�t like the green **** either. Painted that black
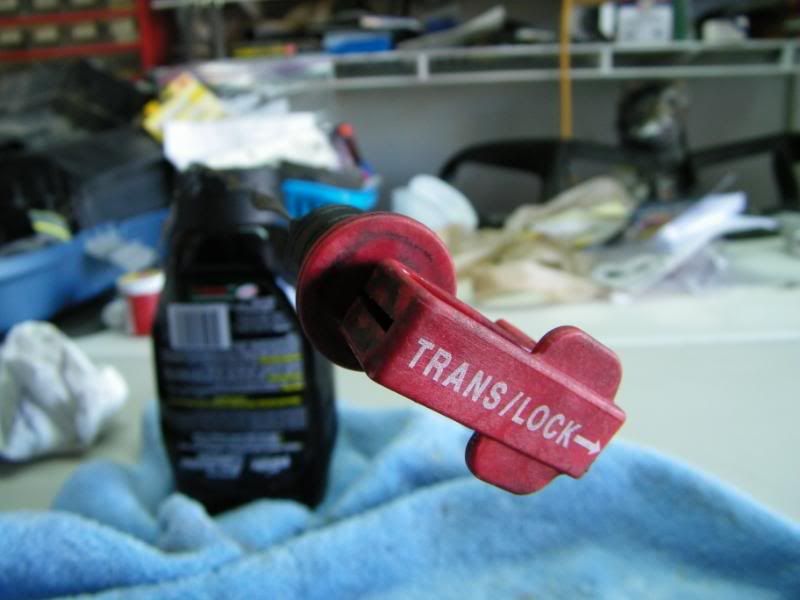
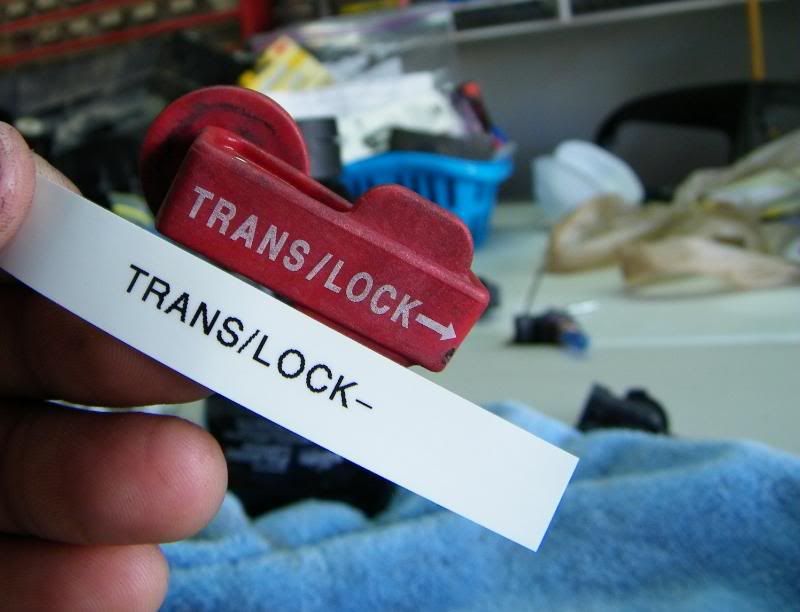
Trans/Lock got repainted black and a new label, courtesy of my mom (asked her to make it with her label maker). Then cleared over it all.
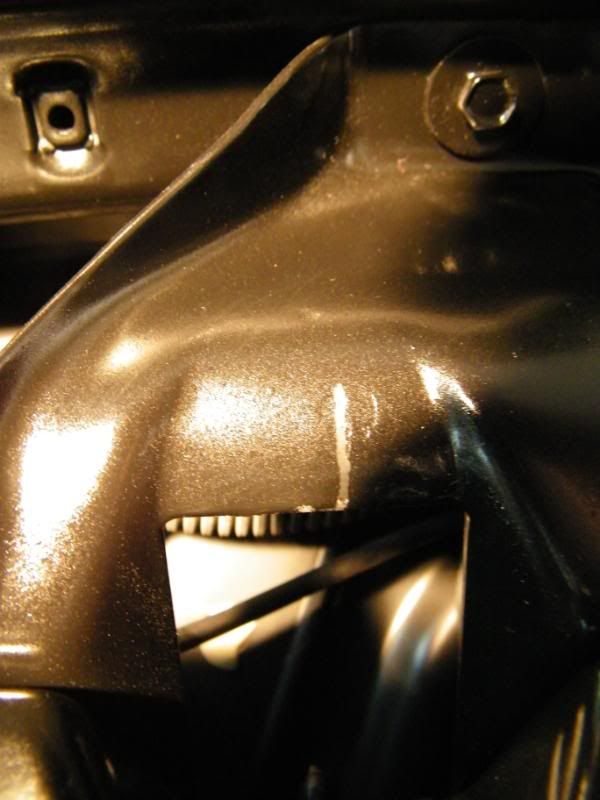
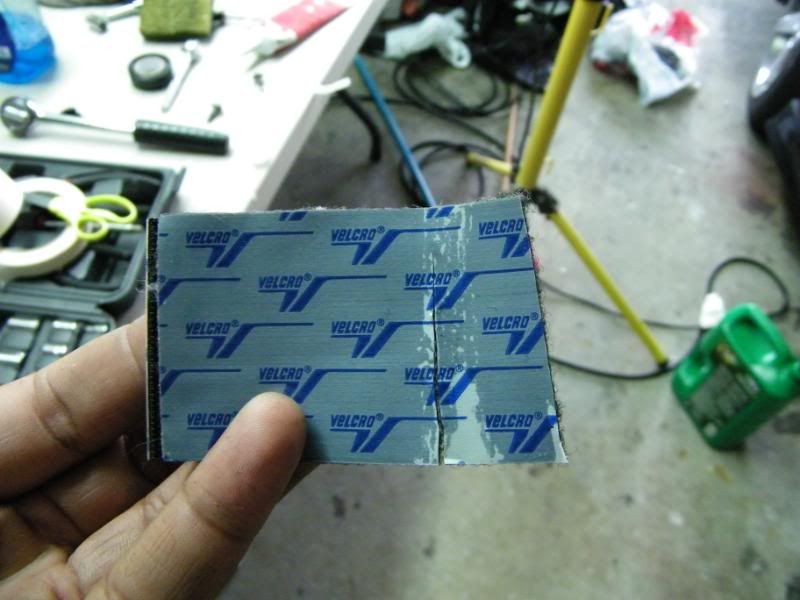
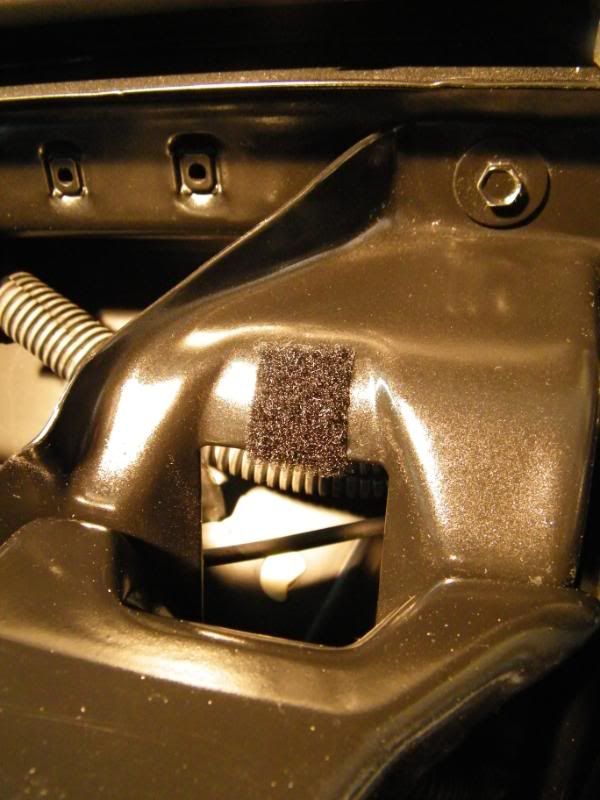
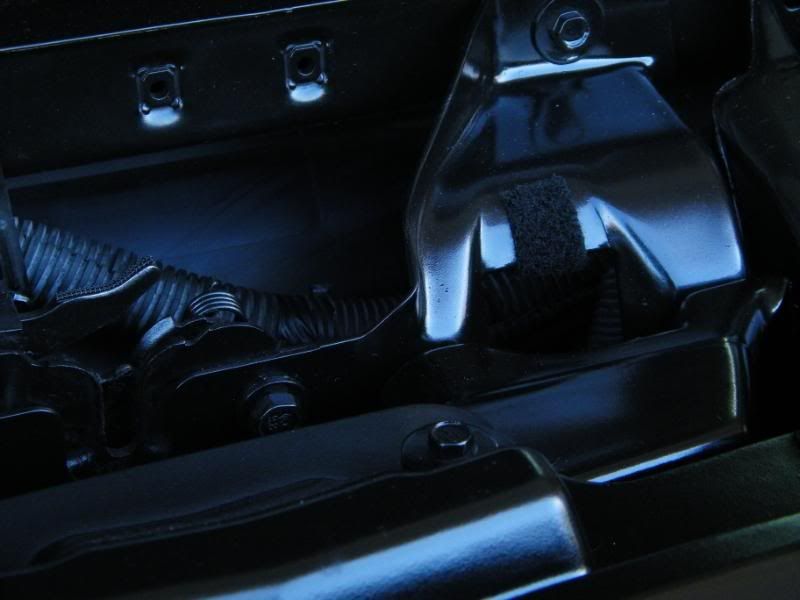
NO way to stop this from scratching (place where hood latch catches), when there is constant metal on metal contact. So I found a fix (thin strip of Velcro). Did this on my Trans Am months ago and it still looks perfect. prevents the metal hook from scraping this when you close the hood
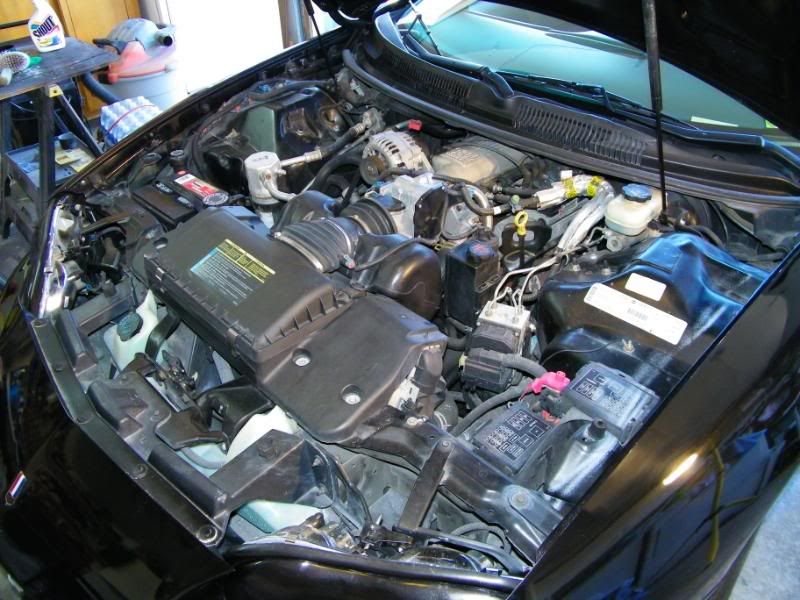
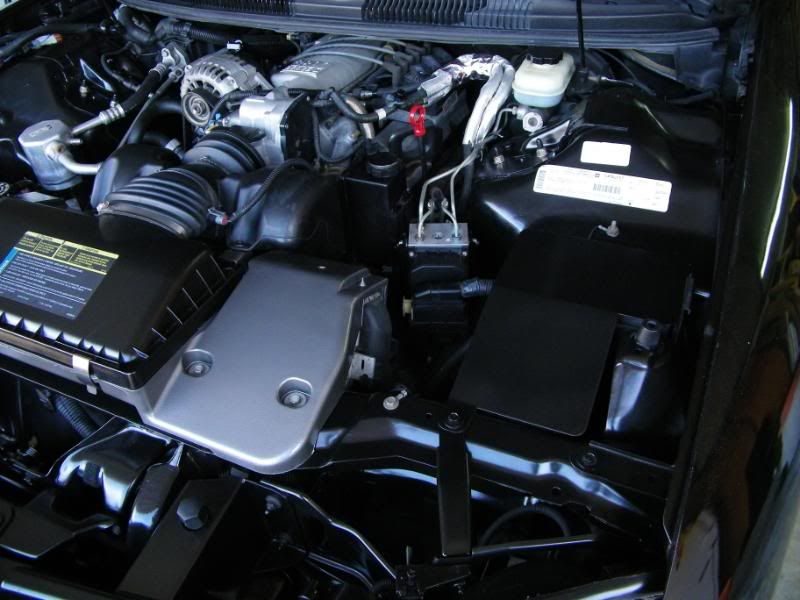
More of the after shots.
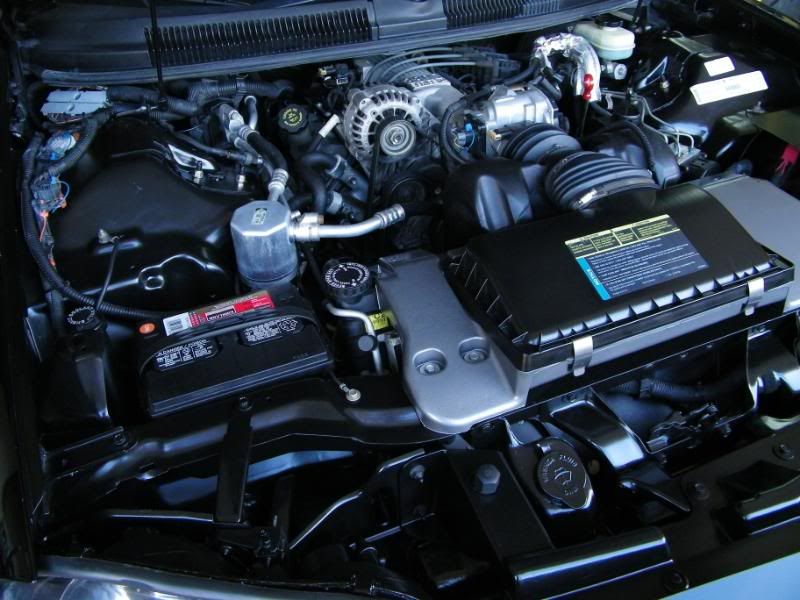
chrome power steering cap from emblempros. I�ve had it lying around for 6 months, since I did the T/A�s engine bay, but didn�t need it since I bought the power steering/abs back cover.

once it was back in, I realized I didn�t like the green **** either. Painted that black
Trans/Lock got repainted black and a new label, courtesy of my mom (asked her to make it with her label maker). Then cleared over it all.
NO way to stop this from scratching (place where hood latch catches), when there is constant metal on metal contact. So I found a fix (thin strip of Velcro). Did this on my Trans Am months ago and it still looks perfect. prevents the metal hook from scraping this when you close the hood
More of the after shots.
chrome power steering cap from emblempros. I�ve had it lying around for 6 months, since I did the T/A�s engine bay, but didn�t need it since I bought the power steering/abs back cover.
Last edited by crimson_bird; 03-16-2010 at 02:26 AM.

 03-16-2010, 10:17 AM
#7
TECH Fanatic
iTrader: (7)
Join Date: Dec 2008
Location: Jersey
Posts: 1,819
Likes: 0
Received 0 Likes
on
0 Posts
looks great, what paint did you use on the dipstick that you think is going to hold up w/ the heat and wheres the pic of the windshield washer fluid reservoir painted black!!
Trending Topics
03-16-2010, 10:37 AM
#8
TECH Regular
iTrader: (7)

Join Date: Jul 2005
Location: Little Creek, VA
Posts: 401
Likes: 0
Received 0 Likes
on
0 Posts

the first picture i was like whys he got the alternator on top? so i started looking for a turbo...then i realized it was a 3800. 
ill have to do that to my oil dipstick. it looks gross.
ill have to do that to my oil dipstick. it looks gross.
03-16-2010, 12:14 PM
#10
thanks guys.
there's a picture in there somewhere after i did the first coat of paint on the windshield wiper reservoir. you can barely even see it once everything's back in though, since the bumper supports block it.
for the dipstick i used some of the spray on caliper paint i had sitting around. so it'll hold up to the heat just fine. used the same stuff on my trans am's dipstick when i did it 6 months ago and it's still perfect.
LS1 camaro. there is SOOOO much more you can do (appearance wise) with the camaro than what you can do with the trans am. so, personally, i have more fun working with the camaro. I already have most of the stuff planned for the next car as far as appearance, suspension, interior. performance will be mild though, initially, probably just do full bolt-ons. as time passes, performance will become more of a priority though.
the next camaro i get will truly look amazing when i'm done with it, and definitely stand out (but not in a bad way). i already have the vision in my mind of the finished product just need to bring the vision into fruition.
OR, dump the money into my moms '78 Z28 and have one bad *** 2nd gen we'll see how it goes...
for the dipstick i used some of the spray on caliper paint i had sitting around. so it'll hold up to the heat just fine. used the same stuff on my trans am's dipstick when i did it 6 months ago and it's still perfect.
the next camaro i get will truly look amazing when i'm done with it, and definitely stand out (but not in a bad way). i already have the vision in my mind of the finished product
just need to bring the vision into fruition. OR, dump the money into my moms '78 Z28 and have one bad *** 2nd gen
we'll see how it goes...
03-16-2010, 12:16 PM
#11
On The Tree
Join Date: May 2009
Location: dayton, ohio
Posts: 167
Likes: 0
Received 0 Likes
on
0 Posts
03-16-2010, 12:39 PM
#12
Launching!

Join Date: Dec 2009
Location: lee's summit, mo
Posts: 296
Likes: 0
Received 0 Likes
on
0 Posts
what did u use for paint on the metal? im gettin ready to do the same thing and was plannin on usin the duplicolor wheel paint, but not sure if thats the best choice yet. what about the lid and washer fluid reservoir? last time i painted stuff like that i wasnt happy with how it turned out.

 03-16-2010, 03:49 PM
#18
12 Second Club
iTrader: (7)
Join Date: Oct 2005
Location: Englewood, CO
Posts: 1,018
Likes: 0
Received 0 Likes
on
0 Posts
damn, that looks pretty good actually. if i wasnt such a lazy *** i would do something like that. but, i figured you would have painted the lower air box/radiator support also. i think the gray is blaring out in that last picture. but thats just me. its all really clean though.
03-17-2010, 05:58 PM
#20
what did u use for paint on the metal? im gettin ready to do the same thing and was plannin on usin the duplicolor wheel paint, but not sure if thats the best choice yet. what about the lid and washer fluid reservoir? last time i painted stuff like that i wasnt happy with how it turned out.

2 days worth. but lots of down time in between. i ended the first day with everything pulled out and cleaned up. i was working with my headlights at the same time, and that took forever. i had to remove the VHT that was on them, and while i was at it i shaved the nips off of them. and i also had to pull them apart to finish the whistler mod on them. so that took a lot of time.
the second day i got out there and masked off everything and painted. and then had to reinstall everything.once i was done, i went through there cleaning, and wiping down down everything
damn, that looks pretty good actually. if i wasnt such a lazy *** i would do something like that. but, i figured you would have painted the lower air box/radiator support also. i think the gray is blaring out in that last picture. but thats just me. its all really clean though.
i'll get that picture for you shortly. once it was painted black, and i laid it in place, i didnt really like how much white there was. so i sprayed a light mist of black over it, and it actually came out pretty good. much better than before.