


Post Pics Of Painted Calipers/Brackets
TECH Addict
iTrader: (41)
Joined: Feb 2007
Posts: 2,005
Likes: 2
From: Battlecreek, MI / Mansfield, OH
TECH Addict
iTrader: (41)
Joined: Feb 2007
Posts: 2,005
Likes: 2
From: Battlecreek, MI / Mansfield, OH
[QUOTE=PhantomR/T;13788329]the calipers are polished, if ur asking about the brackets, they where painted with VHT spray can caliper paint. I just sanded the caliper brackets smooth before painting them, and they turned out really good.

TECH Regular
Joined: Feb 2005
Posts: 400
Likes: 2
http://www.flickr.com/photos/35055461@N00/4933592950/http://www.flickr.com/photos/35055461@N00/4933592950/ by http://www.flickr.com/people/35055461@N00/, on Flickr
http://www.flickr.com/photos/35055461@N00/4932998639/http://www.flickr.com/photos/35055461@N00/4932998639/ by http://www.flickr.com/people/35055461@N00/, on Flickr
http://www.flickr.com/photos/35055461@N00/4933592572/http://www.flickr.com/photos/35055461@N00/4933592572/ by http://www.flickr.com/people/35055461@N00/, on Flickr
I faux-anodized mine using the Metalcast rattle can stuff from Autozone.
Last edited by Jeep_junkie; Aug 27, 2010 at 07:44 PM.
Thread Starter
12 Second Club
iTrader: (7)
Joined: Feb 2009
Posts: 1,138
Likes: 2
From: Havelock, NC
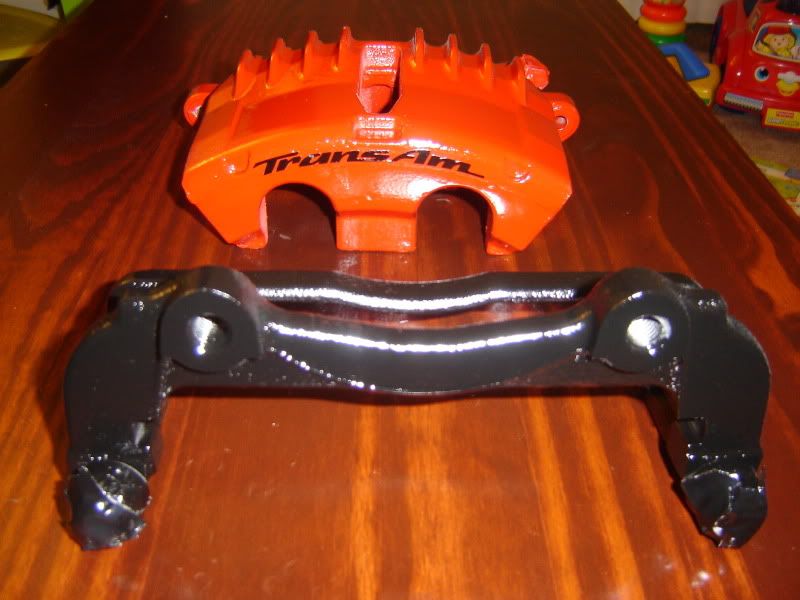
Those came out nice. The first time I painted mine I just cleaned them instead of actually sanding them out a little. I'm gonna try to sand that casting ridge off to get it a little smoother-looking. Thanks for the pics Torchd.
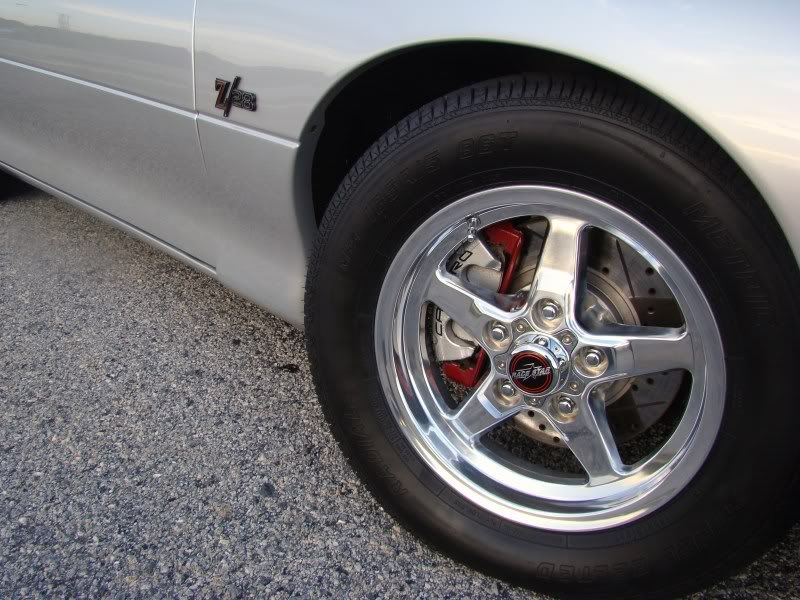
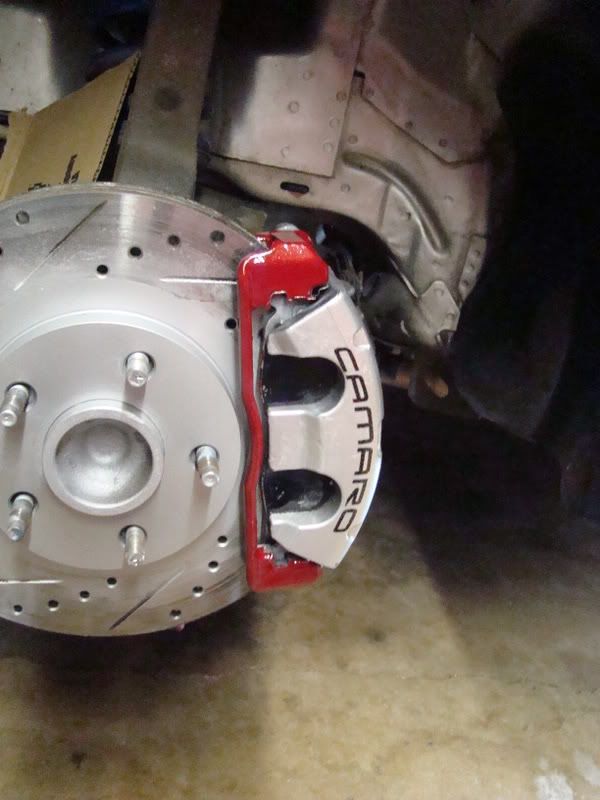
I don't have pics on me right now, but I took a file to my LS1 calipers to completely remove the casting line on the front, then hit the whole front and top with increasingly fine grits of sand paper to get it nice and smooth before painting it gloss red.
THIS WAS WELL WORTH THE MINIMAL EFFORT!!!
THIS WAS WELL WORTH THE MINIMAL EFFORT!!!
LS1 Tech Stories
The Best V8 Stories One Small Block at Time

Topdon ONE vs. Artidiag 800 BT2: Which is the Diagnostic Tablet For You?
Pouria Savadkouei
Gas Monkey Built a 6-Wheel Ferrari Testarossa With a Corvette LT4 Engine
Verdad Gallardo
7 Most Reliable High-Performance Engines GM Has Ever Built
Verdad Gallardo
Amazing '71 Camaro Restomod Is Modern Muscle Car Under the Skin
Verdad Gallardo
6 Common C5 Corvette Failures and What's Involved In Repairing Them
Pouria Savadkouei
Retro Modern Bandit Pontiac Trans AM Comes With Burt Reynolds' Autograph
Verdad Gallardo
Top 10 Greatest Cadillac V Series Performance Models Ever, Ranked
Pouria Savadkouei
Top 10 Most Powerful Chevy Trucks Ever Made!

Hennessey's New Supercharged Silverado ZR2 Has 700 HP
Verdad Gallardo
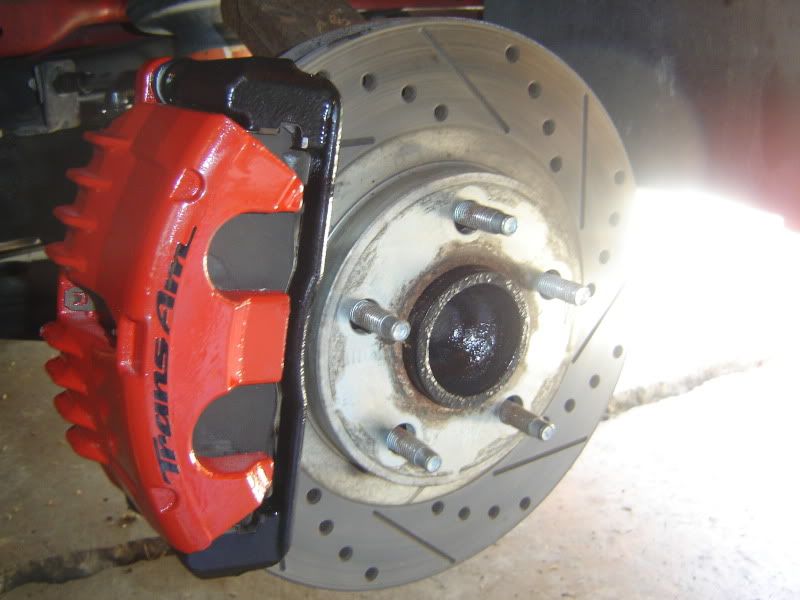
Mine were primed with high heat primer, then I used reg car part and shot it with a HVLP gun. Base/clear/wetsand/polish. They have been done for 3 years, and they still look like the paint on my car. Just have to be careful when removing wheels so you won't chip the paint. The brackets, however, were done with single stage car paint and I used a foam brush a "dabbed" it on there.
I had my wheels off the other day, there are some chips, I will touch them up when I put my winter wheels on and store the car
Glad I could help


Sorry to be killin' you with so many questions. I plan on doing this to mine, but it's a daily driver. I would guess when you need to polish it again the sticker would have to be removed and then apply a new one? Or did you clear it?
Was they polished in place or did you take 'em off and polish them?
TECH Addict
iTrader: (41)
Joined: Feb 2007
Posts: 2,005
Likes: 2
From: Battlecreek, MI / Mansfield, OH
Sorry to be killin' you with so many questions. I plan on doing this to mine, but it's a daily driver. I would guess when you need to polish it again the sticker would have to be removed and then apply a new one? Or did you clear it?
Was they polished in place or did you take 'em off and polish them?
Thread Starter
12 Second Club
iTrader: (7)
Joined: Feb 2009
Posts: 1,138
Likes: 2
From: Havelock, NC
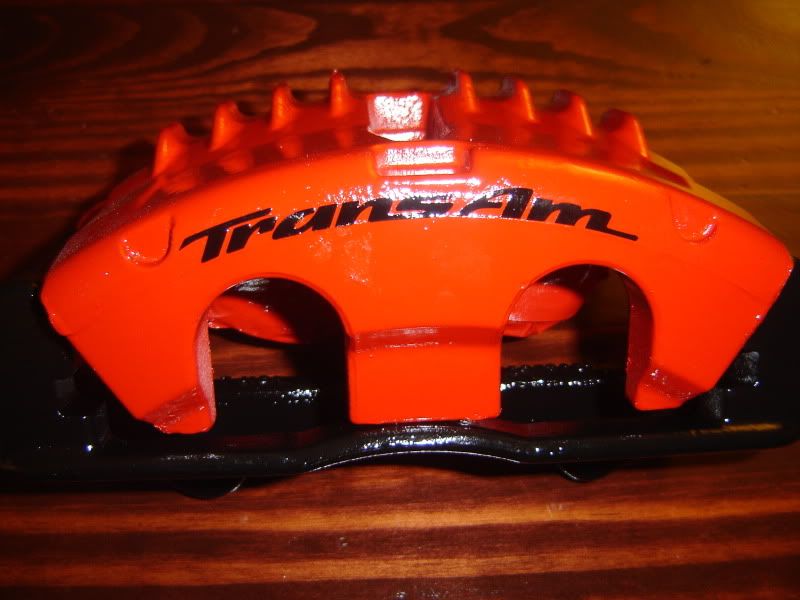
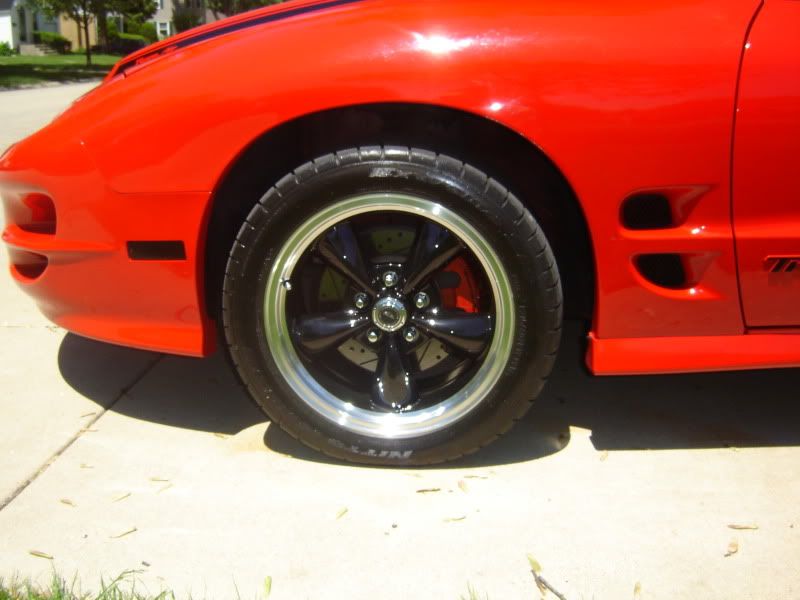
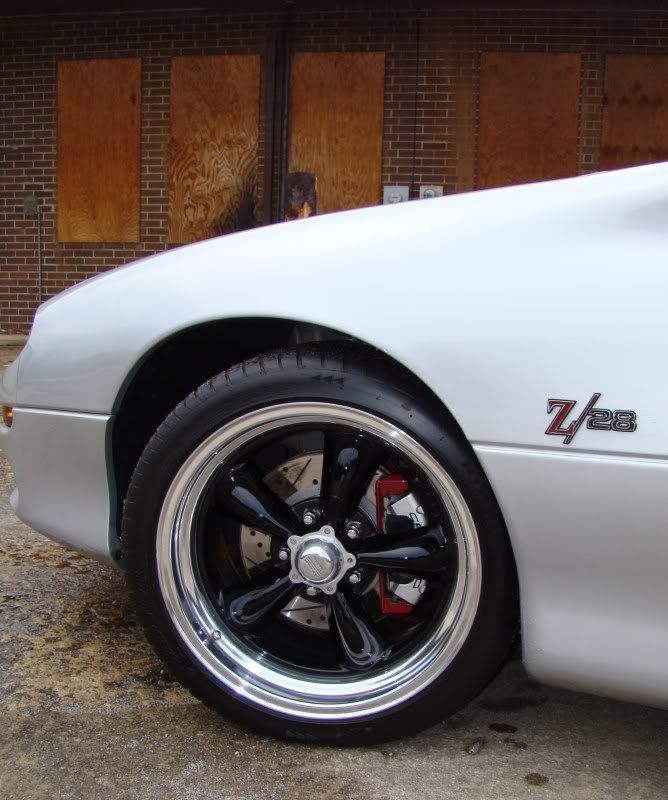
Sorry for the late response, but I've been busy. I went black/black and chrome decals. I think it turned out great. I base/cleared them with 3 coats of black and 5 coats of clear over the decals. It's only been a couple of weeks but they still look really wet. I love 'em.


Thread Starter
12 Second Club
iTrader: (7)
Joined: Feb 2009
Posts: 1,138
Likes: 2
From: Havelock, NC
I got them from the best decal guy out there; Brett Franker. He's in the process of updating his site but you can still get on his old site and order some really nice stuff. I'm so comfortable with him that I PayPal him when I want something and give him an idea of what I want in the instructions and he does a fantastic job. Search Brent Franker Vinyl on Google.
Sorry for the late response, but I've been busy. I went black/black and chrome decals. I think it turned out great. I base/cleared them with 3 coats of black and 5 coats of clear over the decals. It's only been a couple of weeks but they still look really wet. I love 'em.
