
HOW TO: 93-02 Custom Camaro Door Panel Inserts
 03-16-2011, 10:15 PM
#1
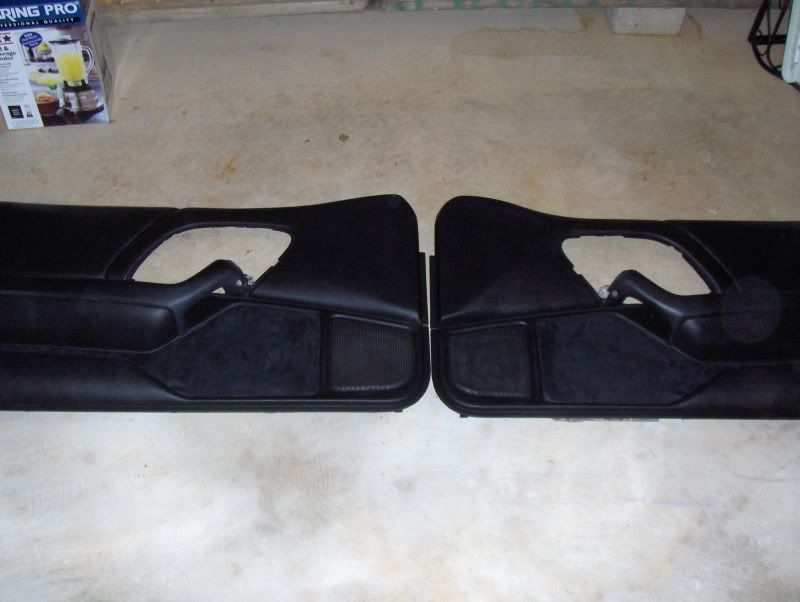
Got my Faux-alcantara (suede) door panel inserts from redline goods the other day, and since I am the first one to have these from them, i made a writeup on how to install them. Let me know if you have any questions.
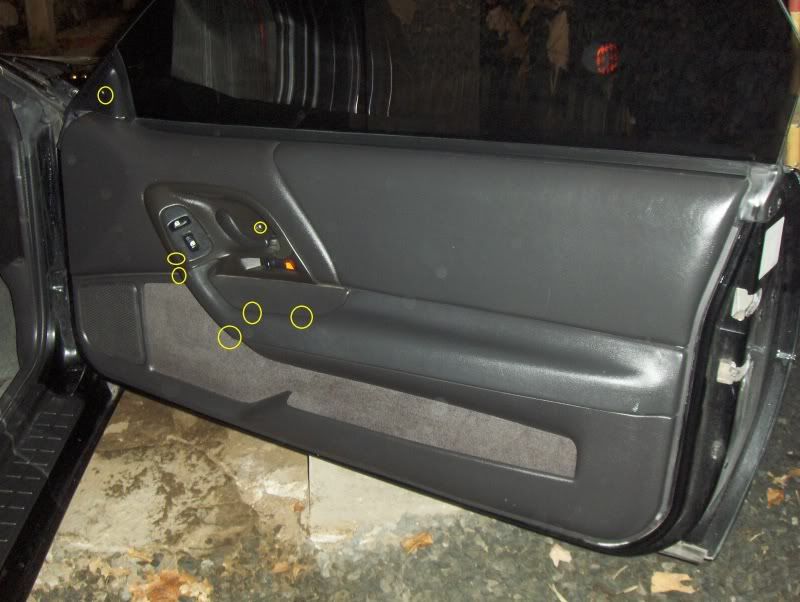
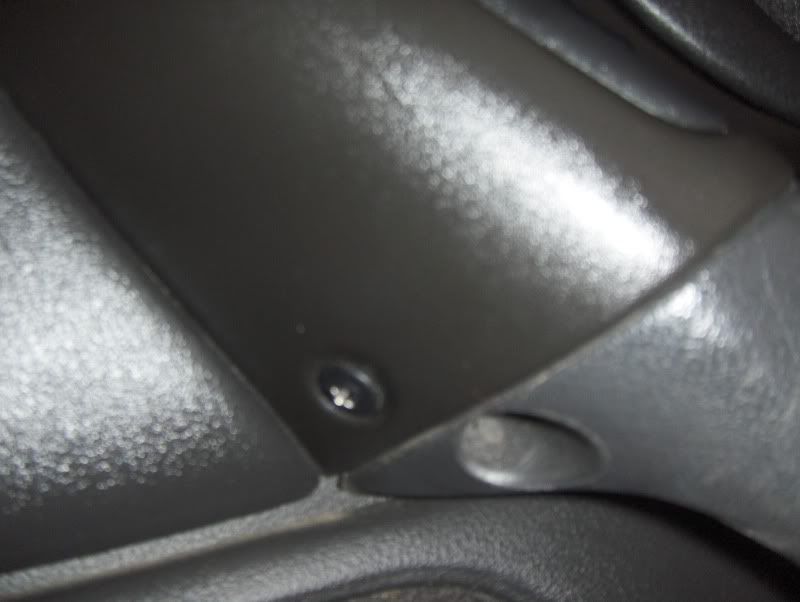
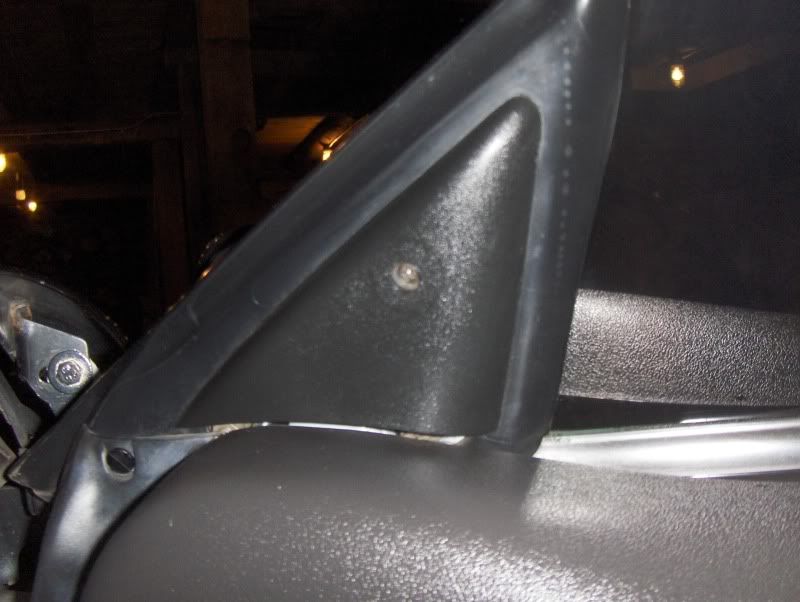
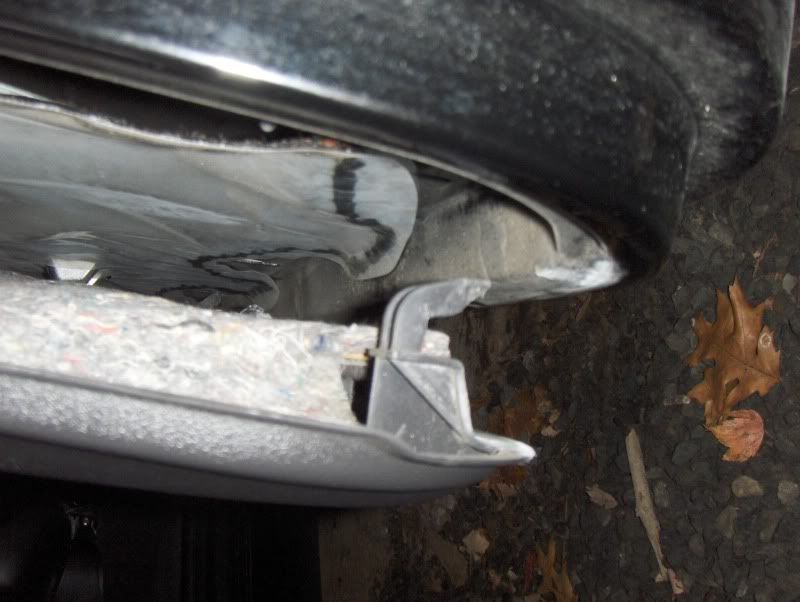
1. First, remove the door panel from the door. Start by removing the screws shown in the pictures below. (some are hard to see in the first picture)

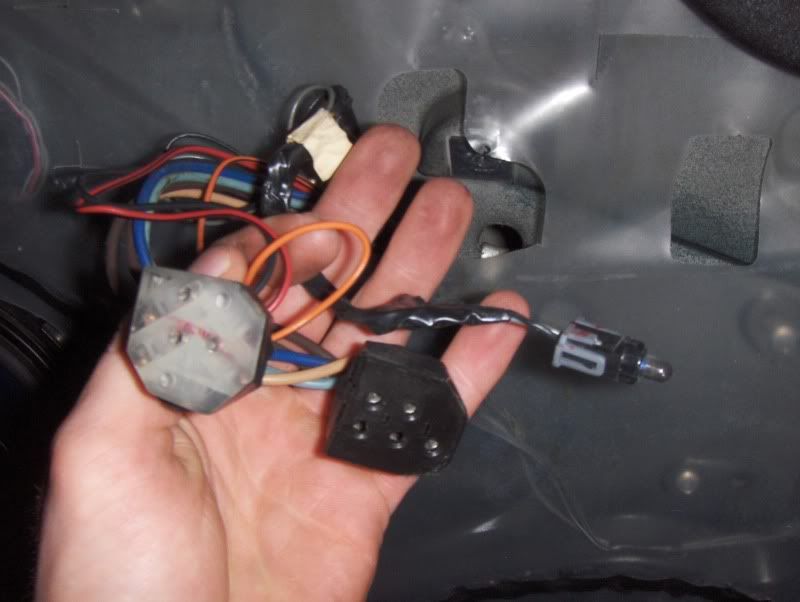
2. Remove the window switch panel and unplug all the related plugs. Don�t forget the little door light!
3. Once all the screws are removed, it is most effective to grab the door handle and give a good yank upwards. Carefully pop the tabs from the door outwards while pulling up on the handle. Use your judgement and the panel will eventually pull off.
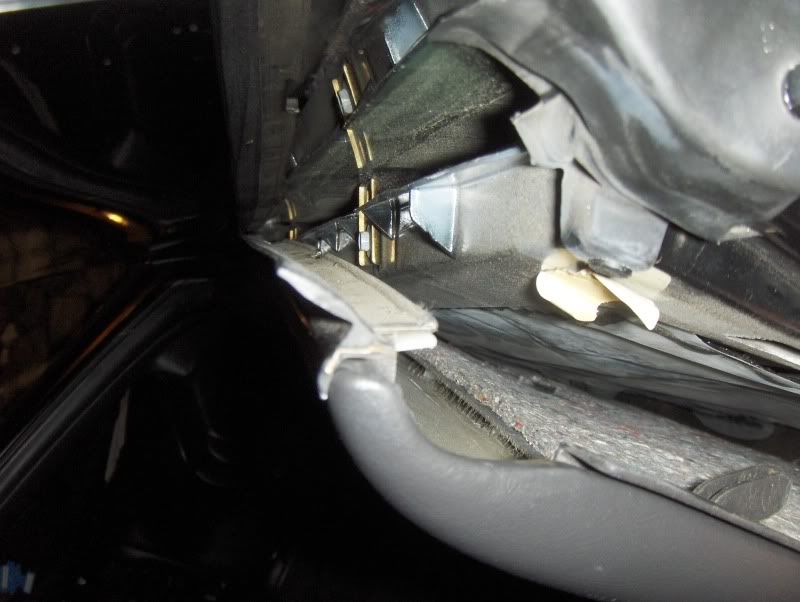

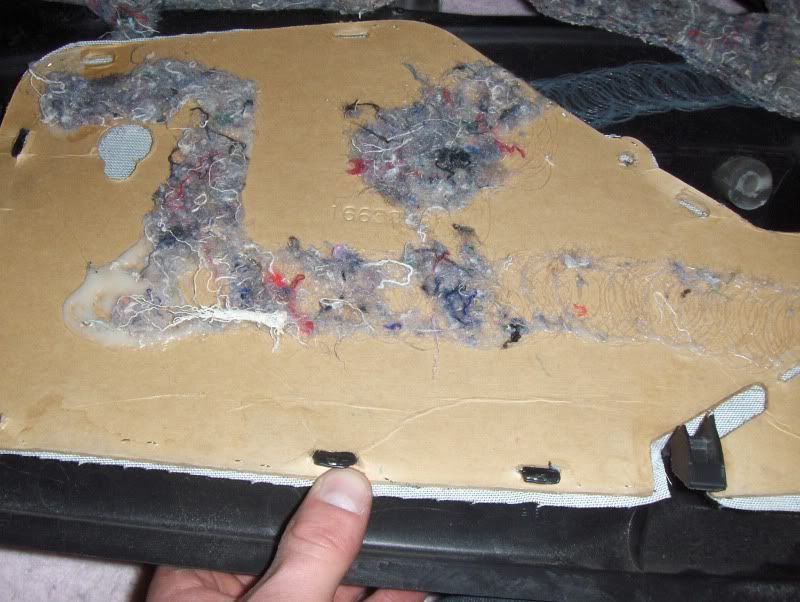
4. Once you have the door panel off, flip it over and get going on the back side. Tear back the insulation. Its just held on by some glue. You don�t have to tear it all the way off like I did, just enough to reach the cardboard insert. This is what you should see when done.

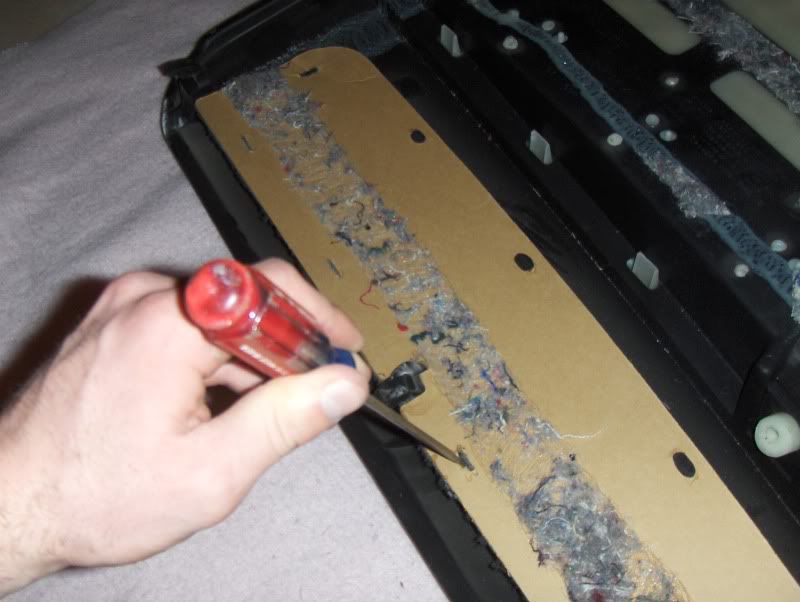
5. Done? Now start carefully prying back these clip thingys. Sometimes a flathead screwdriver or knife will help.
6. Once you have the cardboard off, peel back the stock carpet. It is also held on by glue.
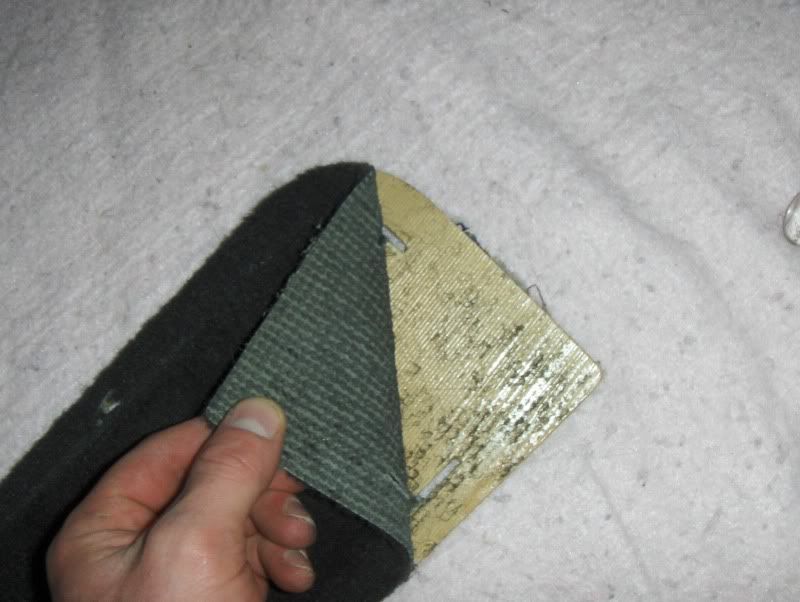
7. Now, grab your new material (In my case, faux-alcantara) and line it up on the cardboard.
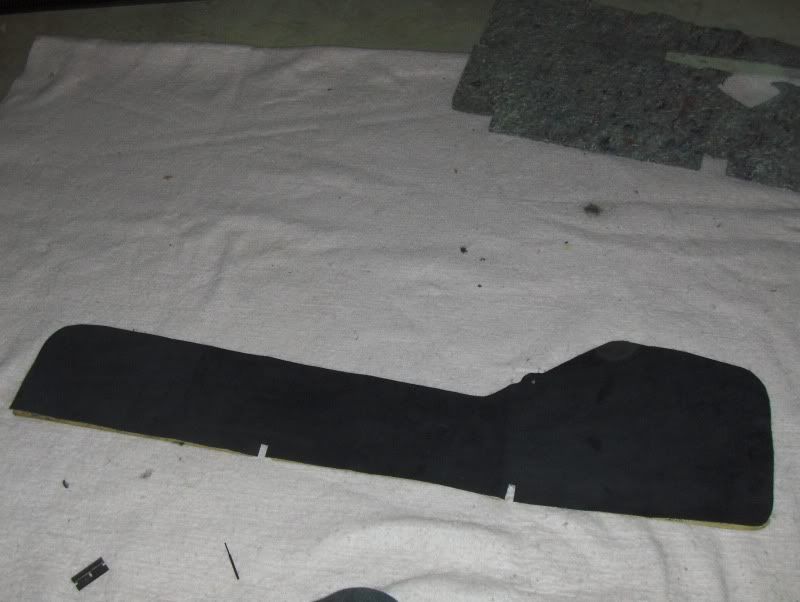
8. Once its lined up good, start stapling it down close to the inside edge, being sure to pull everything tight as you go.


9. Once you have the material stapled to the cardboard, head back over to your door panel and start to press the cardboard back into the clip things on the door panel. Take your time.
10. Almost there. I used a hit glue gun to re-glue the insulation back down onto the door and it worked very well. Just drizzle it on and it should be fine.

11. Your door panels are done! Now just throw the door panel back on the door, hook up your lock and window plugs, tighten the screws, and your done! Enjoy your new custom door panels.
1. First, remove the door panel from the door. Start by removing the screws shown in the pictures below. (some are hard to see in the first picture)
2. Remove the window switch panel and unplug all the related plugs. Don�t forget the little door light!
3. Once all the screws are removed, it is most effective to grab the door handle and give a good yank upwards. Carefully pop the tabs from the door outwards while pulling up on the handle. Use your judgement and the panel will eventually pull off.
4. Once you have the door panel off, flip it over and get going on the back side. Tear back the insulation. Its just held on by some glue. You don�t have to tear it all the way off like I did, just enough to reach the cardboard insert. This is what you should see when done.
5. Done? Now start carefully prying back these clip thingys. Sometimes a flathead screwdriver or knife will help.
6. Once you have the cardboard off, peel back the stock carpet. It is also held on by glue.
7. Now, grab your new material (In my case, faux-alcantara) and line it up on the cardboard.
8. Once its lined up good, start stapling it down close to the inside edge, being sure to pull everything tight as you go.
9. Once you have the material stapled to the cardboard, head back over to your door panel and start to press the cardboard back into the clip things on the door panel. Take your time.
10. Almost there. I used a hit glue gun to re-glue the insulation back down onto the door and it worked very well. Just drizzle it on and it should be fine.
11. Your door panels are done! Now just throw the door panel back on the door, hook up your lock and window plugs, tighten the screws, and your done! Enjoy your new custom door panels.


Trending Topics
03-17-2011, 02:21 PM
#9
Launching!

Join Date: Sep 2009
Location: Toronto, Ontario, Canada
Posts: 266
Likes: 0
Received 0 Likes
on
0 Posts

What colour are your door panels? the 98 grey or 01 black? cant tell form pics as the colour is different in them all. Was wondering if you had any finished pics installed that really showed the proper colour. Looks great by the way.