


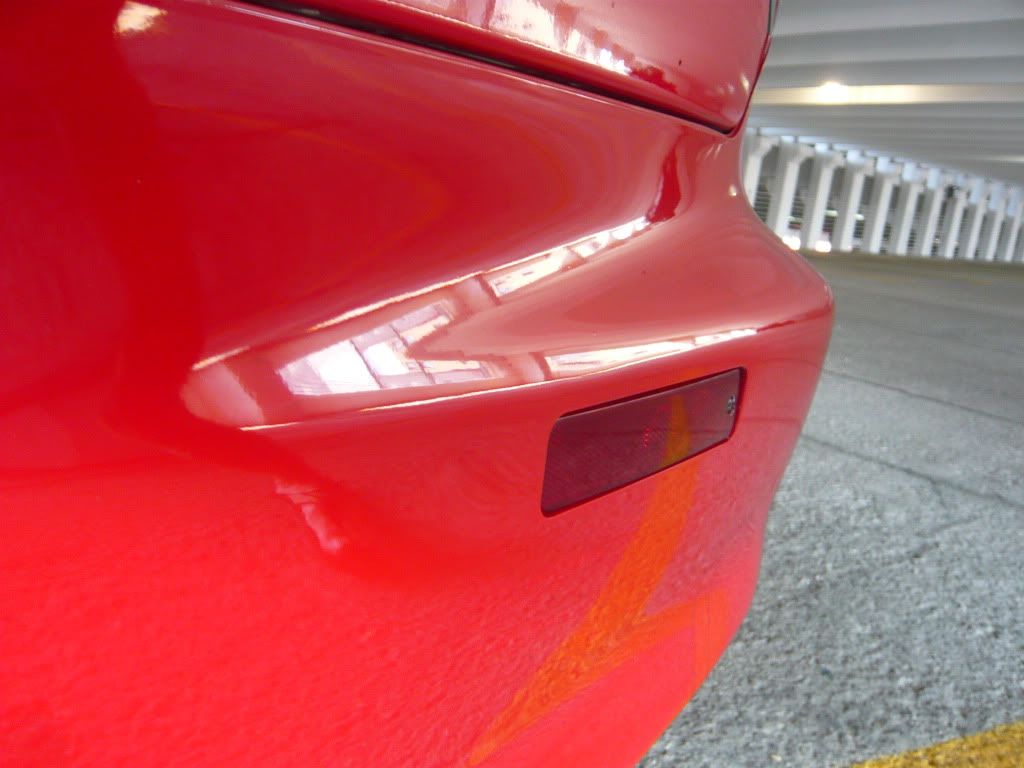
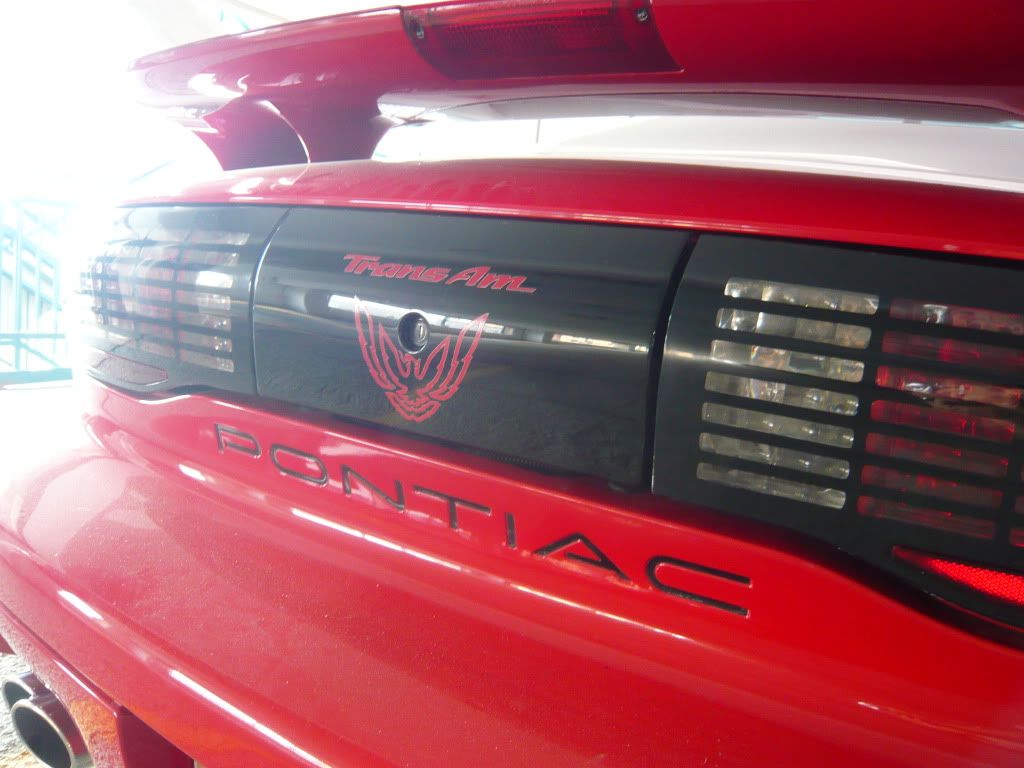

Smoothed Tail Lights and Corners
I was really tired of seeing the raised lettering on my tail lights and corner reflectors catching wax and taking away from the appearance of my car, so I decided to do a little afternoon project. I really like doing the "little things" that add up on a car.
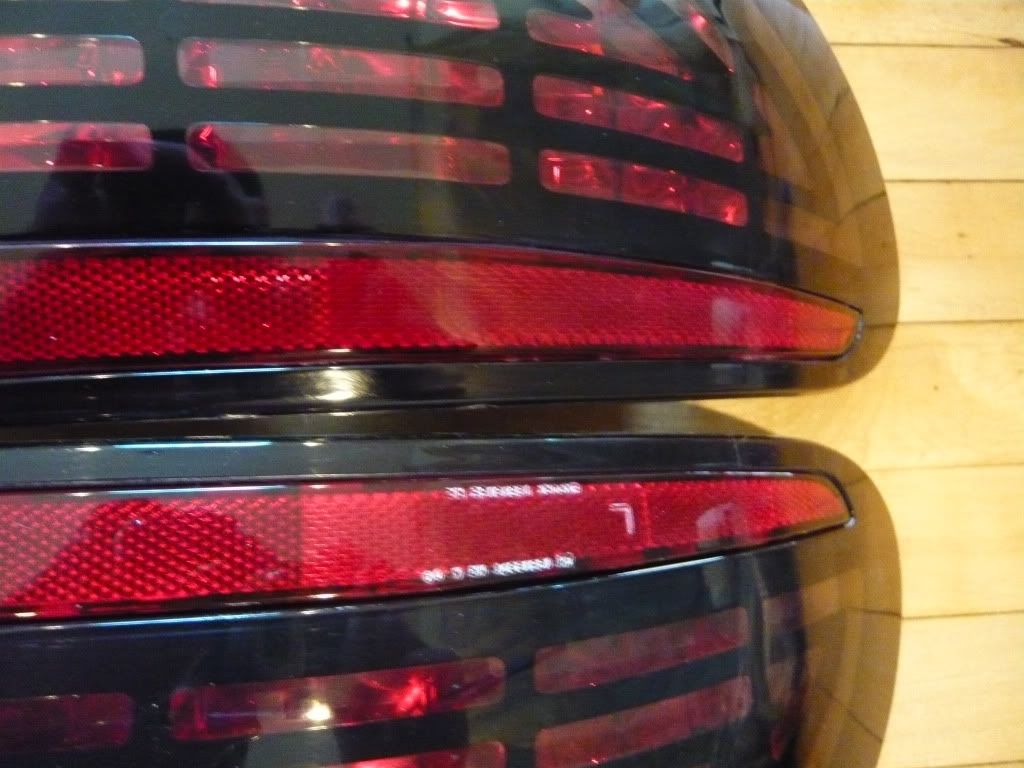
These pics are before final polishing/buffing. I think it they look MUCH better. What do you think?
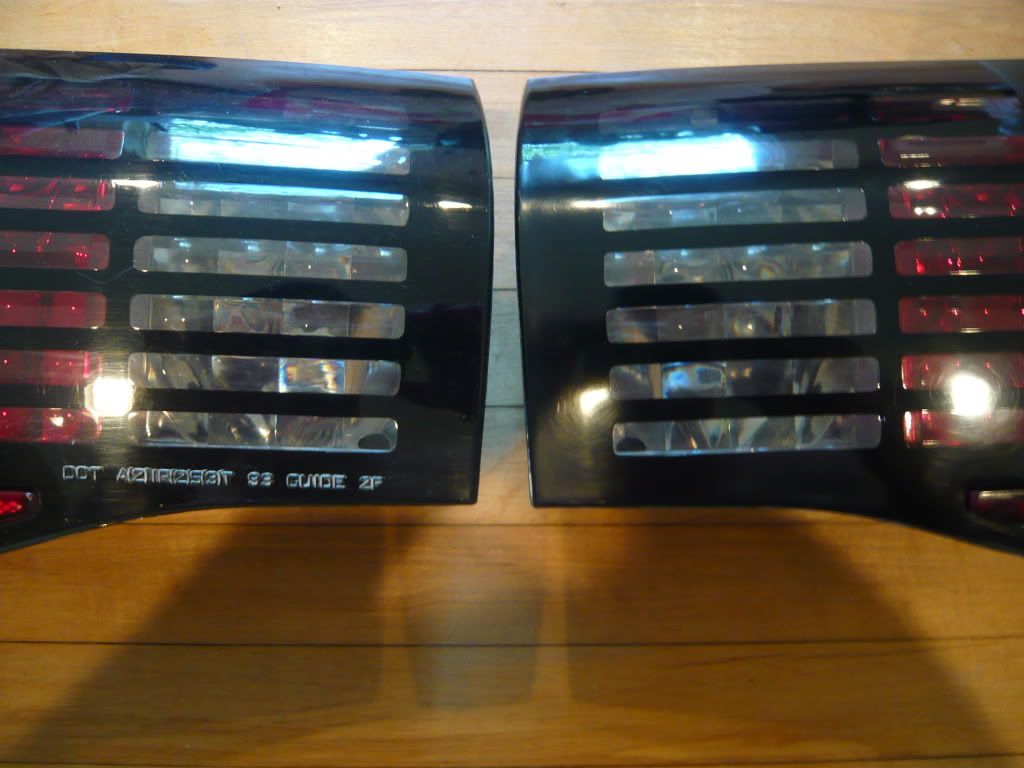
These pics are before final polishing/buffing. I think it they look MUCH better. What do you think?
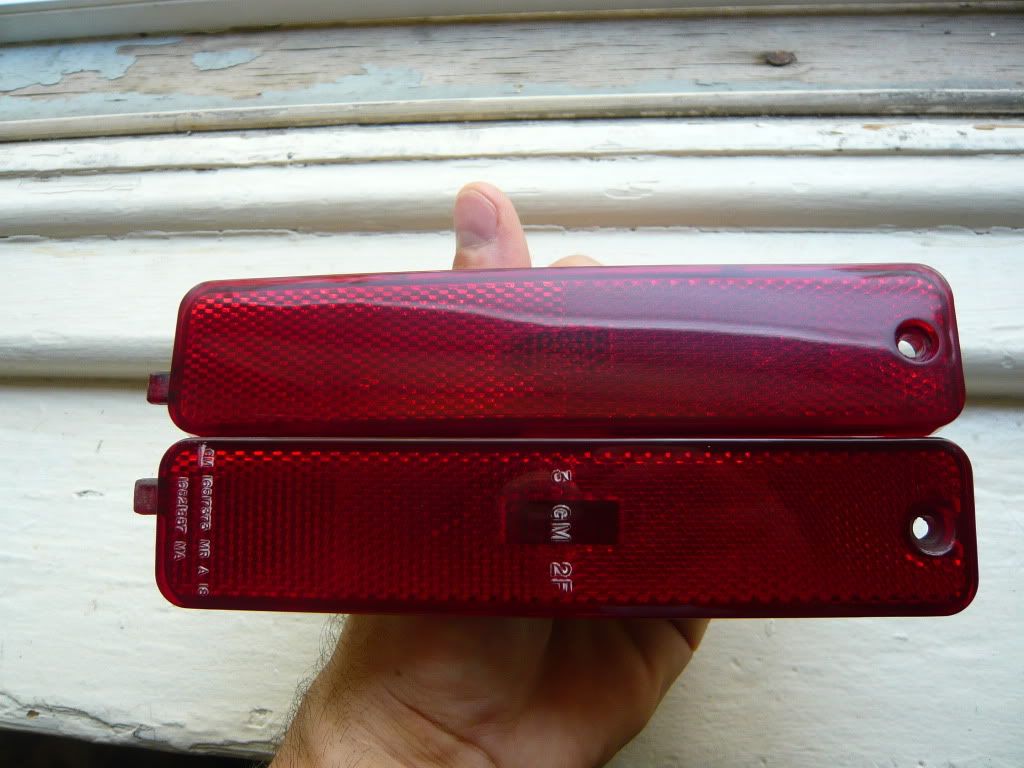
After removing the lights, I sanded them down with 1000 then 2000 grit, then polished them. Pretty straight forward.
One thing to note is that you will want to use some sort of sanding block to ensure that you don't make grooves by focusing pressure with your fingers. I just took a block of wood and wrapped two layers of an old T-shirt over it before wrapping the sanding paper around it. This allowed it to conform a little to the curve of the light and have a large surface area.
One thing to note is that you will want to use some sort of sanding block to ensure that you don't make grooves by focusing pressure with your fingers. I just took a block of wood and wrapped two layers of an old T-shirt over it before wrapping the sanding paper around it. This allowed it to conform a little to the curve of the light and have a large surface area.
I used Blue Magic metal polish (stuff is amazing, I use it for everything) and then followed up with some Scratch X since it is even less abrasive. I applied it just by hand with an old t-shirt, nothing special.
Trending Topics
LS1 Tech Stories
The Best V8 Stories One Small Block at Time

6 Common C5 Corvette Failures and What's Involved In Repairing Them
Pouria Savadkouei
Retro Modern Bandit Pontiac Trans AM Comes With Burt Reynolds' Autograph
Verdad Gallardo
Top 10 Greatest Cadillac V Series Performance Models Ever, Ranked
Pouria Savadkouei
Top 10 Most Powerful Chevy Trucks Ever Made!

Hennessey's New Supercharged Silverado ZR2 Has 700 HP
Verdad Gallardo
Coachbuilt N2A Anteros Is an LS2-Powered C6 Corvette In Italian Clothes
Verdad Gallardo
Awesome K5 Blazer Restomod Comes With C7 Corvette Power
Verdad Gallardo
10 Camaros You Should Never Buy


 J/k looks good done this a while back to my marker lights before I VHT'd them.