
LPM 2002 Z28 "PROGRESS" Thread
 07-29-2012, 08:52 PM
#1

So I'm starting this to keep some sort of "log" on my new Z28, and just to share some stuff that I do to it with you guys. It's not quite a BUILD thread yet, in the "rebuild" sense, but I am hoping to get there soon. If this is in the wrong section, moderators, please move it. Thanks!
Thus far, almost everything I've done has been cosmetics. It won't be for a while that I really start to pull the motor apart and begin exhaust work. Down the road I would like:
Lid
Ported Throttle Body
BBK LT's & ORY
Electric Cutout
Cam (not sure which yet)
^Supporting mods
LCA's & Relocation Brackets
Torque Arm
Subframes
STB
Front sway bar
(probably all UMI or BMR)
QA1's/Bilsteins
Yank 3500 Stall
Tranny Cooler
Maybe 3.73's..
Interior/Exterior LED swap
Drilled/Slotted Rotors & Hawk Pads
Would love some new wheels down the line
..That's about all the random crap I can think of so far. I'm sure there's other things I'm missing.
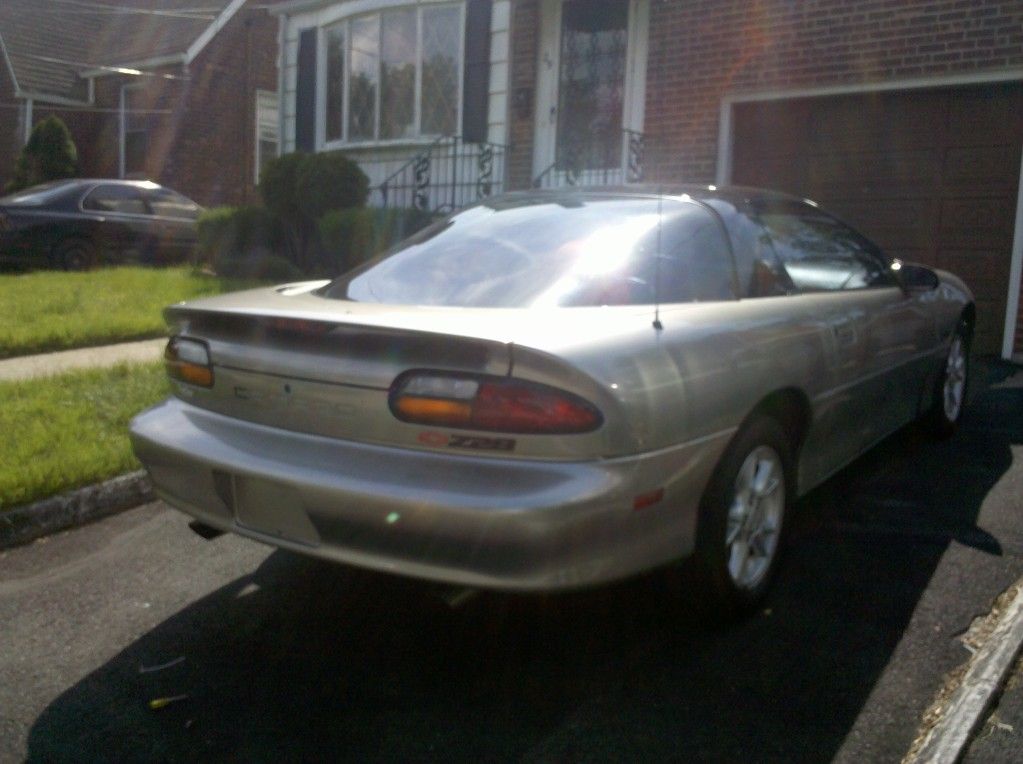
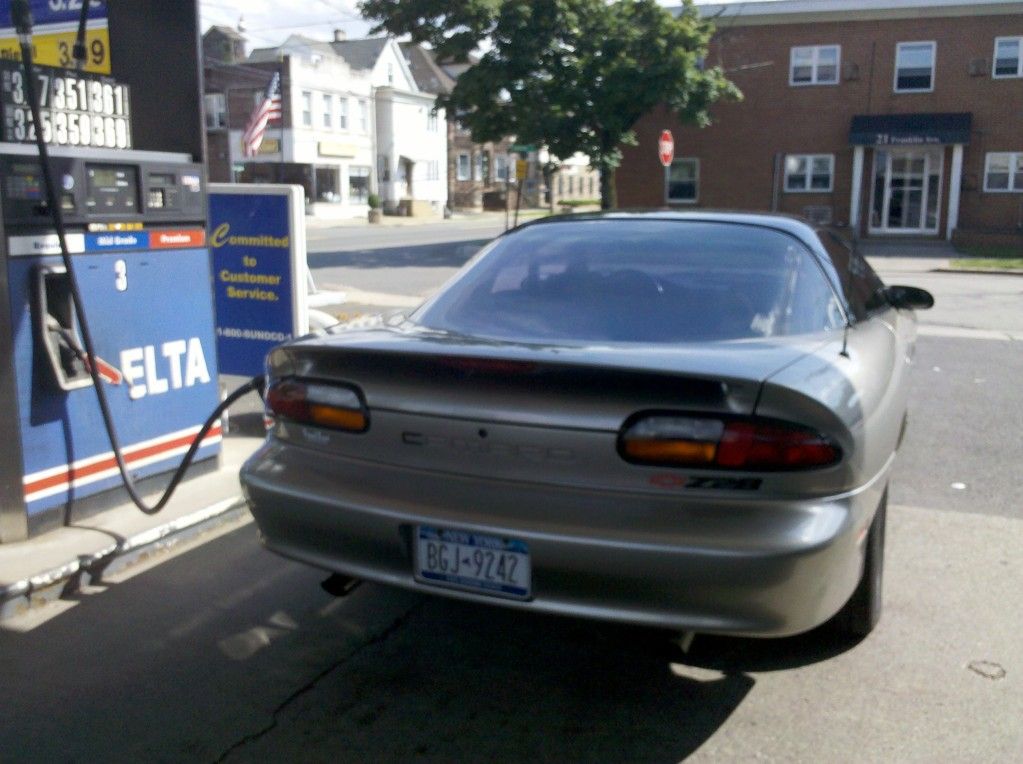
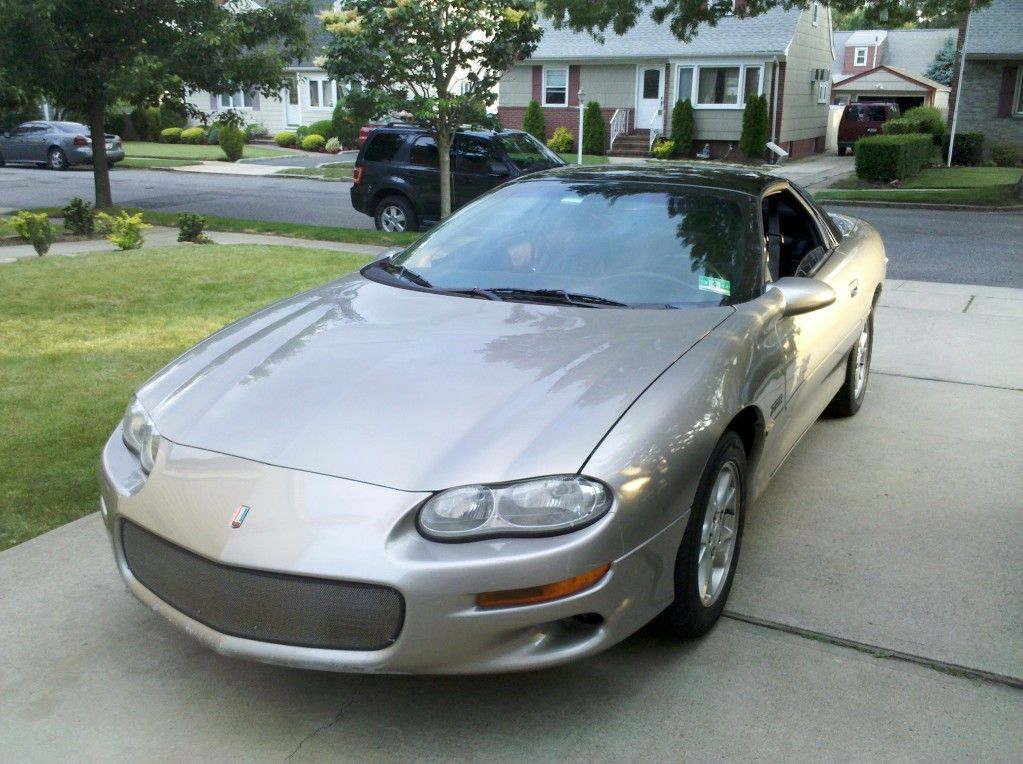
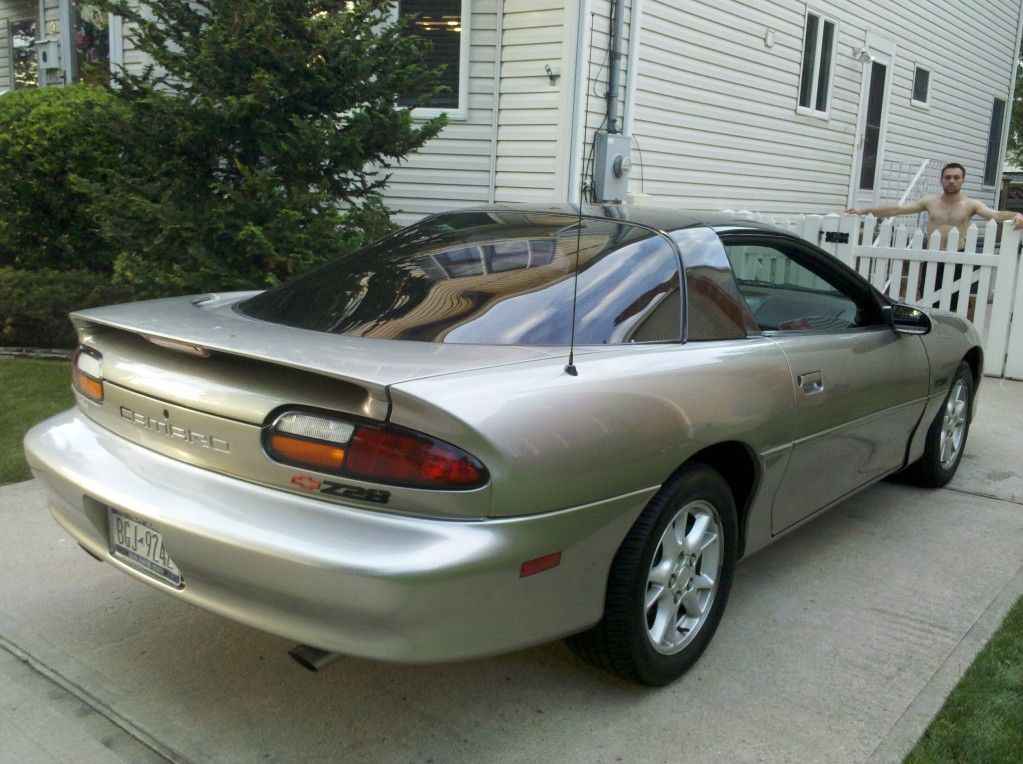
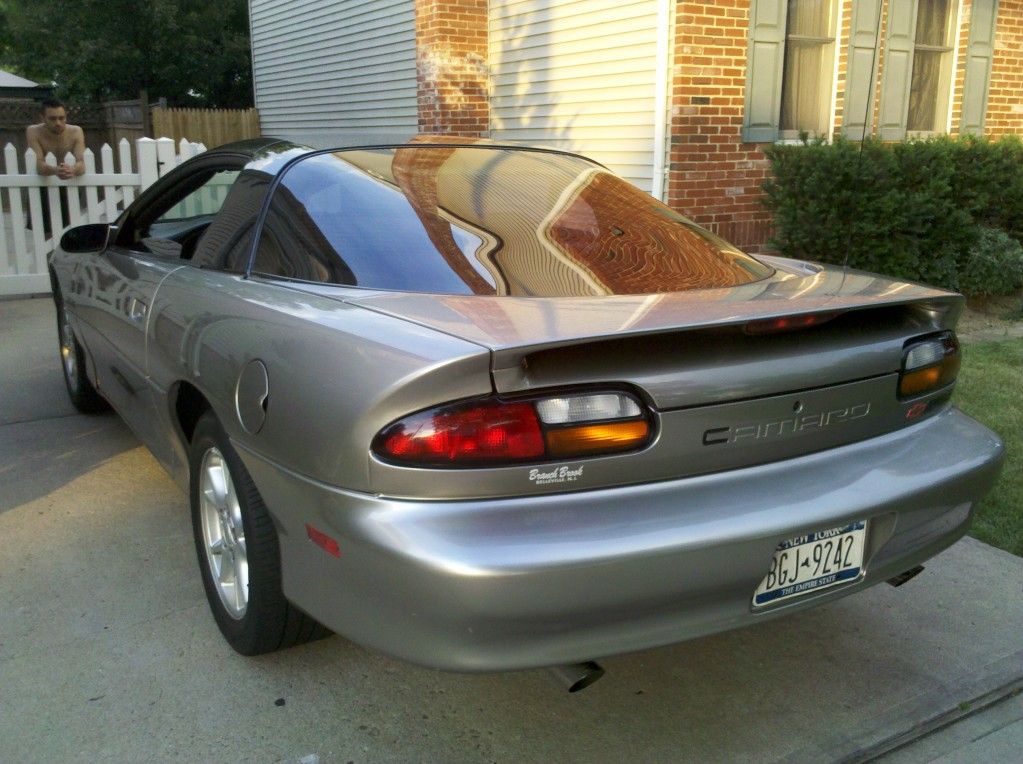
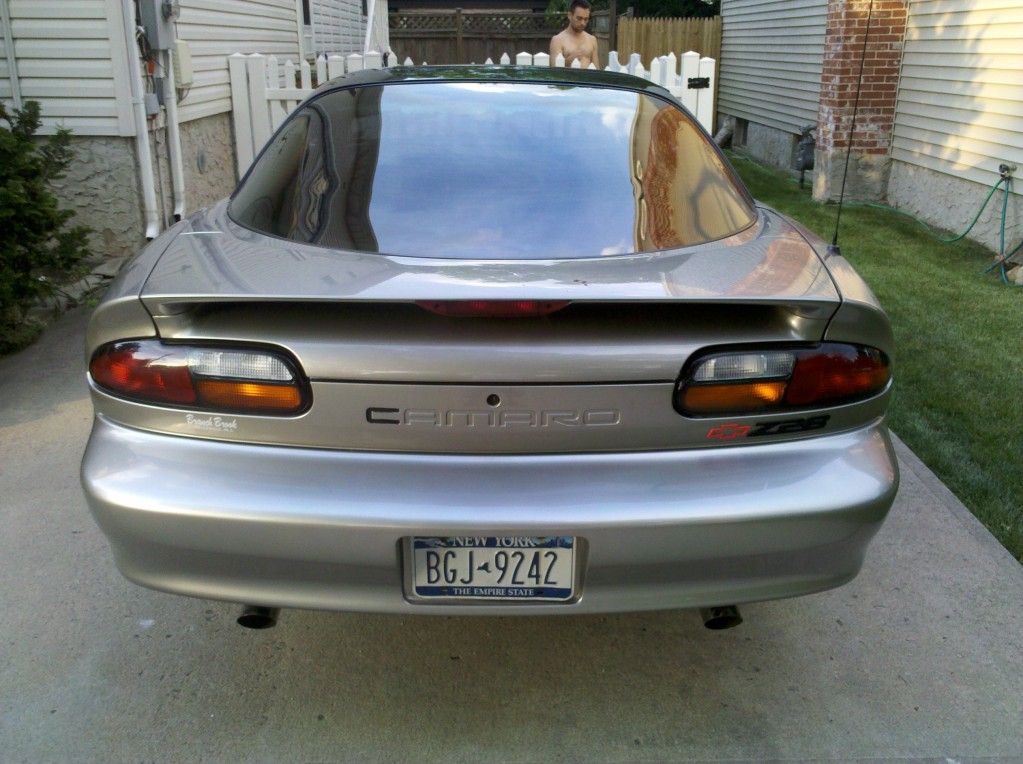
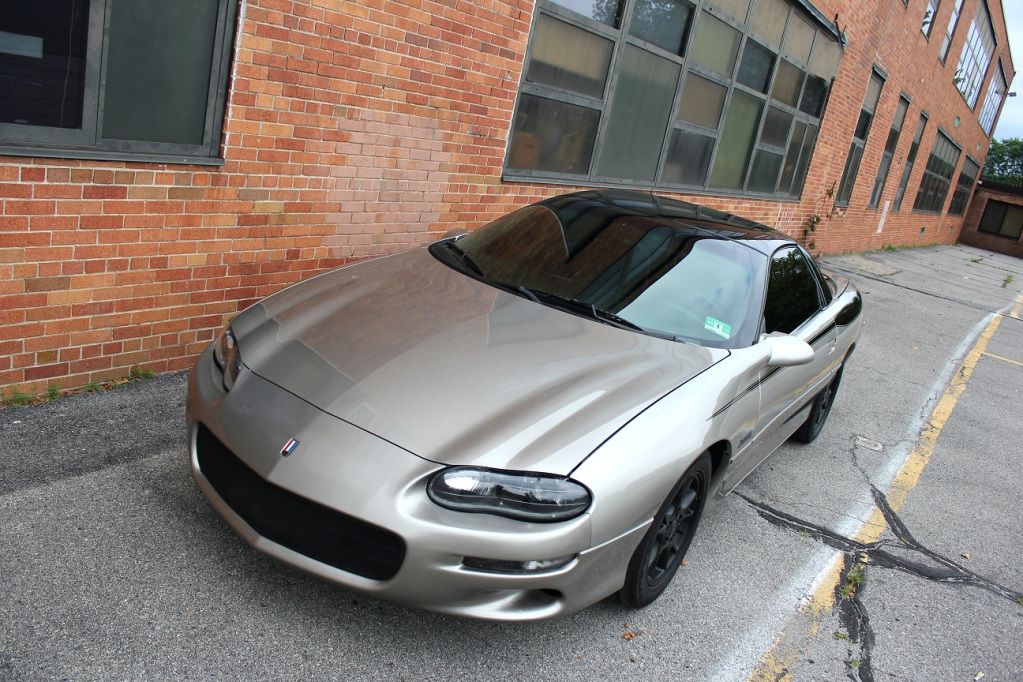
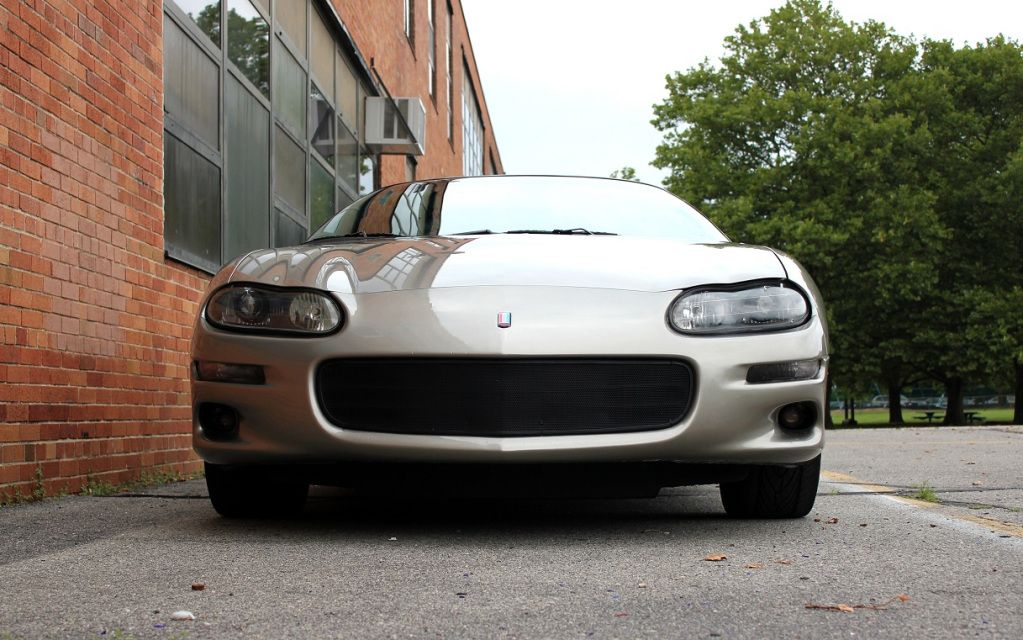
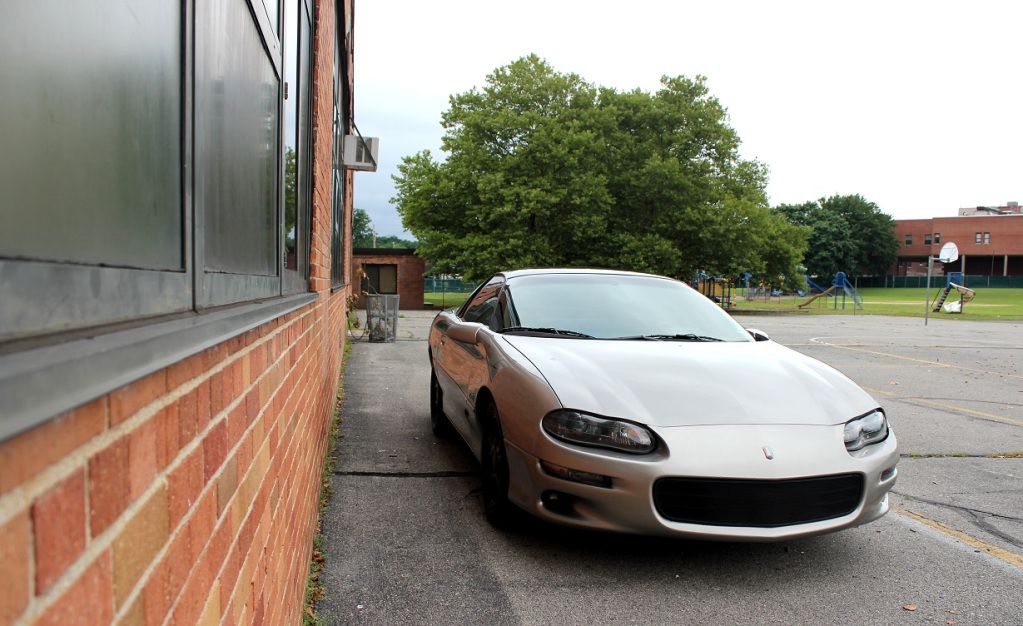
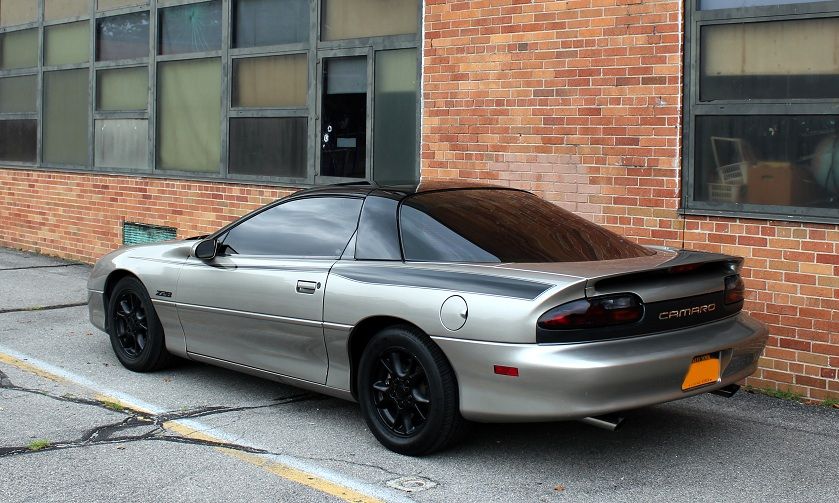
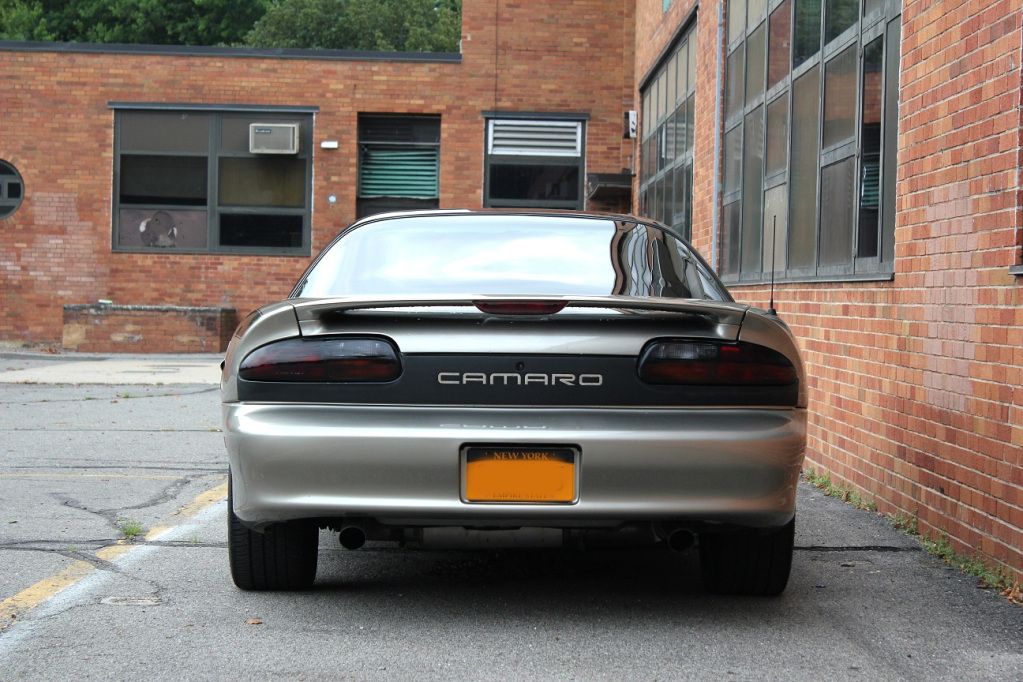
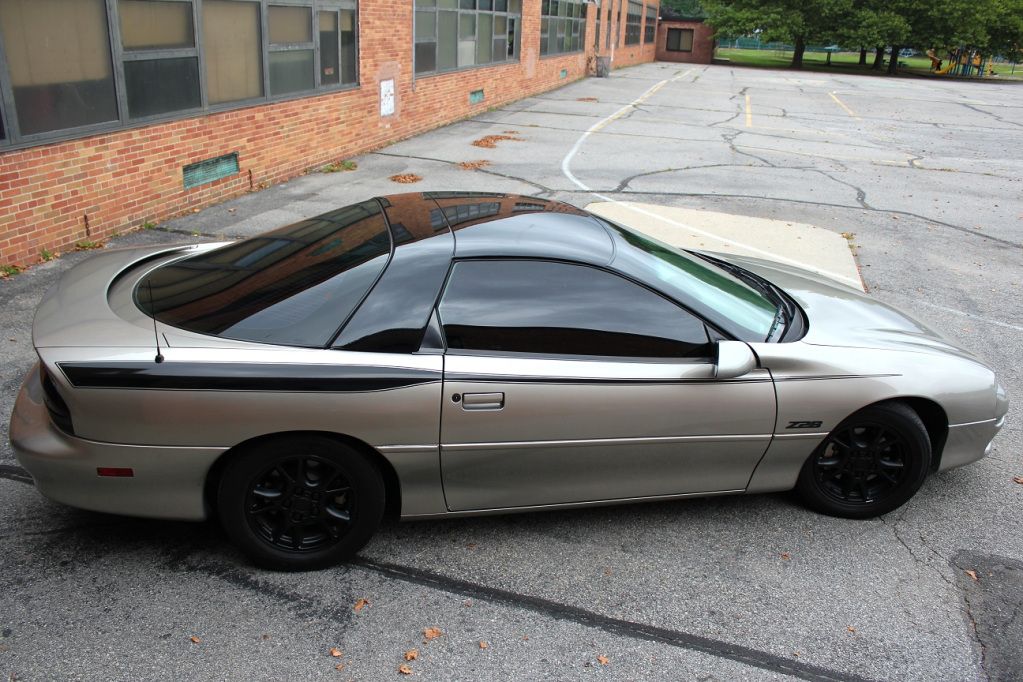
ANYWAY, here's the car the day I brought it home.


Thus far, almost everything I've done has been cosmetics. It won't be for a while that I really start to pull the motor apart and begin exhaust work. Down the road I would like:
Lid
Ported Throttle Body
BBK LT's & ORY
Electric Cutout
Cam (not sure which yet)
^Supporting mods
LCA's & Relocation Brackets
Torque Arm
Subframes
STB
Front sway bar
(probably all UMI or BMR)
QA1's/Bilsteins
Yank 3500 Stall
Tranny Cooler
Maybe 3.73's..
Interior/Exterior LED swap
Drilled/Slotted Rotors & Hawk Pads
Would love some new wheels down the line
..That's about all the random crap I can think of so far. I'm sure there's other things I'm missing.
ANYWAY, here's the car the day I brought it home.
Last edited by 98 WS6; 07-29-2012 at 09:16 PM.
 07-29-2012, 08:57 PM
#2
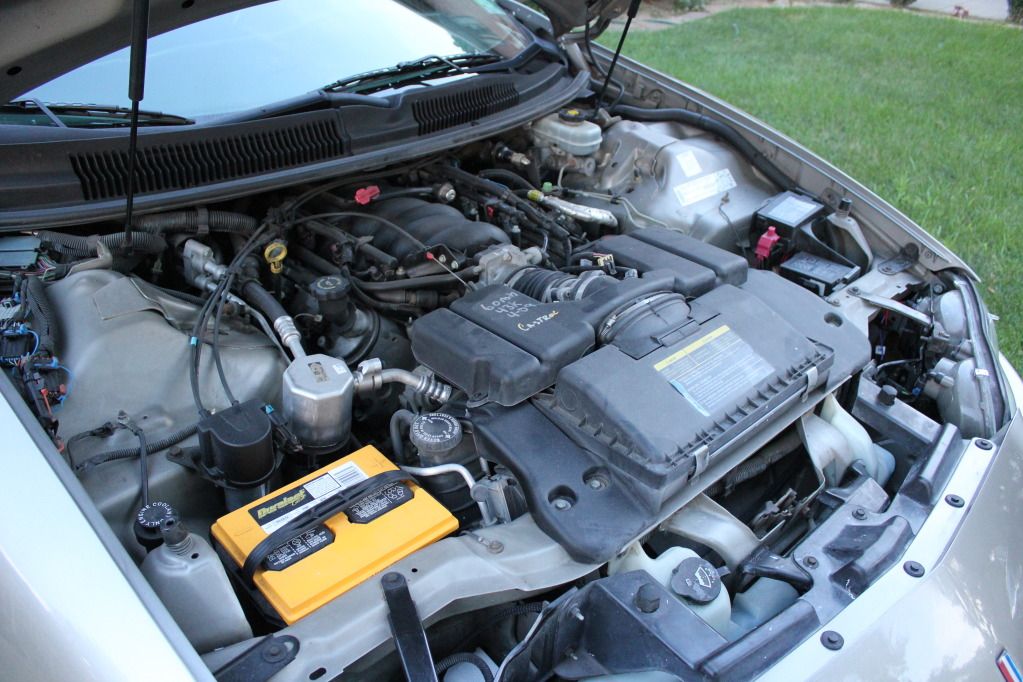
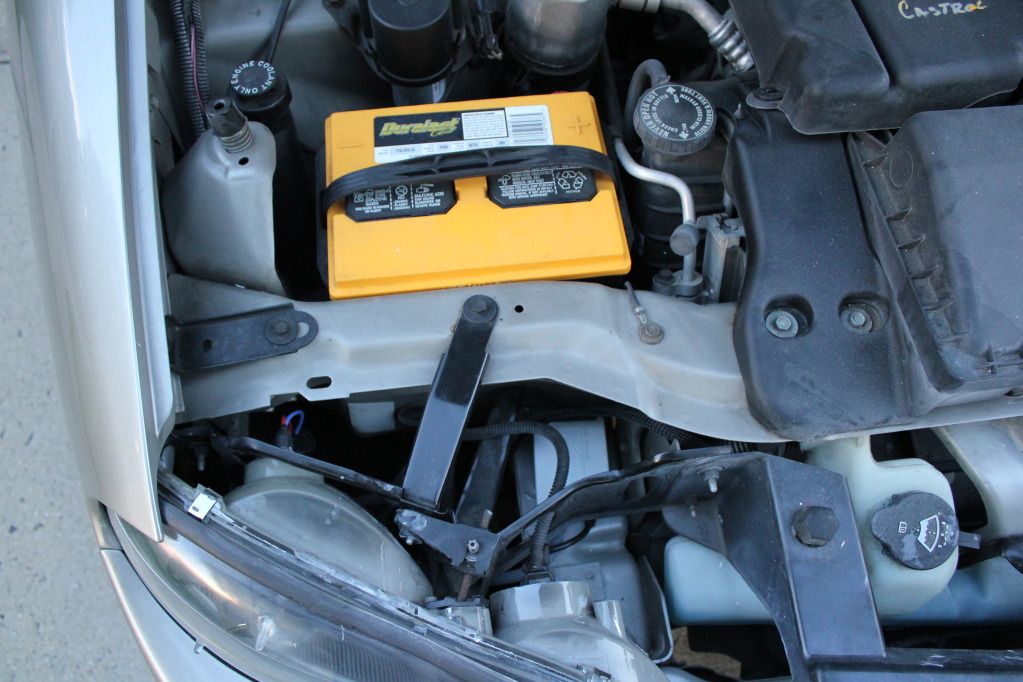
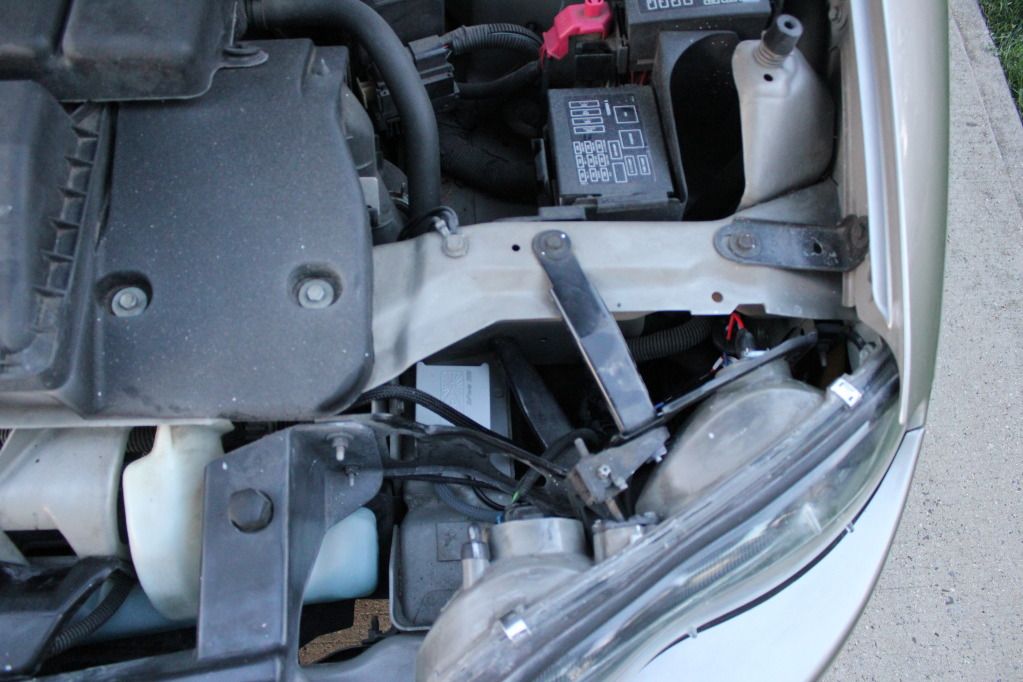
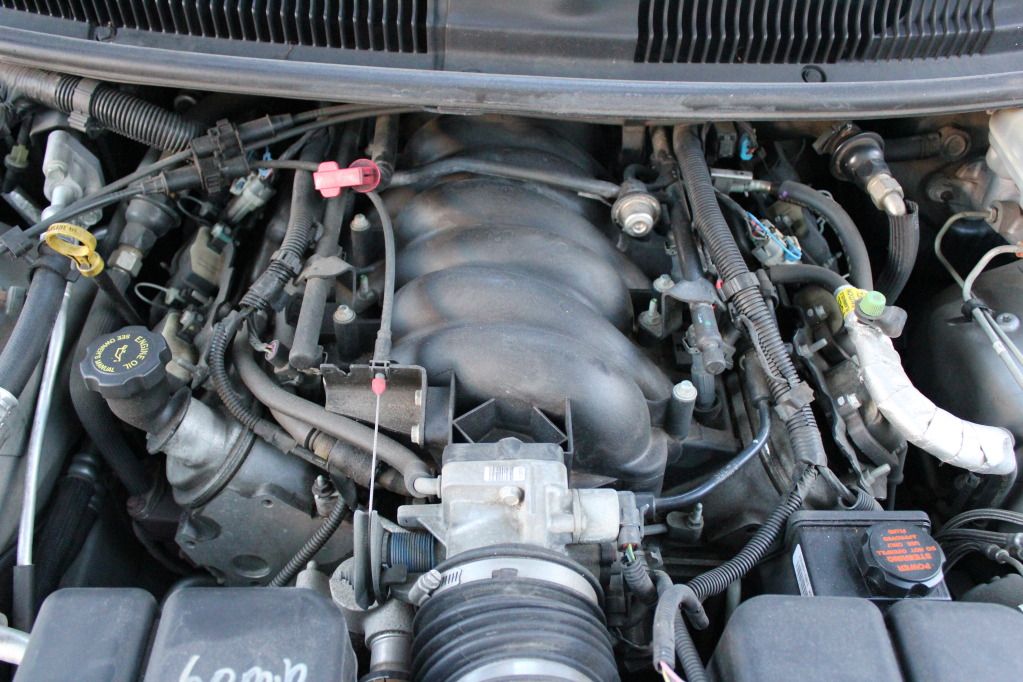
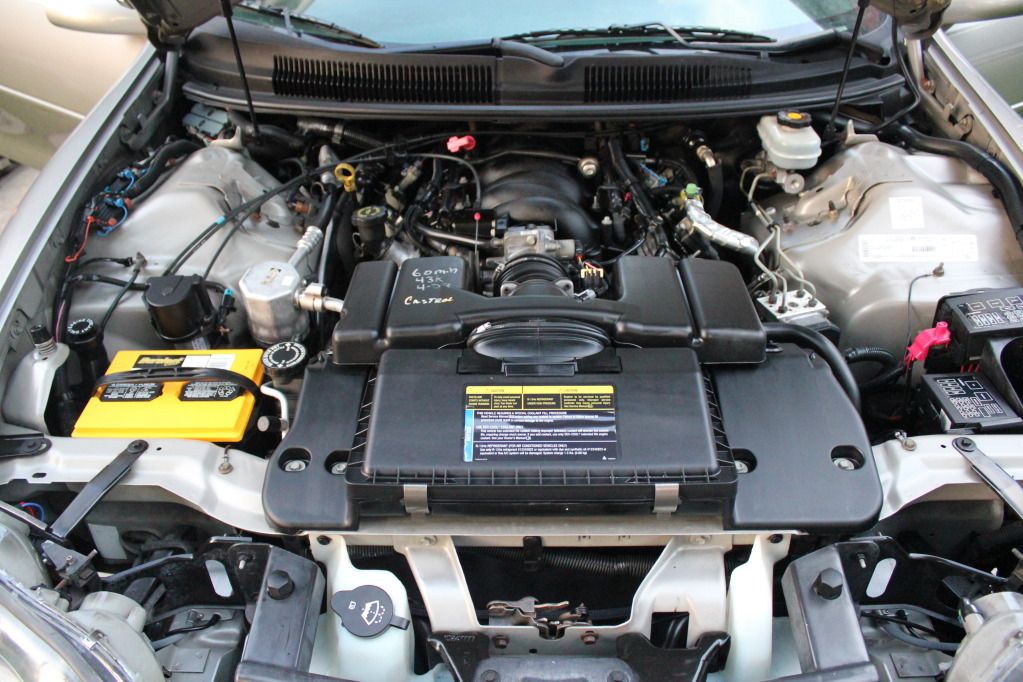
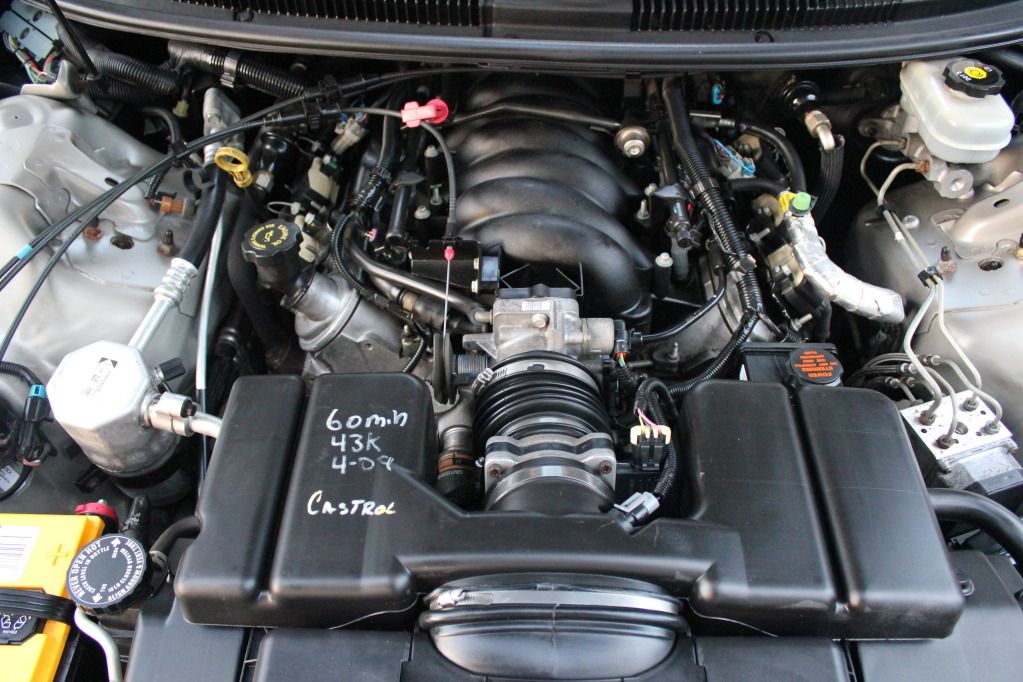
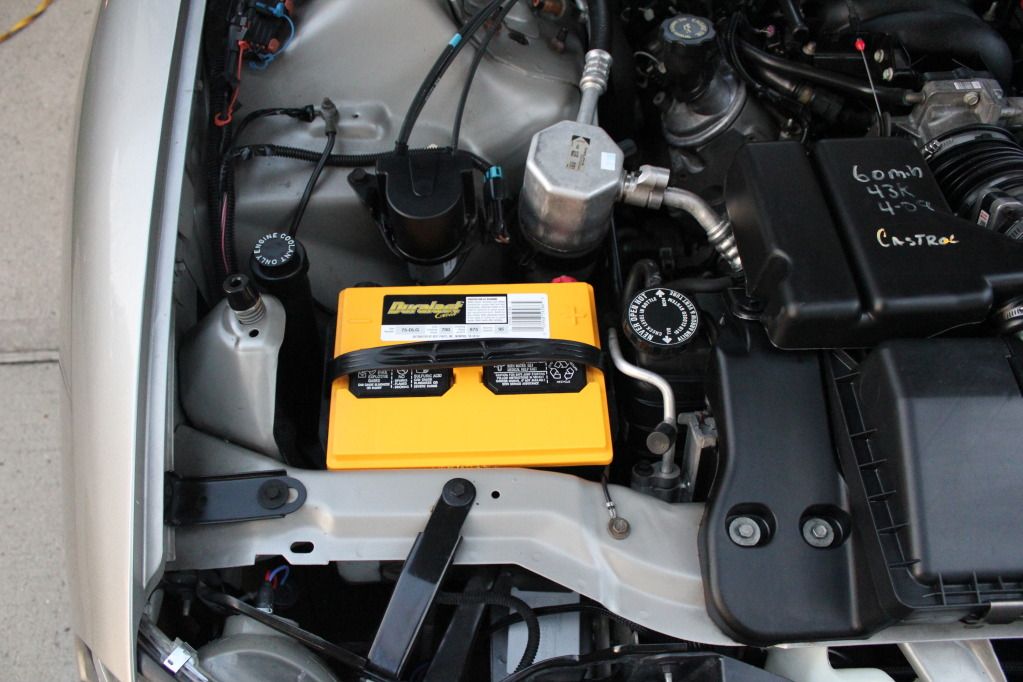
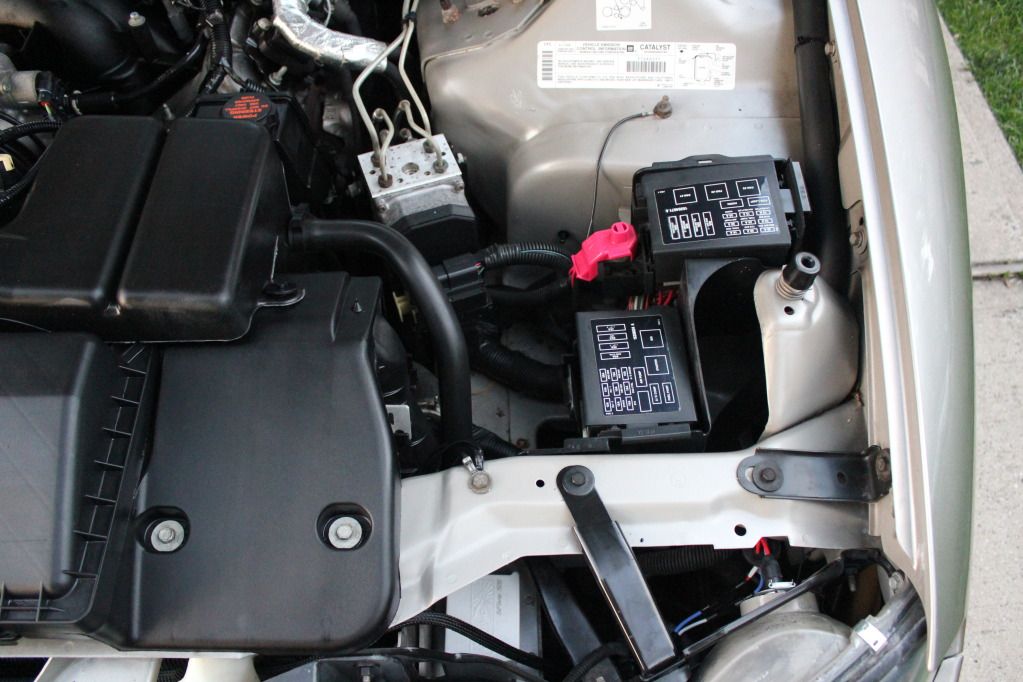
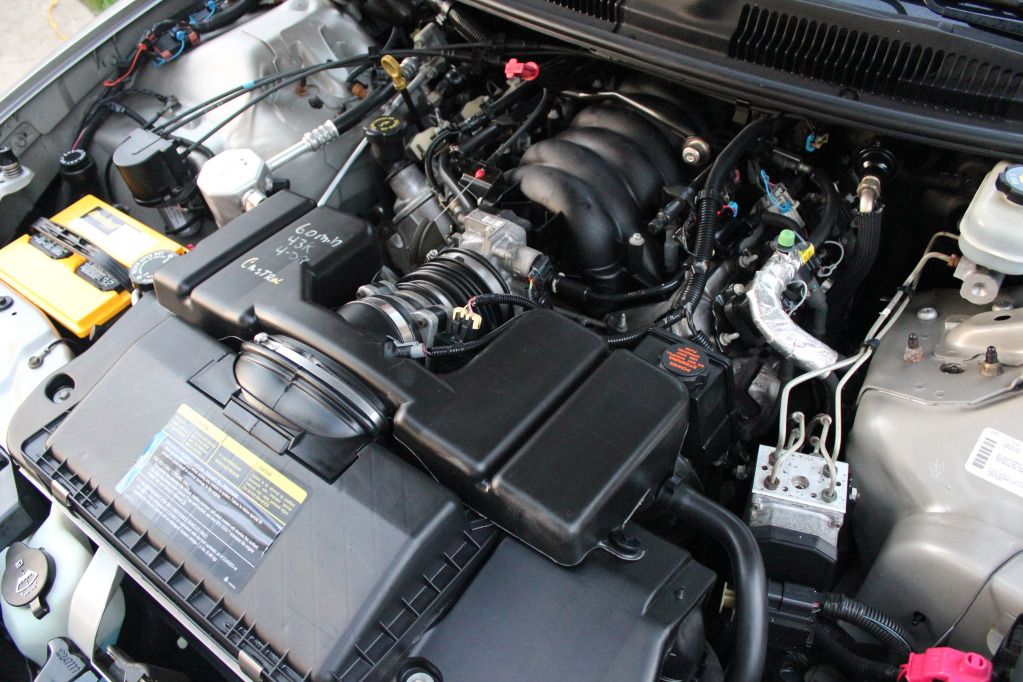
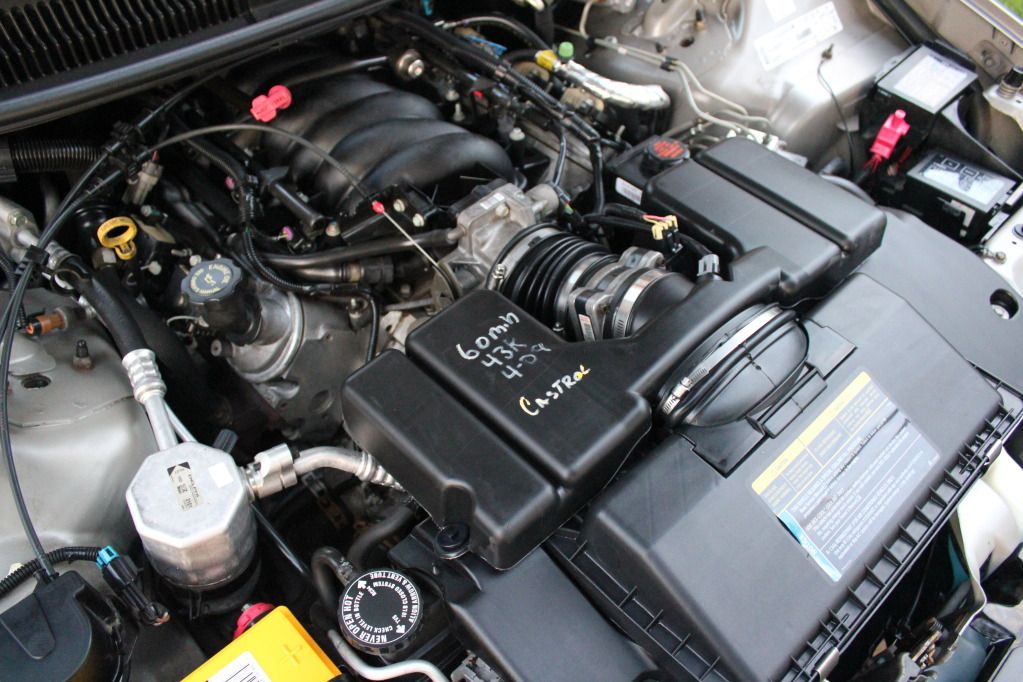
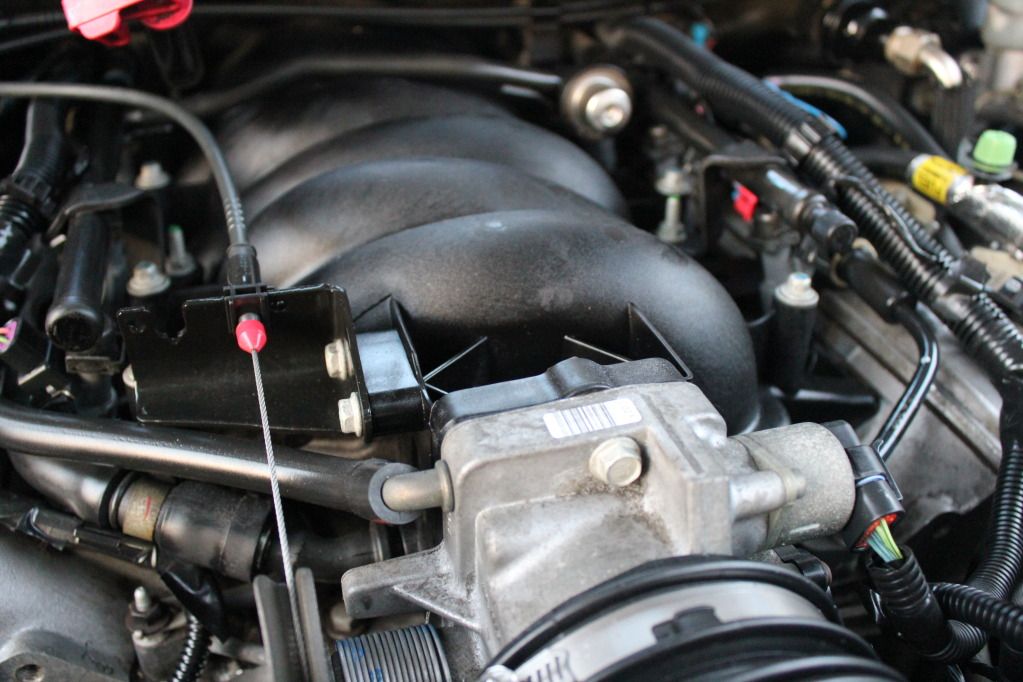
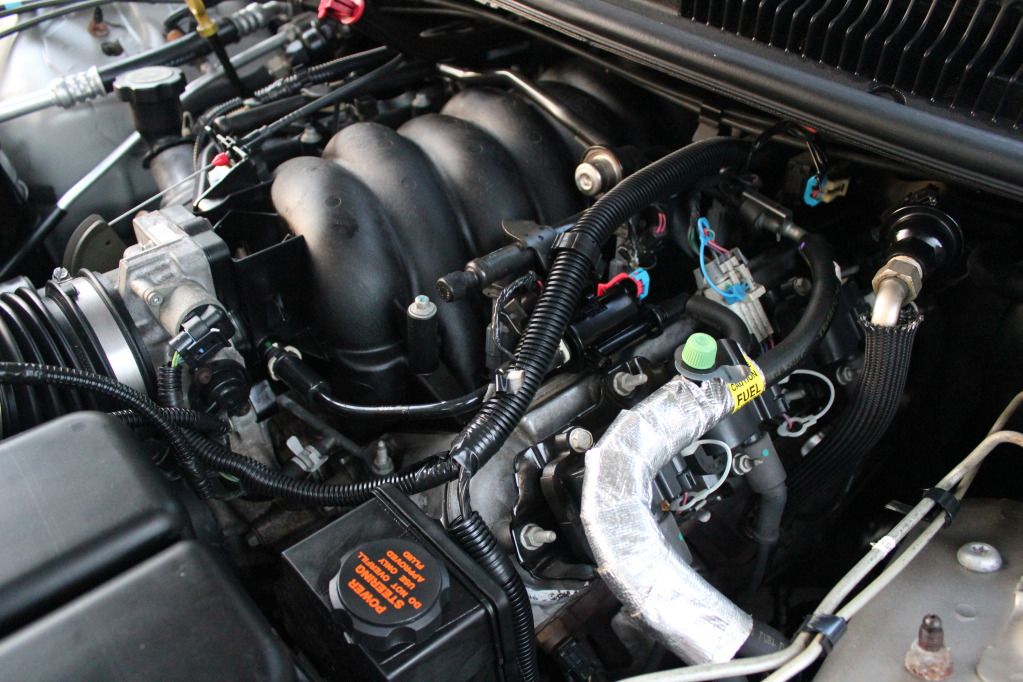
I'm getting the detailing done little by little. Started off with the engine bay, then the interior. The exterior will be clayed & corrected some time soon.


After:
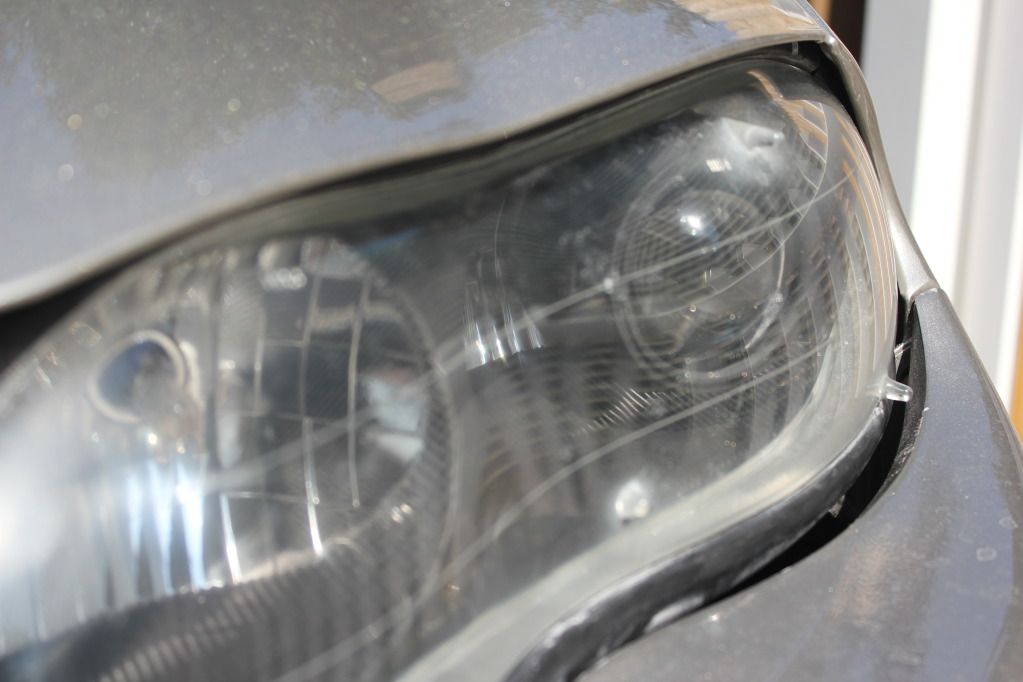
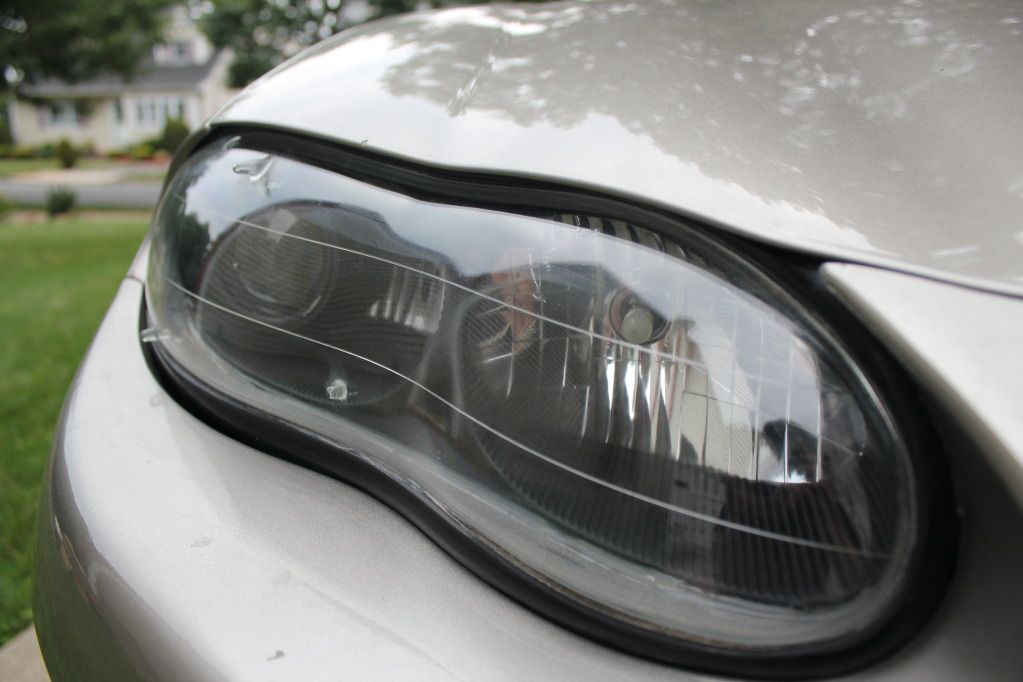
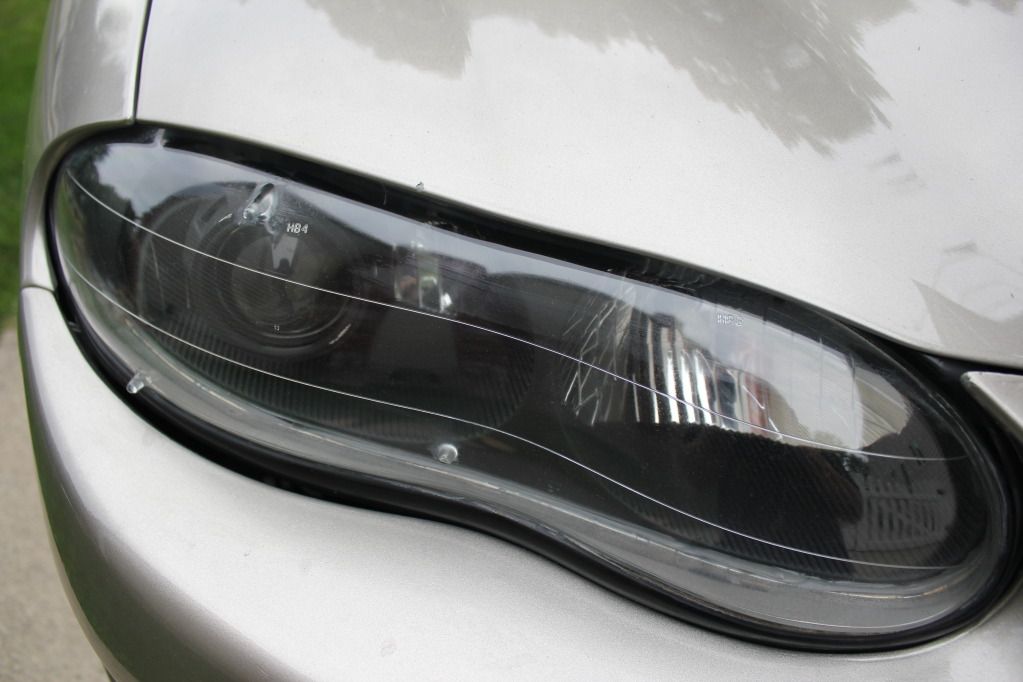
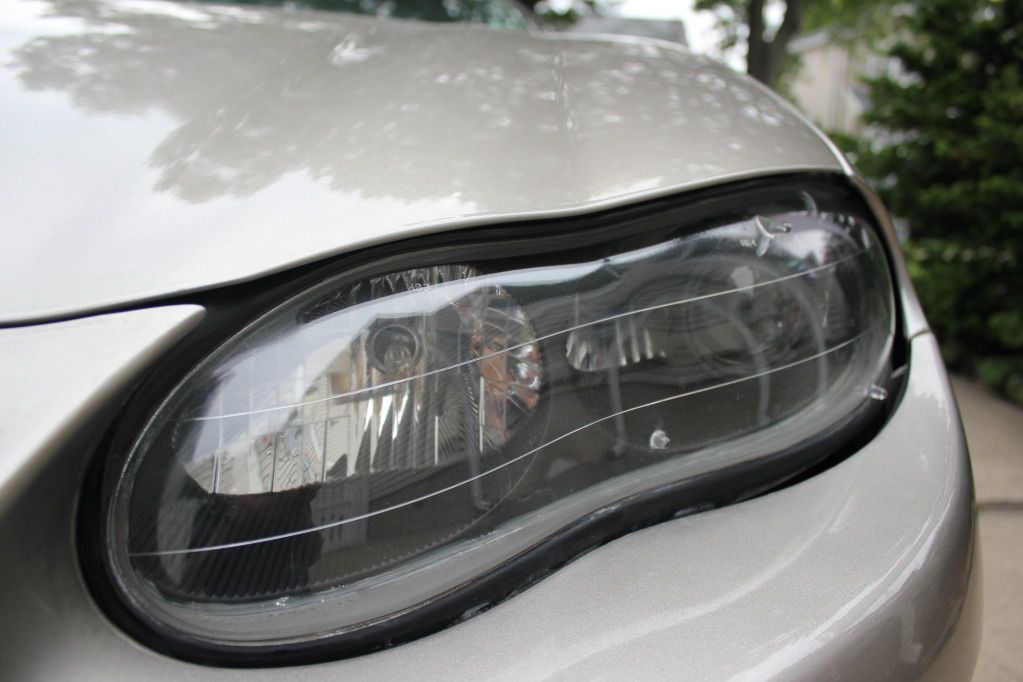
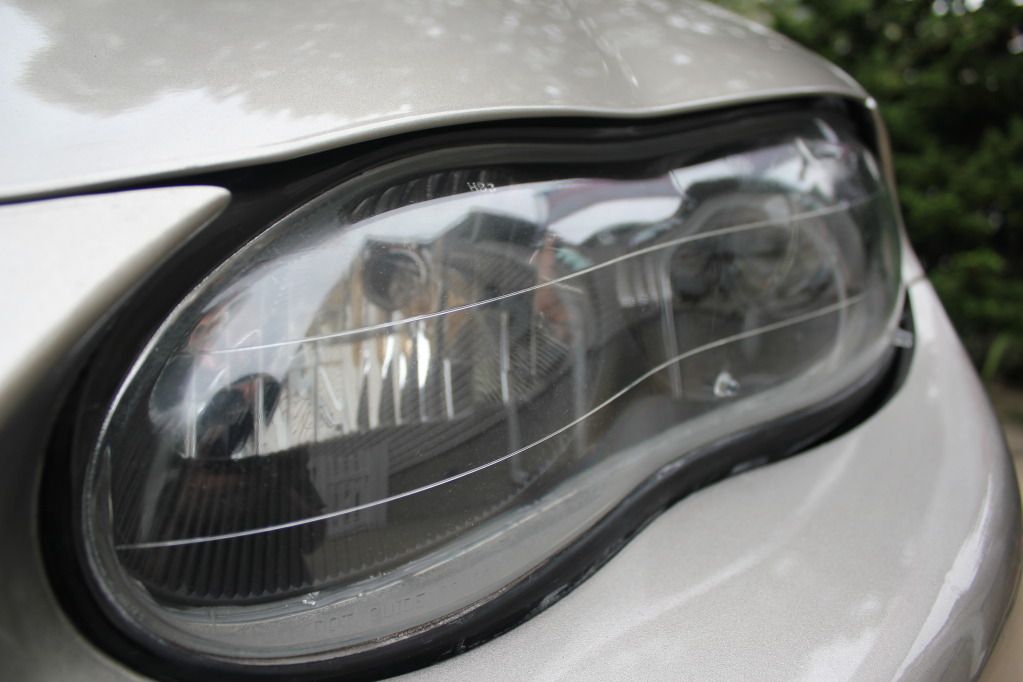
Headlight lens restoration. Wetsanding and polish was already done at this point, this is before & after I applied the clear coat, the final step.


After:
Headlight lens restoration. Wetsanding and polish was already done at this point, this is before & after I applied the clear coat, the final step.
07-29-2012, 09:06 PM
#3
Morimoto Mini H1 Projector Retrofit.
Projectors mounted in stock housings, whistler mod in flat black.
4300k TRS 5Five HID Kit w/ relay harness.
6000k HID's in fogs.
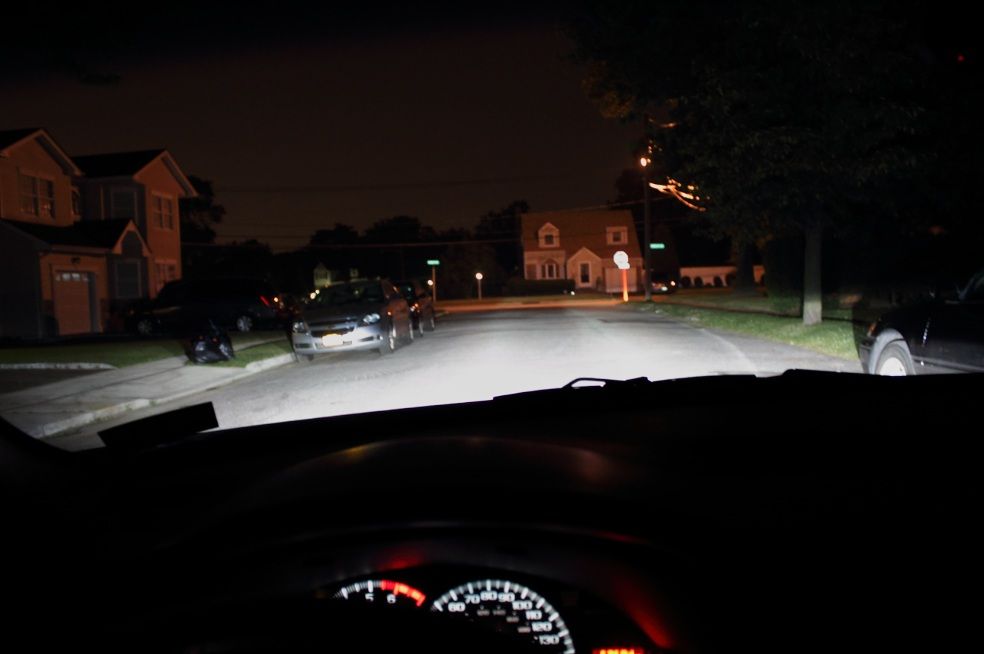
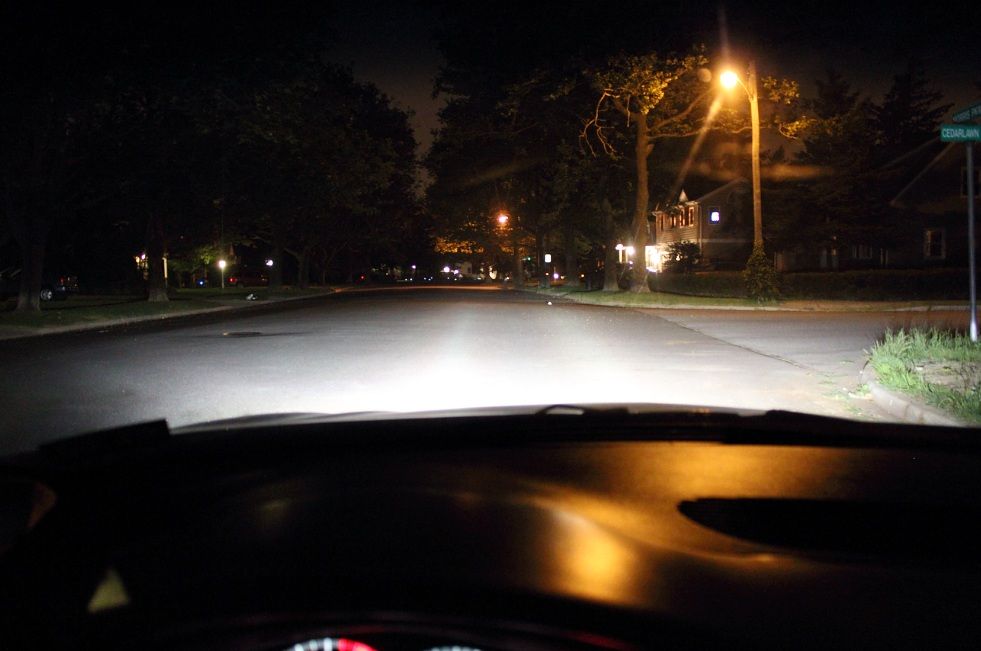
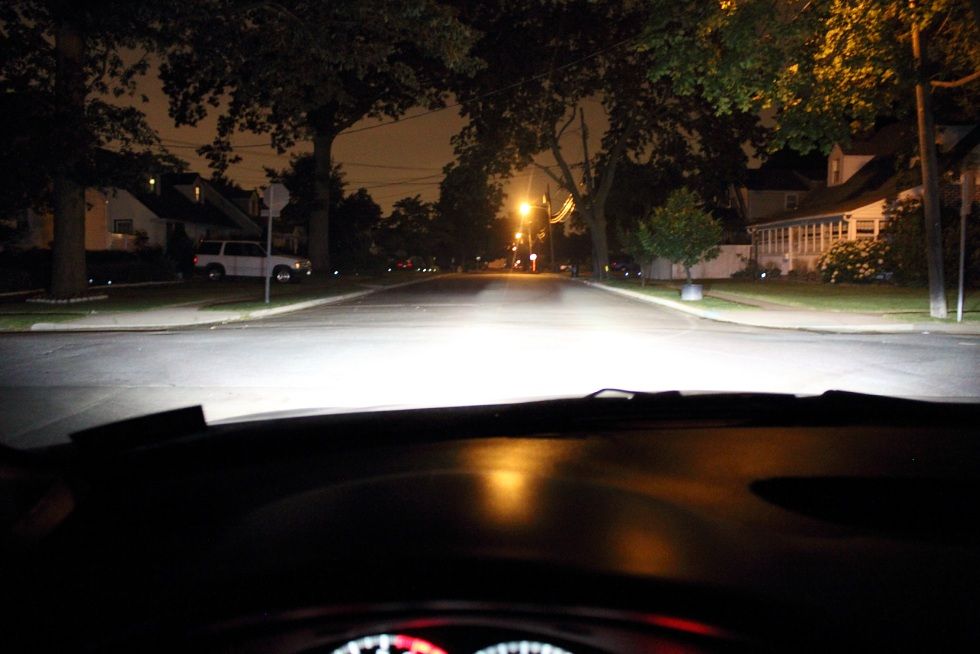
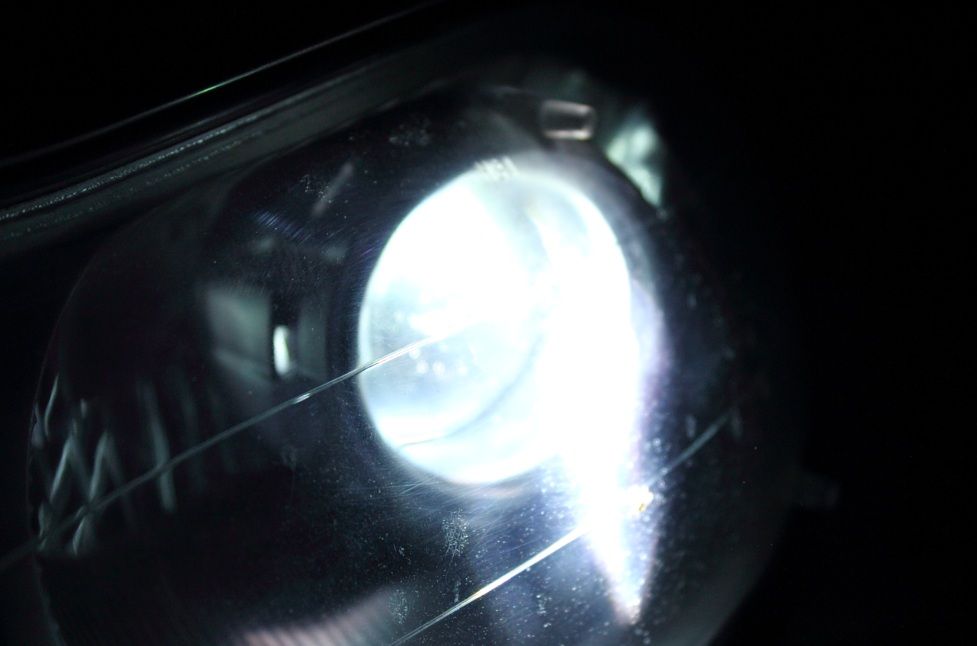
Video: (before they were properly aimed)
http://www.youtube.com/watch?v=TJiTO...ature=youtu.be
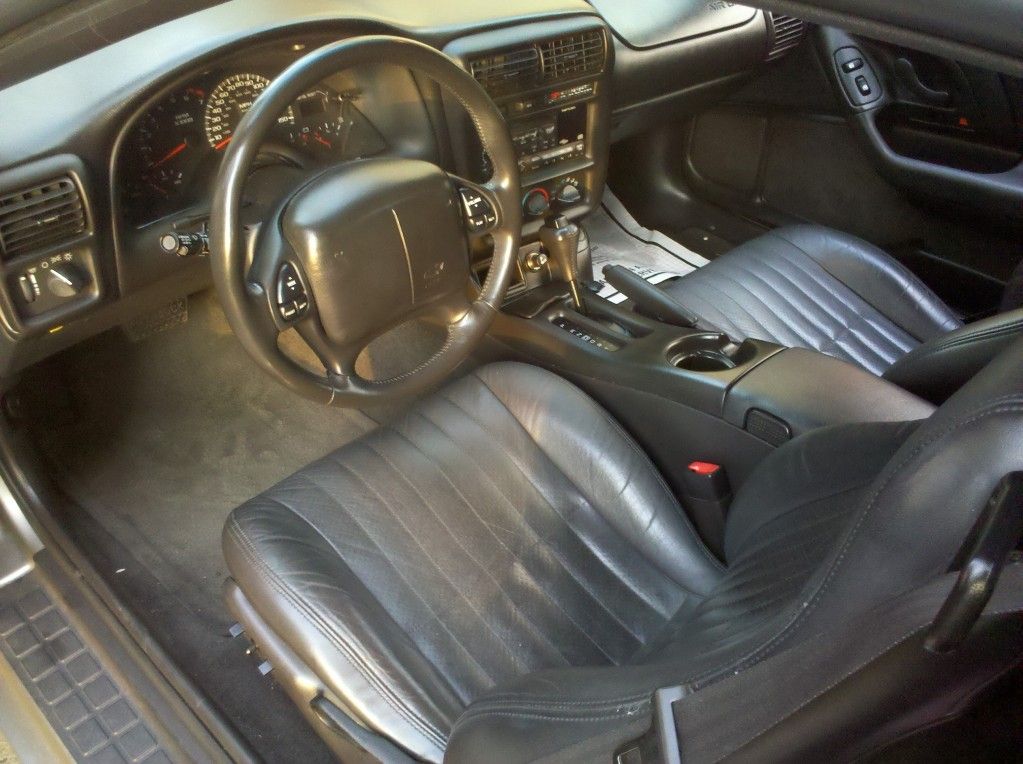
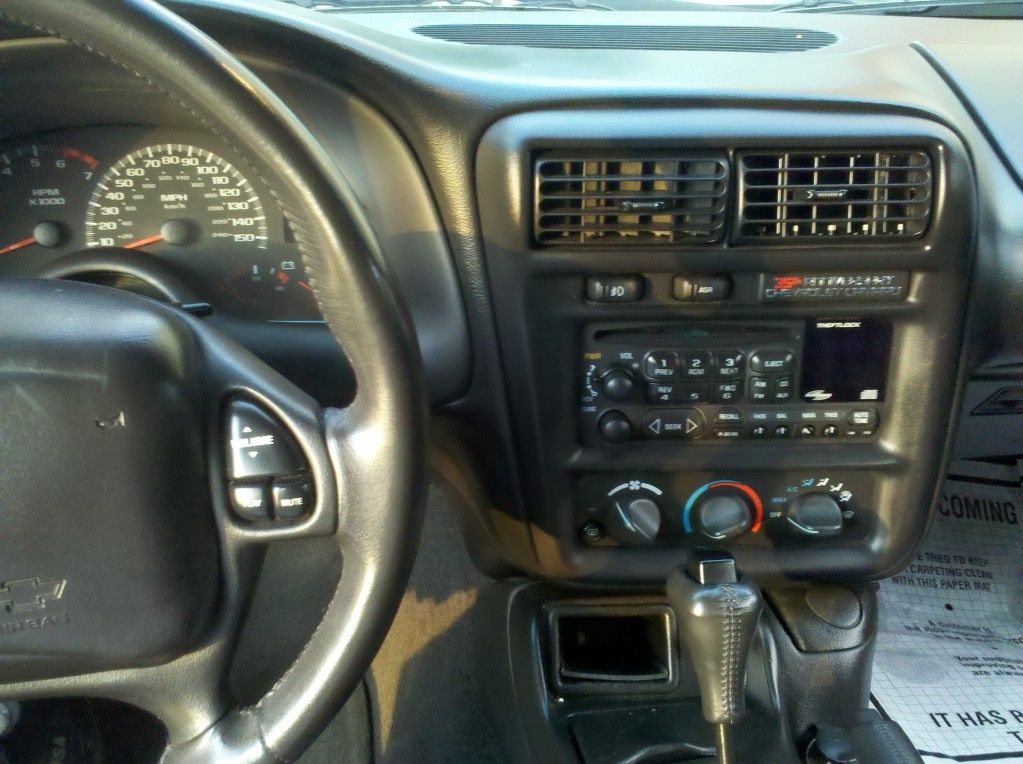
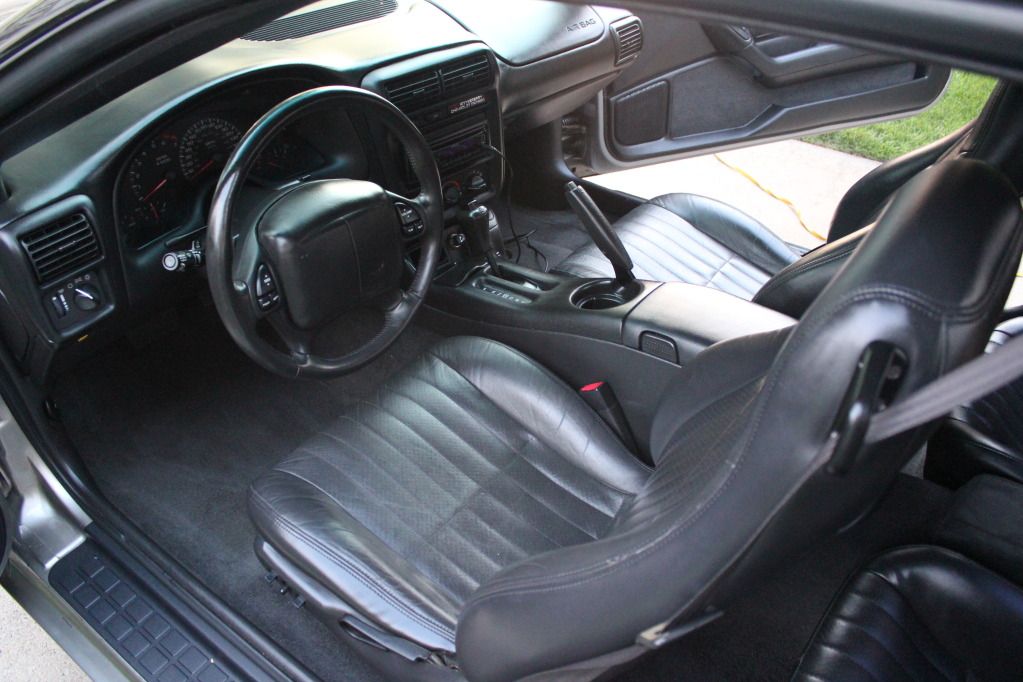
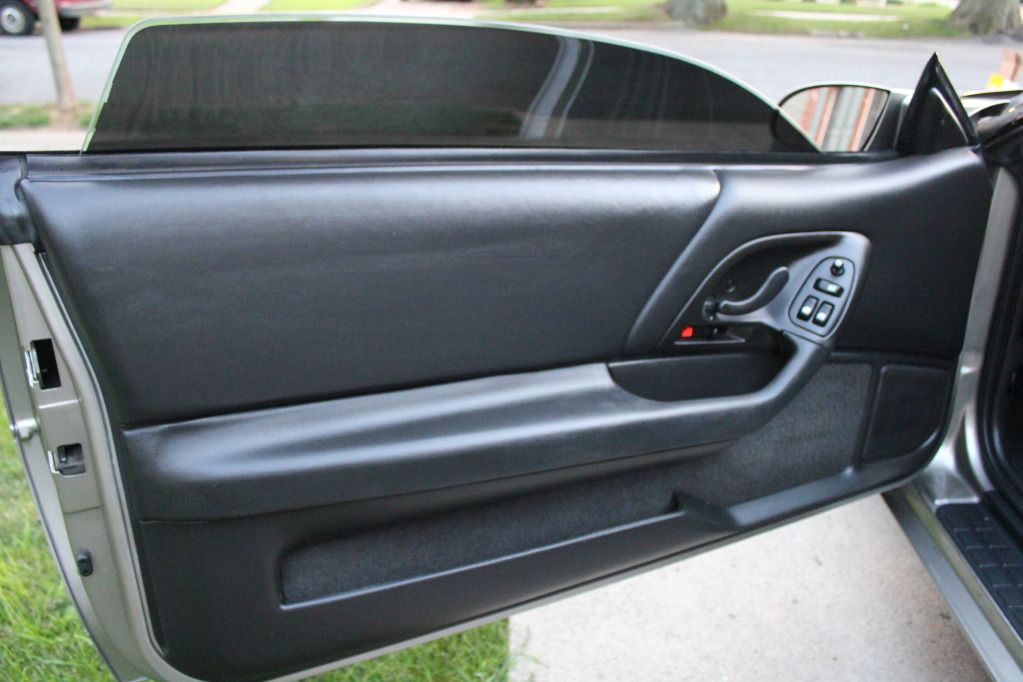
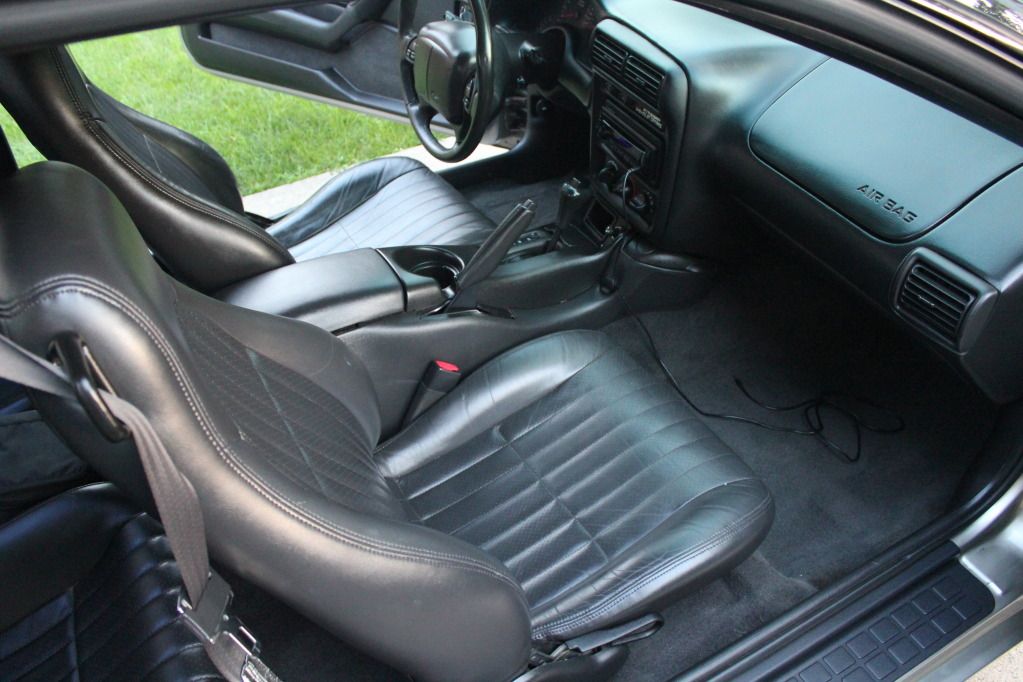
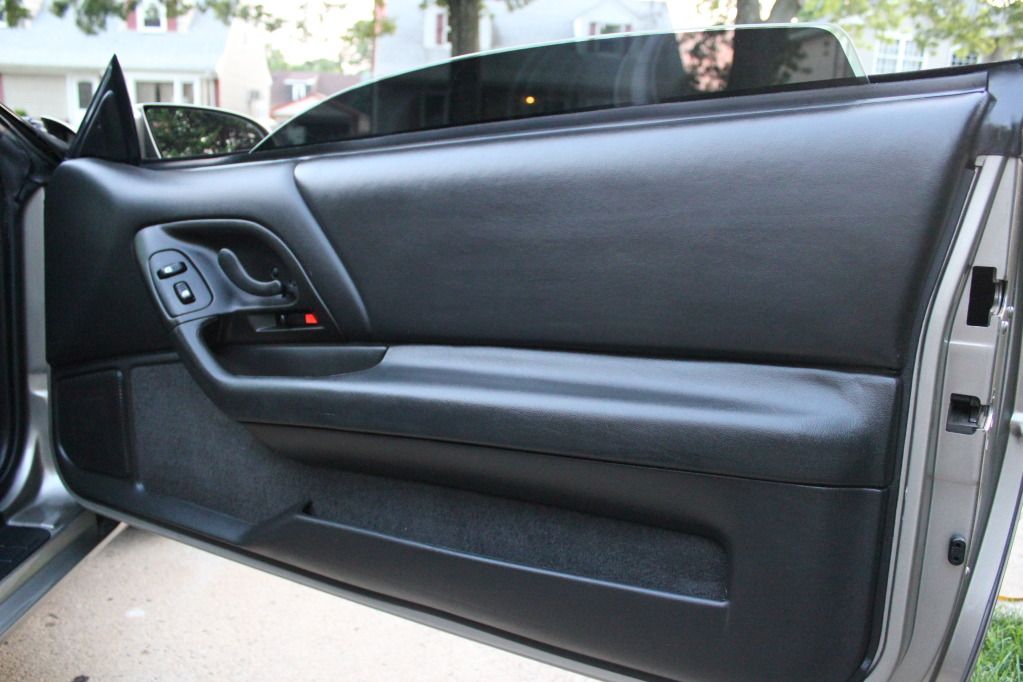
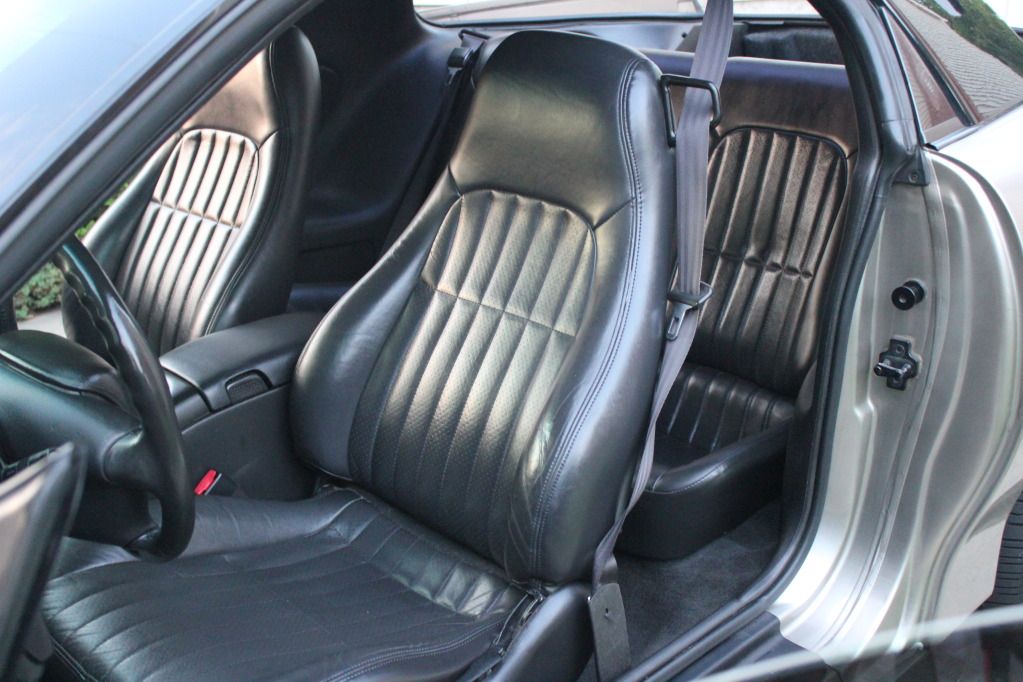
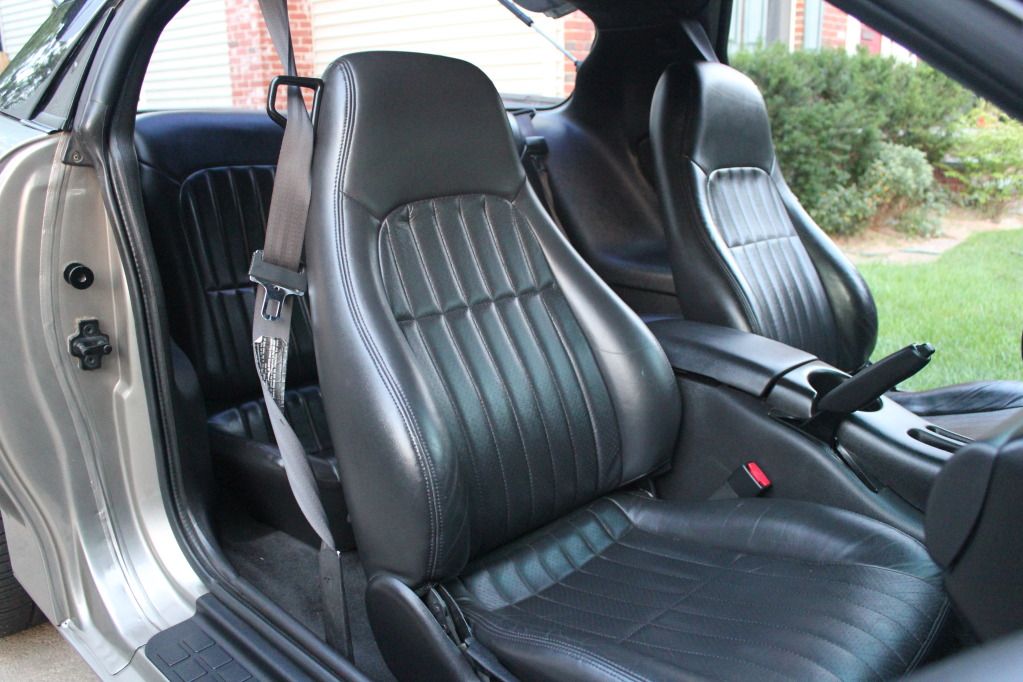
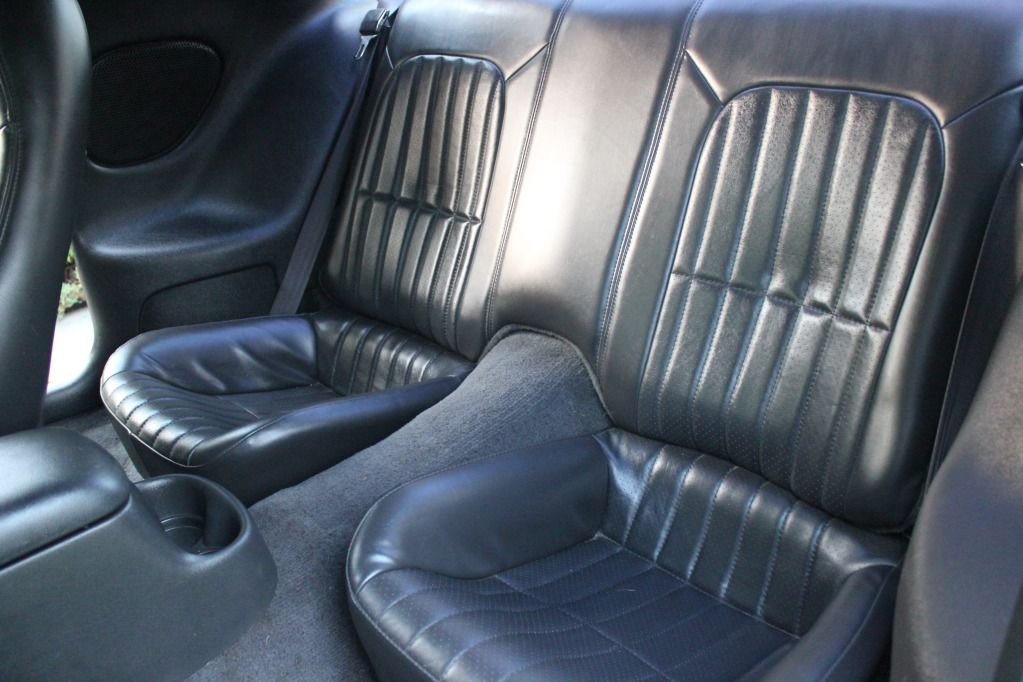
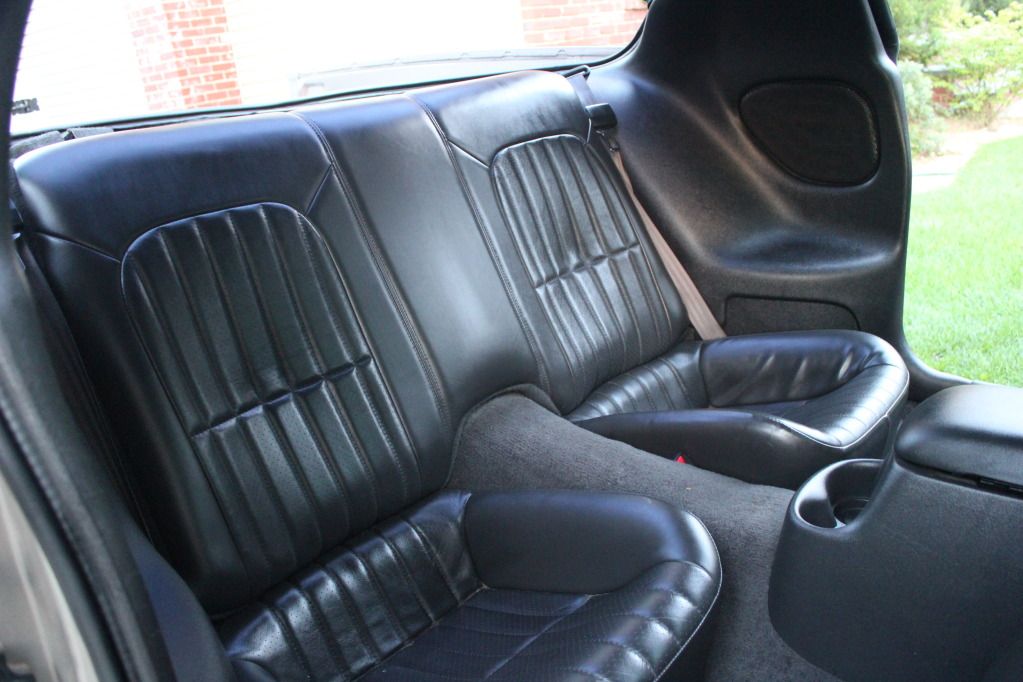
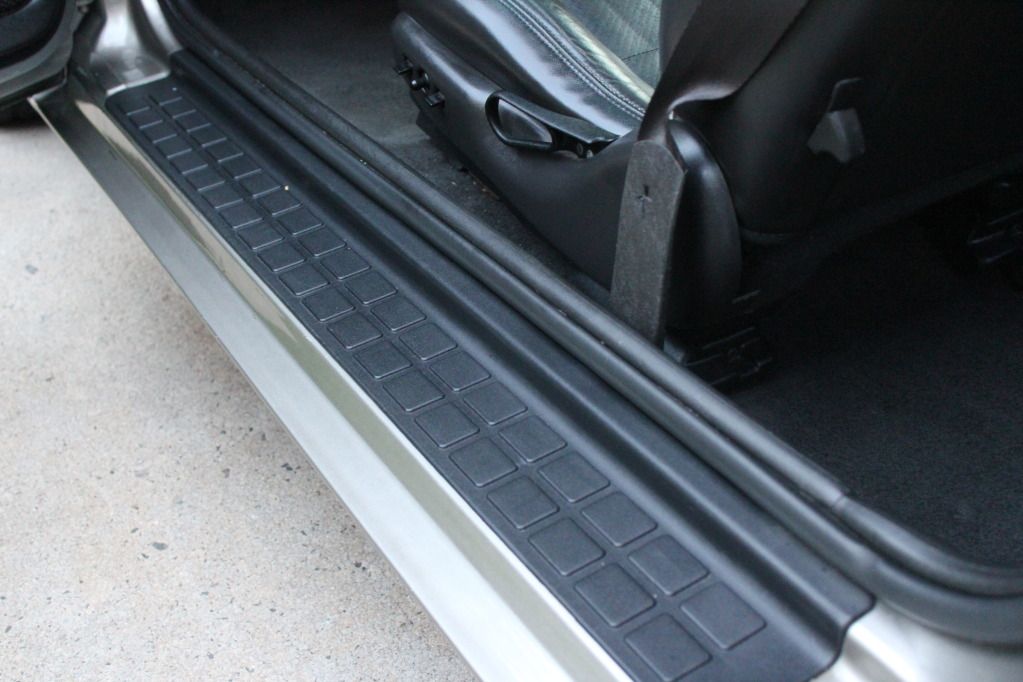
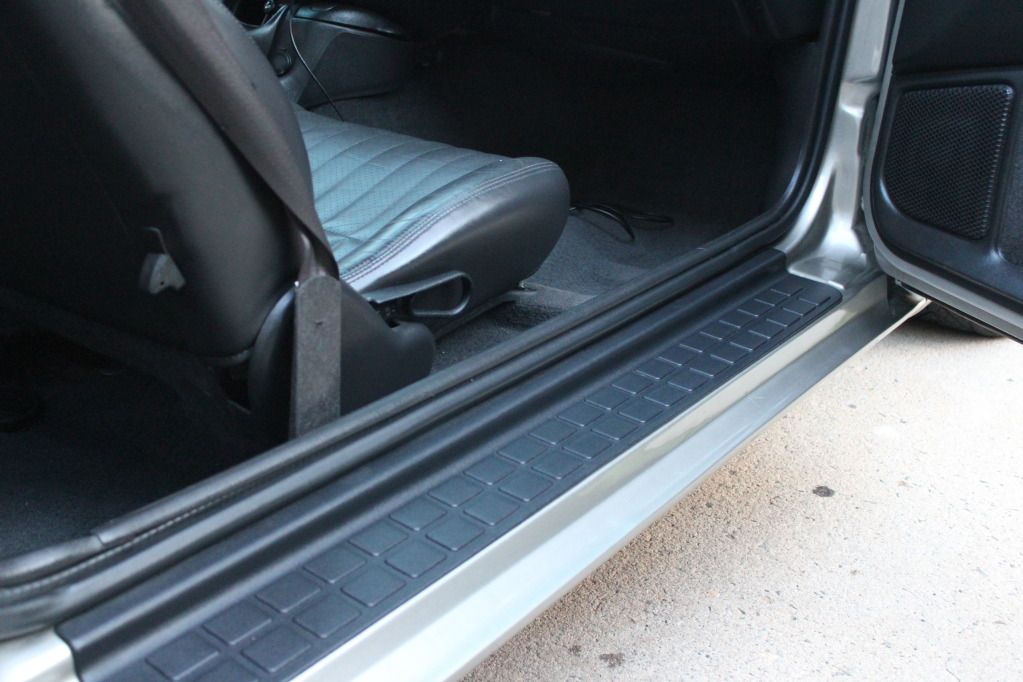
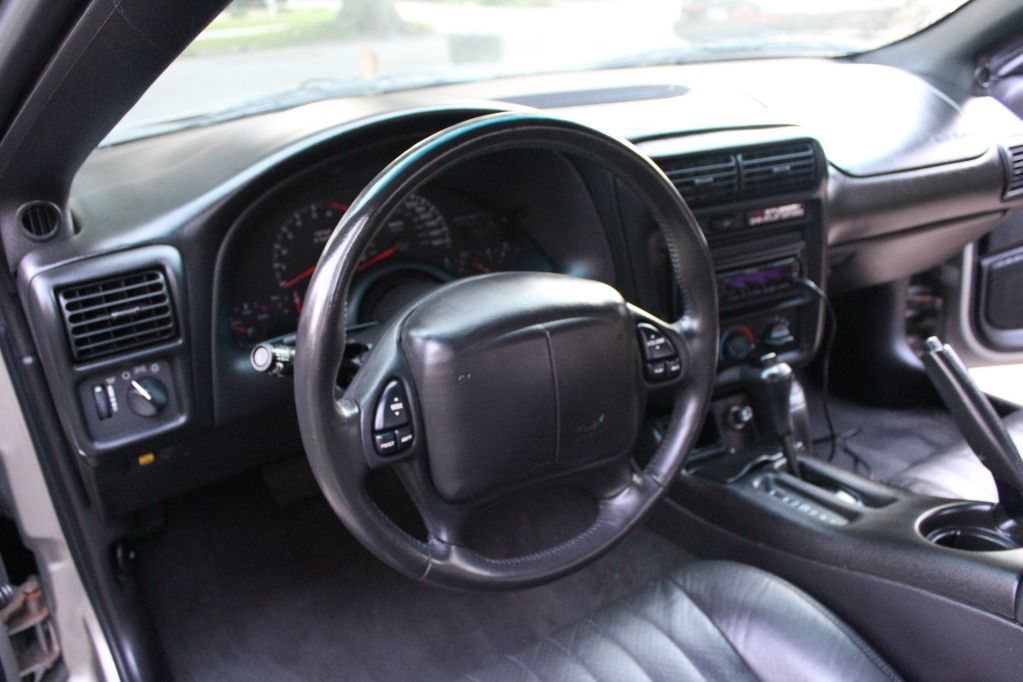
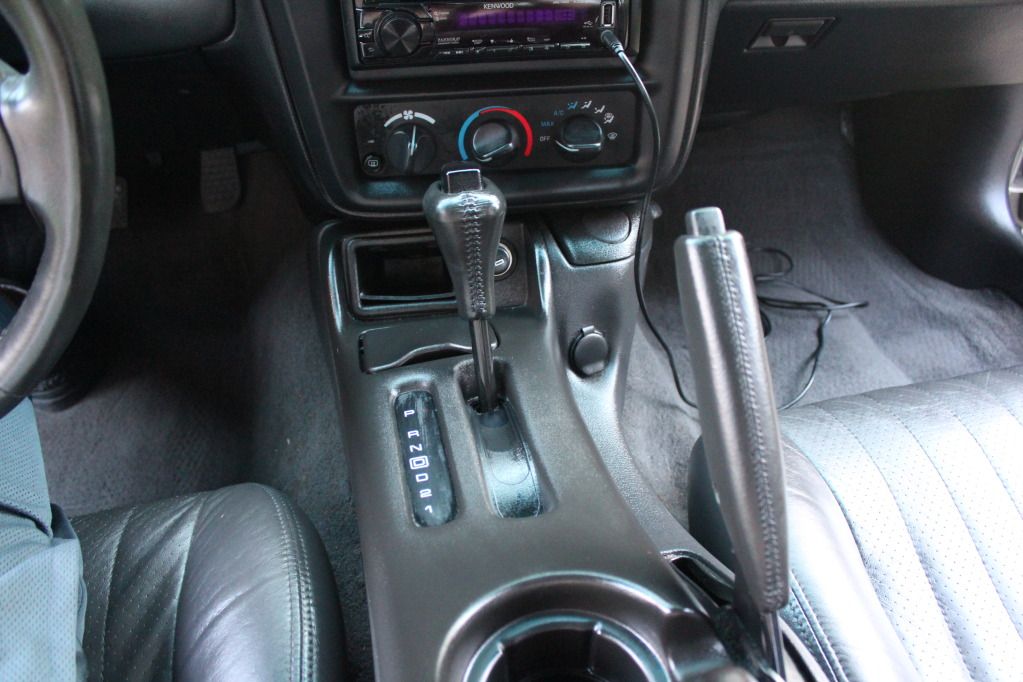
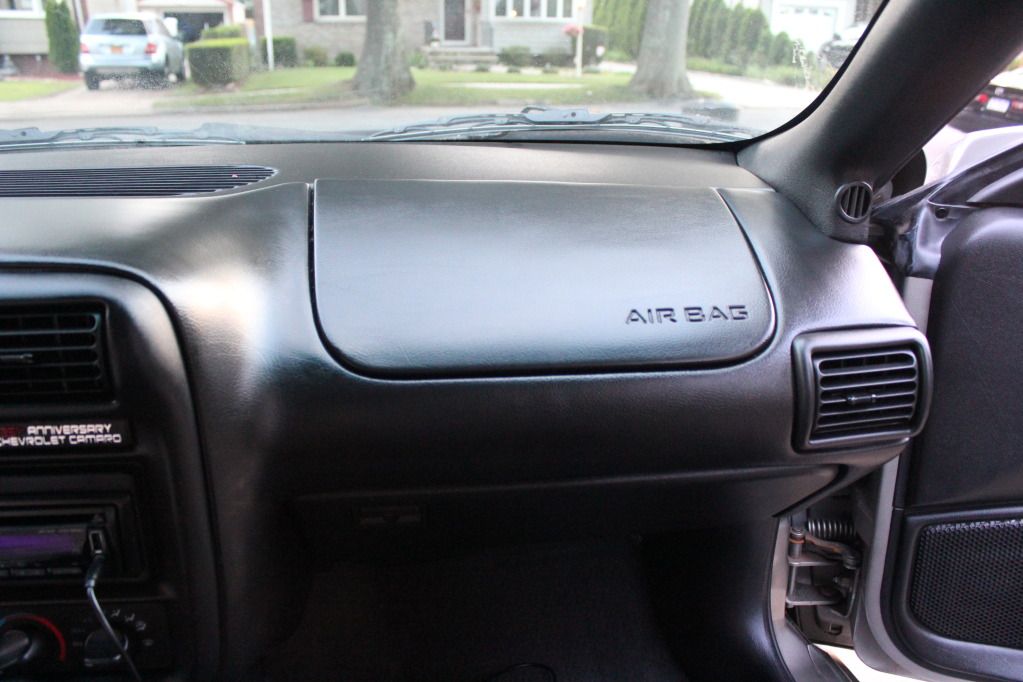
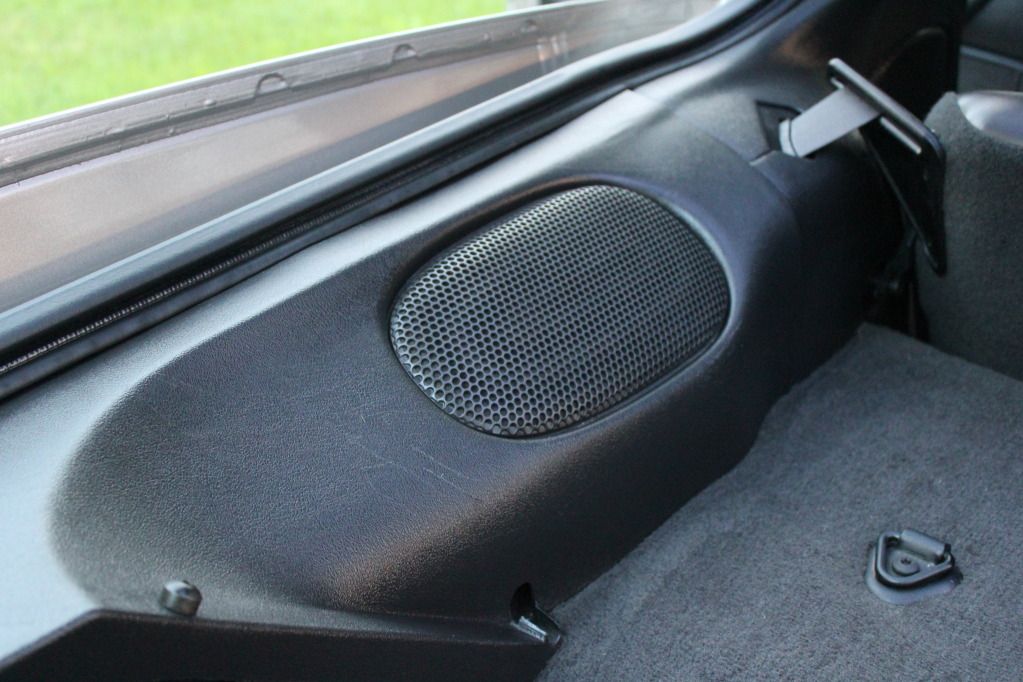
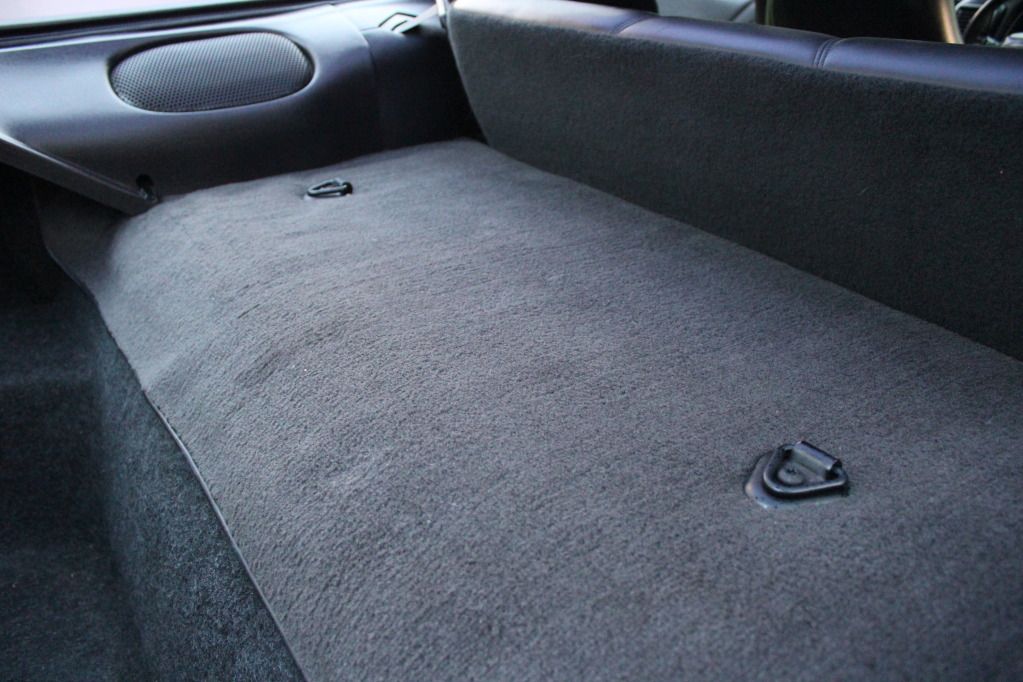
Interior detailed!
Leather, plastic, carpet cleaned with Megs APC 4:1
All Leather & Trim coniditoned

Projectors mounted in stock housings, whistler mod in flat black.
4300k TRS 5Five HID Kit w/ relay harness.
6000k HID's in fogs.
Video: (before they were properly aimed)
http://www.youtube.com/watch?v=TJiTO...ature=youtu.be
Interior detailed!
Leather, plastic, carpet cleaned with Megs APC 4:1
All Leather & Trim coniditoned
07-29-2012, 09:10 PM
#4
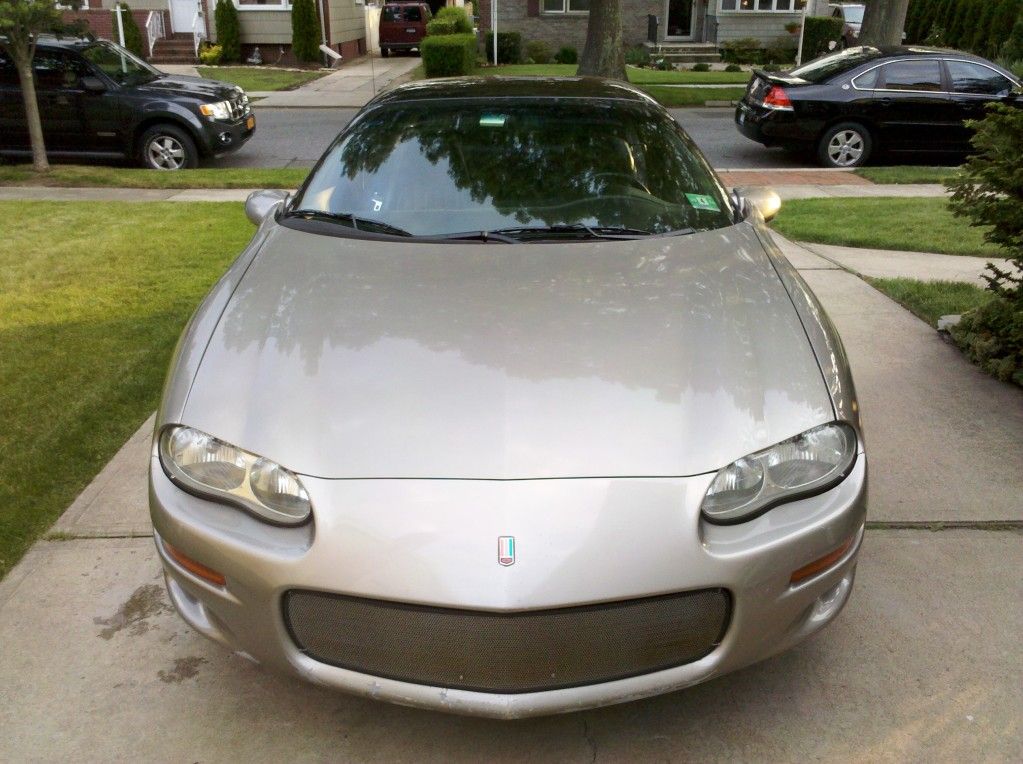
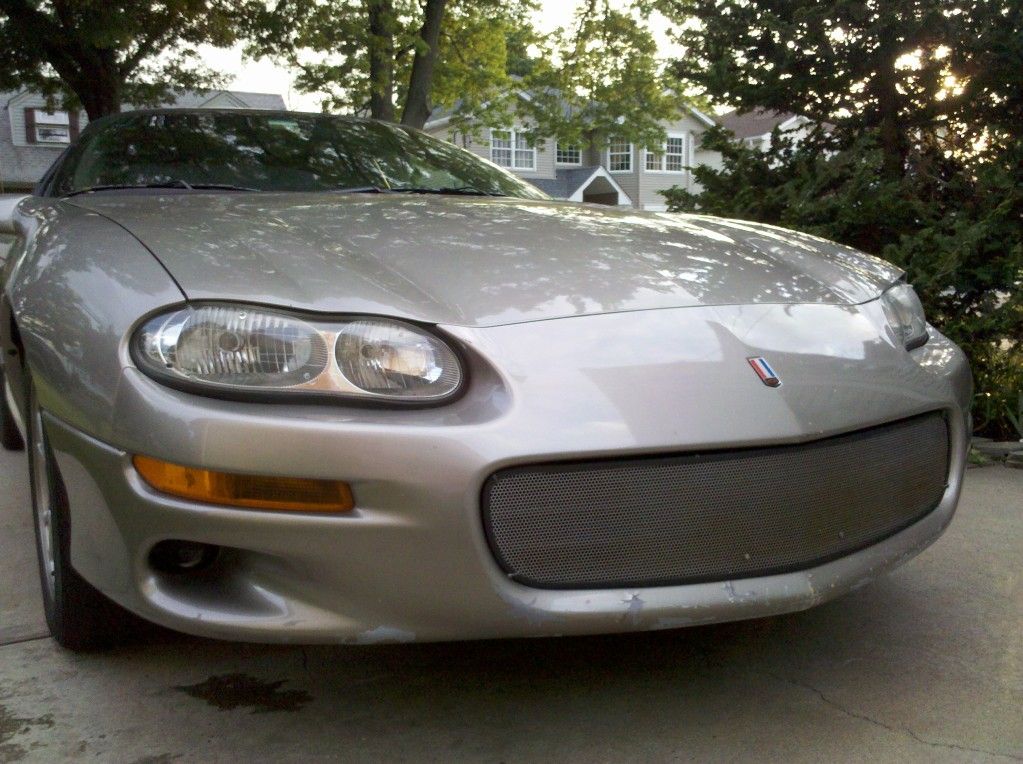
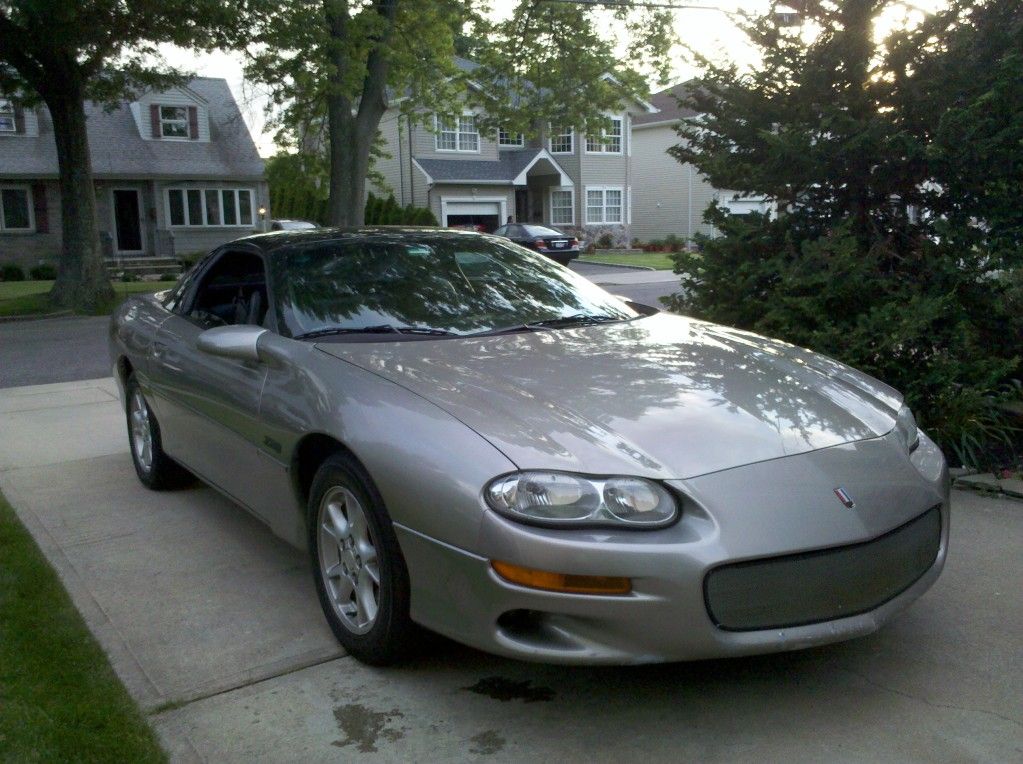
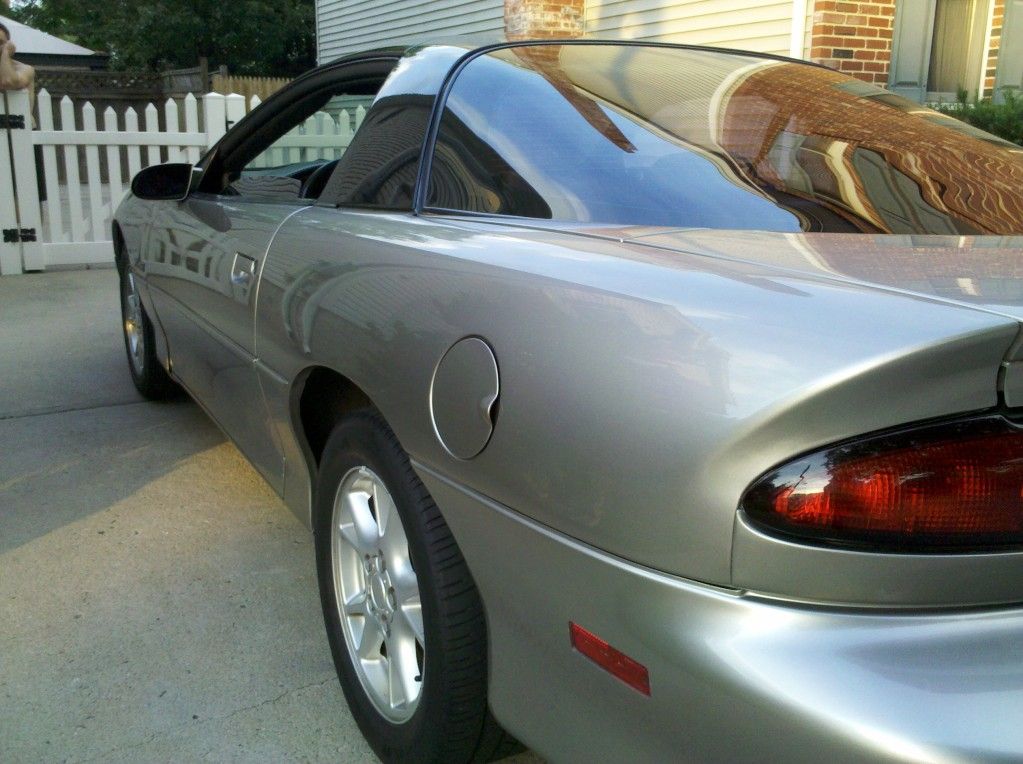
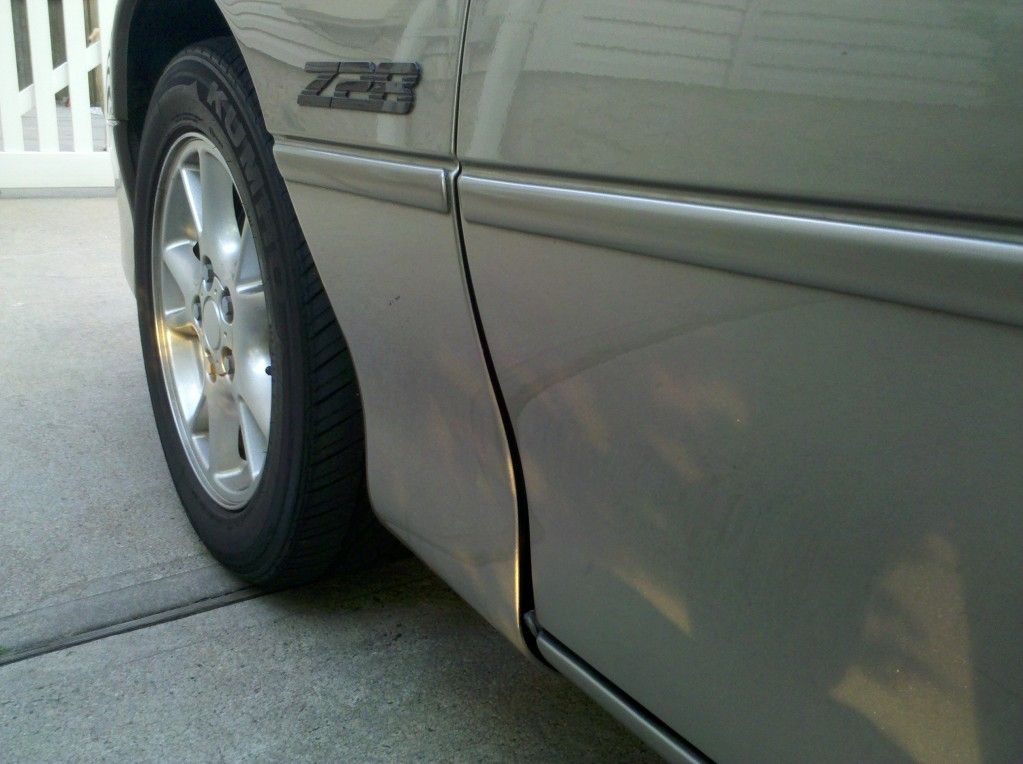
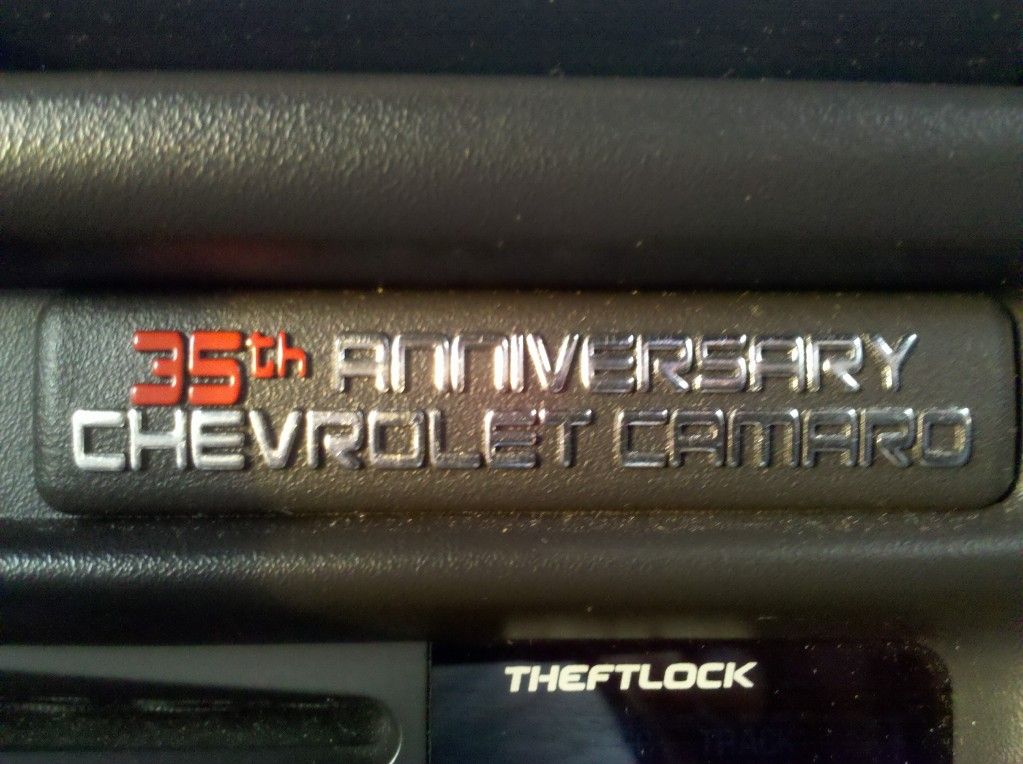
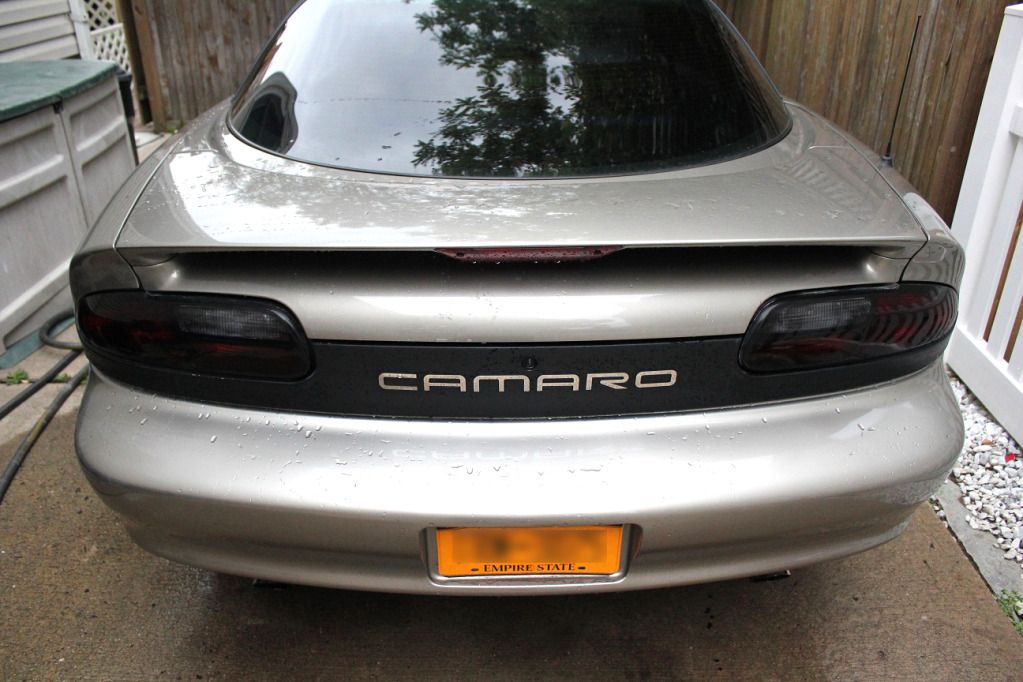
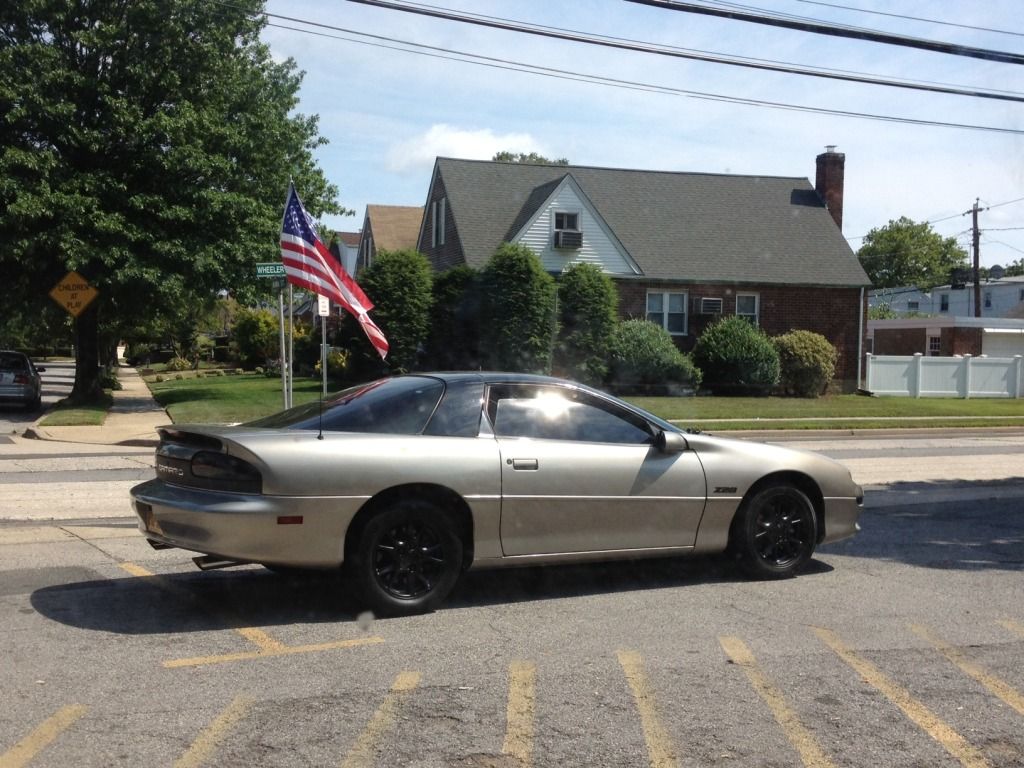
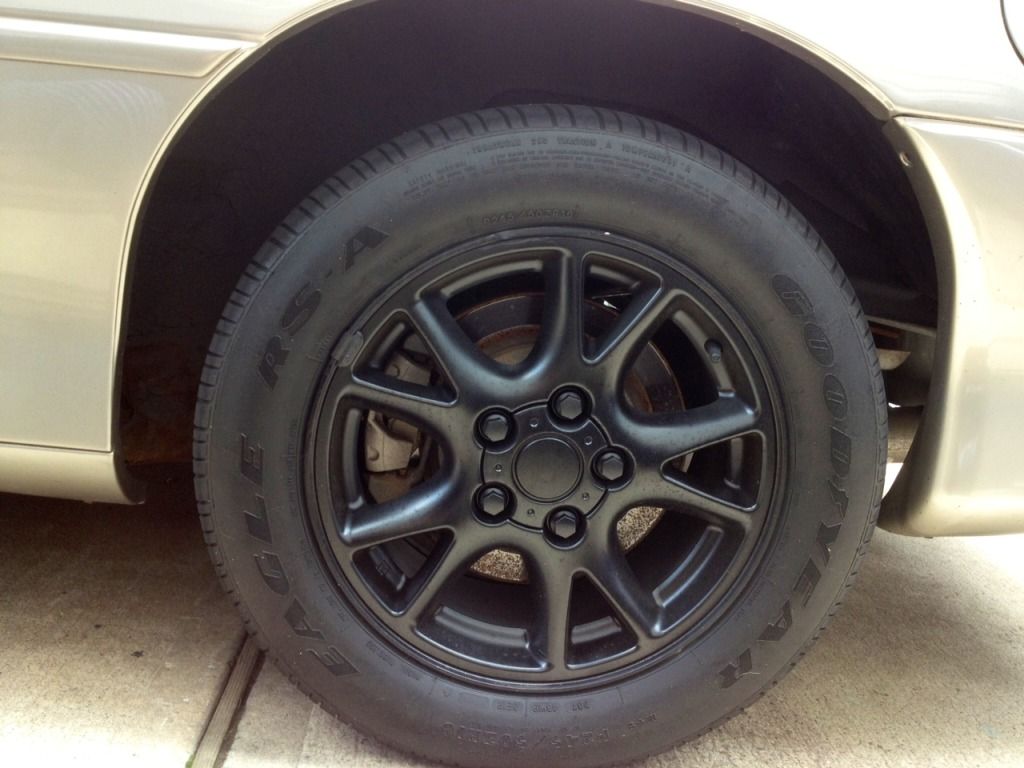
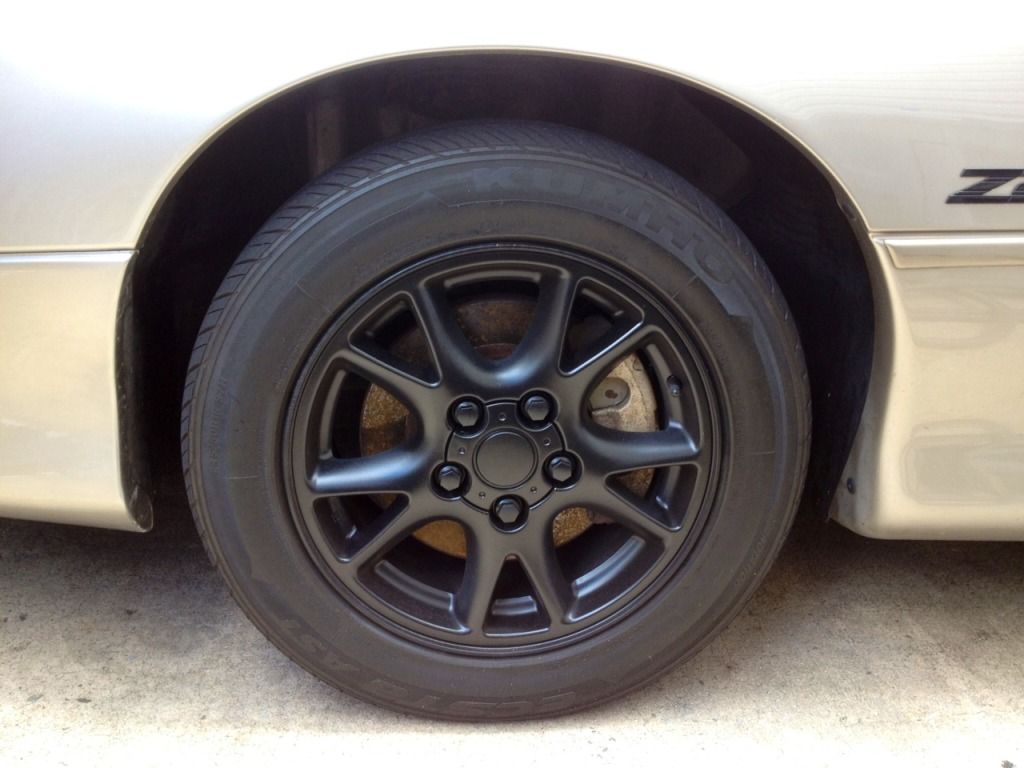
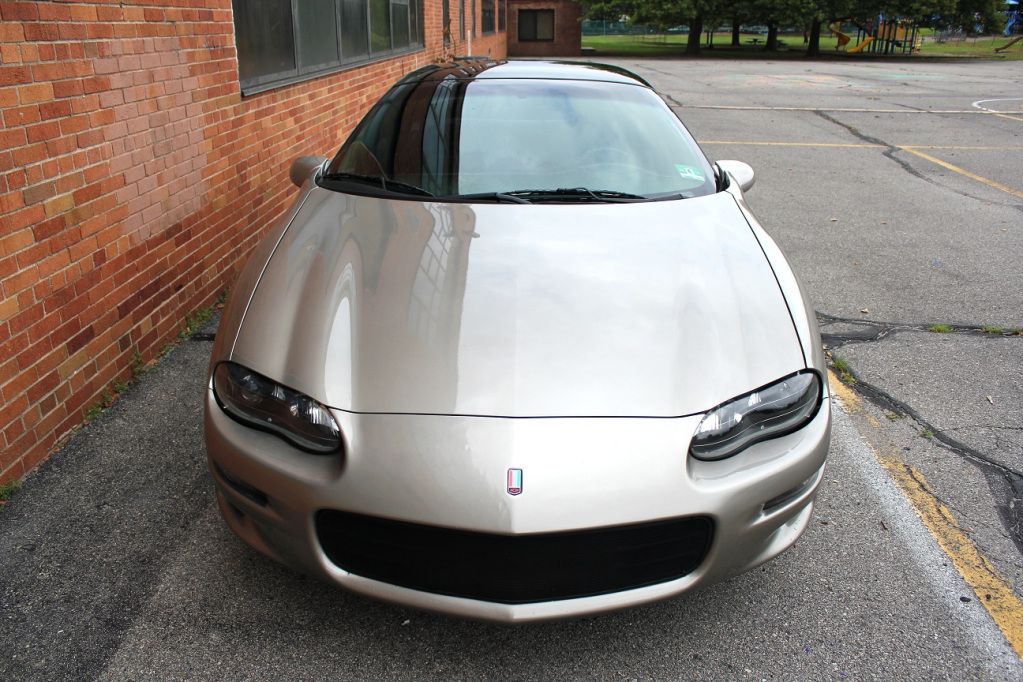
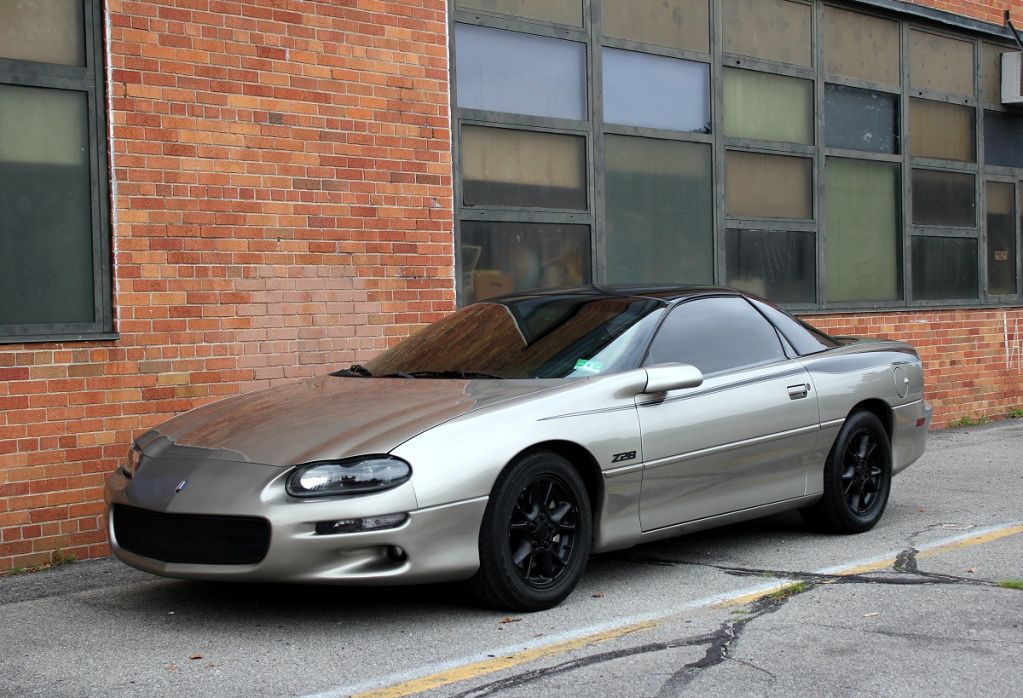
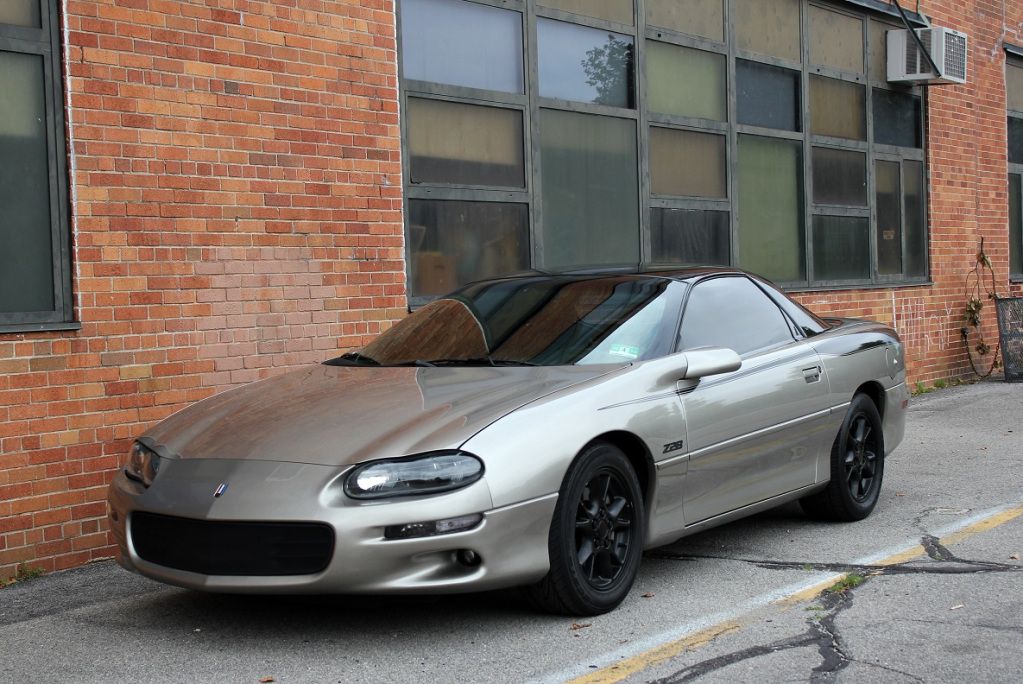
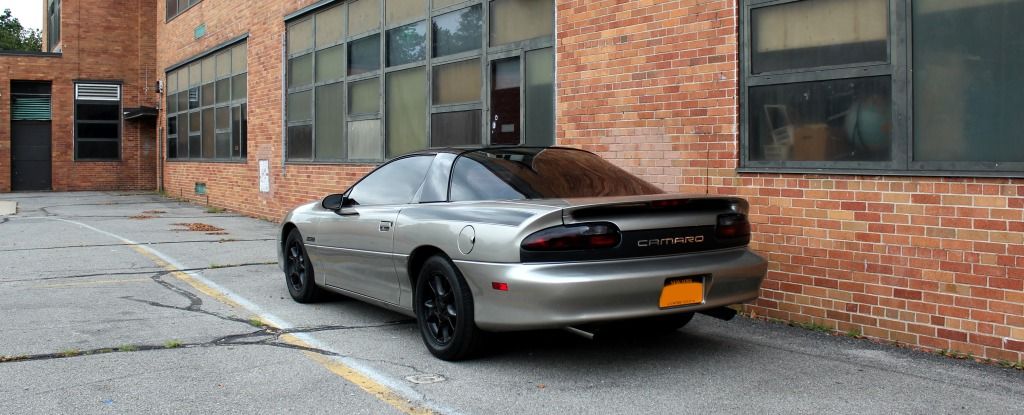
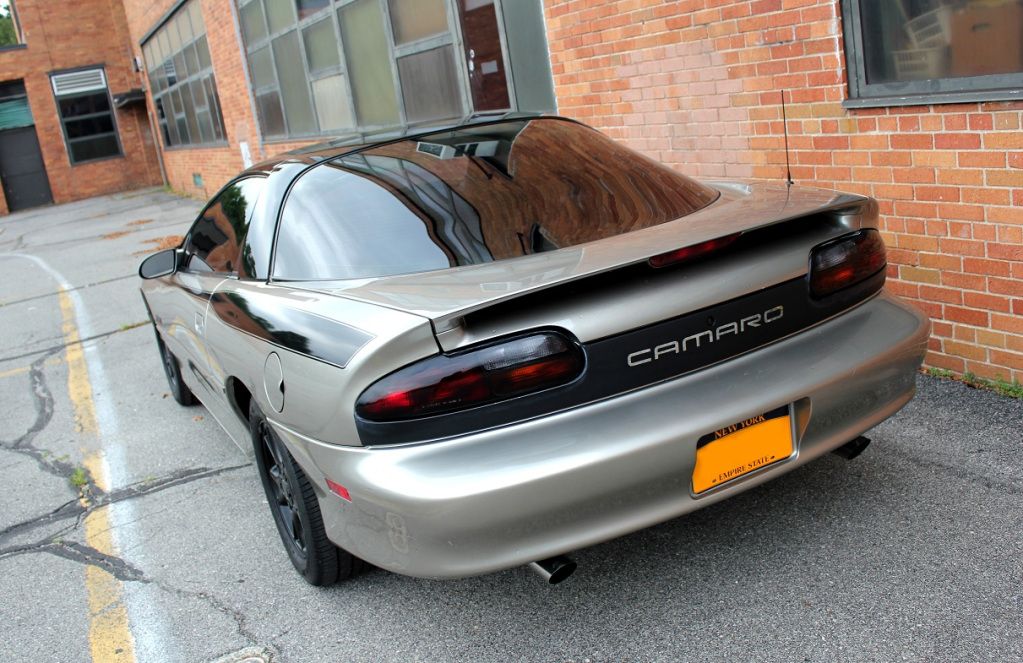
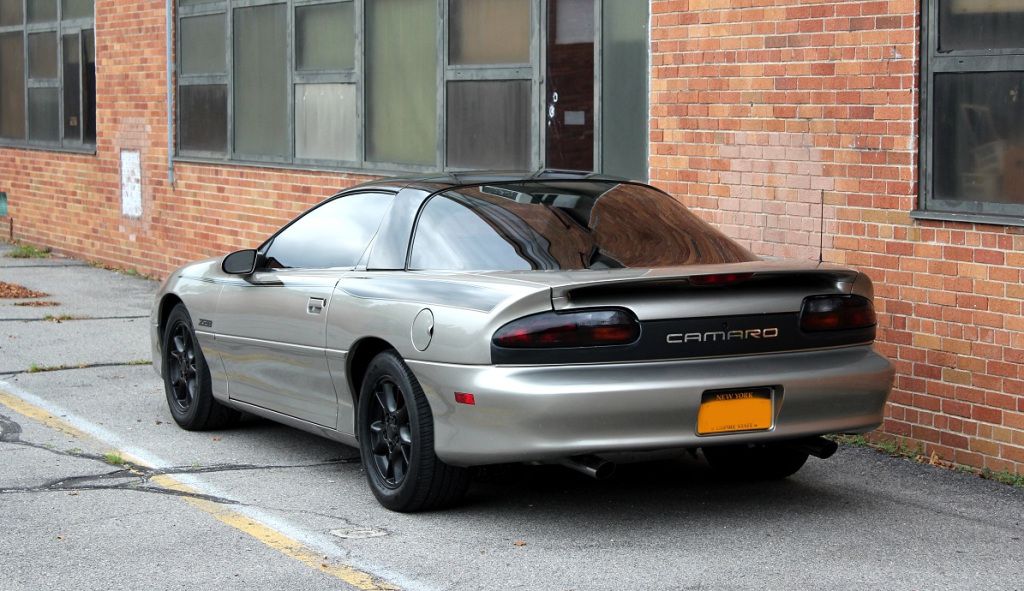
You'll notice the Berger mod is complete in Satin black, with EmblemPros stainless "Camaro" fill ins. The stock snowflakes were also painted Satin black.
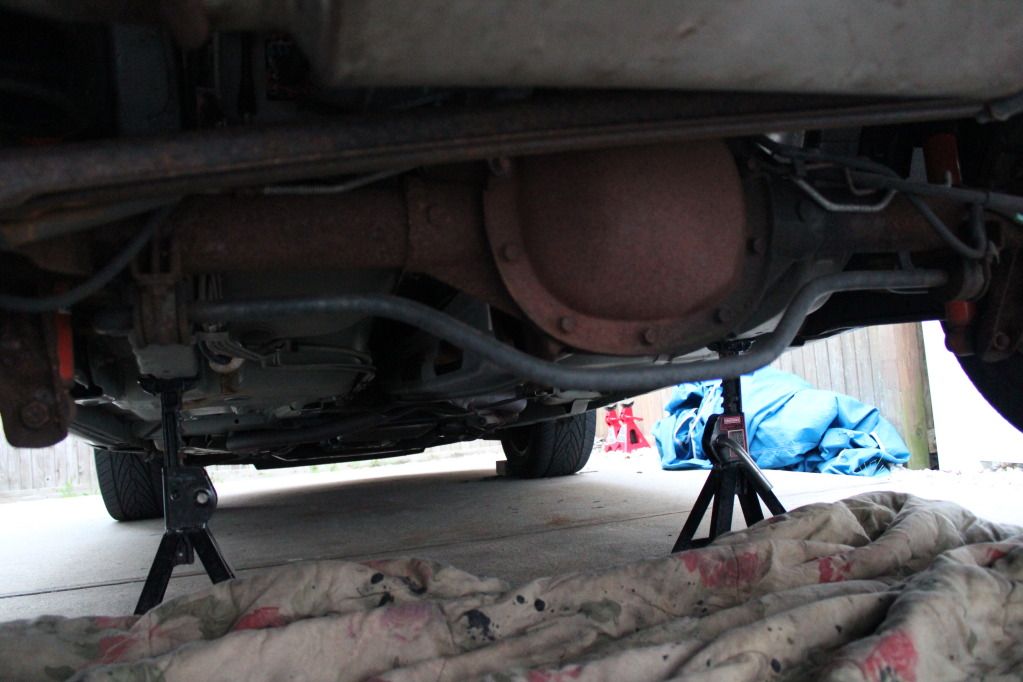
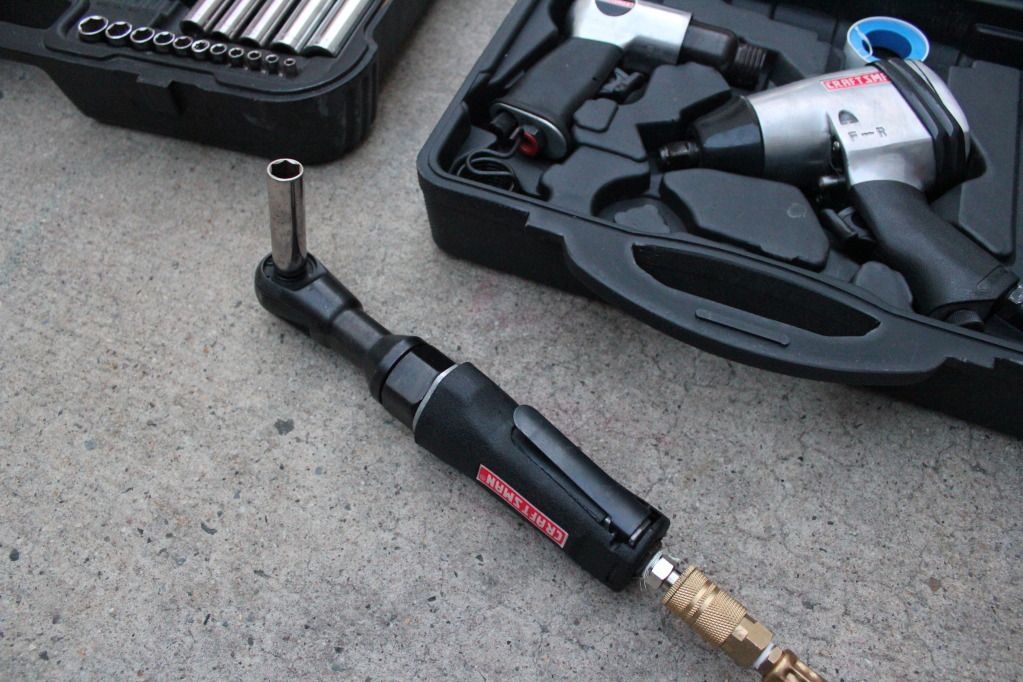
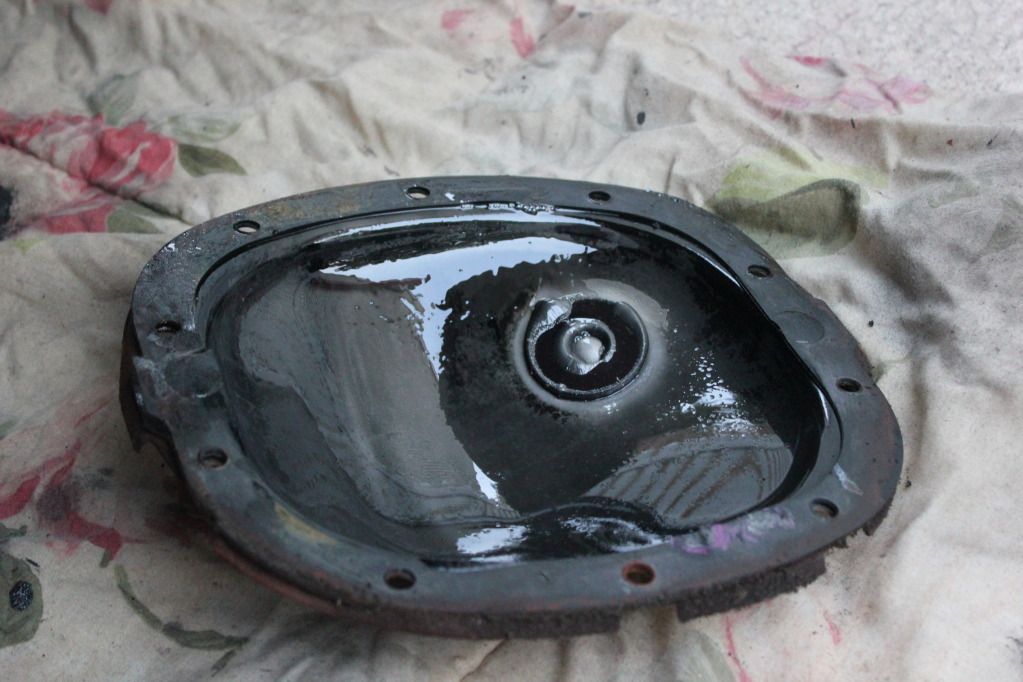
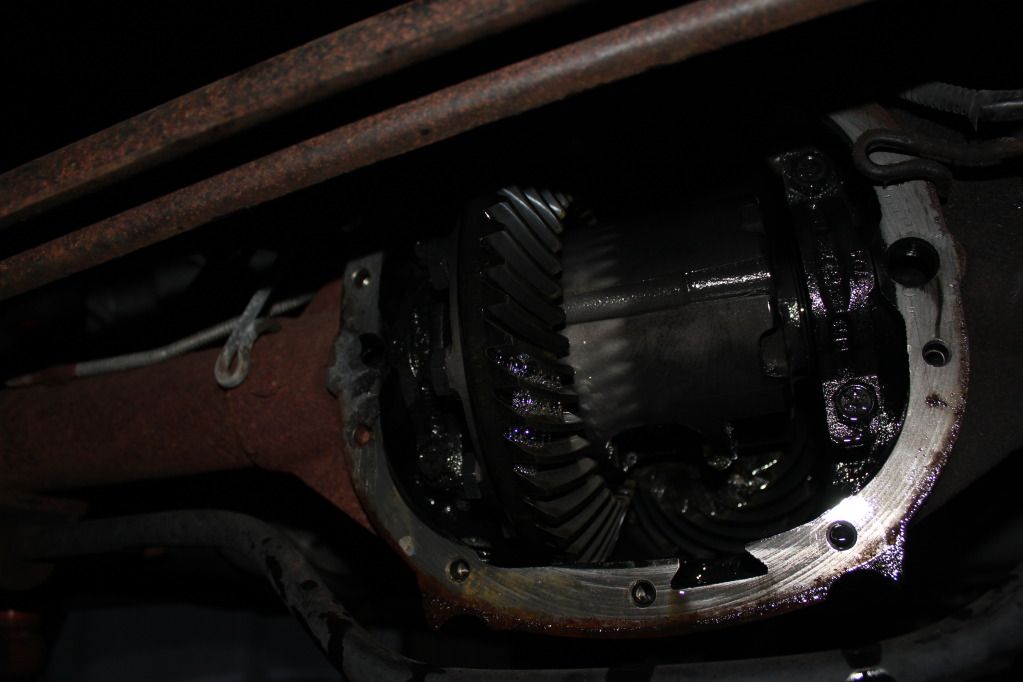
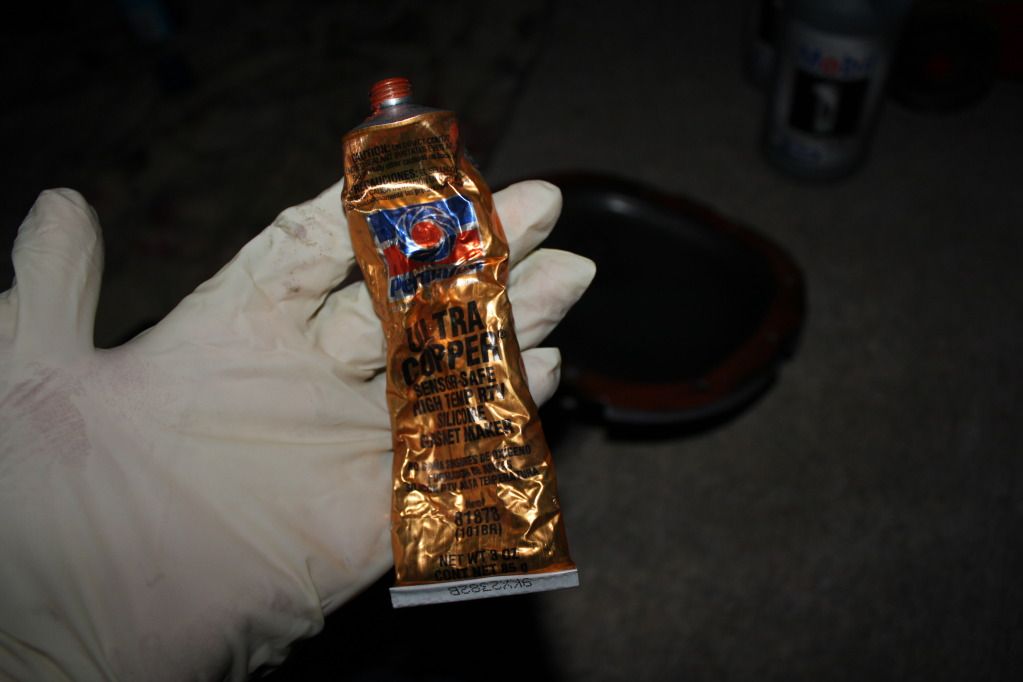
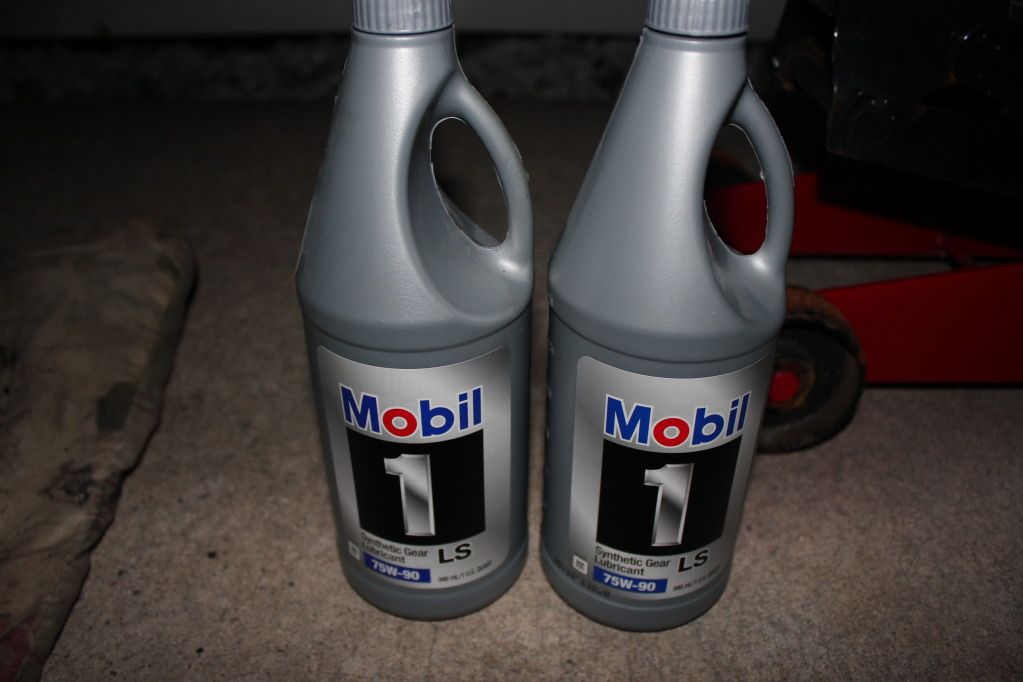
Rear differential serviced & Inspected
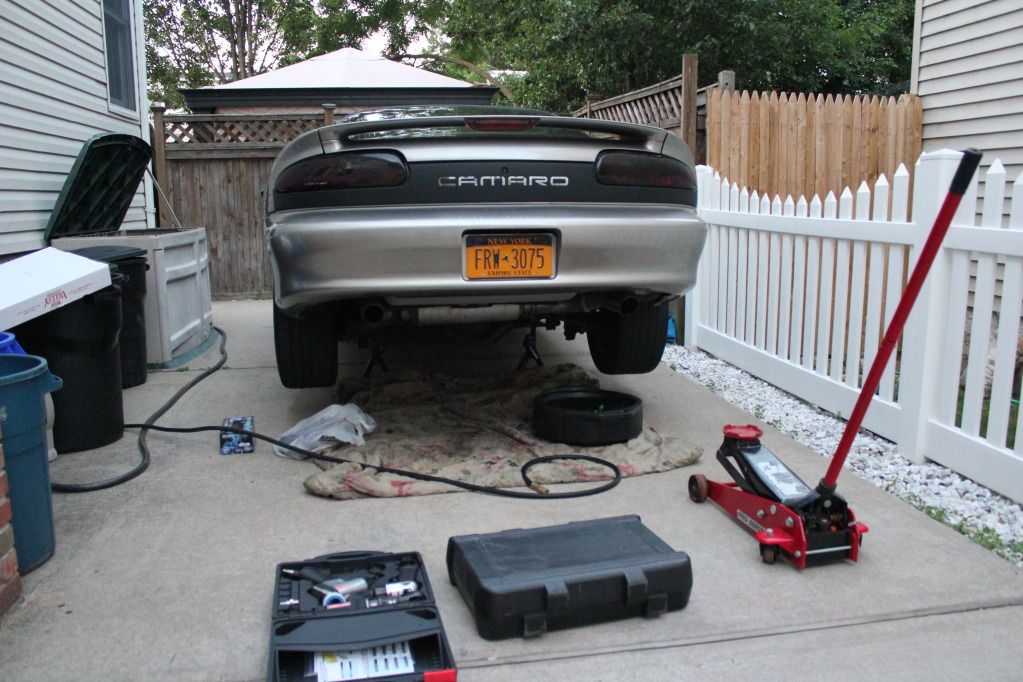


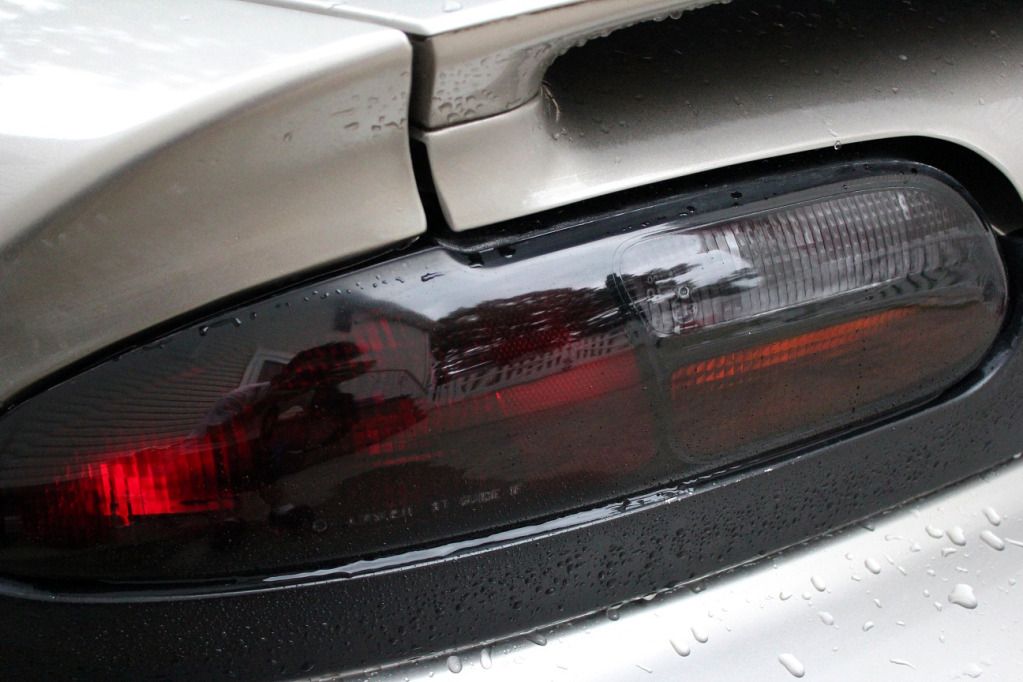
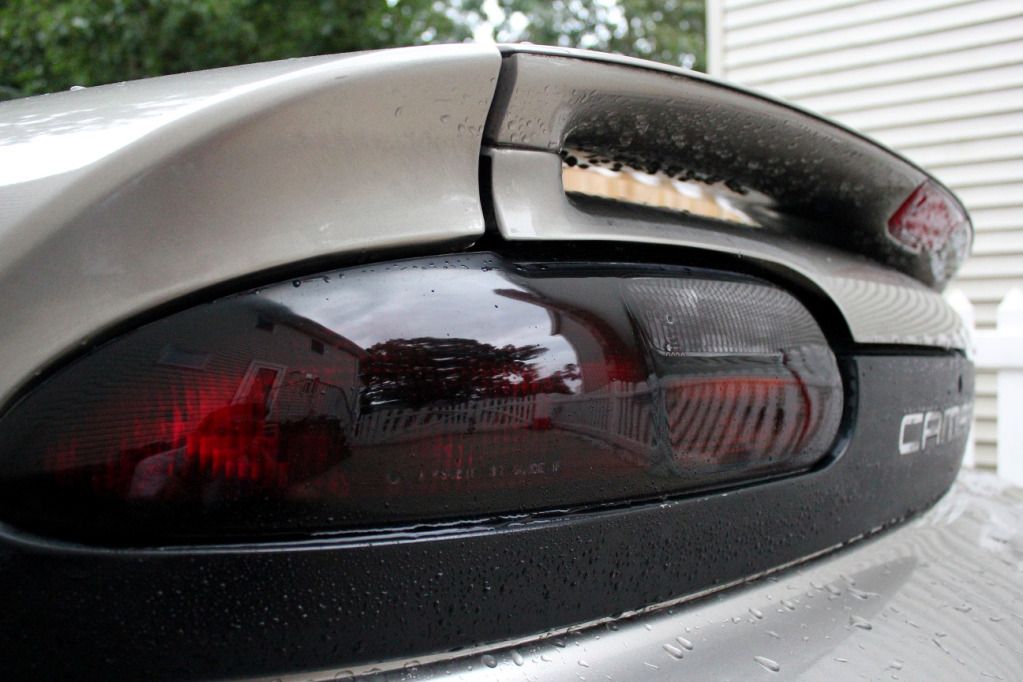
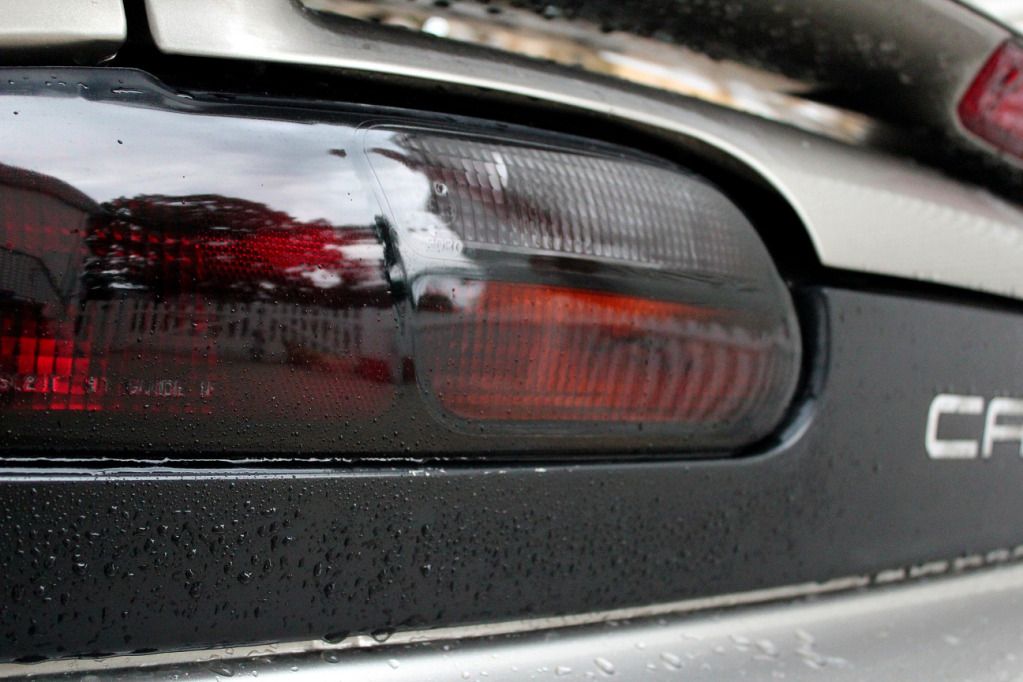
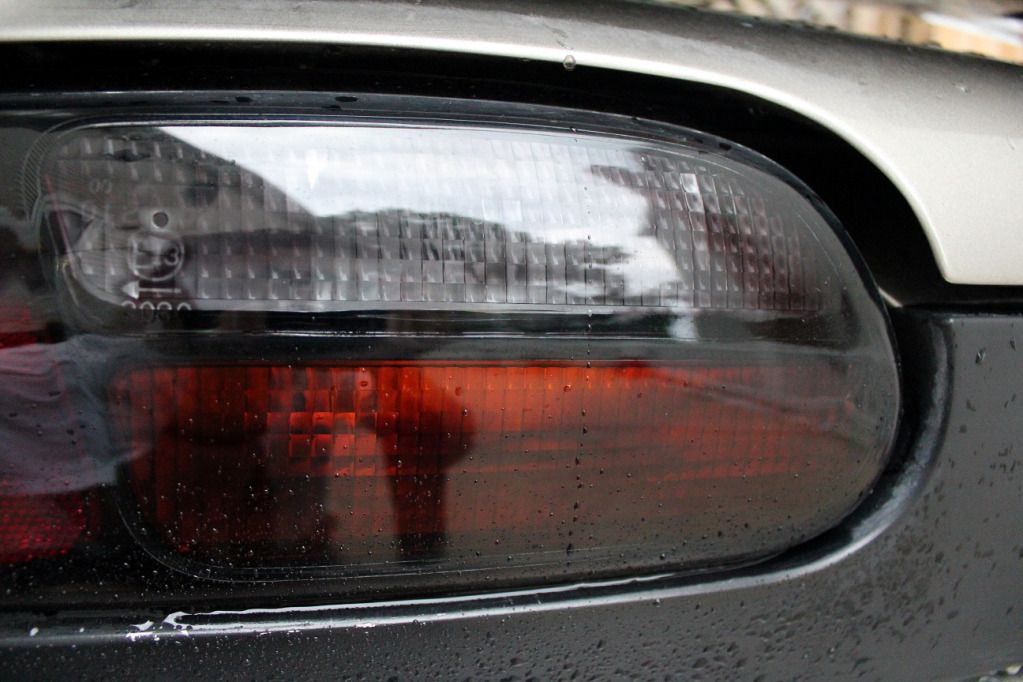
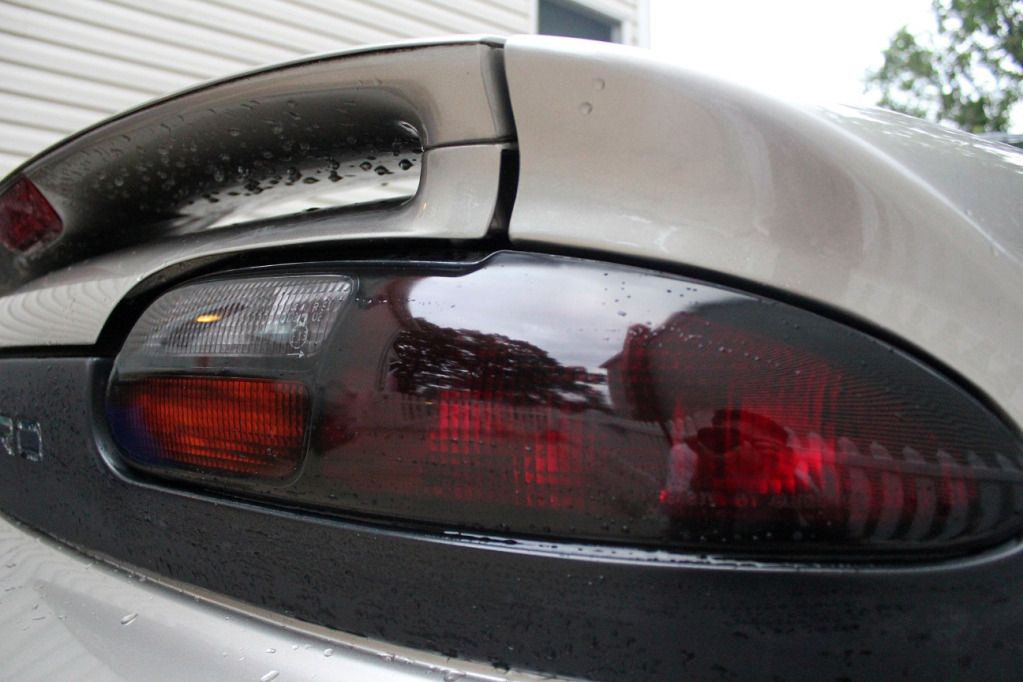
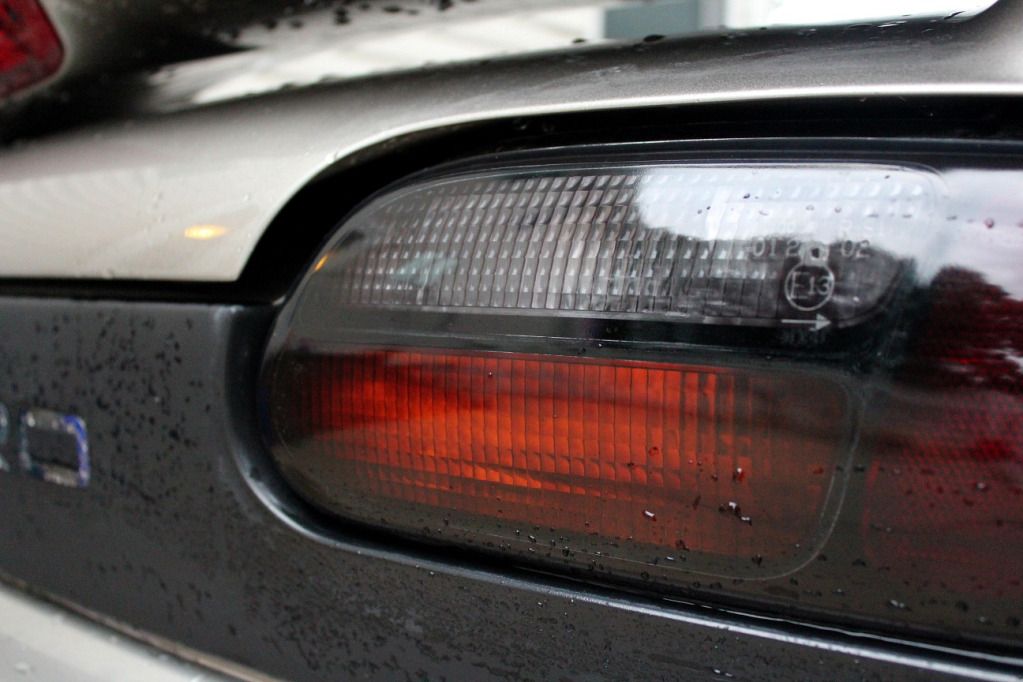
Rear tail lights LIGHTLY VHT'd
Cut stock springs. 1 full coil cut off the front, 1.25 cut off the rear.
BEFORE:
Rear differential serviced & Inspected
Rear tail lights LIGHTLY VHT'd
Cut stock springs. 1 full coil cut off the front, 1.25 cut off the rear.
BEFORE:
Last edited by 98 WS6; 07-29-2012 at 09:17 PM.
07-29-2012, 09:14 PM
#5
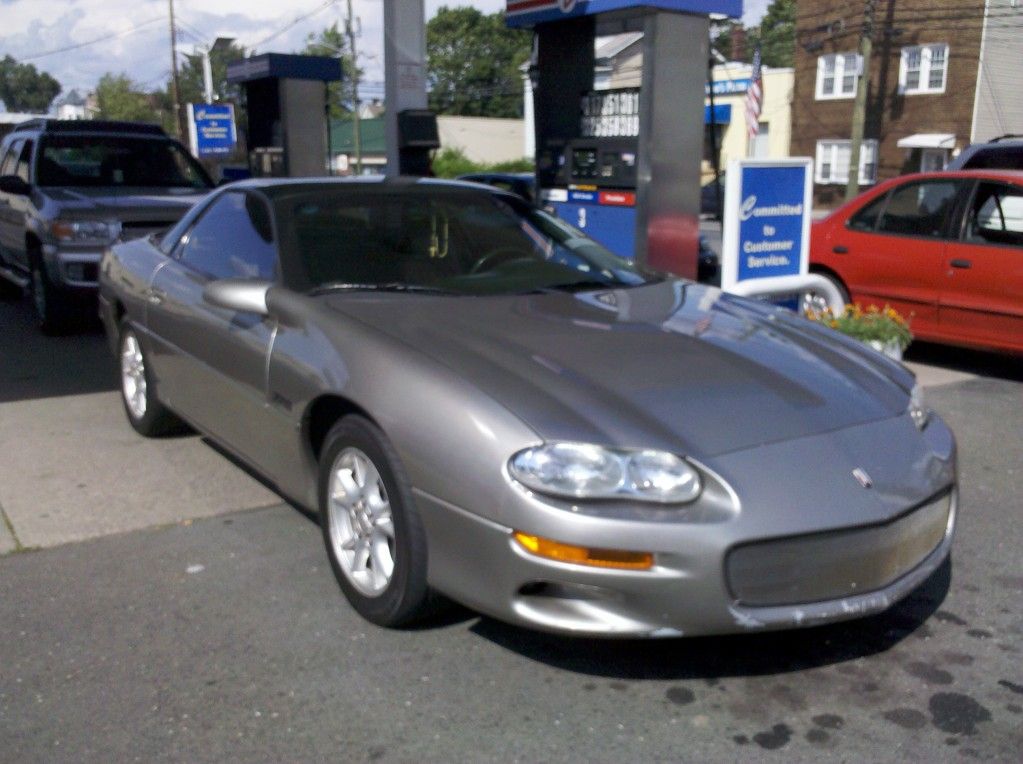
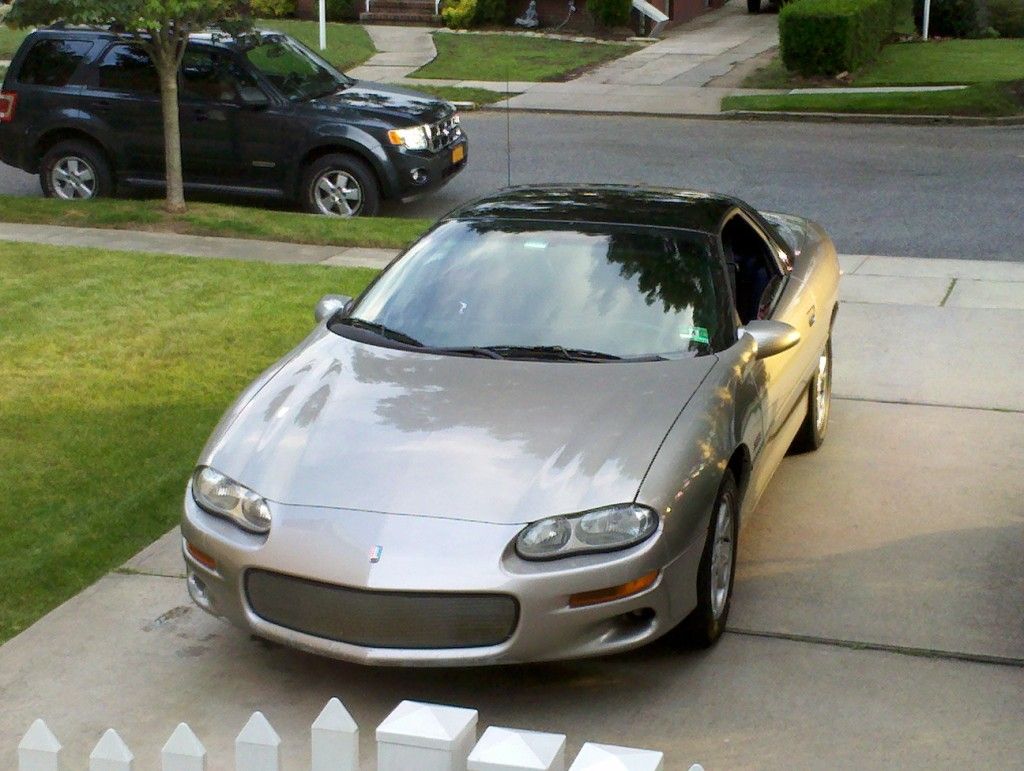
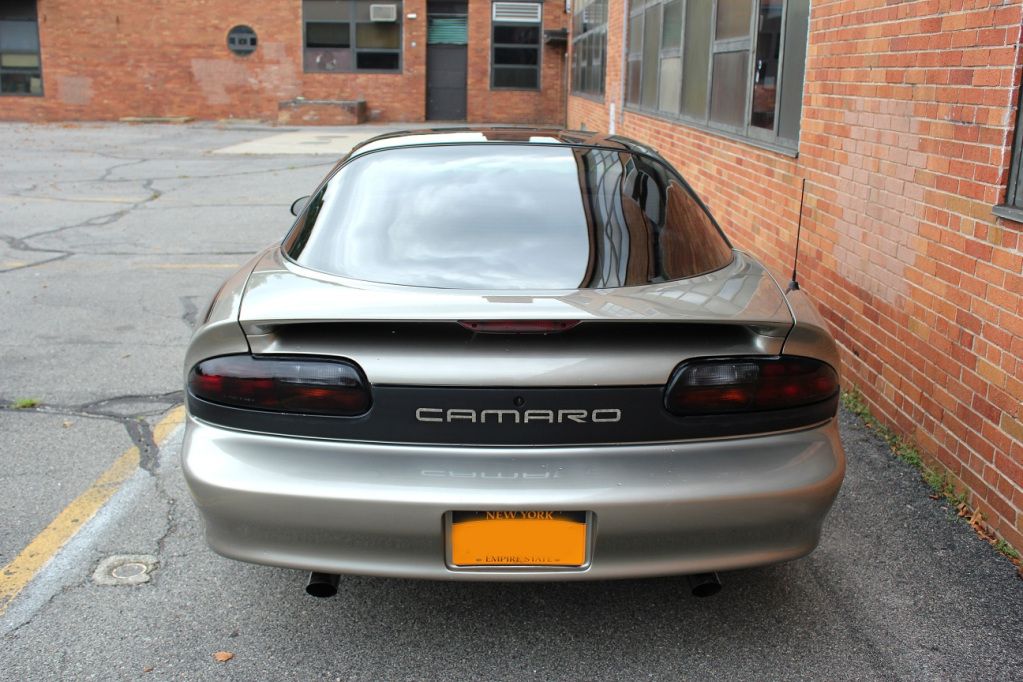
AFTER:
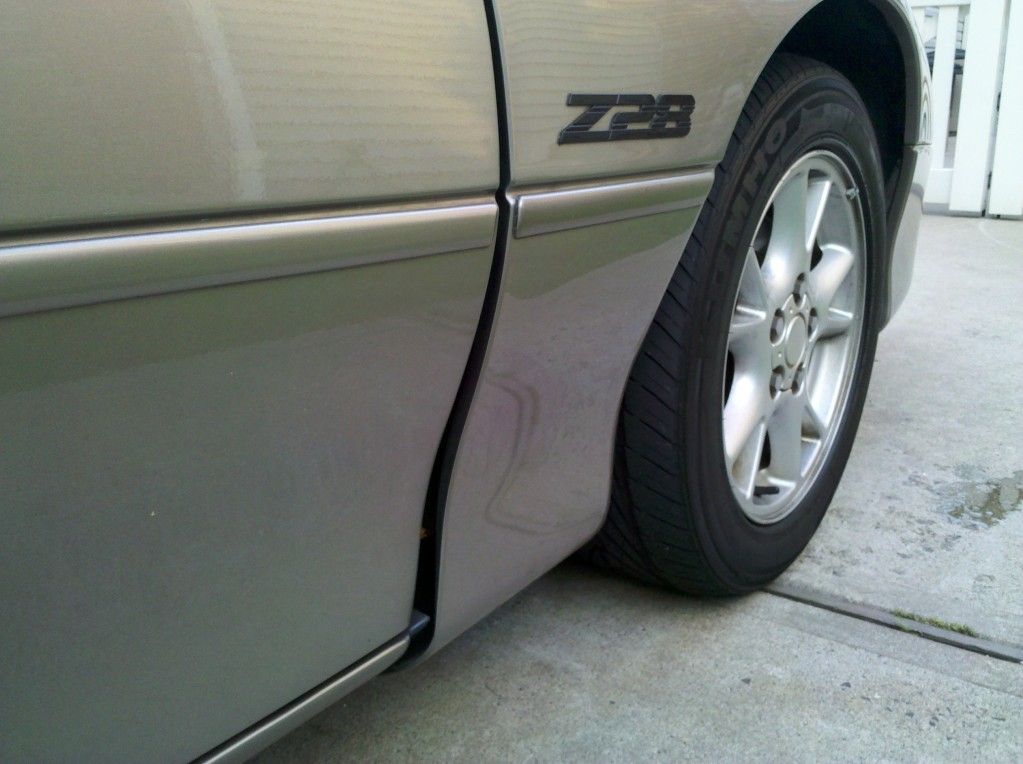
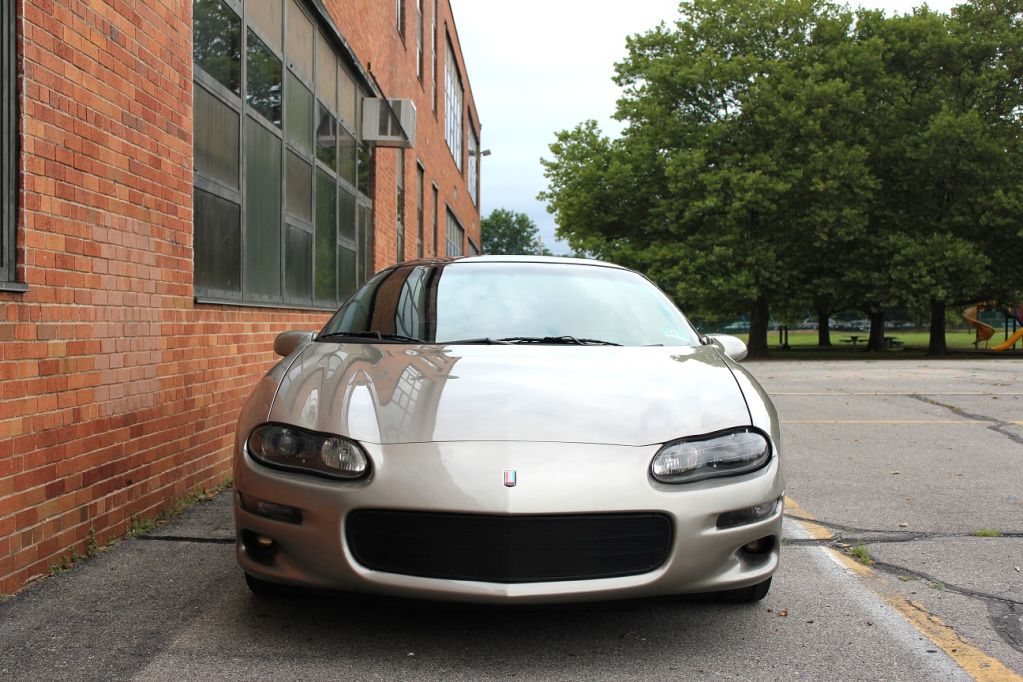
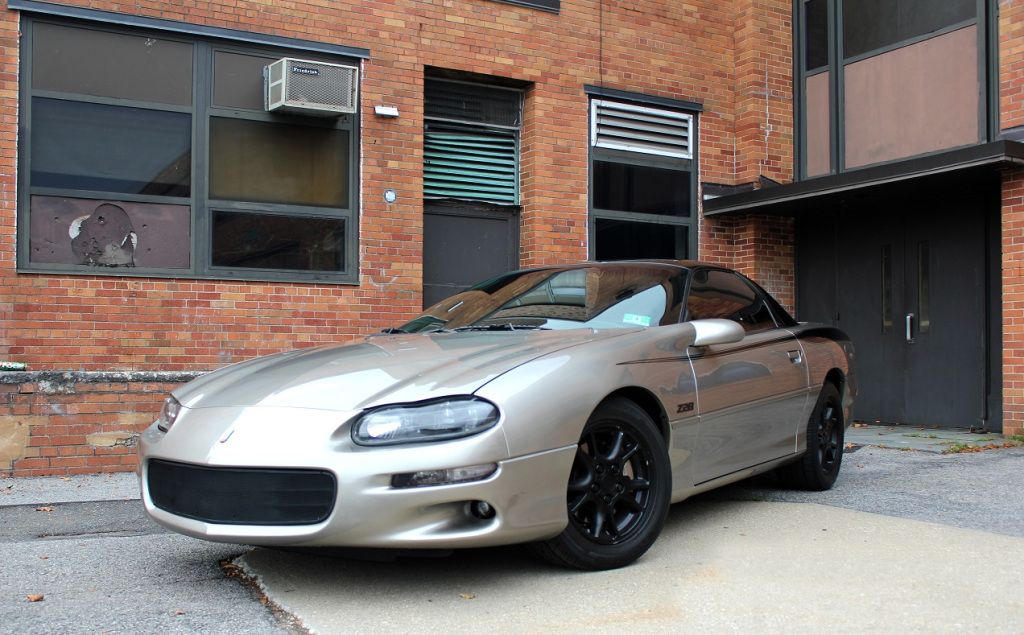
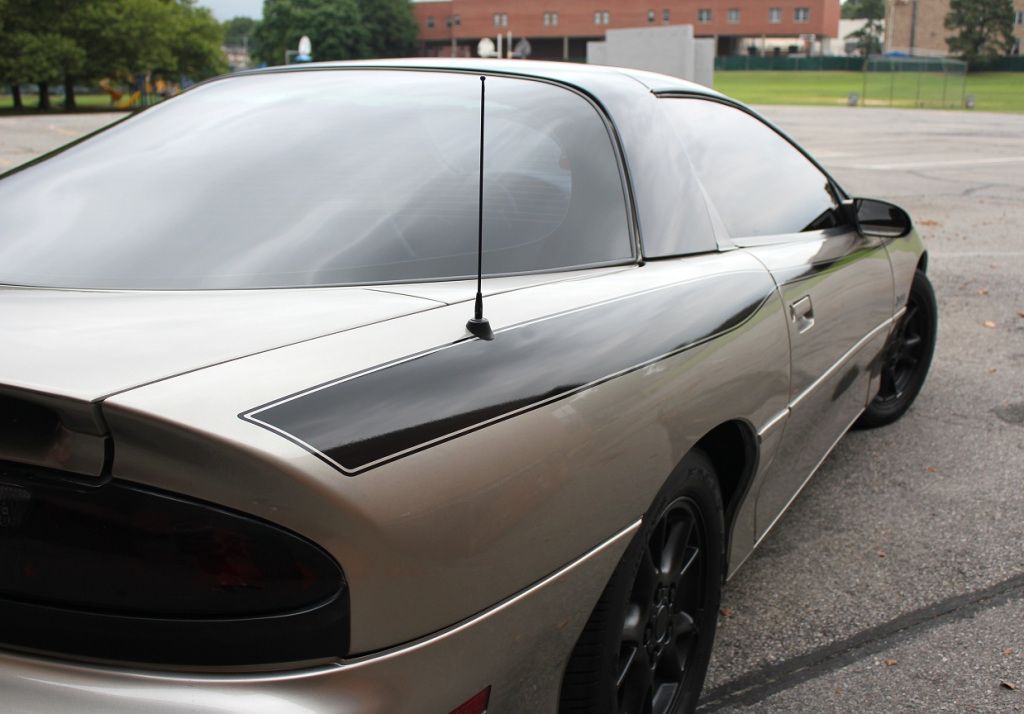
5% tint, Springs cut, calipers painted Pewter (black brackets), Smoked front corners, Grille painted black, Black Sunoco Stripes installed from Fourth Circle Designs.


That's pretty much up to date.
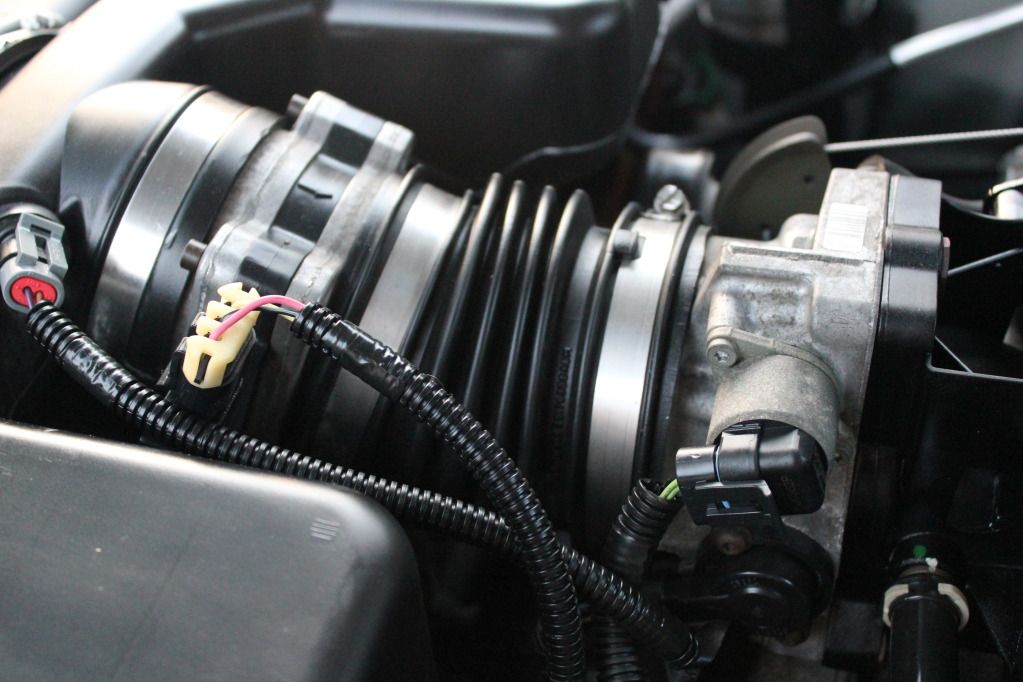
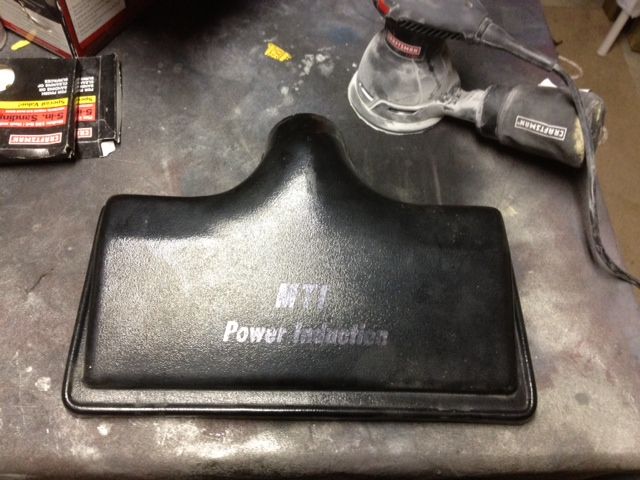
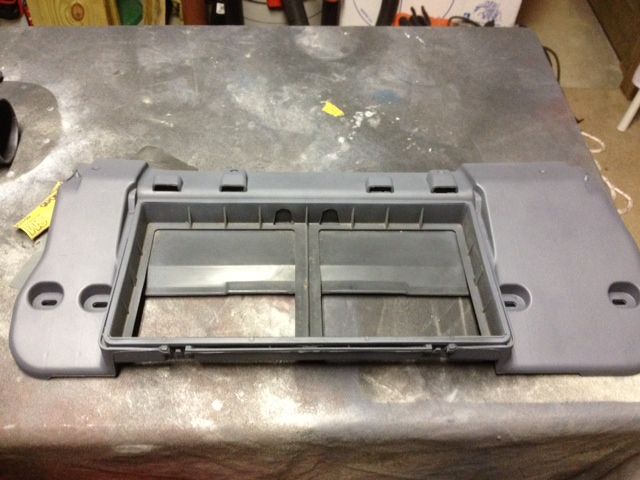
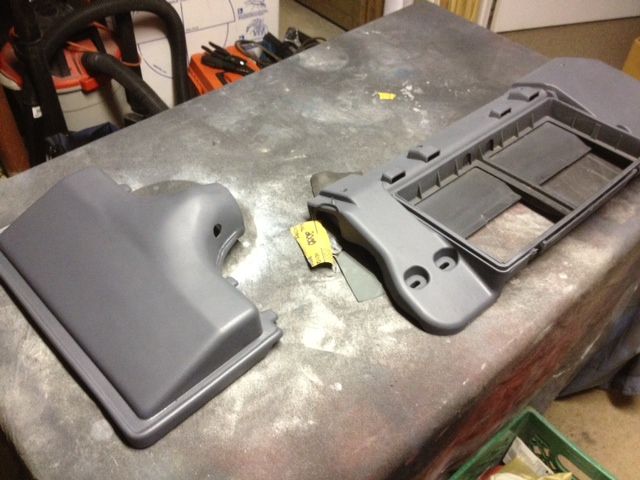
Soon to come: MTI Air lid & lower air box ready for paint. Will also be removing the coils & valve covers for paint as well.
5% tint, Springs cut, calipers painted Pewter (black brackets), Smoked front corners, Grille painted black, Black Sunoco Stripes installed from Fourth Circle Designs.
That's pretty much up to date.
Soon to come: MTI Air lid & lower air box ready for paint. Will also be removing the coils & valve covers for paint as well.
Last edited by 98 WS6; 07-29-2012 at 09:20 PM.
Trending Topics
07-29-2012, 10:31 PM
#9
Thank you Adam.
 I couldn't keep it looking like a grandma's car.
Air lid and lower air box are primered! Waiting for them to cure, then wetsand/base/clear!

 07-30-2012, 12:43 PM
#10
TECH Fanatic

That engine bay looks great! What product did you use to clean it, specifically the rubber parts and hoses?
 07-30-2012, 02:59 PM
#12
 I ran out of my engine detail spray. But the tire shine worked even better!
Btw, I love your car lol
07-30-2012, 04:27 PM
#15
TECH Resident
I bet I can guess your lic plate number LMAOOO (FRW 3??5) lol
Looks good, I love when ppl make due with what they have, and make a low cost improvement. I did the same thing to my snowflake rims back in the day.
keep up the good work brah!
Looks good, I love when ppl make due with what they have, and make a low cost improvement. I did the same thing to my snowflake rims back in the day.
keep up the good work brah!
07-30-2012, 04:31 PM
#16
TECH Resident
I put one of my Z28 badges on my lid, but I made it look like a old school badge, Kinda like this "Z/28" when I get home from work, I'll post up a pic to give you a better idea.
07-30-2012, 06:23 PM
#20
I just cleared the lid, I'm keeping it blank. It looks awesome.
Thanks man!!!
LOL. It's all good, none of the plates in any of these pictures are my actual plate. 
Thanks brotha!
I may have seen yours? I think I know what you're talking about lol
Thank you sir! I do miss the t-tops, but it looks awesome.
I actually had them a lot darker (scroll up to the picture of the diff service) but i didn't like how they looked dark. So I wetsanded the crap out of them and polished them back up, no clear coat. I would say it's equivalent to one light coat!
Hand cleaned eeeeverything. I'm afraid just to take a hose to the engine bay lmao. Thanks man, I can't wait to see it with the air box and everything back in there.
Thanks man!!!
Thanks brotha!
I do miss the t-tops, but it looks awesome.Hand cleaned eeeeverything. I'm afraid just to take a hose to the engine bay lmao. Thanks man, I can't wait to see it with the air box and everything back in there.