Installed billet E-brake handle! Never seen an aftermarket one done on a 4th gen

 04-09-2013, 04:02 AM
#25
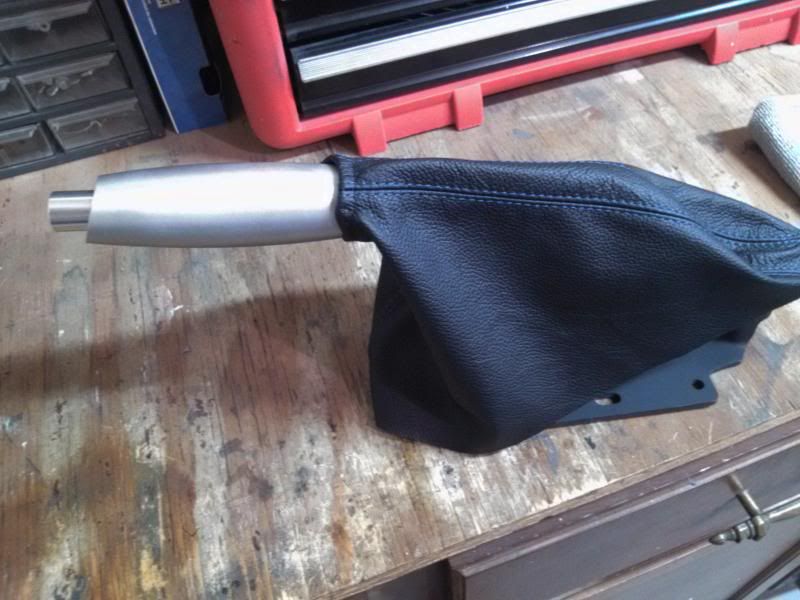
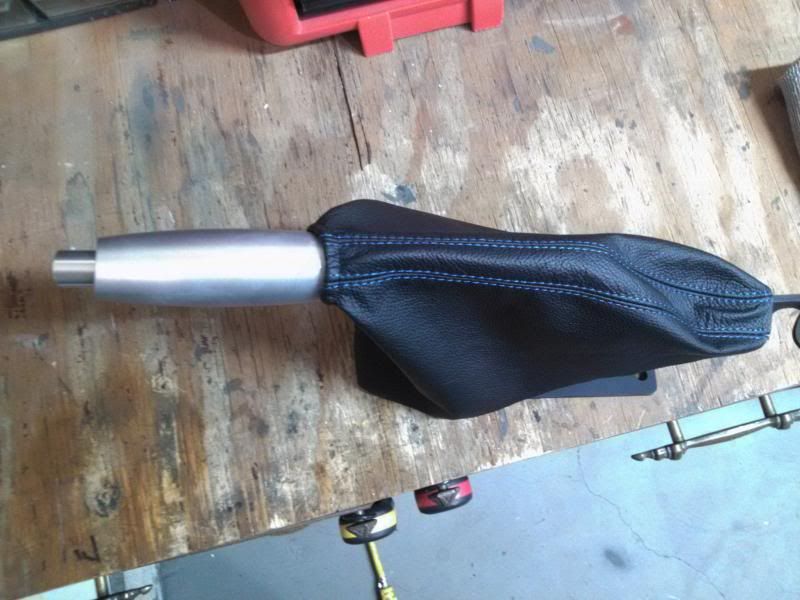
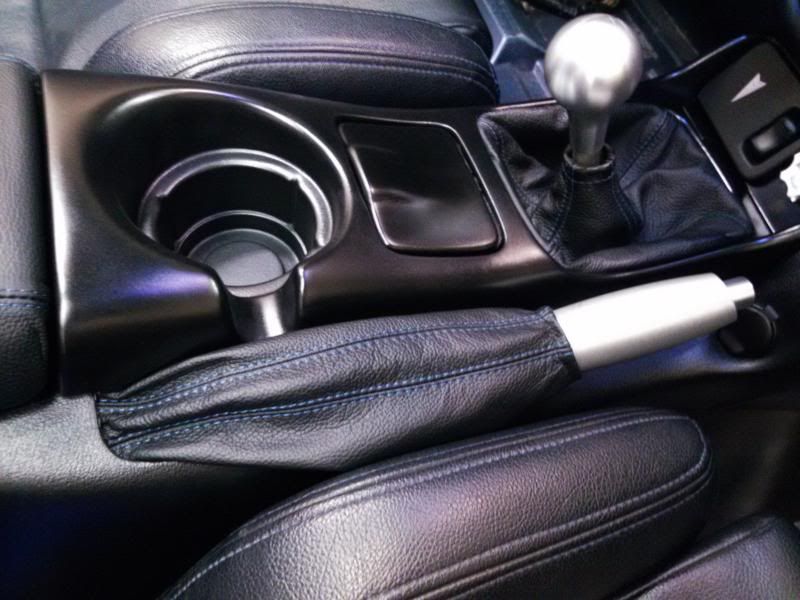
I thought of that. The end of the handle has the set screws you can see and I don't like to see them. The other bit is I made this handle set back just a little bit further than stock, therefore the boot might be a tad too big. None the less, a huge improvement over stock.
 04-09-2013, 05:15 PM
#29
On The Tree
iTrader: (4)

Join Date: Feb 2009
Location: Ohio
Posts: 134
Likes: 0
Received 0 Likes
on
0 Posts

Looks much better than stock. Great job
I agree.... only because with the boot coming over the handle it looks like a dog with it's D*** hanging out when it is engaged lmao. Sorry if you feel uncomfortable every time you give it a tug 
02-03-2018, 09:58 AM
#32

Installed pics finally...Bottom of this post.
I busted out the welder for this one, but it could be possible to do without it, unless you really screw up.
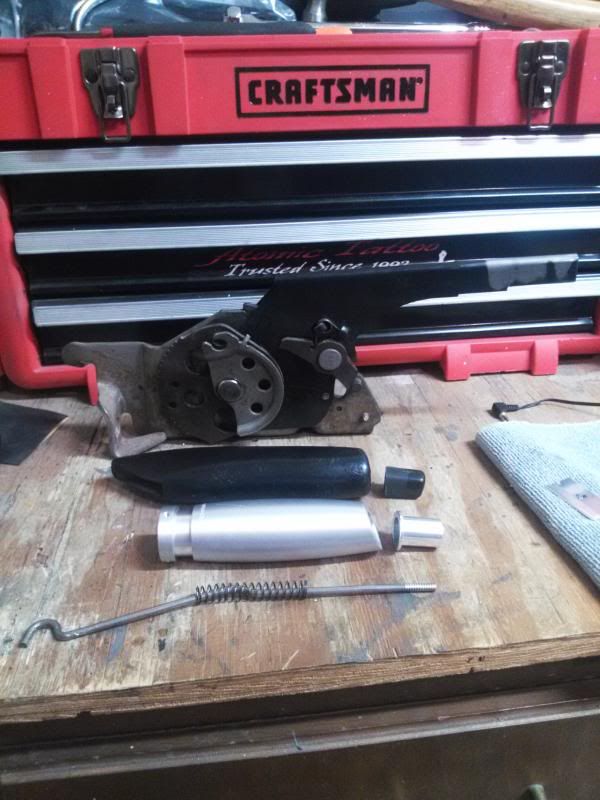
NRG Hand Brake Handle HK-700SL
Cost me just under $32 shipped

My Redline Goods E-brake boot
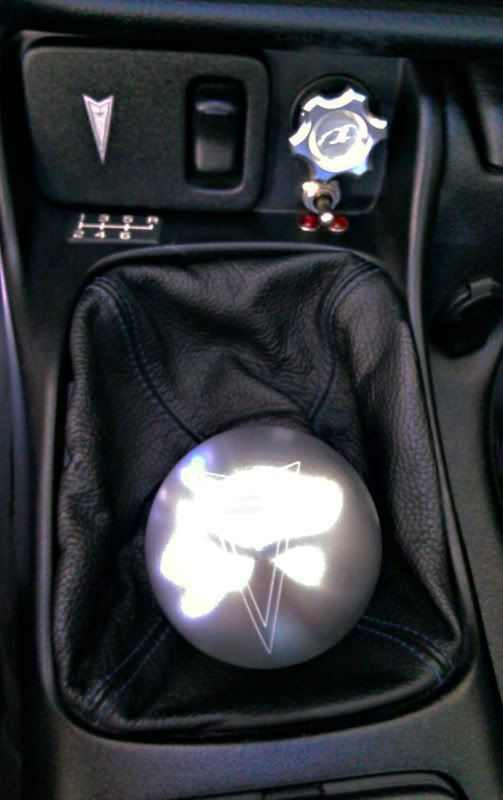
This will go well with my brushed billet MBA shift **** and Redline Goods boot. Horrible picture, but you get the idea. No pics in the car yet! Won't be for a while. This was a spare E-brake assembly.
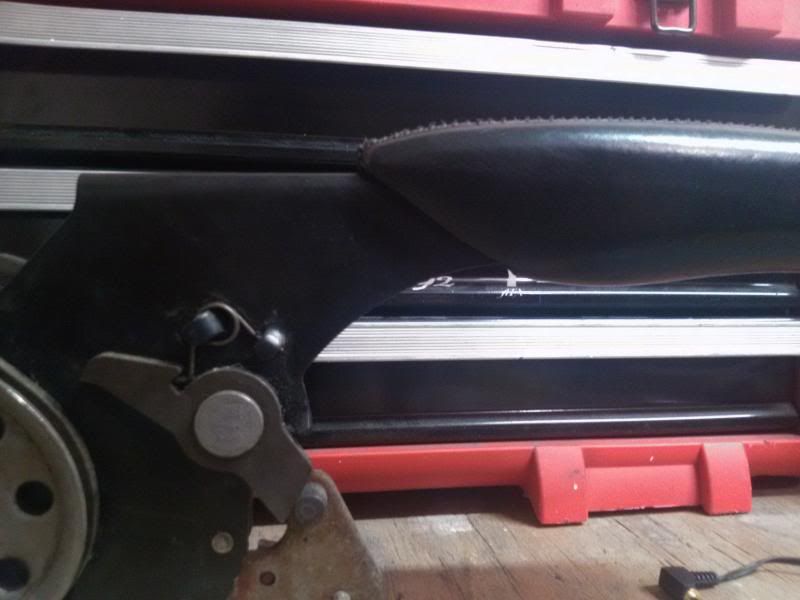
First step was seeing how far back the old one sat
(bottom was by the fist sticker) I had to file down that last inch as you can see it's slightly thicker, then steps down smaller towards the right.
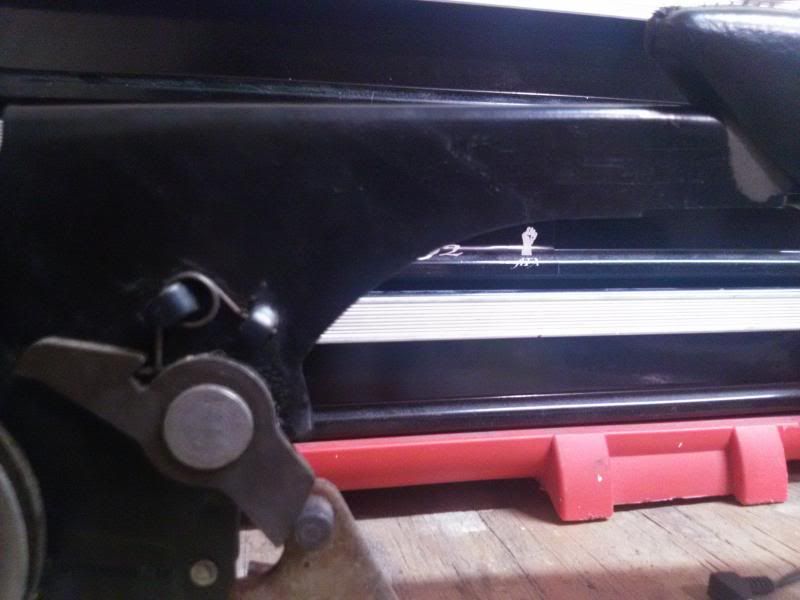
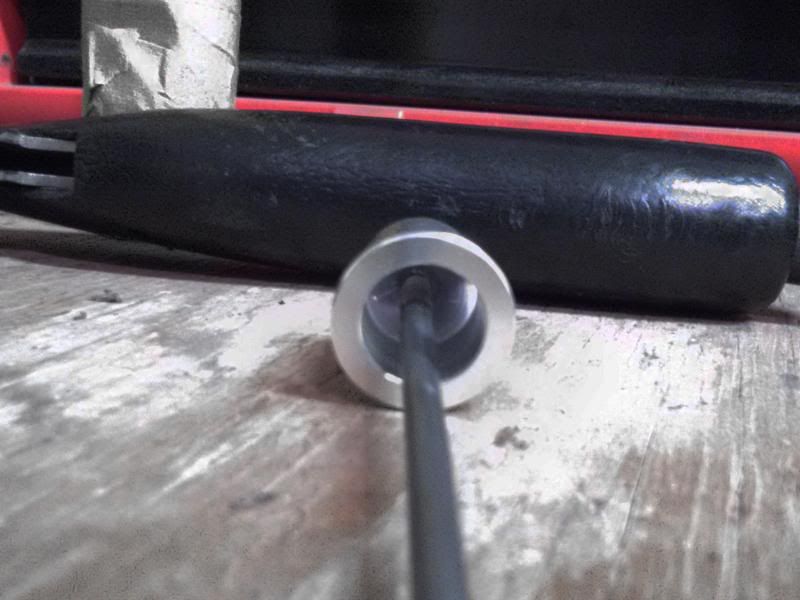
Next I wanted to see how far back I was going to put the new one....its shorter. I also wanted the overall handle shorter because if I have the flip out cup holder open, the old handle would hit it with my hand.
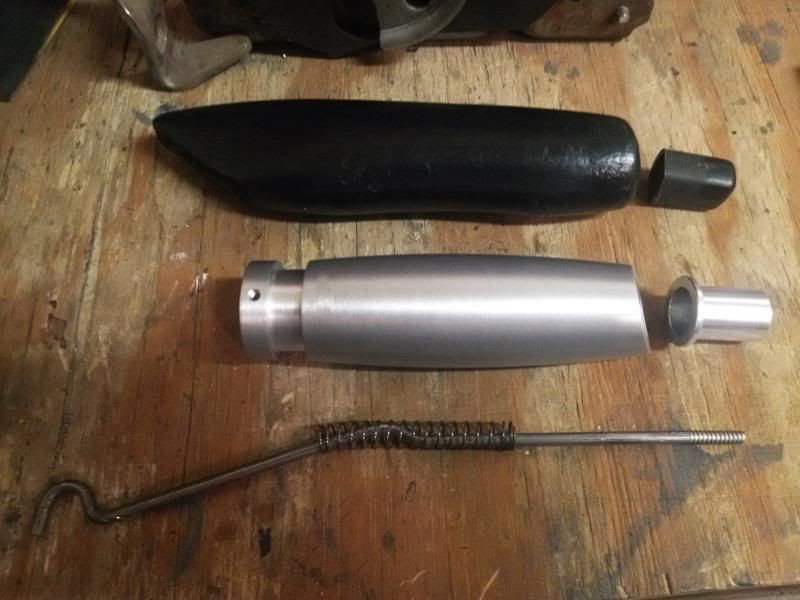
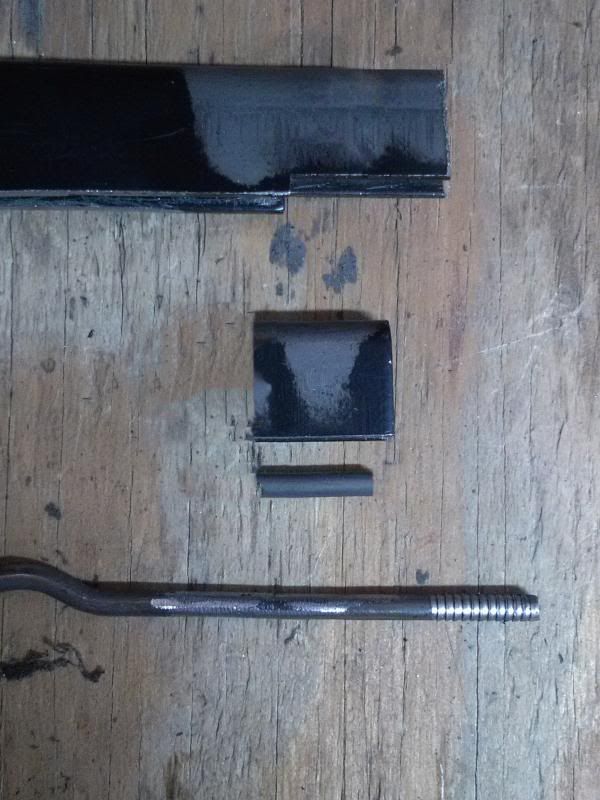
Pulled out the old shaft...Notice it looks like a screw, but its not.
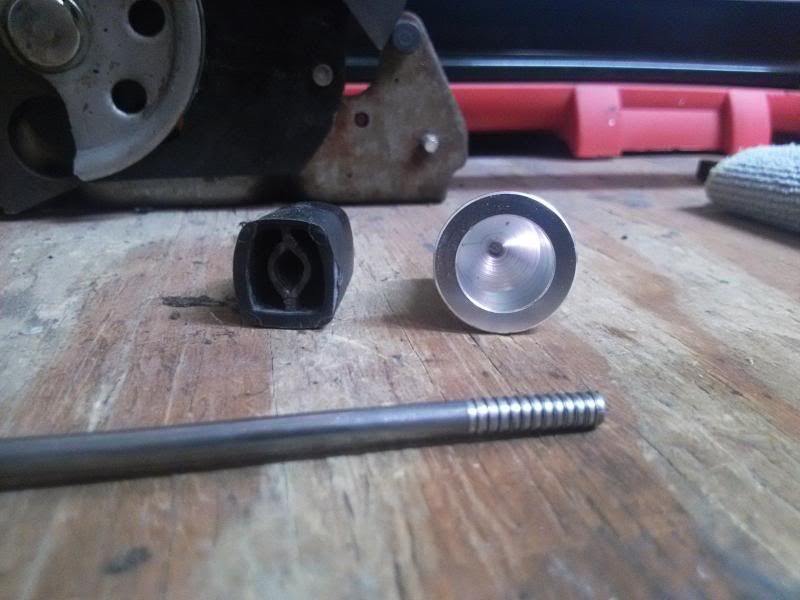
Drilled a hole in the center of the billet piece. I had about a half inch of solid aluminum. I went in less than a 1/4". Stuck it in and JB welded it. I also had to put rubber hose and a washer (not pictured) to give the spring more tension and mimic how the stock plastic button and spring function. You'll see what I'm saying in the above picture.
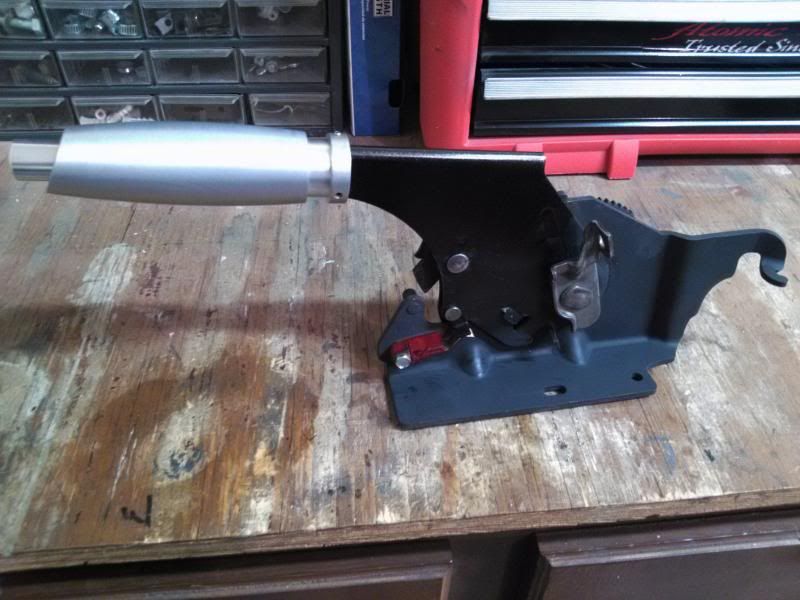
How the new one is going to sit. You can see I cut off about 3/4" off the steel handle to compensate. Taped up the new handle so I don't scratch it up!
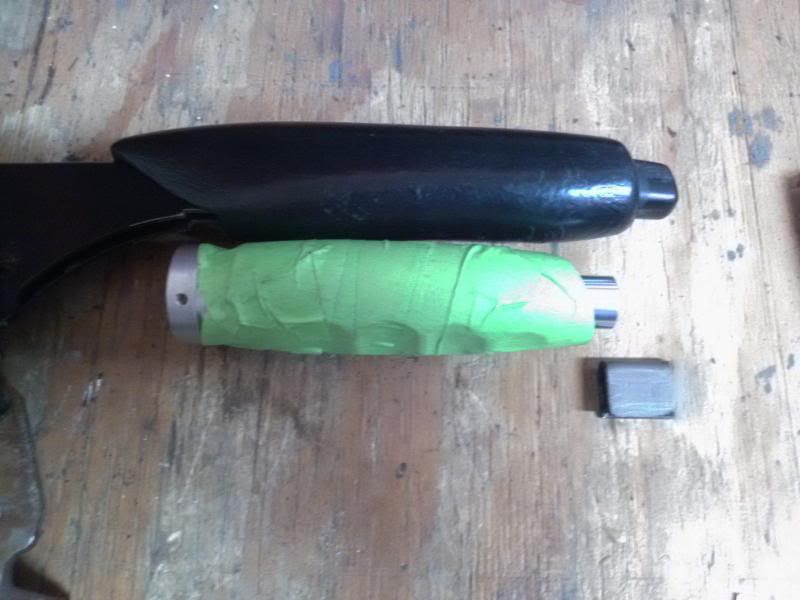
Here you can see about what I did and cut off. I just cut the shaft and welded it back. At the time I didn't realize the end wasn't a screw. I thought I would just drill the hole in the billet and screw it in. I took off slightly less than what I did for the steel part. About a 1/2".
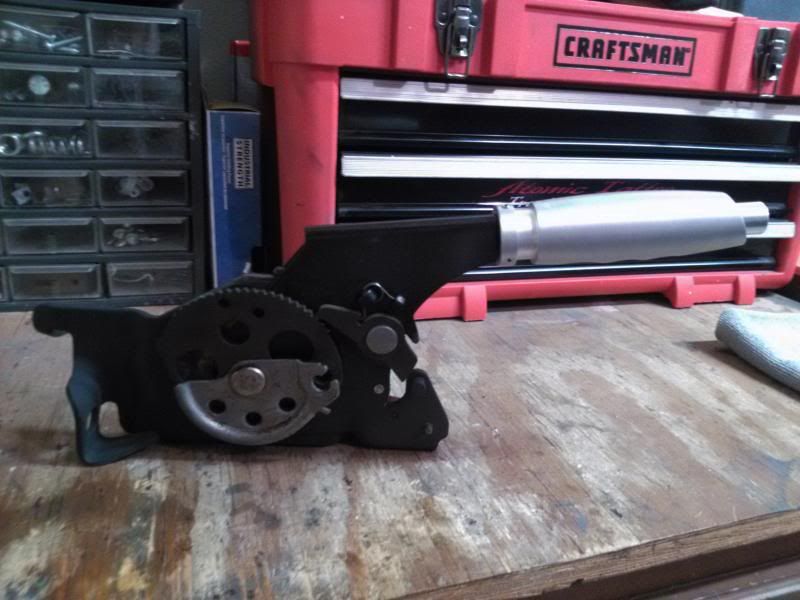
Cleaned up and ready to go back together. Gloss black metallic handle, flat black base. Notice the tabs I welded on the sides. The set screws go there. They weren't long enough otherwise.
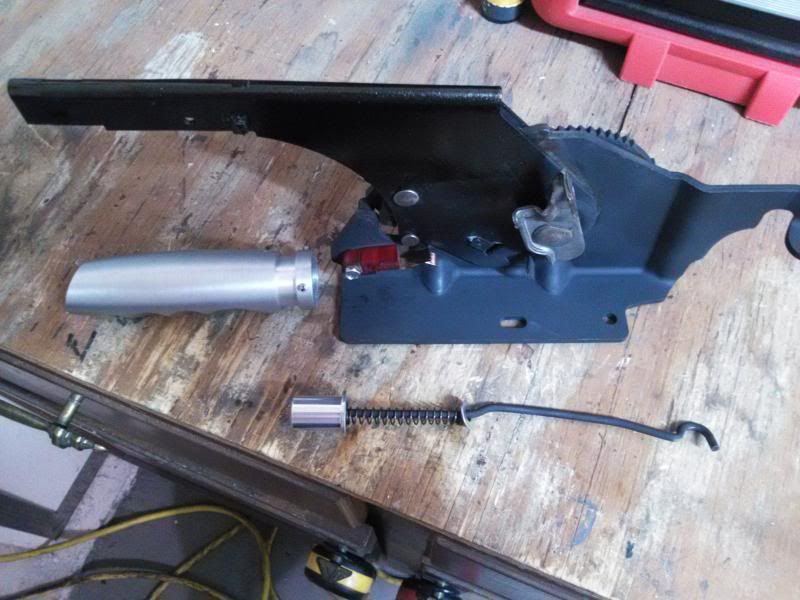
Installed
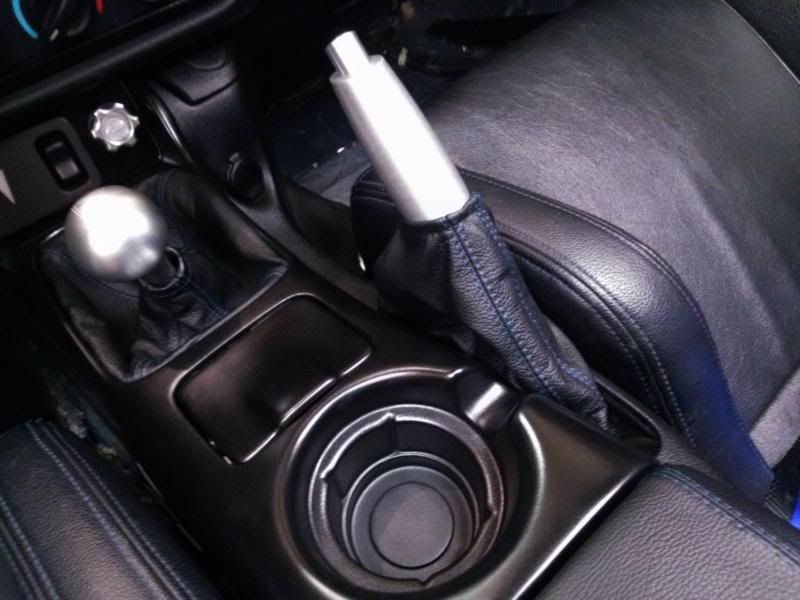
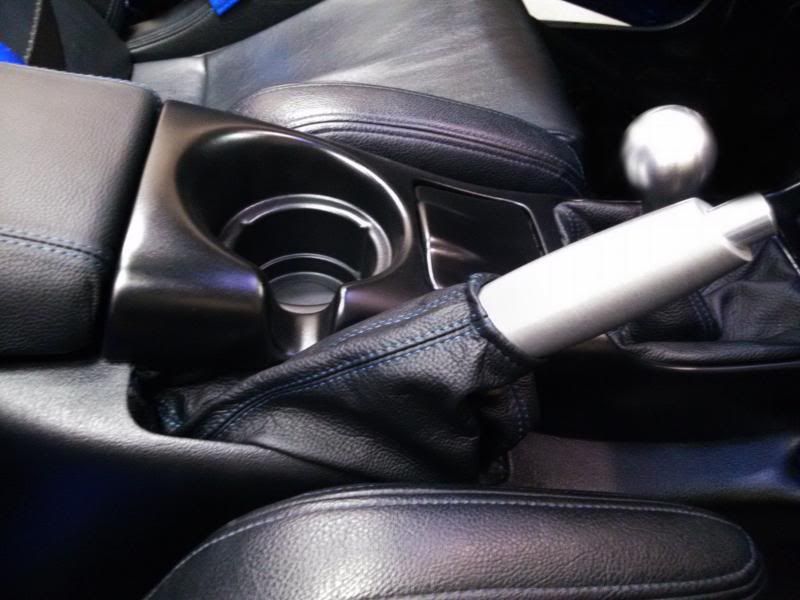
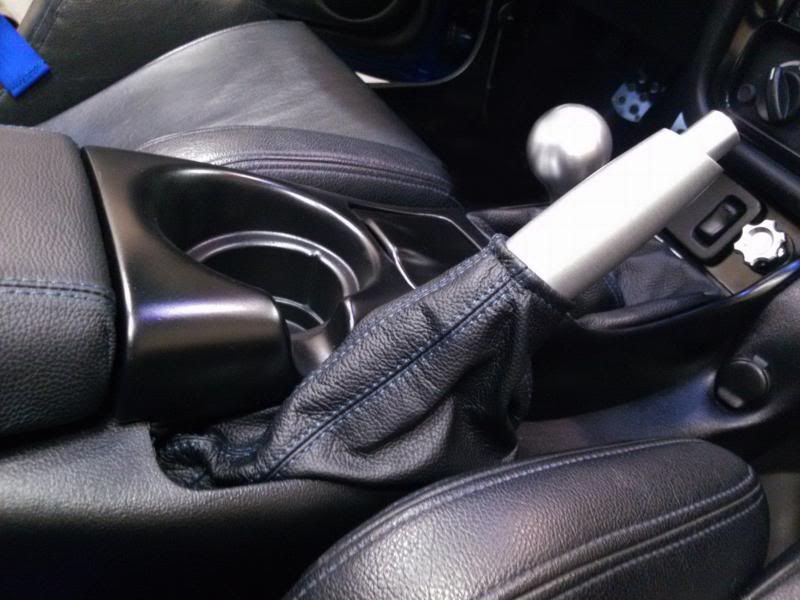
LIKE A BOSS!
I busted out the welder for this one, but it could be possible to do without it, unless you really screw up.
NRG Hand Brake Handle HK-700SL
Cost me just under $32 shipped
My Redline Goods E-brake boot
This will go well with my brushed billet MBA shift **** and Redline Goods boot. Horrible picture, but you get the idea. No pics in the car yet! Won't be for a while. This was a spare E-brake assembly.
First step was seeing how far back the old one sat
(bottom was by the fist sticker) I had to file down that last inch as you can see it's slightly thicker, then steps down smaller towards the right.
Next I wanted to see how far back I was going to put the new one....its shorter. I also wanted the overall handle shorter because if I have the flip out cup holder open, the old handle would hit it with my hand.
Pulled out the old shaft...Notice it looks like a screw, but its not.
Drilled a hole in the center of the billet piece. I had about a half inch of solid aluminum. I went in less than a 1/4". Stuck it in and JB welded it. I also had to put rubber hose and a washer (not pictured) to give the spring more tension and mimic how the stock plastic button and spring function. You'll see what I'm saying in the above picture.
How the new one is going to sit. You can see I cut off about 3/4" off the steel handle to compensate. Taped up the new handle so I don't scratch it up!
Here you can see about what I did and cut off. I just cut the shaft and welded it back. At the time I didn't realize the end wasn't a screw. I thought I would just drill the hole in the billet and screw it in. I took off slightly less than what I did for the steel part. About a 1/2".
Cleaned up and ready to go back together. Gloss black metallic handle, flat black base. Notice the tabs I welded on the sides. The set screws go there. They weren't long enough otherwise.
Installed
LIKE A BOSS!
 02-08-2018, 05:52 PM
#35
Just delete everything after ".jpg" and replace with "~original" without the quotes.
So it would be for example:
123456.jpg~original
Usually I just quote and preview to see the pics of dead photobucket links after fixing them
so that the message doesn't actually get posted, but this mod was too nice to leave those images broken.
So it would be for example:
123456.jpg~original
Usually I just quote and preview to see the pics of dead photobucket links after fixing them
so that the message doesn't actually get posted, but this mod was too nice to leave those images broken.
02-10-2018, 08:45 AM
#36
Just delete everything after ".jpg" and replace with "~original" without the quotes.
So it would be for example:
123456.jpg~original
Usually I just quote and preview to see the pics of dead photobucket links after fixing them
so that the message doesn't actually get posted, but this mod was too nice to leave those images broken.
So it would be for example:
123456.jpg~original
Usually I just quote and preview to see the pics of dead photobucket links after fixing them
so that the message doesn't actually get posted, but this mod was too nice to leave those images broken.