Installed billet E-brake handle! Never seen an aftermarket one done on a 4th gen
#1
Installed pics finally...Bottom of this post.
I busted out the welder for this one, but it could be possible to do without it, unless you really screw up.
NRG Hand Brake Handle HK-700SL
Cost me just under $32 shipped

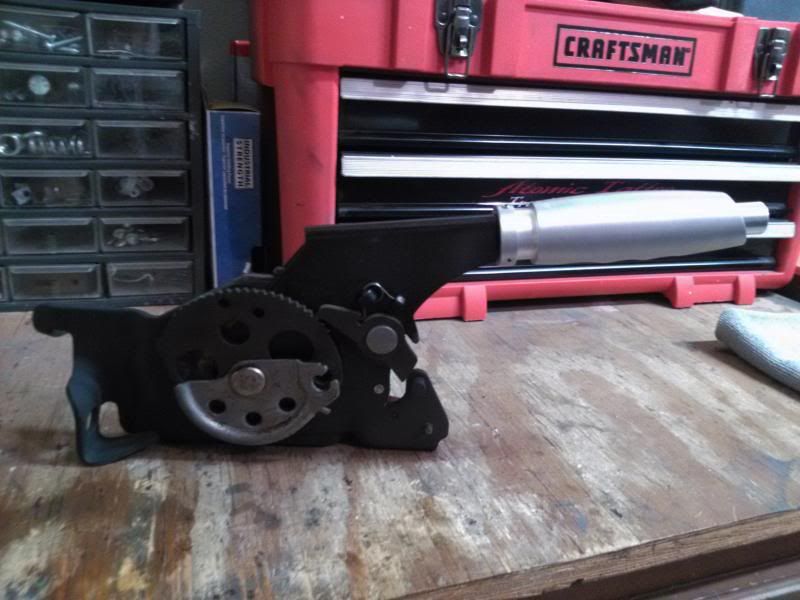
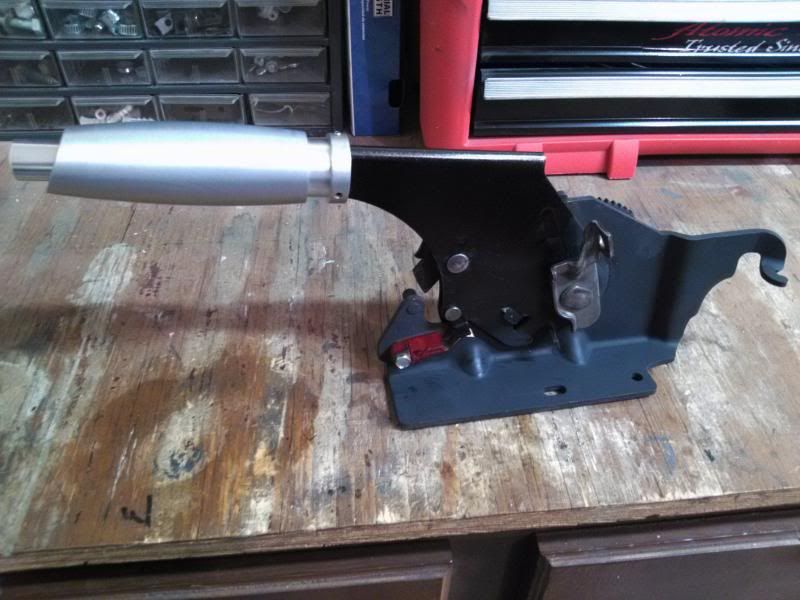
My Redline Goods E-brake boot
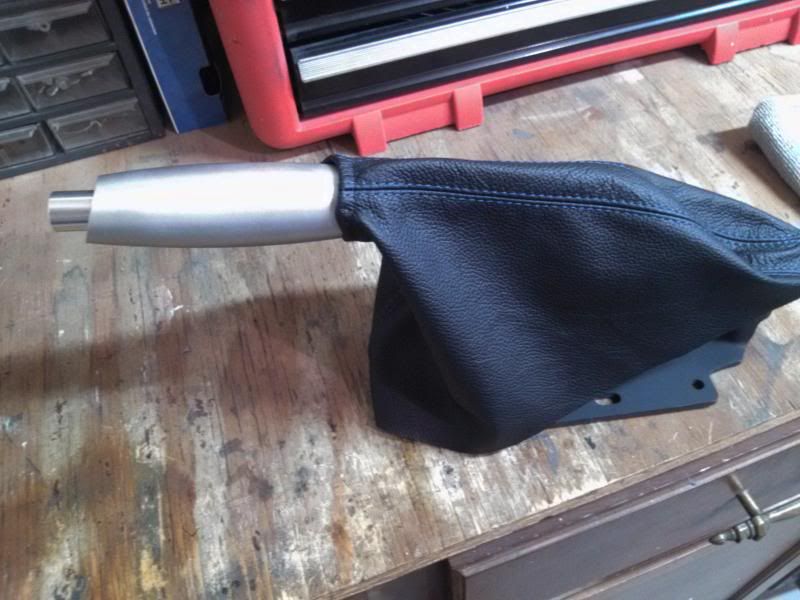
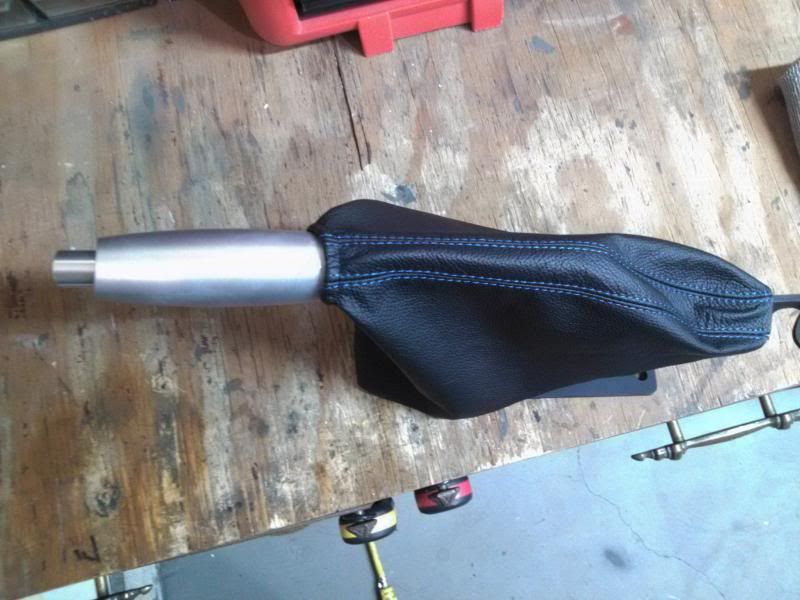
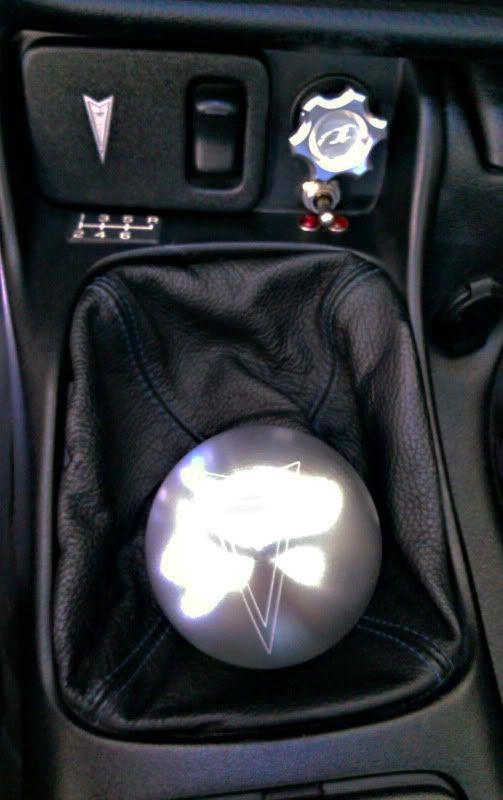
This will go well with my brushed billet MBA shift **** and Redline Goods boot. Horrible picture, but you get the idea. No pics in the car yet! Won't be for a while. This was a spare E-brake assembly.
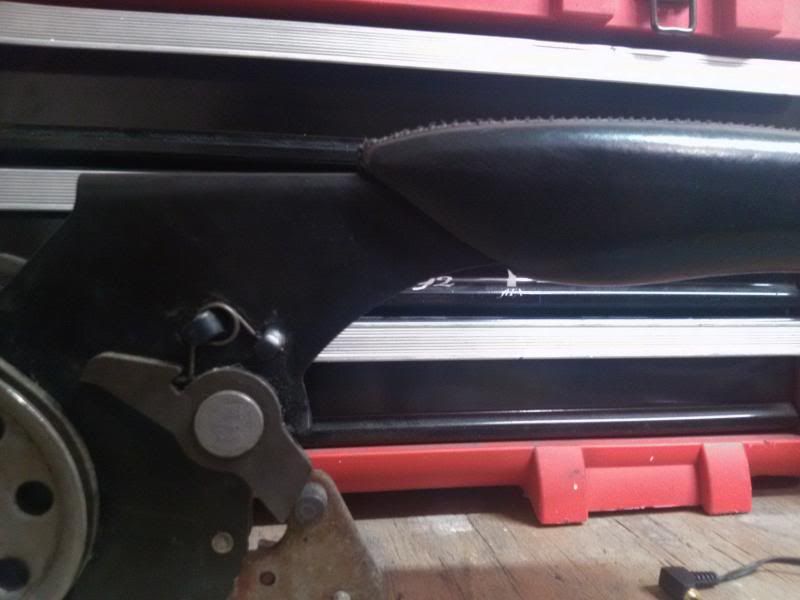
First step was seeing how far back the old one sat
(bottom was by the fist sticker) I had to file down that last inch as you can see it's slightly thicker, then steps down smaller towards the right.
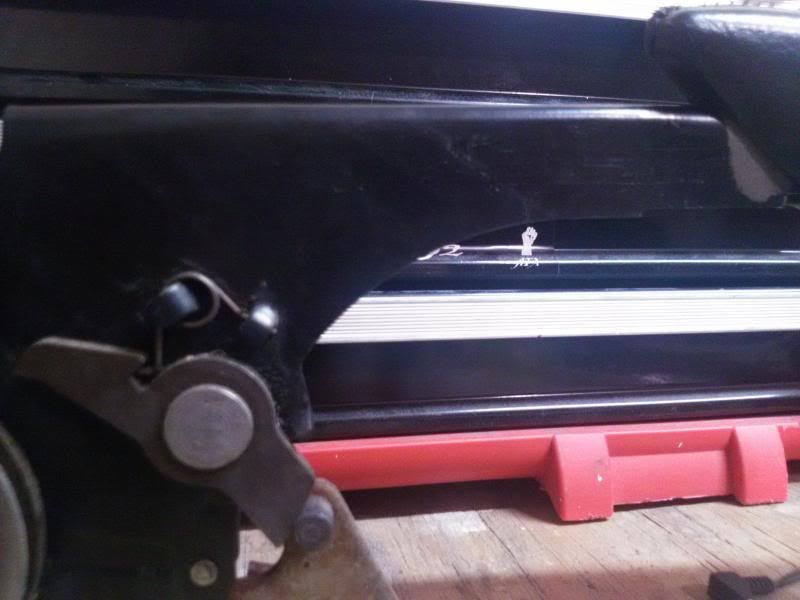
Next I wanted to see how far back I was going to put the new one....its shorter. I also wanted the overall handle shorter because if I have the flip out cup holder open, the old handle would hit it with my hand.
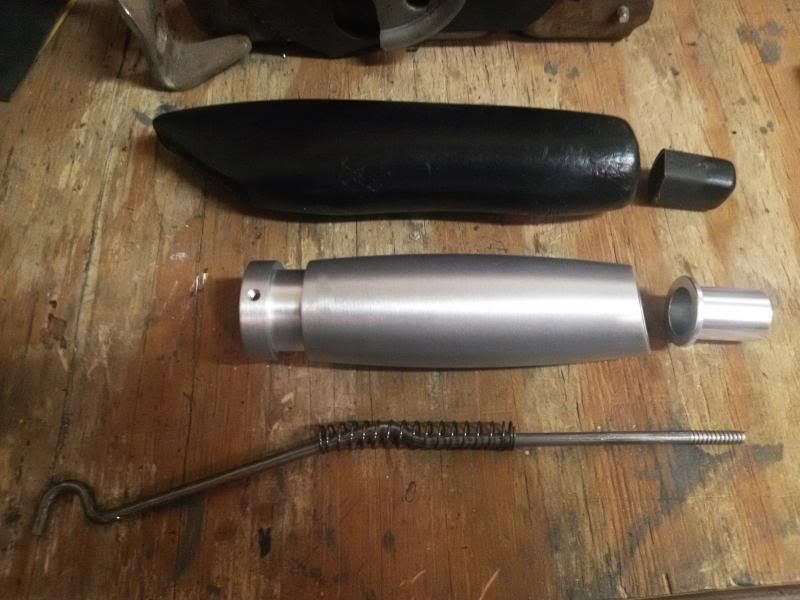
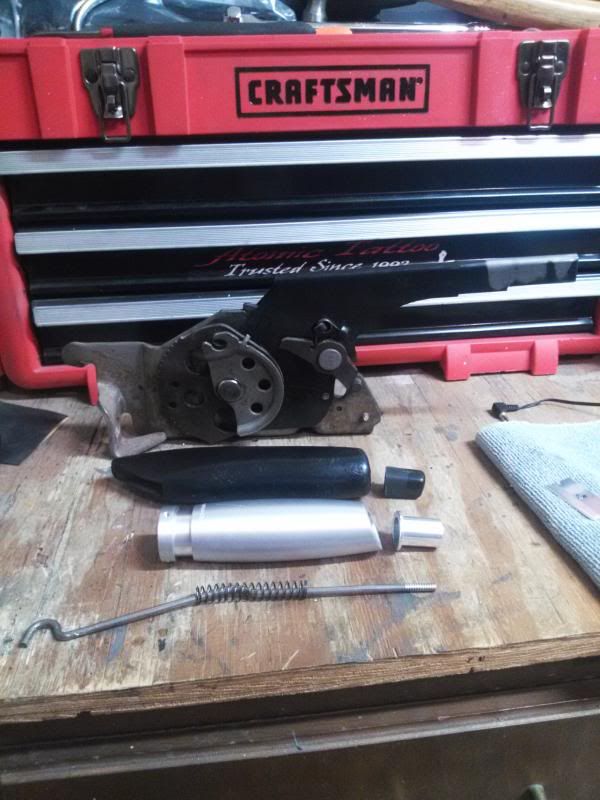
Pulled out the old shaft...Notice it looks like a screw, but its not.
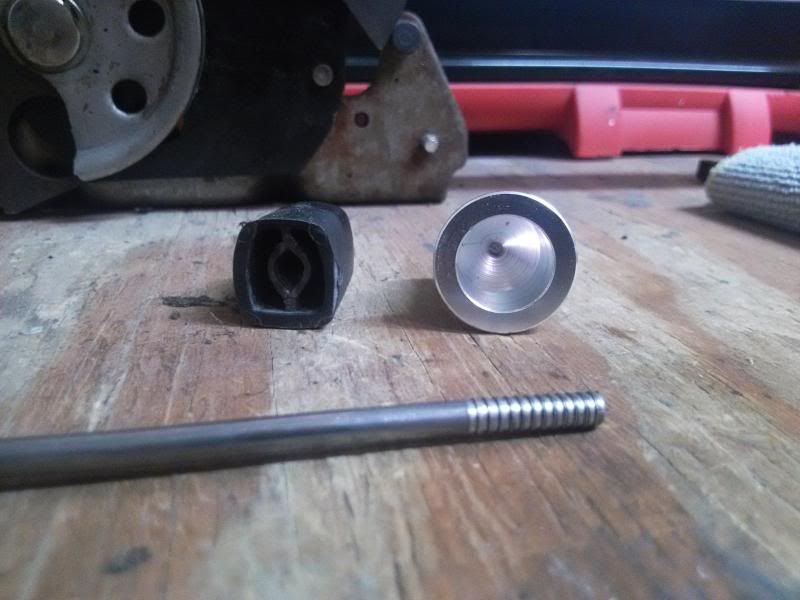
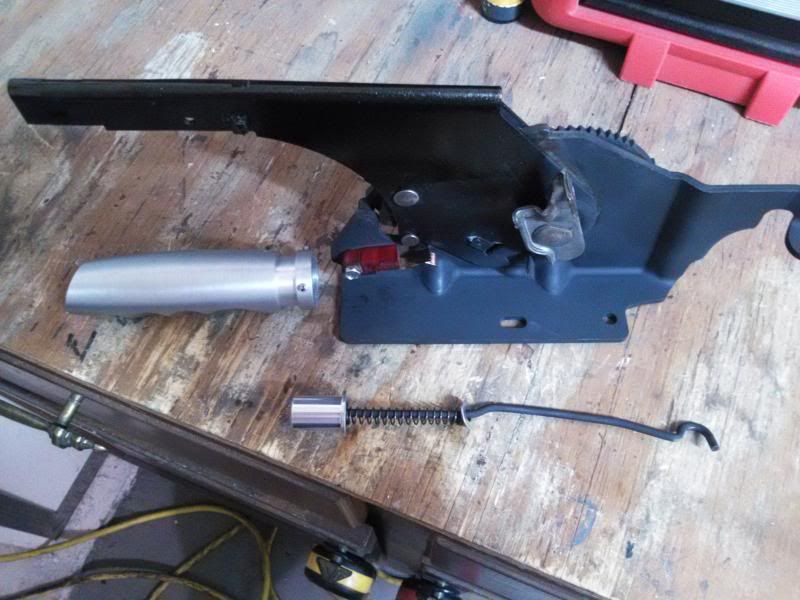
Drilled a hole in the center of the billet piece. I had about a half inch of solid aluminum. I went in less than a 1/4". Stuck it in and JB welded it. I also had to put rubber hose and a washer (not pictured) to give the spring more tension and mimic how the stock plastic button and spring function. You'll see what I'm saying in the above picture.
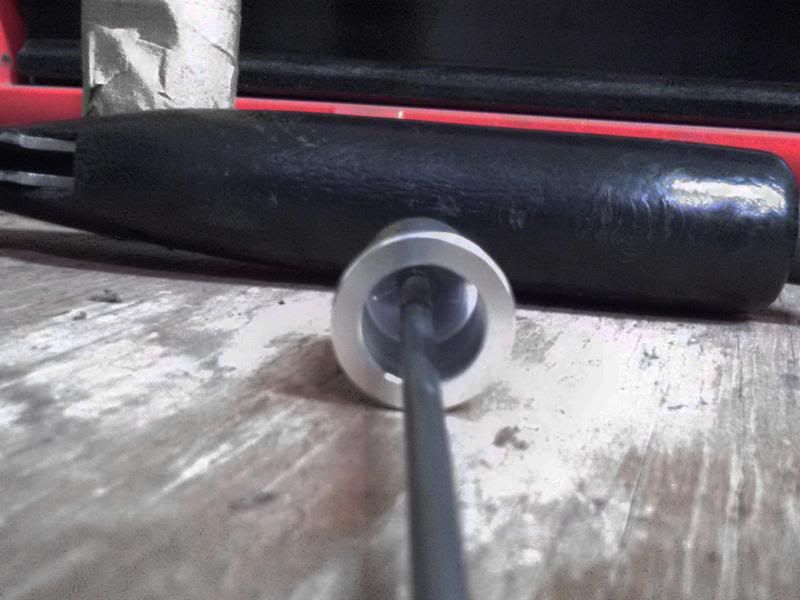
How the new one is going to sit. You can see I cut off about 3/4" off the steel handle to compensate. Taped up the new handle so I don't scratch it up!
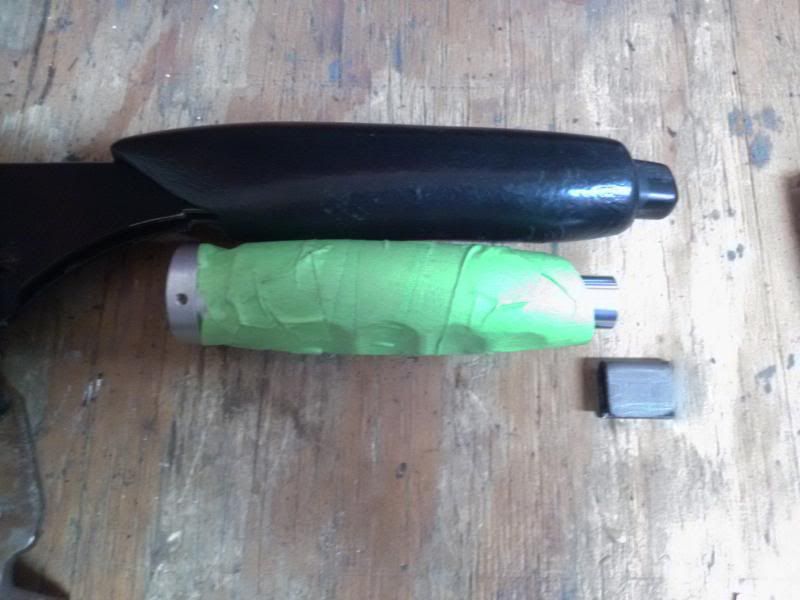
Here you can see about what I did and cut off. I just cut the shaft and welded it back. At the time I didn't realize the end wasn't a screw. I thought I would just drill the hole in the billet and screw it in. I took off slightly less than what I did for the steel part. About a 1/2".
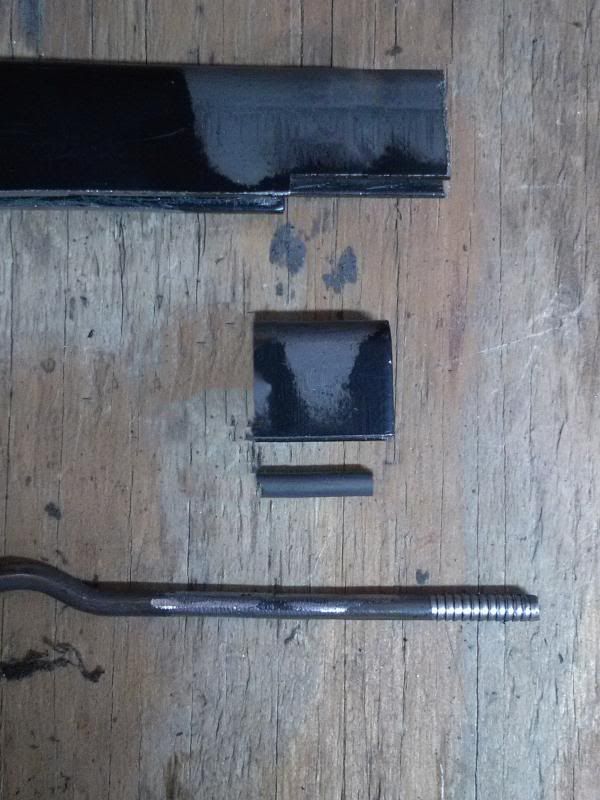
Cleaned up and ready to go back together. Gloss black metallic handle, flat black base. Notice the tabs I welded on the sides. The set screws go there. They weren't long enough otherwise.
Installed
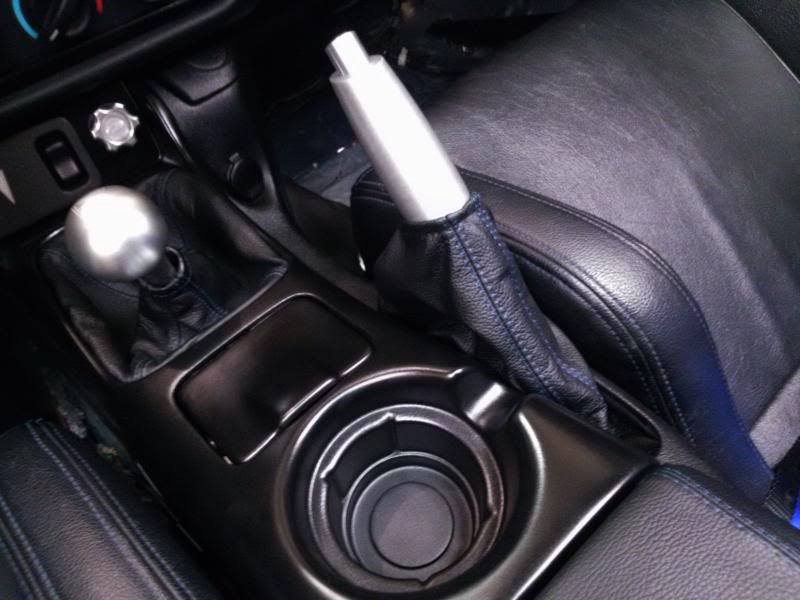
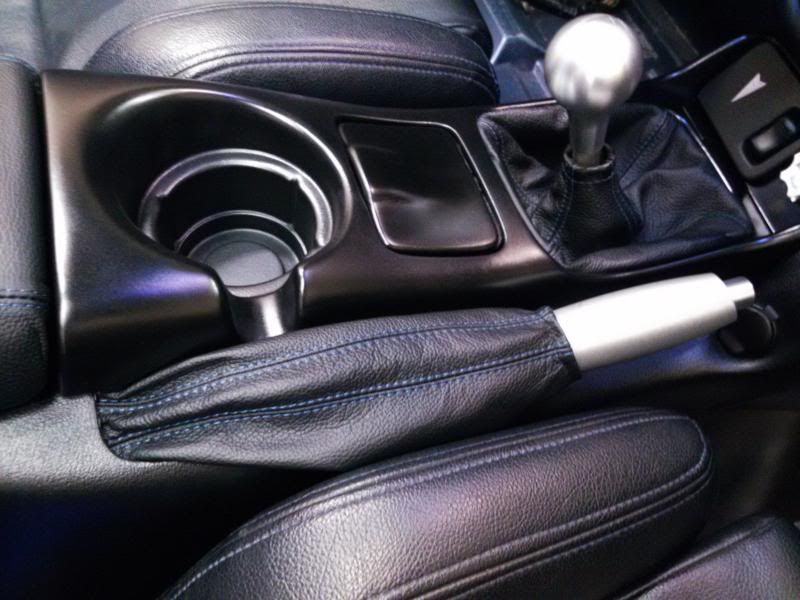
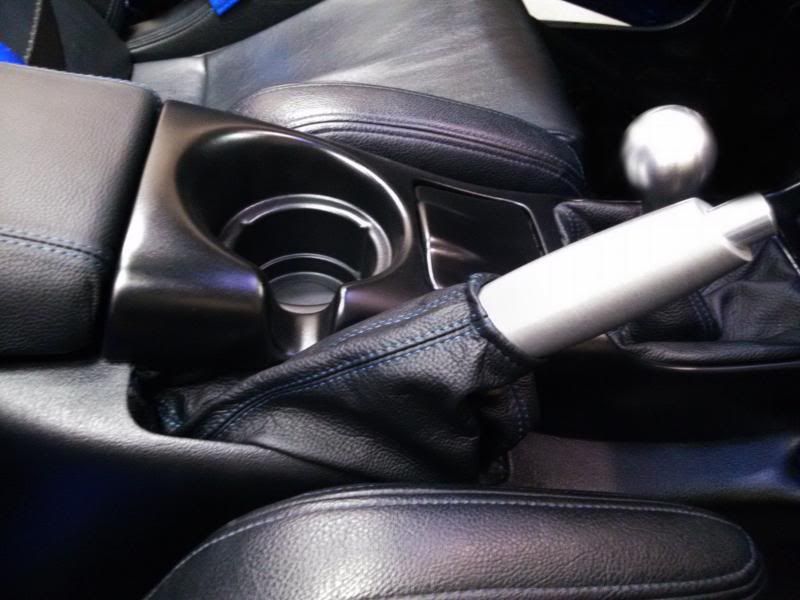
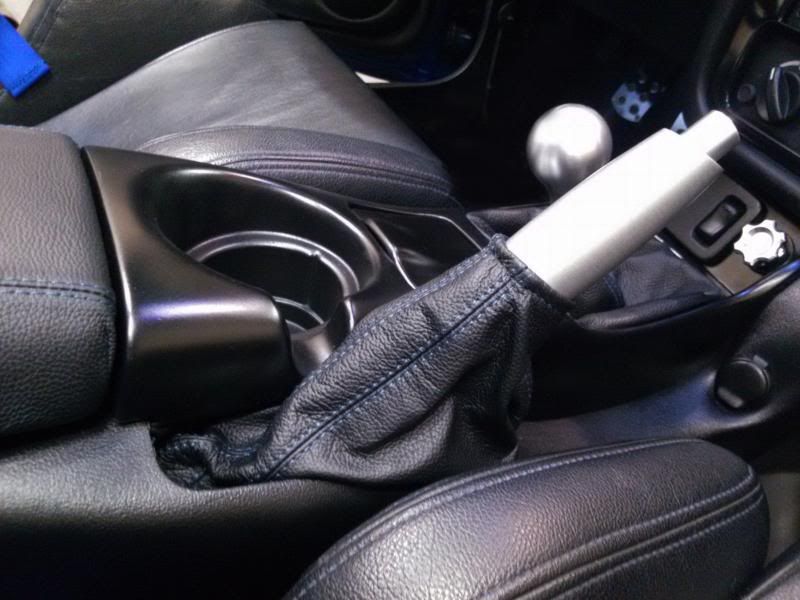
LIKE A BOSS!
I busted out the welder for this one, but it could be possible to do without it, unless you really screw up.
NRG Hand Brake Handle HK-700SL
Cost me just under $32 shipped


My Redline Goods E-brake boot


This will go well with my brushed billet MBA shift **** and Redline Goods boot. Horrible picture, but you get the idea. No pics in the car yet! Won't be for a while. This was a spare E-brake assembly.

First step was seeing how far back the old one sat
(bottom was by the fist sticker) I had to file down that last inch as you can see it's slightly thicker, then steps down smaller towards the right.


Next I wanted to see how far back I was going to put the new one....its shorter. I also wanted the overall handle shorter because if I have the flip out cup holder open, the old handle would hit it with my hand.


Pulled out the old shaft...Notice it looks like a screw, but its not.

Drilled a hole in the center of the billet piece. I had about a half inch of solid aluminum. I went in less than a 1/4". Stuck it in and JB welded it. I also had to put rubber hose and a washer (not pictured) to give the spring more tension and mimic how the stock plastic button and spring function. You'll see what I'm saying in the above picture.

How the new one is going to sit. You can see I cut off about 3/4" off the steel handle to compensate. Taped up the new handle so I don't scratch it up!

Here you can see about what I did and cut off. I just cut the shaft and welded it back. At the time I didn't realize the end wasn't a screw. I thought I would just drill the hole in the billet and screw it in. I took off slightly less than what I did for the steel part. About a 1/2".

Cleaned up and ready to go back together. Gloss black metallic handle, flat black base. Notice the tabs I welded on the sides. The set screws go there. They weren't long enough otherwise.

Installed


LIKE A BOSS!
Last edited by HotWhipT/A; 04-08-2013 at 10:42 PM.
#4
not gonna lie i came to this post cause ive had a really shitty day and i was hoping to poke some rice in the eye lol. BUT! to my surprise that looks really good haha. the shift **** will compliment it well and im sure its going to have a really nice feel to it. Great job, lets see some finished pics!
#5
Thanks guys. Yea, first one I've ever seen done. I had doubts it was possible because I've never seen anyone attempt it. I'm pretty handy so I gave it a shot. Well, it's definitely doable! I'm sure we'll see a few others attempt this nice little mod now.
Nothing rice about my car in any way if you know of the legend.
Like I said, this is a spare assembly. I won't be installing this for a while. I'm slowly getting in the of process of repainting my cage, then I can install carpet finally and put this bad boy in when I put the console back in. I already have my seats and console in the car. Not going to pull all that out till the other stuff gets done. Painting that cage and installing carpet is going to be a bitch.
Last edited by HotWhipT/A; 03-23-2013 at 03:19 AM.
#6
That's awesome, but also looks like alot of work. lol.
I like it. I currently have a GTO shift **** and wanted to somehow incorporate it better with the E-brake handle. Was thinking about some sort of custom handle being made, glad to see it's feasible.
I like it. I currently have a GTO shift **** and wanted to somehow incorporate it better with the E-brake handle. Was thinking about some sort of custom handle being made, glad to see it's feasible.
Trending Topics
#8
Great job OP!
#9
I was looking at the ebrake handle and it's got a bend in it. Not sure how it would work with our consoles. Would be interesting to see though.
#10

#12
#14
I don't think I had that rattle. I wouldn't know as my entire car shakes with dumped exhaust coming from my lopey 402ci motor. 
I know what causes that rattle and yes this will eliminate it completely as this is solid as hell. Stuffing some thick cardstock between the stock handle will also stop it from rattling FYI.

I know what causes that rattle and yes this will eliminate it completely as this is solid as hell. Stuffing some thick cardstock between the stock handle will also stop it from rattling FYI.
#17
Not sure why its so hard to explain. Just think about it for a second. The back end....not by the button. In between the metal part and the leather handle. That rivet gets loose and caused the handle to rattle on the metal.
It would be possible, but i ended up cutting out less material than the length of what looks like a threaded portion. Besides, I'd have to drill the hole anyways, but JB weld is much easier than taping and threading!
It would be possible, but i ended up cutting out less material than the length of what looks like a threaded portion. Besides, I'd have to drill the hole anyways, but JB weld is much easier than taping and threading!
#18
Can you remove the handle without taking out the whole assembly?
How do you remove the leather part and button from the actual brake lever/arm?
*Edit* Nevermind, I forgot about that rivet. Bah. lol.
How do you remove the leather part and button from the actual brake lever/arm?
*Edit* Nevermind, I forgot about that rivet. Bah. lol.


