
15 Hour Paint Correction - 2000 Camaro Z28 Artic White
 05-05-2013, 03:24 PM
#1

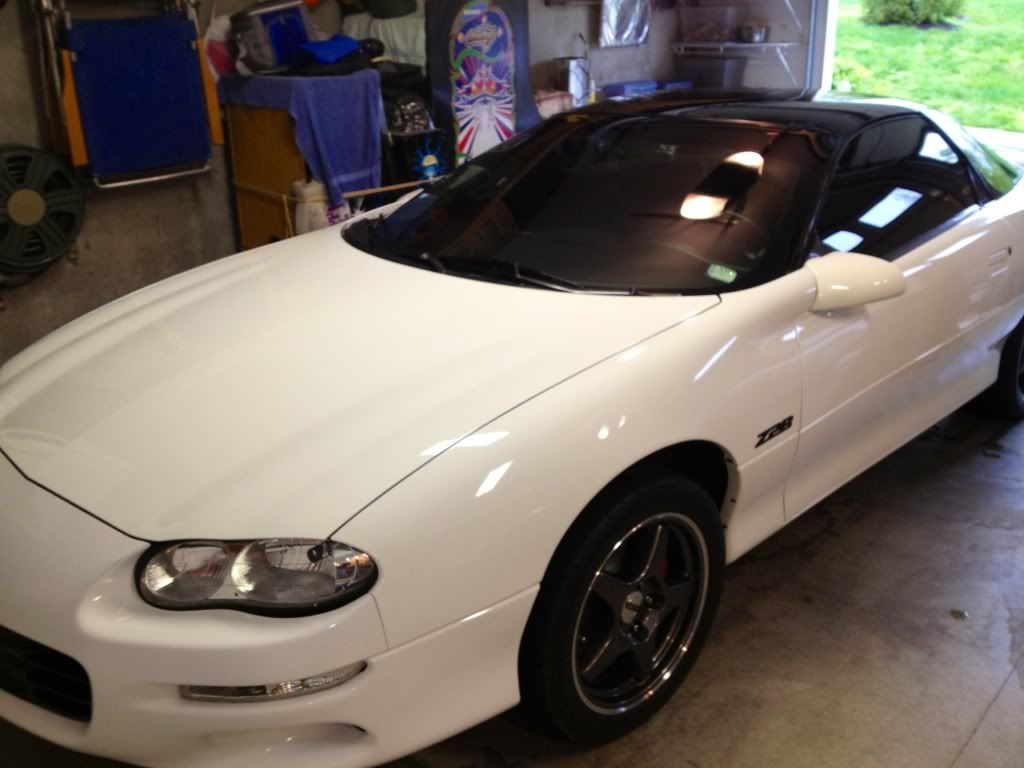
I completed a very intense detail on my Camaro tonight. Overall it turned out great and I'm extremely pleased with the results. This was my first time doing this caliber of a detail, so I took my time the entire process to make sure I did everything right. White in general is a very hard color to make "pop"... in person though, it looks fantastic.
Exterior Paint:
Dawn Soap
Mother's Clay Bar
Meguiars 105 Polish
Meguiars 205 Polish
Meguiars #7 Glaze
Lake Country White CCS Pad
Lake Country Black CCS Pad
Adam's Detailer Spray
Adam's Polishes Butter Wax
Adam's Polishes Double Soft Towels
3M Headlight/Taillight Restore Kit
GM Arctic White Touch Up Paint
Porter Cable DA
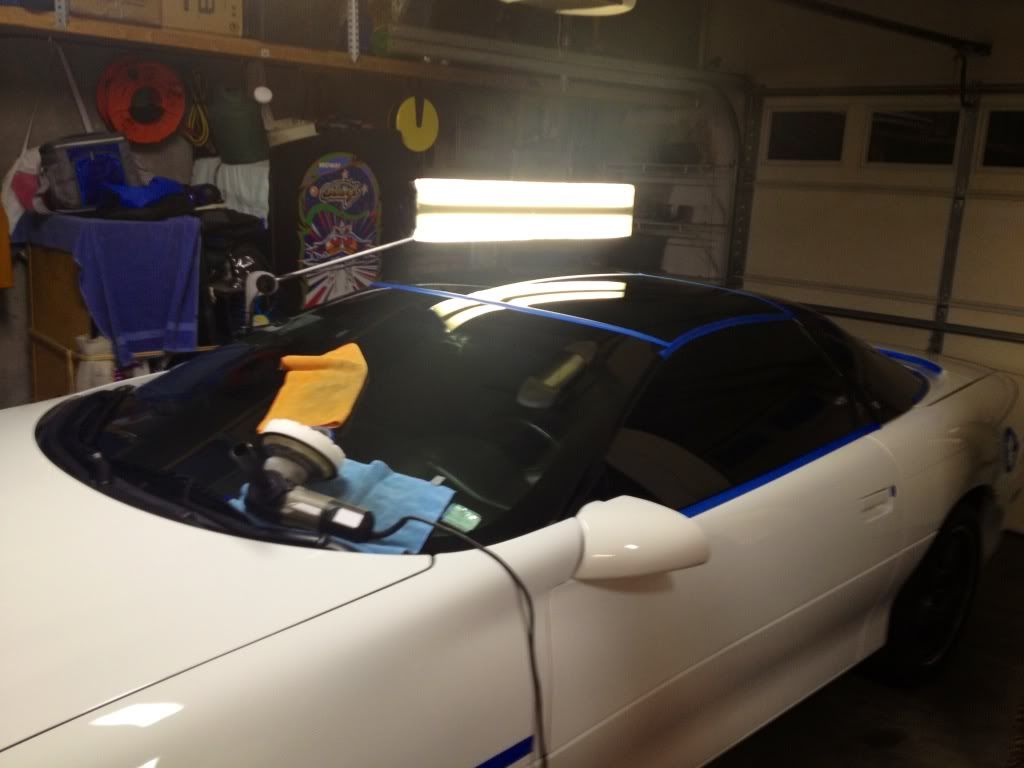
Custom Made Detailing Light
Engine Bay/Trim/Wheel Wells/Undercarriage:
Dawn Soap
Adam's Detailer Spray
Adam's Polishes Butter Wax
Adam's Polishes Super VRT
Adam's Polishes Invisible Undercarriage Spray
Wheels/Tires:
Dawn Soap
Adam's Detailer Spray
Adam's Polishes Super VRT
Adam's Polishes Butter Wax
Interior:
Adams Polishes Glass Cleaner
Adams Polishes Glass Cleaning Clothe
Lexol Leather Cleaner
Lexol Leather Conditioner
ICE Interior Spray
Adam's Polishes Double Soft Towels
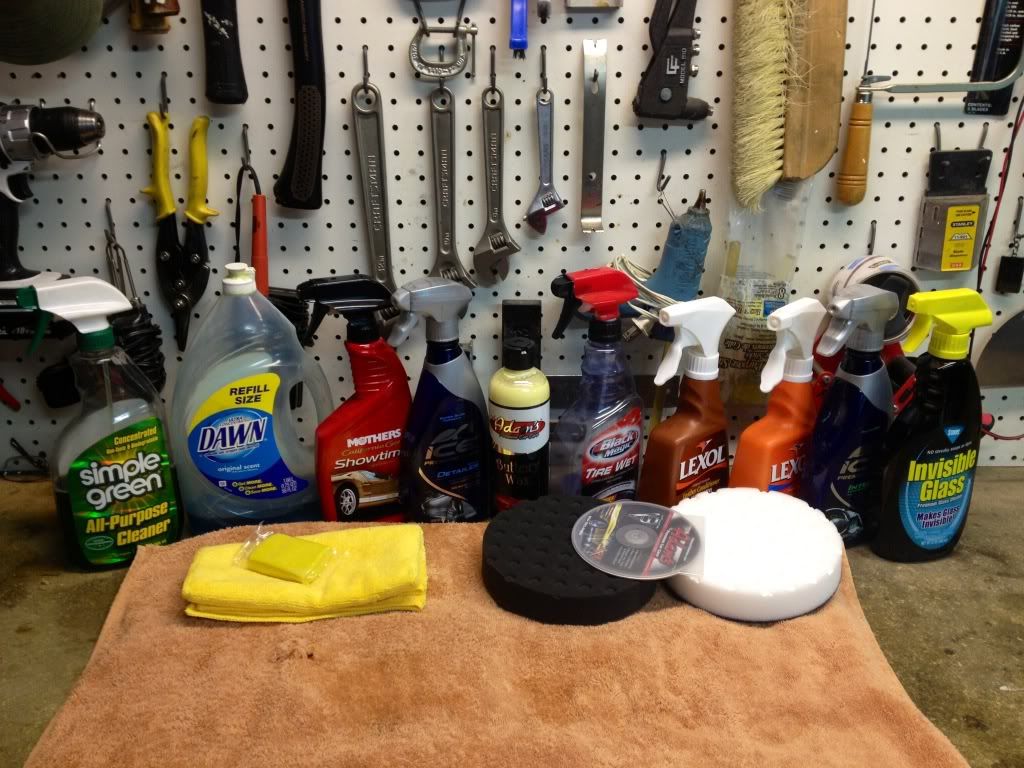
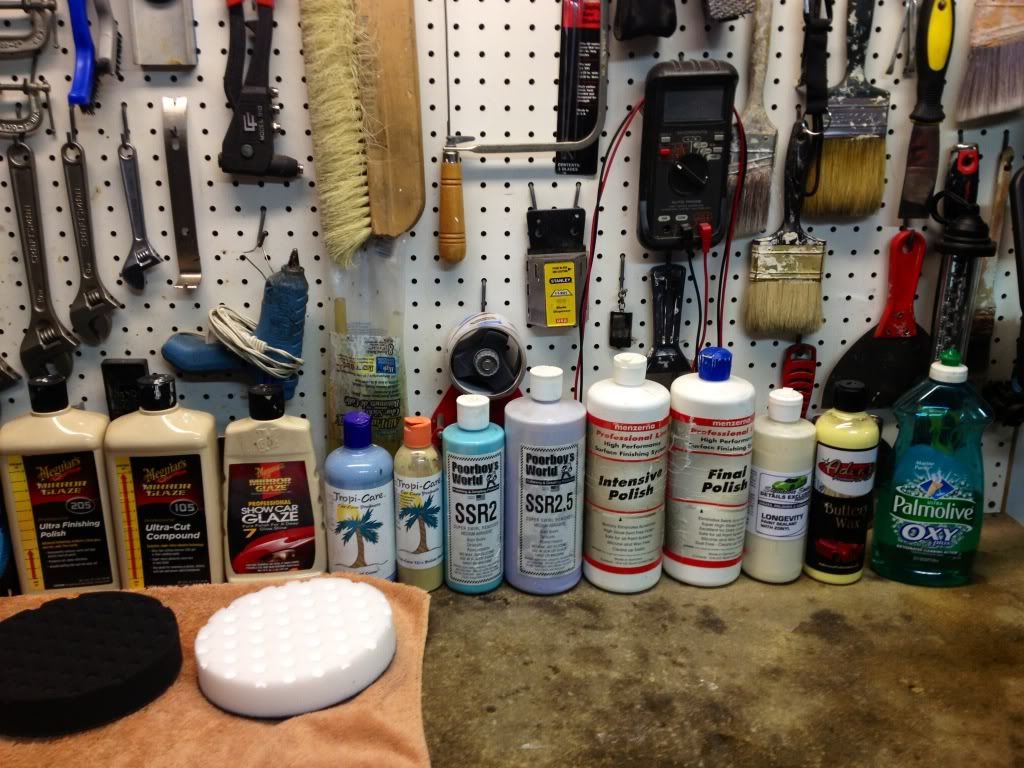
Pictures of some of the general supplies used.
Not pictured is most of the Adam's products (they were in the case it came in).
After washing with Dawn soap and using clay bar.
Looks great from 10' away.
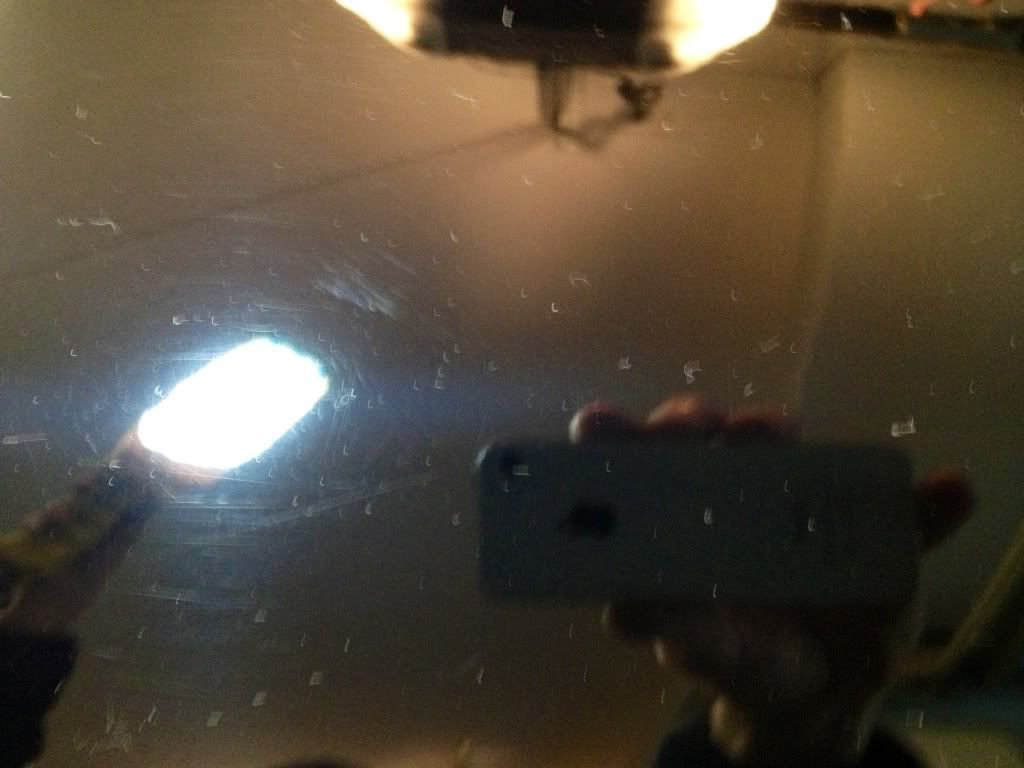
After further inspection... not so great.
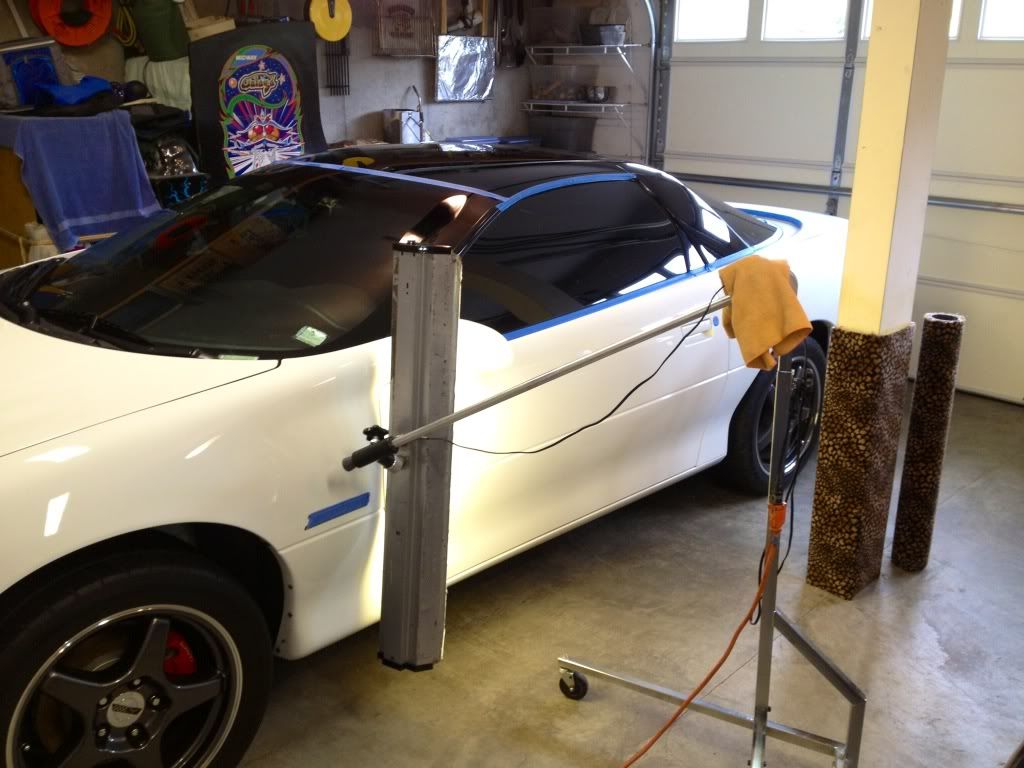
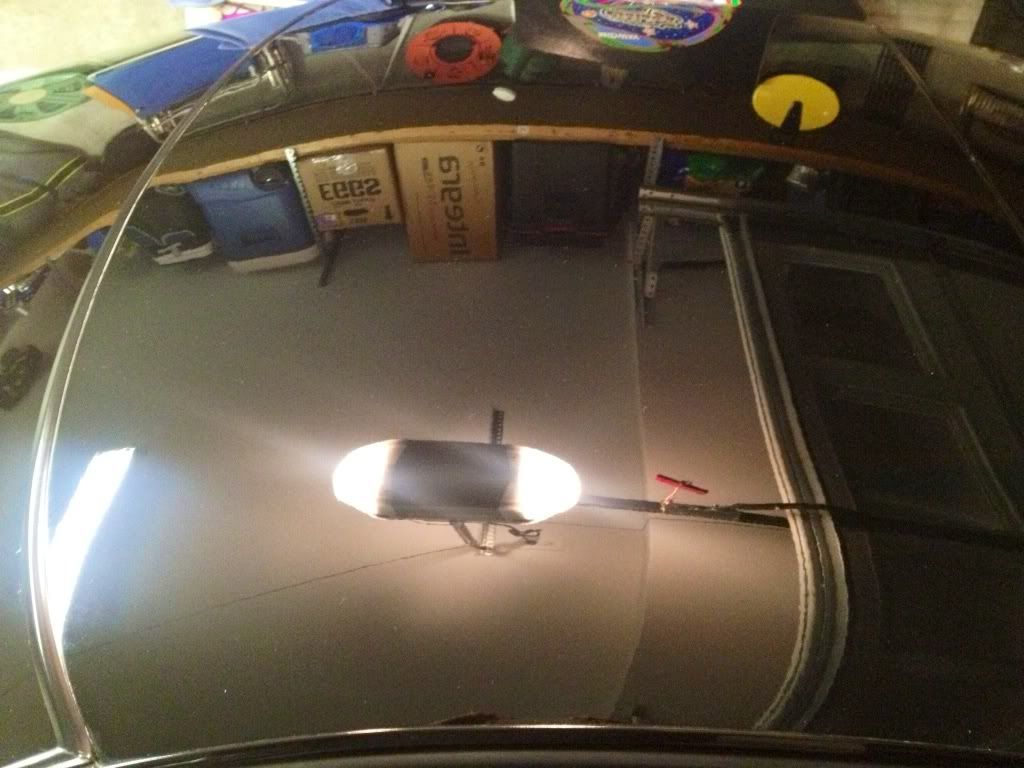
Masked entire car and prepared a test panel on the roof.
Found the best combination of product and completed polishing on test panel.
The winning combination was first put 3 nickel sized blotches of product on the pad and one spritz of the detail spray. Start a panel with blotching the pad to get product on paint, 1K rpm to spread product evenly, then crank it up to 4.5K rpm and move left to right direction at about 1" every 2-3 seconds (very slow) overlapping each pass halfway. Then go forwards and backwards using the same technique. Always maintained a very slow rotation of the pad itself. Immediately after finishing working in the polish I removed the dried product, then moved on to the next stage. The roof took 2 applications of 105 and 2 applications of 205 to get 99% of the scratches out. There are some remaining scratches - they were past the clear coat and couldn't be removed with what I had available.
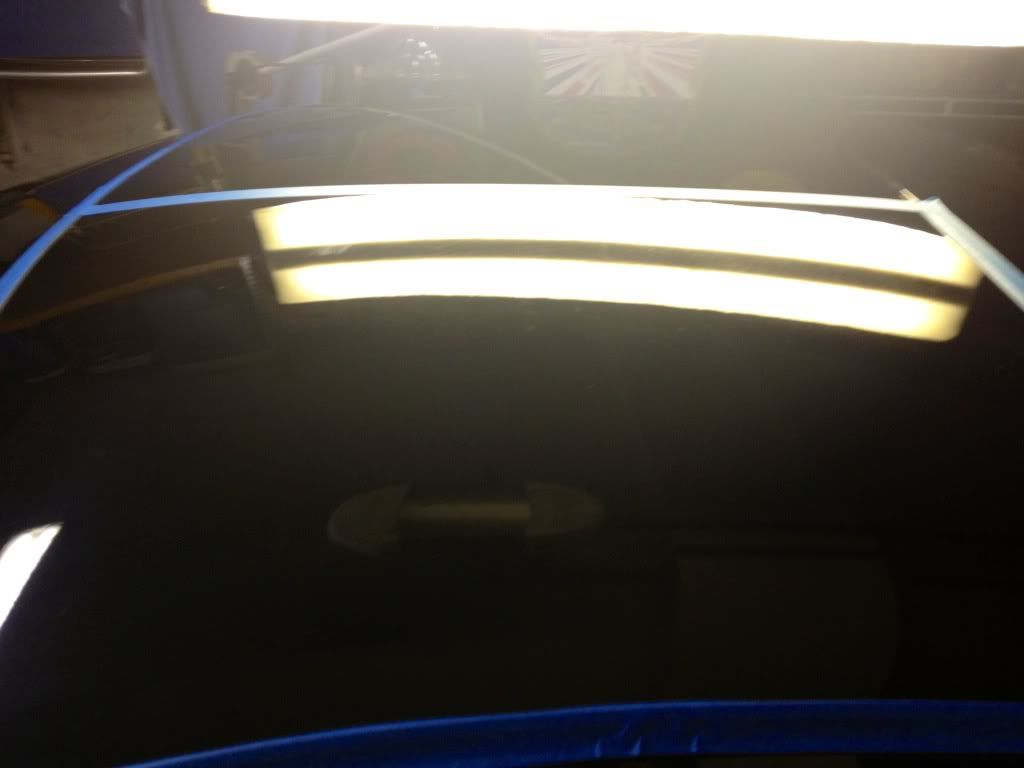
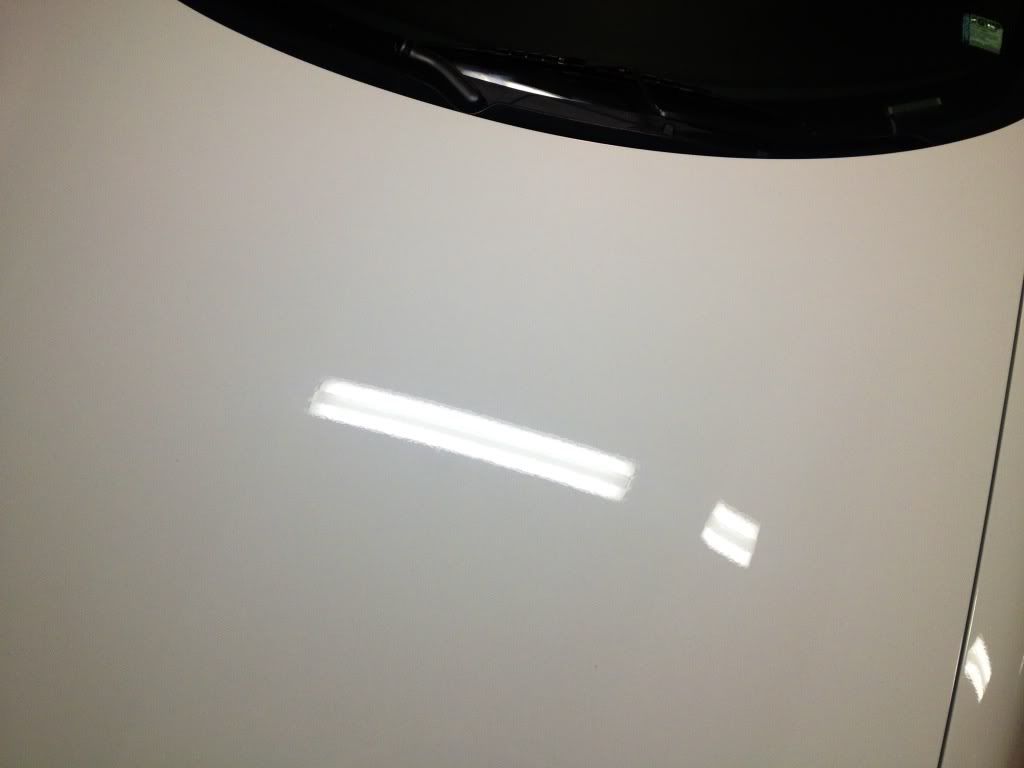
50/50 shot.
Due to lighting in the garage, and a cell phone to take the pics it was somewhat difficult to show how the clarity improved for the test panel.
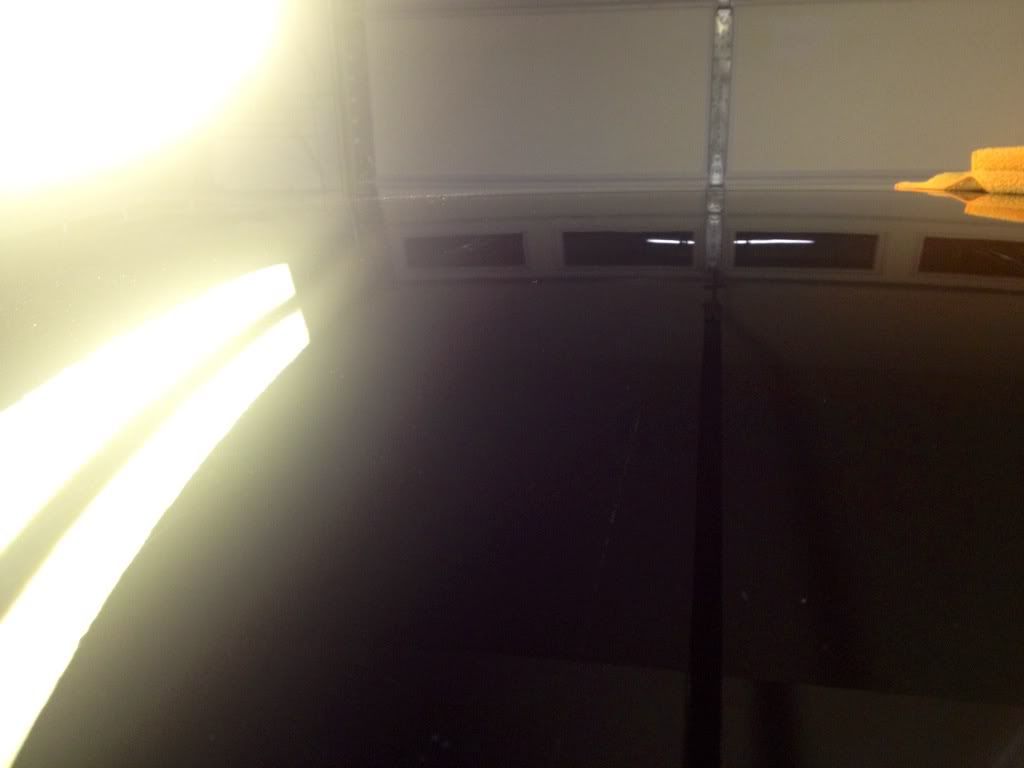
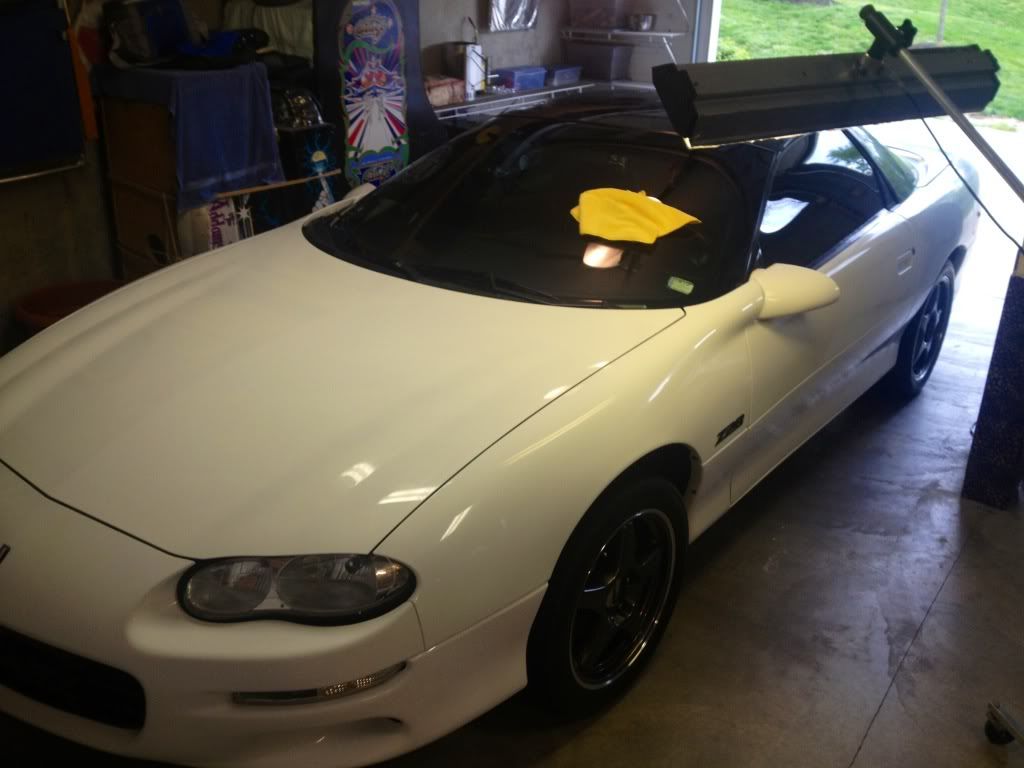
After completing the roof, sail panels, driver's side of hood and driver's side fender.
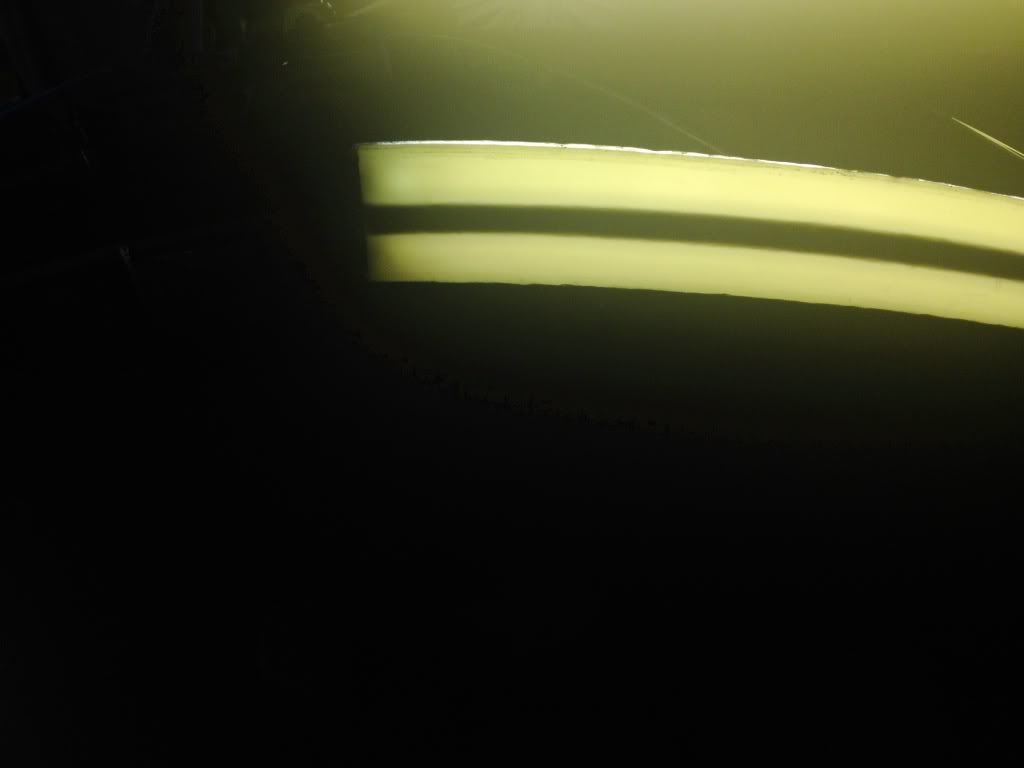
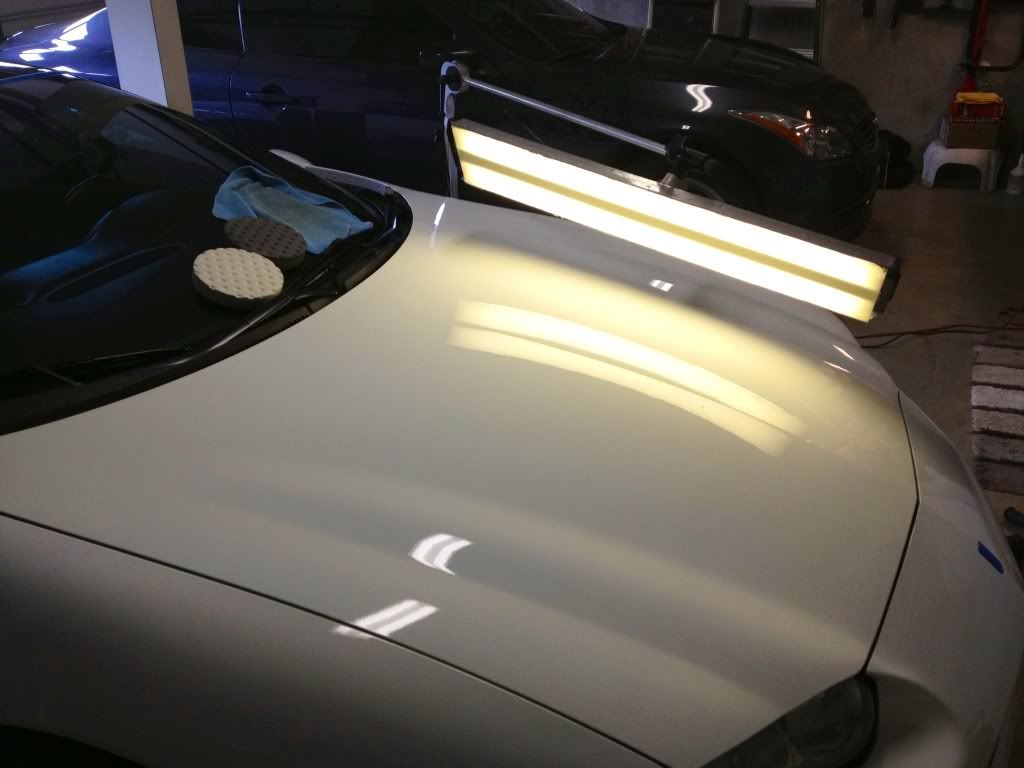
This detailing light (actually used for hail repair) worked awesome for seeing every imperfection in the finish.
Moving on to polish the passenger side of the hood.
Polishing complete for the entire car, including the Meguiar's #7 Glaze.
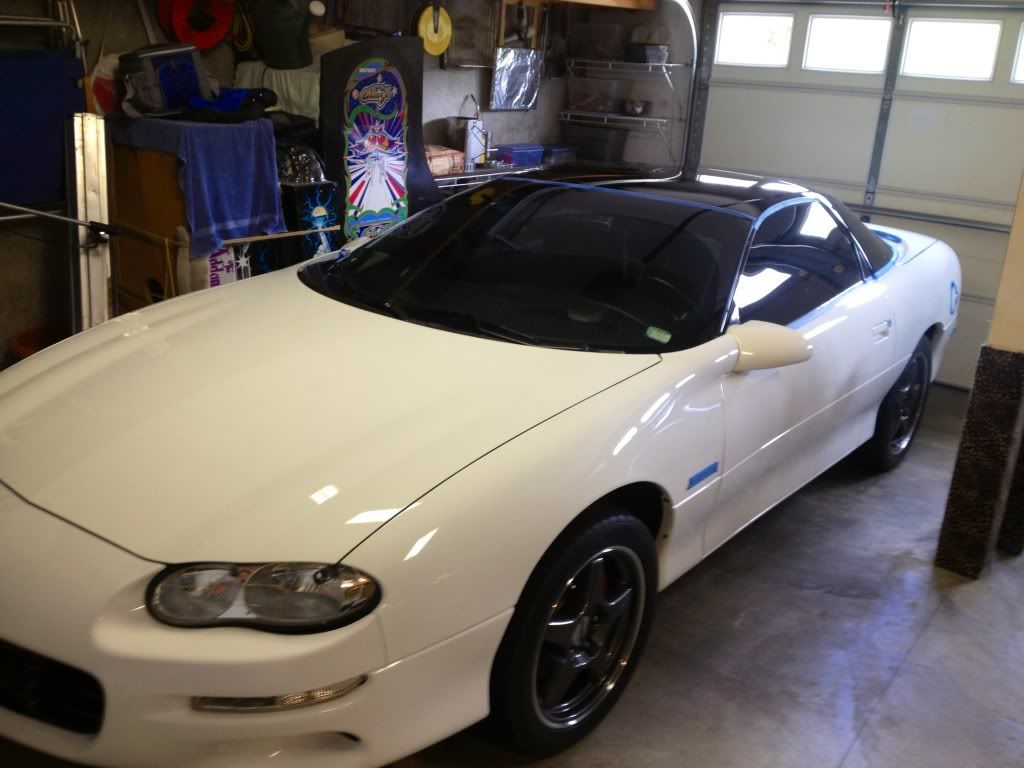
Applied Adam's Butter Wax and waiting for the product to finish curing.
Finished results at the end of the post.
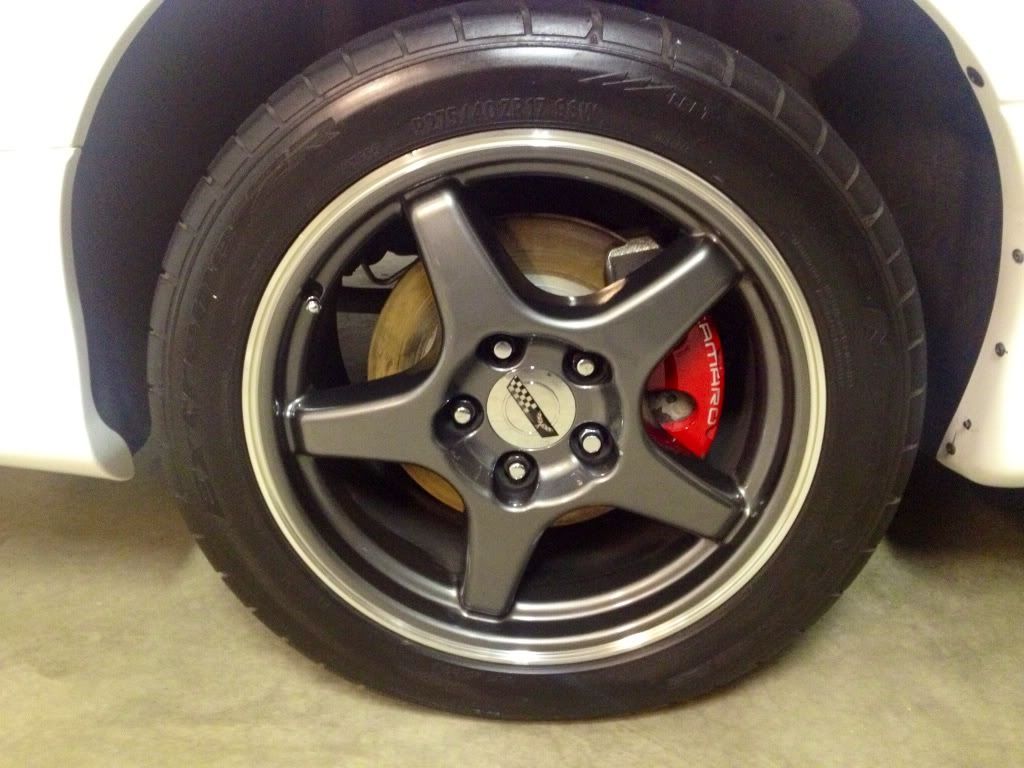
On the to wheels/wheel wells/tires/trim.
The Adam's Polishes Super VRT is a life saver here. HIGHLY recommend detailers to try out this product. It goes on very easy and does not have the typical oily residue that comparable plastic treatment products have. I even use it on my tires, gaskets, etc. to keep everything fresh. Topped everything off on the wheels with a nice coat of Adam's Butter Wax to repel brake dust in the future. Don't mind the rusty rotors - it'll get knocked off after 2 minutes of driving.
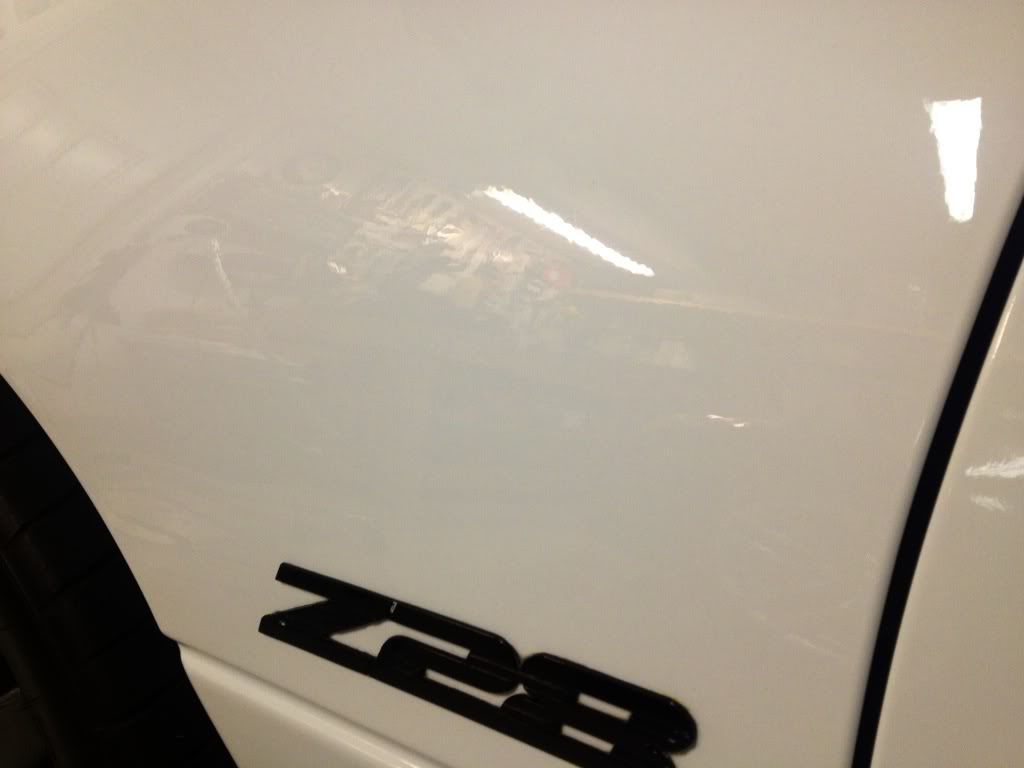
And... for the reveal.
Here is the finished product after applying Adam's Polishes Butter Wax. This stuff more or less made all of the effort worth it. Goes on easy, comes of even easier. Smells very nice too (like all of the Adam's products IMO). The wax really gave the paint that "wet" look we all want in our paint. The white paint actually has a mirror appearance to it which is pretty hard to obtain on that color.

I'm extremely pleased with the results. Car looks the best since I've owned it - since 2005.
Exterior Paint:
Dawn Soap
Mother's Clay Bar
Meguiars 105 Polish
Meguiars 205 Polish
Meguiars #7 Glaze
Lake Country White CCS Pad
Lake Country Black CCS Pad
Adam's Detailer Spray
Adam's Polishes Butter Wax
Adam's Polishes Double Soft Towels
3M Headlight/Taillight Restore Kit
GM Arctic White Touch Up Paint
Porter Cable DA
Custom Made Detailing Light
Engine Bay/Trim/Wheel Wells/Undercarriage:
Dawn Soap
Adam's Detailer Spray
Adam's Polishes Butter Wax
Adam's Polishes Super VRT
Adam's Polishes Invisible Undercarriage Spray
Wheels/Tires:
Dawn Soap
Adam's Detailer Spray
Adam's Polishes Super VRT
Adam's Polishes Butter Wax
Interior:
Adams Polishes Glass Cleaner
Adams Polishes Glass Cleaning Clothe
Lexol Leather Cleaner
Lexol Leather Conditioner
ICE Interior Spray
Adam's Polishes Double Soft Towels
Pictures of some of the general supplies used.
Not pictured is most of the Adam's products (they were in the case it came in).


After washing with Dawn soap and using clay bar.
Looks great from 10' away.

After further inspection... not so great.

Masked entire car and prepared a test panel on the roof.

Found the best combination of product and completed polishing on test panel.
The winning combination was first put 3 nickel sized blotches of product on the pad and one spritz of the detail spray. Start a panel with blotching the pad to get product on paint, 1K rpm to spread product evenly, then crank it up to 4.5K rpm and move left to right direction at about 1" every 2-3 seconds (very slow) overlapping each pass halfway. Then go forwards and backwards using the same technique. Always maintained a very slow rotation of the pad itself. Immediately after finishing working in the polish I removed the dried product, then moved on to the next stage. The roof took 2 applications of 105 and 2 applications of 205 to get 99% of the scratches out. There are some remaining scratches - they were past the clear coat and couldn't be removed with what I had available.

50/50 shot.
Due to lighting in the garage, and a cell phone to take the pics it was somewhat difficult to show how the clarity improved for the test panel.


After completing the roof, sail panels, driver's side of hood and driver's side fender.
This detailing light (actually used for hail repair) worked awesome for seeing every imperfection in the finish.

Moving on to polish the passenger side of the hood.

Polishing complete for the entire car, including the Meguiar's #7 Glaze.

Applied Adam's Butter Wax and waiting for the product to finish curing.
Finished results at the end of the post.

On the to wheels/wheel wells/tires/trim.
The Adam's Polishes Super VRT is a life saver here. HIGHLY recommend detailers to try out this product. It goes on very easy and does not have the typical oily residue that comparable plastic treatment products have. I even use it on my tires, gaskets, etc. to keep everything fresh. Topped everything off on the wheels with a nice coat of Adam's Butter Wax to repel brake dust in the future. Don't mind the rusty rotors - it'll get knocked off after 2 minutes of driving.

And... for the reveal.
Here is the finished product after applying Adam's Polishes Butter Wax. This stuff more or less made all of the effort worth it. Goes on easy, comes of even easier. Smells very nice too (like all of the Adam's products IMO). The wax really gave the paint that "wet" look we all want in our paint. The white paint actually has a mirror appearance to it which is pretty hard to obtain on that color.


I'm extremely pleased with the results. Car looks the best since I've owned it - since 2005.
Last edited by dirtbag; 05-05-2013 at 09:27 PM.

The following users liked this post:
strikeone (06-04-2023)

 05-05-2013, 08:59 PM
#4
On The Tree

Join Date: Dec 2012
Posts: 169
Likes: 0
Received 0 Likes
on
0 Posts
That looks awesome, great job!
Btw, I have an artic white TA, any pointers? What type of hand held light did you use to see the swirls with, i find it hard to see unless the sun is halfway down, they the paint looks fairly jacked up. In your picture its pretty clear the paint has some issues.
Btw, I have an artic white TA, any pointers? What type of hand held light did you use to see the swirls with, i find it hard to see unless the sun is halfway down, they the paint looks fairly jacked up. In your picture its pretty clear the paint has some issues.
05-05-2013, 09:35 PM
#6
Thanks!
Thanks man we will need to take a look at getting your Z cleaned up.
Thanks!
I had similar issues, so I used a compact CFL shop light to show the severity of the imperfections. I would just follow the same method as in the OP to get the results you want. Every car is different so you might need more or less passes with compound than I did. Minus equipment you could get everything for around $100. Also I used the black pad set on 1K rpm to apply the wax using the same method as with the polish (detail spray spritz, passes, etc). Be sure to mask off anything questionable. You don't want to burn any edges or pollute the pad from coming in contact with trim/gaskets.
Thanks dude.
You are preaching to the choir, lol. I ended up just taking the pic of the black top since it was so hard to get the swirls to show up on camera. The marring/swirls were pretty much the same throughout the car before I started, and still couldn't get a decent pic of them!
Thanks man we will need to take a look at getting your Z cleaned up.
That looks awesome, great job!
Btw, I have an artic white TA, any pointers? What type of hand held light did you use to see the swirls with, i find it hard to see unless the sun is halfway down, they the paint looks fairly jacked up. In your picture its pretty clear the paint has some issues.
Btw, I have an artic white TA, any pointers? What type of hand held light did you use to see the swirls with, i find it hard to see unless the sun is halfway down, they the paint looks fairly jacked up. In your picture its pretty clear the paint has some issues.
I had similar issues, so I used a compact CFL shop light to show the severity of the imperfections. I would just follow the same method as in the OP to get the results you want. Every car is different so you might need more or less passes with compound than I did. Minus equipment you could get everything for around $100. Also I used the black pad set on 1K rpm to apply the wax using the same method as with the polish (detail spray spritz, passes, etc). Be sure to mask off anything questionable. You don't want to burn any edges or pollute the pad from coming in contact with trim/gaskets.
You are preaching to the choir, lol. I ended up just taking the pic of the black top since it was so hard to get the swirls to show up on camera. The marring/swirls were pretty much the same throughout the car before I started, and still couldn't get a decent pic of them!
Last edited by dirtbag; 05-05-2013 at 09:40 PM.
05-05-2013, 09:35 PM
#7
TECH Fanatic
Looks really good man, how did that 3M headlight/taillight restoration kit work out for you? I was thinking about trying it on my foggy passenger side headlight before buying a new one.
Trending Topics
05-05-2013, 10:17 PM
#8
Didn't have a chance to snap before/afters of the lights. Basically the fronts just needed some light sanding with the finer grit sandpaper to cleanup rock chips, then polishing to remove the sanding abrasion. Taillights just needed polishing for oxidation. The 3M kit works well just be warned it takes a while if you start with the lower grit sandpaper. I had to do that before on my DD's headlights and it took a solid two hours per light.
05-05-2013, 10:20 PM
#9
I used almost the exact same process/products when I did my car earlier this year. The 105 205 compounds were surprisingly user friendly and took out 99 percent of scratches and swirls on my car.
I think the only difference was I used meguires #26 wax instead of Adams.
Great work, I've always been a fan of arctic white
I think the only difference was I used meguires #26 wax instead of Adams.
Great work, I've always been a fan of arctic white


 05-06-2013, 10:40 PM
#15
I used almost the exact same process/products when I did my car earlier this year. The 105 205 compounds were surprisingly user friendly and took out 99 percent of scratches and swirls on my car.
I think the only difference was I used meguires #26 wax instead of Adams.
Great work, I've always been a fan of arctic white
I think the only difference was I used meguires #26 wax instead of Adams.
Great work, I've always been a fan of arctic white
Thanks! I'm a little biased...
Appreciate the props. Honestly, here is the write up in a nutshell - New engine. I cheated
 .
.Engine bay is not "done" yet. The wire tuck is about 50% complete as well as finishing replacing/redoing the wire loom so everything is fresh (its about 75% complete). Also on the list is a billet pulley tensioner, SFI approved harmonic dampener, and touching up the engine swap road rash. It's all minor details. Literally everything is new besides what I mentioned. Compared to some of the threads on this forum my bay looks pretty rough.
05-07-2013, 12:02 AM
#16
Actually it looks really clean, it makes sense why now lol.
I'll be doing the wire tuck soon and want to build a plastic box to tuck the fuse boxes under where they are stock. I also plan to paint my engine bay a satin/semi gloss/hot rod black.
I don't have an AC anymore so I plan to modify my AC/Heater box. Paint your brake booster black which will help clean it up.
Good work on the car nonetheless!
05-07-2013, 07:14 PM
#18
Actually it looks really clean, it makes sense why now lol.
I'll be doing the wire tuck soon and want to build a plastic box to tuck the fuse boxes under where they are stock. I also plan to paint my engine bay a satin/semi gloss/hot rod black.
I don't have an AC anymore so I plan to modify my AC/Heater box. Paint your brake booster black which will help clean it up.
Good work on the car nonetheless!
I'll be doing the wire tuck soon and want to build a plastic box to tuck the fuse boxes under where they are stock. I also plan to paint my engine bay a satin/semi gloss/hot rod black.
I don't have an AC anymore so I plan to modify my AC/Heater box. Paint your brake booster black which will help clean it up.
Good work on the car nonetheless!
Thanks!