
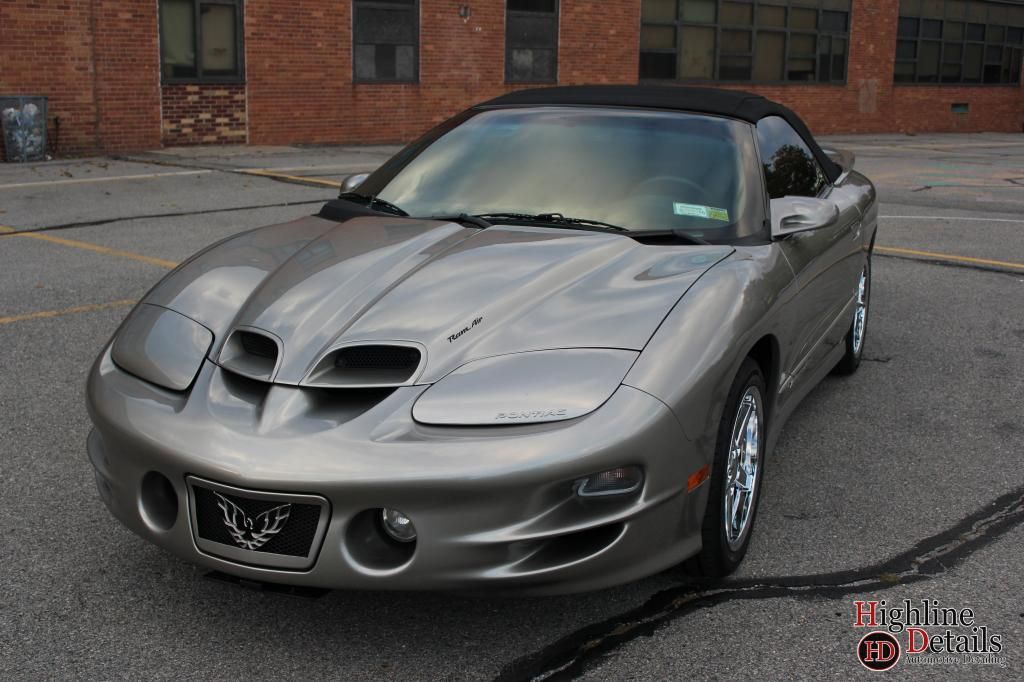
'99 Trans Am WS6 Paint Correction / Detail Pics


Hey everyone! It's been a while.  I thought you would enjoy some close up paint shots, like you guys generally do.
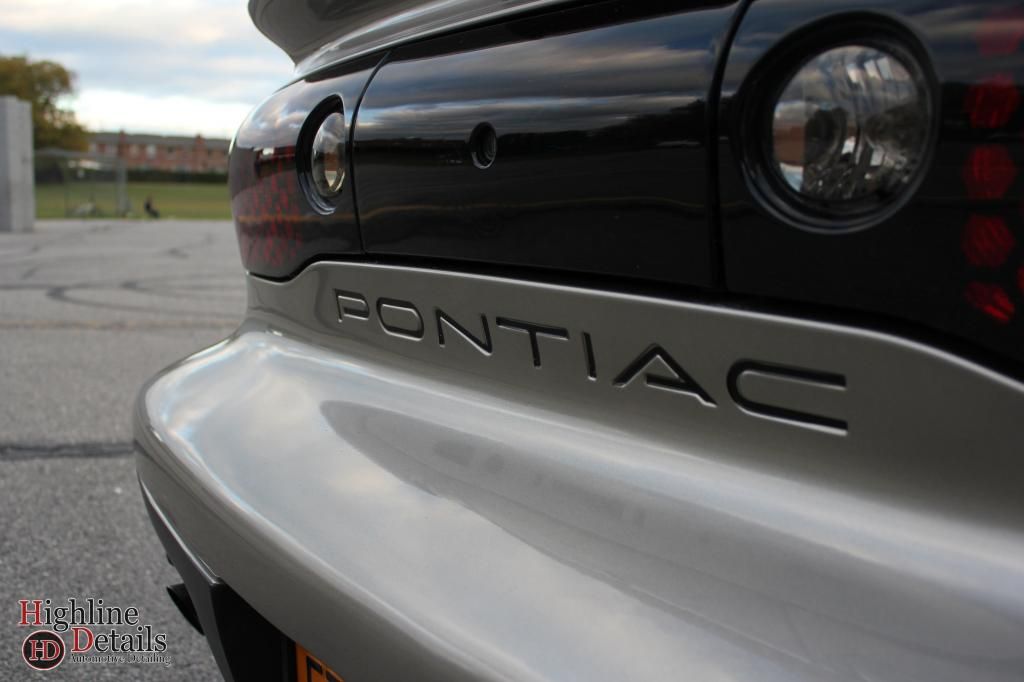
This Trans Am was a victim of improper washing, drying, and waxing. When it rolled up, the car looked pretty great - definitely did not have a very deep depth of shine, but could hold it's own considering it's age. While washing it, a simple touch to the paint proved that it could definitely use a clay bar treatment. Once it was under the lights, it revealed that the vertical surfaces had quite minor swirls, I had a bit of trouble taking pics in some spots up against the LPM paint. The horizontal surfaces, however, were not so lucky. There were moderate swirls and a bunch of RIDS. Later on, the owner admitted to using a cheap applicator pad while pushing down a bit too hard on the horizontal surfaces.
Onto the business.
After a few test spots, I decided to use my porter cable 7424 with an orange pad and M105 on the horizontal surfaces that needed a bit more cut. The rest of the car was done with Menzerna SIP on an orange pad.
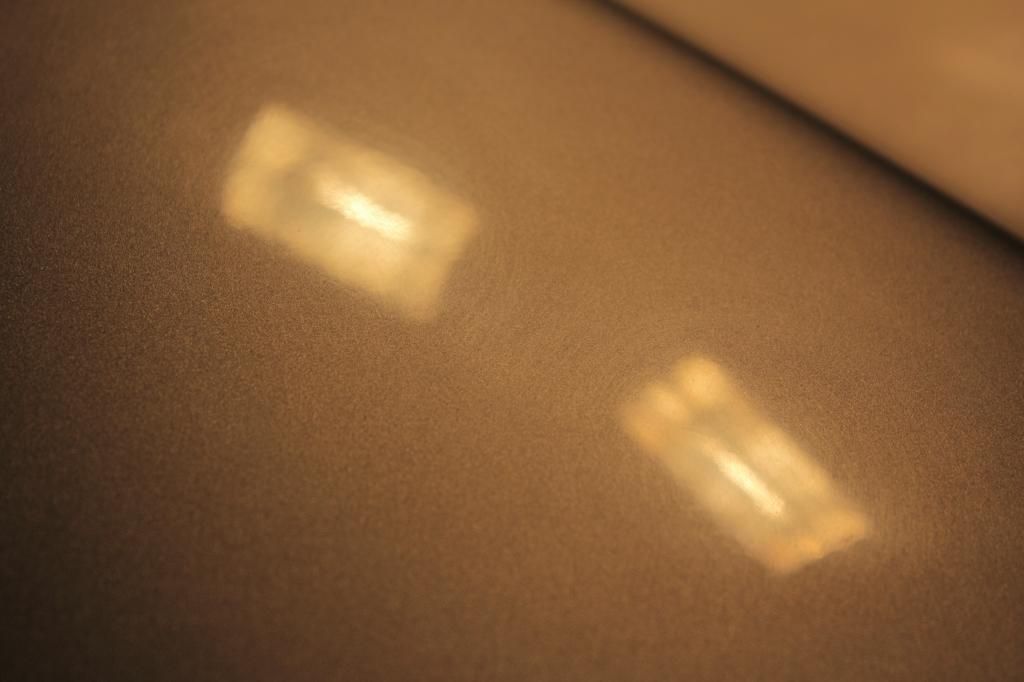
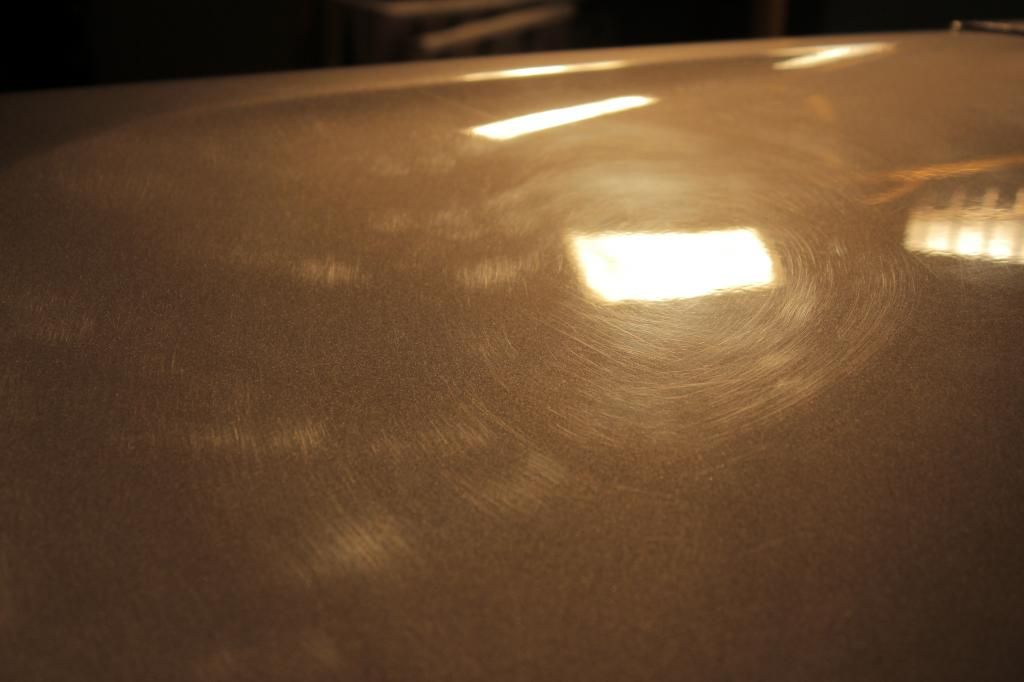
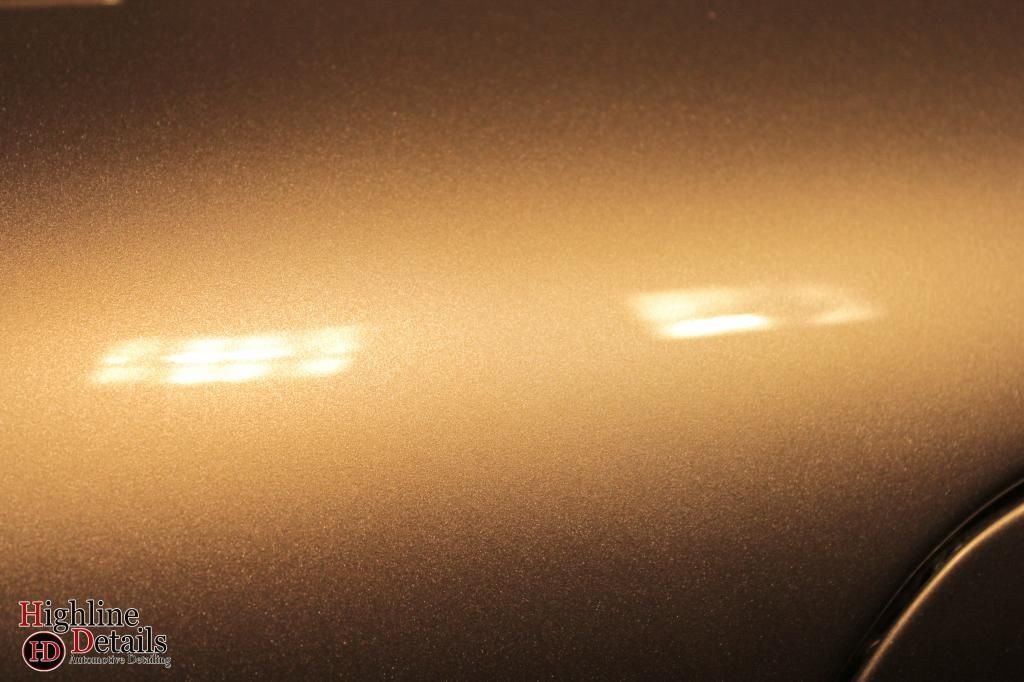
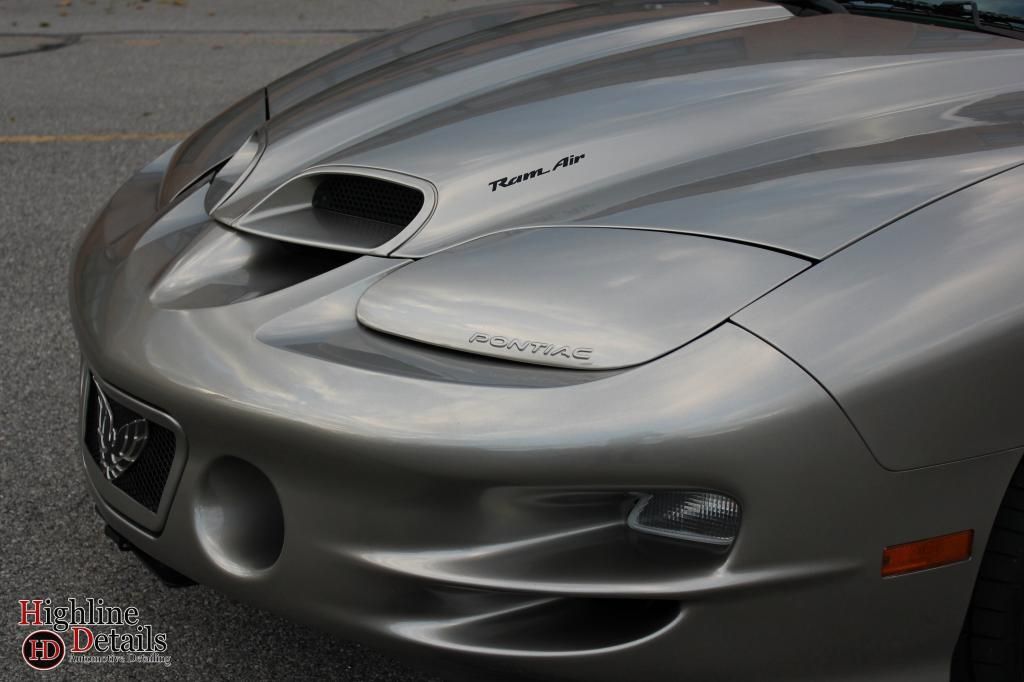
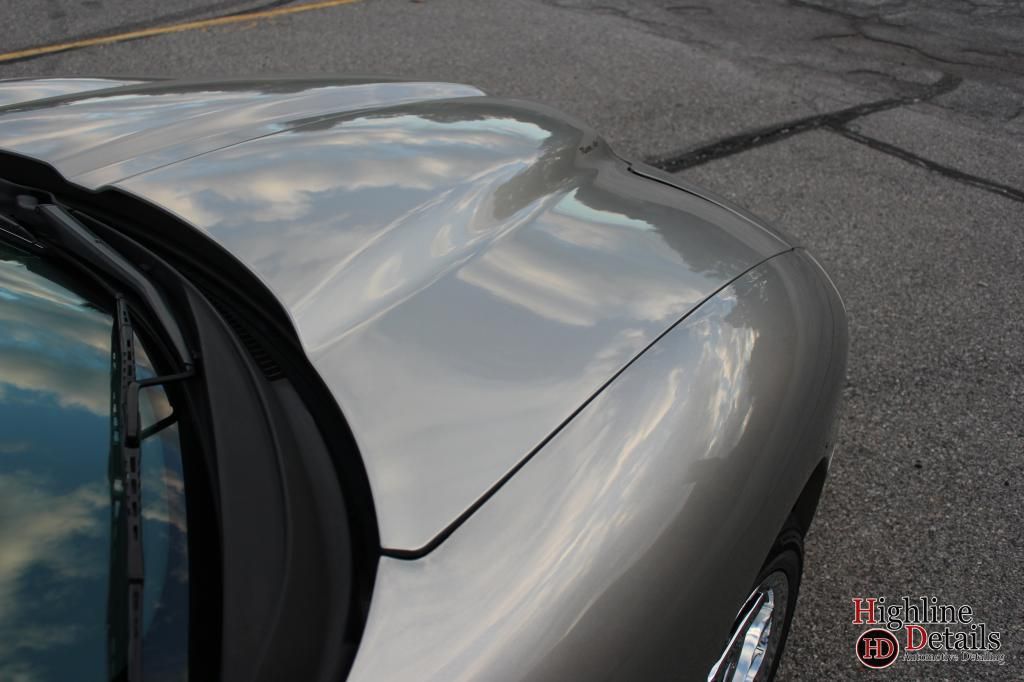
I only have a couple before pics. In the first you can see the minor swirling around the light. It's a bit hard to see with the color and the metallic flakes up close. In the second photo, the swirling on the hatch was equal in severity to those on the hood and upper fenders/doors/quarters.
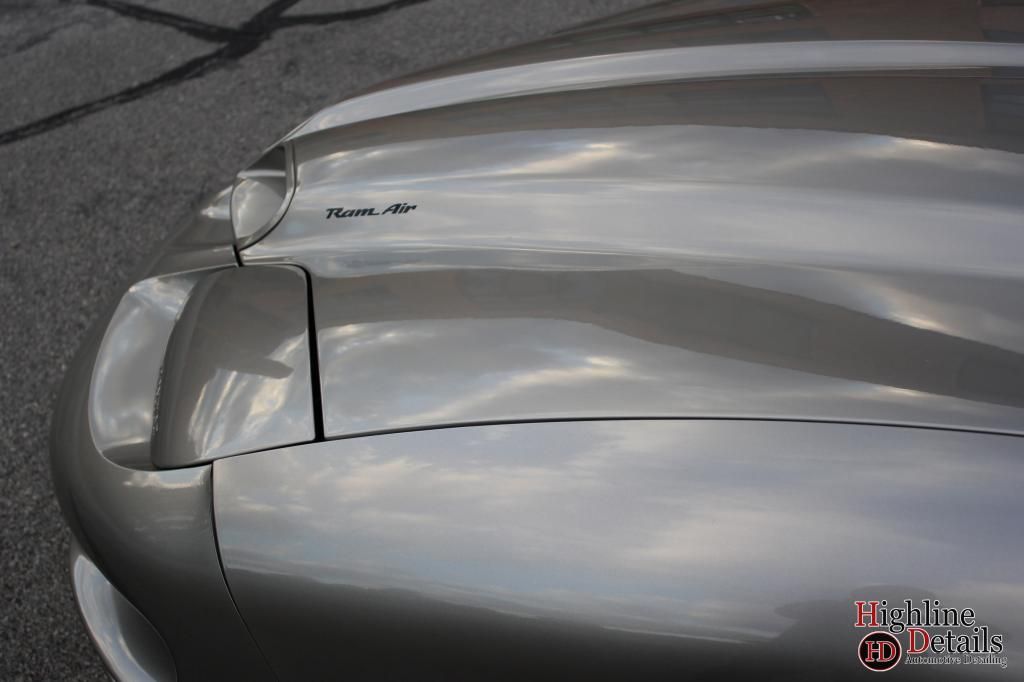
After correction:


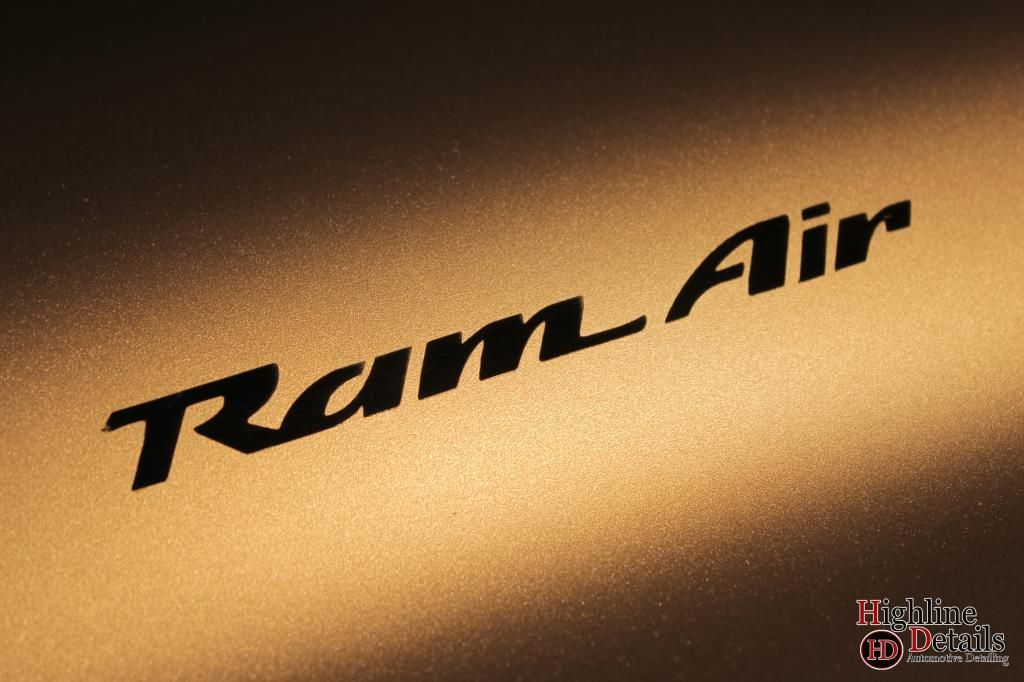
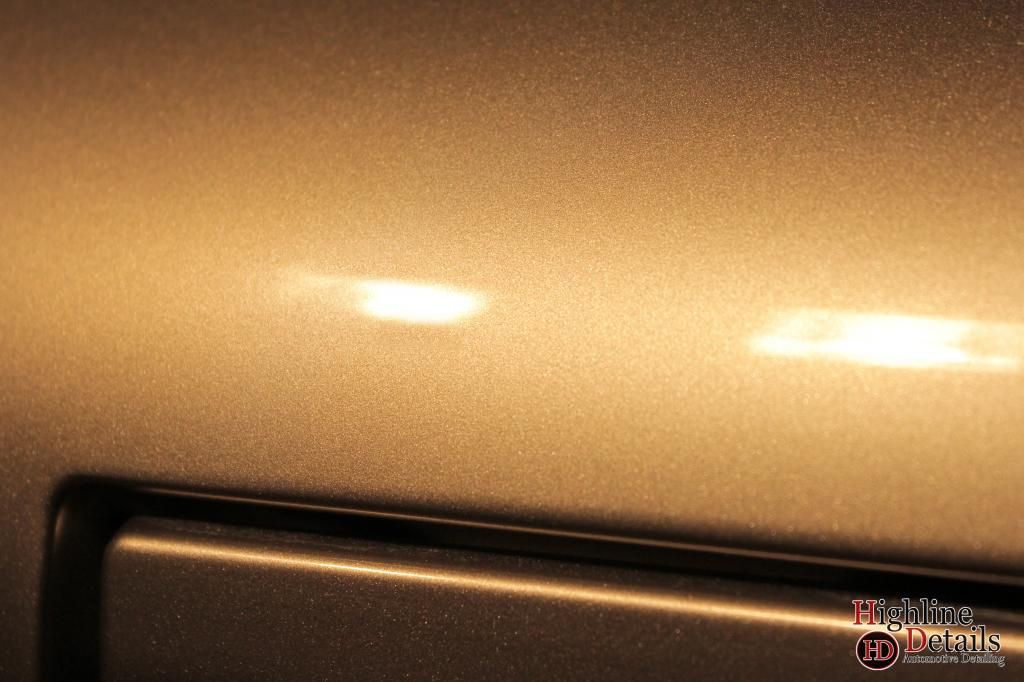
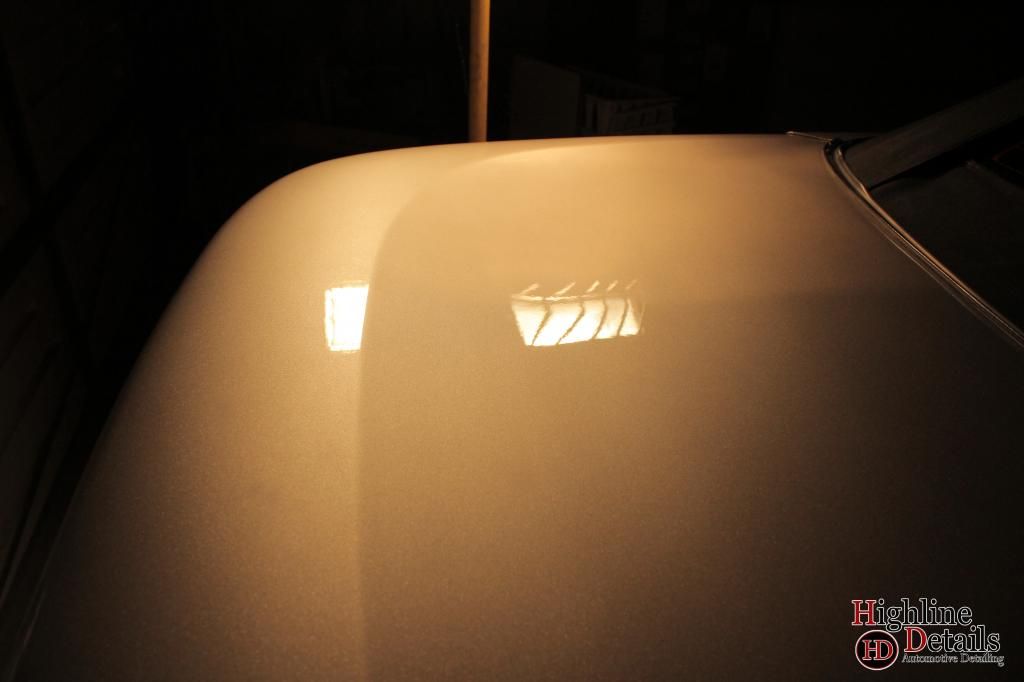
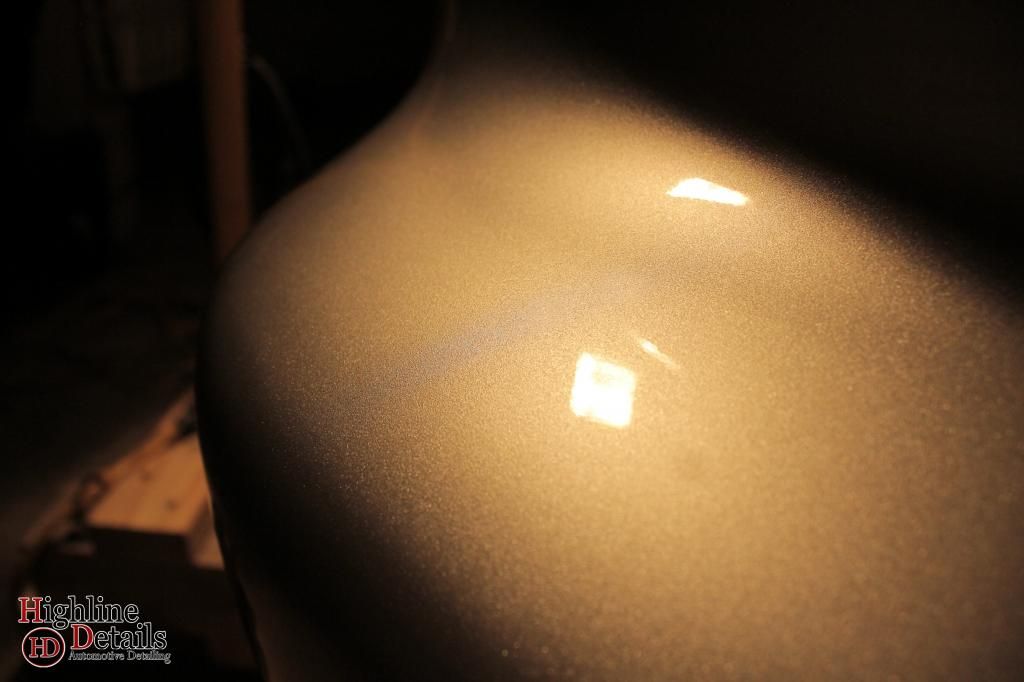
After LSP
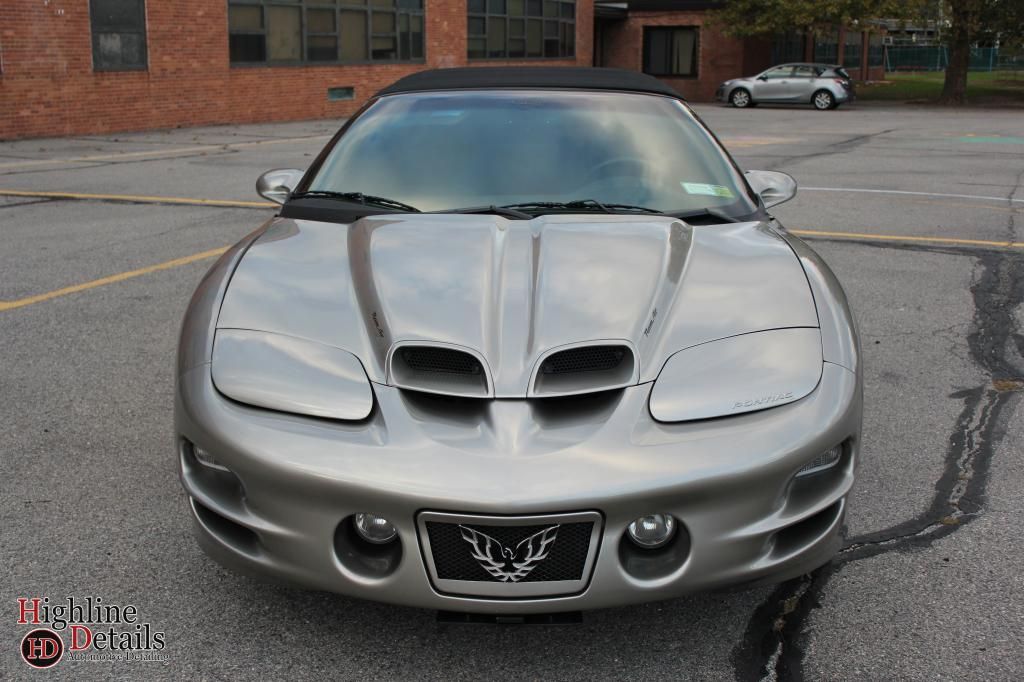
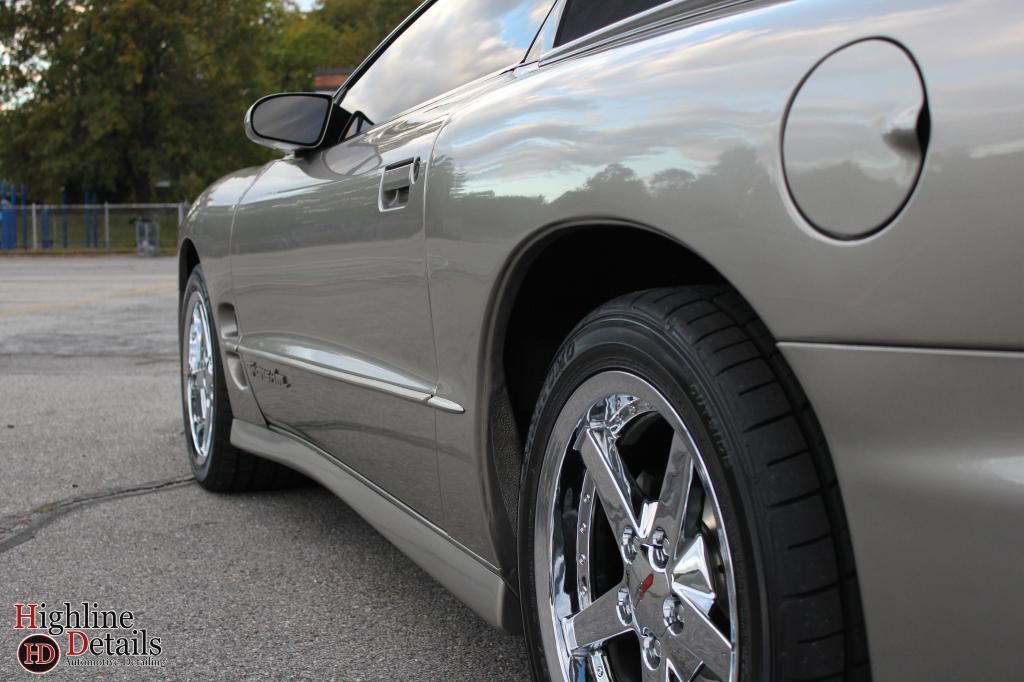


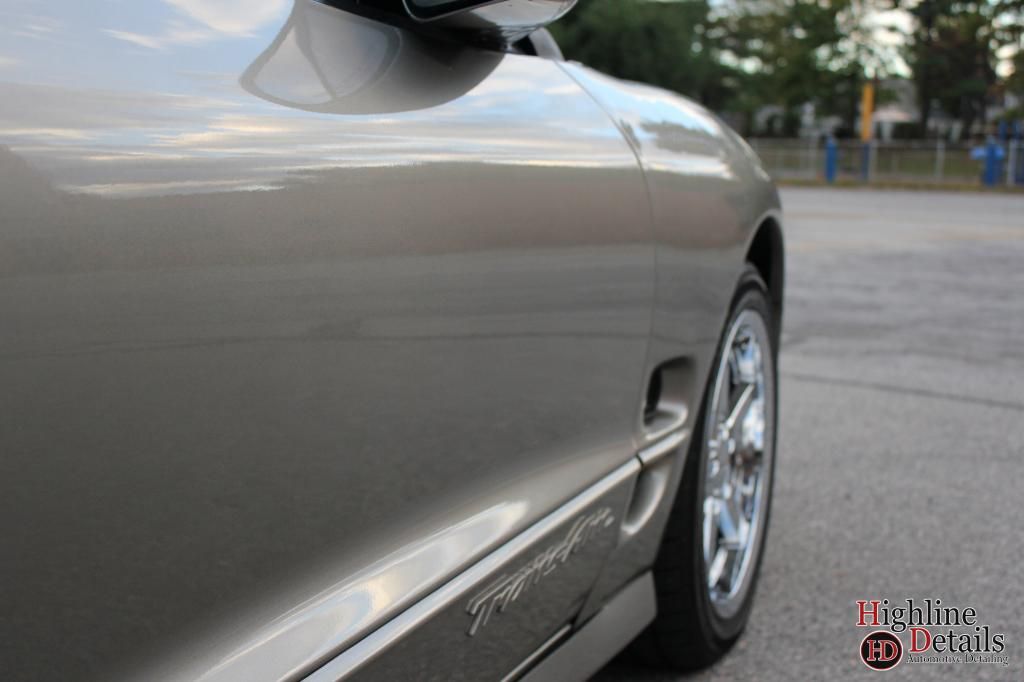
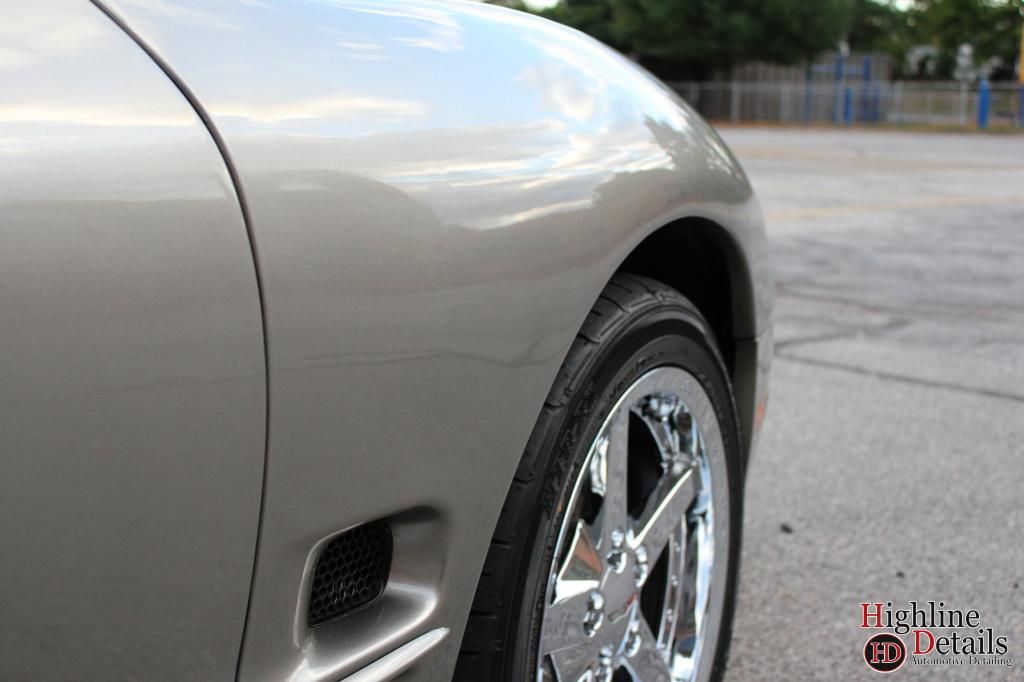
I'm very happy with how it came out. They couldn't believe how shiny this color could actually be! Overall, a very enjoyable car to work on, as always.
Thanks for looking, happy holidays everyone!
I thought you would enjoy some close up paint shots, like you guys generally do.This Trans Am was a victim of improper washing, drying, and waxing. When it rolled up, the car looked pretty great - definitely did not have a very deep depth of shine, but could hold it's own considering it's age. While washing it, a simple touch to the paint proved that it could definitely use a clay bar treatment. Once it was under the lights, it revealed that the vertical surfaces had quite minor swirls, I had a bit of trouble taking pics in some spots up against the LPM paint. The horizontal surfaces, however, were not so lucky. There were moderate swirls and a bunch of RIDS. Later on, the owner admitted to using a cheap applicator pad while pushing down a bit too hard on the horizontal surfaces.
Onto the business.
After a few test spots, I decided to use my porter cable 7424 with an orange pad and M105 on the horizontal surfaces that needed a bit more cut. The rest of the car was done with Menzerna SIP on an orange pad.
I only have a couple before pics. In the first you can see the minor swirling around the light. It's a bit hard to see with the color and the metallic flakes up close. In the second photo, the swirling on the hatch was equal in severity to those on the hood and upper fenders/doors/quarters.
After correction:
After LSP
I'm very happy with how it came out. They couldn't believe how shiny this color could actually be!
Overall, a very enjoyable car to work on, as always.Thanks for looking, happy holidays everyone!


TECH Junkie


Joined: Nov 2013
Posts: 3,913
Likes: 366
From: White Bear, Mn
Looks damn good man, I love doing paint correction, especially on vehicles with minor paint defects, light swirls, dull clear coat, and you make it look absolutely wicked looking, deep, wet looking paint that looks gorgeous in every angle of the sun


Trending Topics
Droptop is correct, it's just a joke lol.
Thank you!
Make sure you take some pics!