


Custom lighting project done
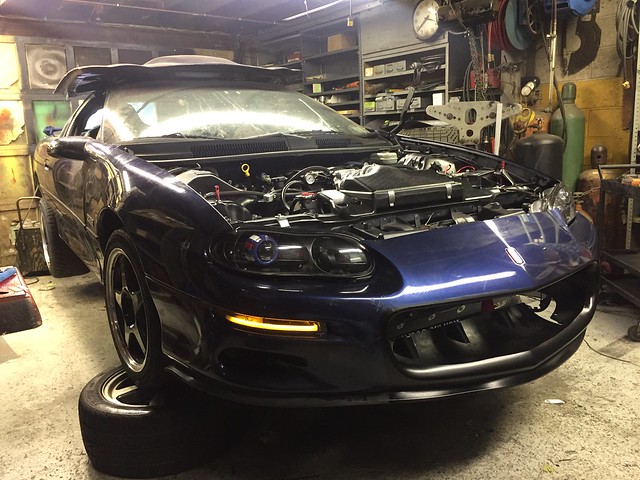
Carrying on my favorite past time of not concentrating on parts of the build and doing other little mods, i decided it was time for some lighting changes. In an effort to bring the 20 year old car into present day, it was time for some Projector headlights and LED switchback DRL/Turn Signals.
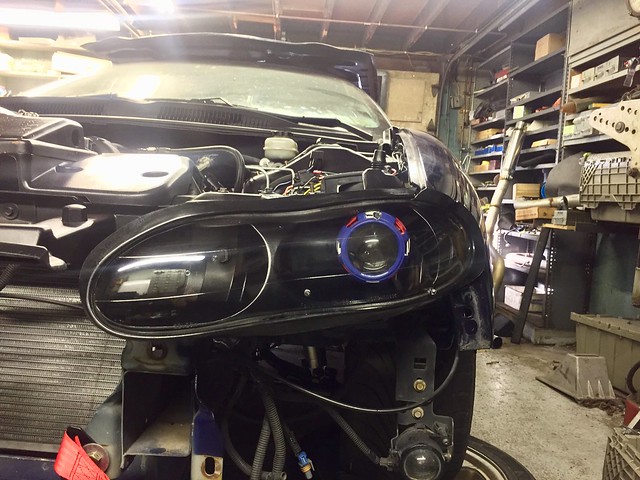
For the headlights i used DEPO housings, baked them apart and sprayed the entire housing satin black for the full black out look. Then retrofitted some projector lenses w. "Gatling gun" shrouds. Originally wanted to go with the full black out and spray the shrouds black, but decided to keep the theme of the car going in the lights. Stripped the chrome off the shrouds with oven cleaner, primed, and then layed down some red white and blue !
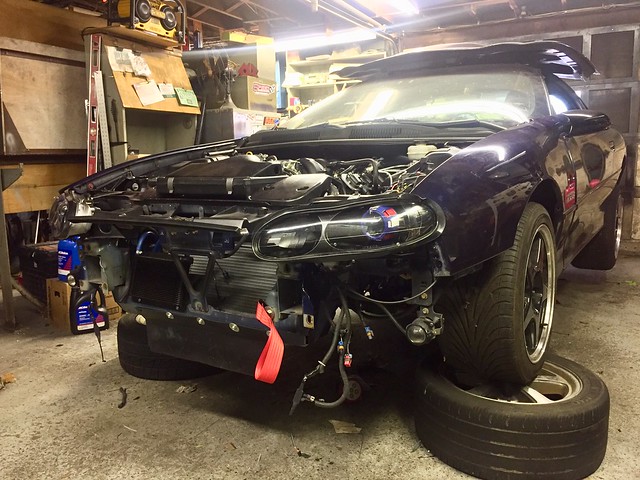
Results:
*sorry for the crap pics, its hard to get good pics with an iphone with the lighting.

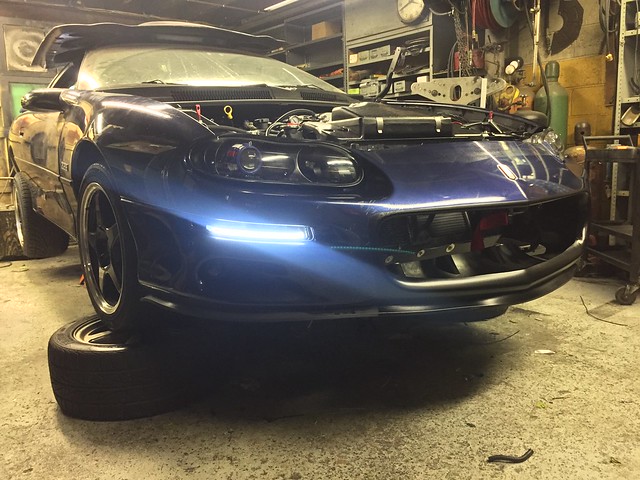
Now for the turn signals, i wanted something more than just tinted lenses or clear corners. Ended up picking up some LED tube lighting from Oracle, ya know, the same stuff they use on the Stance'd Diesel trucks. Ive had them on my jeep for over a year now, and its been smashed threw woods, water, mud and snow and they have not even flickered. Was tossing around a few ideas of how to lay out the light, but decided plain jane straight was the best way to go about it. I wasnt really sure how it was going to look in the first place, so i opted for the most simple lay out.
I made my first set of these a while back, but was not happy with the quality of them. I used the bracket/clips that come with them to keep them in place in the housing, but that resulted it a very "notchy" and not quiet as flowing as id like.
Ended up spending a saturday at work redoing them with some tips from the lighting god(BLS) and they came out much better.
DRLs will be on whenever the key has power. They switch to amber when turn signals/hazards are applied.
Off
Amber for turn signal/Hazard
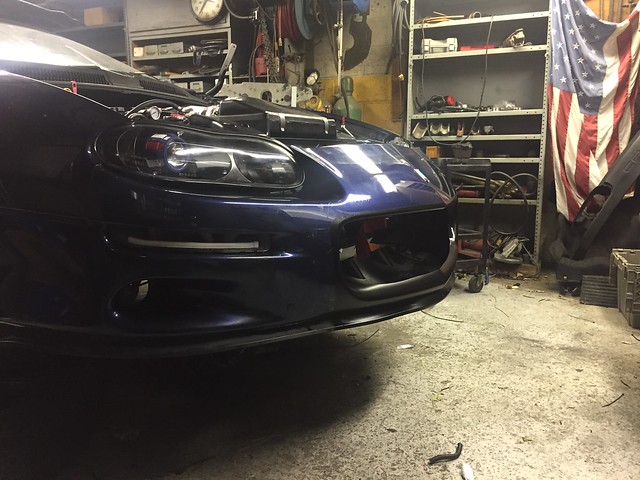
DRL only
DRL only light output

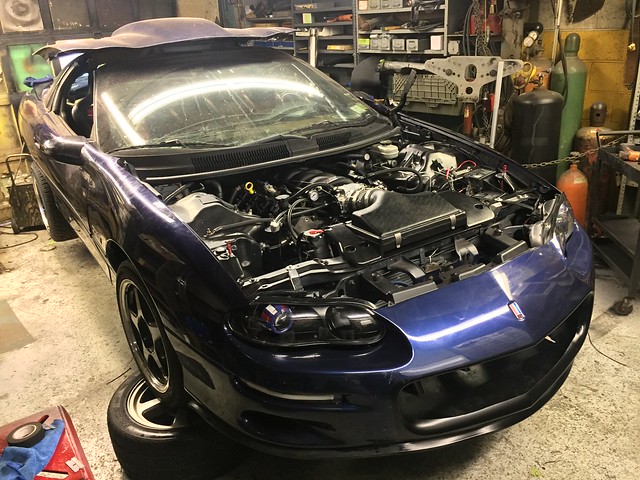
DRL + Headlights

special thanks to BLS for dealing with my dumb questions.
im sure they arent eveyones cup of tea. Actually, im not even sure if i like em that much. But hey, its something different!
For the headlights i used DEPO housings, baked them apart and sprayed the entire housing satin black for the full black out look. Then retrofitted some projector lenses w. "Gatling gun" shrouds. Originally wanted to go with the full black out and spray the shrouds black, but decided to keep the theme of the car going in the lights. Stripped the chrome off the shrouds with oven cleaner, primed, and then layed down some red white and blue !
Results:
*sorry for the crap pics, its hard to get good pics with an iphone with the lighting.
Now for the turn signals, i wanted something more than just tinted lenses or clear corners. Ended up picking up some LED tube lighting from Oracle, ya know, the same stuff they use on the Stance'd Diesel trucks. Ive had them on my jeep for over a year now, and its been smashed threw woods, water, mud and snow and they have not even flickered. Was tossing around a few ideas of how to lay out the light, but decided plain jane straight was the best way to go about it. I wasnt really sure how it was going to look in the first place, so i opted for the most simple lay out.
I made my first set of these a while back, but was not happy with the quality of them. I used the bracket/clips that come with them to keep them in place in the housing, but that resulted it a very "notchy" and not quiet as flowing as id like.
Ended up spending a saturday at work redoing them with some tips from the lighting god(BLS) and they came out much better.
DRLs will be on whenever the key has power. They switch to amber when turn signals/hazards are applied.
Off
Amber for turn signal/Hazard
DRL only
DRL only light output
DRL + Headlights
special thanks to BLS for dealing with my dumb questions.
im sure they arent eveyones cup of tea. Actually, im not even sure if i like em that much. But hey, its something different!
Nice, I just started install the set from BLS I got and I was able to space the bracket over 1/4" to make things better, but the lower part still has a big gap. Did yours seal up all the way around?
Thank you !
That is awesome! I have so many questions.
If you want, can you share how you connected the LED for DRLs/ switchback turn signal? Was it a connector or TTap connectors?
Are leds inside the housing or outside?
Did you upgrade the flasher?
Also what projector and hid set up did you go with?
thanks
If you want, can you share how you connected the LED for DRLs/ switchback turn signal? Was it a connector or TTap connectors?
Are leds inside the housing or outside?
Did you upgrade the flasher?
Also what projector and hid set up did you go with?
thanks
I dont mind sharing at all. They are connected pretty simple. The LEDs come with a control unit i guess you can call it. Has a black, red and yellow wire coming from it. Black ground, Red is the white LED power, yellow is the amber power. I completely cut out the stock turn signal bulb holder so i was left with a brown wire, black wire, and a blue wire. (light blue on DS, dark blue on PS)
Black to Black
Yellow to Blue
I wanted the DRLs to be on whenever the key has power, so instead of just while the car is on and headlights on, so i used a T tap to tap into a 12v key hot power wiring under the fuse box. And sent the power to each of the red power wires.
Soldered a 3 pin watertight connector to each side of the wiring, so now i can just plug and unplug when bumper removed.
-LED are inside of the housing. Baked them and pulled the senses off. Mounted the tubes inside and then resealed. Sealed the unused bulb holder holes by cutting up some ABS plastic to shape, and water tighted with silicon.
-No changes to the flasher, DRL module or anything
-Morimoto H1 projector with Amazon Prime Special HID kit

Heres a link to the tubes.
https://www.summitracing.com/parts/o...MaAuK_EALw_wcB
They are a flexible rubble tube that have 2 strands of LEDs side them. Very flexible and can be cut to length. Very simple to wire as well.
Trending Topics
I'd love to put some.in my GTO head lights I have something similar in my firebird now but I like that these are switchbacks and seem a bit brighter than what I have.
Thanks for sharing!
Thanks for sharing!
LS1 Tech Stories
The Best V8 Stories One Small Block at Time

Topdon ONE vs. Artidiag 800 BT2: Which is the Diagnostic Tablet For You?
Pouria Savadkouei
Gas Monkey Built a 6-Wheel Ferrari Testarossa With a Corvette LT4 Engine
Verdad Gallardo
7 Most Reliable High-Performance Engines GM Has Ever Built
Verdad Gallardo
Amazing '71 Camaro Restomod Is Modern Muscle Car Under the Skin
Verdad Gallardo
6 Common C5 Corvette Failures and What's Involved In Repairing Them
Pouria Savadkouei
Retro Modern Bandit Pontiac Trans AM Comes With Burt Reynolds' Autograph
Verdad Gallardo
Top 10 Greatest Cadillac V Series Performance Models Ever, Ranked
Pouria Savadkouei
Top 10 Most Powerful Chevy Trucks Ever Made!


