
How to install ROUND 1969 Style FOGLIGHTS in GRILLE...


Thread Starter
Banned
iTrader: (56)
Joined: Jul 2004
Posts: 12,637
Likes: 4
From: Valley Village, CA
UPDATE: Go here for any questions or updates... http://6litereaterdesigns.com/forum/...php?topic=33.0
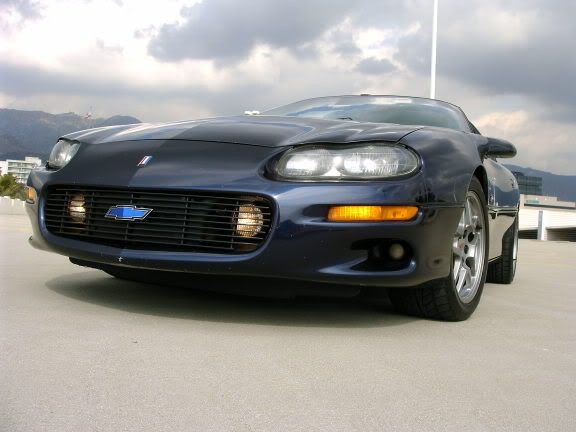
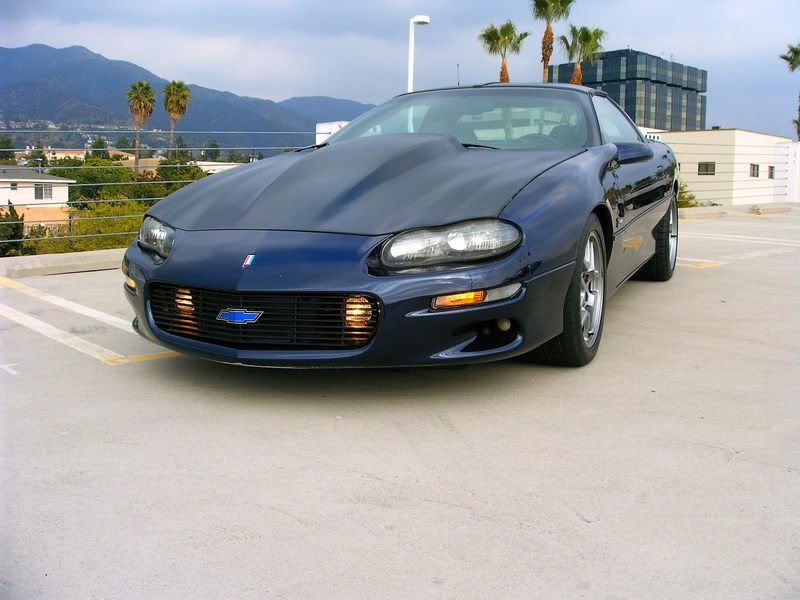
The above pic is of my 1998 NBM Z28.
After posting pics of it MANY people have asked how I did it, what lights did I use, etc... So I am just going to put as much info as I can into this thread to hopefully help everyone out.
Here we go !
!
I started off looking for full foglight kits. I got one from Pepboys (a 5" size kit) that looked like crap so I took it back.
So I went to Kragen and found better looking and better sized lights (they are actually flood lights) that look like they could have come from the factory.
I like these lights the best because they have a black housing and textured glass and remind me of the First-Gen lights.
With that said here's the parts you need to do what I did:

Here's what I have, two flood lights, wiring harness, stock foglight switch (that I put blue led's in like the rest of my interior).
And the install begins... I removed the plastic grille, cut the styrofoam out with a steak knife, sprayed behind it black (my frame was blue), and drilled a hole up high on the metal so the bracket would tuck behind the bumper out of site.
TIP 1: Secure the bracket to the flood/fog light with the bolt (that mounts the bracket to the fram) already through the hole. Go ahead and tighten the nut that came with it onto the bolt to hold it in place to the bracket.
TIP 2 : I bought extra nuts and washers to put on the bracket that mounts the light to the frame. I did this because the surface that you are mounting it to is unven. If you just drill a hole, stick the bolt through and tighten the nut the lights will point up. Therefore you must space it away from the frame by putting a nut (or two) on the bolt first, then sliding it through the drilled whole and securing it with a nut (and lock washer) from the other side.

Here's another crappy pic:

Both lights in:

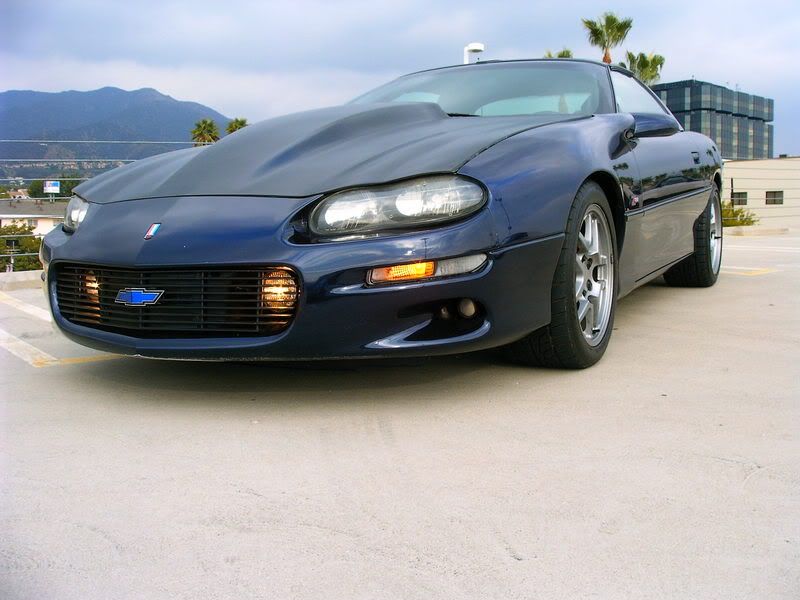
Here it is with the grille installed:

Now that the lights are mounted follow the instructions with the foglight wiring kit and hook them up.
I grounded the two black wires on the lights, spliced their power wires together and hooked them to the accessory wire in the foglight wiring harness.
That goes to the relay. Ground the relay, hook it to a constant 12v power source and run it's "switched" wire into your car.
I ran the wire into the car on the passenger side where the computer wires go though.
I wired it to a factory foglight switch that I mounted next to the real factory foglight switch. It draws power from the switched 12v ignition (you can plug a wire right into your fuse box).
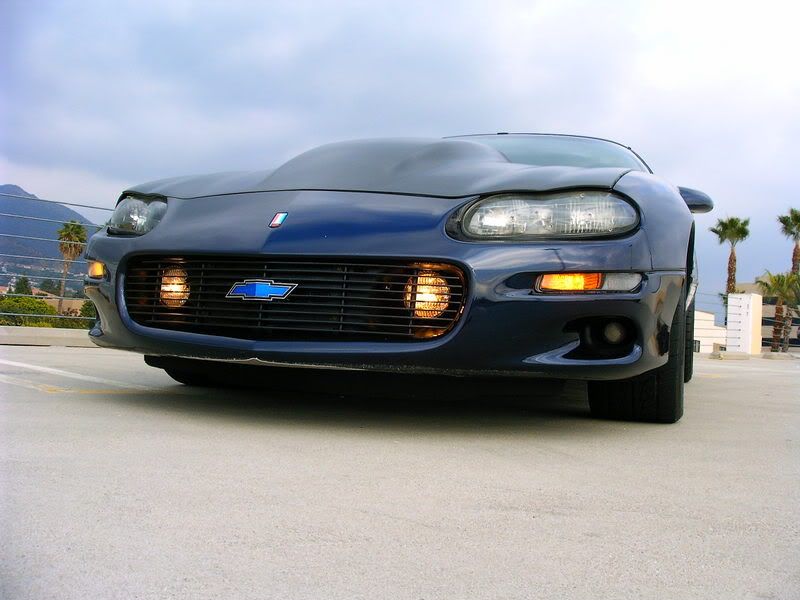
Now that it 's all wire up, HIT THE SWITCH !
!

Lights on!

Finally, the beast in all it's glory!

EDIT: Here's new pics with the lights on (since the above ones are gone):
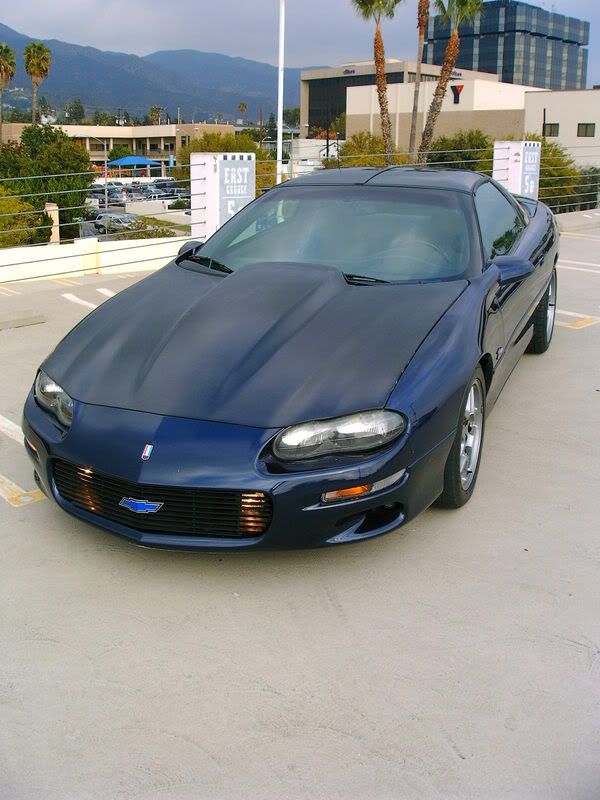
The above pic is of my 1998 NBM Z28.
After posting pics of it MANY people have asked how I did it, what lights did I use, etc... So I am just going to put as much info as I can into this thread to hopefully help everyone out.
Here we go
!I started off looking for full foglight kits. I got one from Pepboys (a 5" size kit) that looked like crap so I took it back.
So I went to Kragen and found better looking and better sized lights (they are actually flood lights) that look like they could have come from the factory.
I like these lights the best because they have a black housing and textured glass and remind me of the First-Gen lights.
With that said here's the parts you need to do what I did:
Here's what I have, two flood lights, wiring harness, stock foglight switch (that I put blue led's in like the rest of my interior).
And the install begins... I removed the plastic grille, cut the styrofoam out with a steak knife, sprayed behind it black (my frame was blue), and drilled a hole up high on the metal so the bracket would tuck behind the bumper out of site.
TIP 1: Secure the bracket to the flood/fog light with the bolt (that mounts the bracket to the fram) already through the hole. Go ahead and tighten the nut that came with it onto the bolt to hold it in place to the bracket.
TIP 2 : I bought extra nuts and washers to put on the bracket that mounts the light to the frame. I did this because the surface that you are mounting it to is unven. If you just drill a hole, stick the bolt through and tighten the nut the lights will point up. Therefore you must space it away from the frame by putting a nut (or two) on the bolt first, then sliding it through the drilled whole and securing it with a nut (and lock washer) from the other side.
Here's another crappy pic:
Both lights in:
Here it is with the grille installed:
Now that the lights are mounted follow the instructions with the foglight wiring kit and hook them up.
I grounded the two black wires on the lights, spliced their power wires together and hooked them to the accessory wire in the foglight wiring harness.
That goes to the relay. Ground the relay, hook it to a constant 12v power source and run it's "switched" wire into your car.
I ran the wire into the car on the passenger side where the computer wires go though.
I wired it to a factory foglight switch that I mounted next to the real factory foglight switch. It draws power from the switched 12v ignition (you can plug a wire right into your fuse box).
Now that it 's all wire up, HIT THE SWITCH
!Lights on!
Finally, the beast in all it's glory!
EDIT: Here's new pics with the lights on (since the above ones are gone):
Last edited by 6LITEREATER; Oct 11, 2008 at 01:39 PM.

Thread Starter
Banned
iTrader: (56)
Joined: Jul 2004
Posts: 12,637
Likes: 4
From: Valley Village, CA
Originally Posted by Havok2
are those 4" or 5"?
Trending Topics


Thread Starter
Banned
iTrader: (56)
Joined: Jul 2004
Posts: 12,637
Likes: 4
From: Valley Village, CA
Originally Posted by Z28_DAD
i missed this thread the first time, so i appreciate it.
ill be doing this soon
ill be doing this soon
 !
! Thread Starter
Banned
iTrader: (56)
Joined: Jul 2004
Posts: 12,637
Likes: 4
From: Valley Village, CA
Originally Posted by GR33N GoblinM6
did you at least disconnect the factory fogs? why have 4 lights?


