**Specialized Stainless Camaro Build**

 lol
lol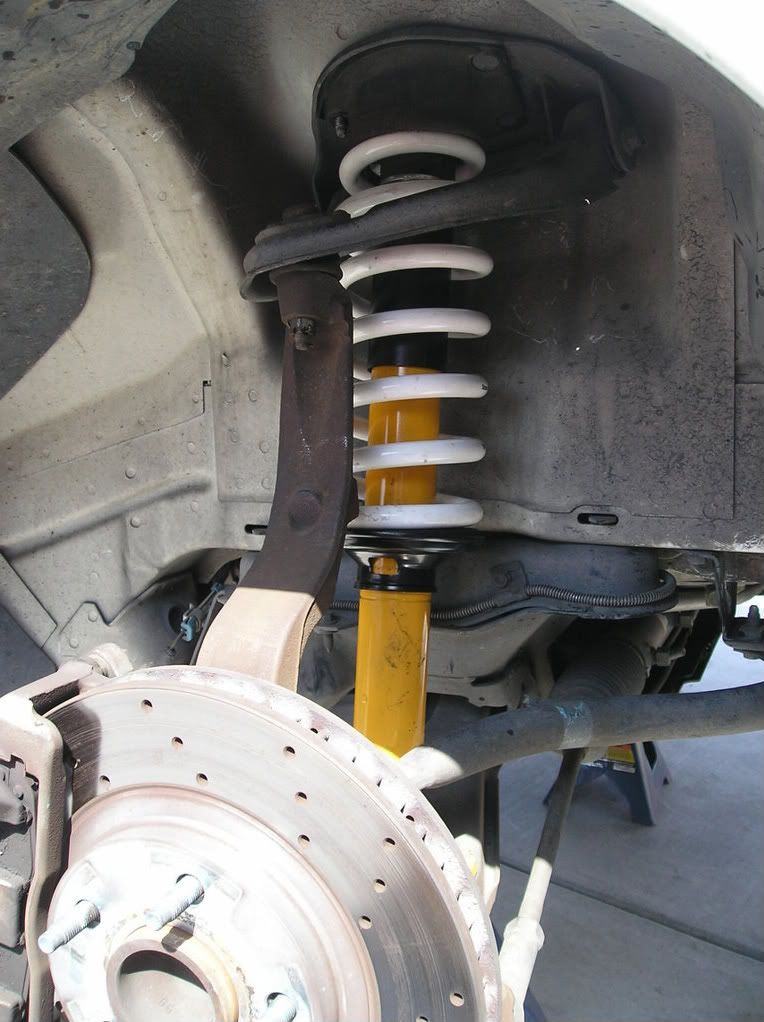
 04-24-2008, 06:11 PM
#225
Can not wait to see the results of your hard work. The suspense is killing me
 04-24-2008, 08:20 PM
#228
FormerVendor
Thread Starter
iTrader: (15)

Join Date: Jun 2006
Location: Los Angeles, CA
Posts: 2,689
Likes: 0
Received 0 Likes
on
0 Posts
I rented the only one they had at my local Autozone. I know there's the other spring compressor but they didn't have one for rent and I'm not going to buy one to only use it once...
04-24-2008, 08:37 PM
#229
Oh ok. I guess it was the standard threaded rod type of compressor with the claws. My mechanic had the clamshell type. It adjusts easily to the shape of the spring and then with an impact wrench it cinches down on both sides equally and in 10 seconds flat the spring is compressed. Loosen the nut and relieve tension. Next time I go to swap out springs I am going to buy this type of compressor. They can be had for $120 and will last forever.
Keep up the good work on the buildup. I like your taste in mods.
Keep up the good work on the buildup. I like your taste in mods.
 04-24-2008, 09:21 PM
#231
Staging Lane
iTrader: (16)

Join Date: Jan 2007
Location: Tennessee
Posts: 70
Likes: 0
Received 0 Likes
on
0 Posts

On my car the worst part was trying to get the nuts off of the top of the shocks, they were rusted together! I had to bust the nuts with a hammer and chisel, then threw the factory shocks in the trash!
04-24-2008, 09:30 PM
#232
FormerVendor
Thread Starter
iTrader: (15)
Join Date: Jun 2006
Location: Los Angeles, CA
Posts: 2,689
Likes: 0
Received 0 Likes
on
0 Posts
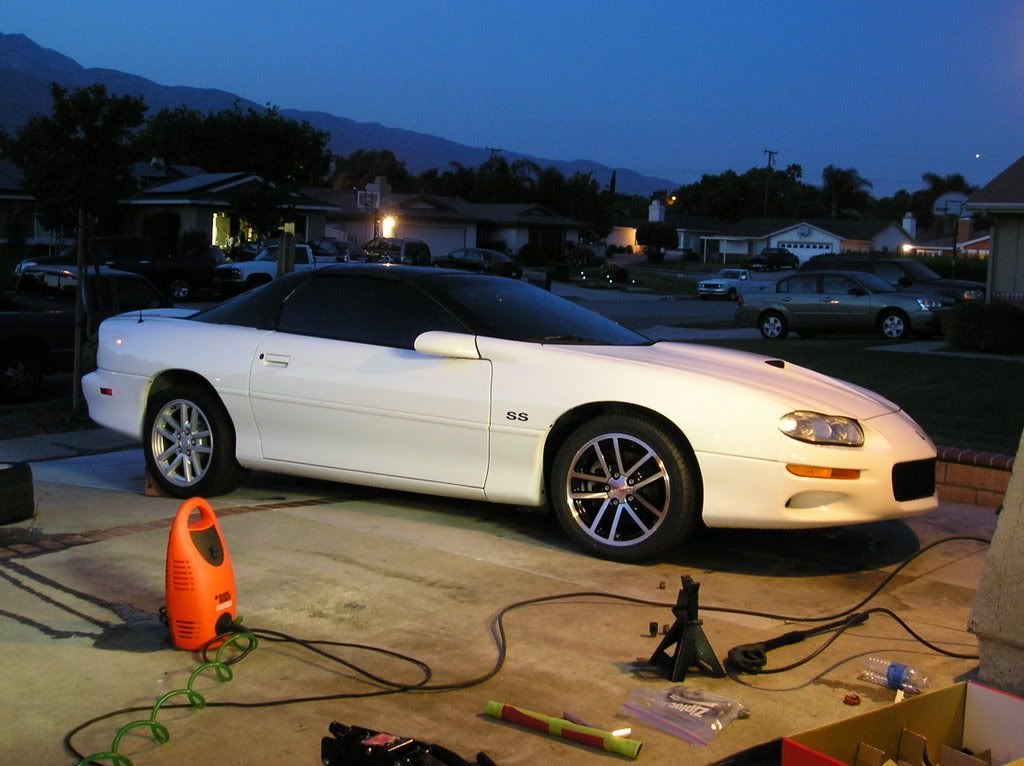
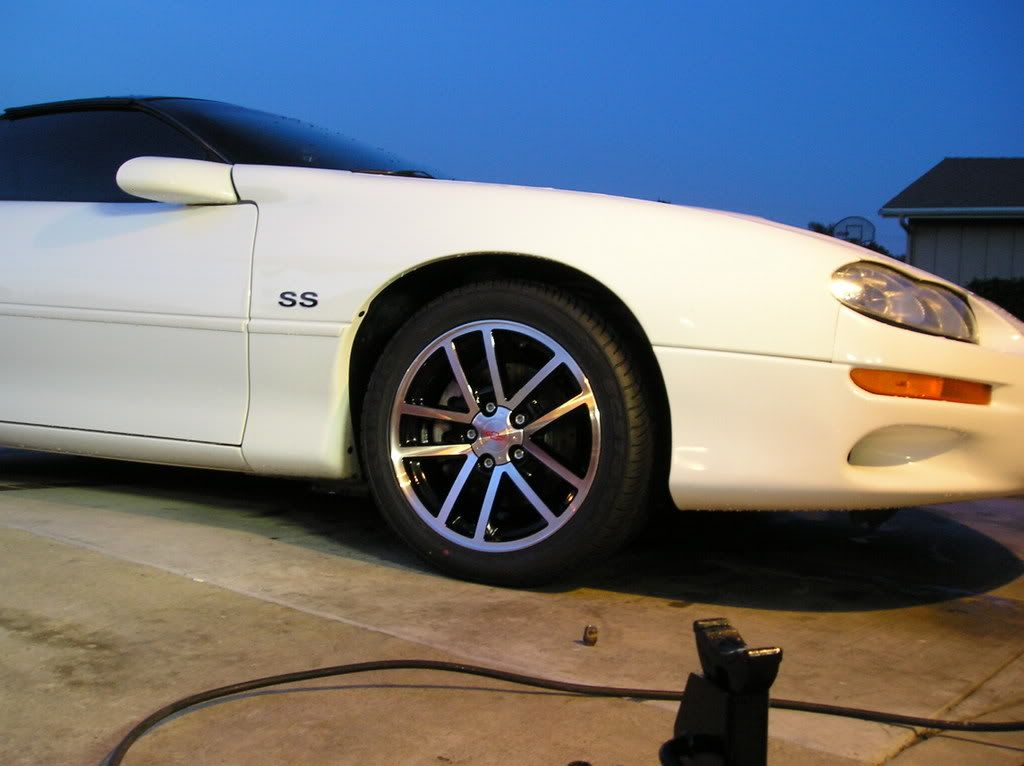
Finished the other side and cleaned up the wheel wells a little. I'll tackle the rears tomorrow 
This is my first time ever working on the suspension of an my Camaro. After I finished the passenger side front, the drivers side front went a lot smoother. Only hitch was pulling the brake fluid reserviour back to loosen the T-50 bolt that sits under it. The rears look pretty simple...
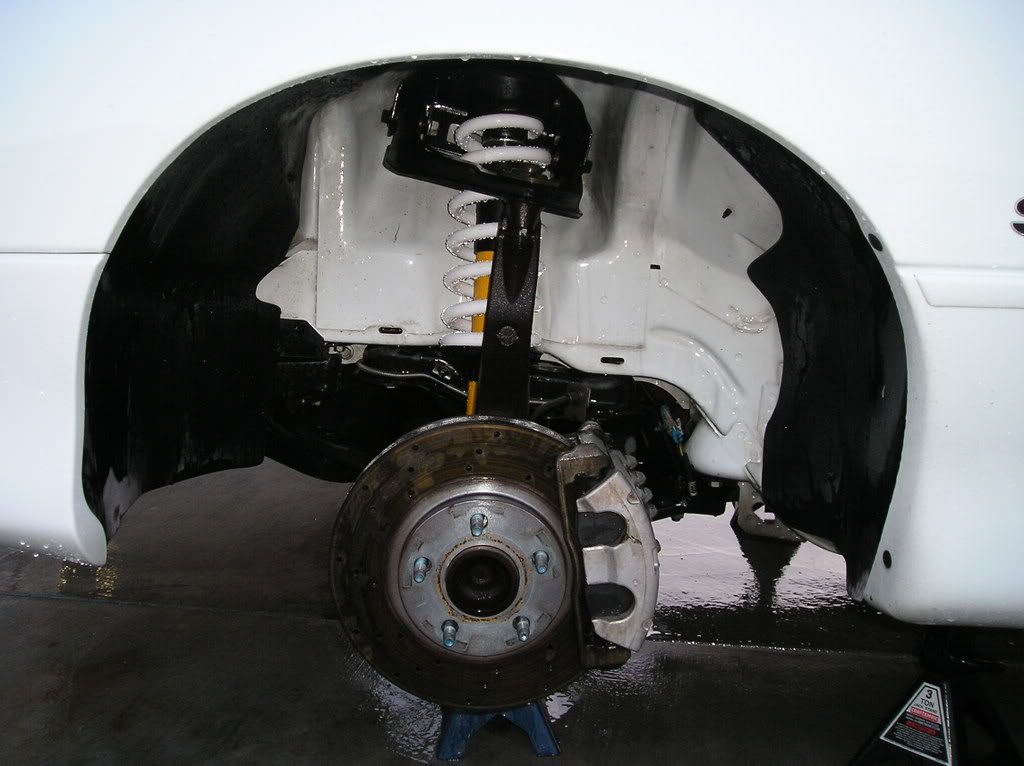
This is my first time ever working on the suspension of an my Camaro. After I finished the passenger side front, the drivers side front went a lot smoother. Only hitch was pulling the brake fluid reserviour back to loosen the T-50 bolt that sits under it. The rears look pretty simple...

 04-24-2008, 11:21 PM
#239
Launching!

Join Date: Aug 2006
Location: KATY 28!/ UTSA
Posts: 262
Likes: 0
Received 0 Likes
on
0 Posts
congrats that looks amazing, i will be buying a new guage cluster from u as soon as sumer hits and i am out of school, mine a lil foggy looking im guessing the guy before me sprayed somthing on it that srcewed it up