

4l60e re-fresh with pics

 03-02-2010, 07:31 PM
#22
Launching!
Join Date: Feb 2010
Location: south florida
Posts: 285
Likes: 0
Received 0 Likes
on
0 Posts
You really need to put a collar over the splines of the input drum.Sonnax makes it, also do not use the 3-4 load springs if you are putting the high rev kit that comes in the hd-2 kit.
03-02-2010, 07:45 PM
#23
As far as the 3-4 load springs go, they will always be in any transmission(4l60e) I do. I will never use the stiff return springs in the apply piston area, it just isn't a problem with my tranny. The load springs that install along side of the 3-4 pack just makes sense to me, Its seems like they "help" the pressure plate return with the #7 apply ring to keep the 3-4 from dragging.
There is many different ways to assemble this tranny and many high performance places even do it differently. I think this way works best for me, although I cannot say other ways are not as good.
Thanks for the response and keep checking for more photos as I near the end of this build.
03-03-2010, 07:19 AM
#24
Launching!
Join Date: Feb 2010
Location: south florida
Posts: 285
Likes: 0
Received 0 Likes
on
0 Posts
The sleeve & collar is just extra insurance it does not take alot of power to break the drum alot of times it is driving habits that breaks it.As far as the load springs on a stock rebuild you do leave them in but the hi rev kit is also insurance that you don't have any issues in the future.It's not always alot of power that kills these trans. I don't think you are doing the upgrades because you don't beat on your car at all. I am just saying while you are in the trans you should give it every chance to live as long as possible.


 03-03-2010, 09:34 PM
#31
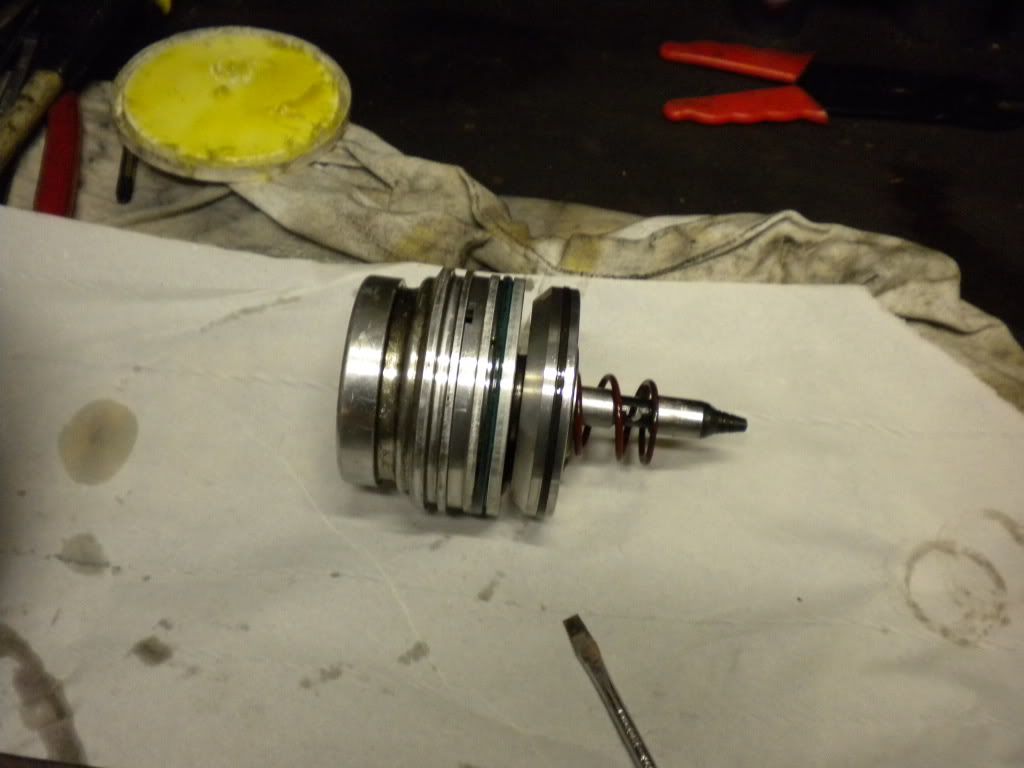
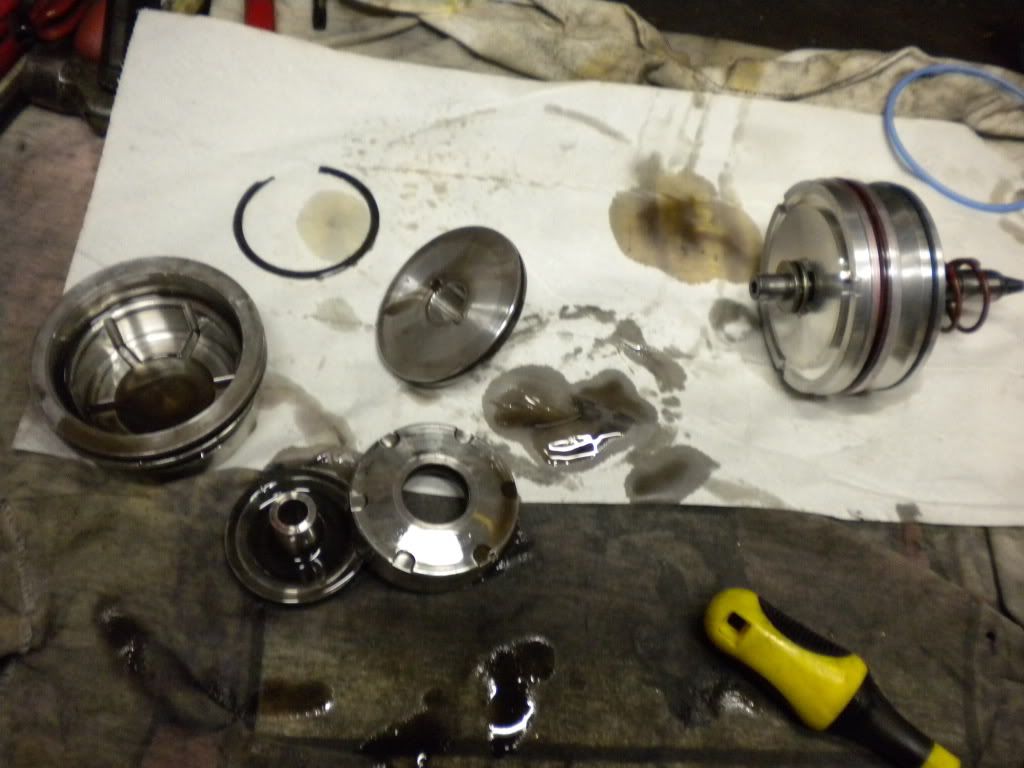
Now you can see the teflon seals, never use the slotted style, they can and probably will create a cross leak.
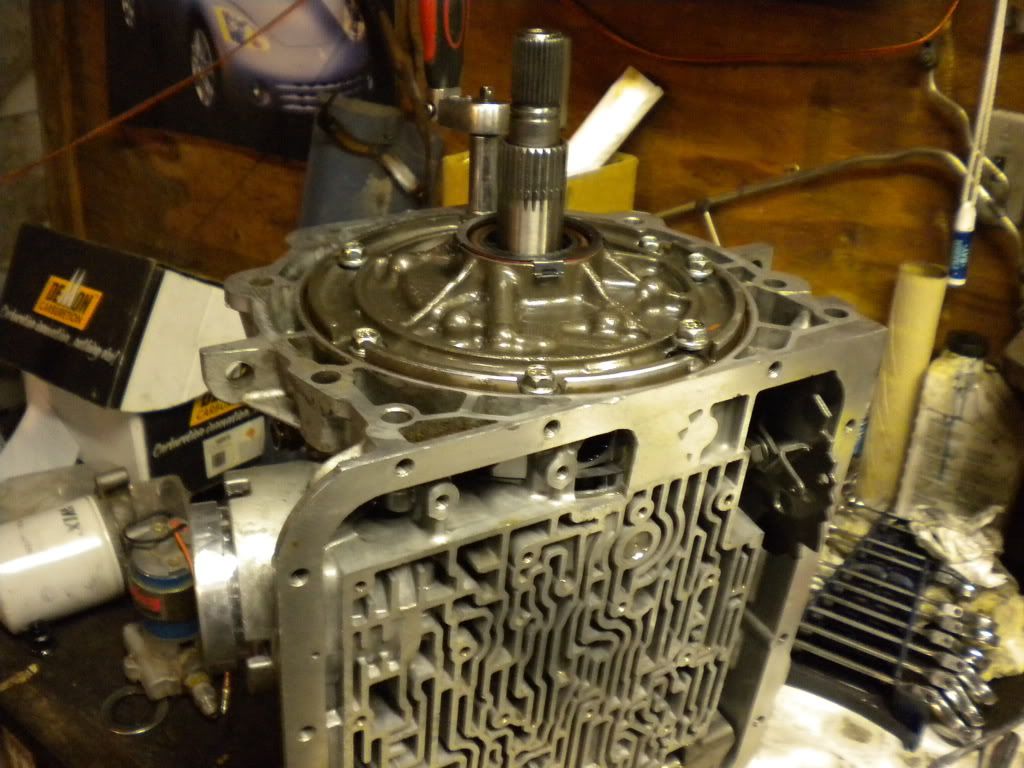
The reverse input drum sits on top of the input drum, lots of wiggling to get all the clutches to spline in. Then pick up the entire set and again wiggle, move, shake it to get the splines and sun gear to mesh into the case. You know your have seated them by the reverse drum sitting lower then the pump mating surface(where my finger is) also you can hold down on the reverse drum, and you will be able to lift up on the input shaft about 3/8 inch or so.
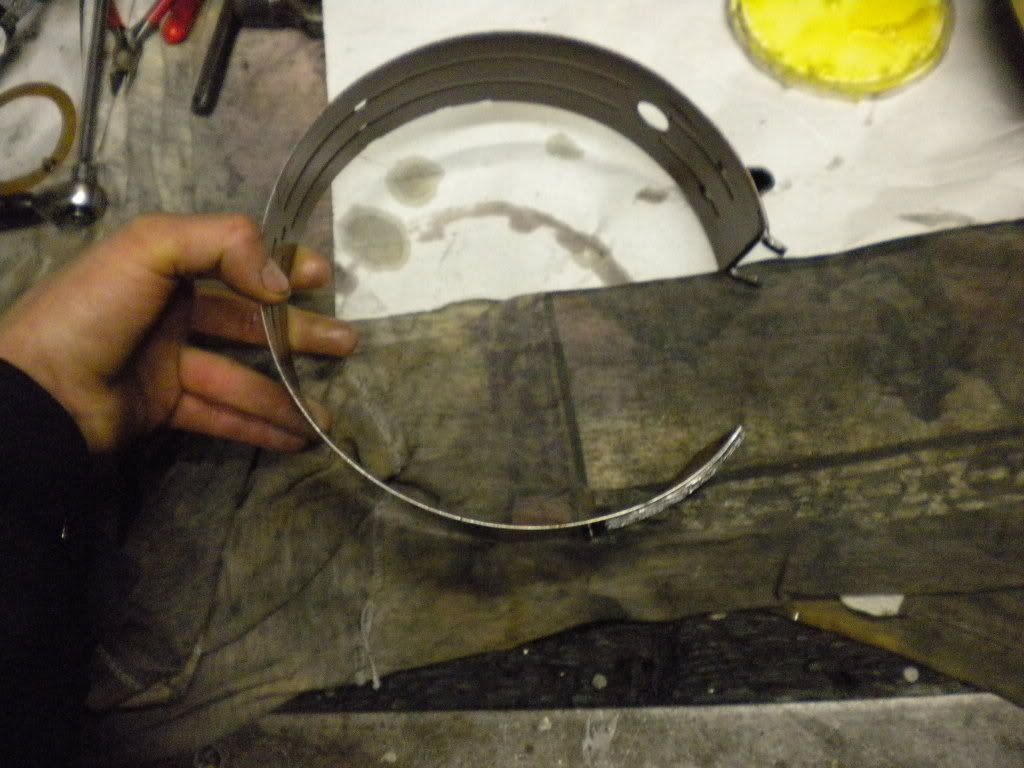
Some people put the band in first, but I have always been able to install it after the drums are in. Now install the band pin.
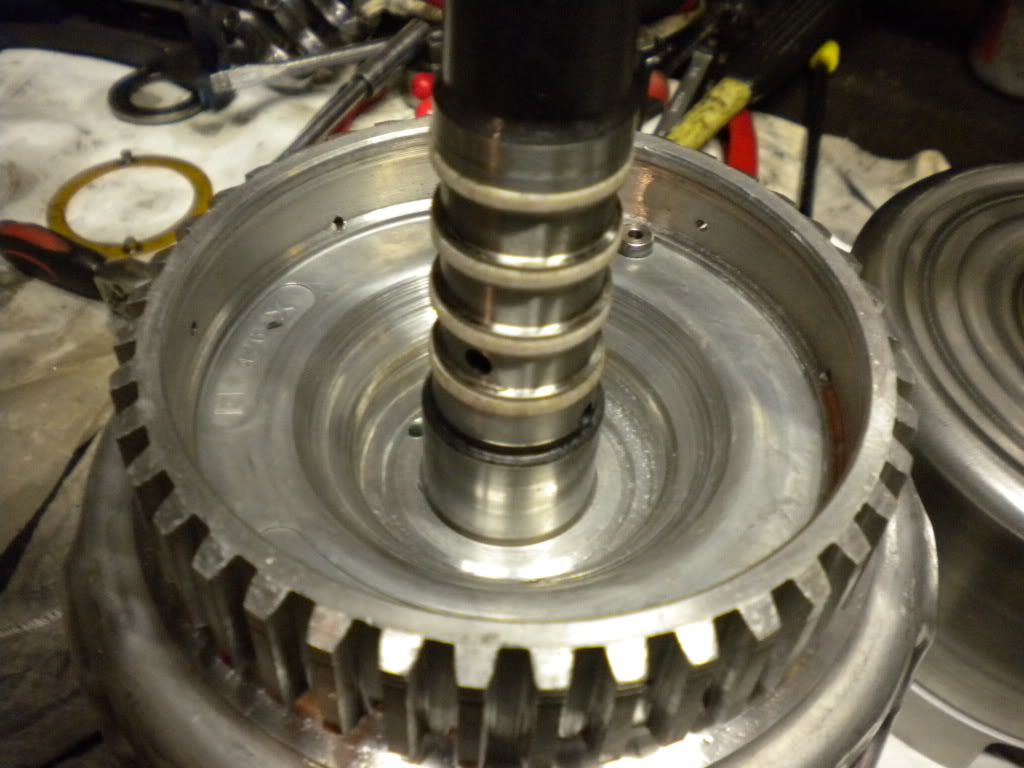
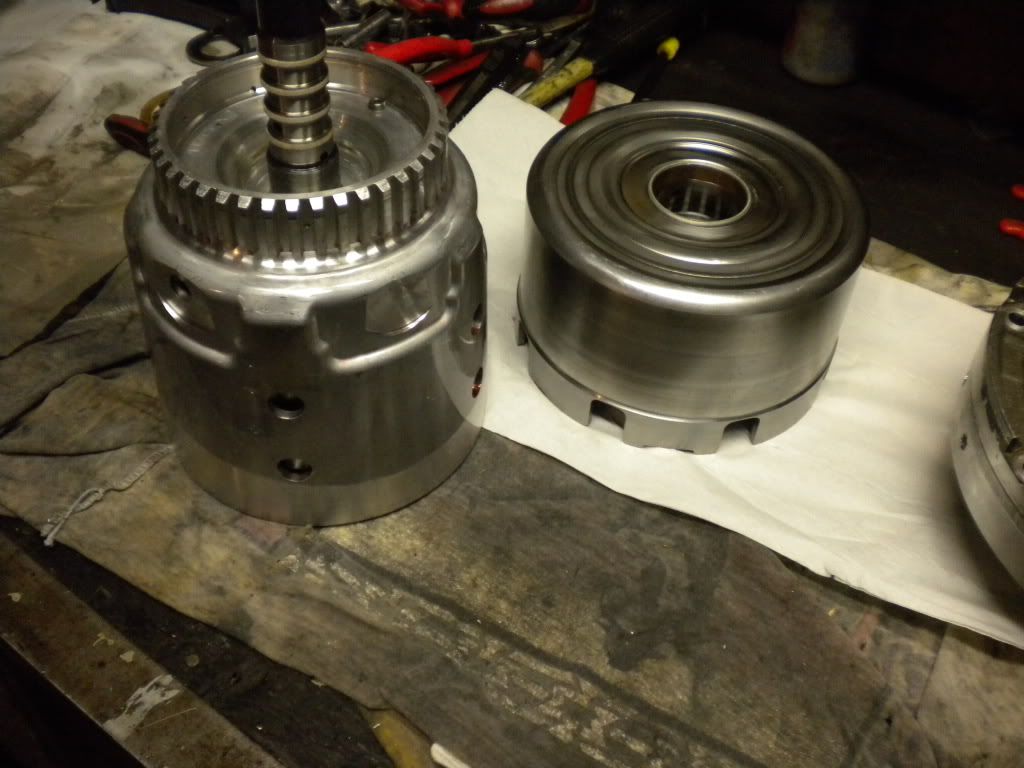
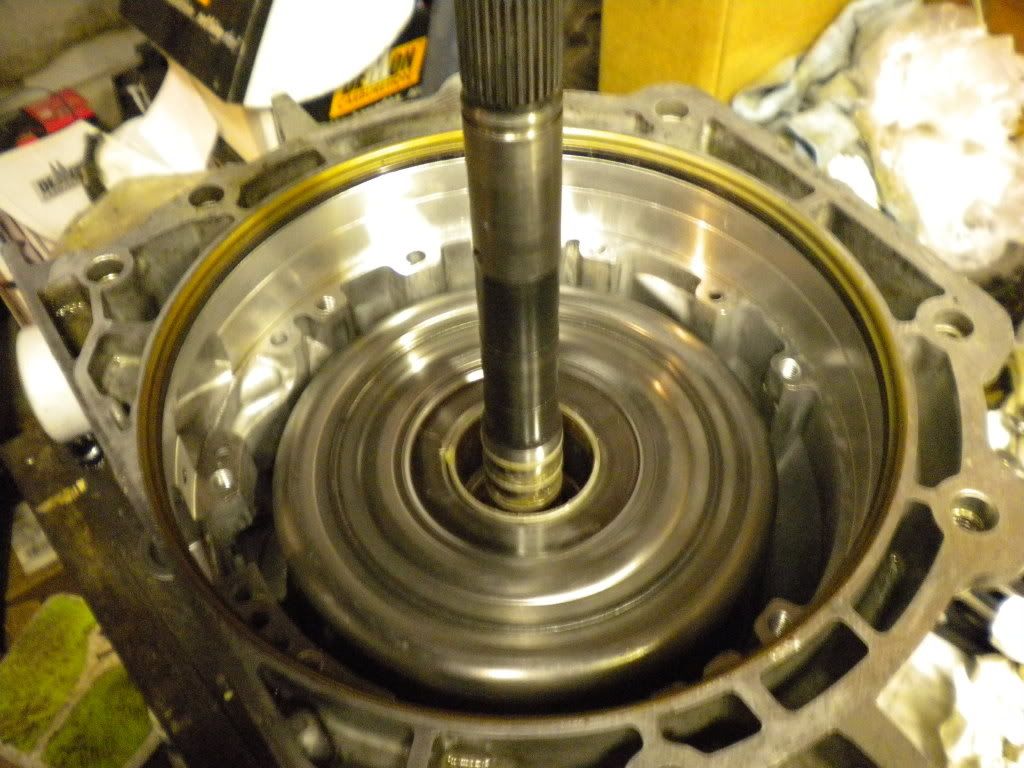
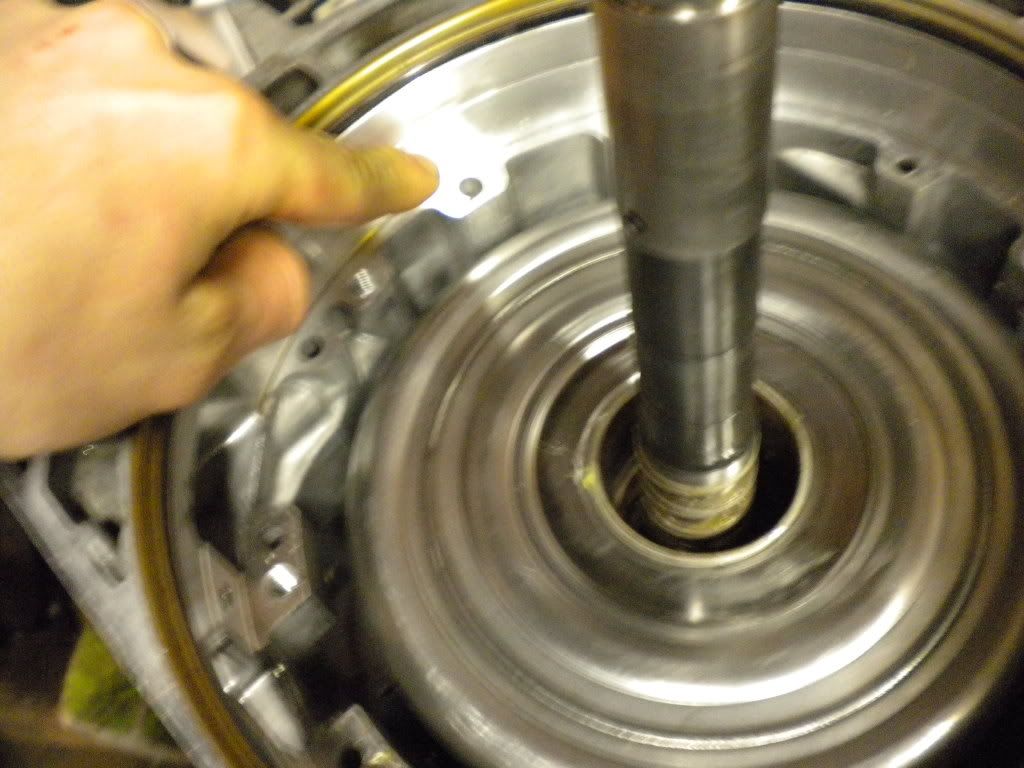
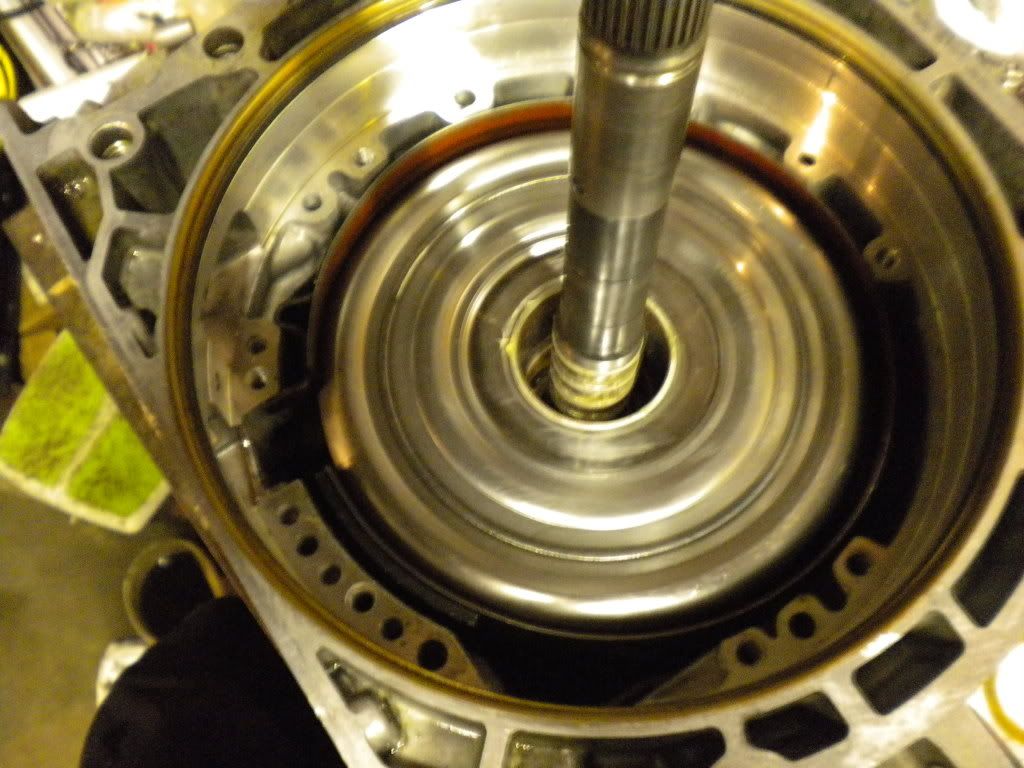
The reverse input drum sits on top of the input drum, lots of wiggling to get all the clutches to spline in. Then pick up the entire set and again wiggle, move, shake it to get the splines and sun gear to mesh into the case. You know your have seated them by the reverse drum sitting lower then the pump mating surface(where my finger is) also you can hold down on the reverse drum, and you will be able to lift up on the input shaft about 3/8 inch or so.
Some people put the band in first, but I have always been able to install it after the drums are in. Now install the band pin.
03-03-2010, 09:46 PM
#33
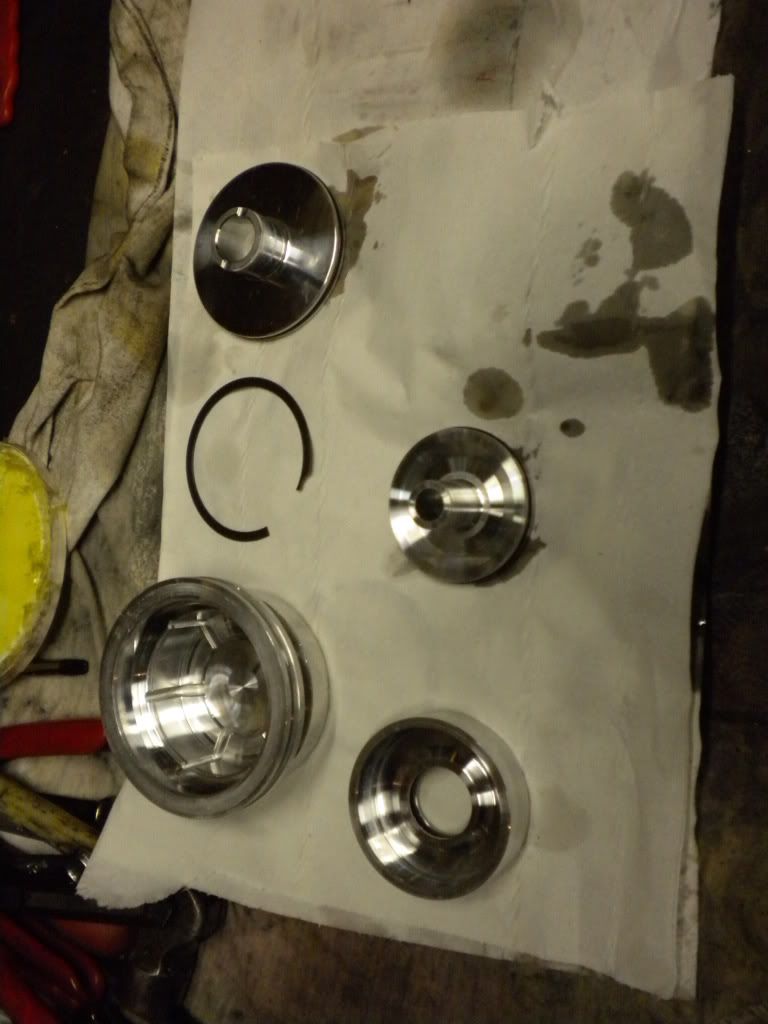
This is one of my favorite upgrades for the 4l60e...The sonnas billet 2nd gear super servo(so I can chirp second and pull away from cobras) and the fairbanks 4th gear dual piston that provides extra strong apply for 4th gear...with this you can set 4th to engage earlier and if you have the tq you can putt around at speeds as low as 40mph and save gas. The company claims if you have a truck you can tow 6,000lbs in OD...IDK
2nd and 4th gear use the same and only band in this tranny, having strong servos is a must in my book. Here I have the wide band, used with a new(ish) drum that is not damaged at all and is perfectly flat.
With these servos being pretty new I was just able to clean them up, seals looked good and were not brittle or hard. I was able to replace the 2 bigger o-rings that was in my rebuild kit. But keep in mind a normal rebuild kit will not supply new seals for these servos, you may have to contact the company or a certain supplier.
03-03-2010, 09:49 PM
#34
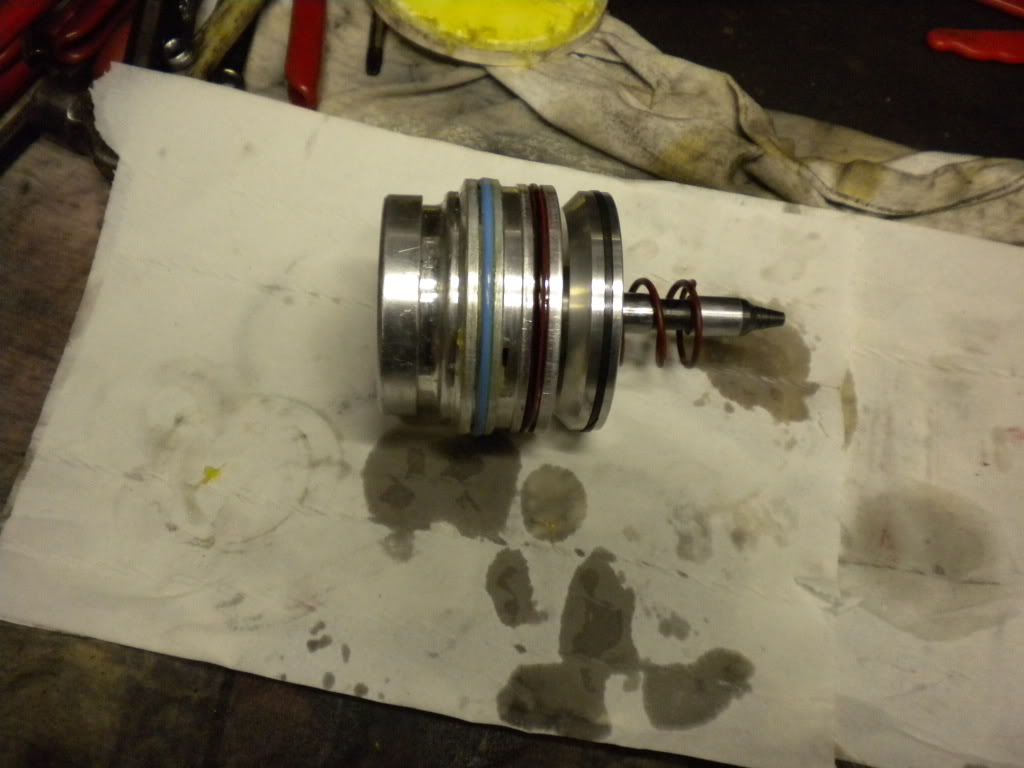
Air test here and watch the band apply for second gear...should return fast as well, I only use 30psi. Also there is a 4th gear air test hole but its hard to see in this photo....always air test these and all others so you know the seals are doing their jobs!!!!!!

 03-04-2010, 12:32 AM
#36
The input shaft should turn by hand and have some end play, I checked mine at .015, I think spec is .012-.030 or so. Also check the output shaft. Make sure you can spin it in both directions, some screaching noise may be heard, and spinning it one way will be harder then the other.
03-05-2010, 01:13 AM
#37
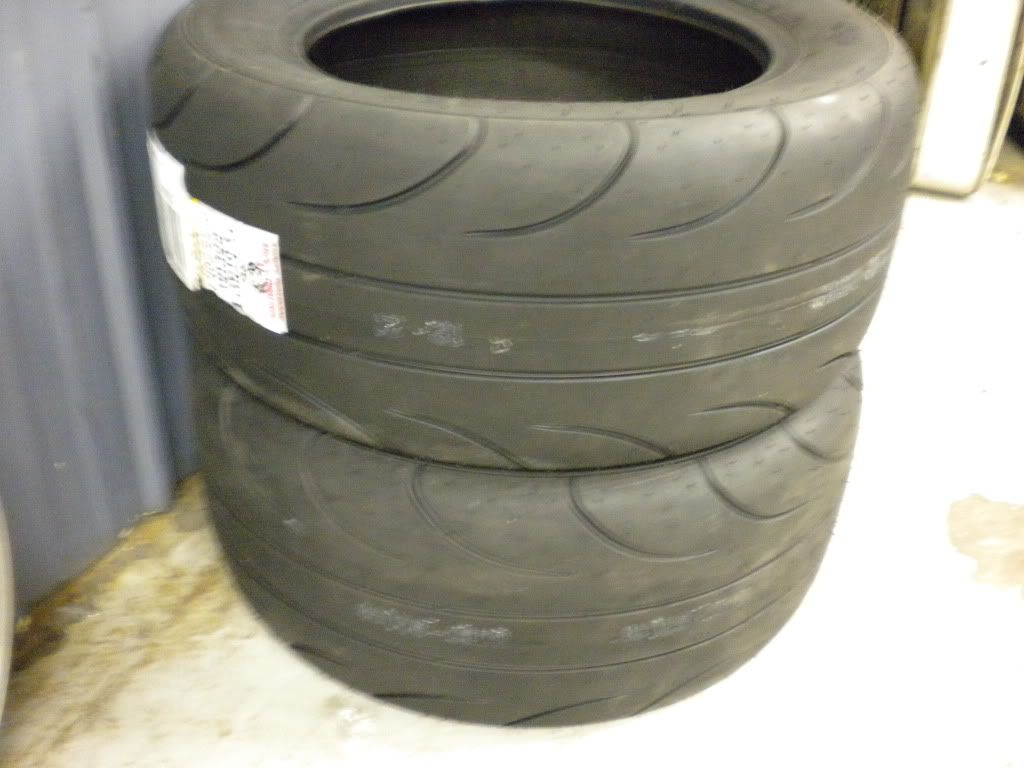
Tires cam in 255/60-16, perfect for 1.506 60's
Getting closer to the car running, should be done tomorrow or at least very close to it.
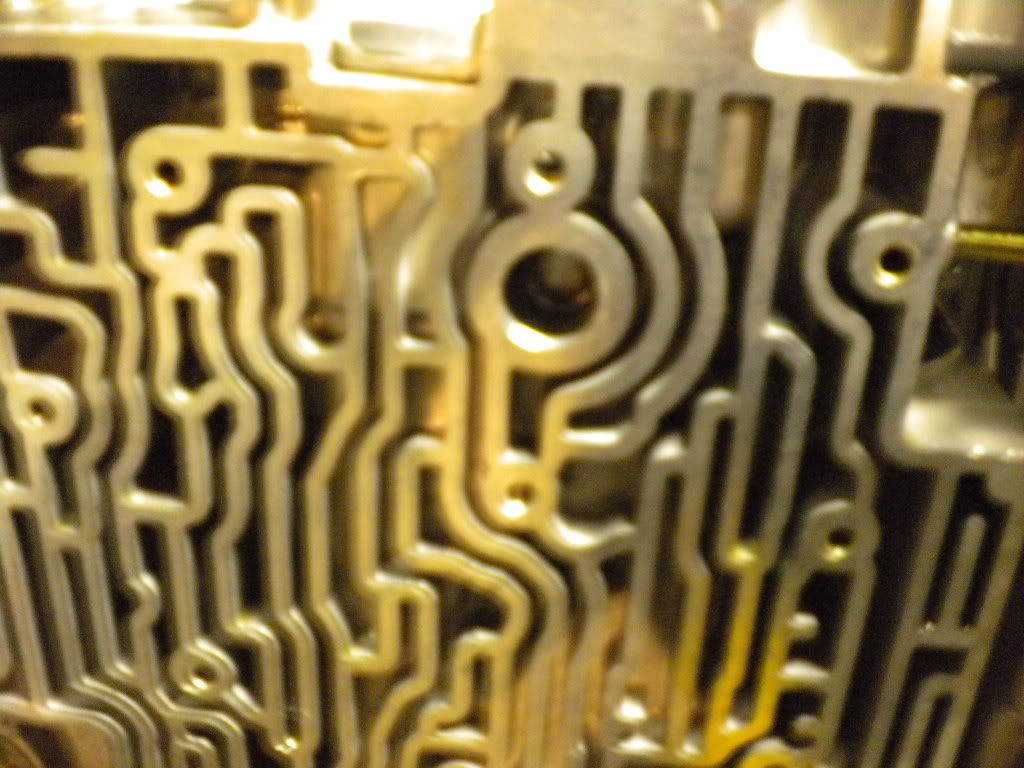
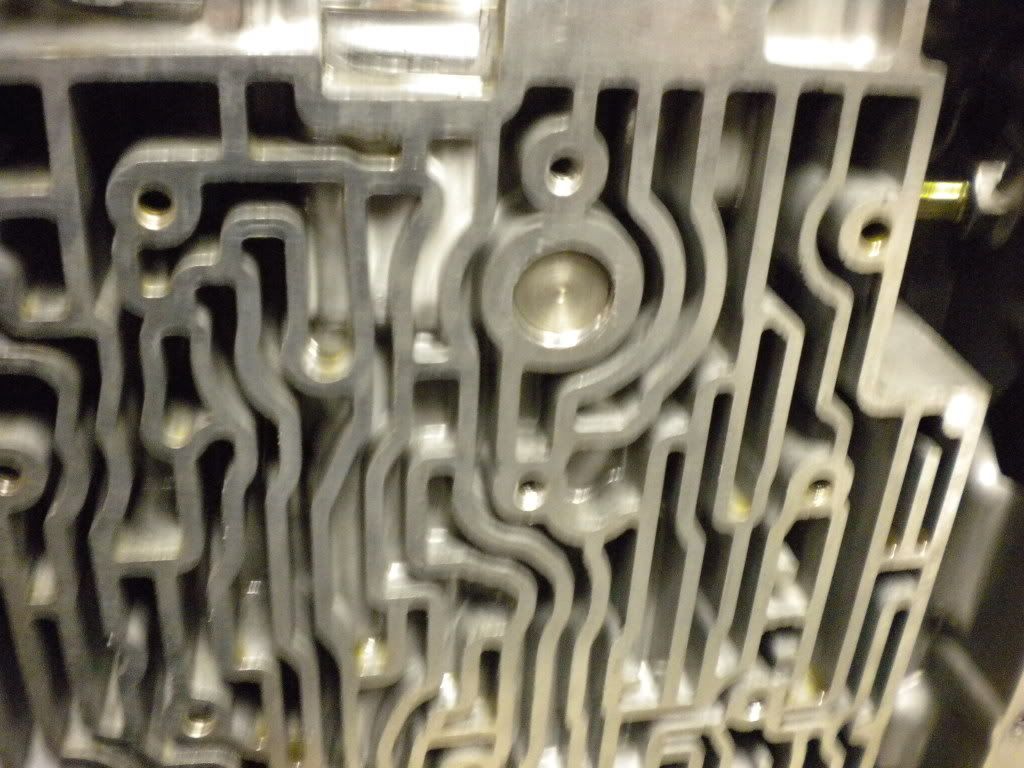
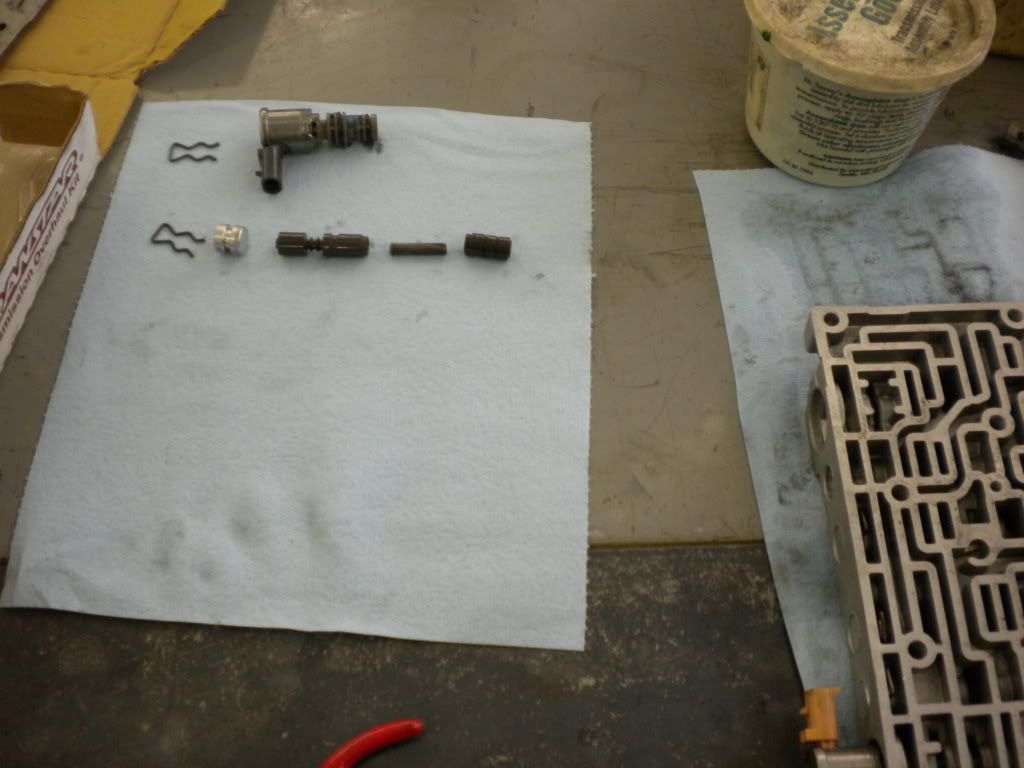
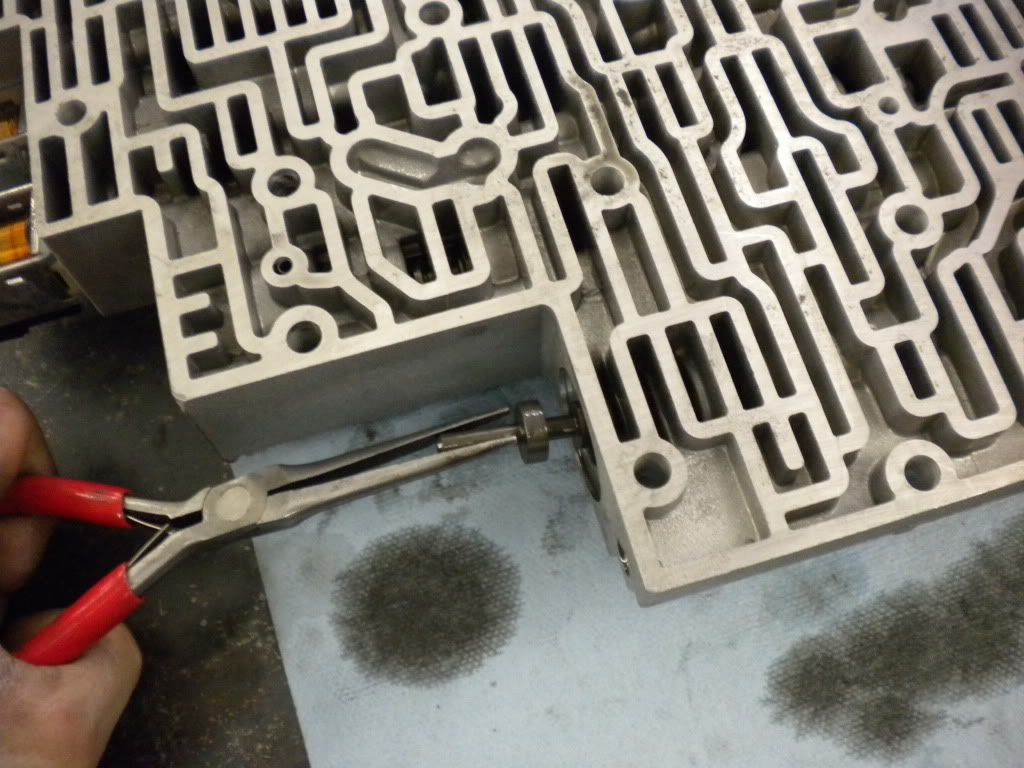
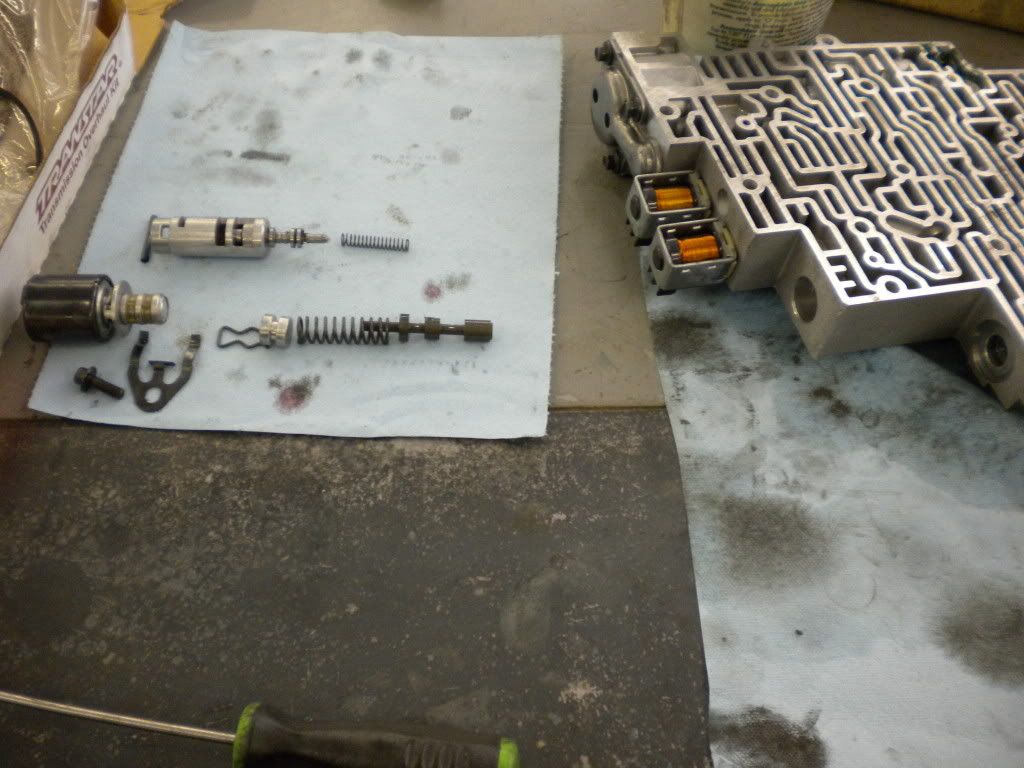
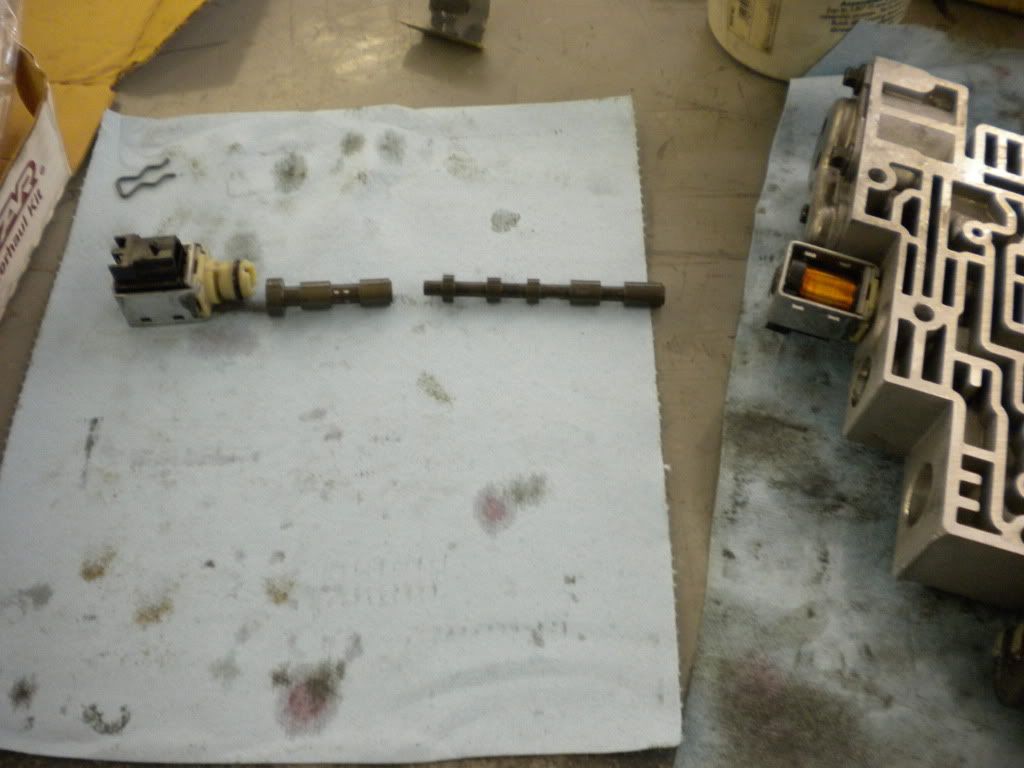
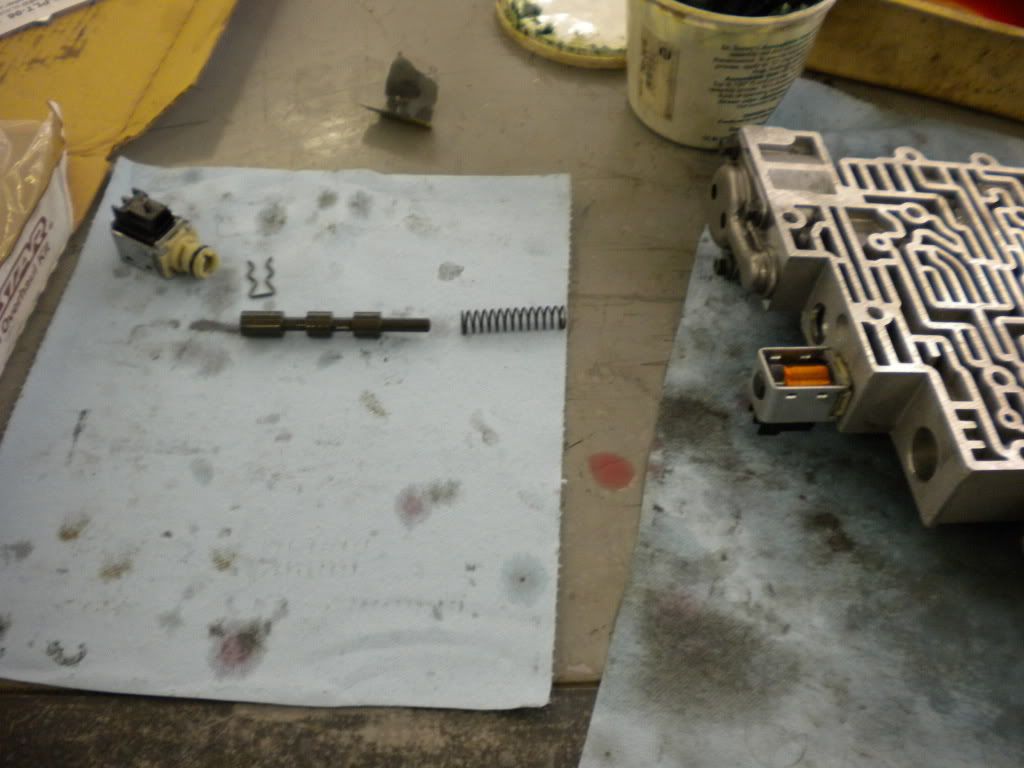
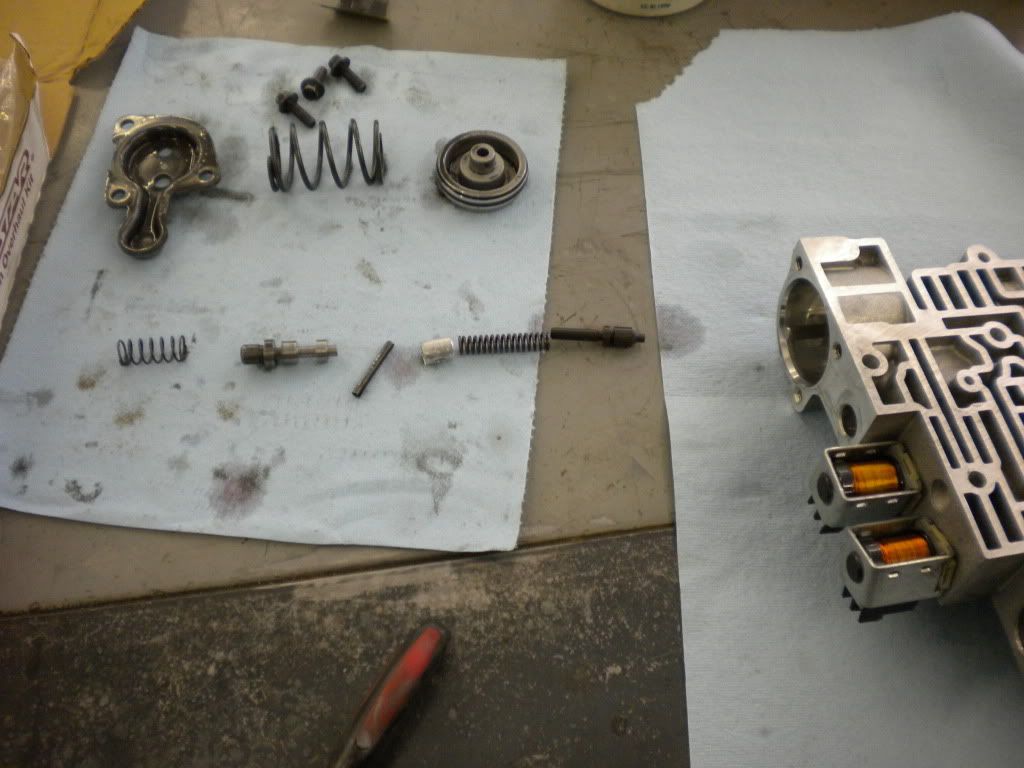
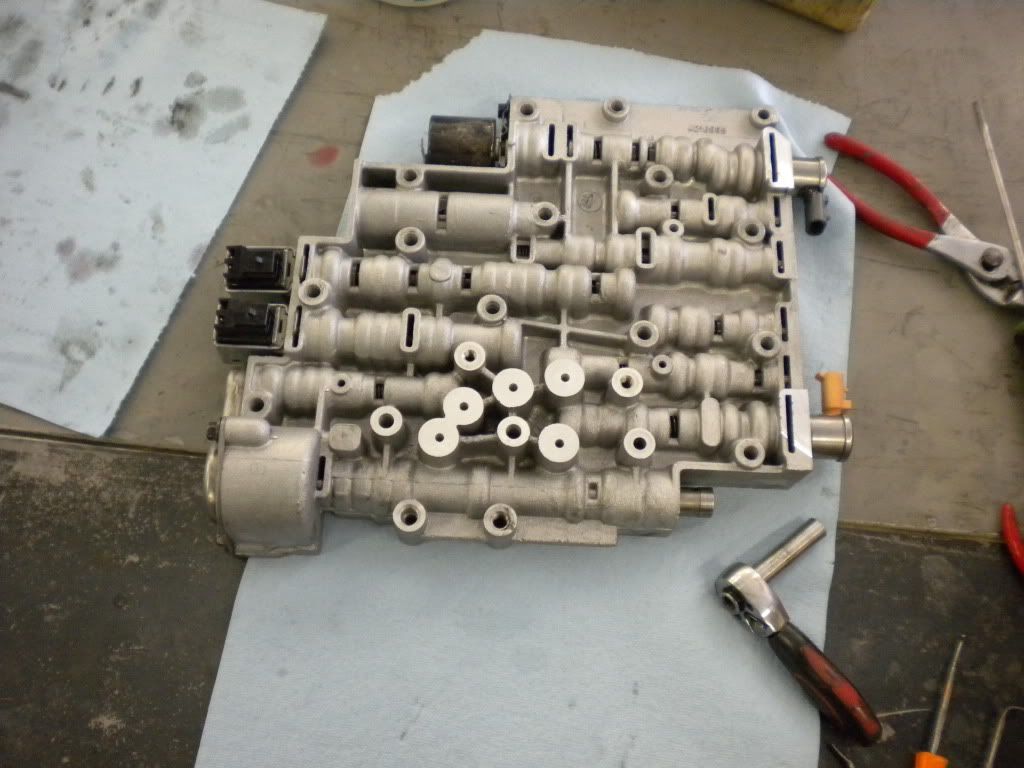
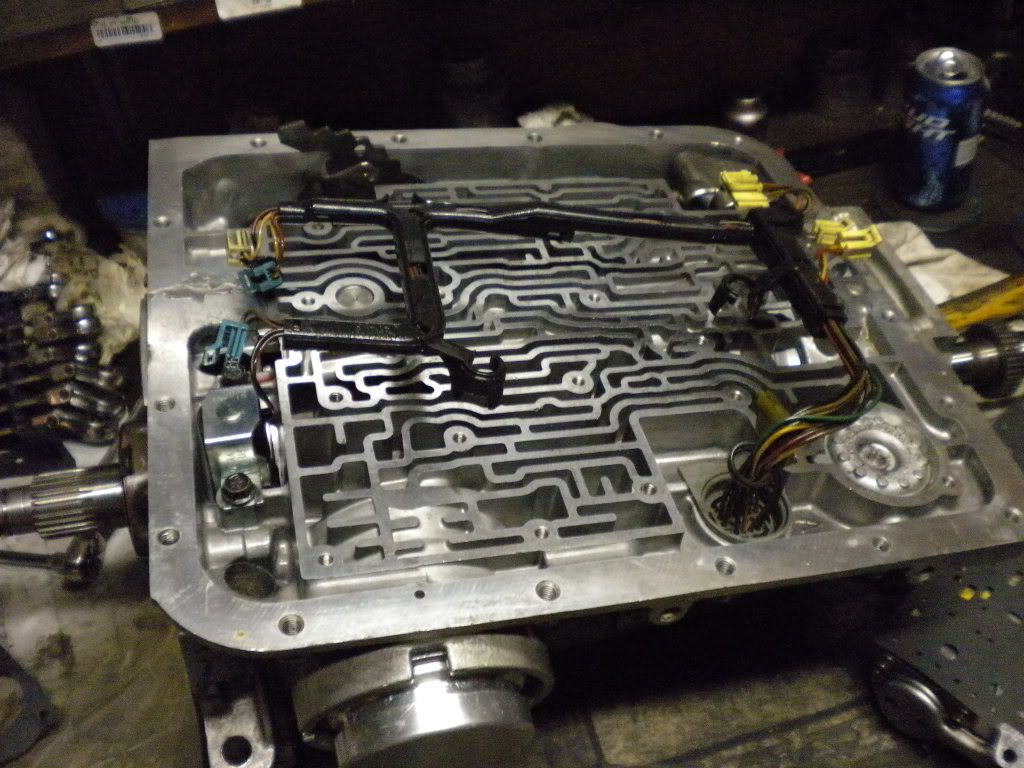
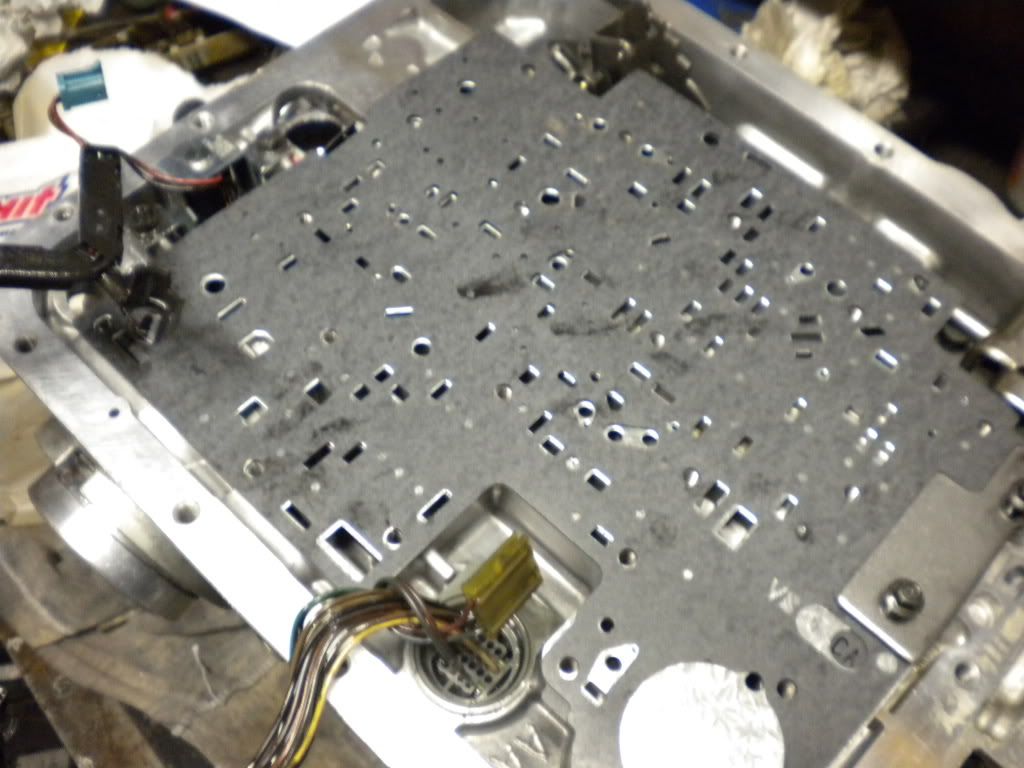
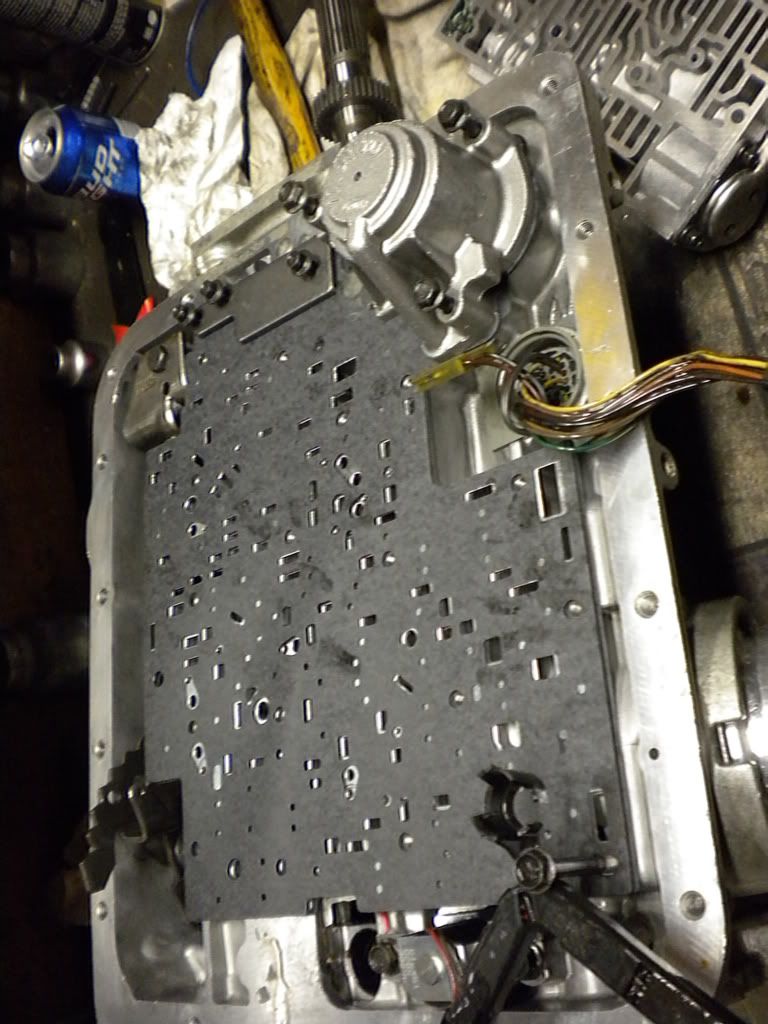
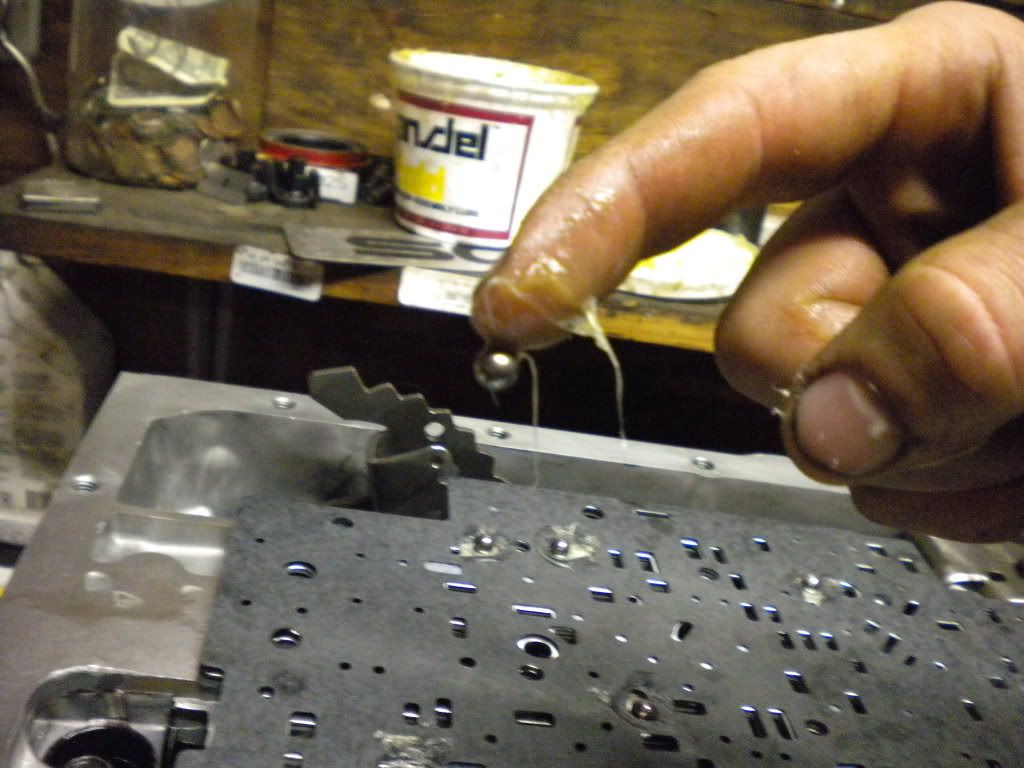
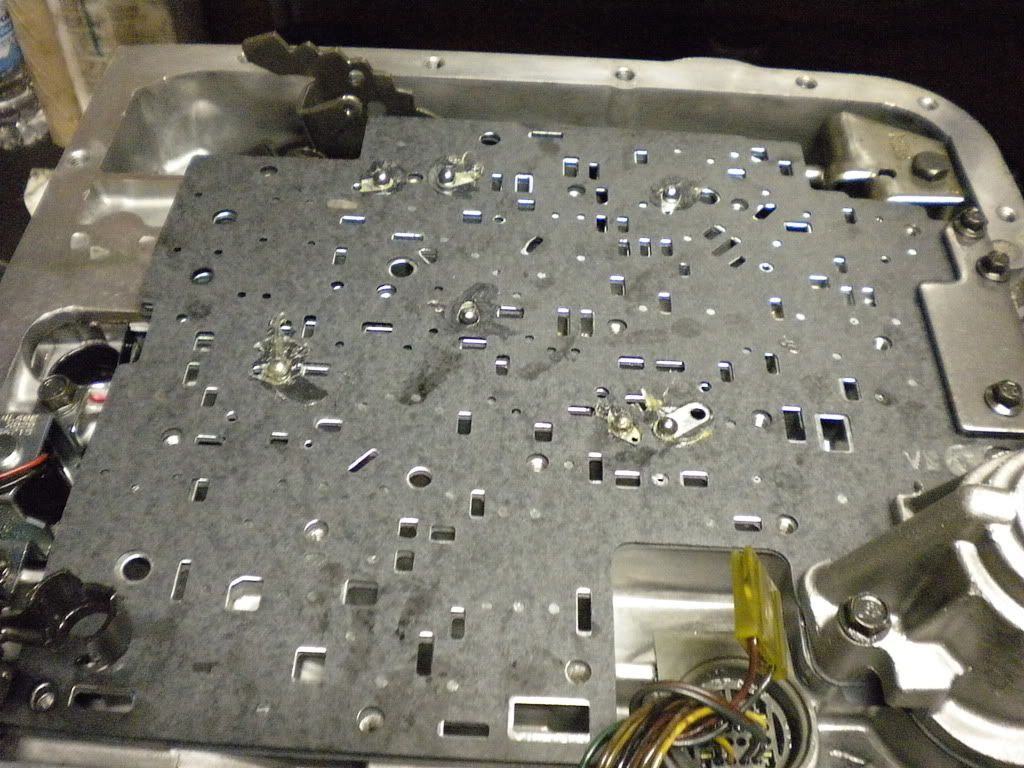
I cleaned the valve body to get all the **** out of it. mostly looked good, no damage, no wear. I removed the valves one at a time and mad sure they slide freely in their bore.
I matched up and measured some of the feed holes from my old separator plate to the new transgo unit. I cannot believe how big some of those feed holes were.
Again please understand this is just a small write-up on me going through my tranny pre-season. Do not take this as a how to beef up my tranny thread. I wanted to do this just for tips and to show everyone whats inside these trannies.
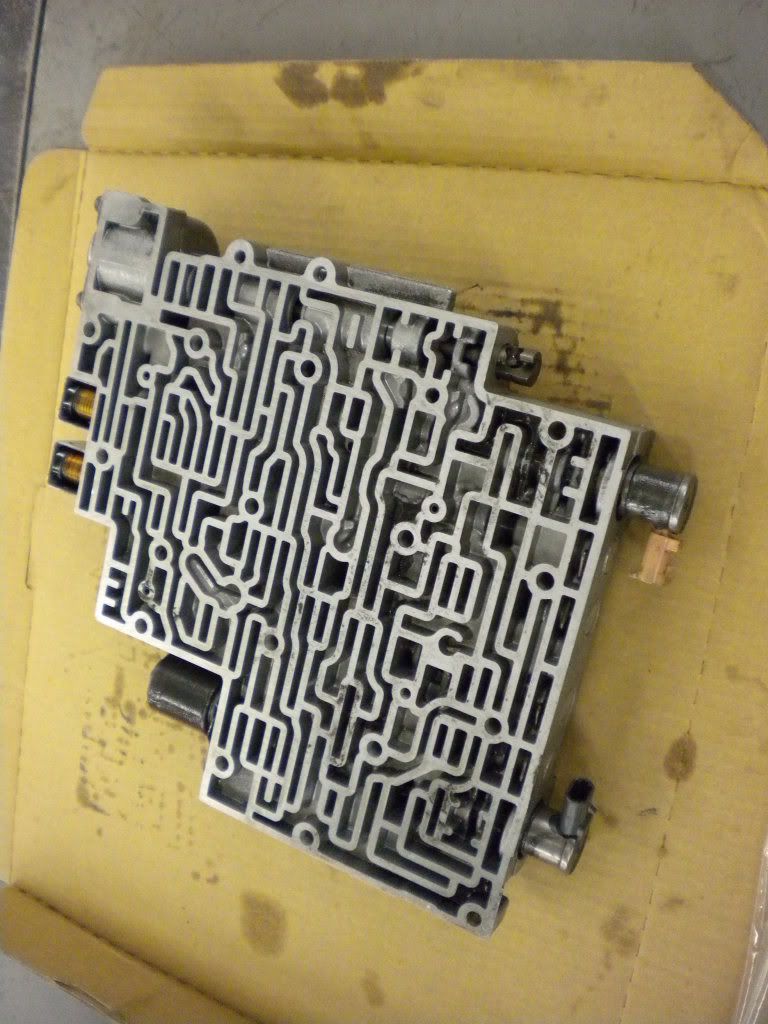
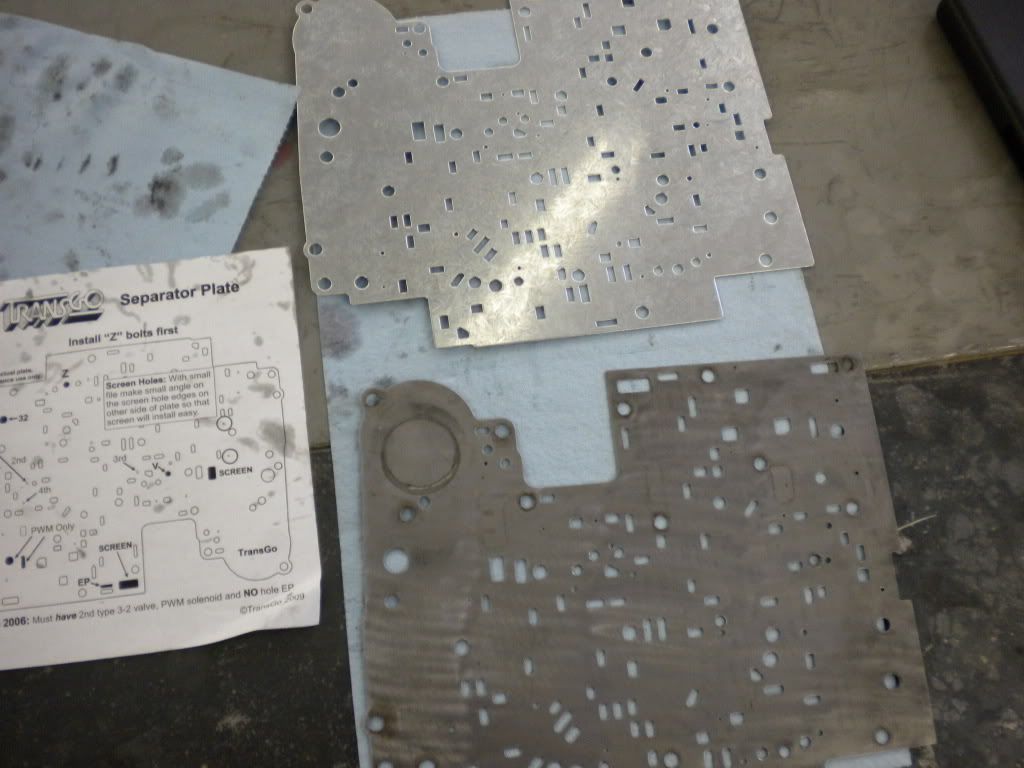
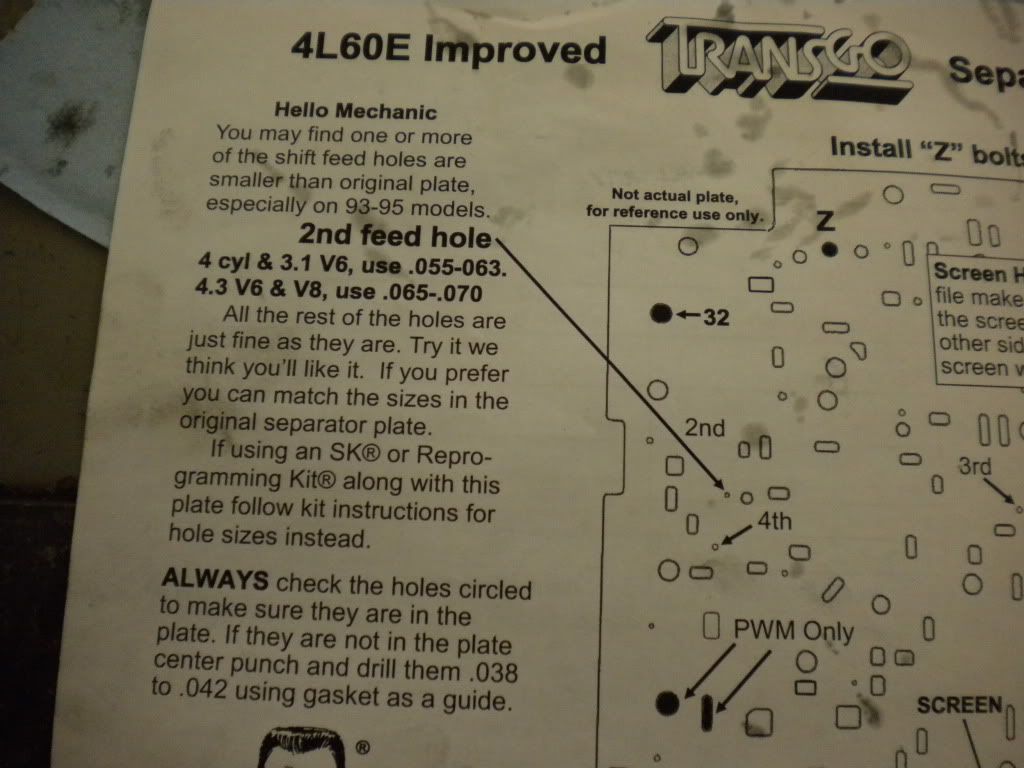
I drill 2nd gear feed hole to .093 and 3rd gear feed hole to .100 only with the billet servo, with the corvette servo go .093 on the 3rd gear feed hole
Getting closer to the car running, should be done tomorrow or at least very close to it.
I cleaned the valve body to get all the **** out of it. mostly looked good, no damage, no wear. I removed the valves one at a time and mad sure they slide freely in their bore.
I matched up and measured some of the feed holes from my old separator plate to the new transgo unit. I cannot believe how big some of those feed holes were.
Again please understand this is just a small write-up on me going through my tranny pre-season. Do not take this as a how to beef up my tranny thread. I wanted to do this just for tips and to show everyone whats inside these trannies.
I drill 2nd gear feed hole to .093 and 3rd gear feed hole to .100 only with the billet servo, with the corvette servo go .093 on the 3rd gear feed hole
Last edited by silverz28camaro; 08-13-2011 at 10:31 PM.
 03-05-2010, 01:21 AM
#39
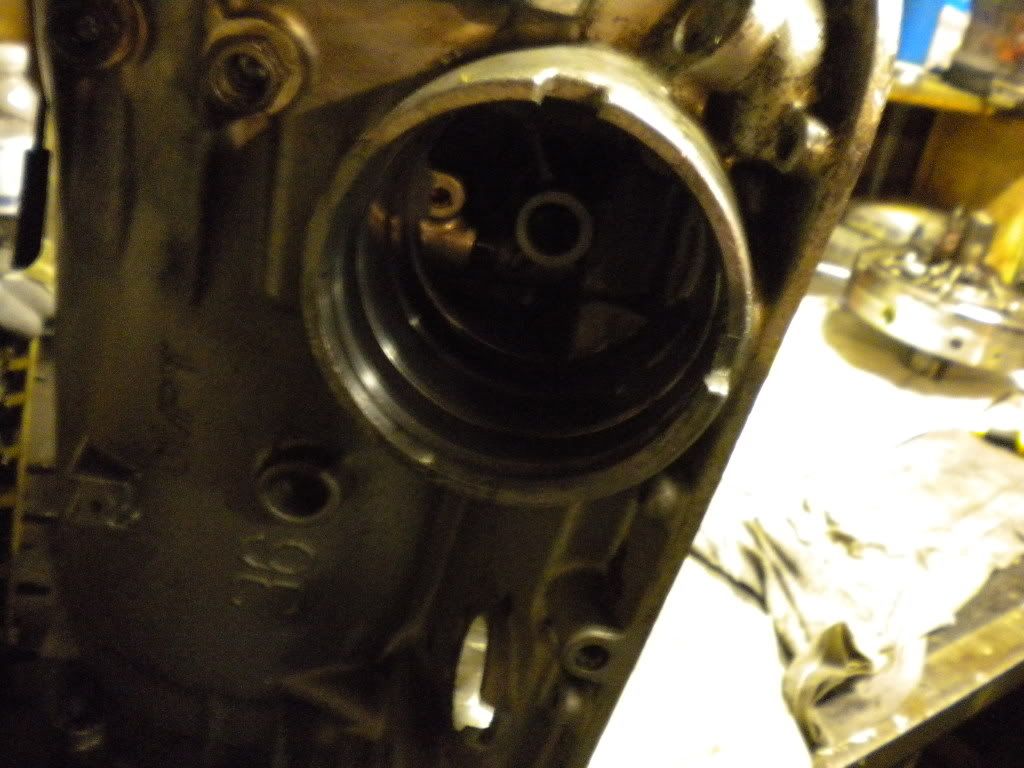
Here is one of the accumulator housings, I think this one is the 1-2.....Do not install a B and M shift kit that wants you to install spacers here!!!!! If anything just get stiffer springs for these. Hard shifts on these trannies will break parts, let the servos do the tire chirping/firm shifts, leave these accumulator springs alone.
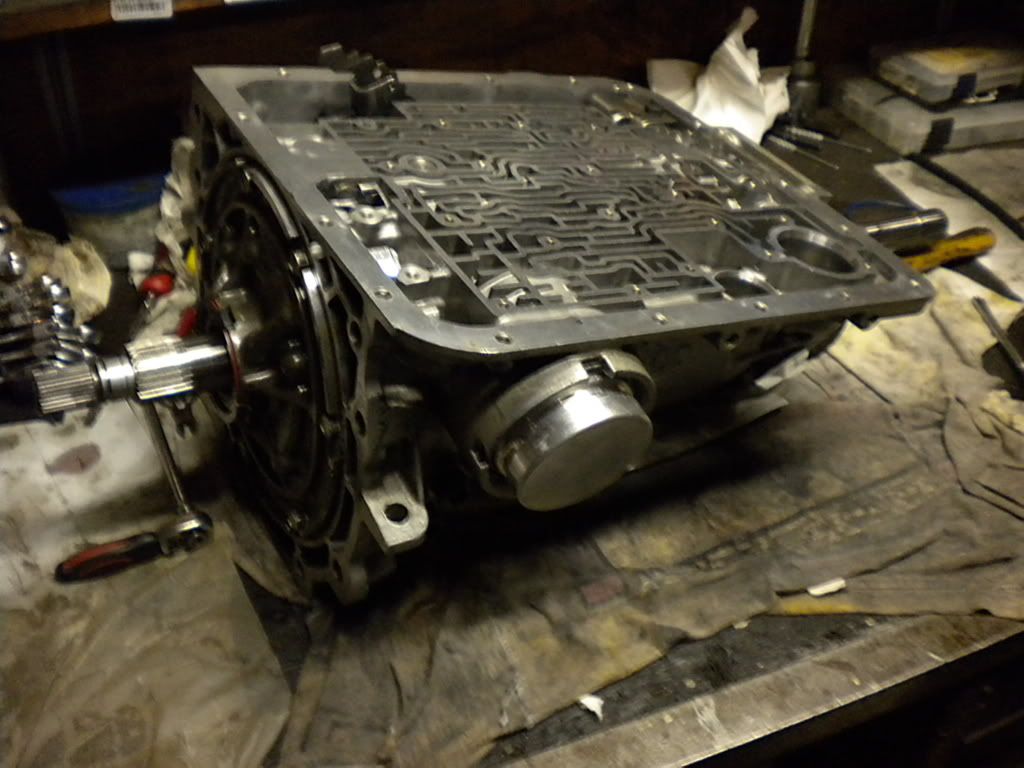
Rest of these tranny goes together and slide under car for installation.
I'm kinda tired not, almost got the car done( I was dirty so i didn't want to get in the car), just fill with fluid, and test drive left
wish me luck!!!!!!

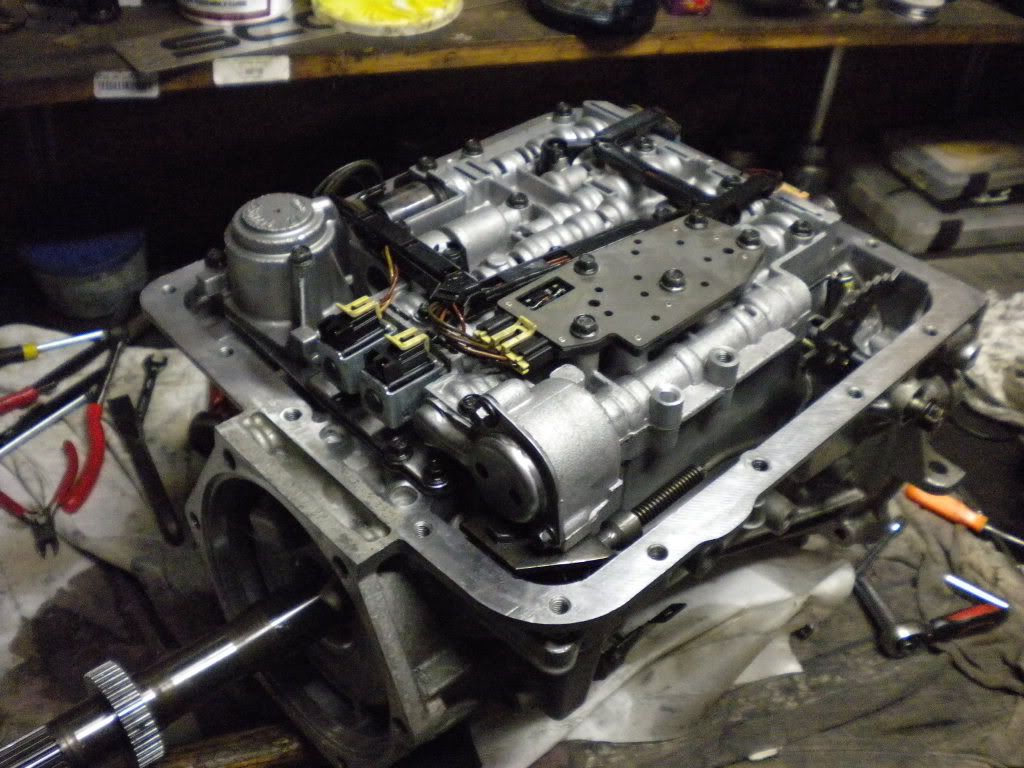
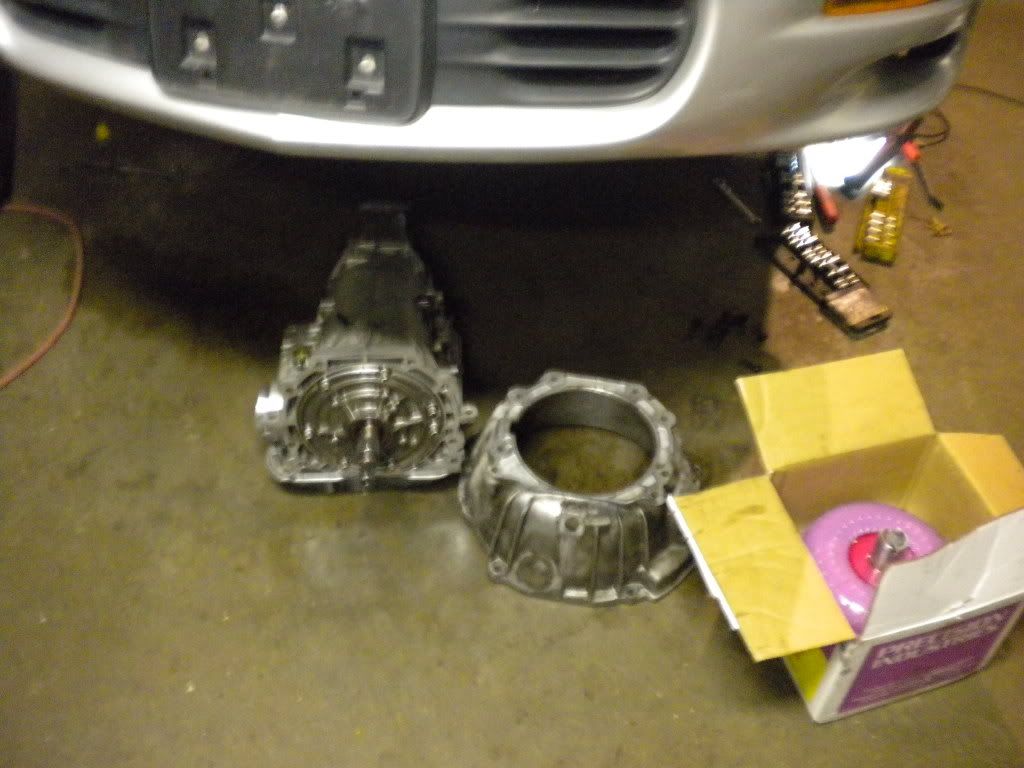
Rest of these tranny goes together and slide under car for installation.
I'm kinda tired not, almost got the car done( I was dirty so i didn't want to get in the car), just fill with fluid, and test drive left
wish me luck!!!!!!
03-05-2010, 01:28 AM
#40
Few tips.
-fill converter with some fluid before install
-valve body bolts are different lenghts....make sure they go in specific location!!!
-Bell housing bolts are a torx plus 50 size....do not use regular torx bit.
-Keep all parts clean, take your time, and don't forget to flush out cooler.
-fill converter with some fluid before install
-valve body bolts are different lenghts....make sure they go in specific location!!!
-Bell housing bolts are a torx plus 50 size....do not use regular torx bit.
-Keep all parts clean, take your time, and don't forget to flush out cooler.