When you click on links to various merchants on this site and make a purchase, this can result in this site earning a commission. Affiliate programs and affiliations include, but are not limited to, the eBay Partner Network.
Story starts with my 3rd and 4th gear going out, so a rebuild is in order. 1st, 2nd, and reverse work fine. I'll document and post pictures of my experience.
My vehicle is a 1996 Chevrolet C1500 5.7l Silverado truck. It's neither a car nor an LS1 engine, but it is a 4l60e with a non-removable bell housing in my daily driver. I'll be using the videos from transmissionbench.com. It's about 6 hours of a detailed, step-by-step disassembly and reassembly of a 2004 4l60e.
Some of the parts I'm replacing include
-Sonnax Smart Shell
-New reverse input drum
-Rebuild kit from trutechtrans (includes band, pistons, seals, frictions, bushings, etc)
-Sonnax second and fourth servos
-Transgo separator plate
-A/C Delco wire harness with all solenoids, EPC, manifold sensor, etc
-Sonnax TCC apply valve kit
-Sonnax accumulator valve train kit
-3-2 control valve spring
-Sonnax forward and reverse abuse valves
-Sonnax actuator feed limit kit
-Sonnax performance pack (includes boost valve, pinless accumulators, etc)
-Sonnax TCC regulator & isolator valve kit
-Derale transmission cooler
-Magnafine inline filter
-Borg Warner reverse and forward 29 element sprags
-Sonnax torrington bearing kit
-looking into a basic Circle D torque converter
-AC Delco dex VI fluid
Well, we started after lunch but weren't able to finish the drop. The exhaust bolts are a beast and a couple of them broke so I'll be drilling those out and replacing them with new bolts/nuts. They actually broke a brand new Craftsman socket (USA made) and I had to go into town to get another, which added an hour. Most of the stuff has been disconnected. I'll be getting up early tomorrow to finish the drop; bell housing bolts, rear shaft, cross member, and cooler lines.
I was hoping to have finished the disassembly today, but those exhaust bolts had a different plan. I used Liquid Wrench and that ATF/acetone mix on the bolts but they didn't really do much.
i never take the exhaust out on 89-98s just slide the trans back and it goes right down
Do you take the U-joint off or something? I tried sliding it back but there's a cross member in the way that won't let me lower it and swivel on the U-joint. And it wouldn't slide straight back far enough to pull it out of the transmission. And the gas tank and muffler were in the way of me sliding the shaft to either side.
I tried sliding the transmission straight down, but the top of the bell housing would catch on the flywheel.
I think I found one of the problems. That check ball is stuck badly in the separator plate. Transgo separator plate and Sonnax imidized ***** will replace these.
Last edited by coryforsenate; Mar 19, 2015 at 01:35 AM.
Looking at your parts list, you have more expensive Sonnax parts to fix the VB than you probably need. A reasonably well build valve body on ebay is only $150; a factory rebuilt is $300 and you have may have spent more than that on the Sonnax parts.
I have bought used VBs on ebay, replaced only the TCC valve with the Transgo valve and had it work perfectly. (Well, new solenoids too.)
The stuck check ***** definitely are a problem. This is why I always recommend a new separator plate any time the VB is removed after more than 50K miles of operation.
The Torlon ***** will eliminate any future wear.
Good luck with the rest.
Yeah, I went a little overboard but I figure there's not going to be too many times in my life when I rebuild a transmission so I wanted to go all out.
One issue I've run into is that my snap ring pliers don't open wide enough for some of the snap rings and I'm going to have to wait until tomorrow to buy a bigger pair of 'em. Other than that everything's gone pretty smoothly.
Just put together the reverse input drum and checked the clearance between the snap ring and the top friction. Reads right about 0.0070-0.0075, which seems on the high side. Frictions were soaked and then let to drip excess before installing.
Any thoughts on the clearance?
Last edited by coryforsenate; Mar 16, 2015 at 08:00 PM.
Sorry for the delay, I left my camera at work so I couldn't upload pics.
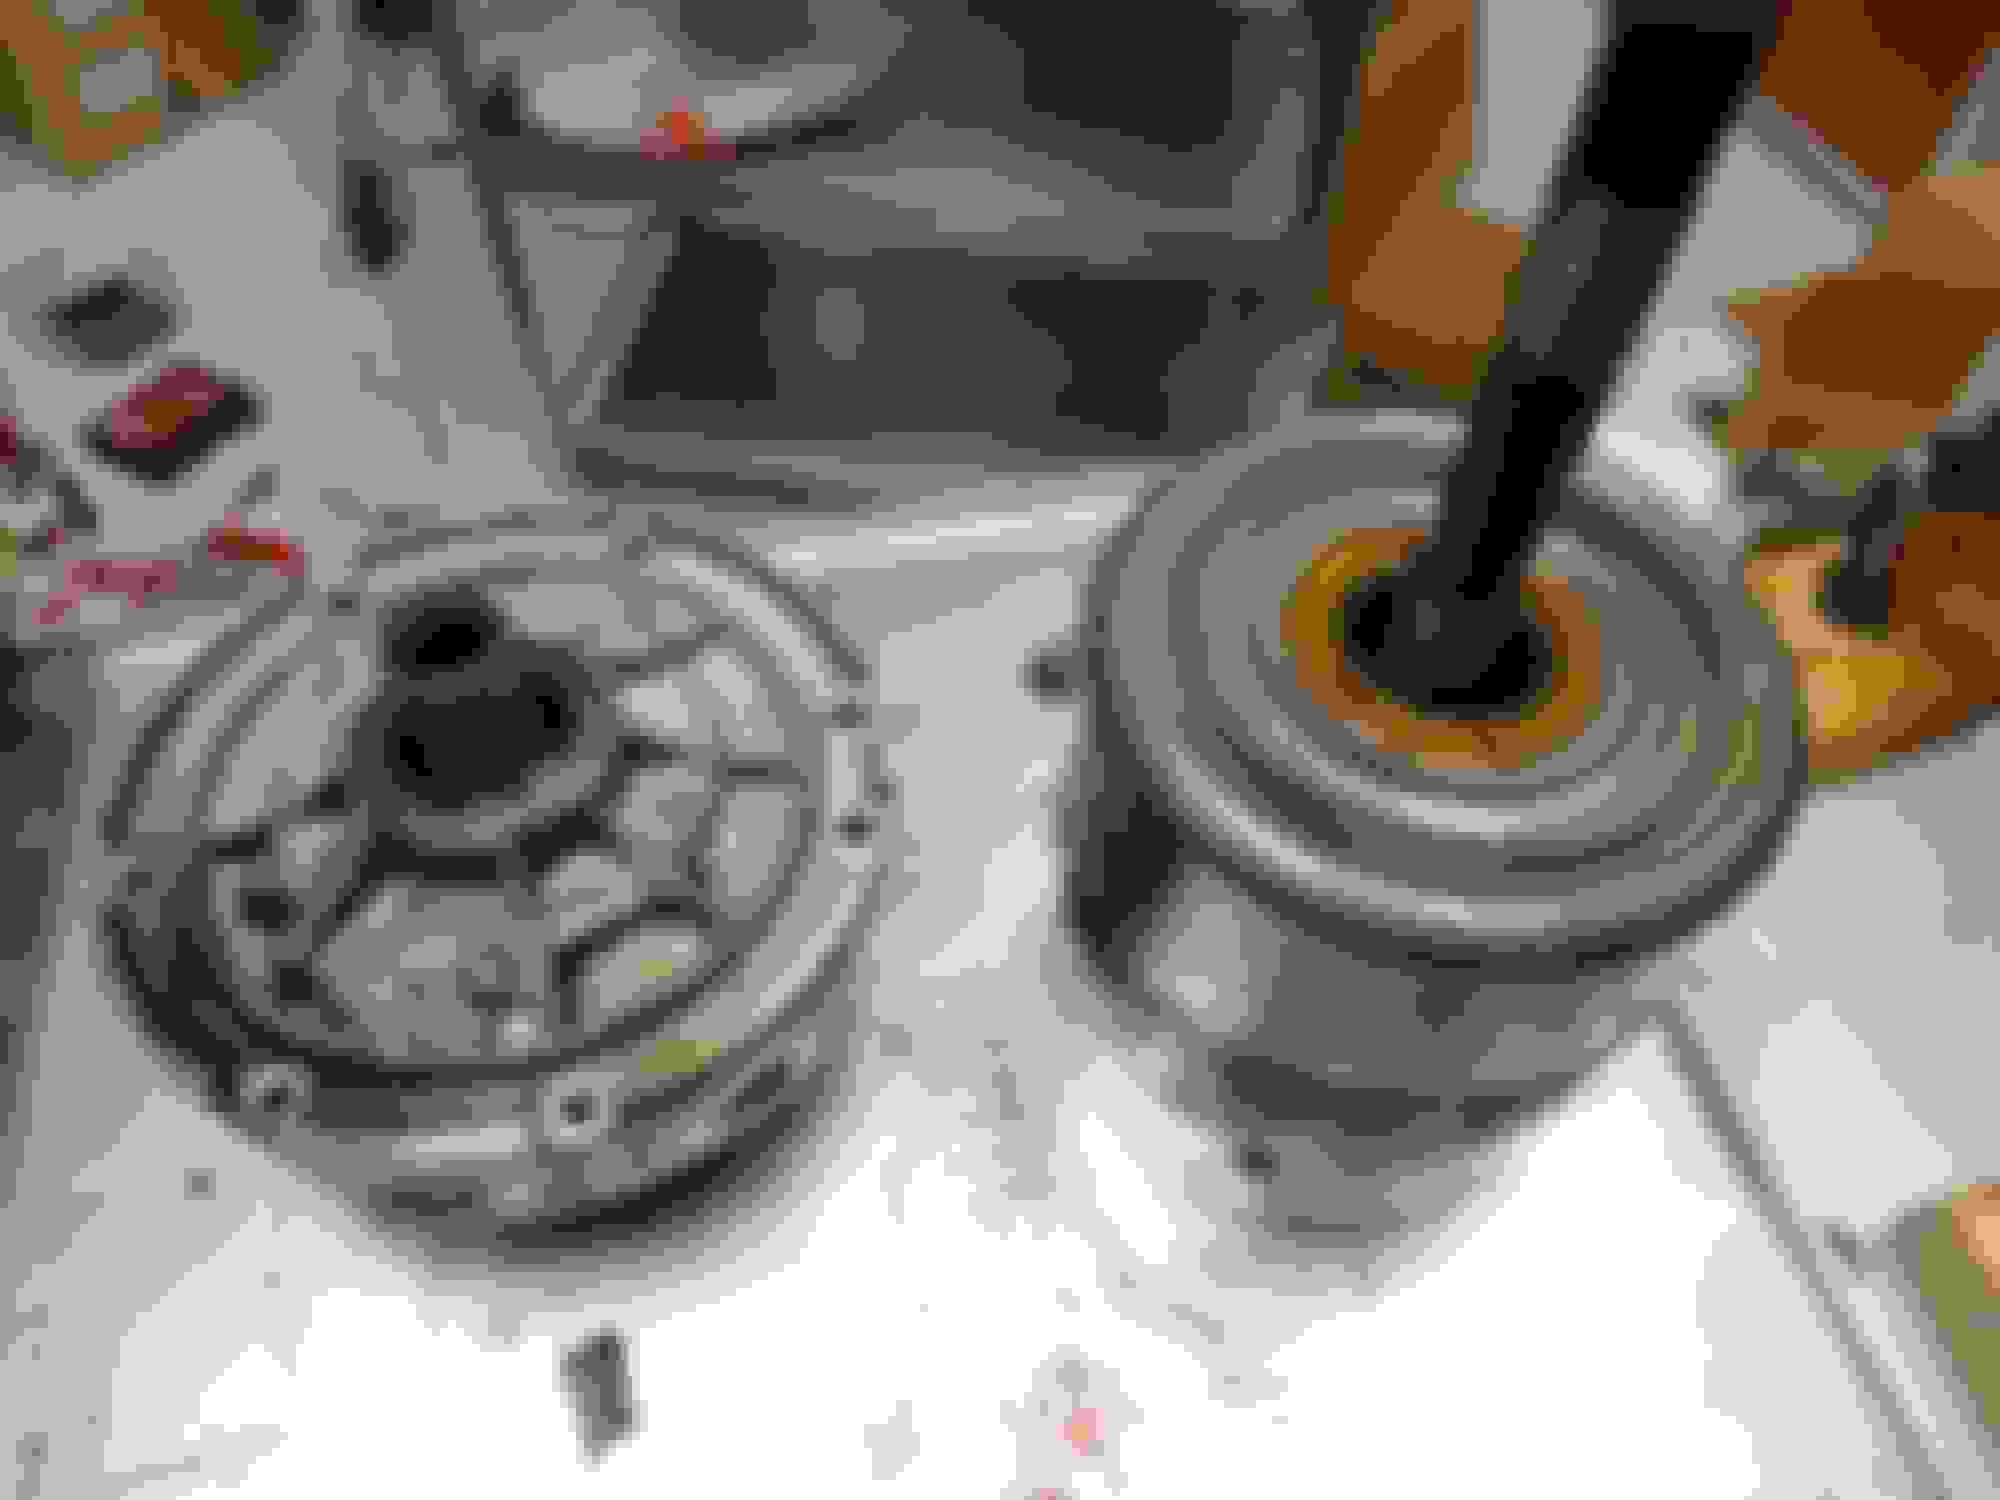
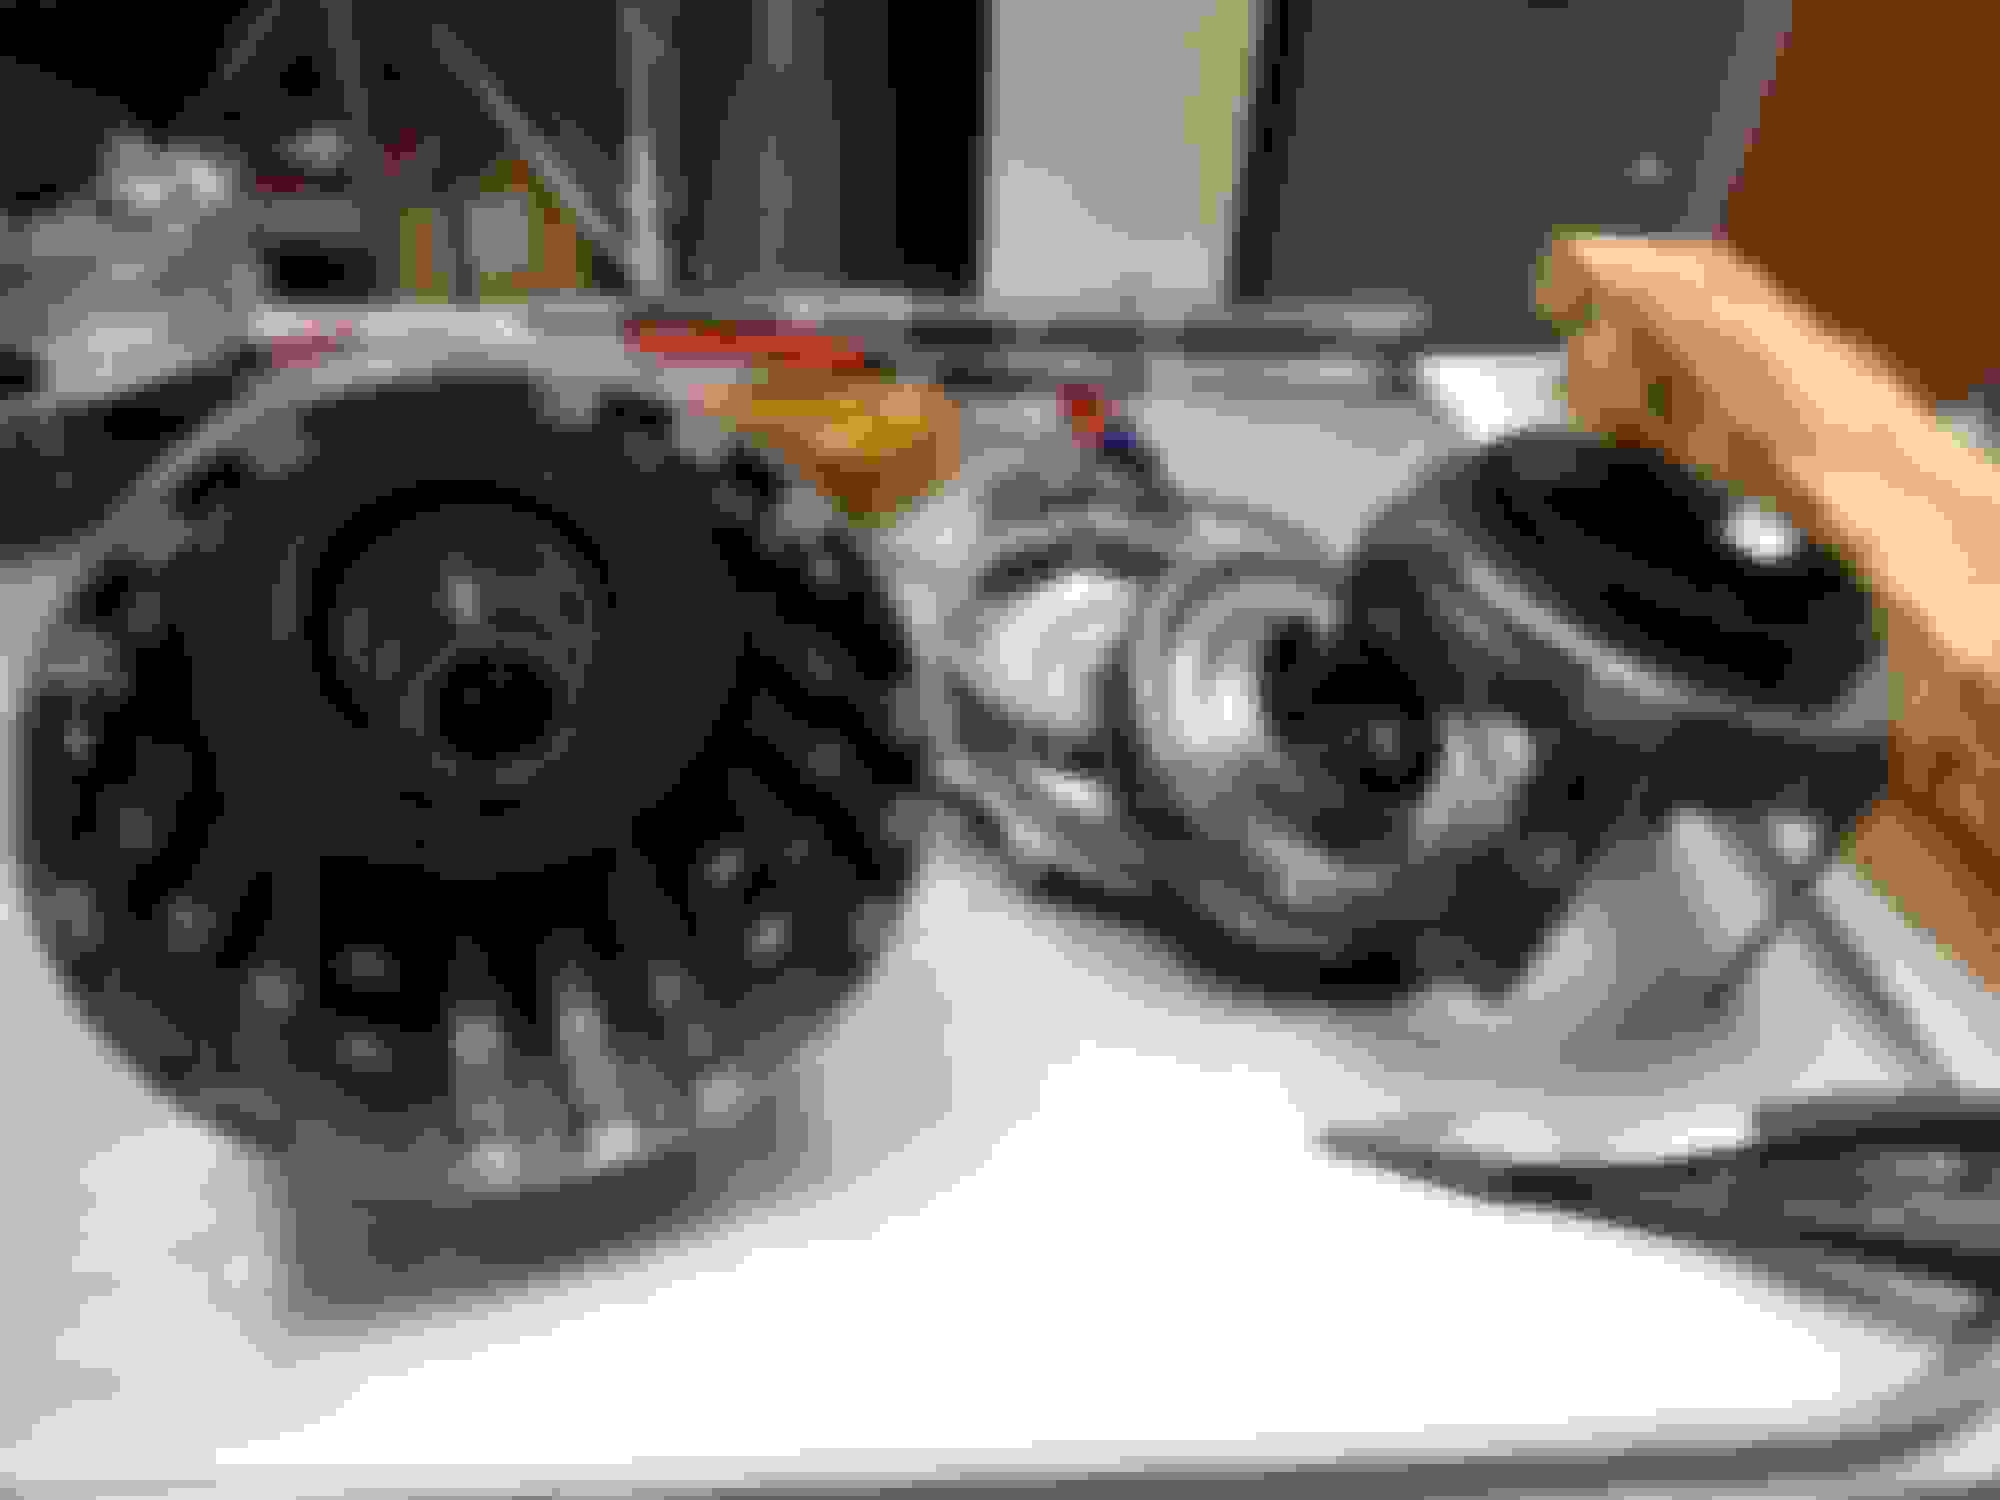
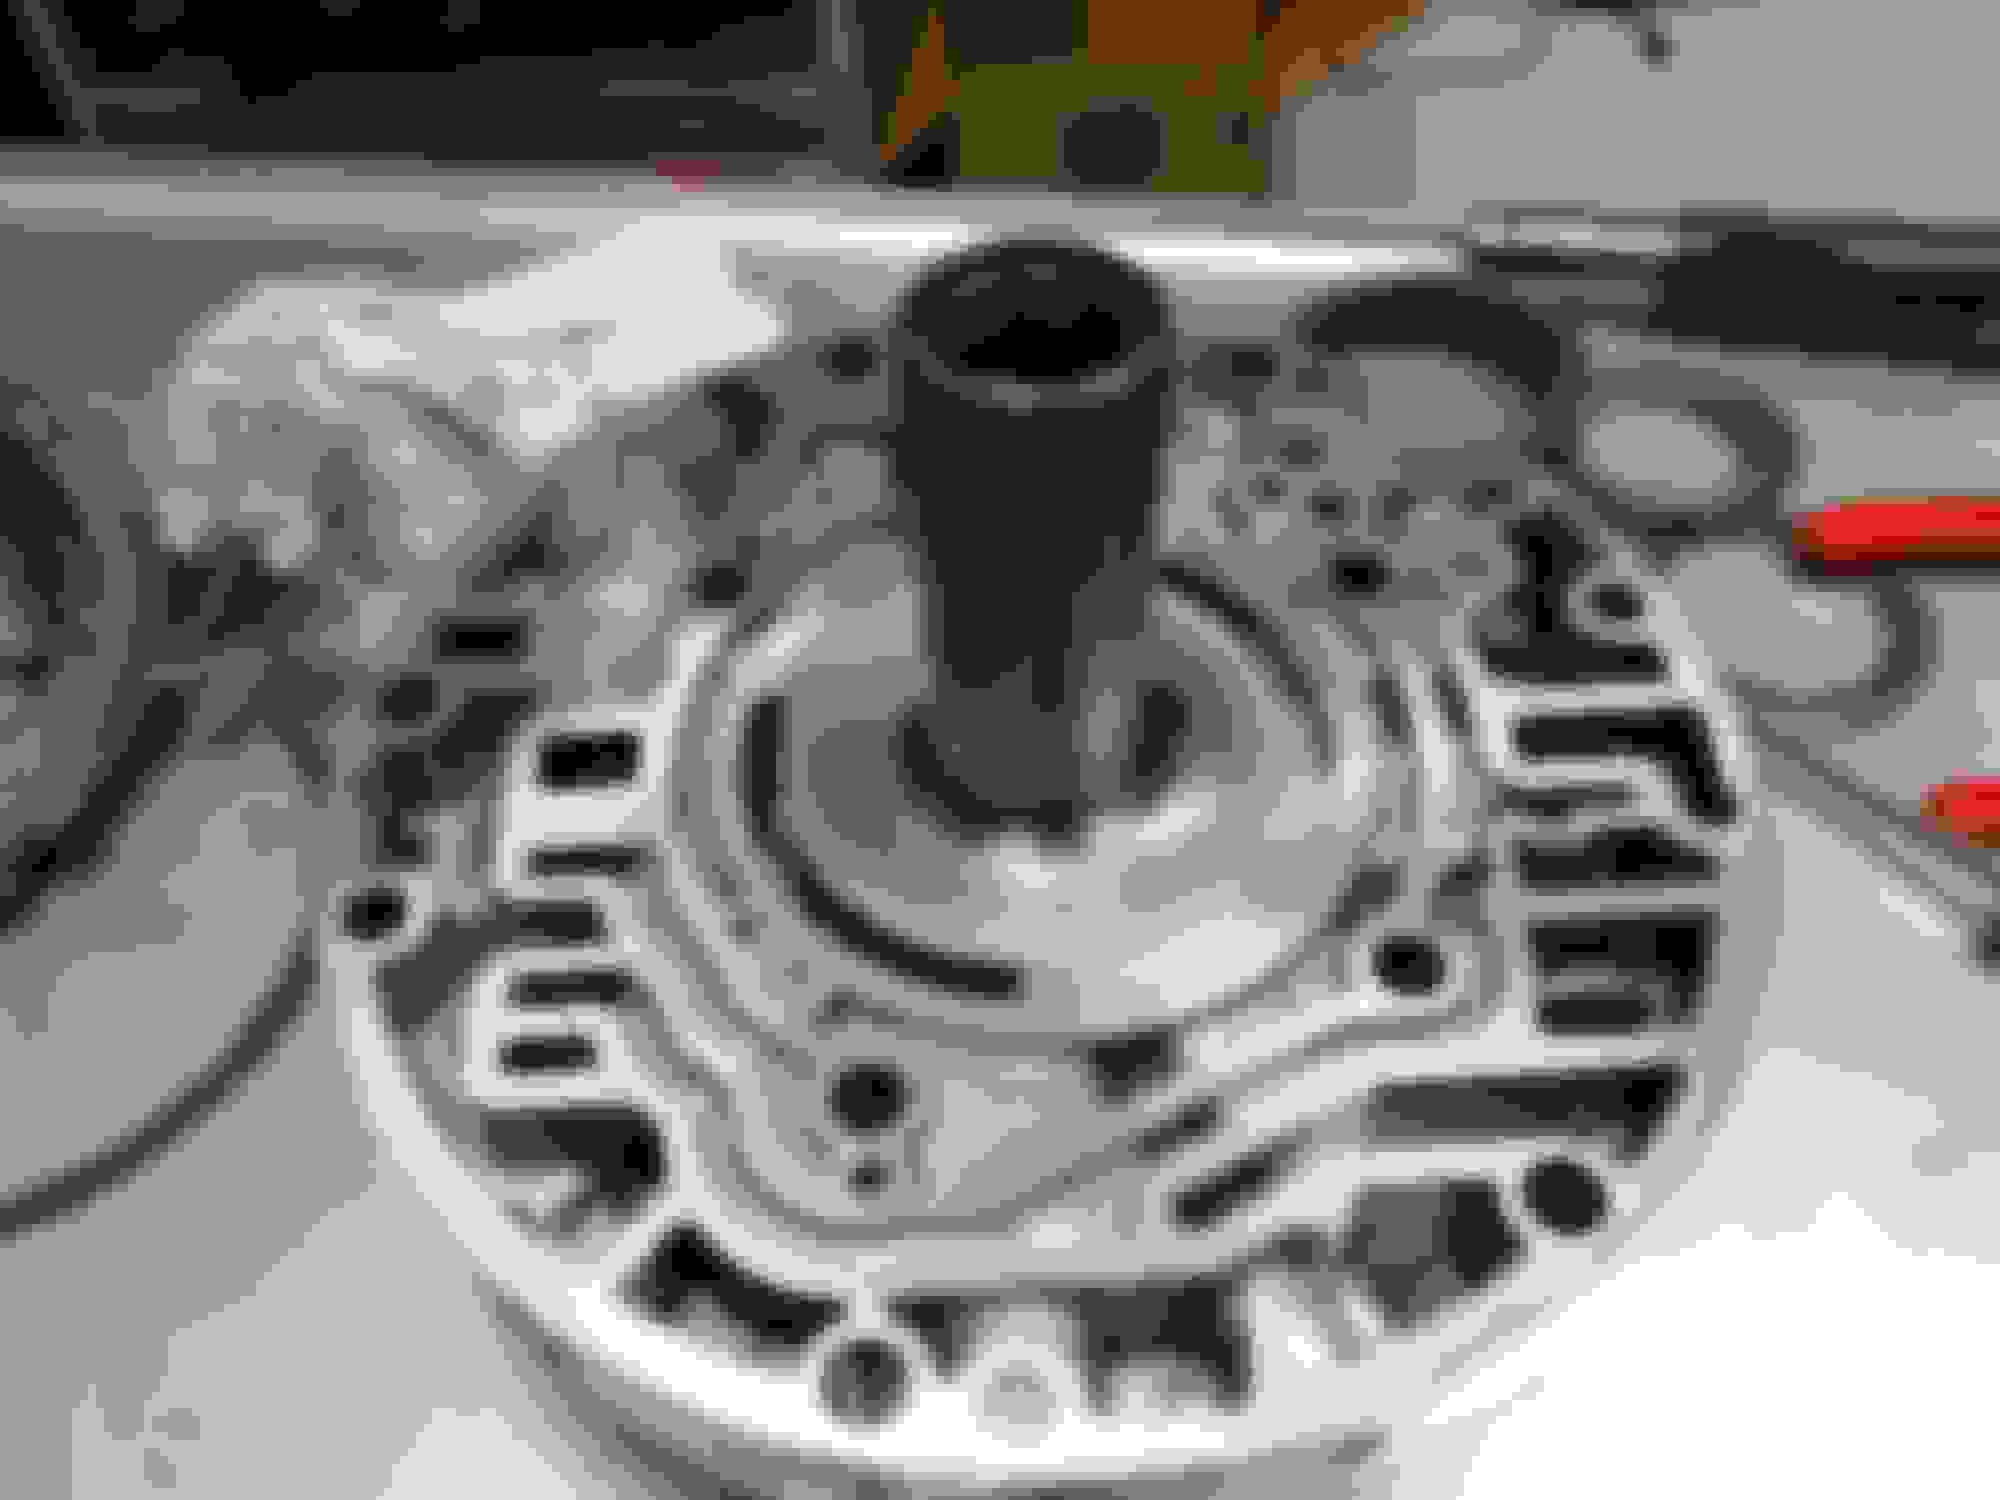
Here's the pump and the transmission drums
Ah, looks like a broken sun shell. Again, classic 4l60e. Fortunately it broke high enough to where the sun gear could still engage it, so it didn't produce any symptoms.
Here I am using my homemade spring compressor, construction information courtesy of Jimmy from transmissionbench.com. FYI, this is a very tight spot for your lock ring pliers. I had to grind mine down to fit in that little dip in between the spring cage and the lock ring
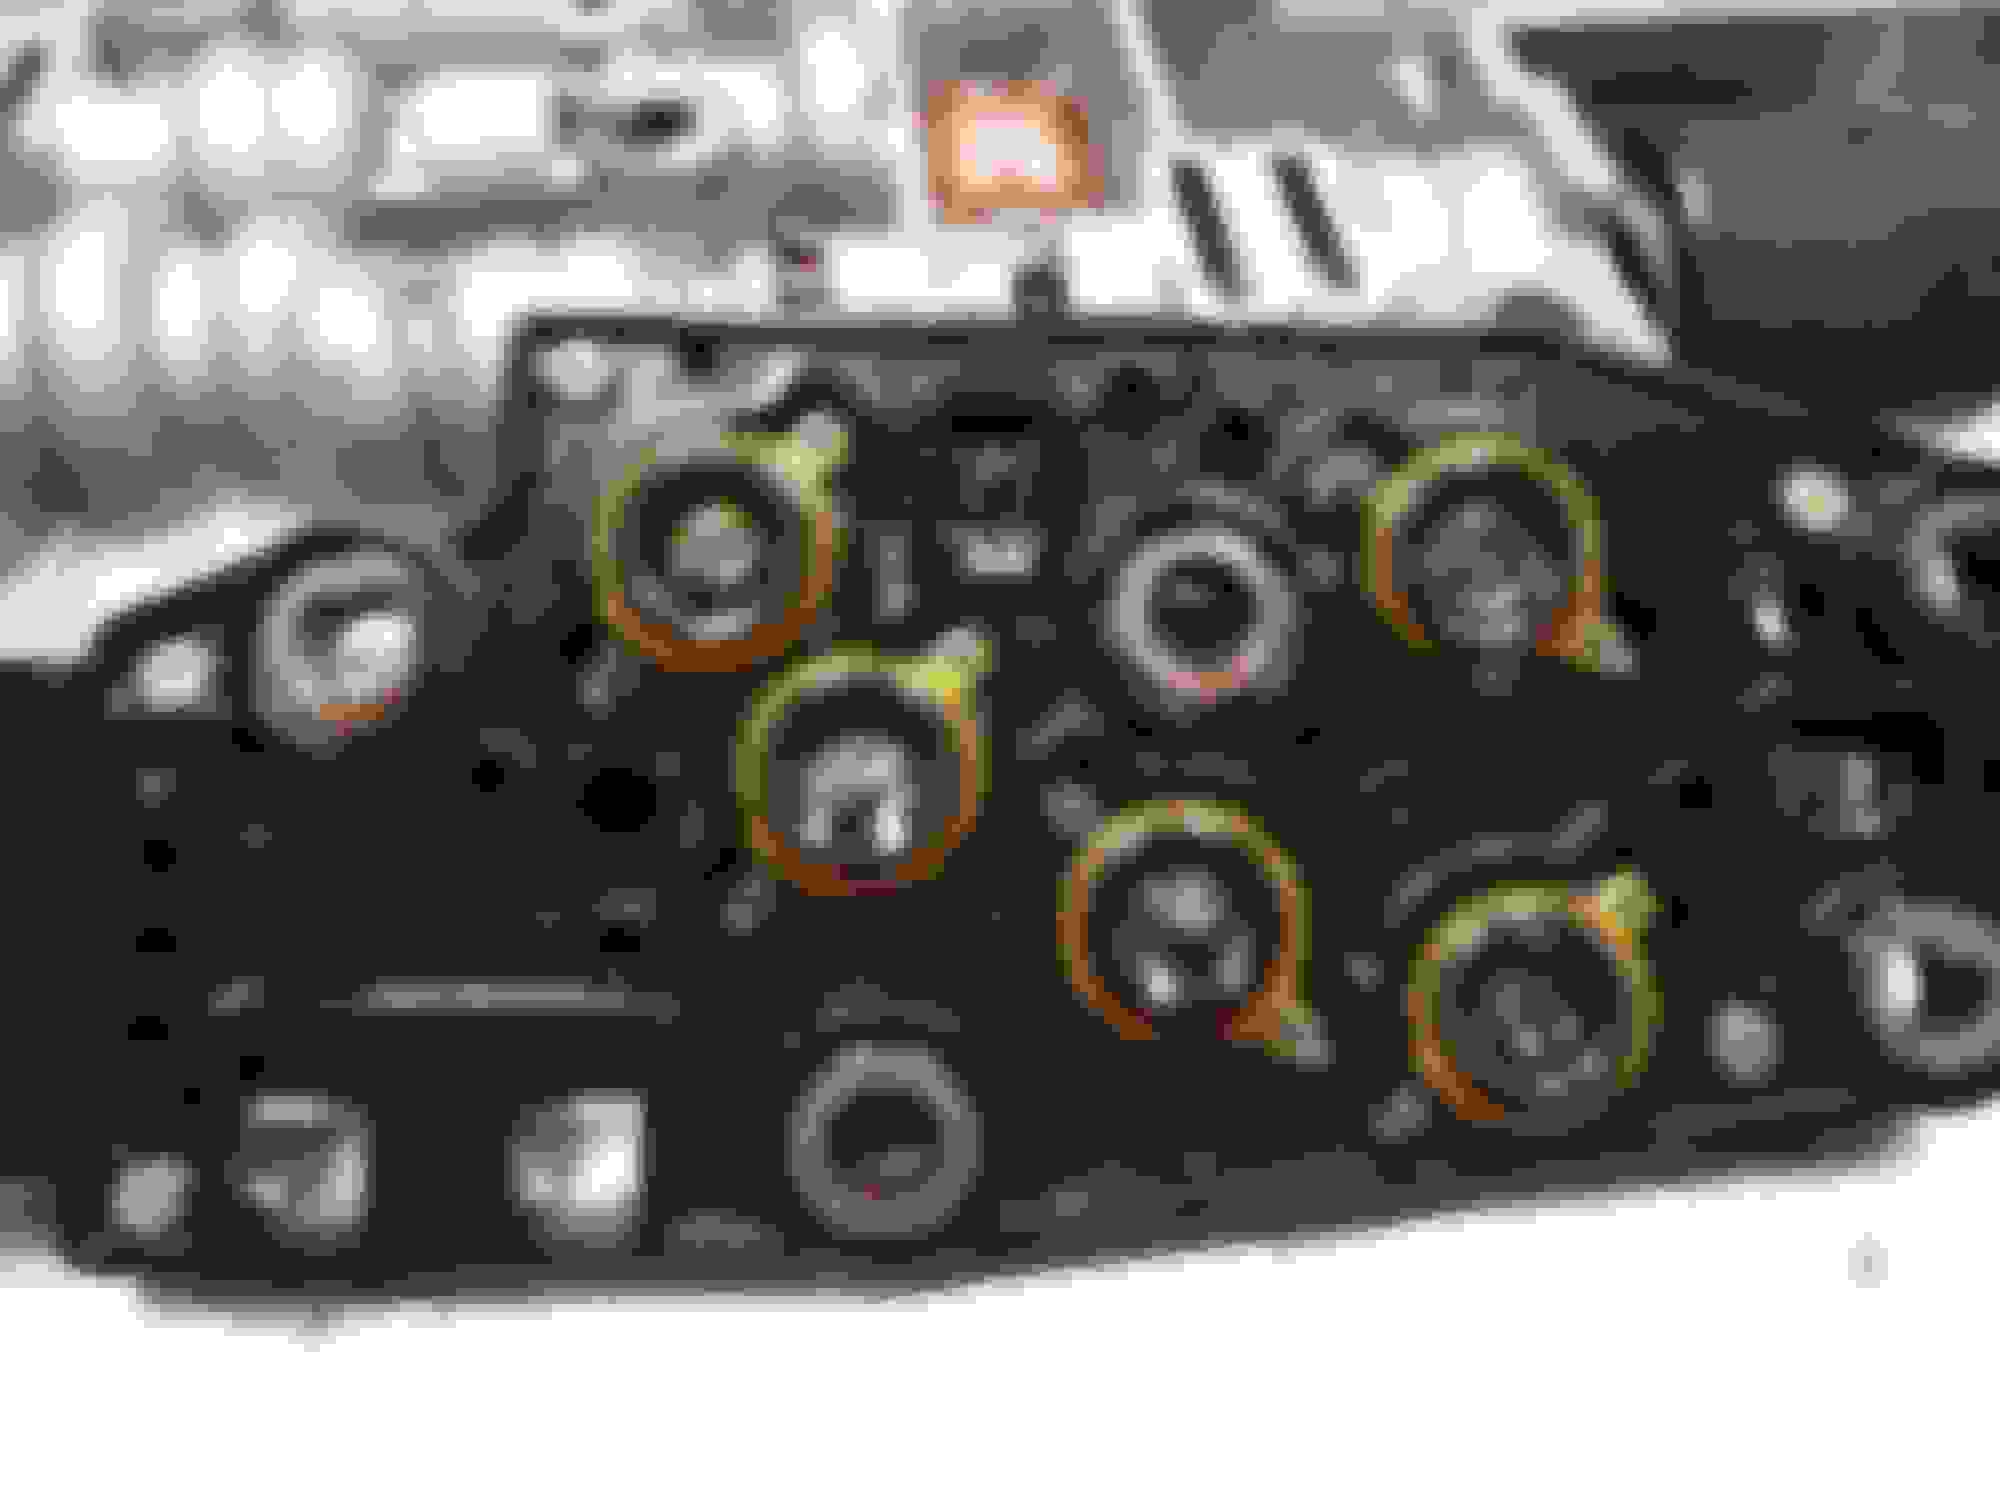
Manifold pressure switch. Notice the metallic gunk clogging some of the holes.
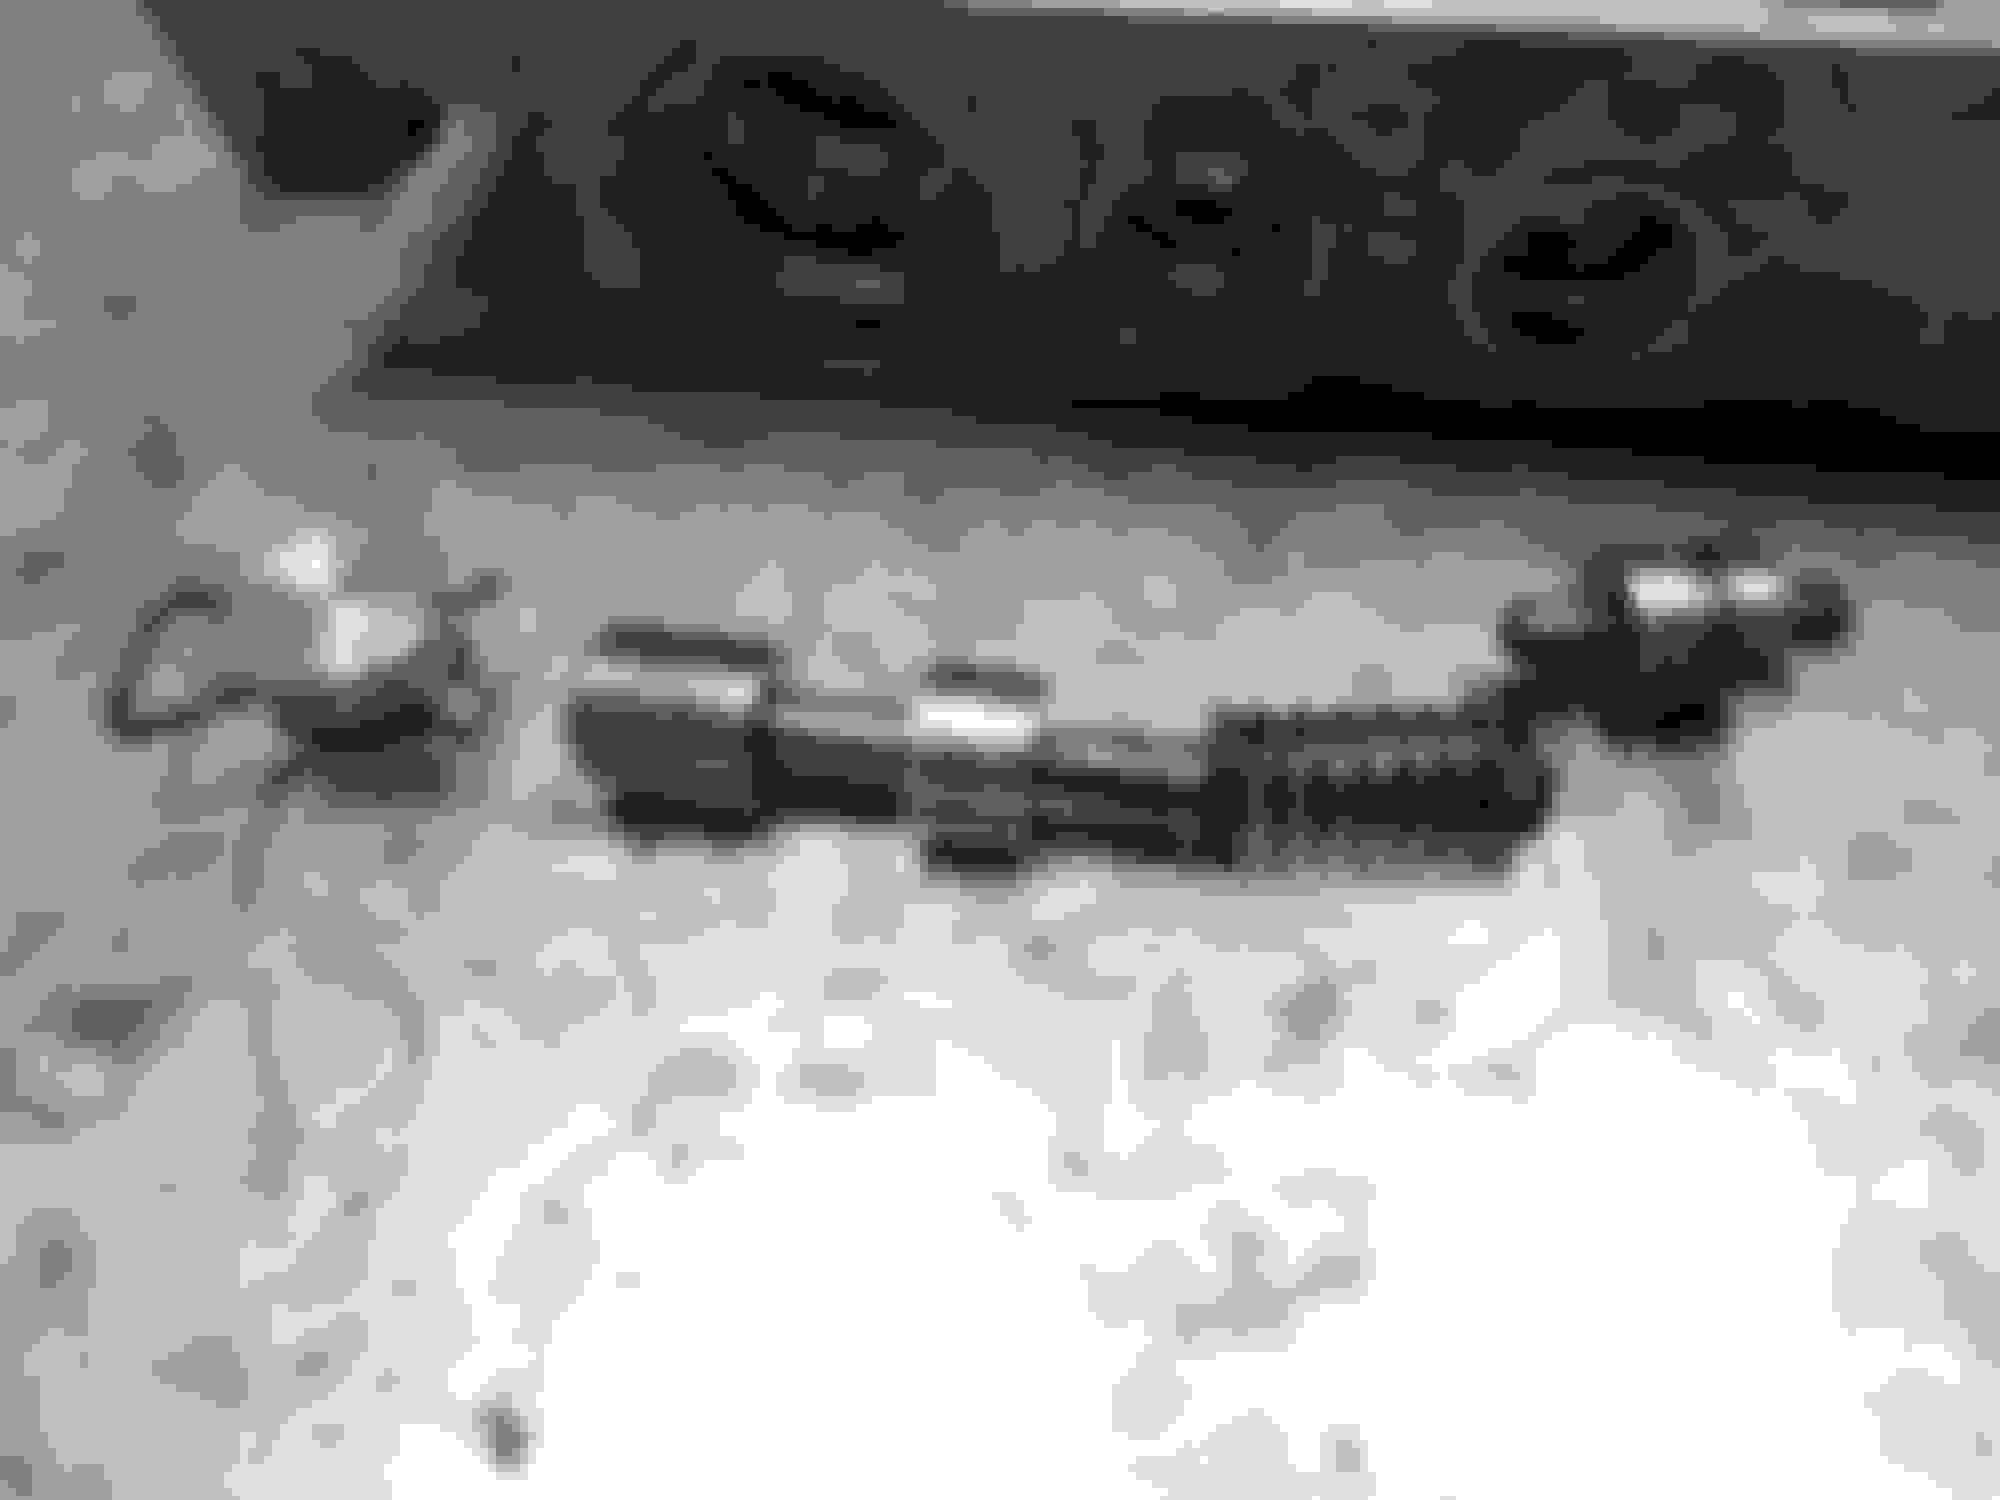
TCC regulator and isolator valves. These are getting replaced with the Sonnax kit, following a bore reaming of the valve body. A code 1870 was thrown, although with the 4l60e this is a good upgrade anytime a rebuild is done even if there's no code. There's also a less expensive option that deletes the isolator valve from the bore. I decided to "properly" fix the bore with the option that requires reaming, although you'll be fine with the isolator valve deletion.
Last edited by coryforsenate; Apr 2, 2015 at 12:00 AM.
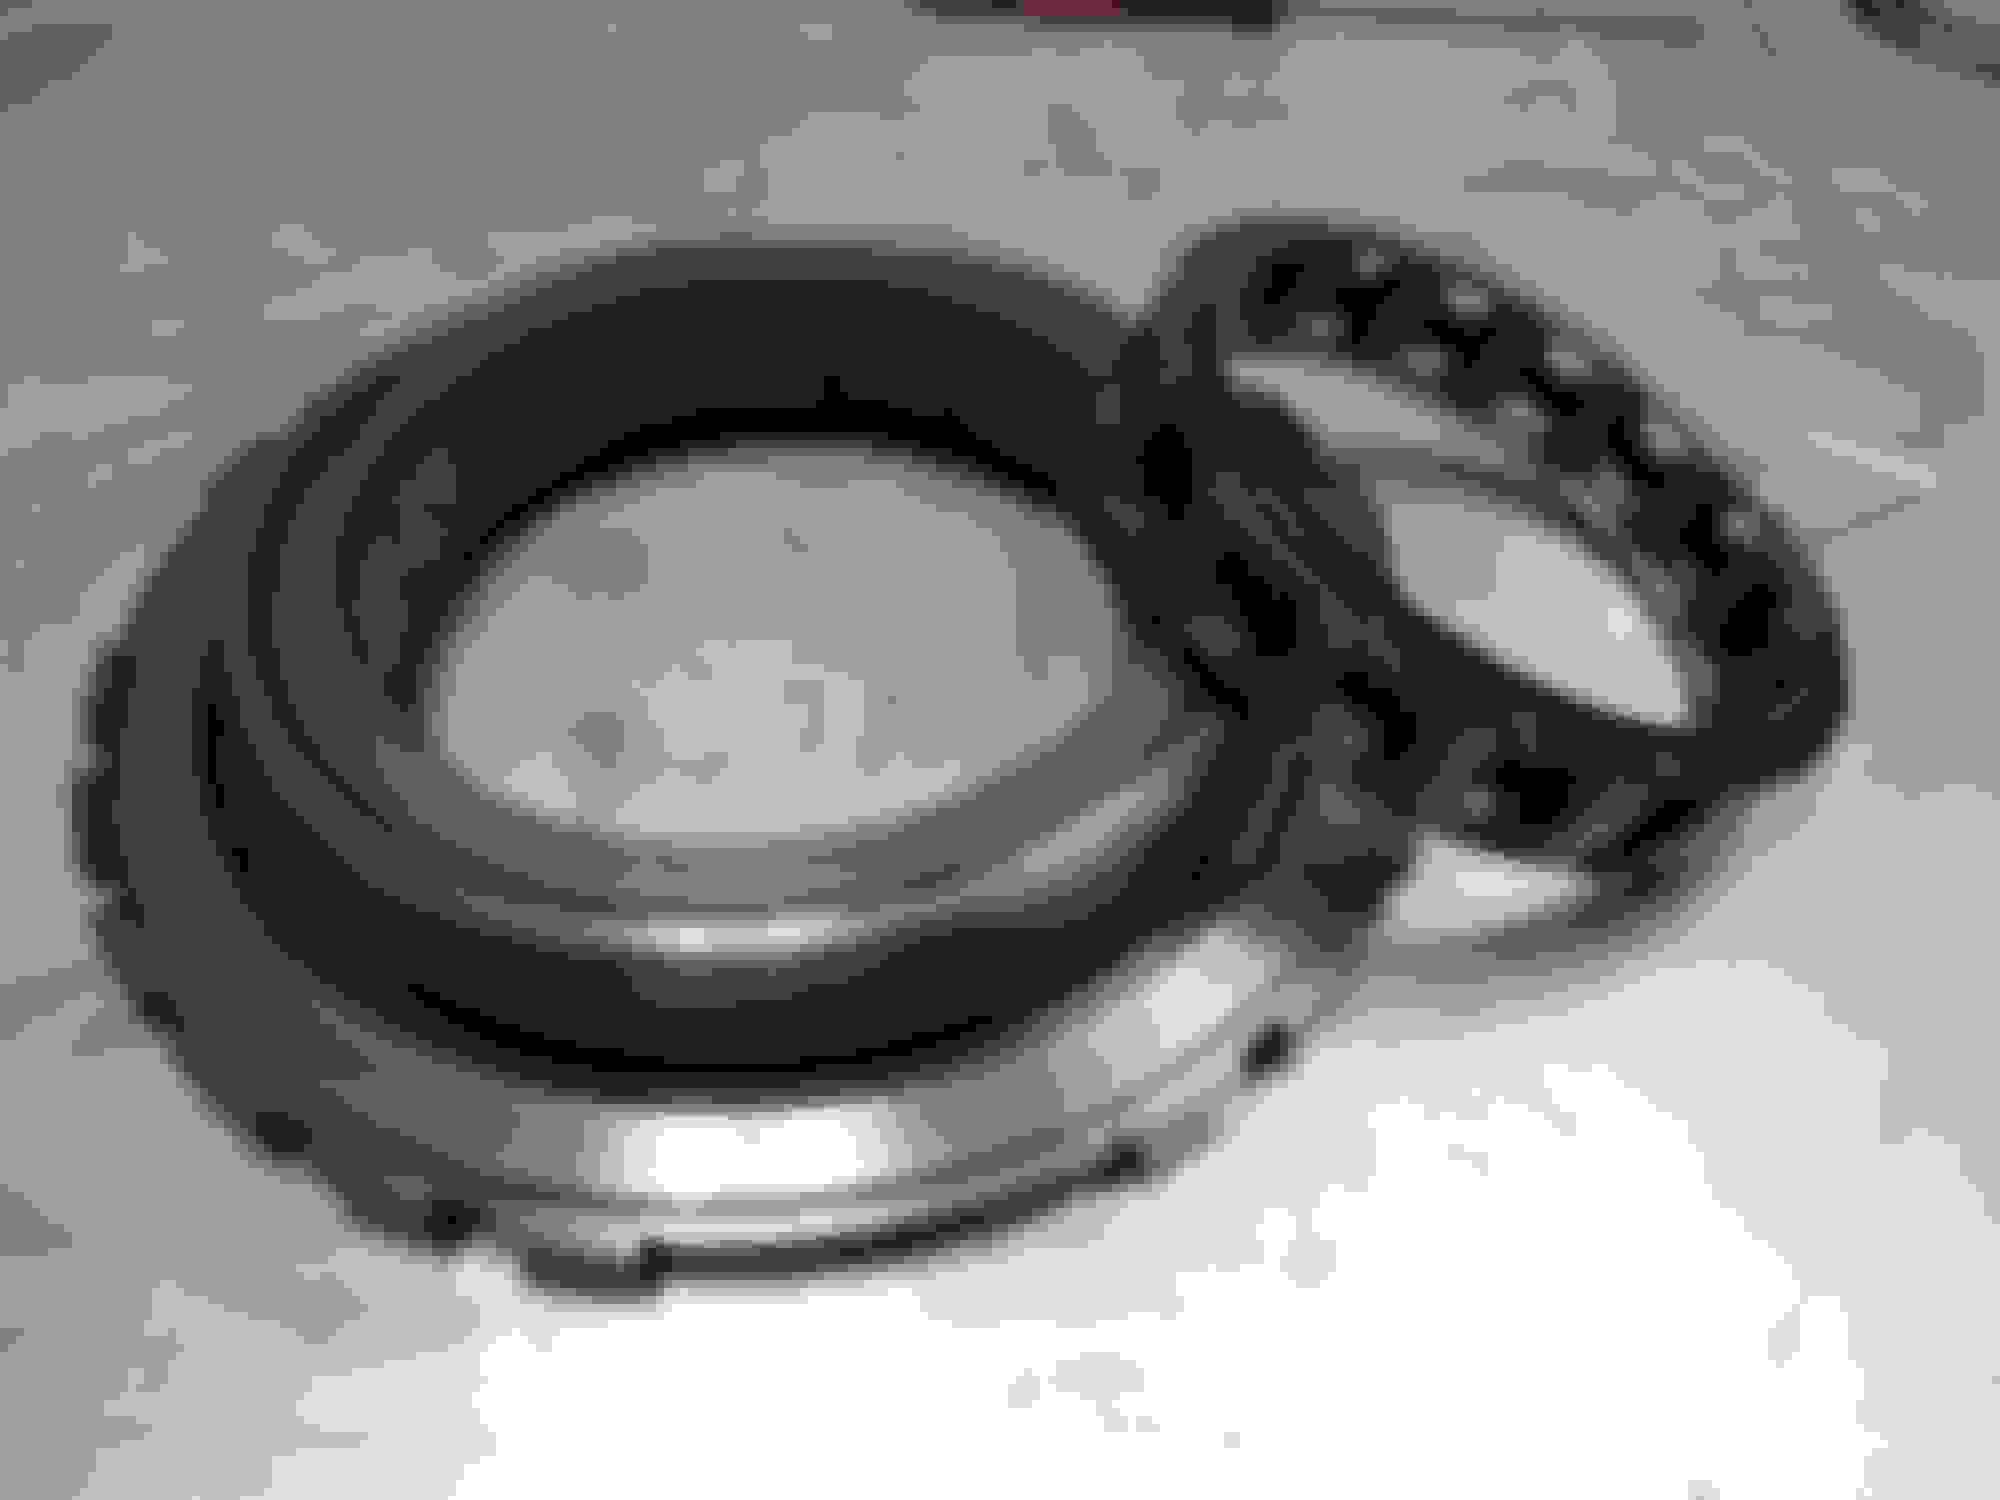
The reverse drum and band both look okay-ish. Obviously the band is getting replaced. I found a new AC Delco reverse drum for $70 so I decided to replace it too. It's a 20 year old transmission.
Work bench on day 2
Sprag has been upgraded to a Borg Warner. Cafeful with those sprags. The little cylinders fall out pretty easily. If one does make sure to put the spring and the cylinder back in correctly
Here's all my baggies with each of the valves and accumulators from the valve body. Be very organized when doing a rebuild. I can't stress this enough.
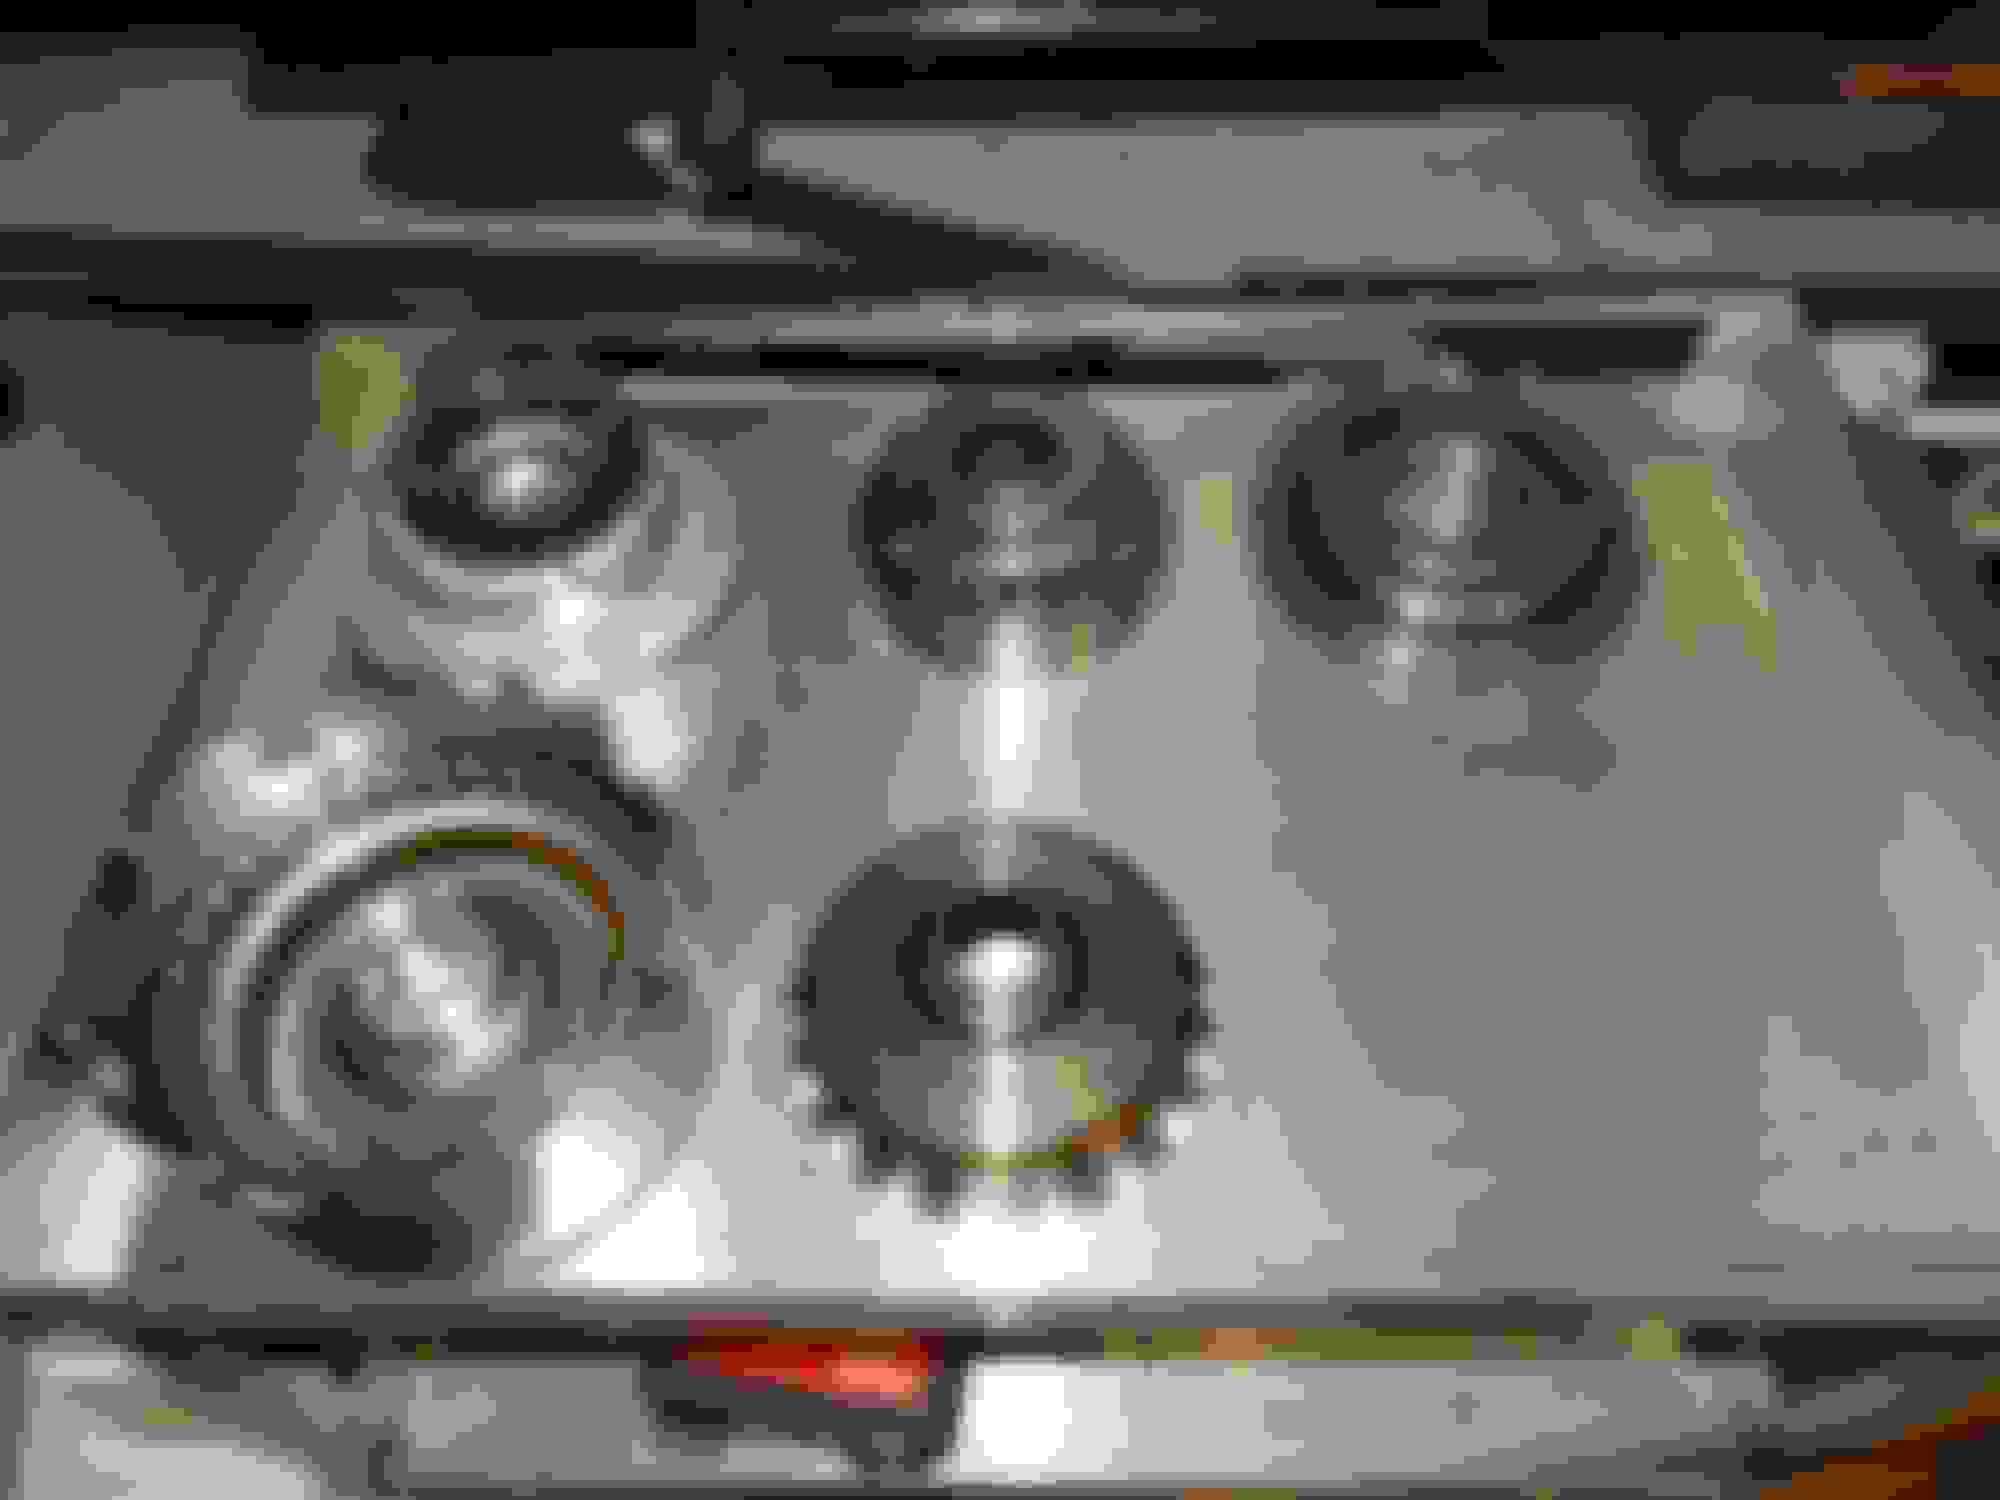
Completed parts following day 2.
Here's the input drum disassembled, sans clutch packs. The 3-4 clutch pack was fried. I'll try to remember to take a picture and post it.
Last edited by coryforsenate; Mar 19, 2015 at 01:48 AM.
Pump seems pretty good for 140,000 miles. Probably has something to do with a grandpa being the previous owner, and then me driving like a grandpa for the second decade of my truck's life.
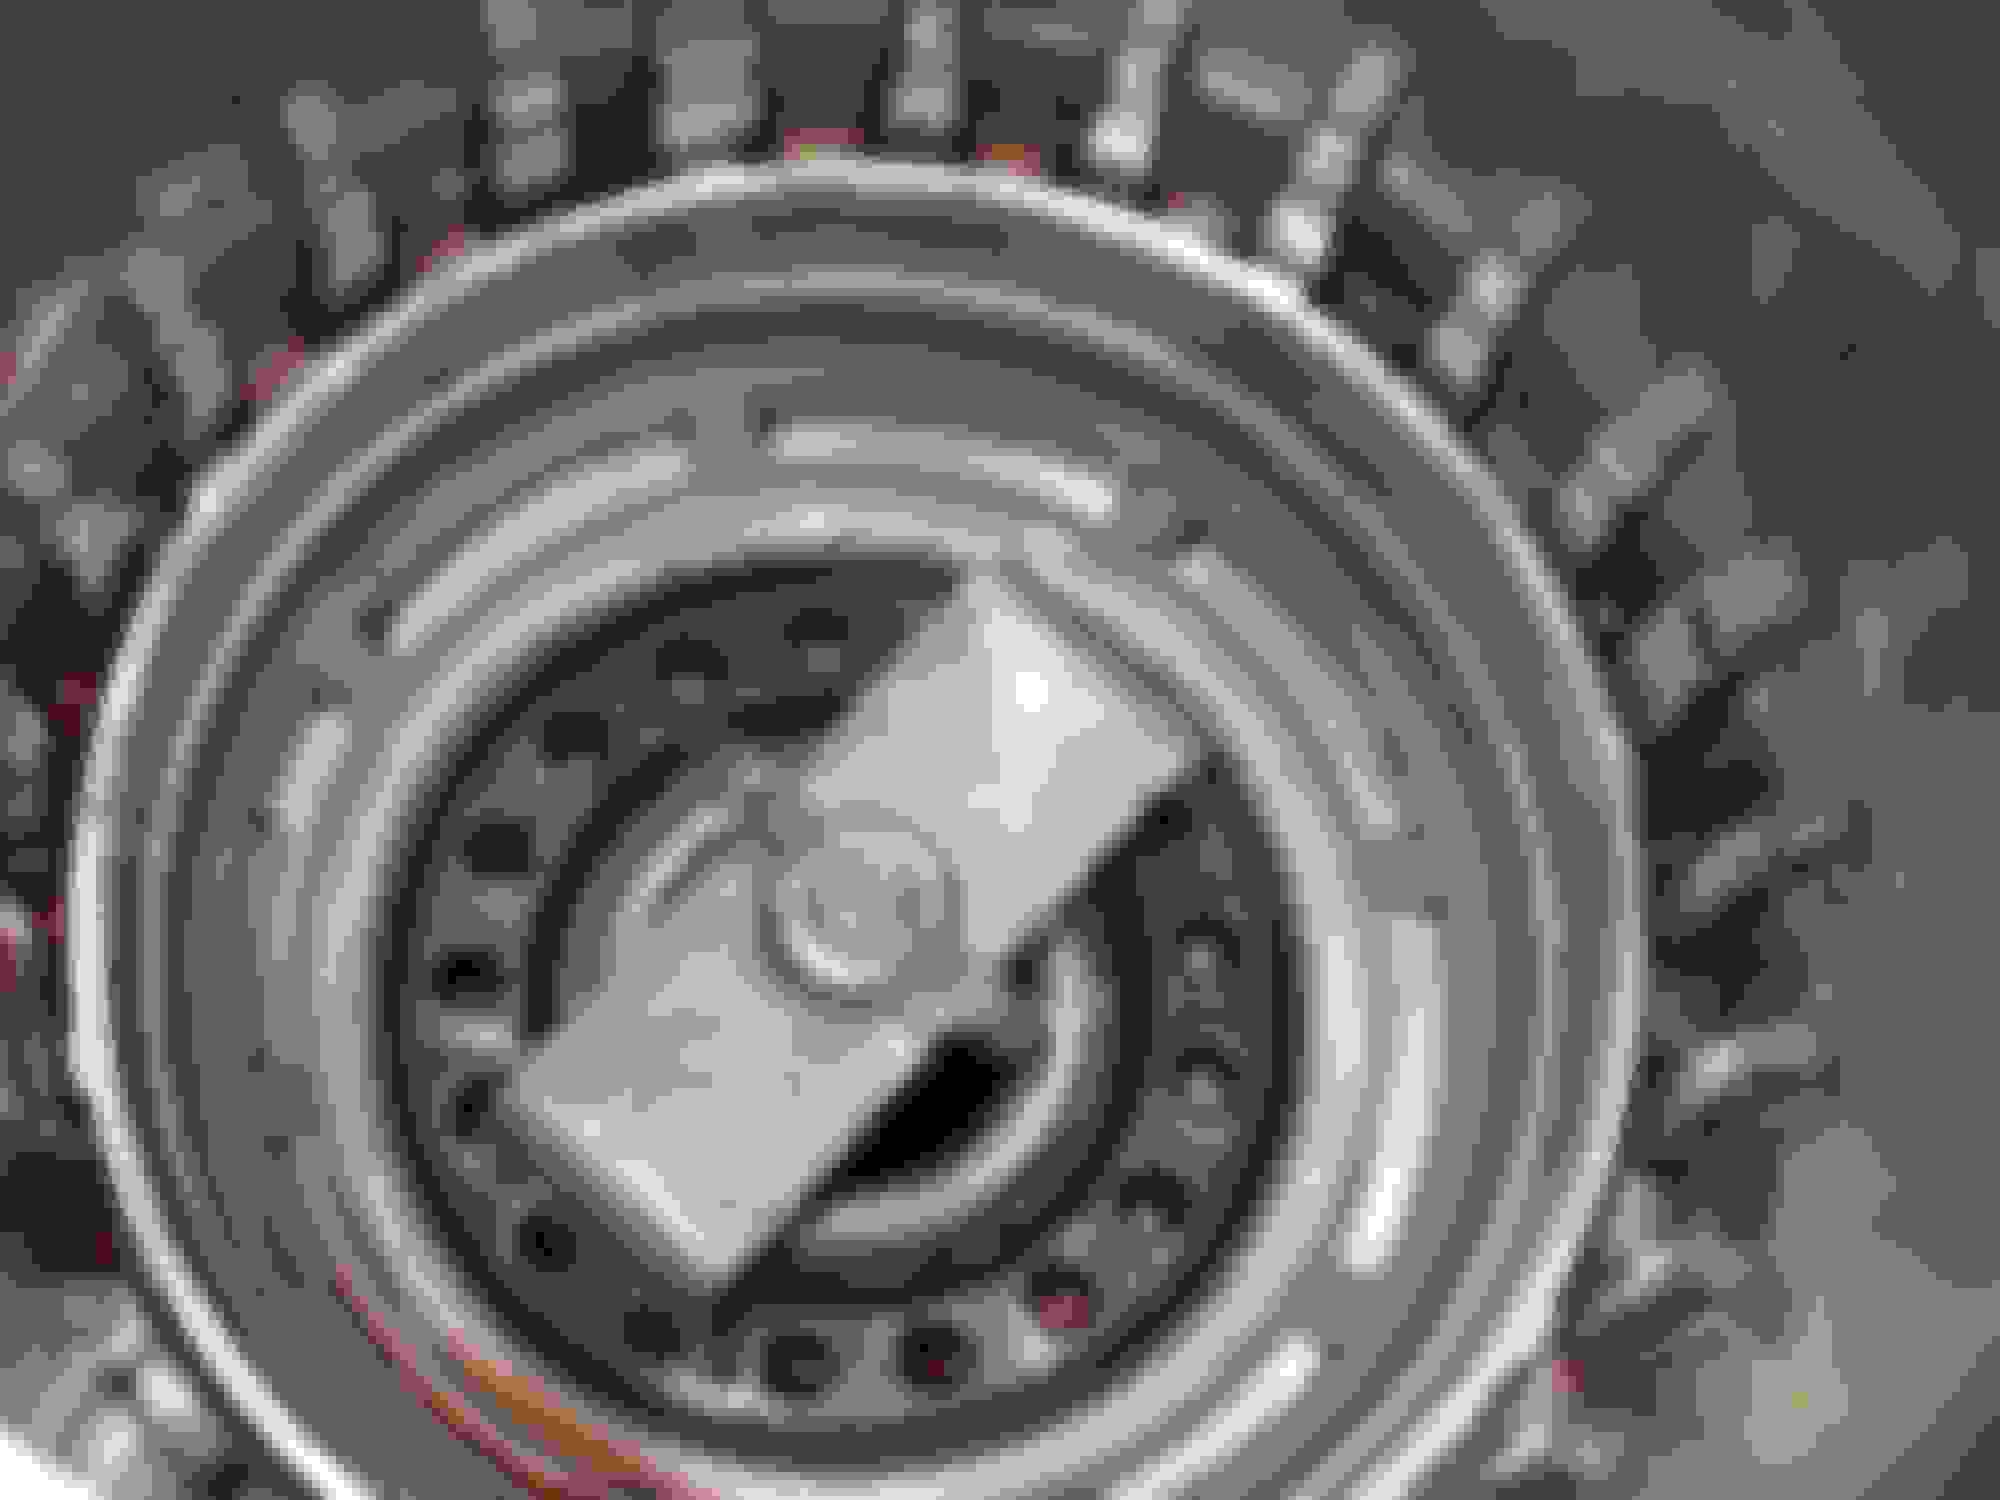
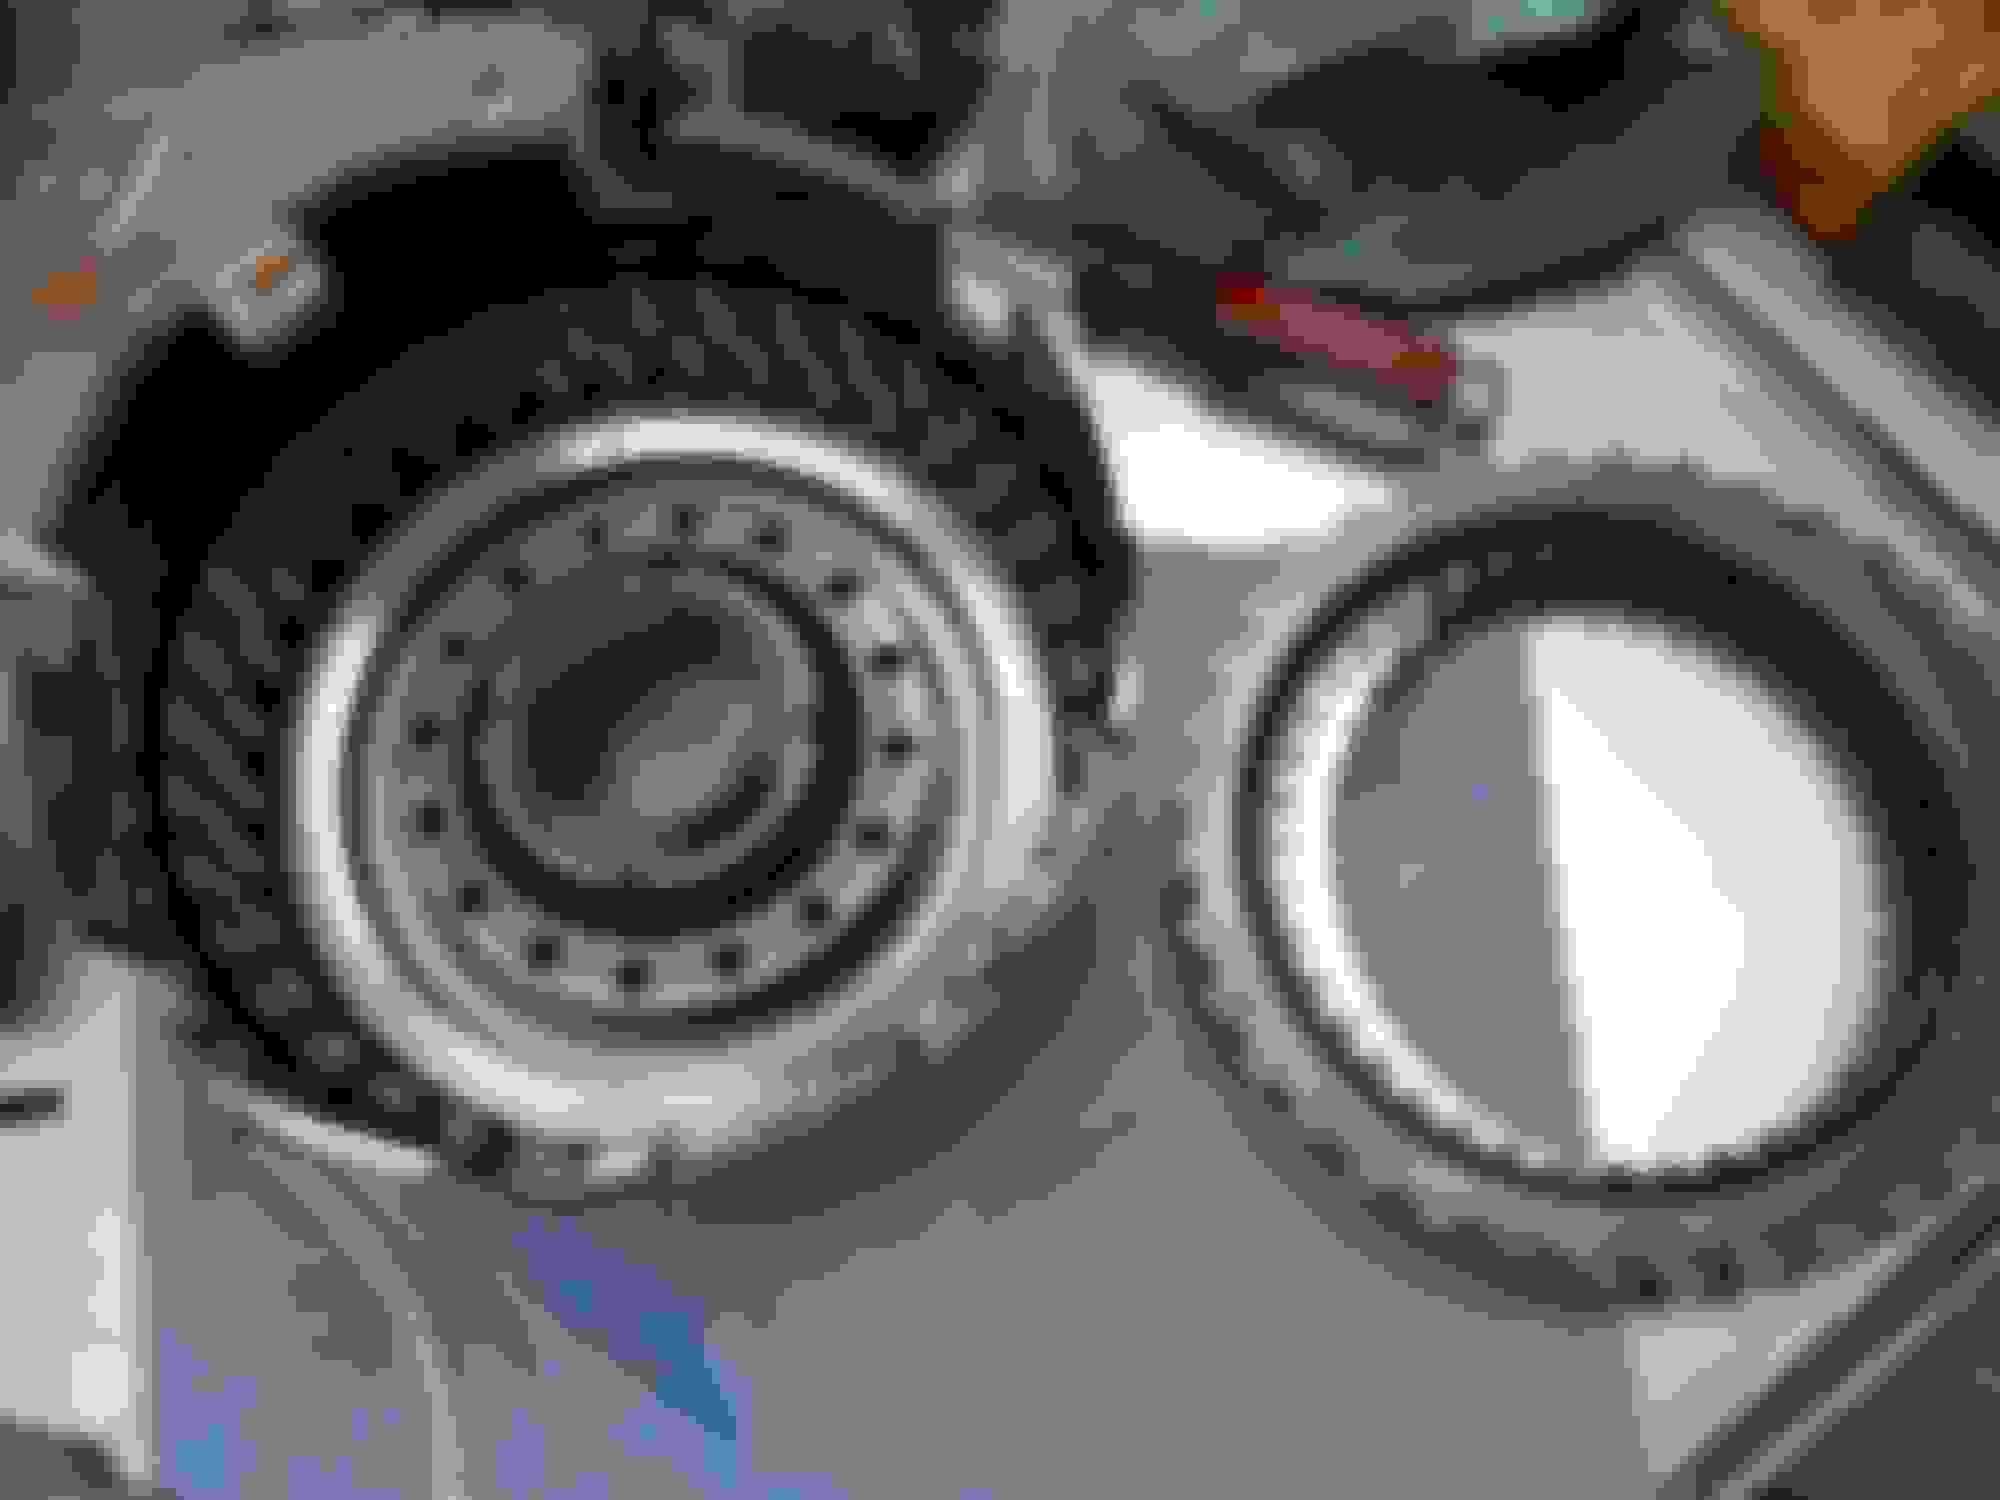
Forward sprag assembly. Stock sprag was replaced with a new Borg Warner.
Reaction carrier and planetary gear. Everything was in good condition, with the gear play well within spec. Despite the broken sun shell, (being replaced with a Sonnax Smart Shell), the sun gear looked great.
Doing the reverse input drum. Spacing was 0.0070-0.0075, on the high end but still technically within spec per what I've read and from advice from mrvedit.
Gas Monkey Built a 6-Wheel Ferrari Testarossa With a Corvette LT4 Engine
Slideshow: The controversial Ferrari F6 swaps its original flat-12 for a Corvette Z06-derived LT4 V8 and sends power to four rear wheels through a custom-built drivetrain.
7 Most Reliable High-Performance Engines GM Has Ever Built
Slideshow:These GM engines didn't just make huge power, they survived abuse, boost, track days, and six-digit mileage with a reputation for refusing to quit.
6 Common C5 Corvette Failures and What's Involved In Repairing Them
Slideshow: From wobbling harmonic balancers to failed EBCMs, these are the issues that define long-term C5 ownership and what repairs typically involve.
Retro Modern Bandit Pontiac Trans AM Comes With Burt Reynolds' Autograph
Slideshow: A modern Camaro transformed into a retro icon, this limited-run "Bandit" build blends nostalgia with brute force in a way few revivals manage.
Top 10 Greatest Cadillac V Series Performance Models Ever, Ranked
Slideshow: Cadillac didn't just crash the high-performance luxury vehicle party, it showed up loud, supercharged, and occasionally a little unhinged...