When you click on links to various merchants on this site and make a purchase, this can result in this site earning a commission. Affiliate programs and affiliations include, but are not limited to, the eBay Partner Network.
maybe i missed something, but when i was on improved tonight checking out the black friday deals i see that the EGM 330 windage piece is for Corvette Batwing pans. The CTSV pans take the EGM-730 or 730A depending on stud type.
is there a special reason you have EGM-330...or was there an error made?
Originally, I thought this was a going to be a "light upgrade" thread and now it's more like a "max effort/***** to the wall" thread.
When did that change, or did I completely miss something? Looking good, by the way--I'm not sure I would invest this heavily in that shortblock, but it'll be interesting to see how far you can take it.
It started as a "going to upgrade every system" sort of build and then I kept buying stuff. So in a lot of ways I suppose it is getting to be a "max effort with SBE plus rod bolts" kind of build. The crazy deal I got on that Harrop Hurricane was a sign for me to not hold back if possible(for instance it is what cemented the 3" exhaust). Ultimately I am more and more looking at ending up eventually with a de-stroked LS7 or similar big bore block with this same top end and supporting bits. I want to rev. Hopefully if/when I find the limitations of this bottom end the rest of the parts survive!
Originally Posted by FuzzyLog1c
Agreed. If you want a little extra pressure, put a small shim behind the white spring. You're already going to maintain better pressure for the reasons Nik identified plus the fact that the high volume pump may start to outflow the pressure relief above a certain RPM.
Good idea here.
Originally Posted by NIKDSC5
I would advice that you DO NOT use the red spring. I used the red spring and have too much oil pressure. While its not necessarily a bad thing, after talking with other engine builders it does rob power. A few circle track engine builders told me that is can be 5-10 crank hp too! Engine trying to push all that fluid. Anyway, once its in and together you cant change it. Easily.
Take also into consideration that your bearing tolerances are tighter than mine. If I remember correctly you're at 15 thousands for the rods? We built mine at 25-30 IIRC. I know that we were at 15 and wanted to open it up more for a more free floating engine. Which revvs crazy fast BTW! The LS isn't lacking on oiling so we wnt that route and I do not regret it. My single regret is using that red spring. Im at 95+ PSI at 6500 rpm. 45-54psi at HOT idle.
Food for thought!
I will have to look back through my notes to see what exactly the rods ended up at but they are resized with .002 over bearings and stock journals. Should be close to factory.
I've been secretly agonizing over this a bit so I think I may take your advice and pull the red spring when I align the pump tomorrow. I will likely also take the above complimentary advice and use a thin shim and end up somewhere in between.
maybe i missed something, but when i was on improved tonight checking out the black friday deals i see that the EGM 330 windage piece is for Corvette Batwing pans. The CTSV pans take the EGM-730 or 730A depending on stud type.
is there a special reason you have EGM-330...or was there an error made?
Good observation.
I believe it goes like this:
The scrapers are by stroke and stock vs aftermarket rods and/or studs. So from C5 to CTS-V, the scraper should be the same. The windage tray is different. The 7xx kit is just that, a kit of the 3xx scraper and the windage tray. I *think* I remember Michael saying something like there was no improving on the batwing tray so they sell just the scraper for that application? I will see if I can find it in my emails tomorrow.
So basically the scraper is to the short block and the tray is to the pan...I think.
EDIT: This chart they sent me a while back should clear it up I think. Or at least muddy it in the right direction:
Damn, speaking of missing something - did I miss Black Friday deals @ Improved?
Everyone advertised the hell out of it but I couldn't find anything all the great. Even the deals where I got my clutch had me all exited but the price never changed on it. Still worth the $$$ tho so I'm not gonna cry over it.
Time to check PTV clearance. Walgreens had just the thing. $5 bucket of individual clay "sticks" - each just the right size. I opted for orange and yellow as these are obviously the fastest of the available colors. Also later during downtime we've got animals, cutters, and other "fun projects."
I shoved it in and pulled back a couple of times to make sure my technique was getting the clay all the way in there. Bolted heads on to about spark plug tight, adjustable pushrod to 0 lash, and turned the engine over a few times. Pulled heads, cut the clay, and measured.
We are about .100" on the exhaust and a little tight at ~.060" on the intake. Going to run it. May not rev it real high until it warms up, but I think we'll be OK. Solid roller is .010" hot lash and that will add in.
The only thing I forgot here was to wipe the pistons with WD40 so that the clay doesn't stick. It wasn't bad, but stuck just a little.
More grinding for the TD rockers. When I first clearanced for the HS, I had them on/off the head quite a bit. For these, I just installed them, traced around them with a medium tip Sharpie, and went to town. These Comp head holders are fantastic. I got about 99% less shavings in everything just by turning the head on its side so gravity takes the shavings away from the head.
Installed remaining lifters. Nice big drop of lube in the cup and then a good slathering on the entire body and rollers. Make sure to put a good bit in the cup so you can feel when you have the pushrod in there..stuff is sticky so you'll know.
Plenty of time for arts and crafts once we get the engine together. I promise.
So quite unsettling--I had one exhaust valve where I could see light through exhaust port with valve closed. Compressed the spring, spun the valve around, still there. Lapped that valve. Light gone. This is all new components so hopefully just a fluke. The others looked good.
ARP lube on the studs and nut bottoms. Yep; he said nut bottoms. Torqued down. Fingers crossed; heads shouldn't come off for a while.
Final bolt-down of the rocker stands. Thread sealant on the bolts that protrude into the intake ports. Too bad clear valve covers won't work out.
These really dress things up.
DIY oil pump alignment kit..ingredients: six Harbor Freight feeler gauge sets minus the other 35 gauges.
Pull the cover off the pump, align, bolt down. Remove gauges, bolt pump cover back on. These bolts on the Melling seem at first to be a T27 but they are actually T30. The T27 will strip the **** out of these bolts.
I like this oil pump pickup girdle. We get to use 2 bolts instead of one. New green o-ring.
Rear cover and seal alignment and installation. I found a good deal last year on the complete Kent-Moore LS tool set. Even though you can improvise by other means, this set is great.
Alignment tool bolts to the pan rail, then the bottom of the cover(loosely at first until you get it centered) then the brass alignment jig bolts into the back of the crank. Brass jig aligns horizontally and the flat bar aligns the bottom of the cover with the pan rail.
Once you tighten the cover bolts down, remove the tools and use the seal installer. THIS SIDE OUT.
Edelbrock 2-piece front cover. Nice piece and should allow future cam changes without pulling the crank pulley!
Same basic alignment procedure as the rear except the brass tool is turned around and now grabs the machined registers on either side of the crank seal(exterior of front cover). Now you know what those two spots are for on the OEM covers as well.
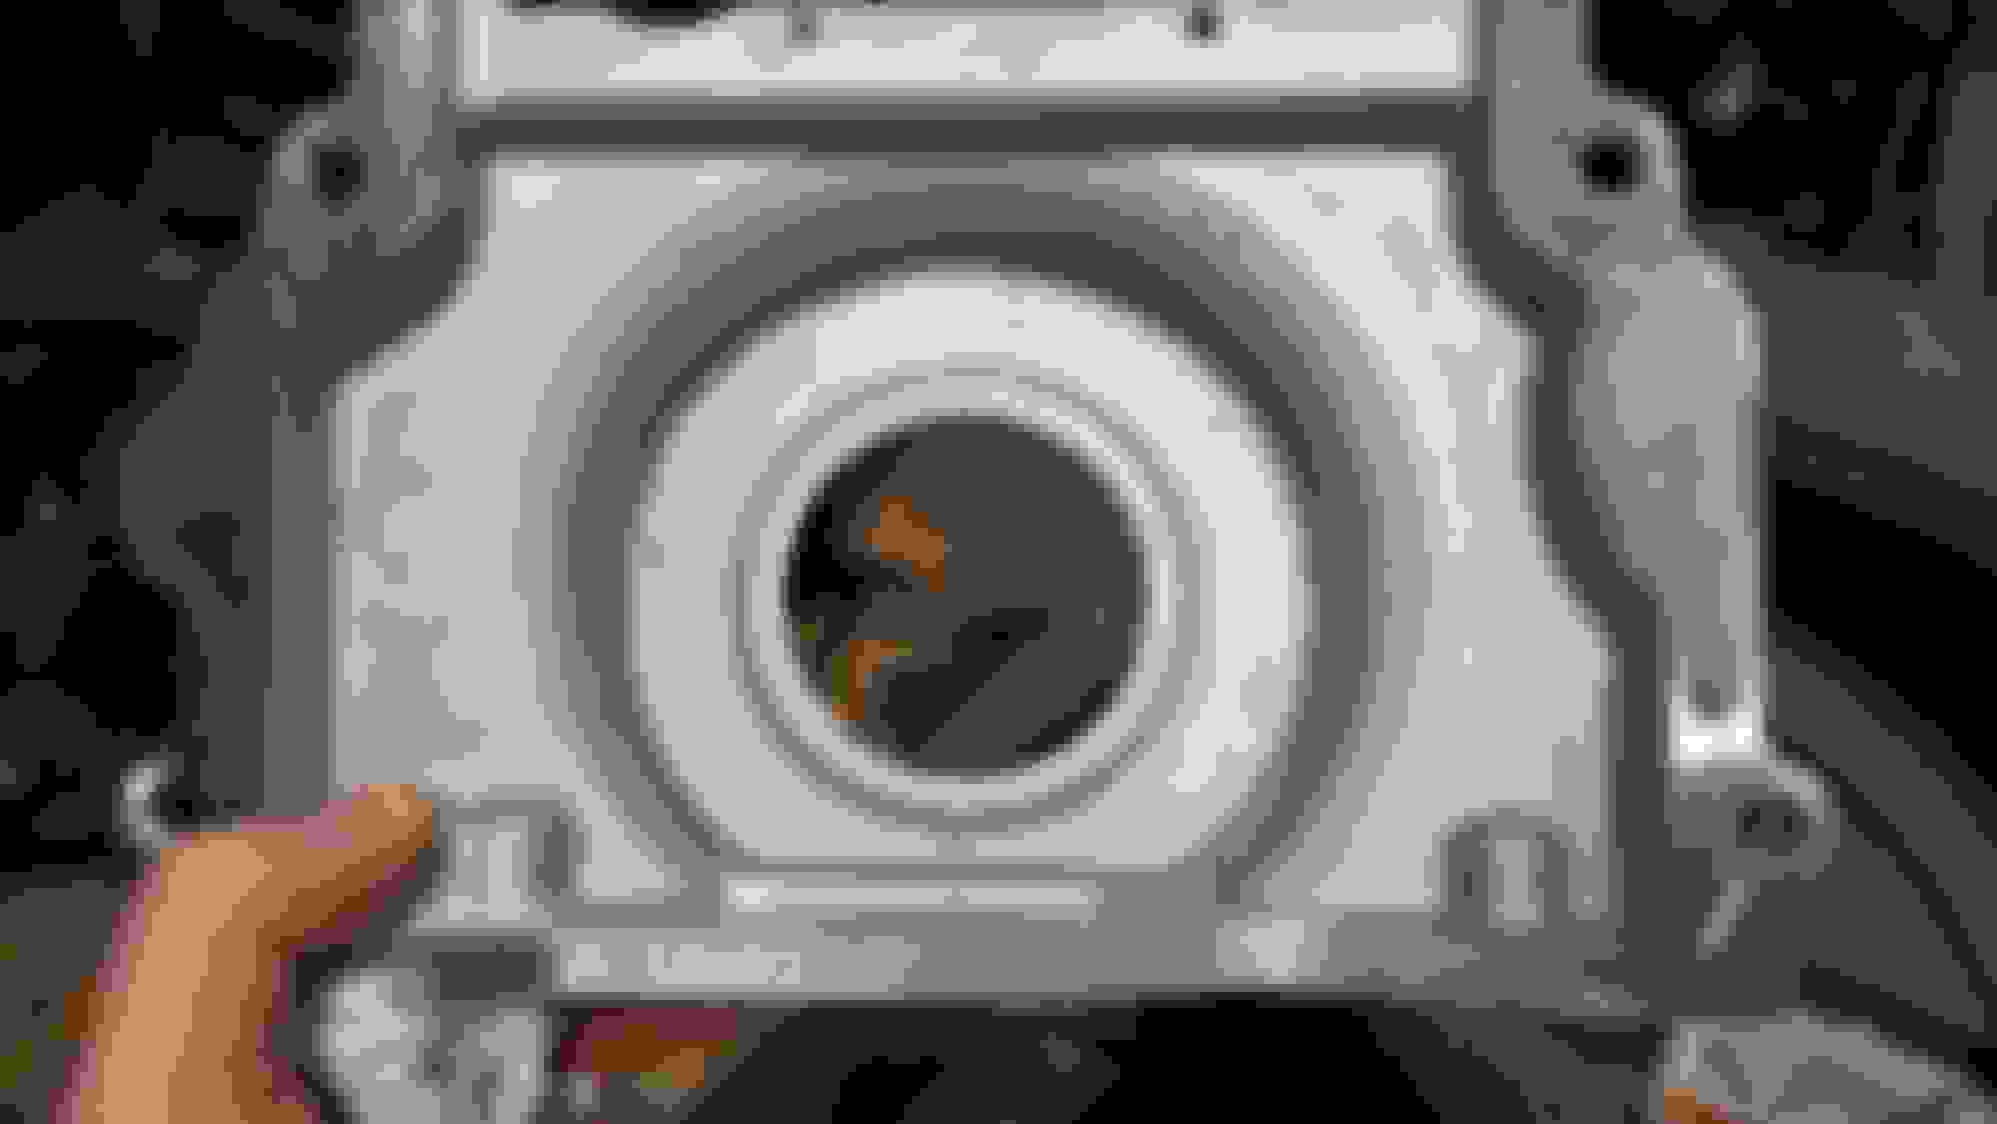
Quite lucky I am doing it the "right" way otherwise I may not have noticed that the Melling pump is hitting the cover just a tiny bit on the inside. Note the gap in the left side of the pic between the brass tool and the cover. Will grind a little tomorrow and get it straight.
We're now on the rollers instead of the engine stand. Love these things.


 11-25-2016, 10:41 PM


 Also later during downtime we've got animals, cutters, and other "fun projects."