
Projector Halo Headlights & Foglights
 09-16-2012, 09:34 PM
#1

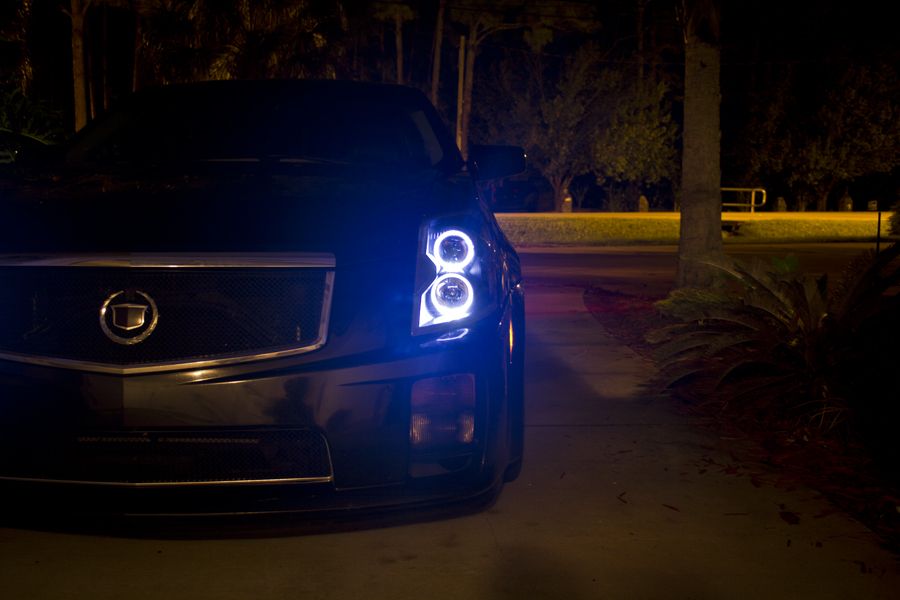
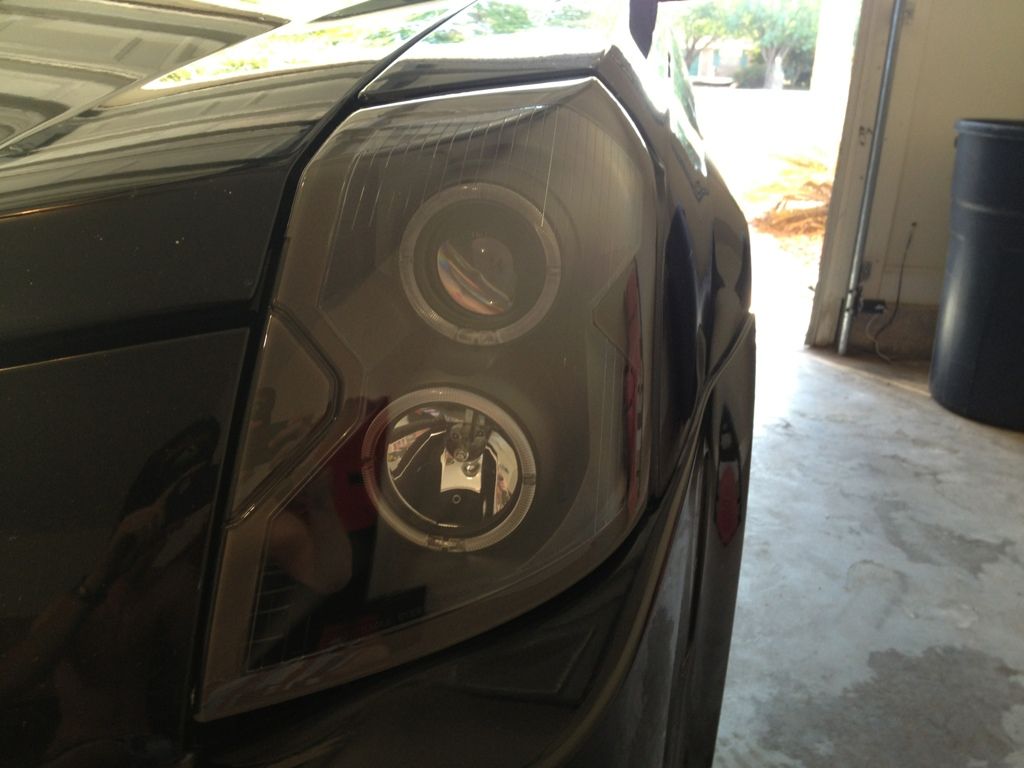
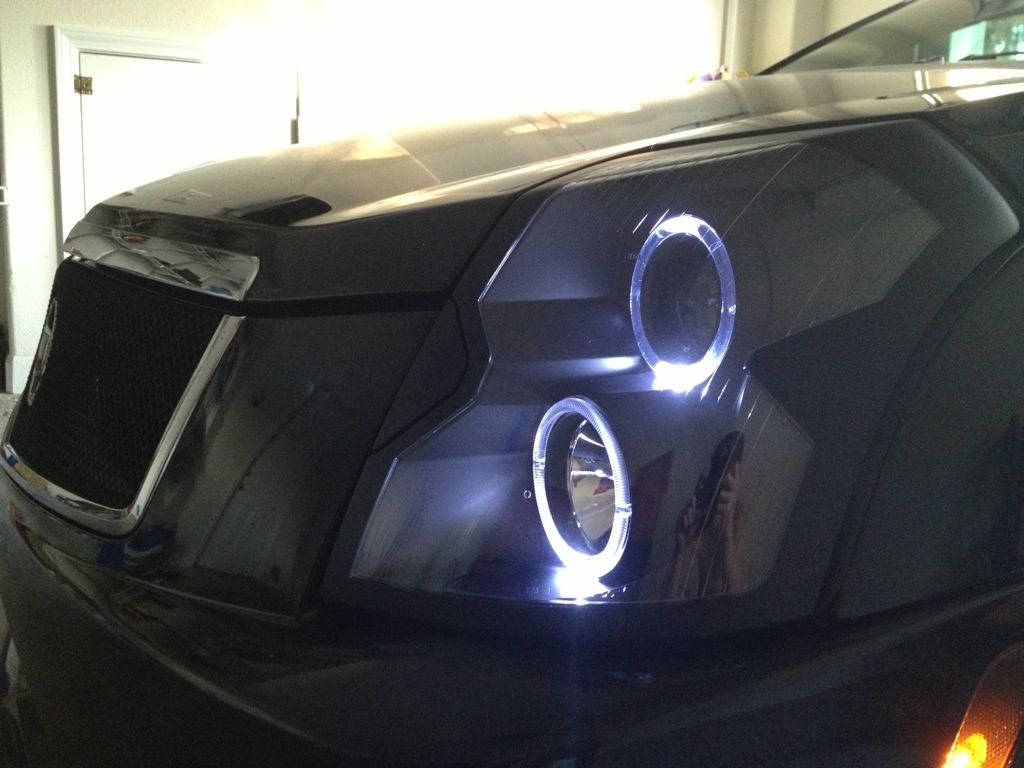
Figured I'd drop an update in here. Still tweaking, but initial impressions are excellent. In person, the look of six vertical halos is pretty unique--even my BMW-driving friends did an abrupt 180° after seeing these things in person. I'll have better pictures later. For now, I'm just basking in the glow of:

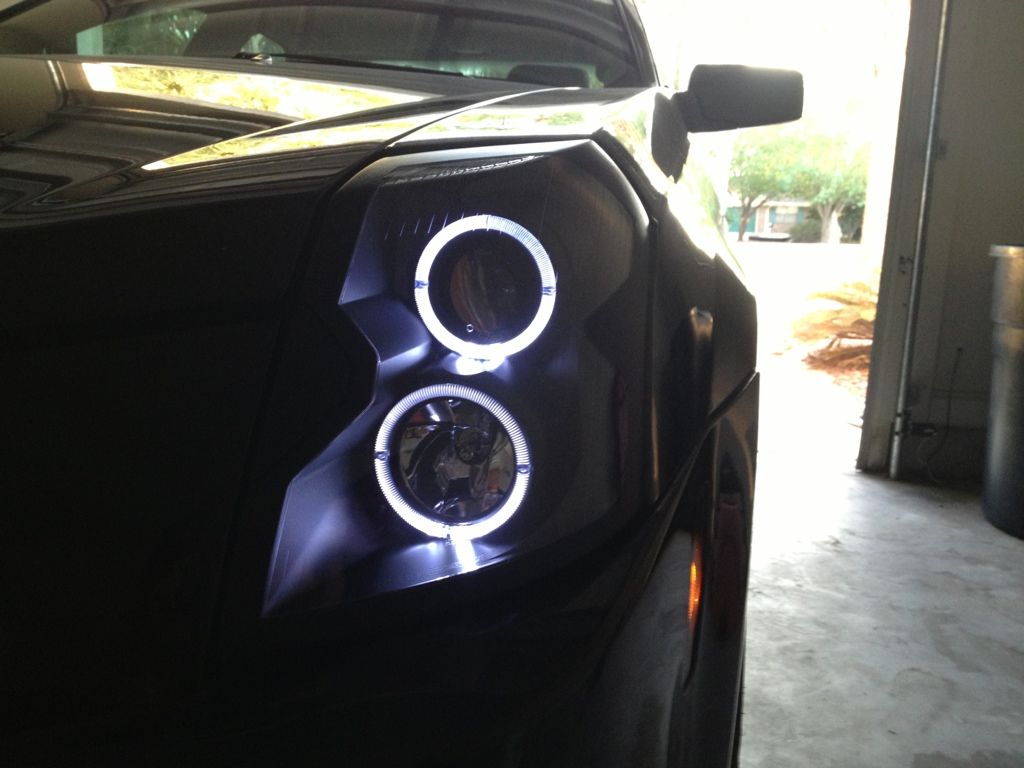
Before I forget--the color temperature depicted in these pictures is accurate. I double-checked. You get a nice, strong purple-blue-white flash as you move through the transition between the blocked and unblocked portion of the projection beam.
- Six 7000K CCFL halos
- Two 55 watt 4500K projector headlights
- Two 35 watt 4500K projector foglamps (not illuminated in these pictures)
Before I forget--the color temperature depicted in these pictures is accurate. I double-checked. You get a nice, strong purple-blue-white flash as you move through the transition between the blocked and unblocked portion of the projection beam.
Last edited by FuzzyLog1c; 05-02-2013 at 06:33 PM.
 09-16-2012, 09:39 PM
#2
As much as I hated the original idea that you were going for, I think it personally looks sick and I can't wait till mine arrive here on Tuesday.
I'll contribute to this thread after i get mine installed and wired in. Any chance you could post up what you needed to do to wire in the headlights?
I'll contribute to this thread after i get mine installed and wired in. Any chance you could post up what you needed to do to wire in the headlights?
09-16-2012, 09:59 PM
#3
1. Replace the included H1 high beams with Silverstars. The included high beam bulbs are hilariously bad. Silverstars are less terrible, and they're less than $30 on Amazon. Note that there's a little button on the base of the mount that you have to press to release the bulb (not the same thing as the wire tensioner that you have to press to release the bulb base).
2. Cut off the stock low-beam bulb (it's hardwired). Replace it with your choice of HID and ballast, but I recommend 4300-4500K DDM HIDs coupled to a 55 watt Raptor ballast, which can be neatly screwed into the spot where the huge D1S ballast would normally go (make sure you buy the optional DDM brackets and have a couple of big screws handy). You may have to dremel the edges of the plastic slot slightly to fit flush if you're using a big ballast.
3. Cut the big connector out of the back of the headlight housing. You can try to connect the stock harness to the headlight, but the tabs will push in and it won't work. It's a design flaw. Big drill bit + metal snips should work, or whatever you have handy. Next, cut the connector off your stock harness (leave a couple of inches in case you want to re-attach it later), and splice wires as follows:
Driver's Side Legend: Headlight - Car
- Blue (Low Beam) - Yellow (Low Beam)
- White (High Beam) - Green (High Beam)
- Tan (DRL/Halo) - Purple (DRL/Halo)
- Black (Ground) - Black/Black (Ground)
- Blue (Low Beam) -Tan (Low Beam)
- White (High Beam) - Green (High Beam)
- Tan (DRL/Halo) - Brown (DRL/Halo)
- Black (Ground) - Black/Black (Ground)
Last edited by FuzzyLog1c; 09-16-2012 at 10:04 PM.
09-17-2012, 10:05 AM
#4
I didn't think it would be difficult, but that seals the deal for me. Thanks for the heads up, and for the most part I was just curious what wire went for the Halo's which seems that the corner light from the old headlights is the one.
Pretty excited about getting this in tomorrow considering how much my stock lights are torn up!
Pictures from my end tomorrow!
Pretty excited about getting this in tomorrow considering how much my stock lights are torn up!
Pictures from my end tomorrow!
09-18-2012, 09:42 PM
#6
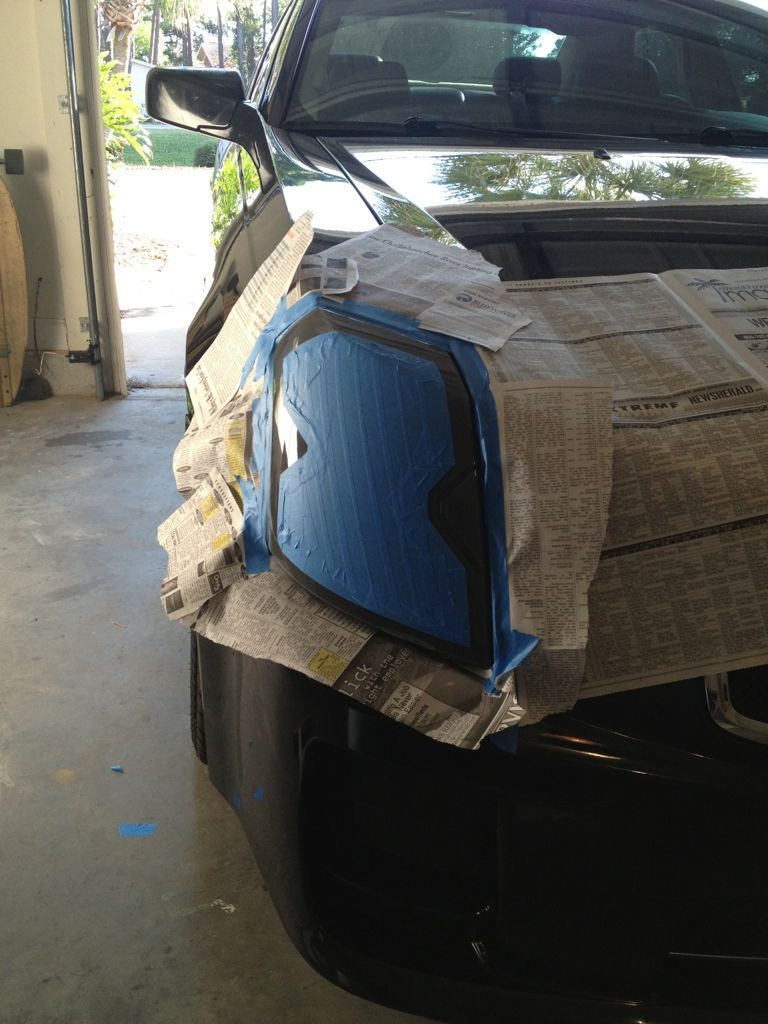
These aren't very good pictures, and I will snap a few more in the next day or so but honestly, wow... These things are awesome. They give the front end a whole new look. Awesome quality, awesome fit, awesome product.
I also was able to fit the stock wiring plug on the headlight socket so that saved a lot of time and hassle.
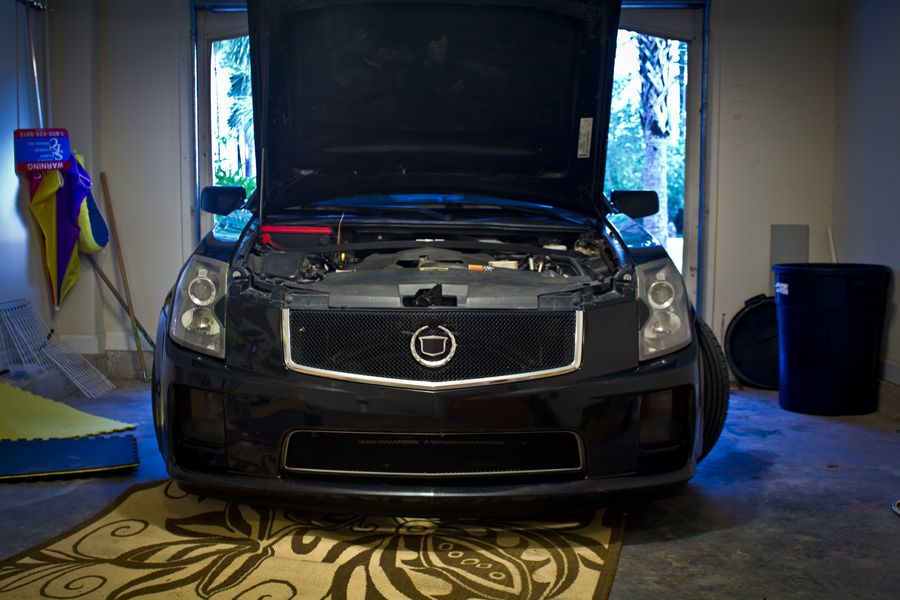
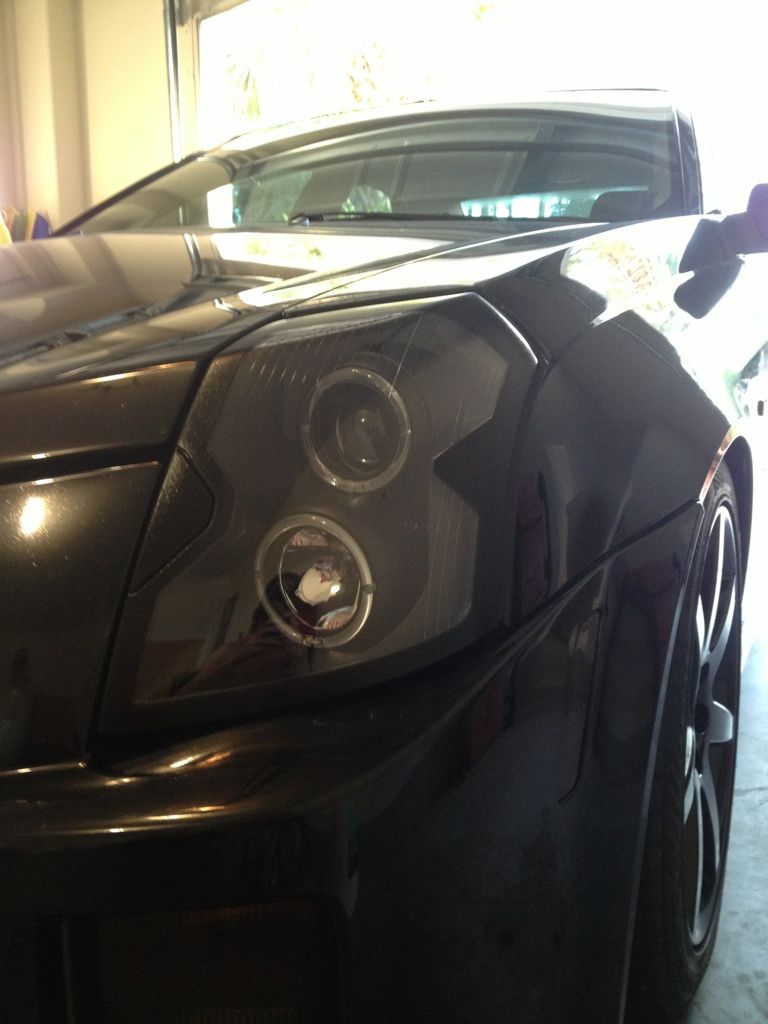
Before my lenses were cracked, pitted and I didn't like the gray housings in general.
During and After

I also was able to fit the stock wiring plug on the headlight socket so that saved a lot of time and hassle.
Before my lenses were cracked, pitted and I didn't like the gray housings in general.
During and After
Last edited by tmonttt; 09-18-2012 at 10:14 PM.

Trending Topics
 09-19-2012, 11:57 PM
#9
What--projector foglights? Like the ones I previewed earlier? I'm still finishing mine and refining the process.
tmonttt, what did you do with your washers?
tmonttt, what did you do with your washers?
Last edited by FuzzyLog1c; 09-20-2012 at 12:04 AM.
09-20-2012, 08:45 AM
#10

What--projector foglights? Like the ones I previewed earlier? I'm still finishing mine and refining the process.
tmonttt, what did you do with your washers?
tmonttt, what did you do with your washers?
09-20-2012, 08:49 AM
#11
Or you can just remove the hose using the included quick disconnects.
My question was actually targeted at the headlight washer mechanism, which will try to push fluid through the capped system. I hope to have time to get in there and find out how to disconnect it.
My question was actually targeted at the headlight washer mechanism, which will try to push fluid through the capped system. I hope to have time to get in there and find out how to disconnect it.
09-20-2012, 04:48 PM
#14
Regardless of application, I recommend German manufactured 4300-4500K bulbs. Not only are they do they provide the best illumination (being closest to pure white), they look the best, with that nice little blue-purple flash as you pass through the transition band in a projection lens.
People think that you'll get more of that flash and sparkle (color shift) by raising the color temperature, when it actually has the opposite effect. If you want to know more, pull up a Wikipedia page on optical refraction and Snell's Law. By producing only a part of the spectrum, you're effectively reducing one of the cosmetically desirable characteristics of your headlights.
People think that you'll get more of that flash and sparkle (color shift) by raising the color temperature, when it actually has the opposite effect. If you want to know more, pull up a Wikipedia page on optical refraction and Snell's Law. By producing only a part of the spectrum, you're effectively reducing one of the cosmetically desirable characteristics of your headlights.
09-20-2012, 09:03 PM
#16

looks much better then I expected, i'll have to look into this in the future.
are you able to use the stock ballasts or is an aftermarket required? and this is probably stupid, but you didn't mention separating the lense from the headlight housing (oven deal) is that required? thanks in advance
are you able to use the stock ballasts or is an aftermarket required? and this is probably stupid, but you didn't mention separating the lense from the headlight housing (oven deal) is that required? thanks in advance
09-22-2012, 08:23 PM
#17
looks much better then I expected, i'll have to look into this in the future.
are you able to use the stock ballasts or is an aftermarket required? and this is probably stupid, but you didn't mention separating the lense from the headlight housing (oven deal) is that required? thanks in advance
are you able to use the stock ballasts or is an aftermarket required? and this is probably stupid, but you didn't mention separating the lense from the headlight housing (oven deal) is that required? thanks in advance


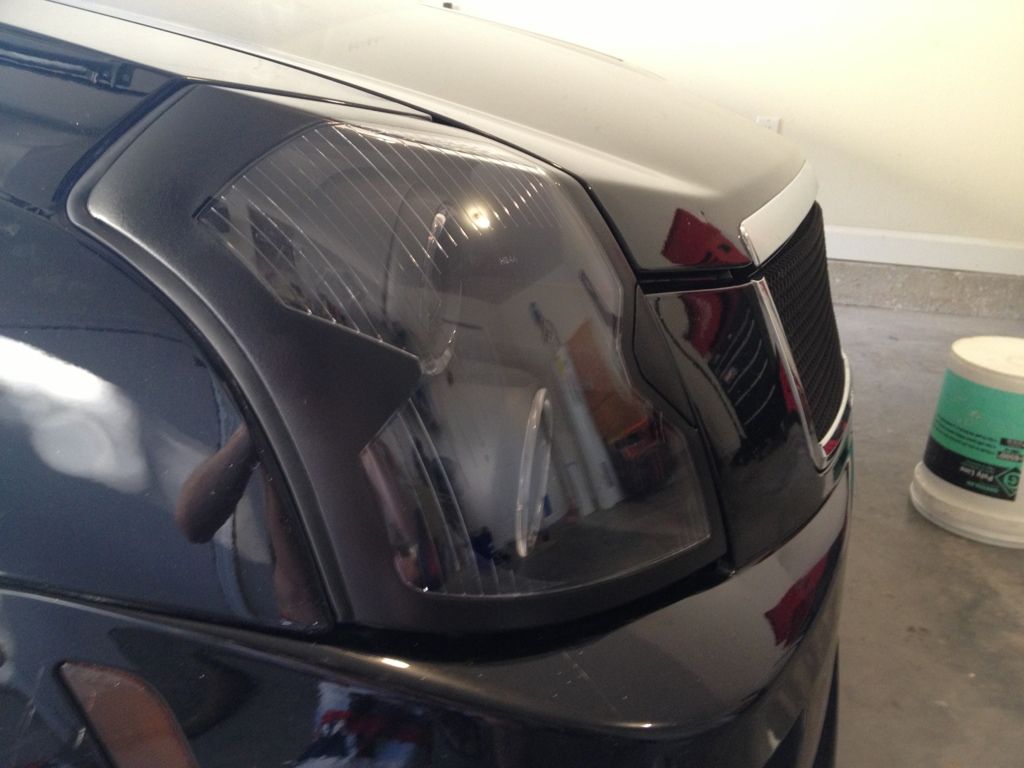
By the way, I'm loving this setup. One more picture. I checked this for accuracy against real life--the headlights are a little green in the picture because of the camera's imperfect color correction. In reality, both the headlights and foglights look exactly like what you're seeing in the foglamp. Pure white core with the slightest hint of blue or purple.
09-27-2012, 06:36 PM
#18
Bringing this thread back...
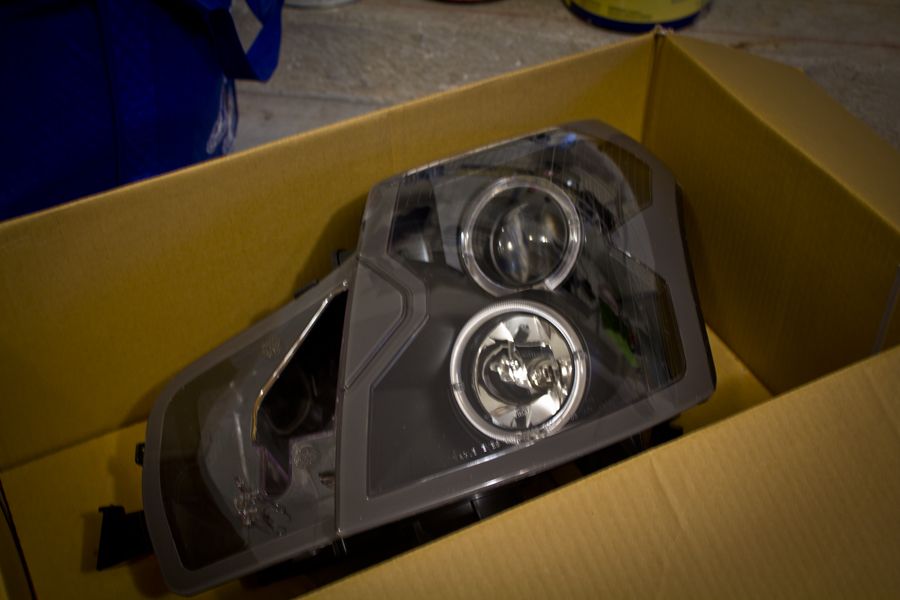
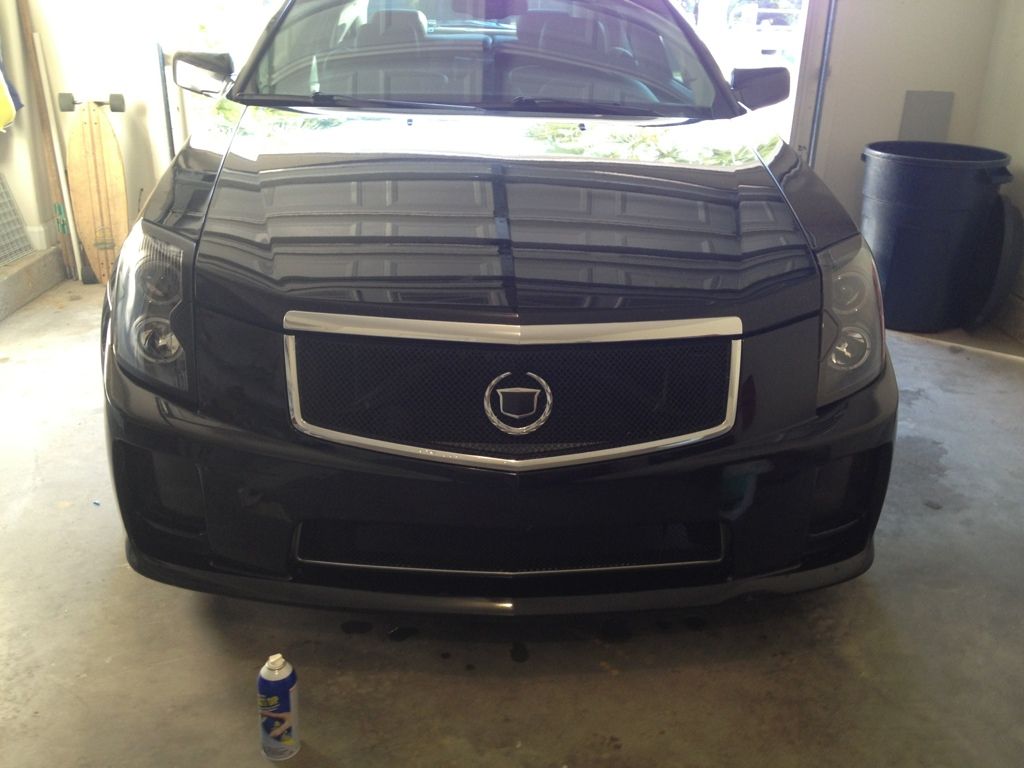
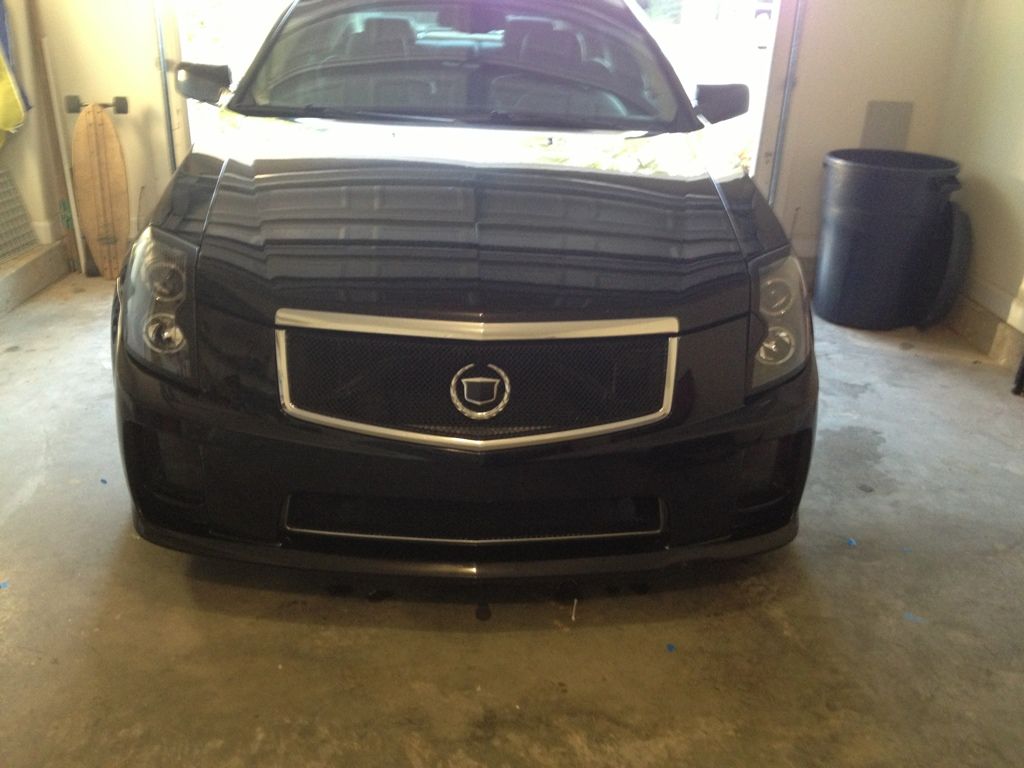
Got around to painting the gray trim of these headlights black. I used plastidip because I wanted to make sure this is what I wanted before I fully committed to painting them and it turned out pretty solid. Only took about 30 minutes on each side and I think the results look awesome compared to the prior gray.
Prior gray border
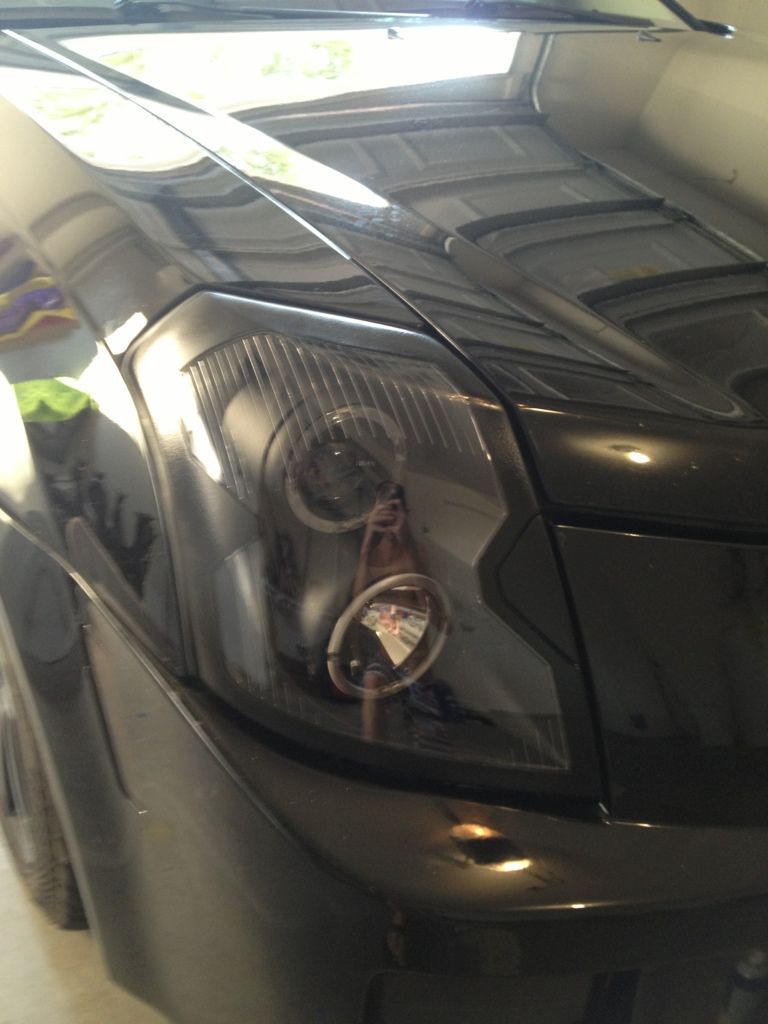
