When you click on links to various merchants on this site and make a purchase, this can result in this site earning a commission. Affiliate programs and affiliations include, but are not limited to, the eBay Partner Network.
I thought there was some sort of gasket material around OEM headlights that took care of that gap?
Another option is maybe to glue a black plastic piece to the top of your bumper and extend it under your light to get rid of the gap. If you cut the leading edge of the plastic to the profile of your headlights it would look decent.
Got some Post-it Extreme pads and the funniest way I could think to test it out was this below. First a video of how much it fails at being a sleeper with no exhaust and then of course the to-do-note in place for people in traffic.
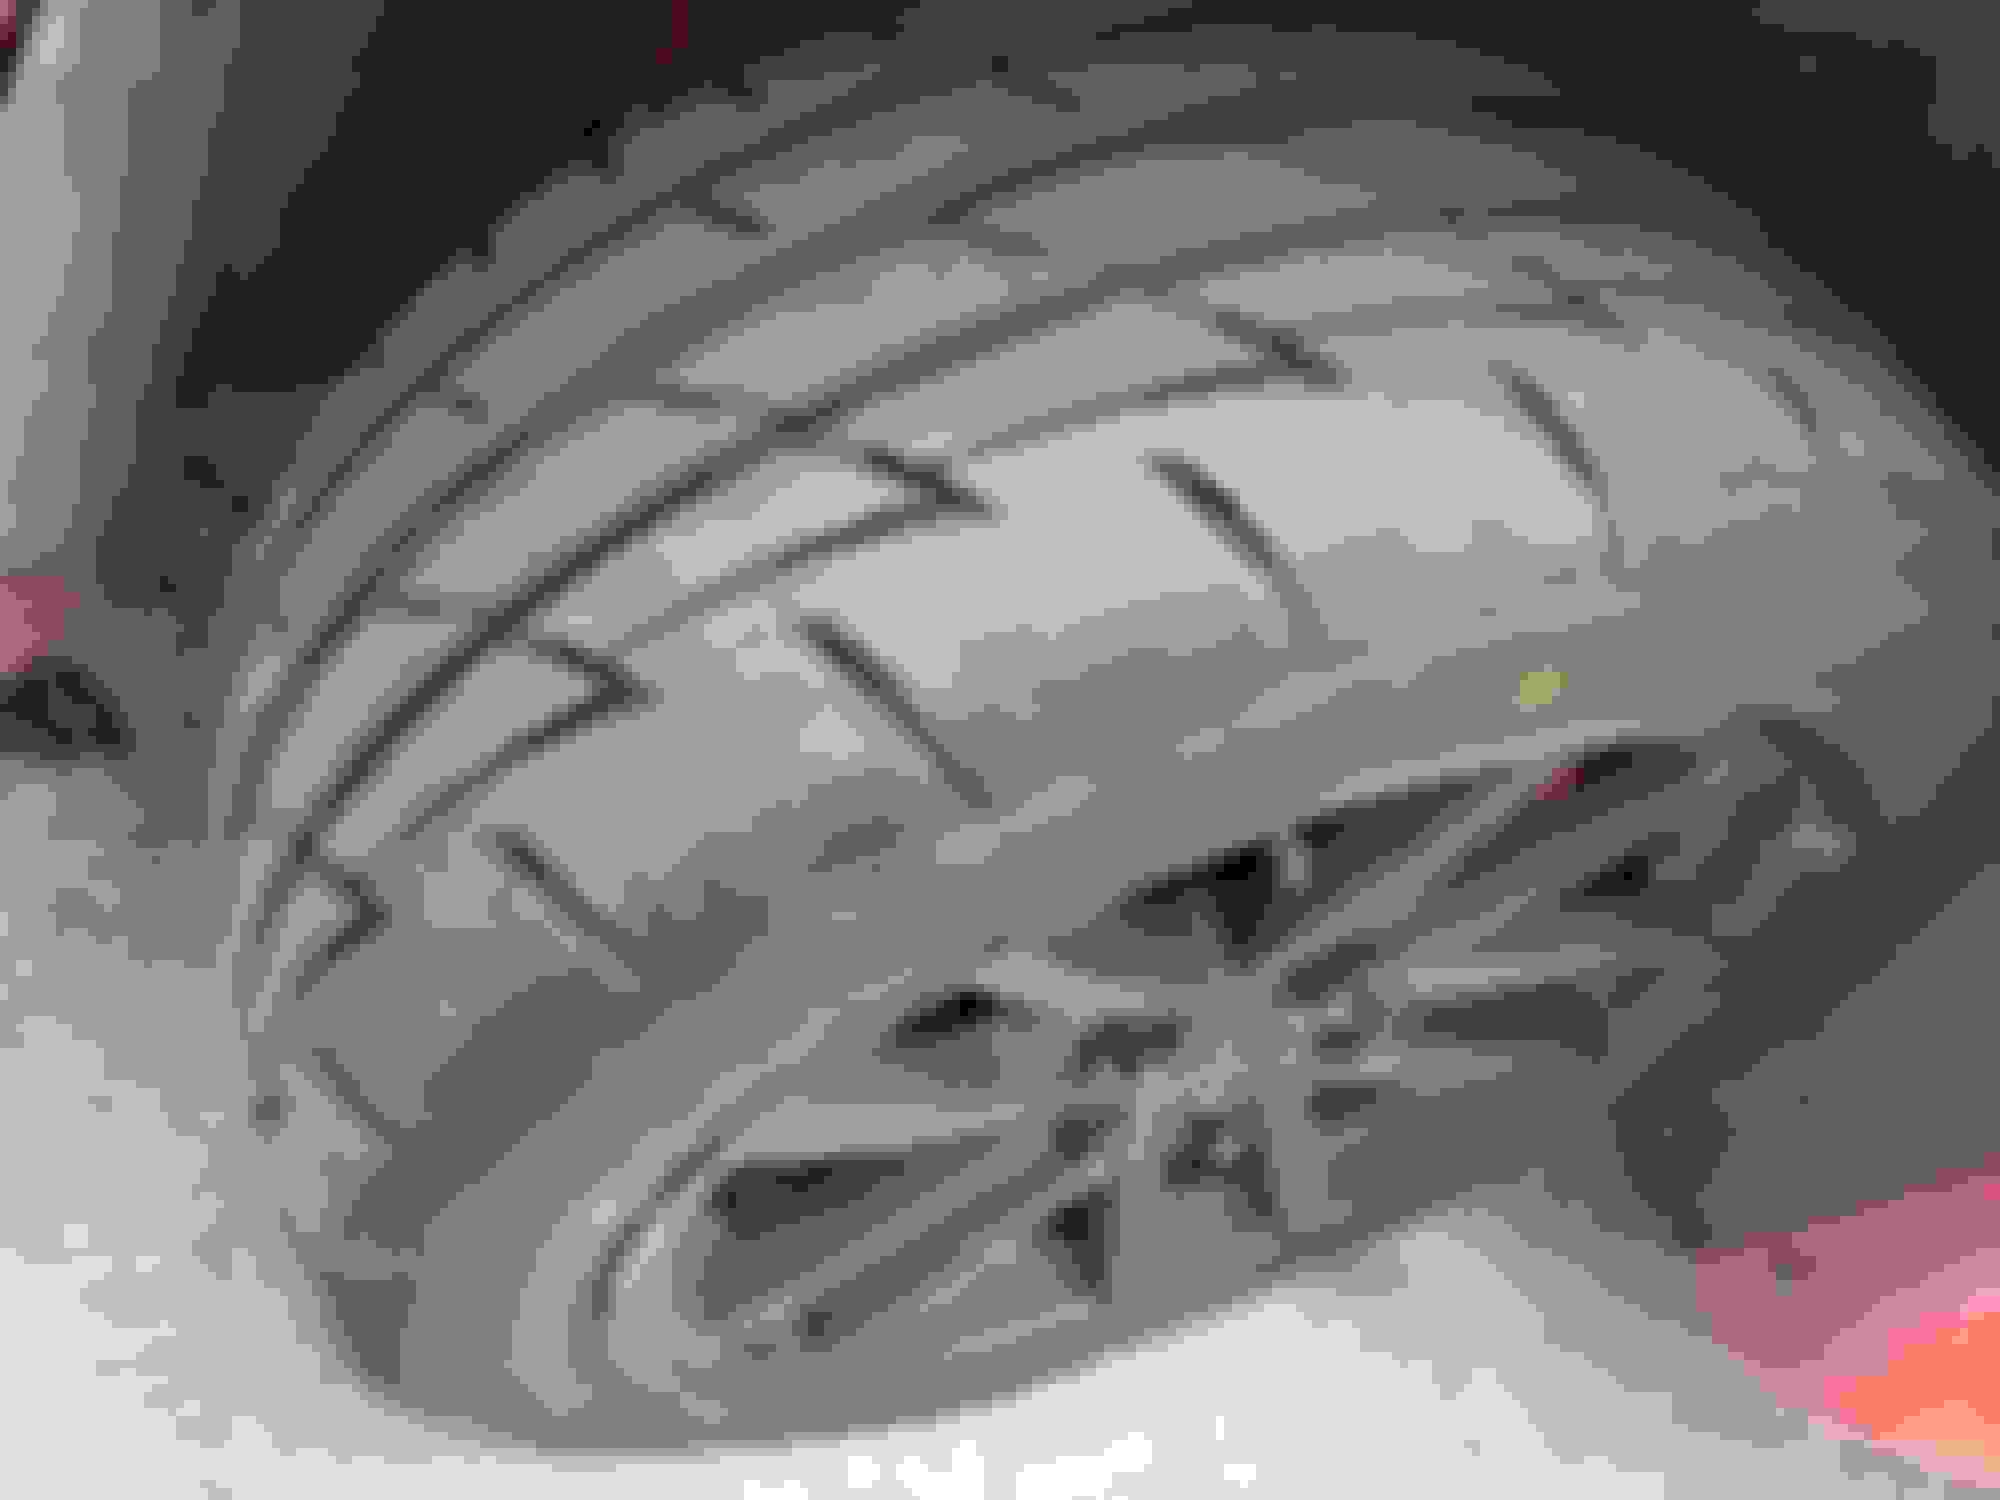
Finally gained some traction today. The old rears were not legal, safe, or worth purchasing ever. Wanted something okay in grip and wear, but still affordable. Firestone Firehawk Indy 500's were the best fit I found, so 275/40-17 on all 4 so it should be more balanced. I have given it enough to spin the old tires and it stick, but not much else. My cooling system isn't really enough to handle this heat. Just waiting on a couple things before I can swap to the new radiator.
Last edited by Crf450r420; 04-10-2018 at 08:05 PM.
Noticed today the speedometer still sweeps up at random. I was showing 120 mph at one point while setting still. The changes is now with the aftermarket deck the sound doesn't get louder. Odd thing is that deck is powered by the same wires as the old one.
First, what is the best option of bulb to get my high beam to have the same color of 5500K, so it matches the low beams? I still have to figure out why the fog lights don't work at all before I worry about the color of those bulbs, but that will come here soon.
Got my new dash pad today, so that will go in at some point after the exhaust which is moving slowly.
So, the two R300-10 are all that made it on the car for now. :-(
However it does give a chance to see the changes each muffler has on the system. You can hear the open setup just above with the same phone about the same angle and distance and only feet from the same location. This one is actually surrounded more so the sound would probably be a little less in the first spot.
I also worked on the lower front fenders. They looked like someone lifted the car with them thinking they were the pinch welds and the fenders didn't set flush. I straightened them out and then made an aluminum angle to replace the broken part of the plastic fender. Then bolted them up. I works and looks better when it's on the ground.
I also started to install the dash pad and I can't say I'm happy with it. I contacted the company, so I have to see what they do. What really sucks is I can't go back to the old setup which was not a problem. It was cracked, but all stayed in place and didn't look to bad because of the carpet cover on it.
So, the dash pad from Camaro Central takes some work. Thanks to another member saying he had to take a heat gun to his, I've been able to get it closer. I drilled out the light and had to trim the inside to get enough clearance for the light and sensor to fully seat. I've been at it twice with a heat gun and I've built up the standard style velcro a little in all spots. A lot in the one spot where it wouldn't seat because the gap even when pushed down is way off. Tomorrow I'll set it in the sun and I need to take the heat gun to it again. Then it's time to pull the radiator out.
I have my doubts about this ram air thing because the high pressure in front of the radiator that is created by the dam is more of a delta as it also creates a vacuum on the back side of it. So the only way it can up the pressure into the intake would be to block the flow through the condenser and radiator, no? The stock setup might have to small of a slit, but it also has a high pressure from the opening in the bumper, right? Or is that not actually open? Mine has the billet bars and I need to look closer. If it's not then I'll be opening that up at some point. I was shocked at how bad the make of this thing was when trying to pull it off. They couldn't at least weld a nut on it and use a bolt to hold the plate together? I've never seen wing nuts inside of an intake system before, my guess is because of they are crap for air flow. On top of that the two outside phillips heads are hard to get without hitting the condenser and the middle one is impossible. I had to cut it off with a drumel and right now the plan to leave this on to test the radiator cooling ability is canceled. I may put some nut-certs on it so I can just use bolt, but i'll see how I feel about that later. Then I was was again shocked because I don't know if this thing does ram air, but it certainly makes a good street sweeper and this explains why the filter with only a couple thousand miles is dirty where this opening lines up. I wonder if anyone has ever put a map sensor in this thing to test if any of this stuff really works. Maybe I'll do it, if I can grab a used one at work so it doesn't cost anything. Last I'm pretty sure anything would be a good upgrade for this single core, I'm guessing LS1. The LT1 has to be thicker than this, by double. The Holley is probably 3 times this thick.
Ram air, maybe? Radiator blocker, certainly.
Street sweeper, no doubt.
Last edited by Crf450r420; 05-03-2018 at 02:53 AM.
I had noticed some sludge on the over flow tank dip stick and a little in the radiator, so bit of sI have been trying to make sure all is 100% good when done with the new cooling system. I ran a flush through it because I had thought I didn't run the heater when I flushed the old system and that was probably the source. I did see a little sign of junk, but not confident I found it. Tonight I cleaned the condenser core and then pulled the over flow tank. It is a brand new Dorman tank, but I forgot it didn't come with the tube. Mine had some wear, but was solid. I'm going to change the hose on it as I need a longer run this time and when I pulled it I found a little bit of build up. Not much at all, but when I grabbed a brush and put in the bottom end the source was found. That thing filled the brush. I guess when I was shocked it didn't come with the new tank and the tube was no longer available from GM. I didn't clean it while looking it over to verify it was solid enough to use. I'm not happy I over looked it, but certainly like finding the issue.
Tomorrow I'll grab the radiator and new tank. If I have the energy I'll drain the block and heater core. Then the installing can begin. I think some parts will show up Saturday and my oil/power steering cooler will be Monday or Tuesday. That reminds me I need to come up with parts list for the power steering and oil cooler fittings to order. Should be able to have it done by next weekend. Then it goes back for the rest of the exhaust the 14th or 15th.
So the Holley radiator pushed the condenser and I think the fan further out. The condenser I had to clearance the core support. If I knew this before I would have got the tabs shortened to at least stock level. So, as it sets I can get it to work, but not with the ram air, but I need the factory condenser shroud uncut. I'm not sure I won't have to crush it a little, but it's hard to know that with this cut one as my only reference. Anyone have one of these laying around to sell?
That RAM air kit looks like the Fast Toys RAM Air kit, which to my recollection is no longer sold. I bought one new years ago; it definitely helped my trap speed for drag racing but later removed it because it was affecting the cooling ability of the radiator and I didn't want that for HPDE.
How did you fix the hole that is cut in the condenser shroud when you removed it? I was planning on leaving it only to show that this radiator worked well enough to do high horsepower in summer with A/C while blocked and then I was going to remove it. I'm thinking maybe I cut it off and leave the path to the intake without the blocking of the radiator. Then hopefully I can keep the shroud as it sets. I'm actually going out to look at this now.
Well, I've learned a bunch. This radiator is 3 times as thick at the core which is great. The tank at the welds is about .300" wider. The condenser is also held out about .250" more than stock, so this puts is around 3/8 to 1/2" off from stock. I wish I knew that so I could have got that adjusted while he was reinforcing the tabs that were to weak out of the box. I had to notch the core support to make it fit. I'll contact Holley and let them know what I found even though nothing will likely come from it. Tonight I put as much together as I could so I could find what parts I'm missing to make it a driver able to go 10 miles or far enough for the exhaust. Tomorrow I'm going to see if I can cut this ram air kit off at the core support to keep the path for air flow to the filter without blocking off cooling. I also removed the billet grill and seen the foam blocking those ports. I'm thinking the better idea is to go back to the front slot on the filter if I can open it up more and then remove the foam blocking the bumper vents so that can be the ram air for the intake. Right now they are a place for air to pack in at speed and produce drag with zero benefit. It would be much better to have full cooling and put this to work providing a pressure pocket to the filter like this stupid kit does was intended to do. Of course, to do this I'll likely have to find another condenser shroud and make a shroud to feed the ports to the air filter.
Right now, I have got my burp tank installed and plumbed to everything else, so I just need to pull the block plugs to drain the last of the coolant, fill it with coolant, put in the battery, and add some intake clamps to make it to exhaust. Oh, also zip tie up the original power steering cooler. Sort of important since Thursday is the last day I can work on it until Monday and I'm not sure it doesn't need to be at shop Monday for exhaust.
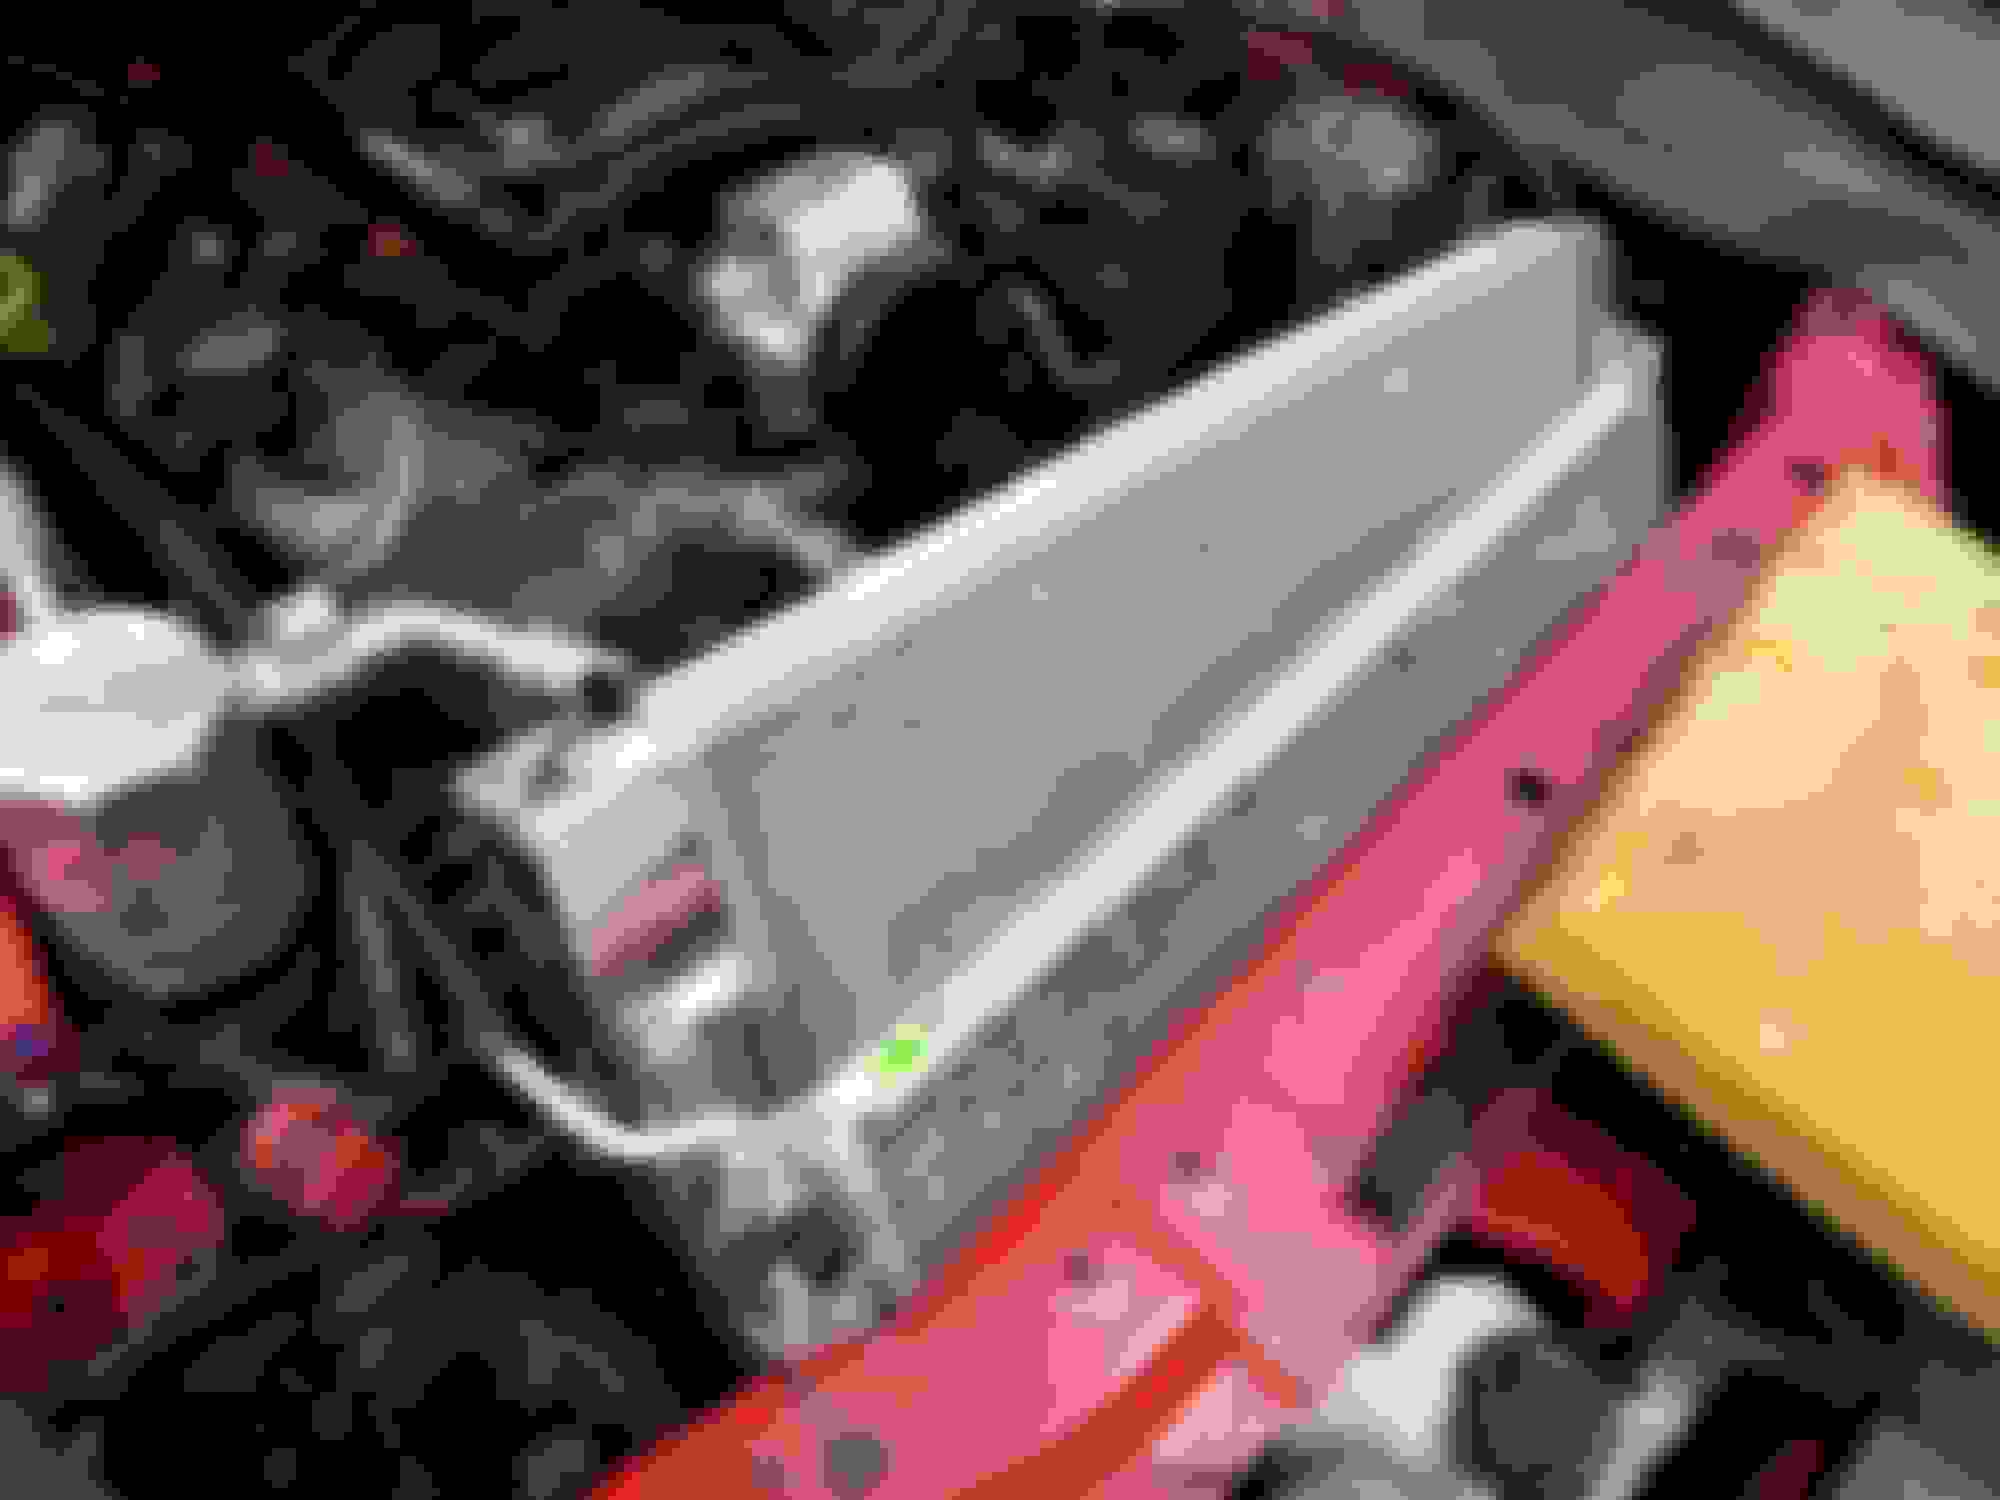
LS1 vs Holley Frostbite 3 core
Fit's like O.J.'s glove, but got it in after a while.
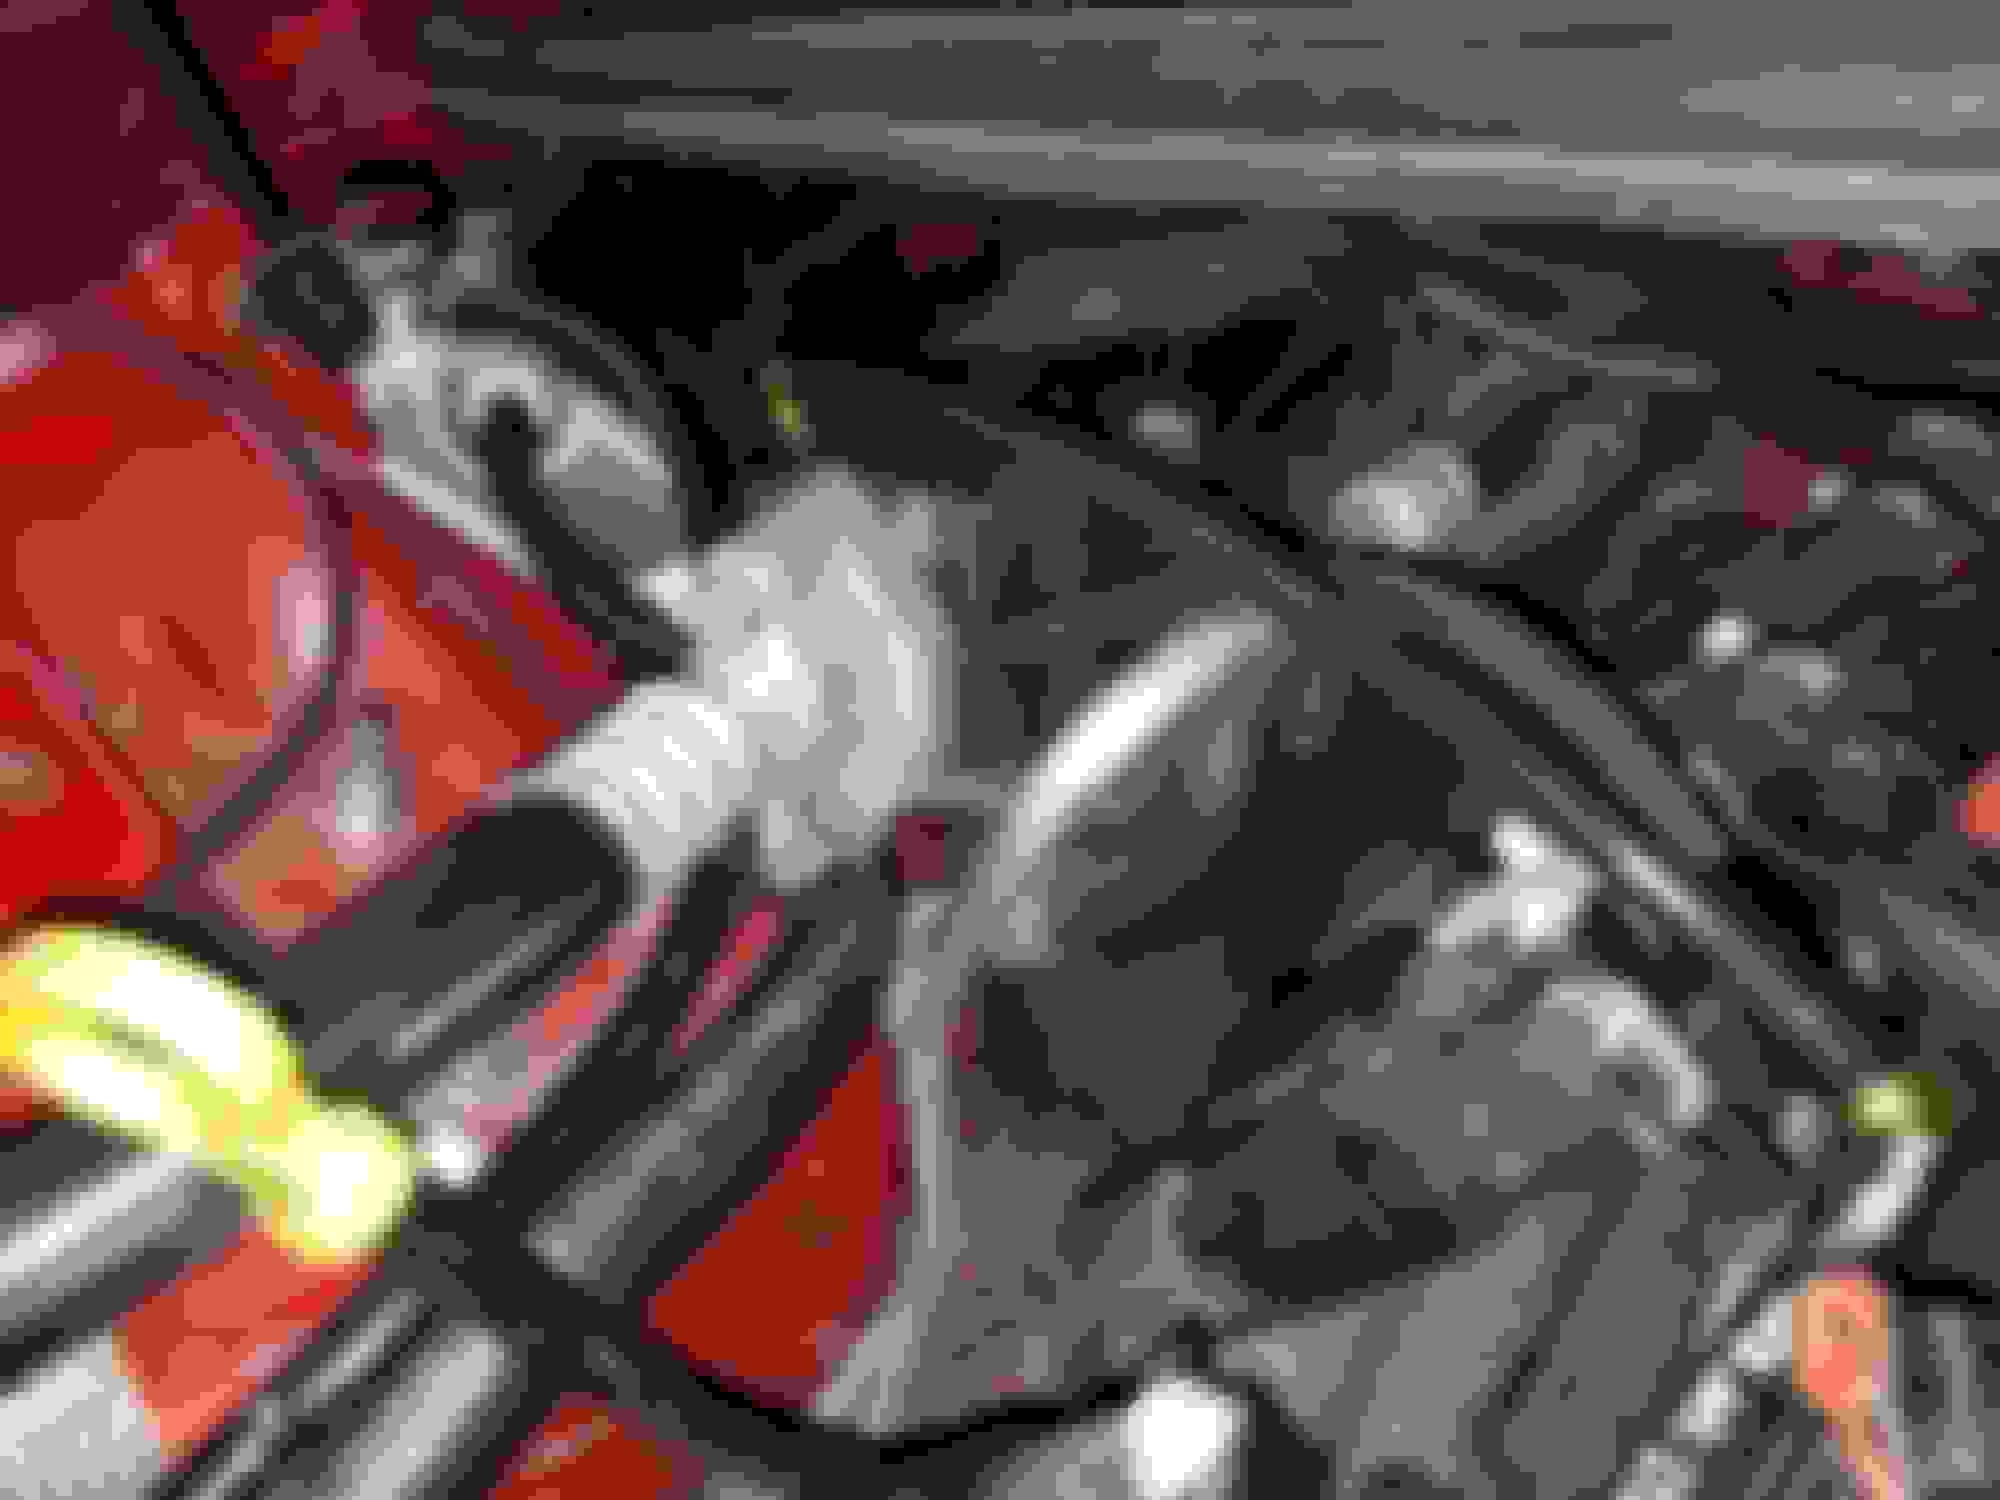
3/4" hose tapped into heater core hose and to bottom of burp tank.
Did a custom -4AN to all 4 head bleeder ports and over the top of the burp tank.
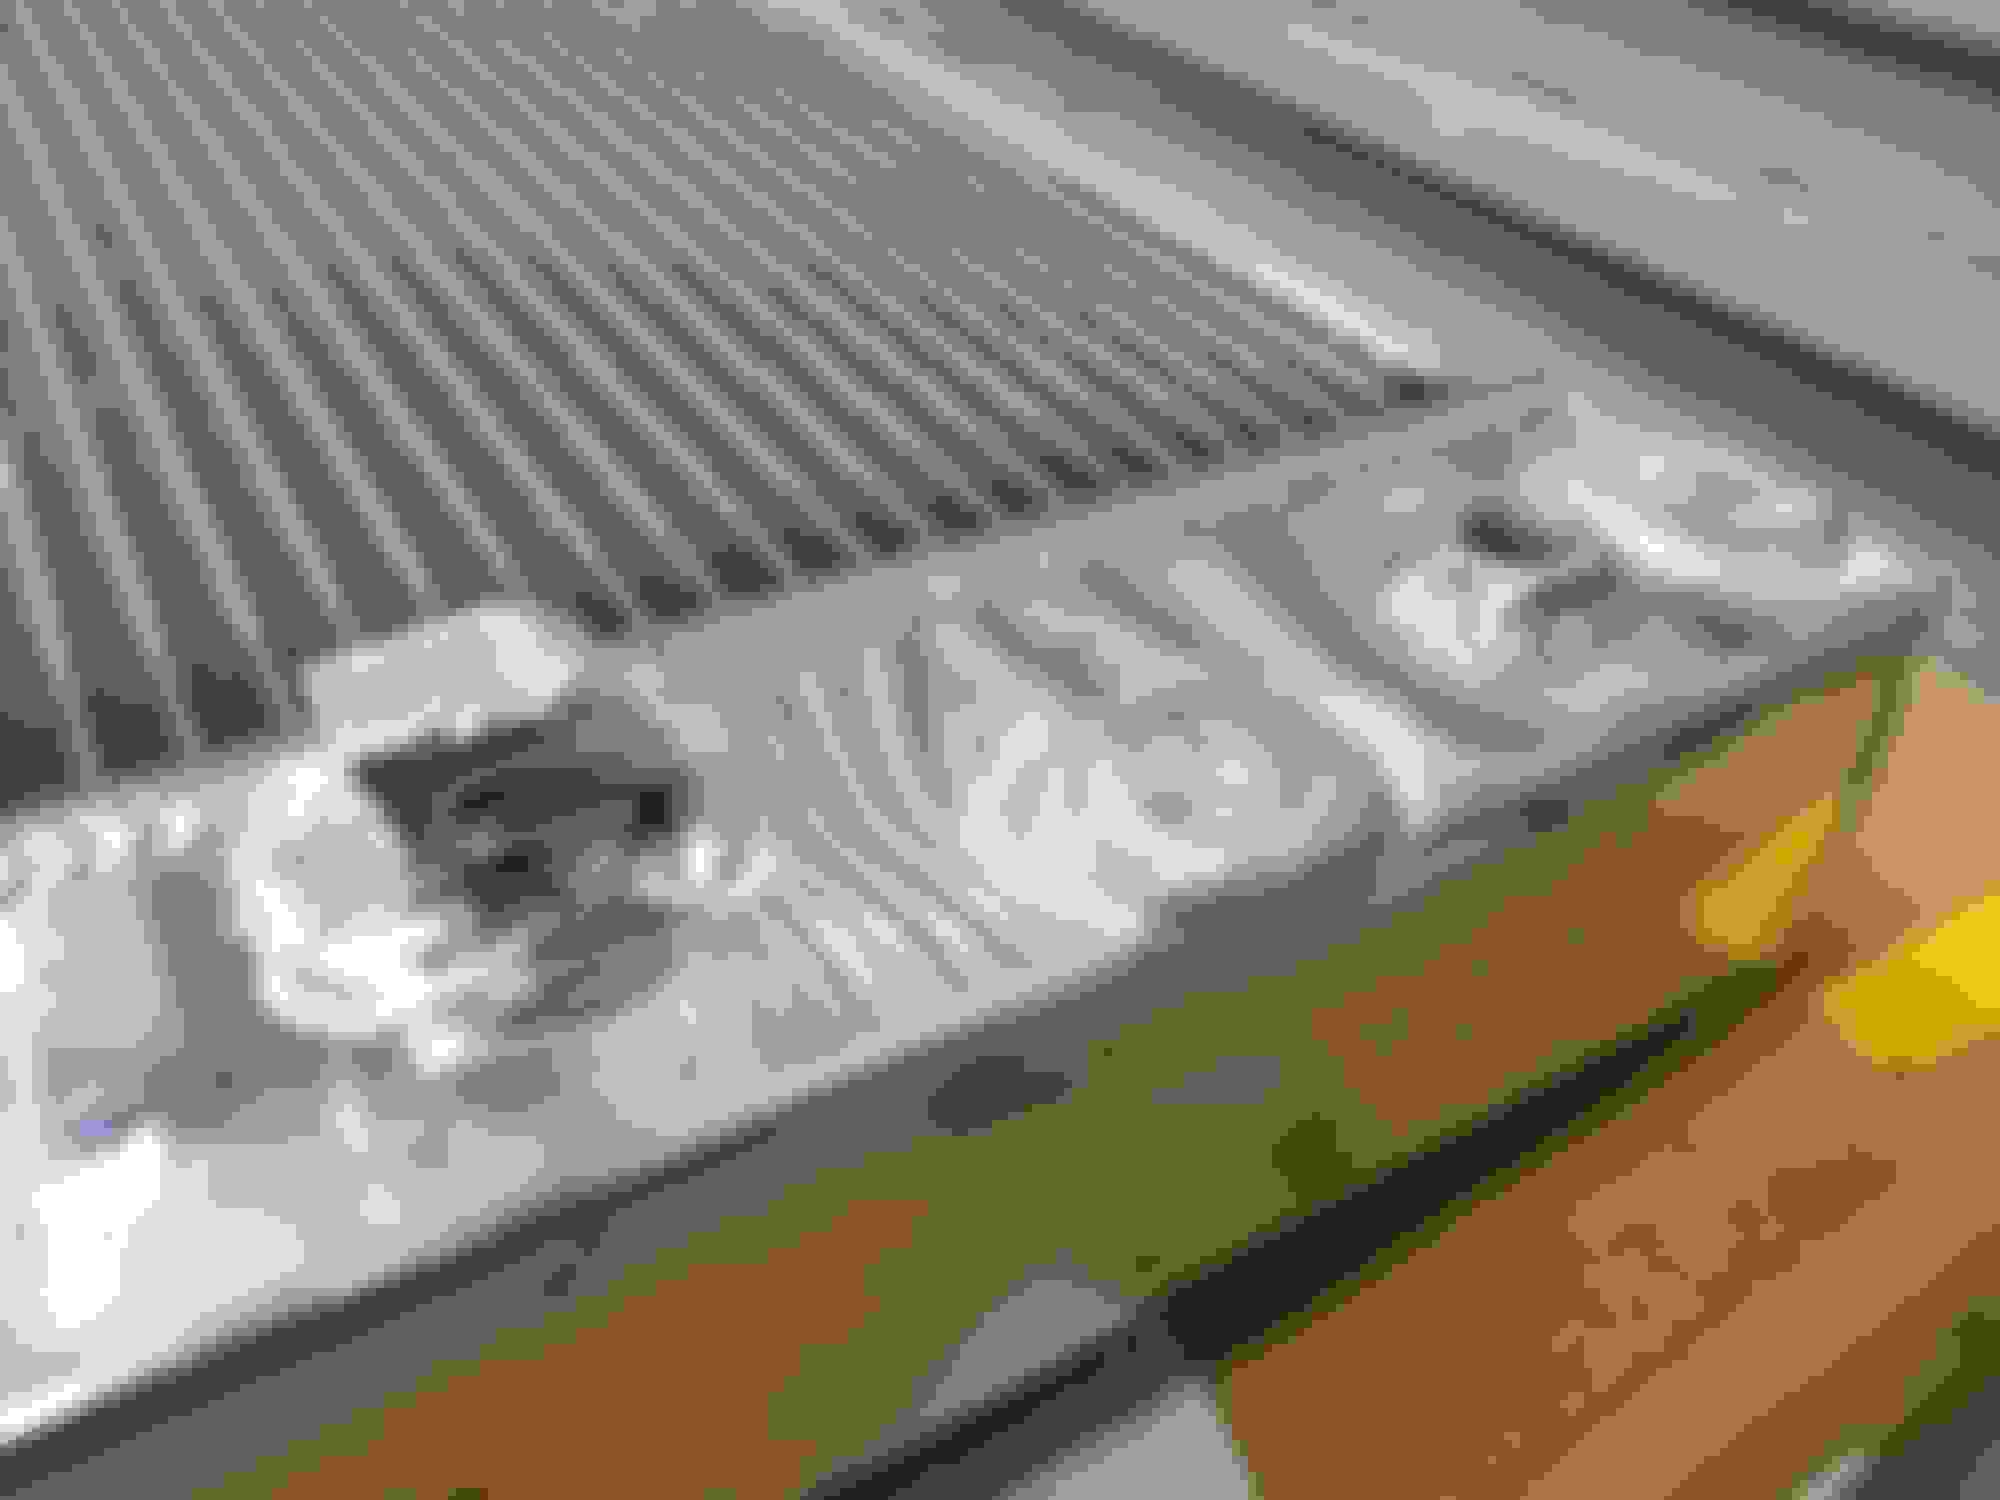
Had to stretch this black 1/4" silicone reinforced hose on to the over flow tank pipe so it fit in the slot without cutting it. Needed to reach the new radiator cap location.
It works well enough it will make it to the exhaust appointment next week.
Not where anyone would look for this Forstbite cap.
Forgot, about the mods to the radiator. The other photo won't load for some reason, but not a big deal.
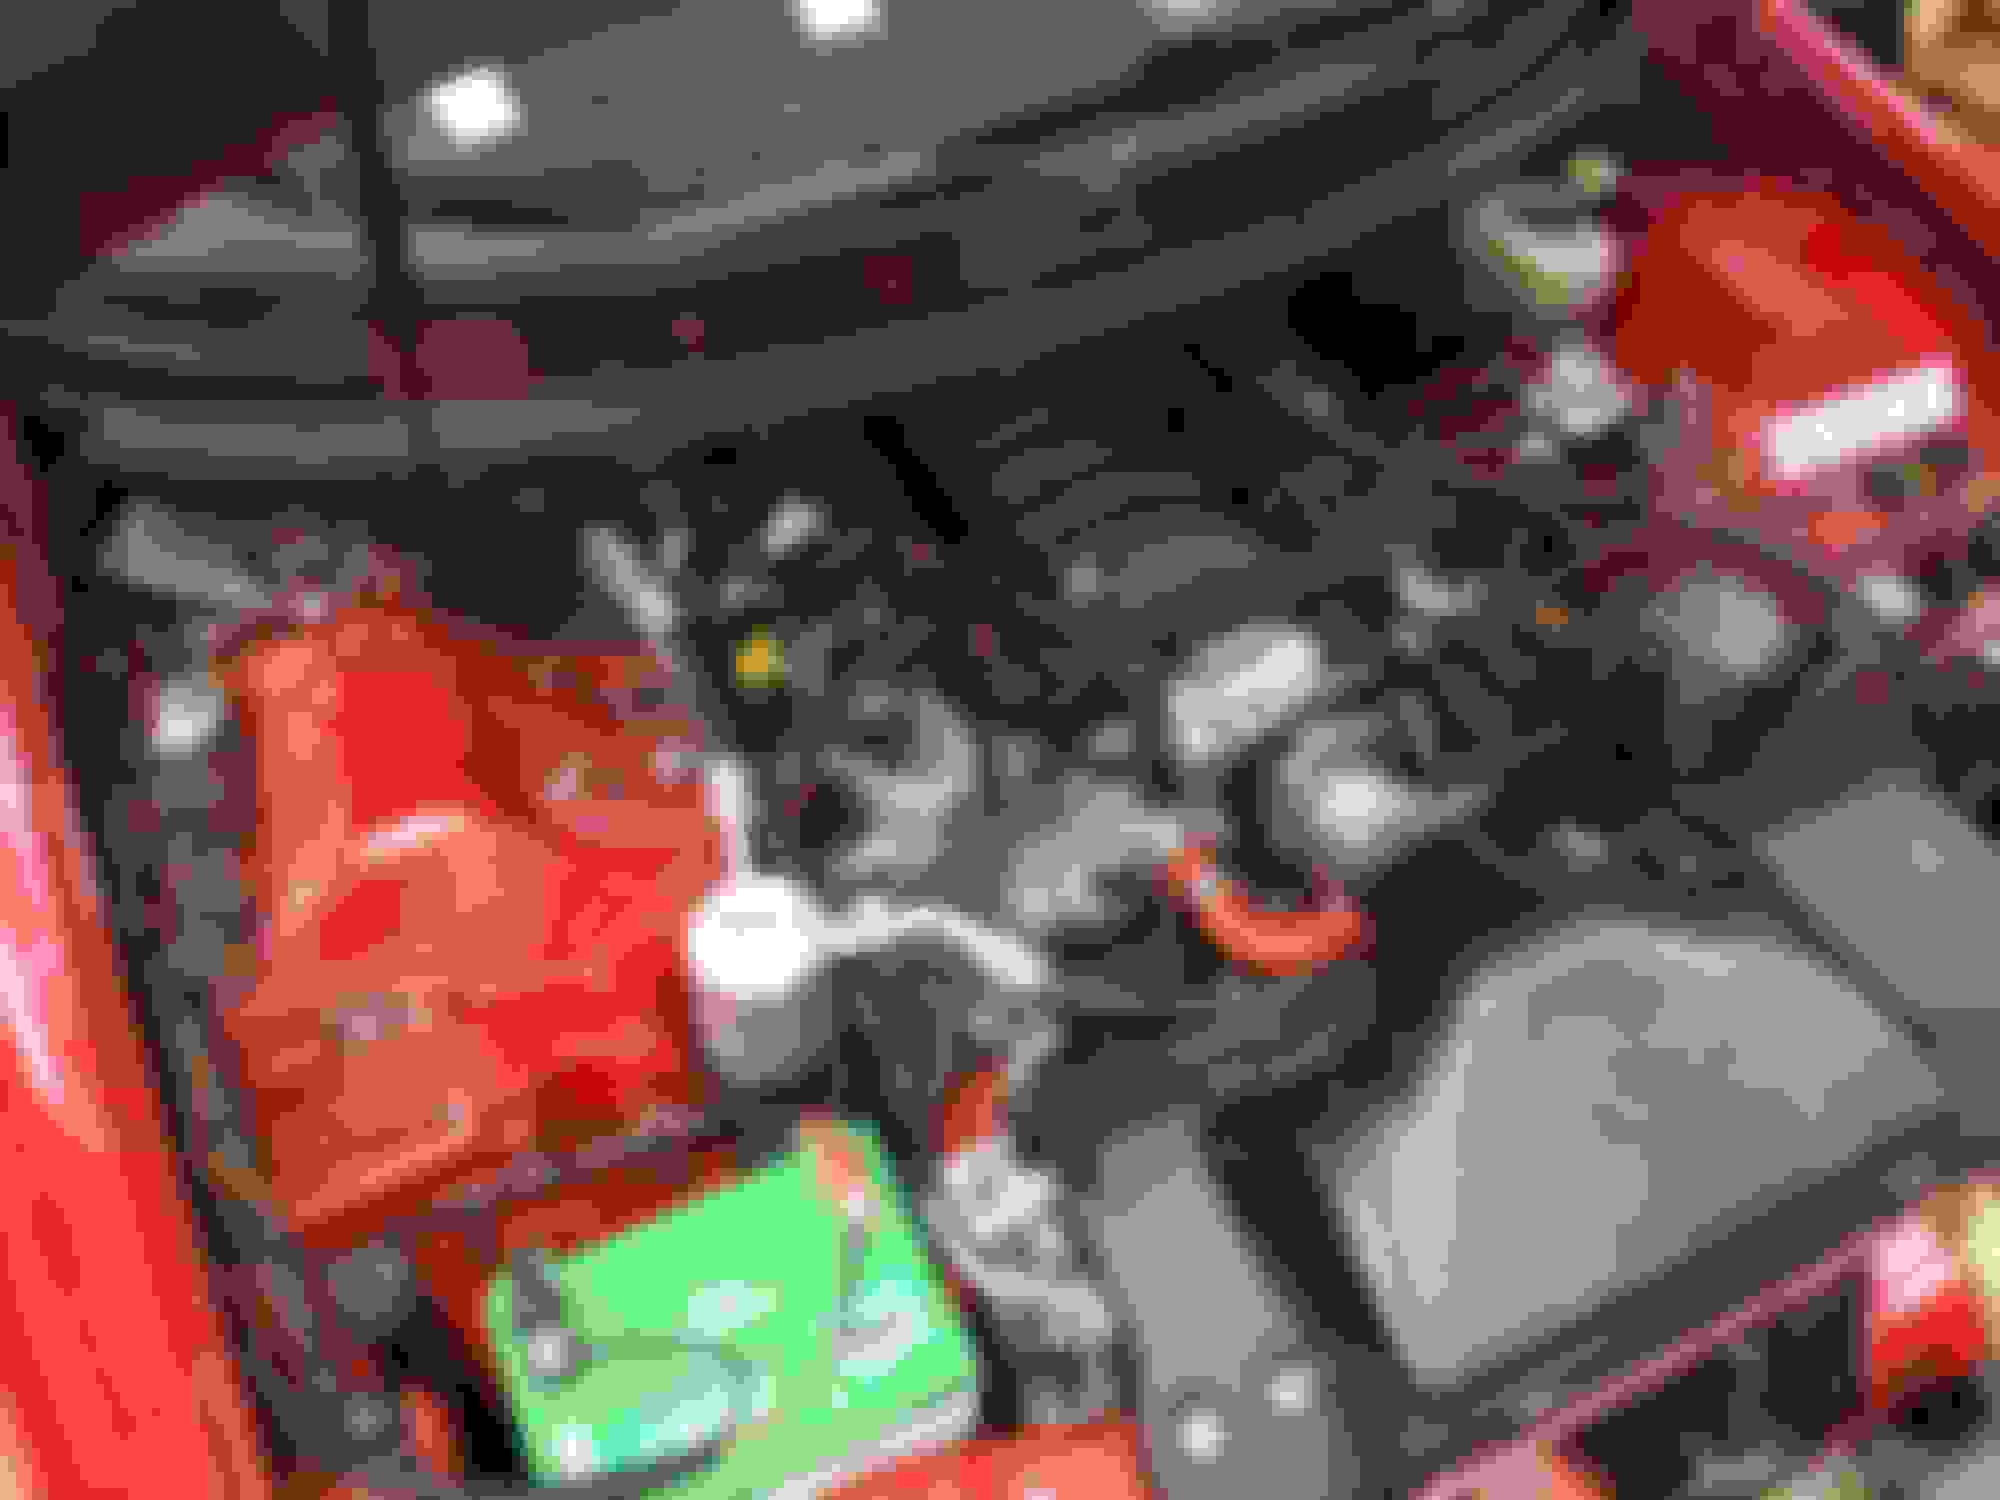
covered up the low coolant port and the old bleeder port and then added an L support to back up the condenser and fan mounting slots. The stock ones, some were bent closed out of the box and it was way to easy to bend them back.
Got it together and burped it with a short drive. I was trying to burp the old radiator cap location and dropped the -4an cap and based on the flow that comes from there I now know the stock head bleed running to that tank is worse of a setup than I thought. I had considered plumbing that to the burp tank also, but with the flow it has I think it would need a restriction and it wouldn't need to be cracked open very often anyways. I took off today for a doctors appointment that canceled the night before, so I was thinking about doing the first hot run. I think I'll do that tomorrow, so I can go grab the nitrous kit to install and log some more hours at work.
Oh, and I also thought the grill would look as better black and wife agreed. So, I painted it with plasti-dip I had and it looks much better. I'll probably have it powder coated later, but this looks fine for now.
How did you fix the hole that is cut in the condenser shroud when you removed it? I was planning on leaving it only to show that this radiator worked well enough to do high horsepower in summer with A/C while blocked and then I was going to remove it. I'm thinking maybe I cut it off and leave the path to the intake without the blocking of the radiator. Then hopefully I can keep the shroud as it sets. I'm actually going out to look at this now.
Everything that was modified or removed to install the FTRA, I replaced with gently used parts.
I replaced the FTRA 7 years ago. In the original thread, I see that I re-installed my original lower baffles, and bought a used & unmolested tray to go under the air filter. There's a place in Orlando that specializes in parting out damaged f-bodies, I can get you in touch with the owner if you'd like.
From my parts PDF:
Air dam 10229657
Radiator lower baffle 10242723
Radiator upper baffle 10409095
Radiator support 25170361
Air filter housing 25166571
I've read it's a good idea to seal off all of the openings where incoming air could go anywhere except through the radiator.
Last edited by JimMueller; 05-12-2018 at 02:39 PM.
 04-05-2018, 11:07 AM