When you click on links to various merchants on this site and make a purchase, this can result in this site earning a commission. Affiliate programs and affiliations include, but are not limited to, the eBay Partner Network.
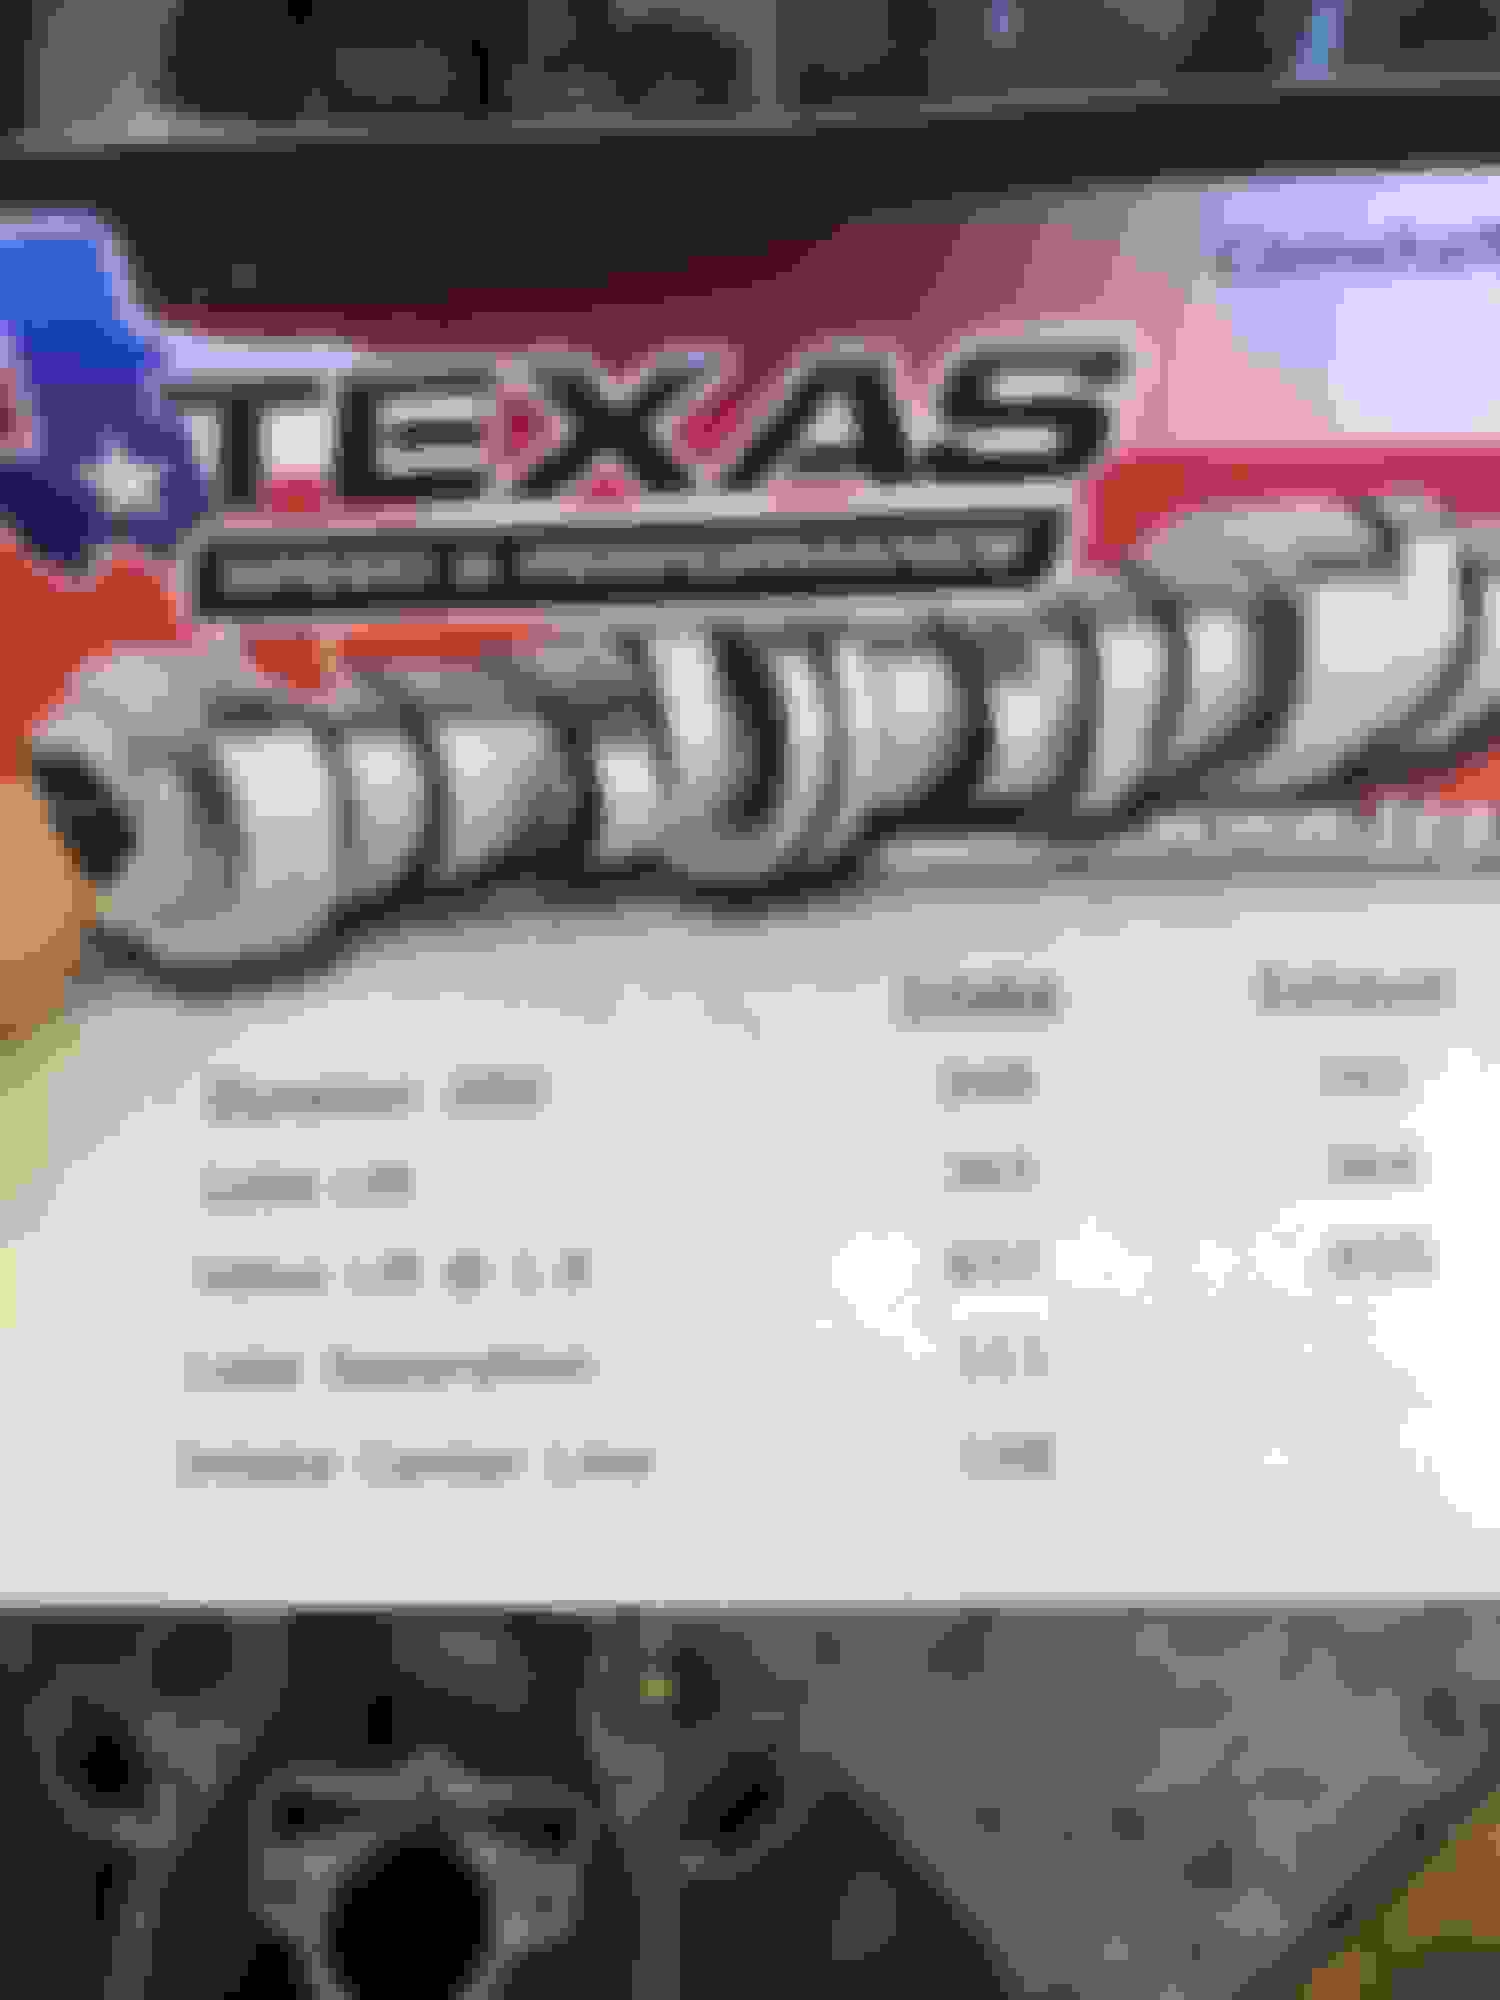
Not much happened this weekend on the car. I did remove the rear seats and seat belts. I want to run the Hawks Sinister harness bar eventually. Texas Speed said the non-adjustable 1.82 rockers backorder was extended till Sept. so I paid the price difference and got the adjustable rockers since they were in stock. The machine shop has the block bored and the pistons and rods balanced. Won't be too long and the short block will be built. The last part needed for a long block is the pushrods but I'll have to see what length I need before purchasing them.
Rear seats/seat belts removed. Built a shelf in the shed to store them and other parts on. Need to get plastic bags to wrap them in.
Friday night I decided to tackle the engine/trans removal. It went really smooth. The LS1Tech "how to" I found really helped me check all the boxes off before raising it up. Everything got moved to my shed in the backyard where I'm going to start breaking it down and removing the various OEM parts I need to reinstall on the car. The Mighty Mouse catch can arrived as well as upper and lower BMR A-arms, and new strut mounts from Monroe. I'm planning on using QA1 coil-overs for the front suspension. I took apart the clutch and it was a blessing to remove the trans at this point as the clutch was just about done, showed a few hot spots etc.
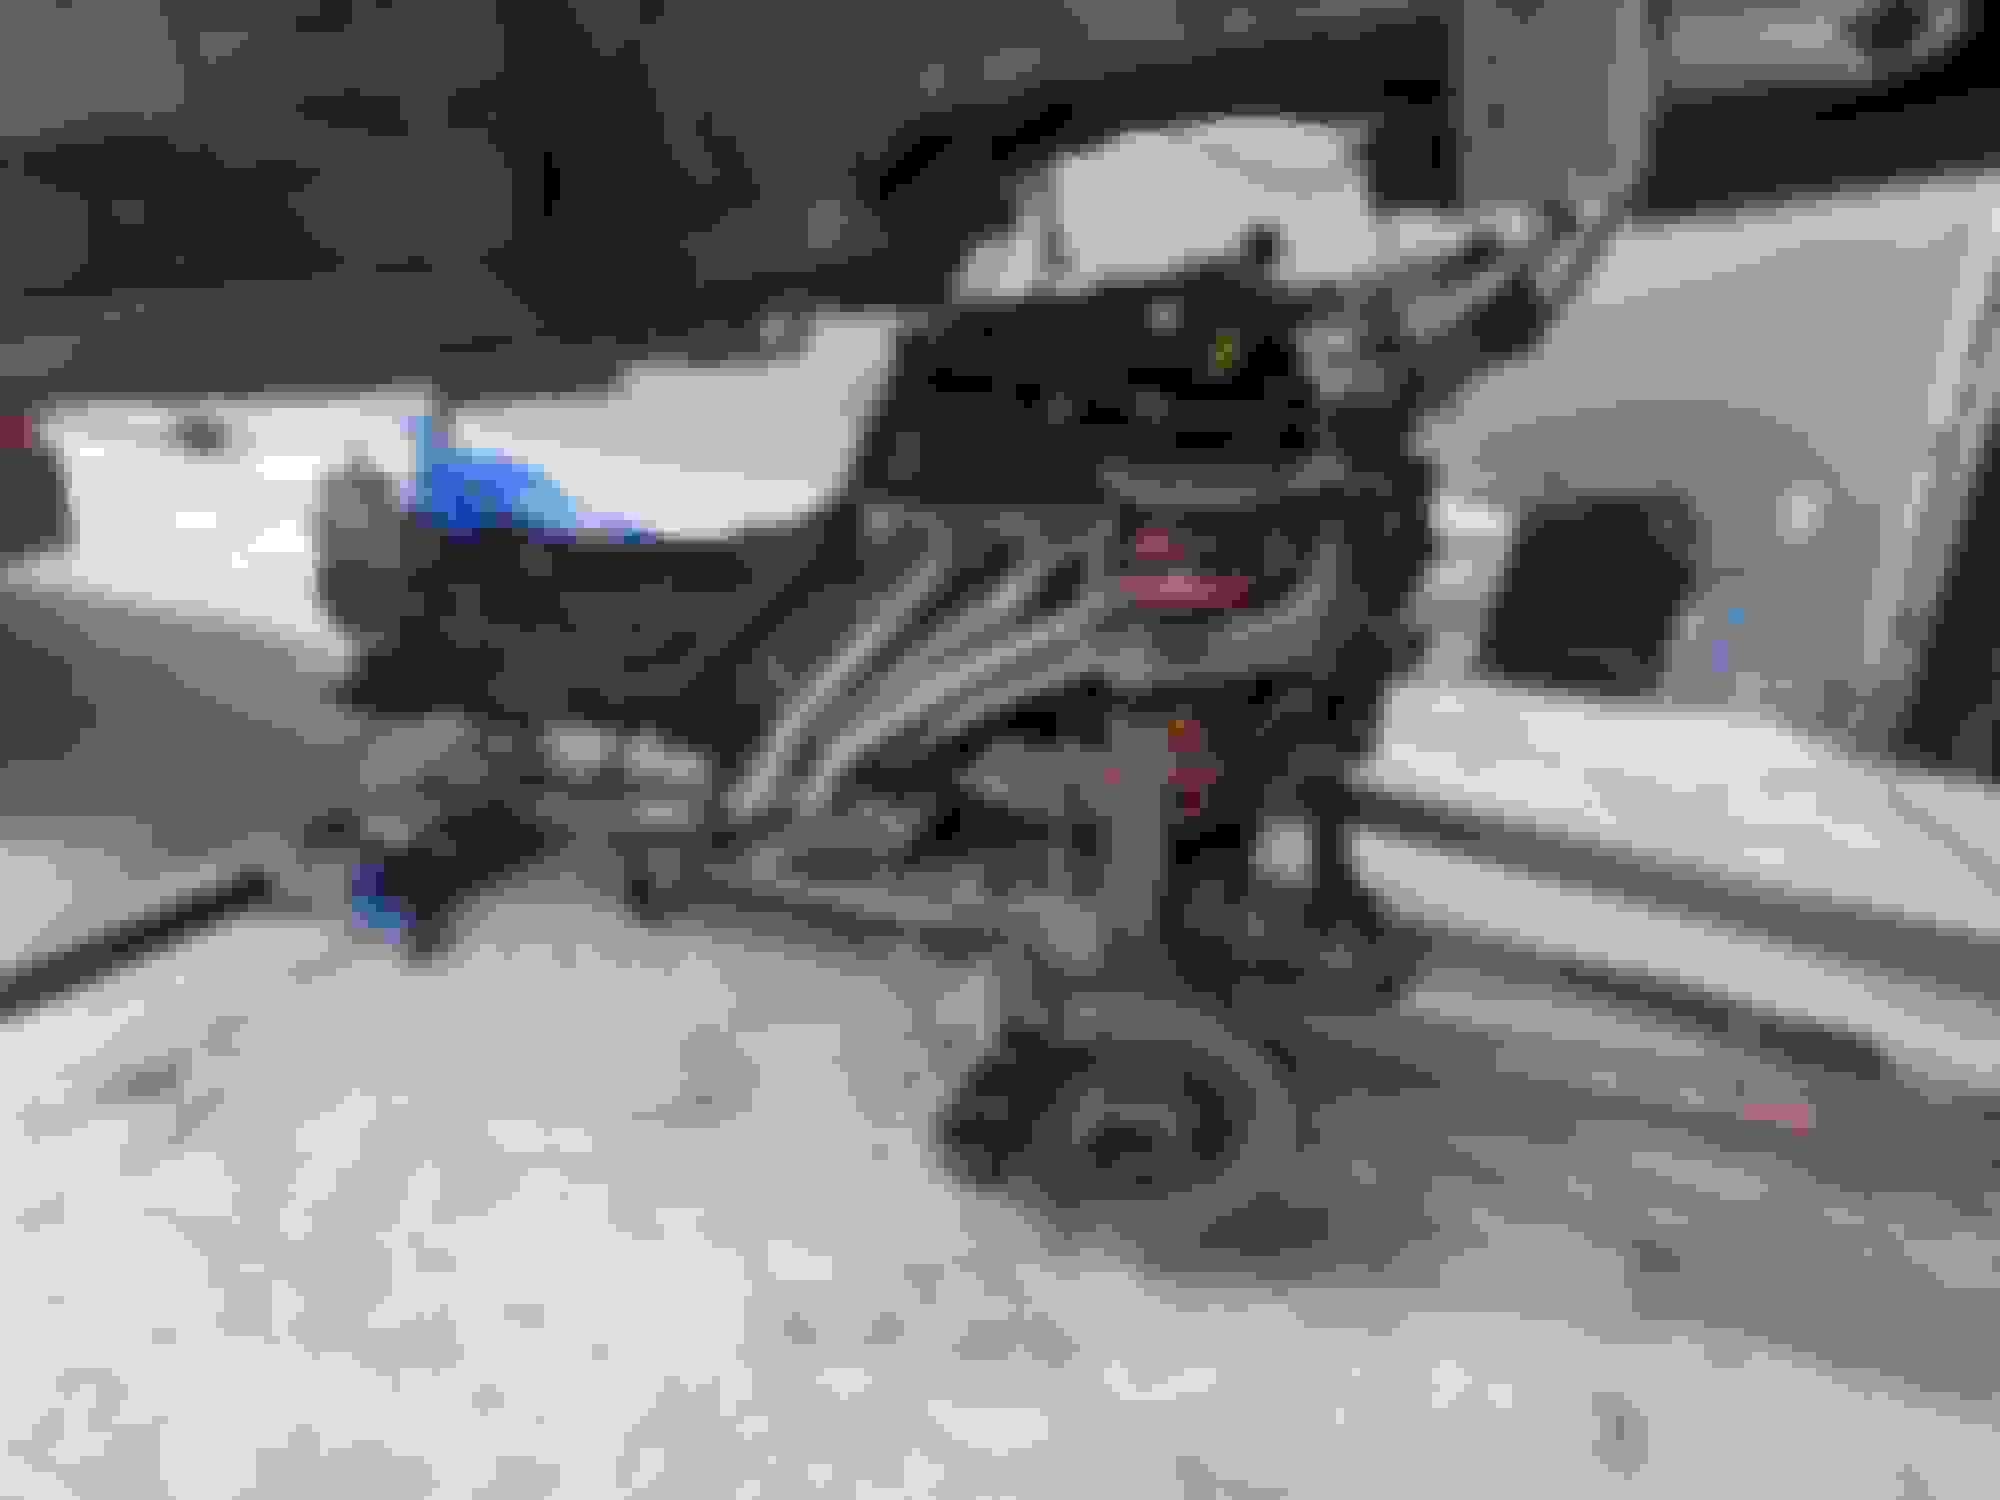
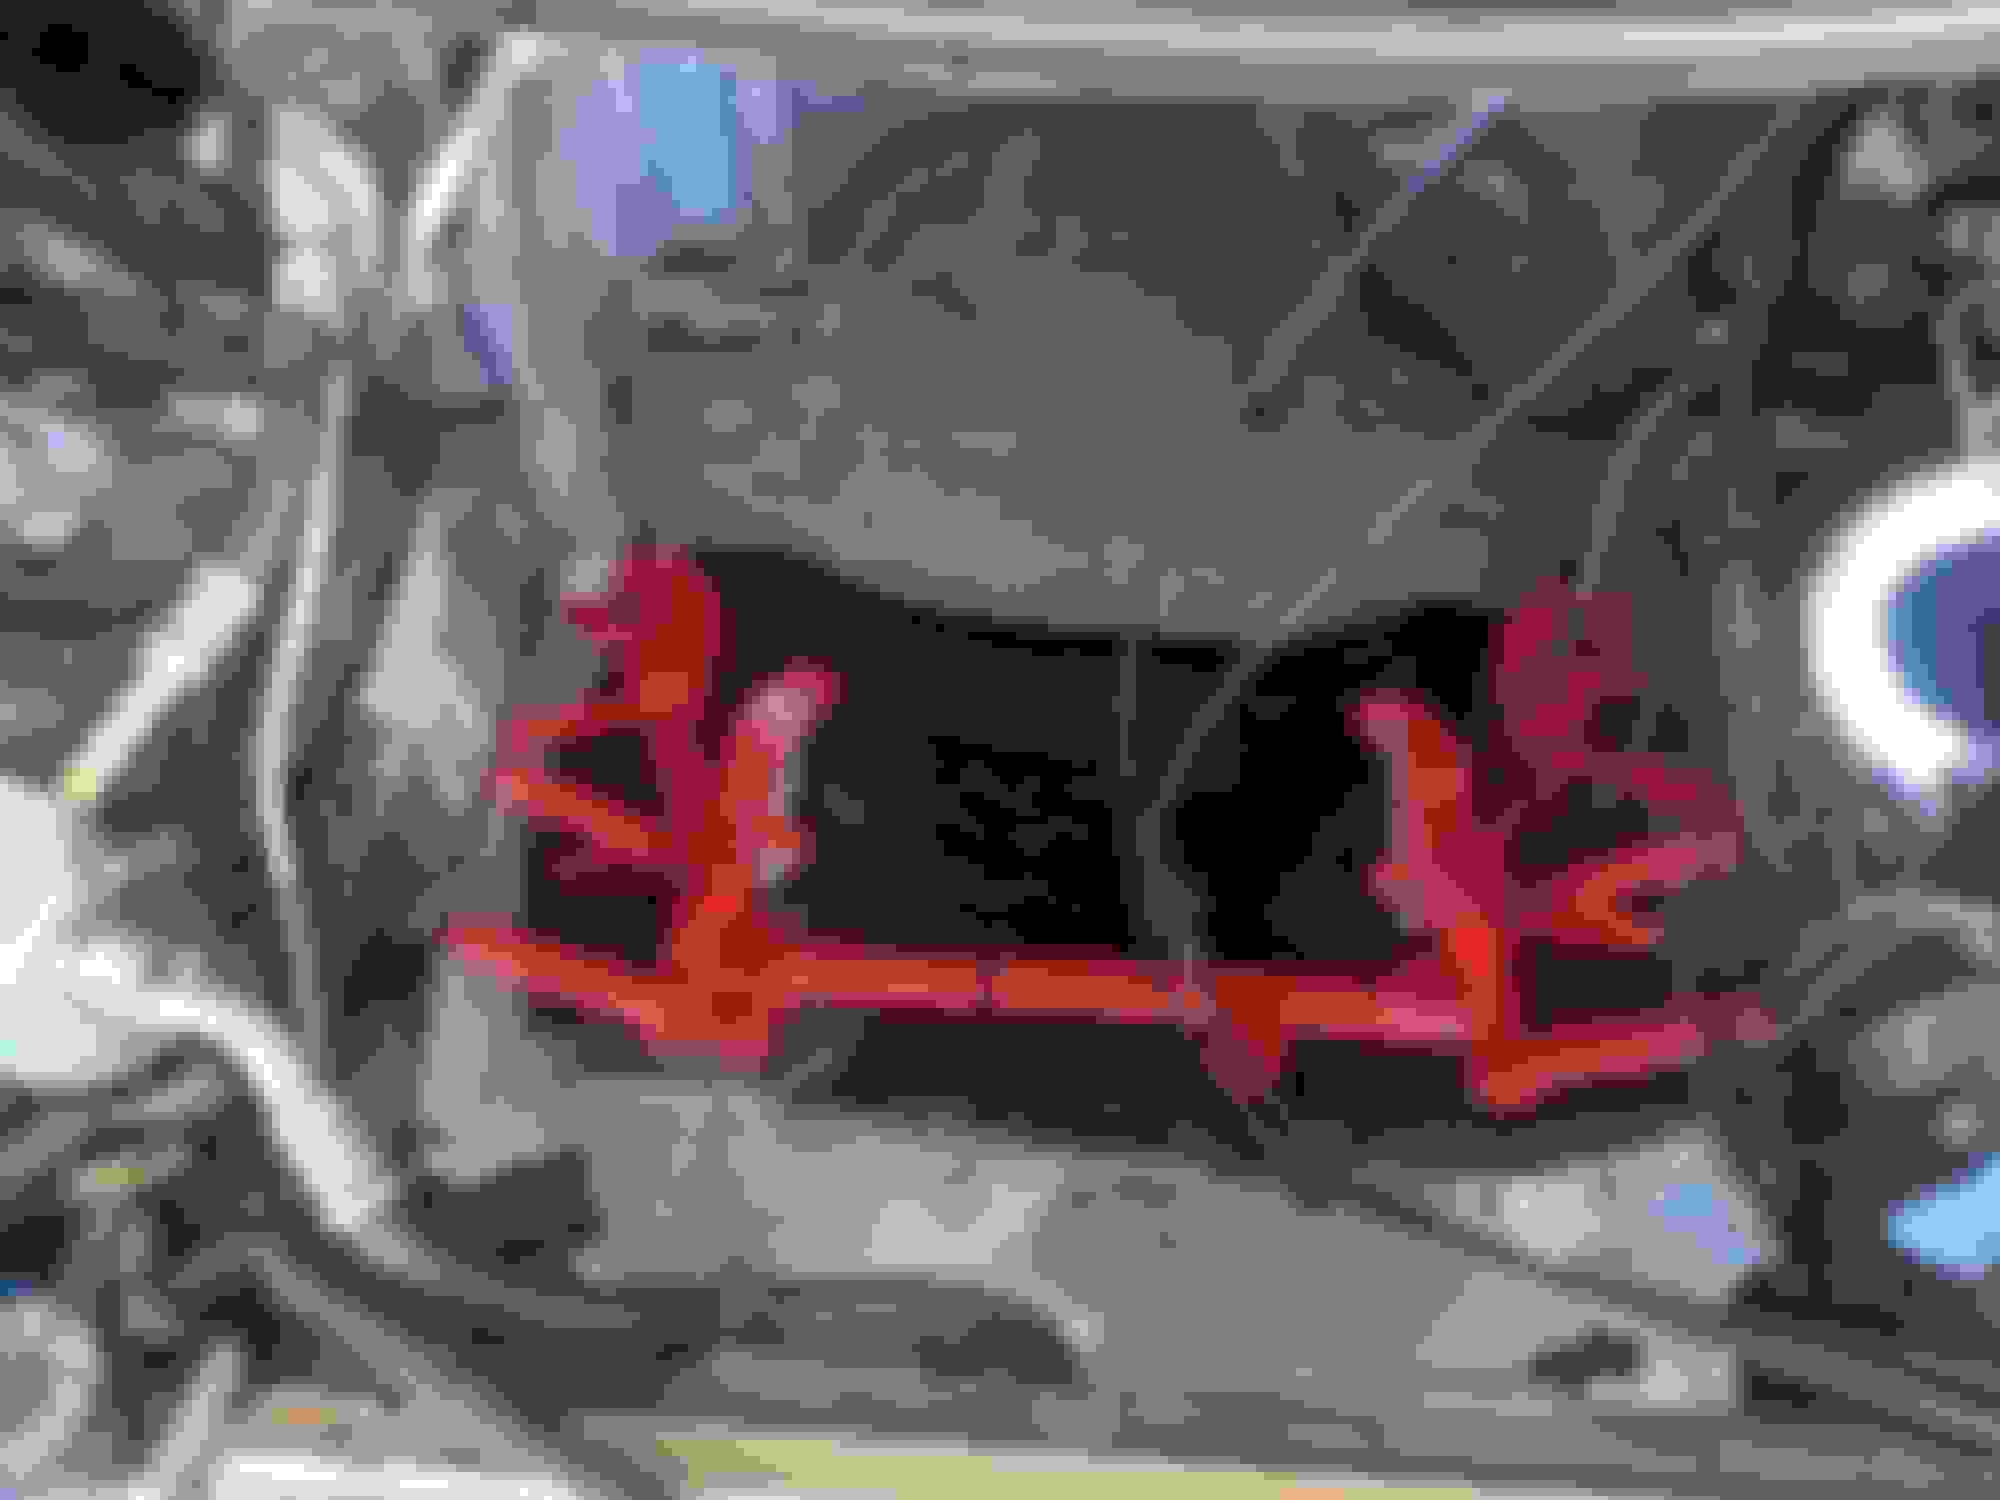
Body clear of engine. AC compressor hanging with caliper hook. Didn't want to disconnect AC lines. The final stance...at 1:30AM Engine and trans are out! Hood to garage door clearance BMR K-Member temporarily installed in order to roll car around. How she sits, minus the floor dry everywhere, till next time.
I have gotten all the accessories apart, bolts labeled, and the stock K-member broken down. Next thing will be to remove fuel lines and the gas tank so I can eventually install new fuel pump and new fuel lines. What are y'alls thoughts on undercoating these cars? I thought if I was ever going to do that, there's no better time. I soaked the steering knuckles in Evaporust we had at my work. They cleaned up very nice. The next steps on them will be to tape off and paint them. I picked up some Cherry Enamel spray paint from Lowes...I dont know if this is the best paint to use but just trying to match the red of the other BMR components and also make it look nice. I'm also considering removing the molding on the side of the car. Thoughts on this?
Thanks for checking out my build thread. I'm working with my father-in-law to get the short block put together and we hope to have that done before his knee replacement surgery in June. SO maybe July/August I will be able to bring the engine home to install the intake, injectors, fuel rails, throttle body, all the sensors, accessory drive, etc.
I'm still saving up to get the MAP sensor, Throttle Body, Injectors, Coil Packs, and Plug wires. I think that's all I need to have the engine itself ready...oh, and a thermostat. almost forgot. My plan is to have the motor complete and installed on the K-member before putting it back into the car. I thought about waiting and putting the clutch, etc. back on as well but I think I will do it in stages. Plus, the new clutch kit will need to be saved up for so at least having the engine and front suspension back installed will get it back to somewhat normal.
You can install the trans and headers after the engine is in the car but it's a whole lot easier to have it fully assembled and wired up and then set her back down on your new power plant. I have that same k-member and I ended up re-using the stock engine mounts but rebuilding them with the Energy Suspension poly mounts. I wouldn't recommend re-using the stock engine through bolts as they will begin to bend due to the weight of the LSX block.
You can install the trans and headers after the engine is in the car but it's a whole lot easier to have it fully assembled and wired up and then set her back down on your new power plant. I have that same k-member and I ended up re-using the stock engine mounts but rebuilding them with the Energy Suspension poly mounts. I wouldn't recommend re-using the stock engine through bolts as they will begin to bend due to the weight of the LSX block.
Yeah, I saw in your other thread that you had mentioned this. I have BMR's motor mounts to use but am going to find different bolts since reading your thread. Did you just go with Grade 8 version of the motor mount through bolts after yours bent?
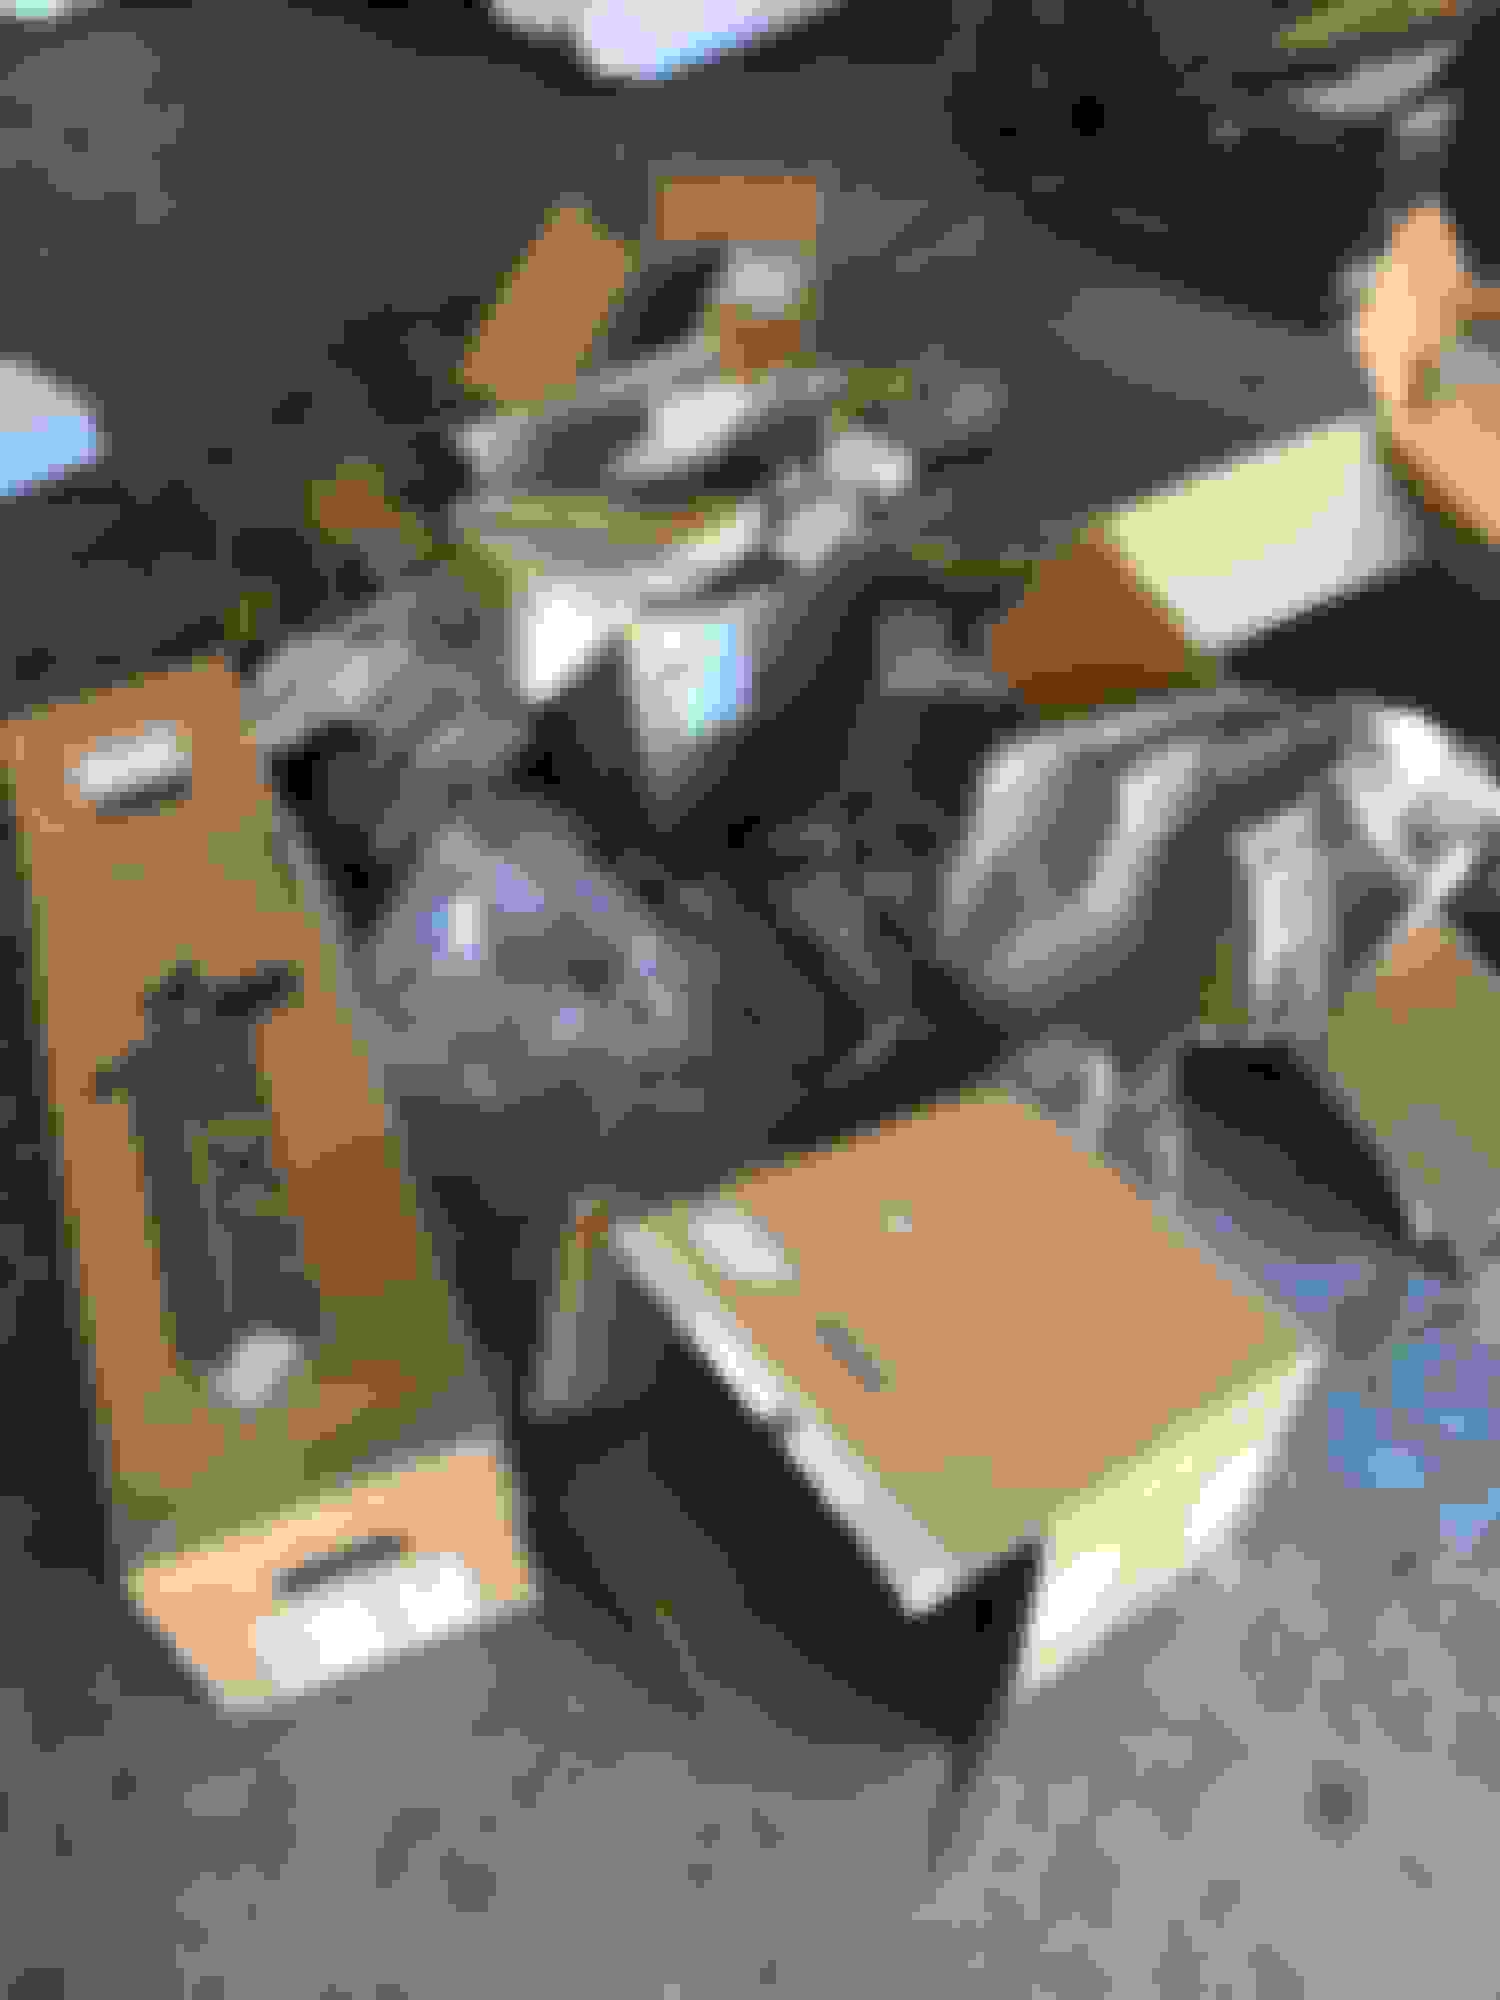
Got most of the engine parts unboxed from their shipping boxes so we can get ready for short block assembly. Checking main/cam bearing clearance on block one more time just incase it needs a line hone. Better to find out now than once we assemble it lol.
Camshaft Valve covers All the boxes from the parts being shipped...lot of expensive cardboard lol
Hey. Lots of good work going on there. Headers are much easier to install on the engine and then put them in the car. Just be patient as having to go back and install some other items, IE clutch and headers, after installing the engine and k member can be a real PITA. Here’s what I did and I am so glad I did it this way. Oh yeah, I was crushing boxes every week just to keep prying eyes from asking questions.
Hey. Lots of good work going on there. Headers are much easier to install on the engine and then put them in the car. Just be patient as having to go back and install some other items, IE clutch and headers, after installing the engine and k member can be a real PITA. Here�s what I did and I am so glad I did it this way. Oh yeah, I was crushing boxes every week just to keep prying eyes from asking questions.
very good advice, I definitely think that's the route I'm going to follow as well. The less I have to do bent over a fender the better lol. Thanks for sharing your advice and pictures! 😃
Your very welcome. Last two pictures. You will enjoy these because it shows what all of your hard work is doing to accomplish your dream of the perfect Camaro. And, when you are done, you will be incredibly proud of what you created with your own hands.
I'd like to commend you on the front license plate provision. I'm not drilling holes or mounting the plate to cover my SLP grille either so I'll opt for the ticket. It's a stupid law anyway and just something to give one the reason to pull you over.
I'd like to commend you on the front license plate provision. I'm not drilling holes or mounting the plate to cover my SLP grille either so I'll opt for the ticket. It's a stupid law anyway and just something to give one the reason to pull you over.
That came with the car. It was bought and sold from a Texas Dealer brand new, so since Texas has F and R plates I assume this is where that was installed. Although, my wife hasn't had a front plate on her mustang since we moved here because she doesn't like that it takes away from the look and hasn't had an issue. That being said, I'd love to have the SLP grille one day. Have to find the red SS grille emblem though 😅
That came with the car. It was bought and sold from a Texas Dealer brand new, so since Texas has F and R plates I assume this is where that was installed. Although, my wife hasn't had a front plate on her mustang since we moved here because she doesn't like that it takes away from the look and hasn't had an issue. That being said, I'd love to have the SLP grille one day. Have to find the red SS grille emblem though 😅
They're still around and I believe that Hawks Motorsports sells them.
I ordered my Squash Performance fuel system today. I am going to start removing the stock fuel lines/tank, etc. and start cleaning underneath the car. I'm running -8 supply to a Y, then -6 out the other end of each rail to pressure regulator with -6 return to tank. stock Evap will be used.
I've also been flirting with the idea of removing the side molding from the car. Haven't pulled the trigger but been thinking about it.
Andy is a super nice guy and I've been very pleased with his pump assembly. I purchased a drop in with twin 450 Walbro's but only the one hooked up for now. Ended up keeping the stock feed and return lines and went with the C5 fuel filter regulator but if I was to do it again I'd be running 8AN feed and 6AN return with a better FPR setup and ditching the factory fuel rail.
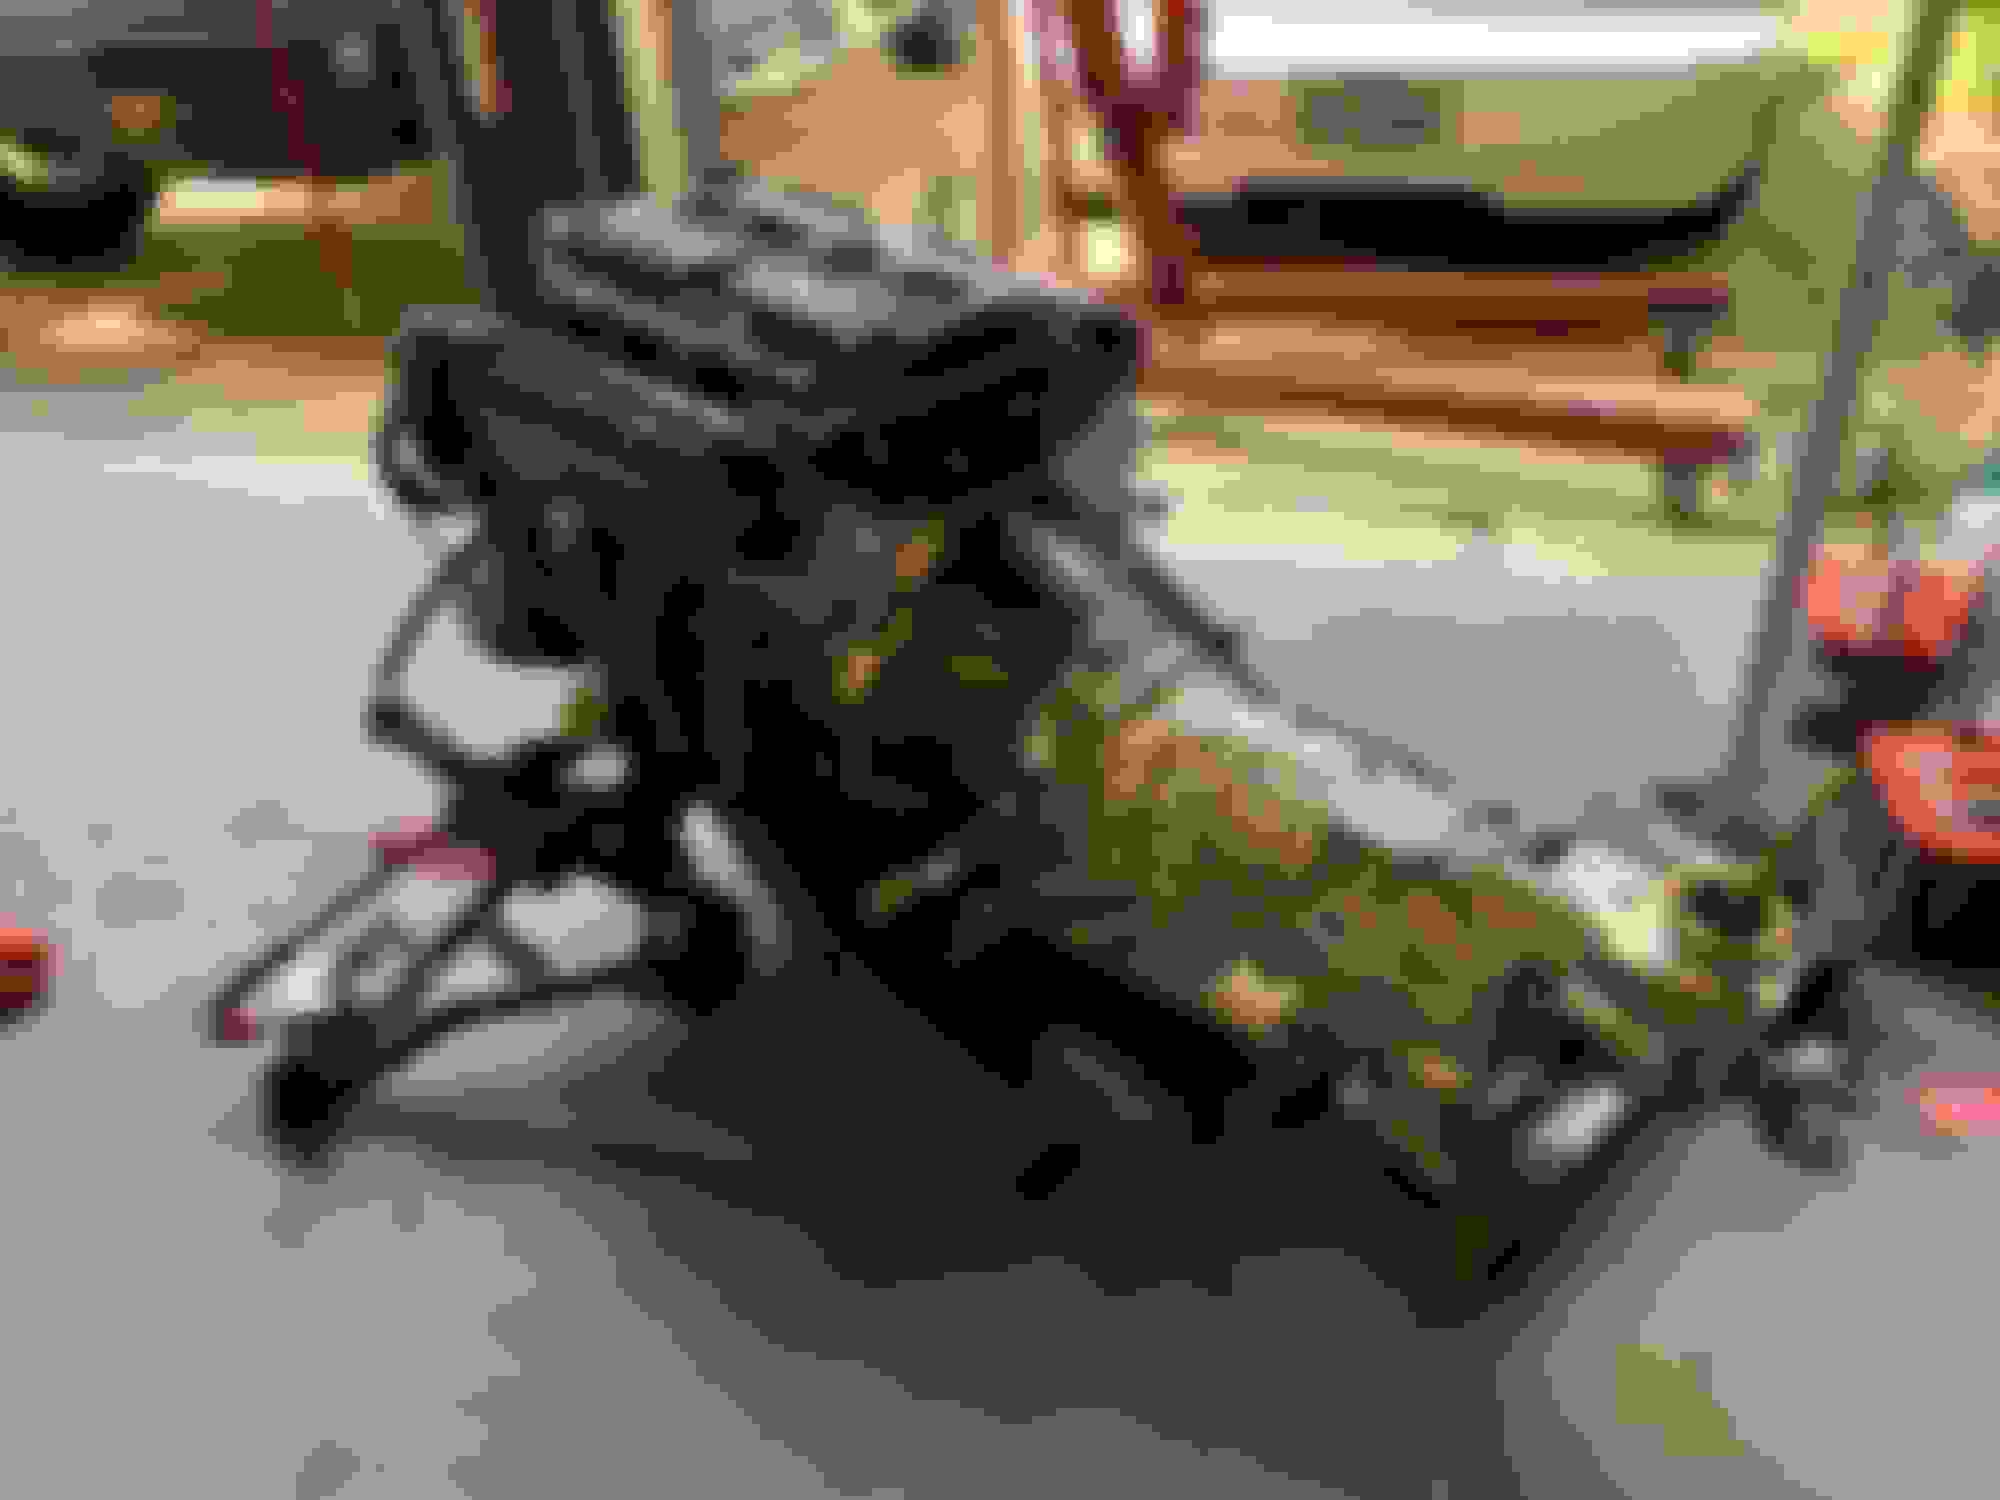
Pics from today. The block is officially on the engine stand. After all the washes the powder coat is a little pink. And since the holley valve covers and bmr stuff is all red, we're going to paint over it with red to match the valve covers once it's short blocked.
Ok...so main's were too tight so we are going to take a half thousandths out with the line hone. Cam bearings are good. Before we open up the mains, we are going to install all the studs and check for rod clearances just because it will save us a cleanup later pending if we do or don't have enough clearance.
 04-15-2021, 03:20 PM


 I'm in.