When you click on links to various merchants on this site and make a purchase, this can result in this site earning a commission. Affiliate programs and affiliations include, but are not limited to, the eBay Partner Network.
After a few nights sleep, I came to the conclusion I could ruin someone�s day if the worm clamps slipped off at WOT on the drag strip. This weekend I�ll replace the 11/32 hose with 3/8ths and use cinch and banjo clamps instead.
Received the trans filter from Amazon, package pre-opened with generic filter inside. 5 out of the last 10 parts I�ve ordered from there have been opened with parts missing or wrong.
Opening day weekend for test and tune starts in 21 days. I�m ganna use that weekend to dial in the suspension. I plan on index racing this year so should be a more exciting year for me.
Prepped the car some.
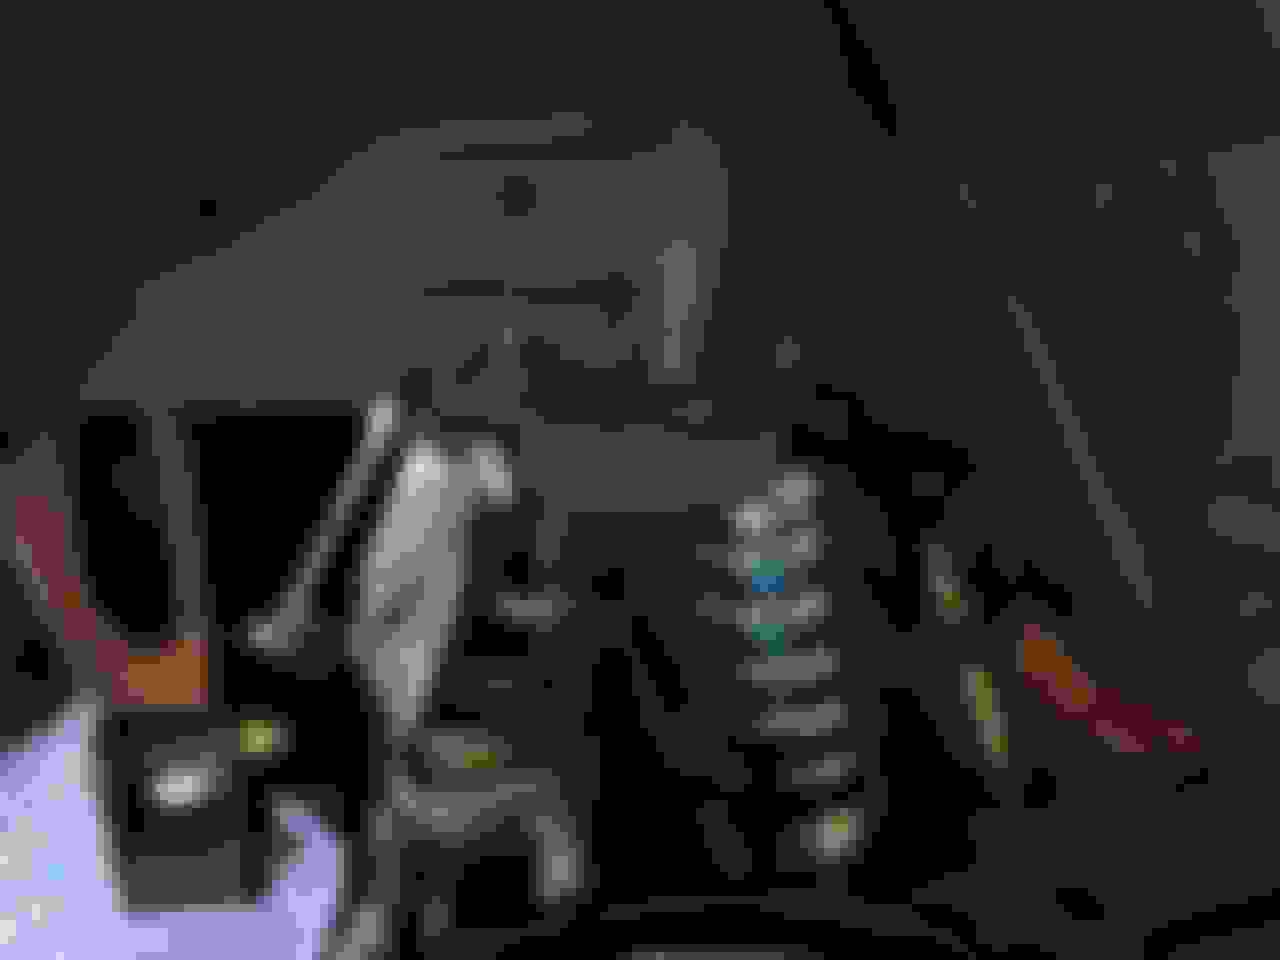
removed LCA�s, cleaned/greased, wd40, and tightened the rotofab.
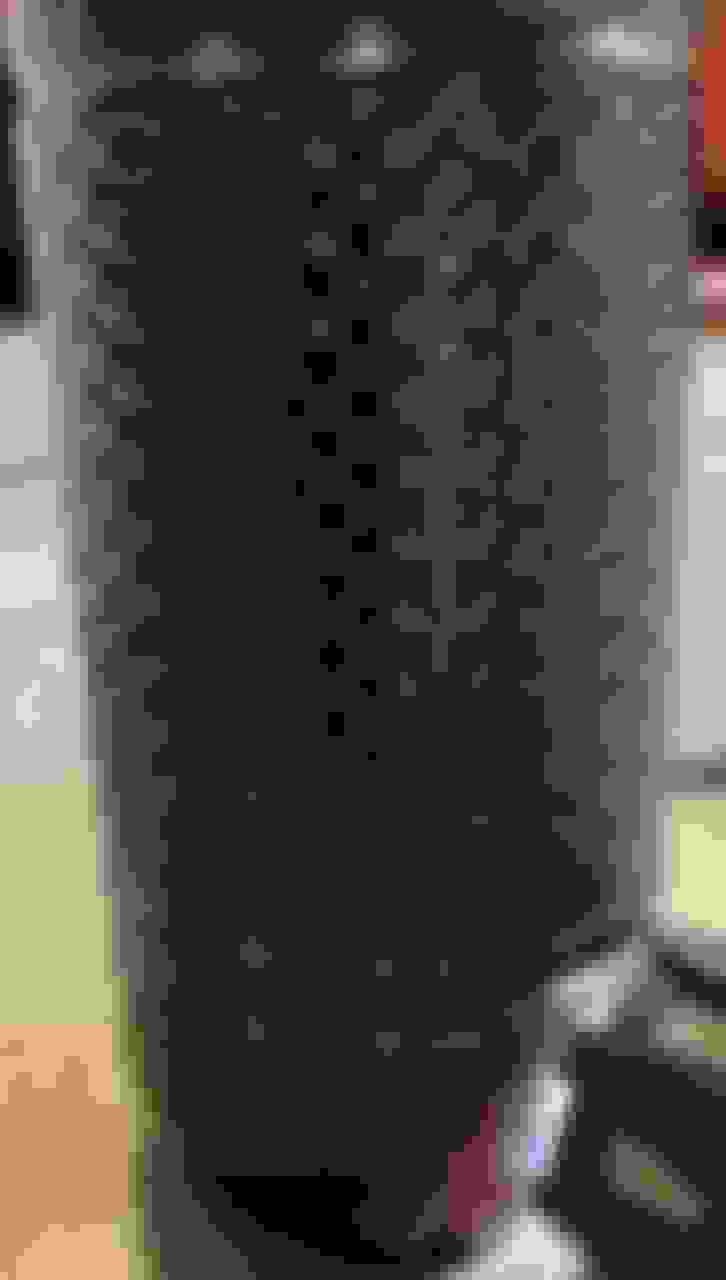
hand sanded all the rotors (should of just taken to work and put them in the brake machine and saved time) lol
Rear tires rub both sides, need tiny spacers and longer studs.
After a bit of figuring; adjusted rear LCA�s so they no longer rub. Had to extend them about an inch. No need for lame spacers.
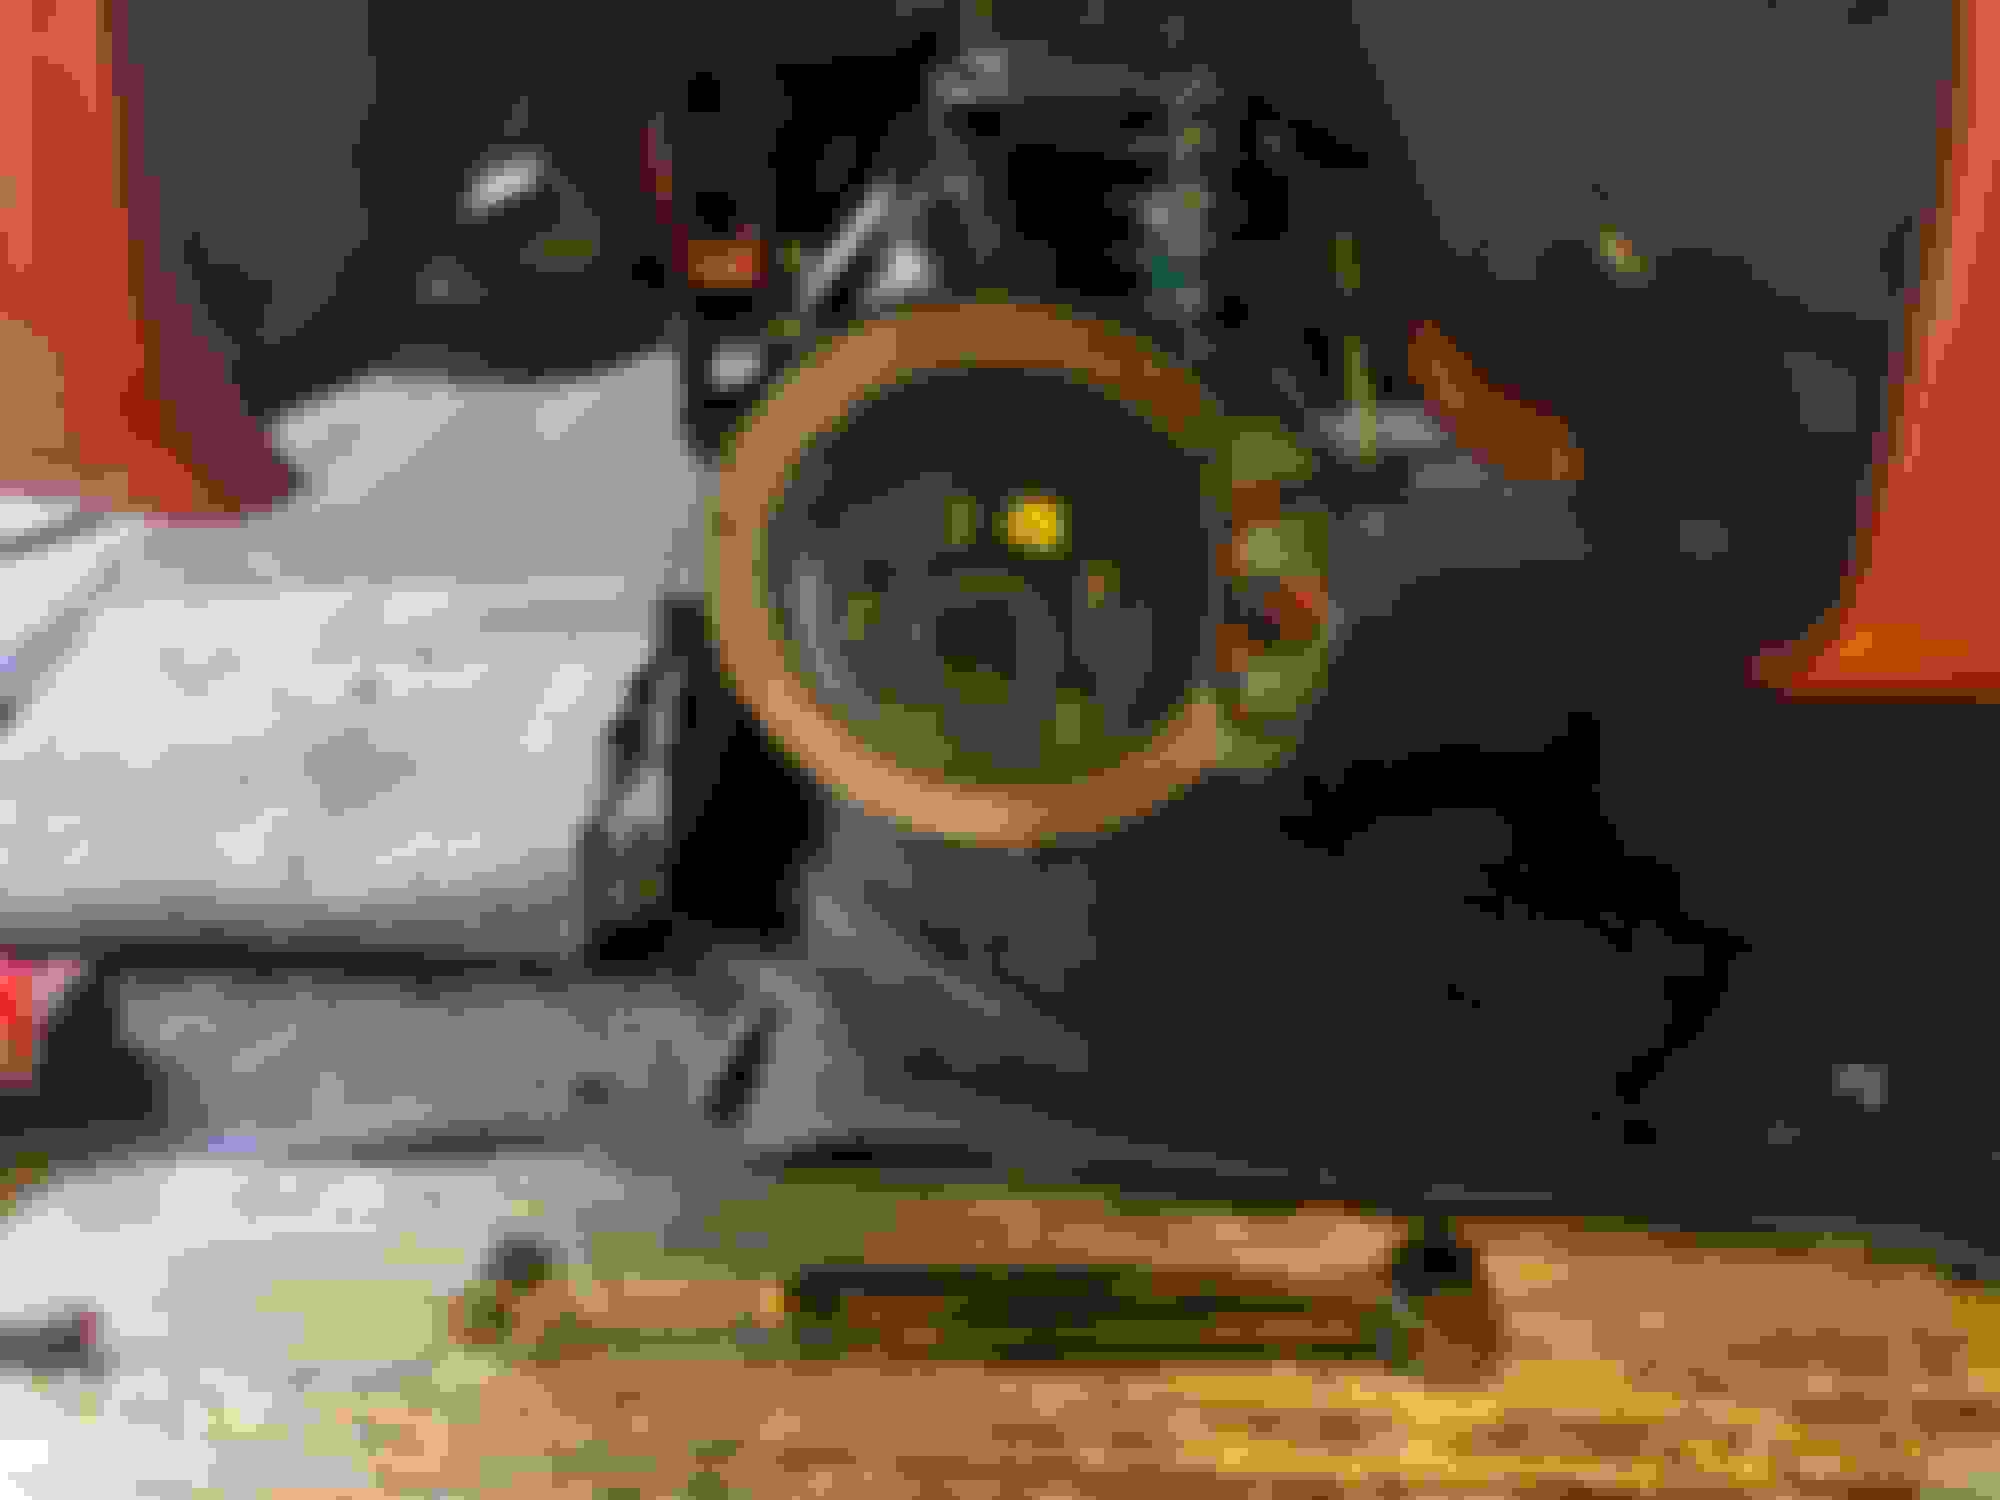
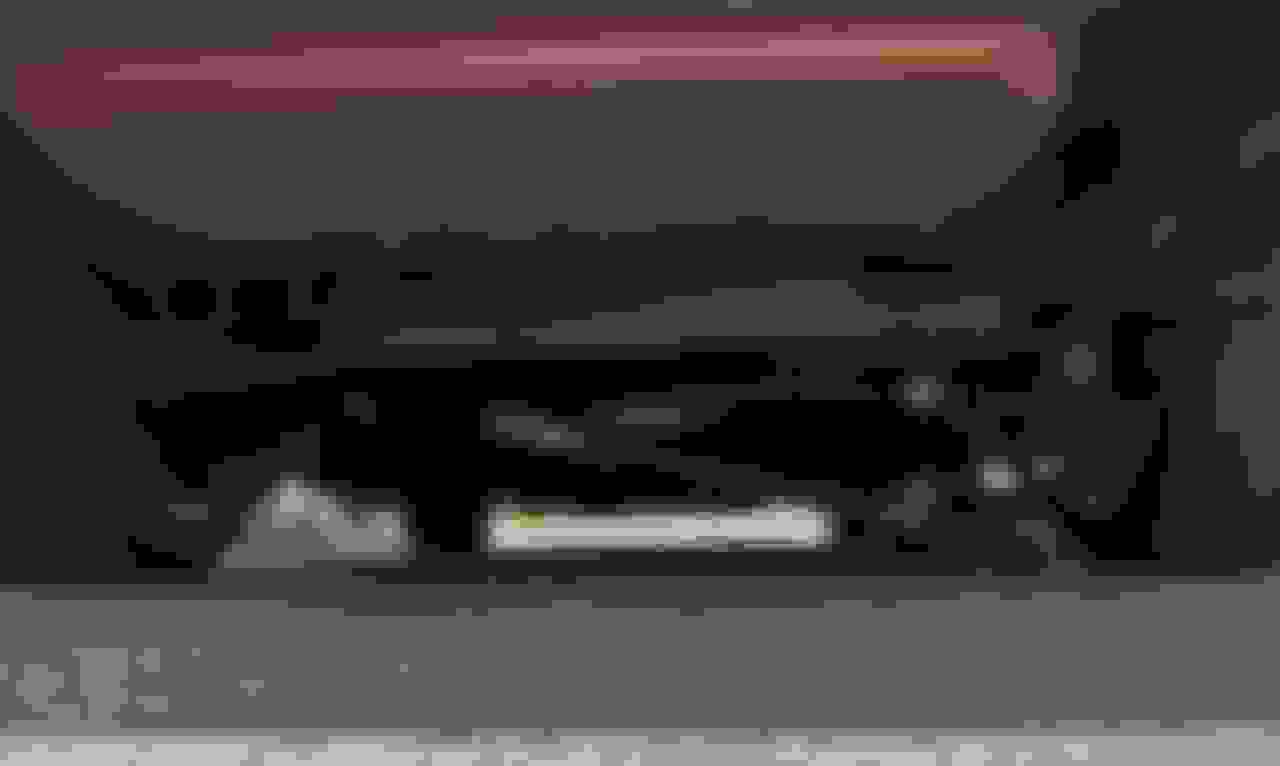
Next I worked on the battery tray. The plastic is split between the tray and the bottle. I was going to RTV it but found and ordered Dorman 603-116 from summit.
Next Drilled and tapped the bolt holes below the tray and installed a 3/8ths helicoil with copious amounts of red locktight. New 10.9 bolts.
Added wire loom to the 0ga ground wires to clean up the engine bay some more.
Ordered 3 bottles of hawks 600 dot 4 to add to the shelf. I�ll flush the motul 600 out at the end of the year and change to Hawks.
Ordered 30qts of pennzoil platinum ultra to stock up.
I�ll add photos later, they are not uploading.
Last edited by Finkledbody; 03-27-2024 at 05:08 PM.
Replaced Transmission filter - ran 8 bottles through, fluid came out black. Need to drive it then I�ll run another 8 bottles through it.
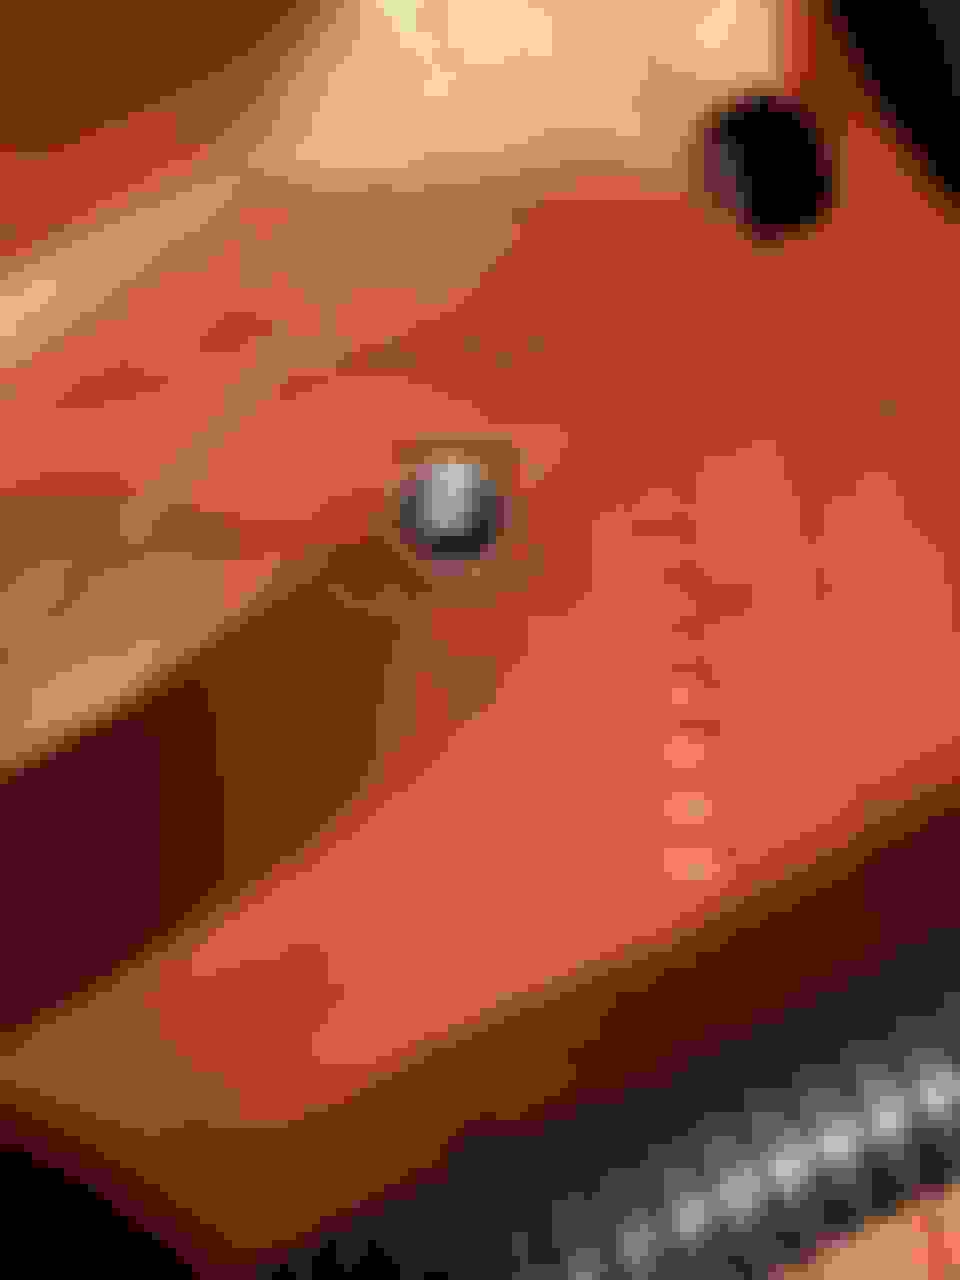
New radiator cap
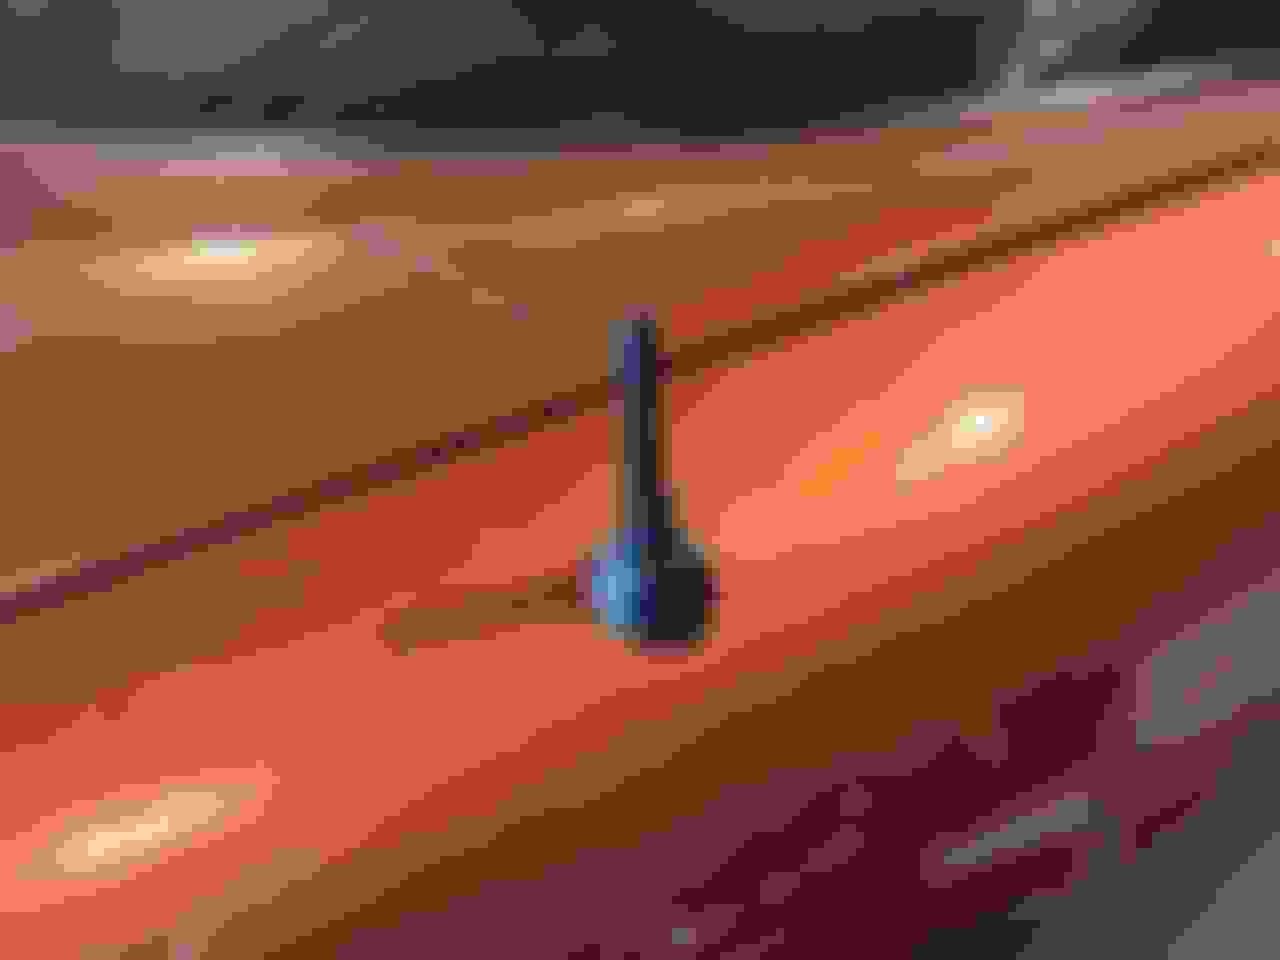
New mini antenna
painted sail panel with epoxy primer. Going to wait for next weekend to install. That will give it plenty of time to cure.
I'm not criticizing your work, but does the sail panel stick out a bit at the bottom? Is that how it fits?
Criticism is what makes us all strive to do better, no offense taken. The install didn�t work out perfect but came out pretty damn good considering the challenge. I installed it by my self. The adhesive dried incredibly fast allowing for minimal adjustments. At least it�s on straight and looks better with the tops in place.
if I were to do it again I would get an electric caulk gun. Just spend the money.
Car show got rained out.
Dyed the GM foam bump stops and got them installed.
Flushed the power steering by removing the return line to a bucket, capped the reservoir, and jacked up the front end. I ran 3qts of fluid through it moving the wheel back and forth; fluid was nasty. All clean now.
Last edited by Finkledbody; 05-20-2024 at 08:57 AM.
Went for a little cruise today and heard noises like my u-joint was disintegrating. So I stopped an took a peak. Scratching my head�. �Did I tighten that bolt all the way?�
If you are wondering, 1 mile of driving will destroy the bar.
EDIT: found the bolt, it was broken at the nut side. it broke when I went over a set of train tracks at WOT.
Ordered
new UMI panhard bar
case of Redline sl1 injection cleaner
4qts of Redline power steering fluid
Last edited by Finkledbody; 06-26-2024 at 01:20 PM.

 02-16-2024, 10:20 AM