
1969 GTO Judge Clone LQ4 turbo 4L60e
 12-16-2010, 11:12 PM
#61
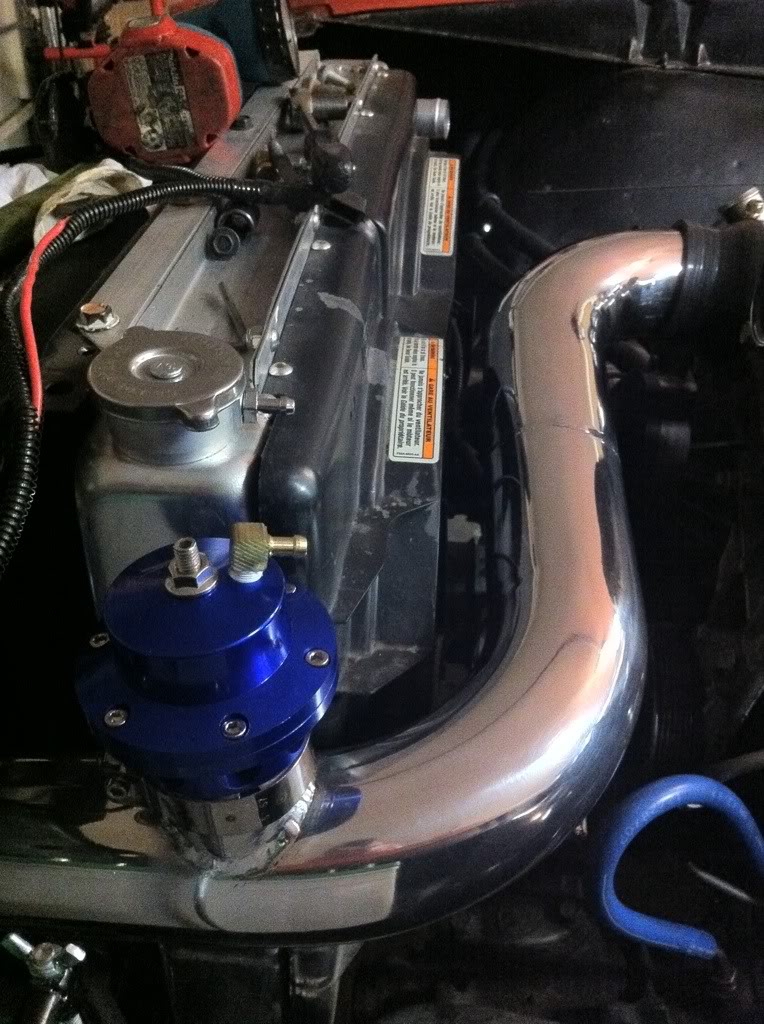
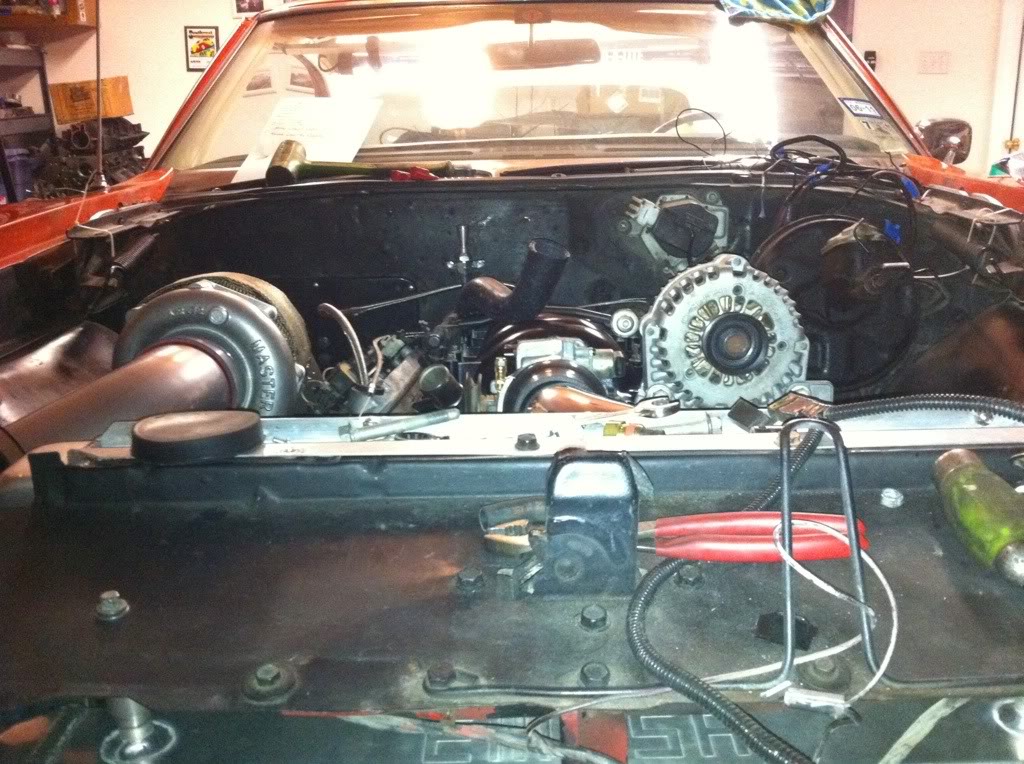
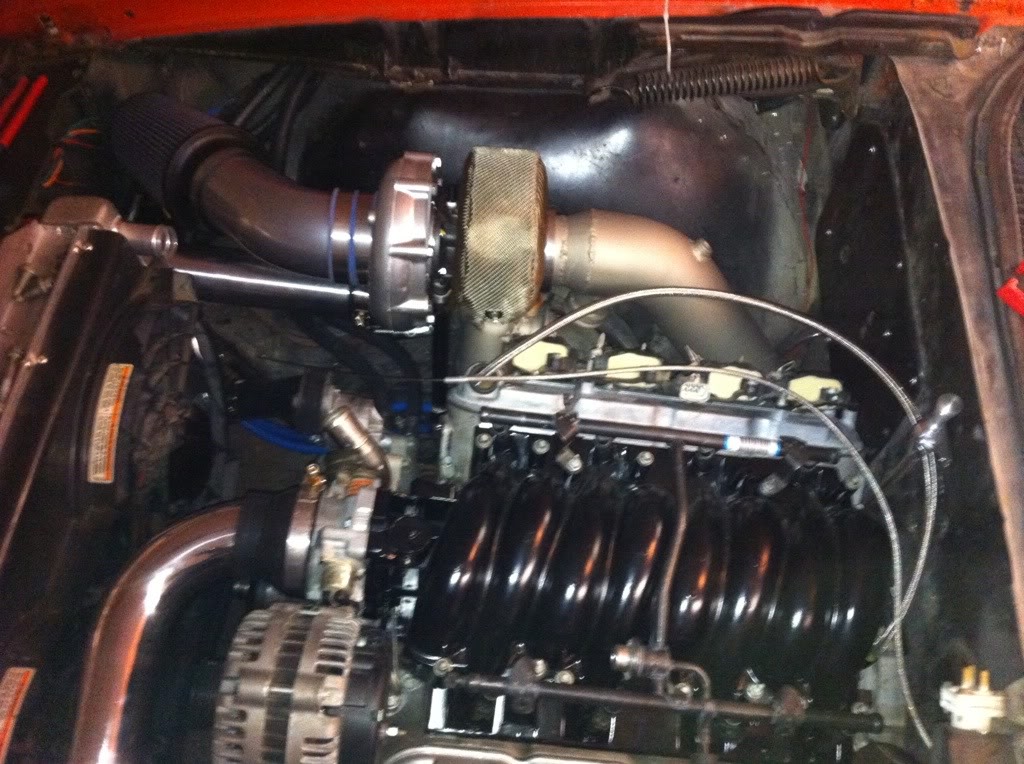
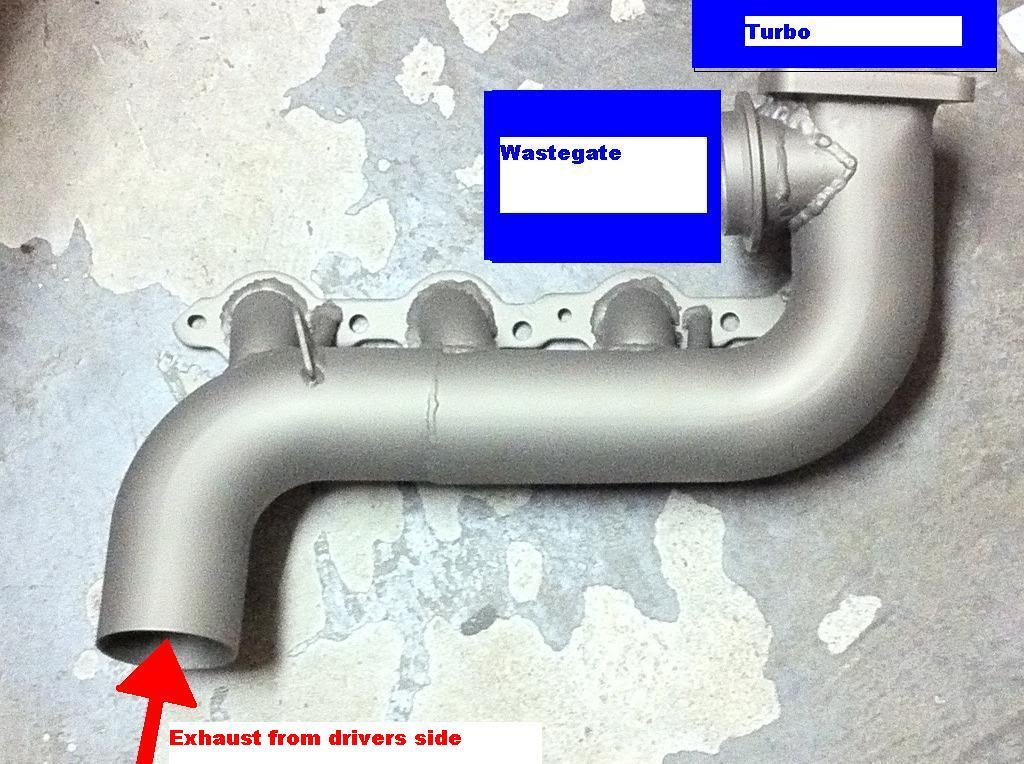
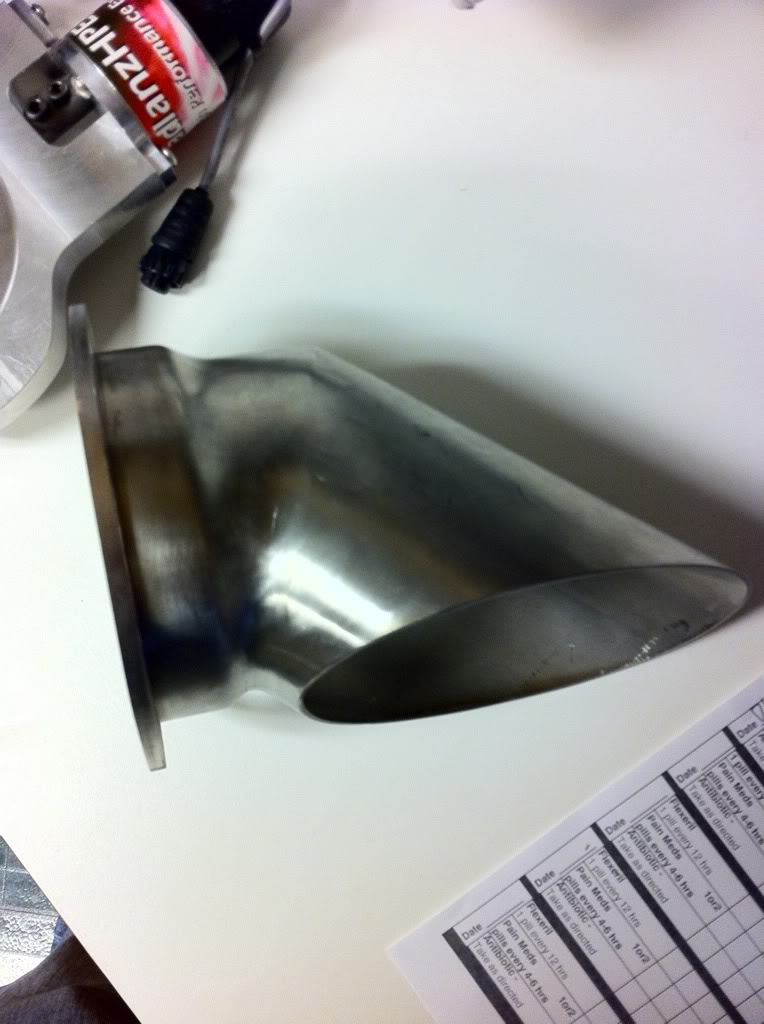
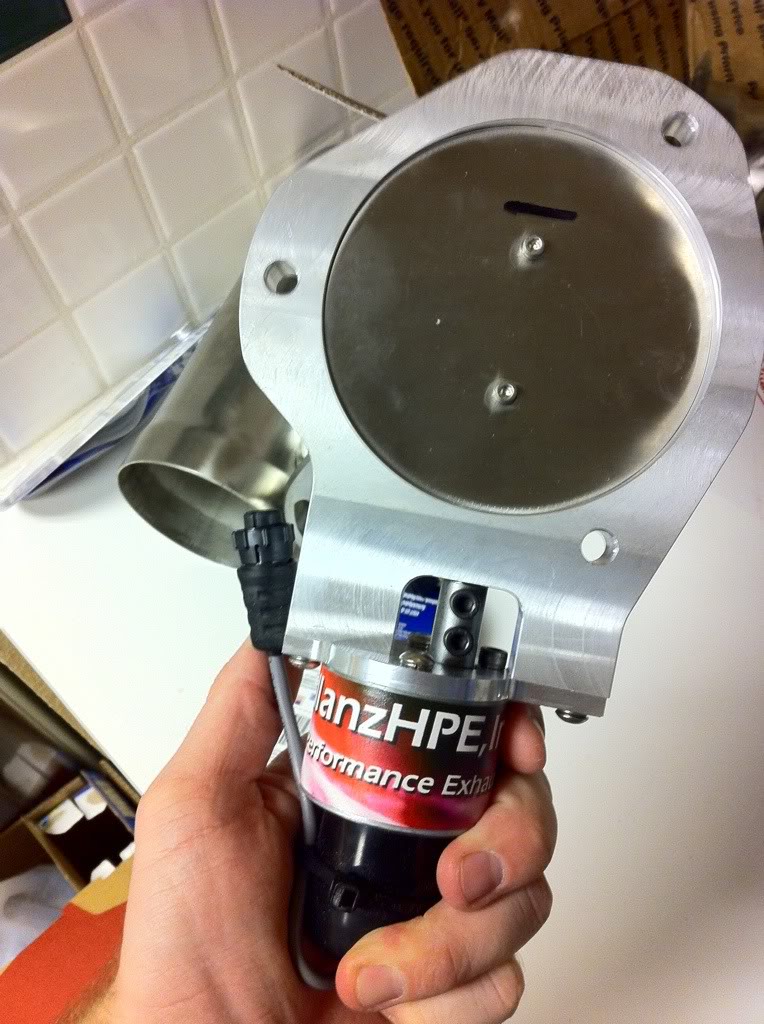
Got the hot side back from Burleson Powder Coating today.. (Thanks Eric!)
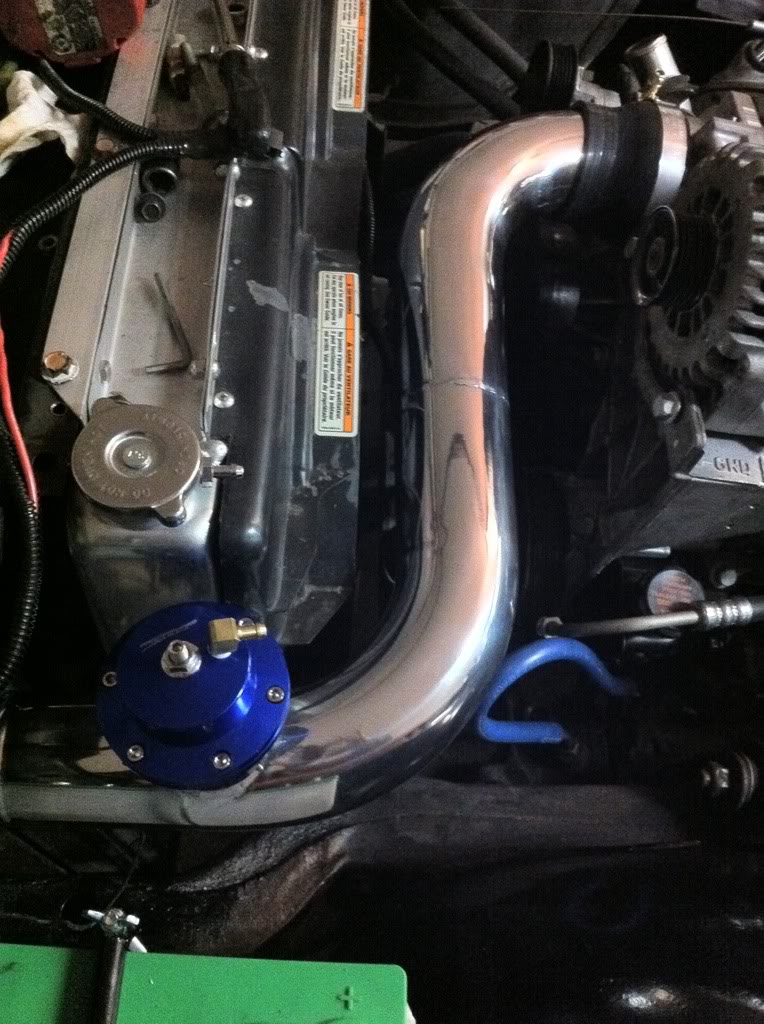
I went with Pewter coating
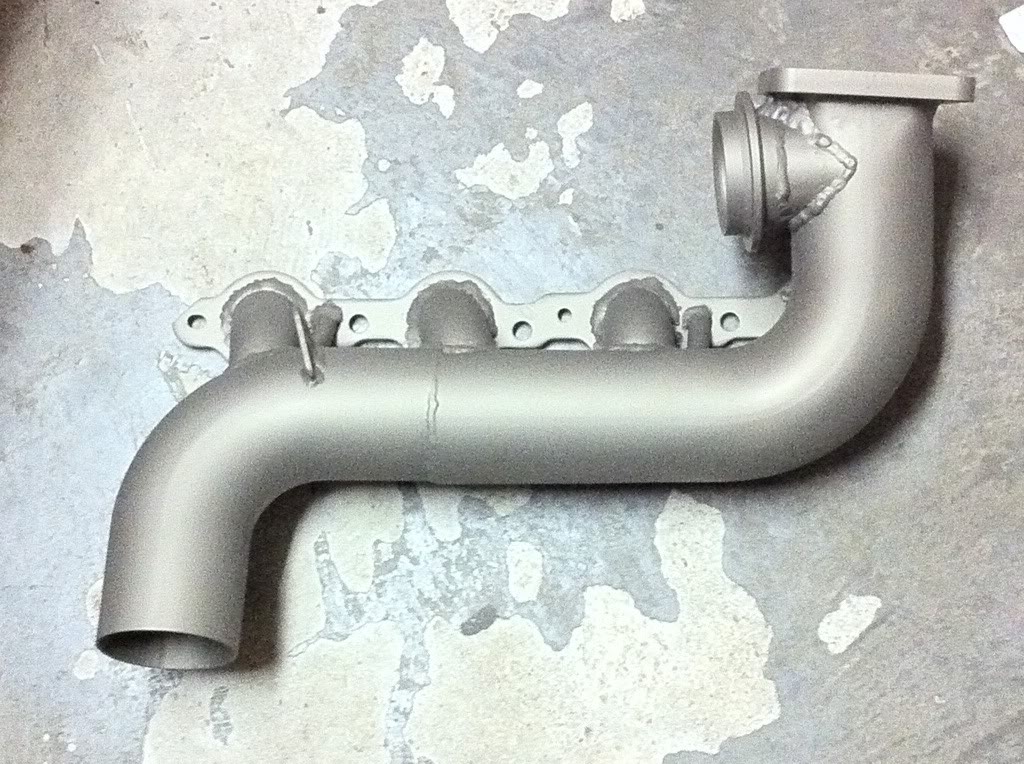

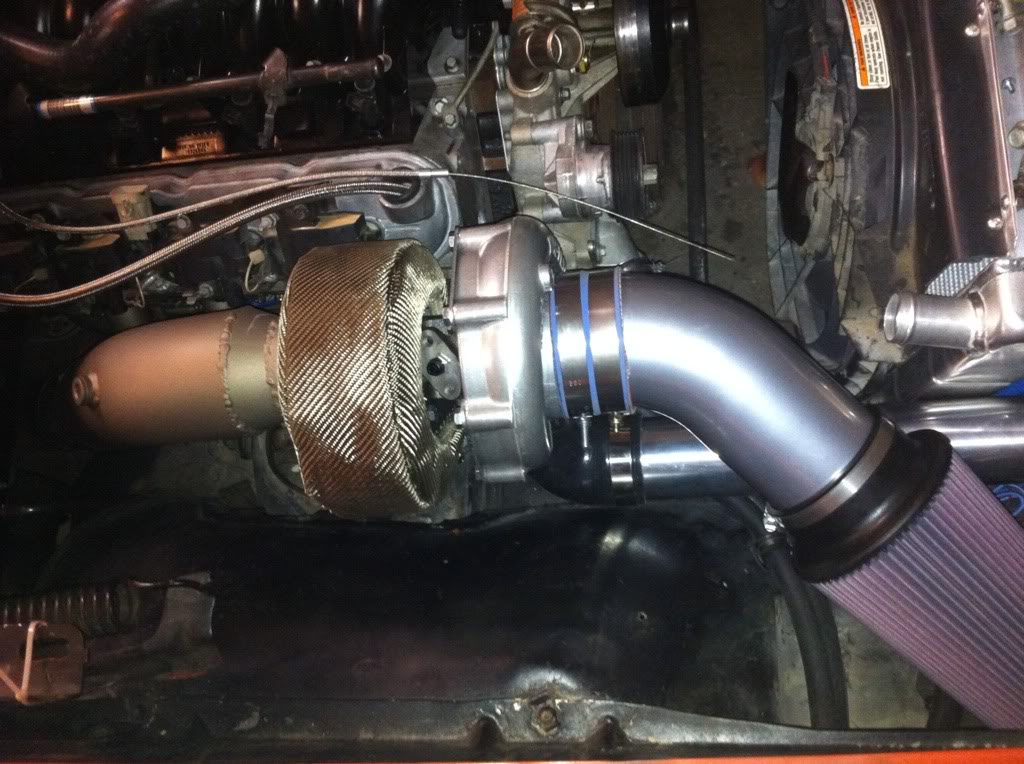
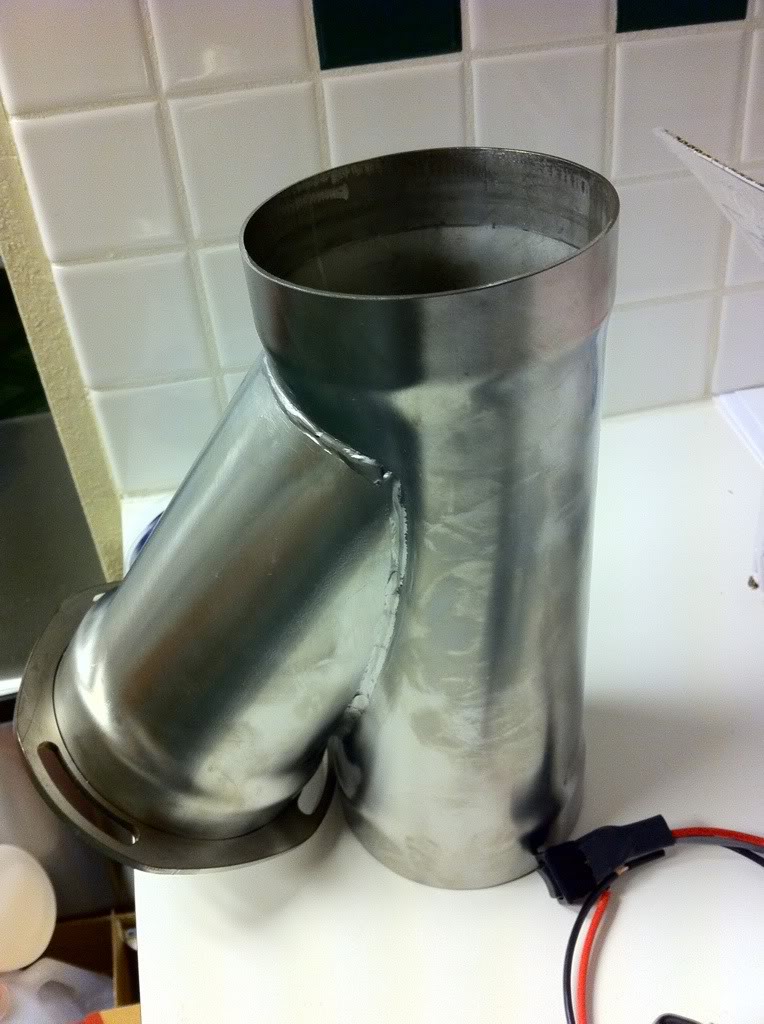
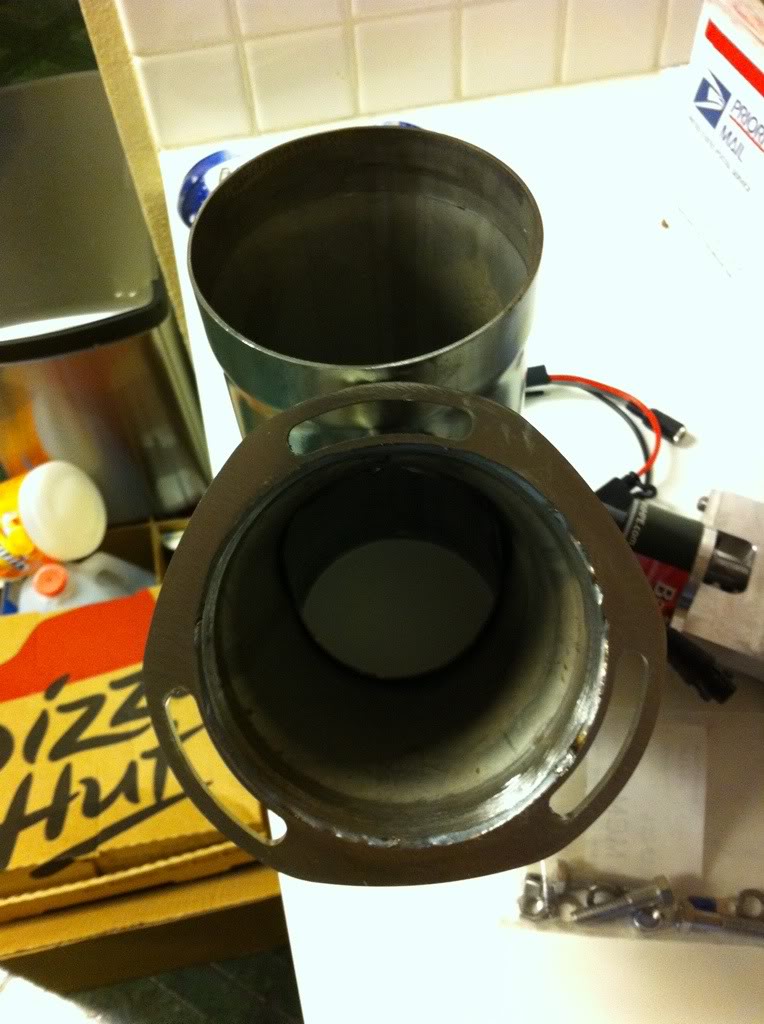
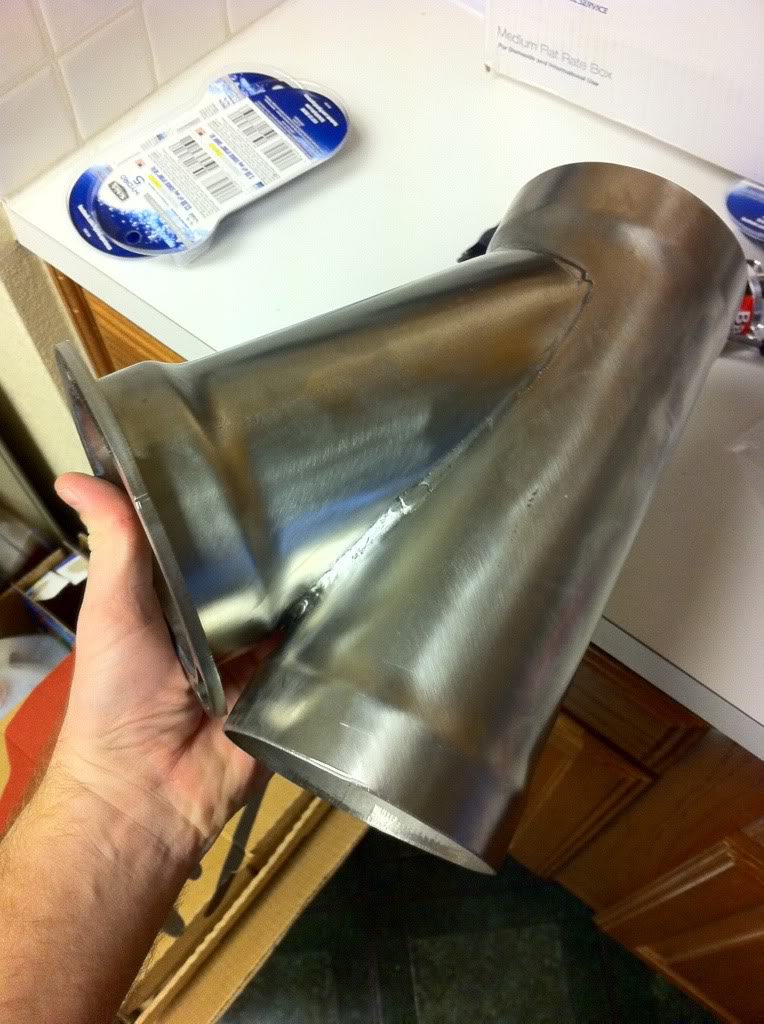
I also had Eric do the pipe that goes from the turbo to the filter
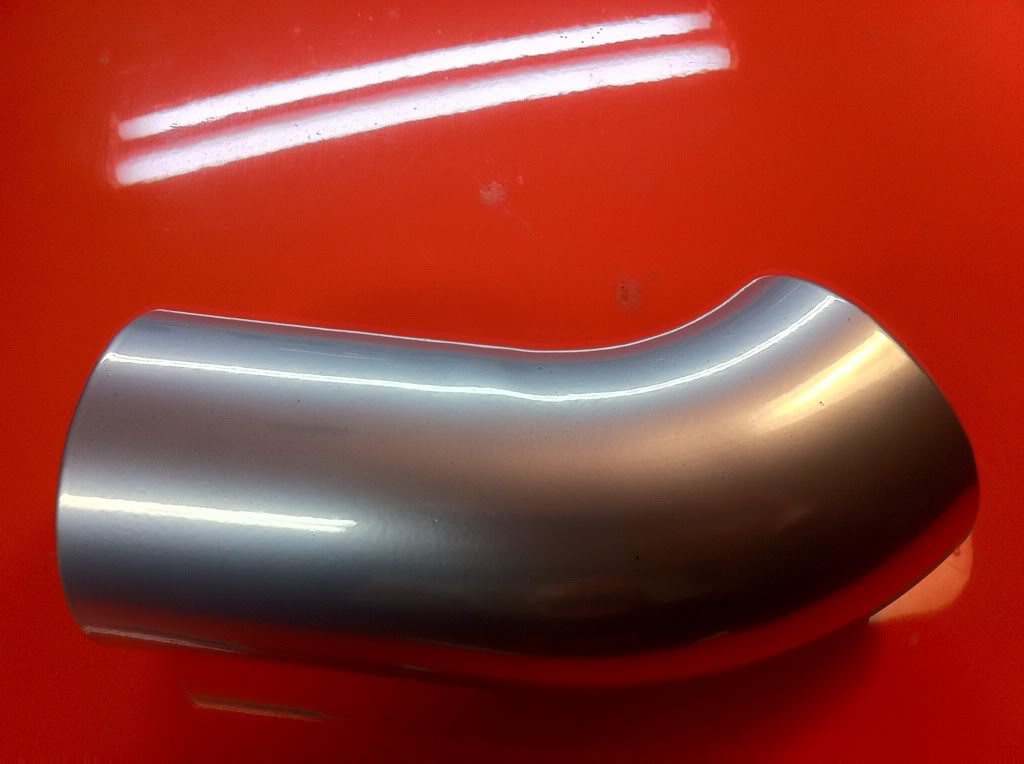
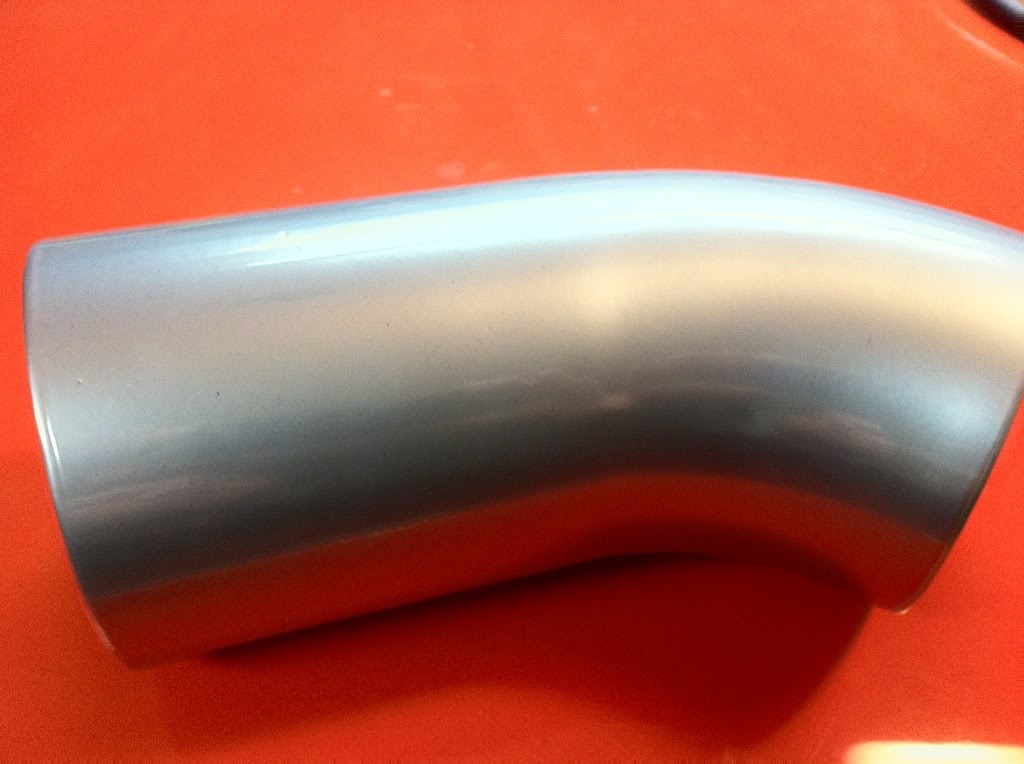
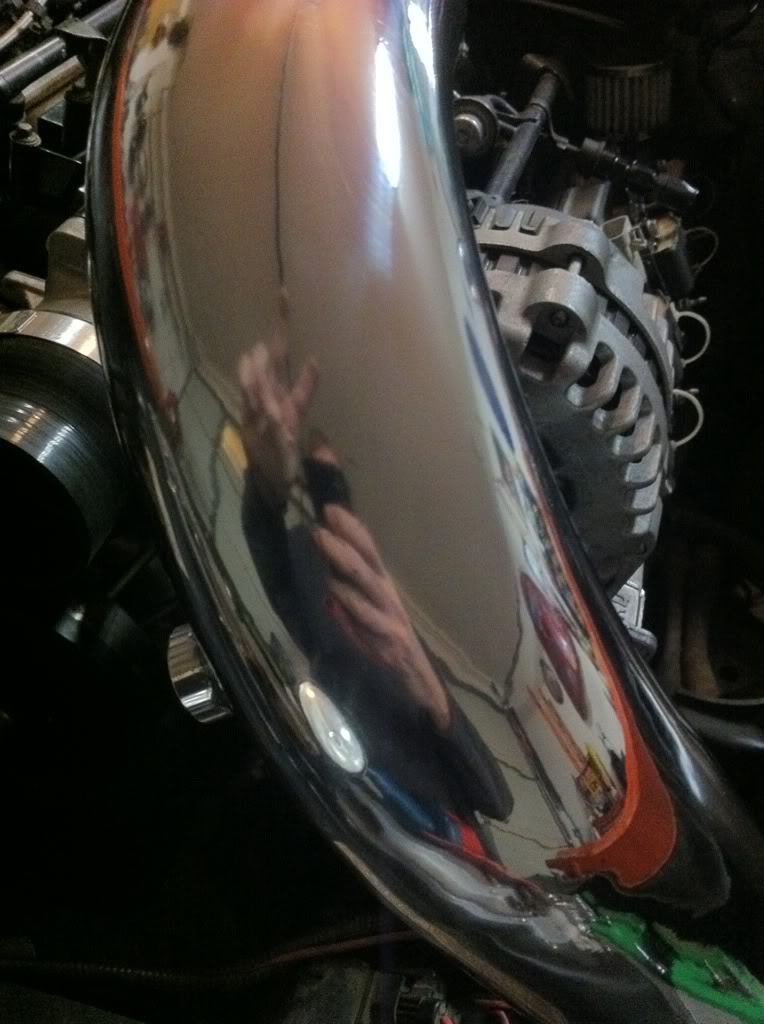
I also had the IC pipe polished by a friend in Irving.
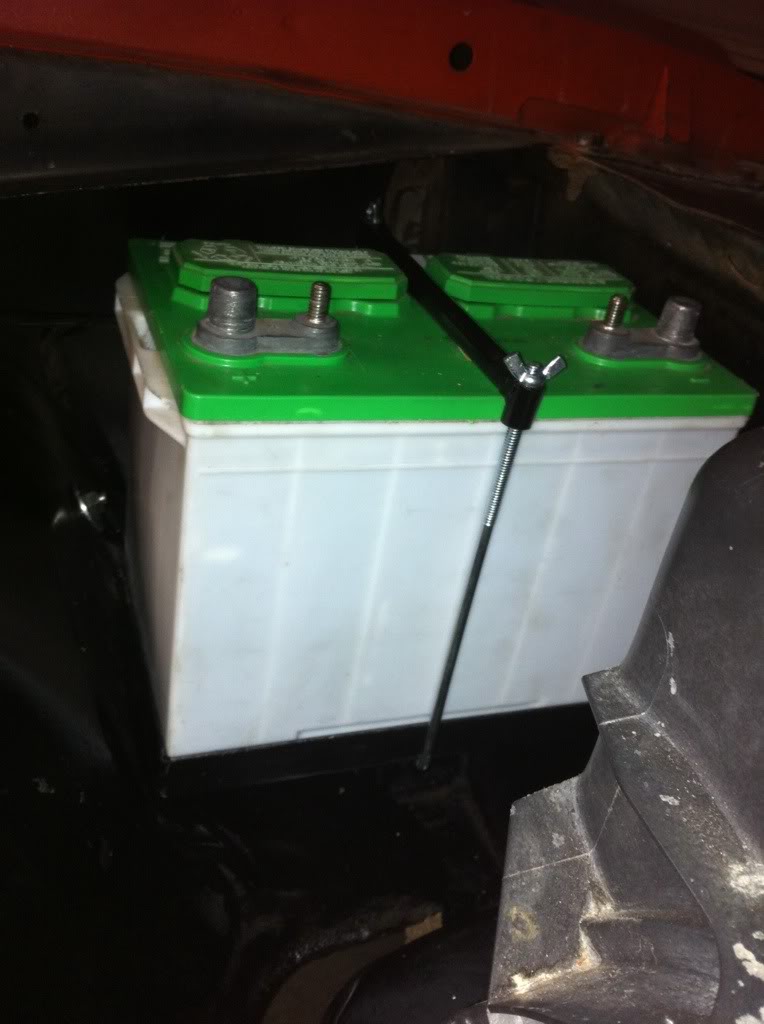
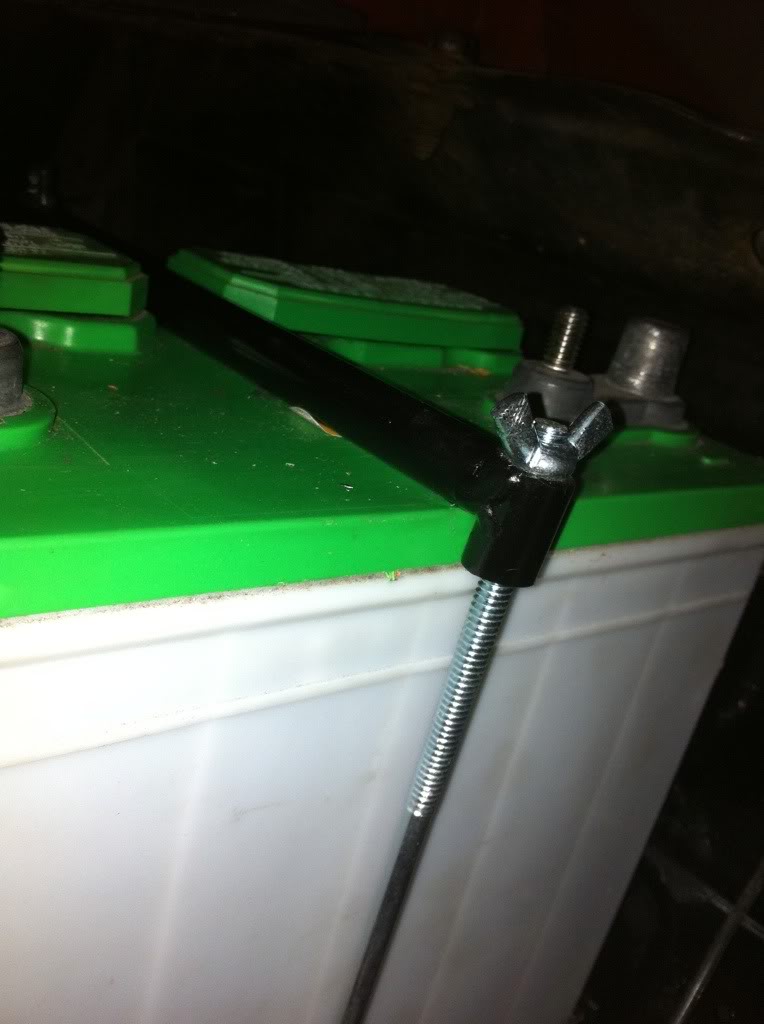
not sure whats up with this pic but there is no paint on the battery... my only guess is that its because the pic is from my iphone 4 in HD mode with takes 3 pics and blends them together... weird!
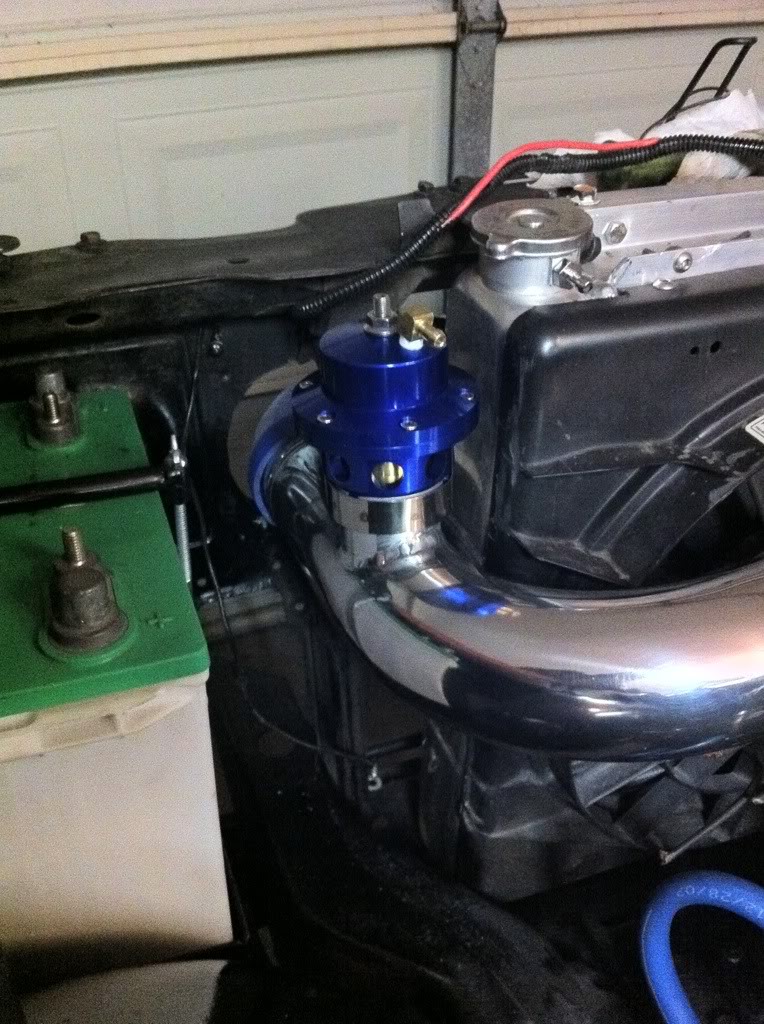
got the battery mounted and secured
I went with Pewter coating
I also had Eric do the pipe that goes from the turbo to the filter
I also had the IC pipe polished by a friend in Irving.
not sure whats up with this pic but there is no paint on the battery... my only guess is that its because the pic is from my iphone 4 in HD mode with takes 3 pics and blends them together... weird!
got the battery mounted and secured
Last edited by 2165 Turbo Rail; 12-17-2010 at 01:59 PM.


 12-17-2010, 07:19 PM
#63
Well when you think you have the money to afford it. Wait till you have another 5-6 grand because you'll need it
I thought I ha planne this out well enough to know what my budget needed to be but I've gone a little overboard haha.
But. When it's done it's going to be bad ***
I thought I ha planne this out well enough to know what my budget needed to be but I've gone a little overboard haha.
But. When it's done it's going to be bad ***
The following users liked this post:
scout2000 (06-02-2022)
12-18-2010, 12:38 AM
#66
got a little more done tonight
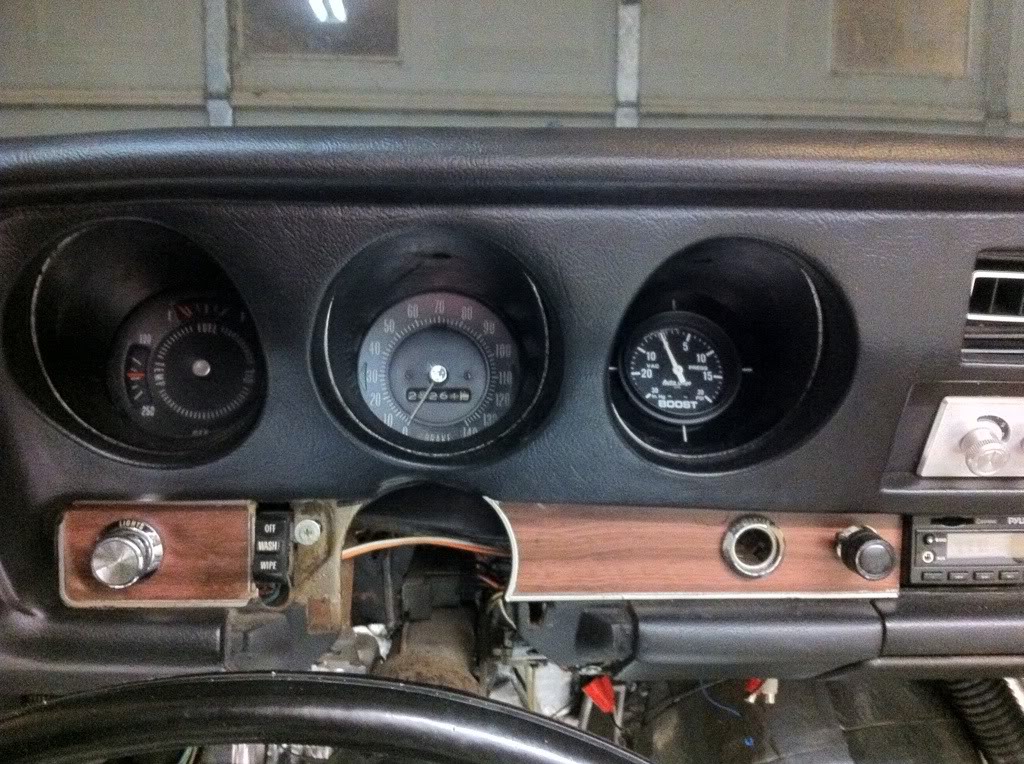
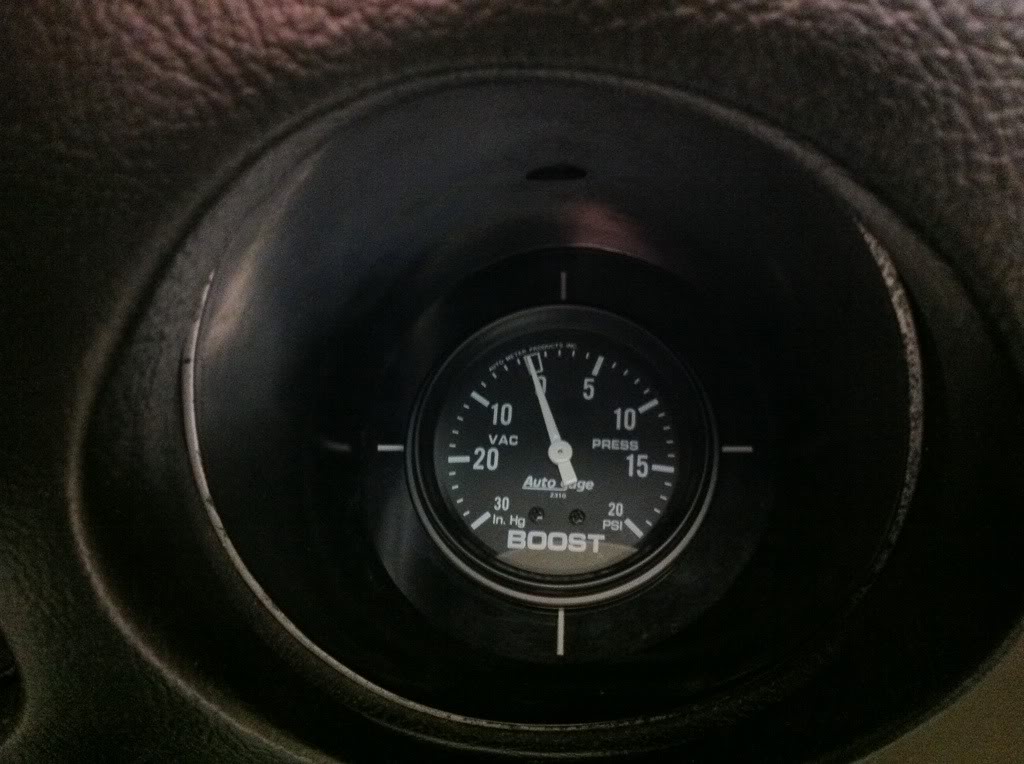
here is the boost gauge that I decided to go with because it matches my rally gauges pretty well
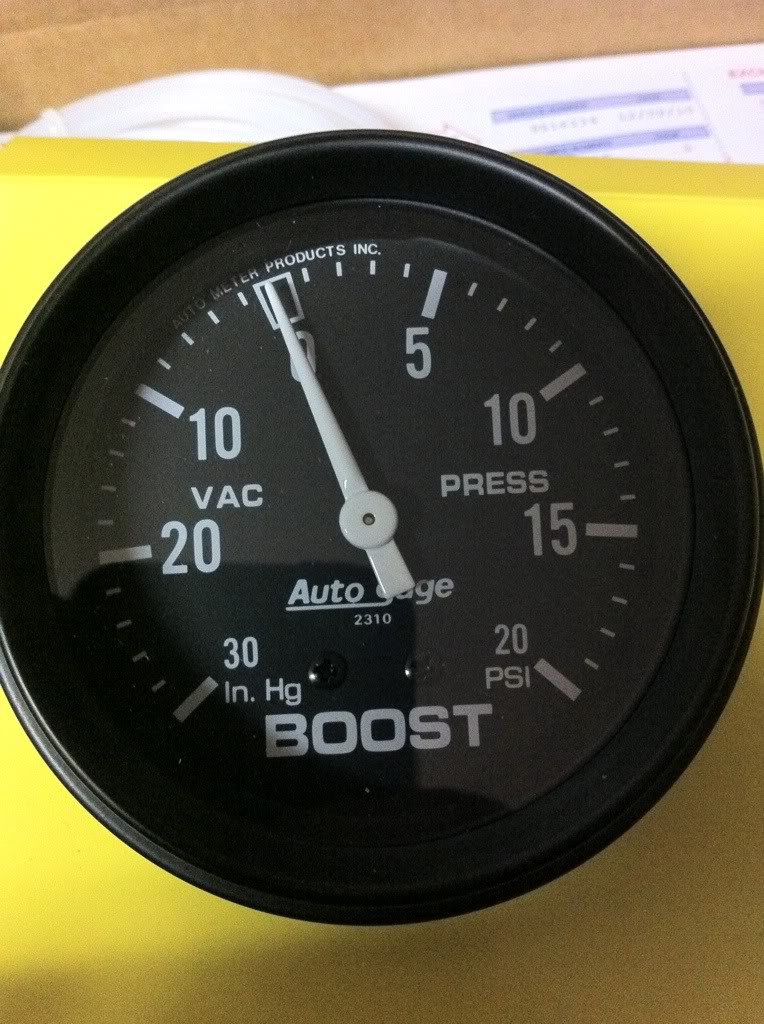
I'm going to put the boost gauge in the far right gauge pod, I think some of the GTOs had clocks there but mine doesn't so its the perfect spot.
here is the boost gauge that I decided to go with because it matches my rally gauges pretty well
I'm going to put the boost gauge in the far right gauge pod, I think some of the GTOs had clocks there but mine doesn't so its the perfect spot.
 12-27-2010, 12:08 AM
#71
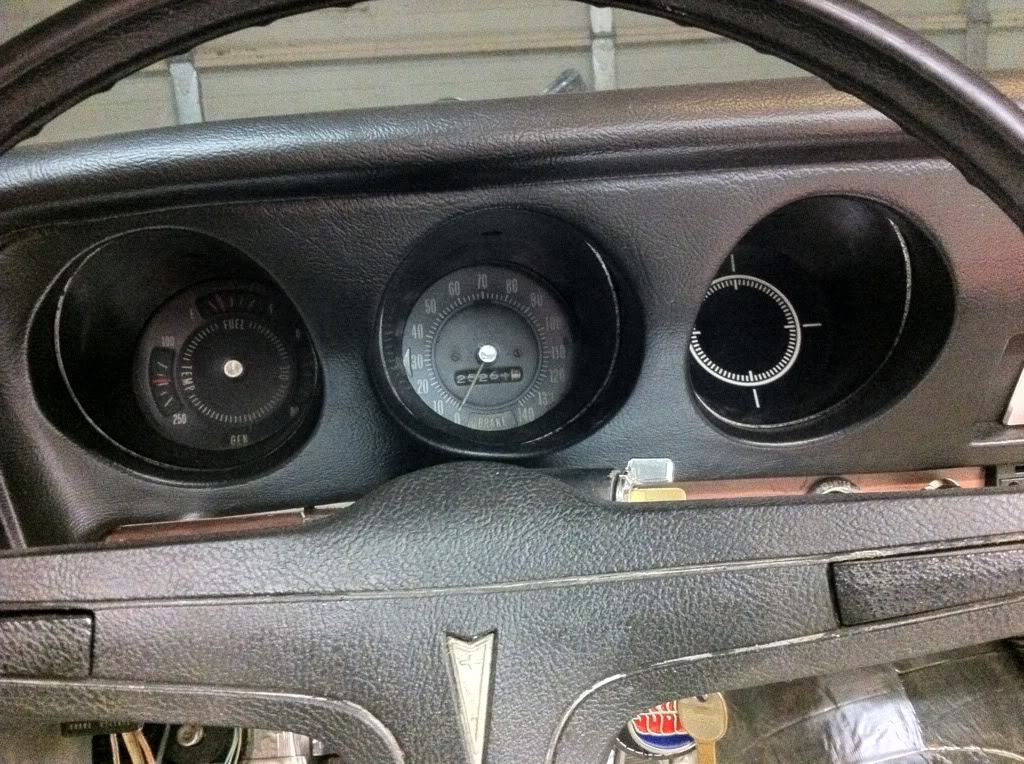
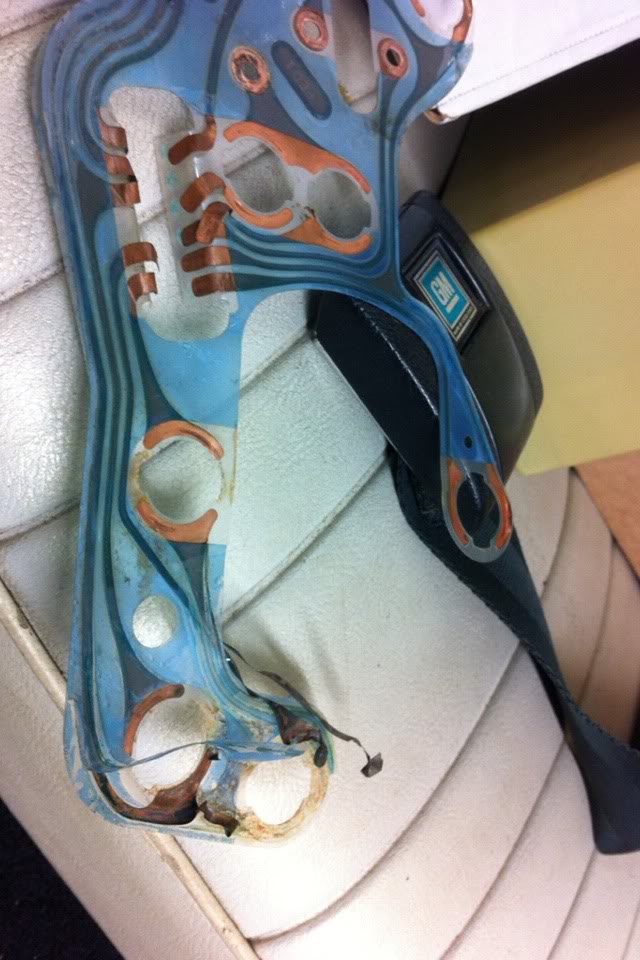
well I got a few little things done tonight. I took the gauge cluster apart because it needed a new circuit board on the back (its one of those laminated type) while I had it out I went ahead and took it all apart and cleaned everything. It looks WAY better. I think I am going to order a new clear plastic lens because its scratched up a little bit but not bad
this is the old circuit board
the pod on the far right is a blank in this car, some cars had a clock. I used this pod for the 2 5/8 boost gauge. I think it turned out pretty nice. It is the closest gauge I could find to match the stock gauges.
I did some other little stuff that isn't very interesting so I didn't take pics.. hopefully tomorrow night a lot more will get done.
Last edited by 2165 Turbo Rail; 12-27-2010 at 12:45 AM.
 01-07-2011, 08:43 PM
#76
Slowly but surely. We keep taking nights off. Like the last three! We are making progress though. I ordered a 13" big brake kit and some new upper and lower control arms for the new rear end.
I also ordered the box from Abbott that makes your speedo work ( has a motor that reads the computer pulses and turns a mech cable).
The new carpet is ready to go in.
I am going to finish "dyno-matimg" the floor tomorrow
We STILL haven't touched the fuel system under the car yet. And need to swap rear ends out when the control arms get here. The harness is in just needs a couple wires connected under the dash hooked up
I'm sure there's more that I'm forgetting
01-07-2011, 08:47 PM
#77
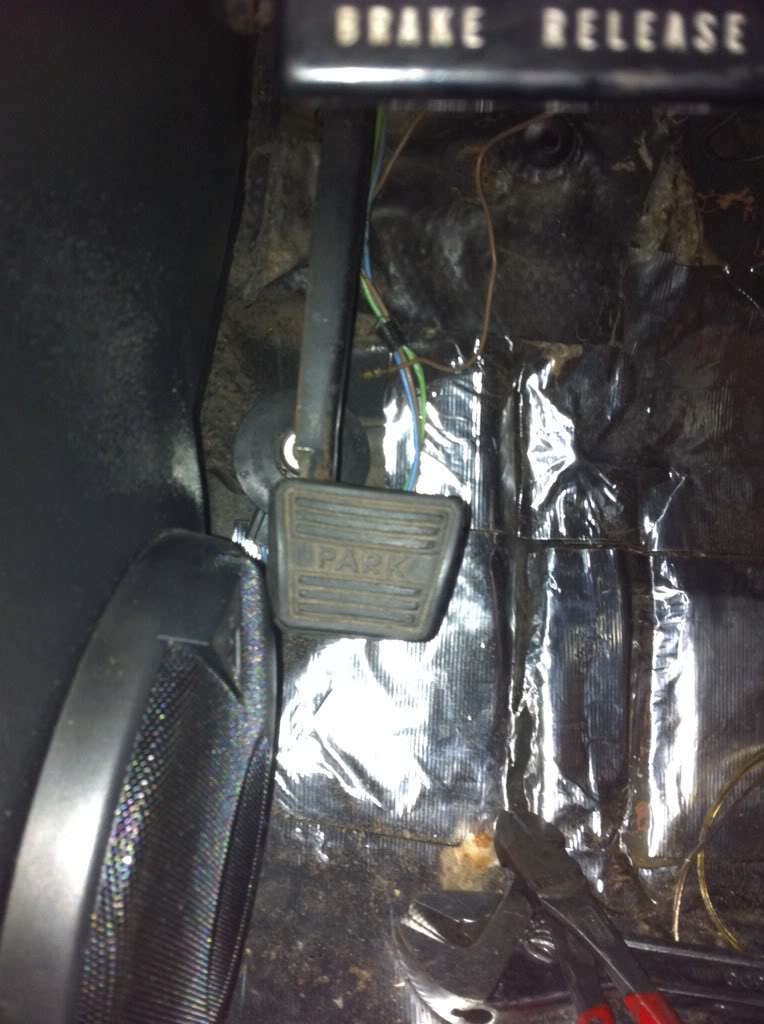
installed the new kick panels with speakers and of course the e-brake pedal hits BAD.. so I knocked the pad off and moved it all the way toward the middle of the car as far as it would go and then welded it back on the pedal arm. It looks crooked in this pic but its not... its still close to the speaker but doesn't hit now 
Last edited by 2165 Turbo Rail; 01-07-2011 at 08:53 PM.
01-07-2011, 08:49 PM
#78
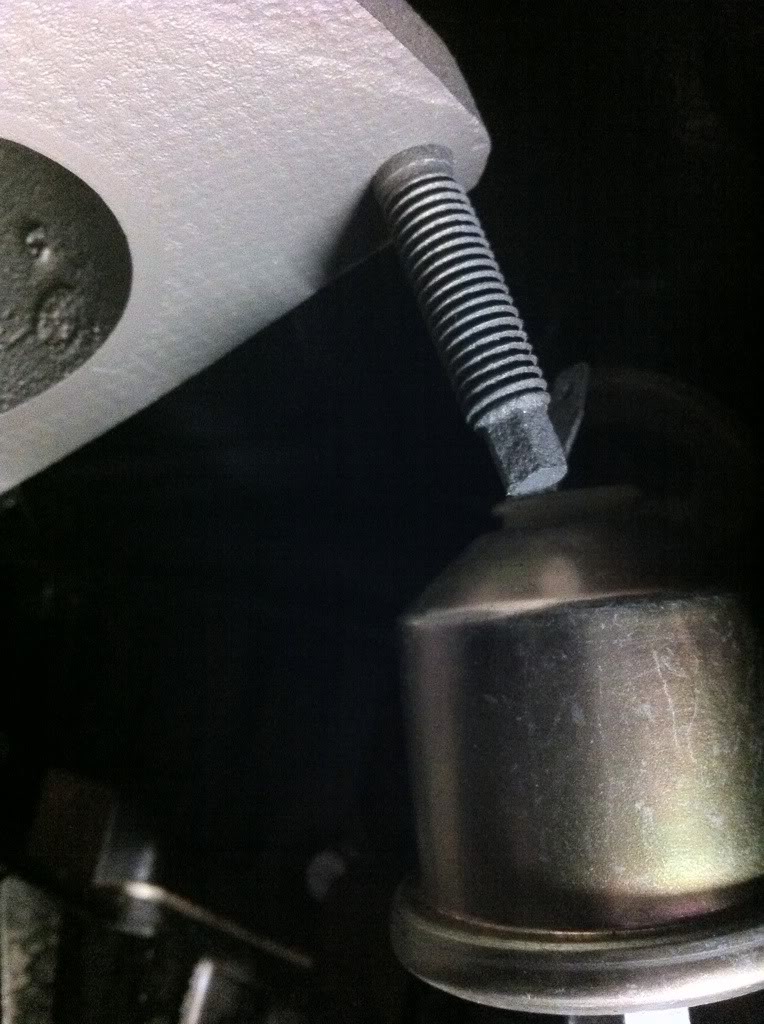
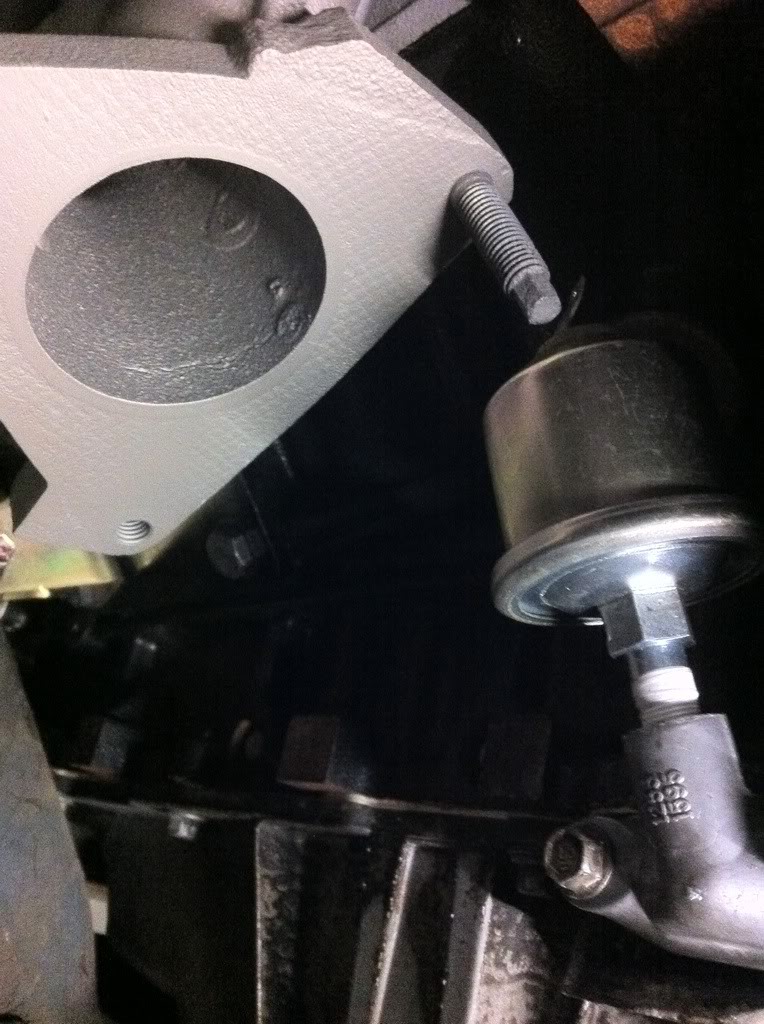
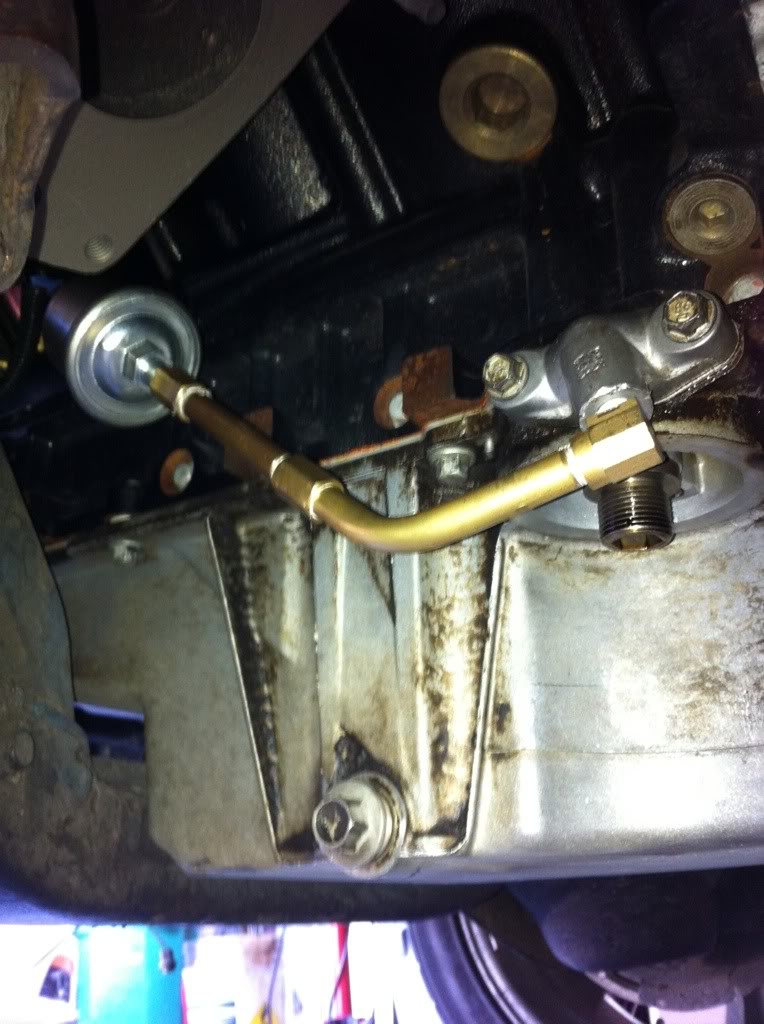
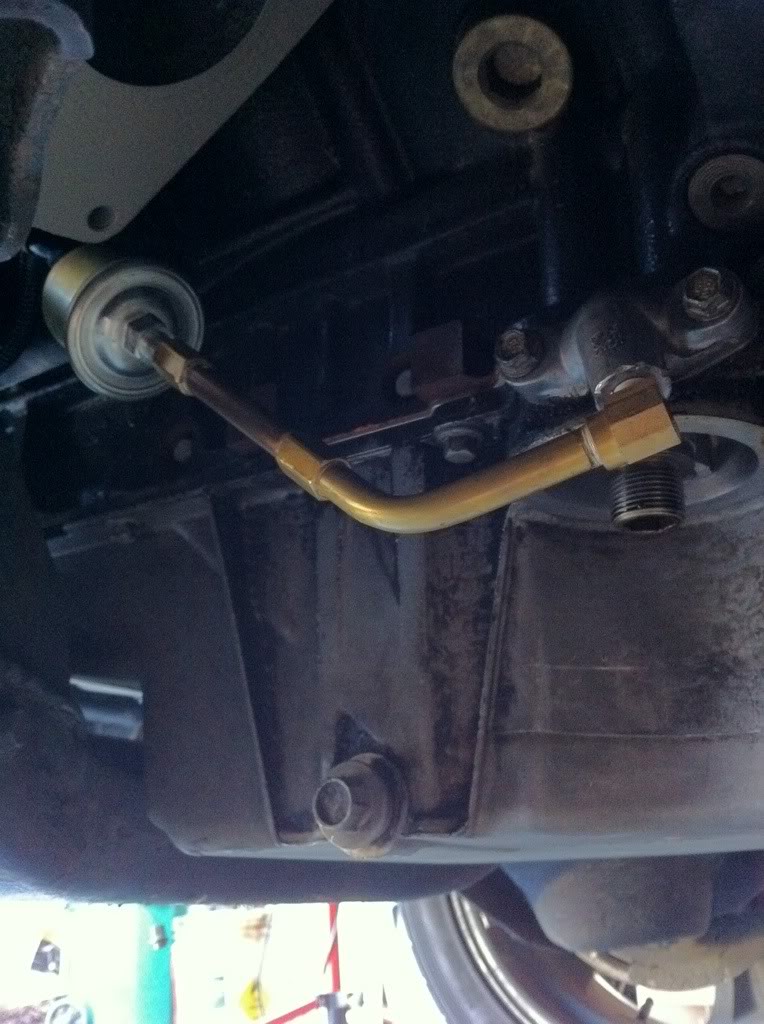
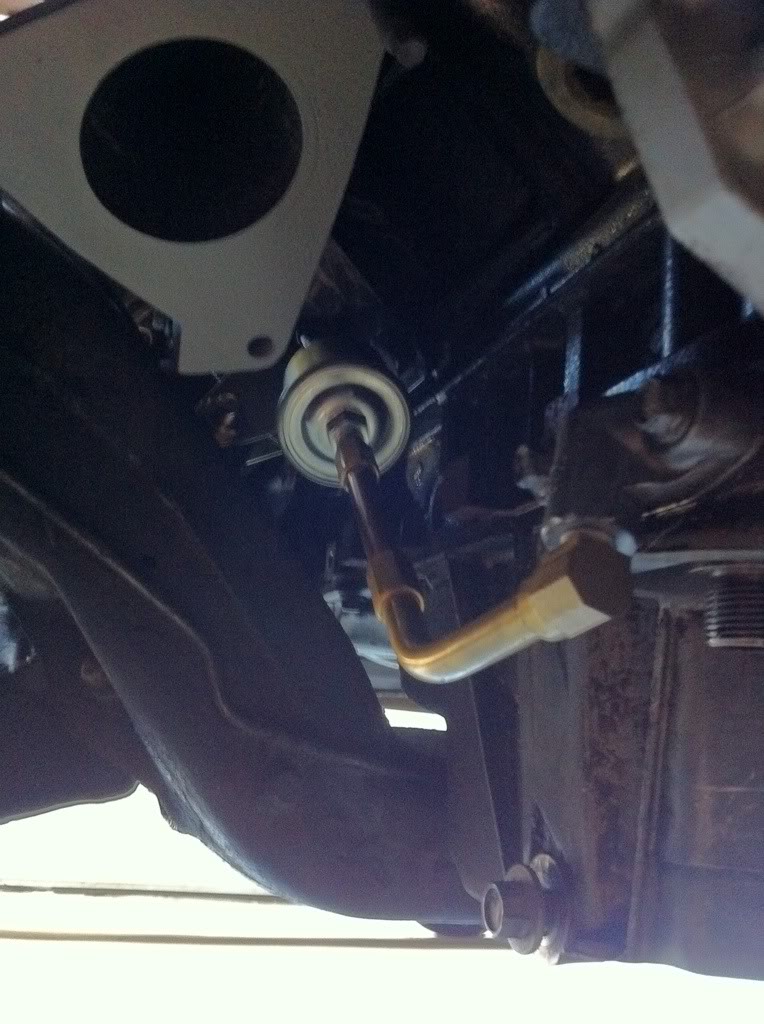
put the drivers side manifold on to discover that the oil pressure sending unit lines up just perfect with one of the bolts in the manifold. So I had to do a little fabricating and made an extension to move the sending unit toward the front of the car on the other side of the manifold but of course I didn't get pics after I was done 
***EDIT***
here is what I ended up doing to fix this issue.. its not the prettiest but no one will ever see it
and made an extension to move the sending unit toward the front of the car on the other side of the manifold but of course I didn't get pics after I was done ***EDIT***
here is what I ended up doing to fix this issue.. its not the prettiest but no one will ever see it
Last edited by 2165 Turbo Rail; 02-05-2011 at 09:55 AM.
01-07-2011, 08:52 PM
#79
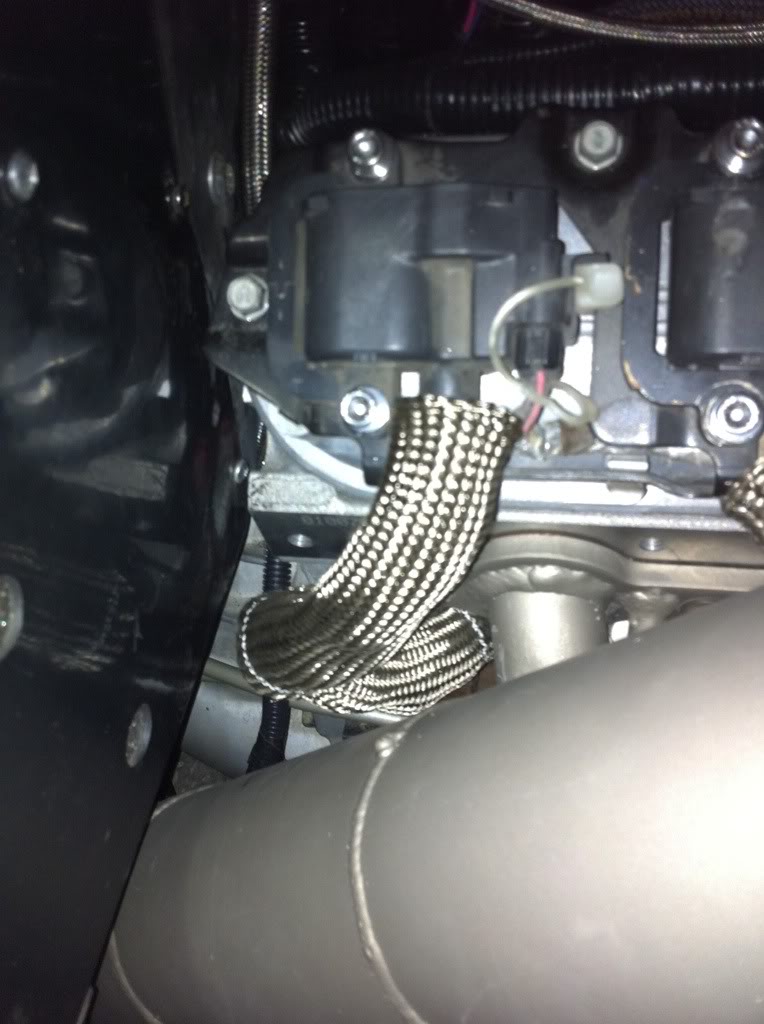
the wires were a little close to ... EVERYTHING... on the pass. side with the turbo set up. I had ordered 8 of the lava plug wire boots but ended up using 2 on each of the pass. side wires so that the wires are 100% covered from the head all the way to the coils
This pic is from the front of the motor
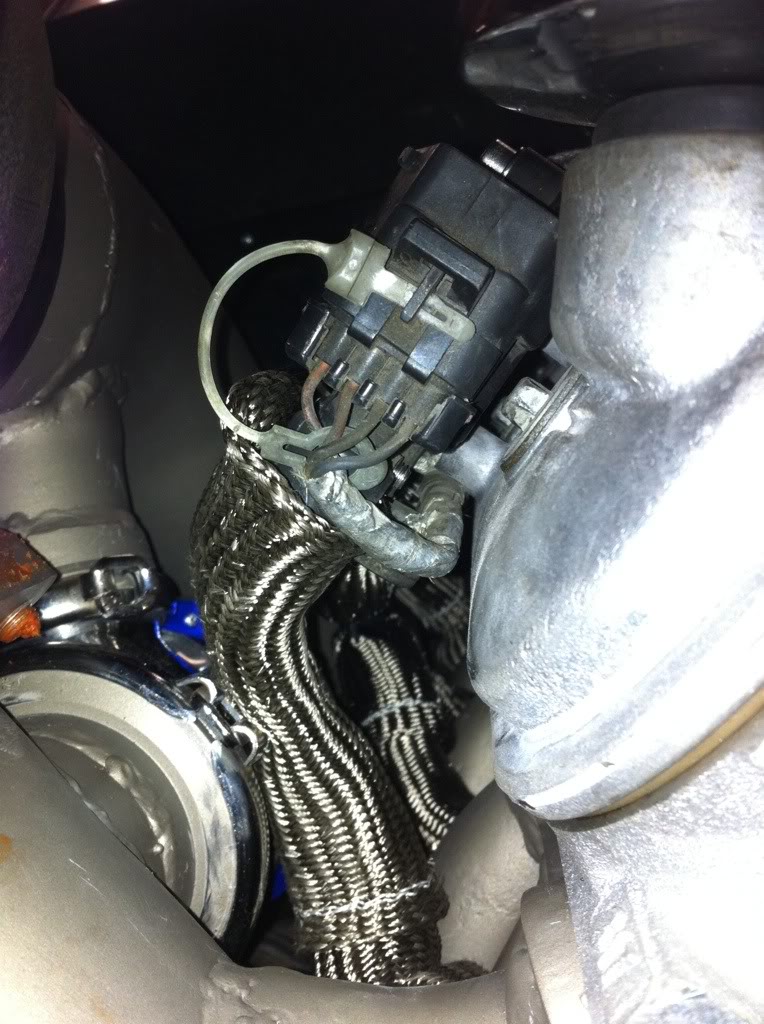
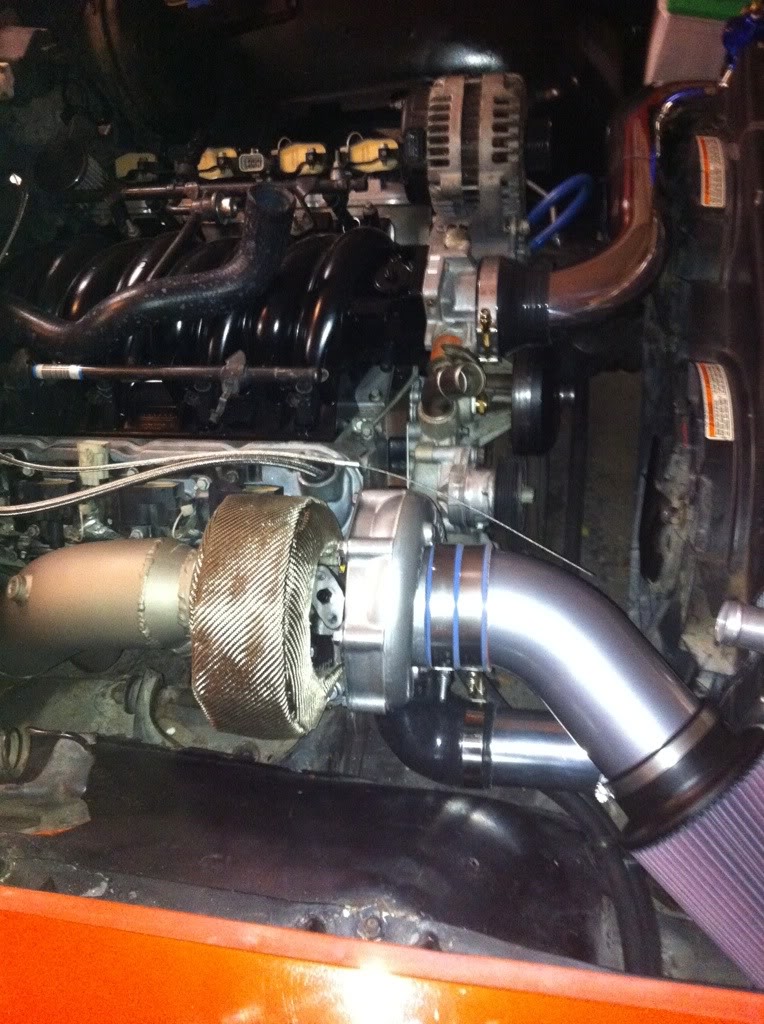
this is from the top

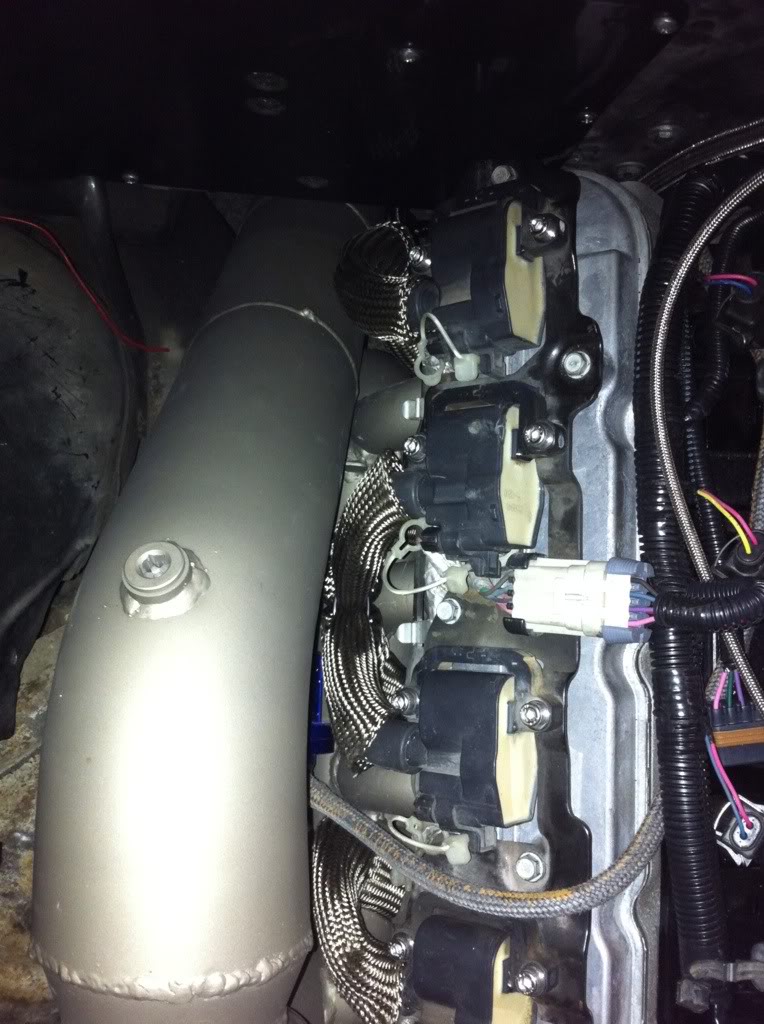
This pic is from the front of the motor
this is from the top
01-10-2011, 11:37 PM
#80
we got a little more done tonight. We got the old rear end out. Then started putting in the fuel system. we just need to put the 90* fitting on the pre-filter to the tank and wire up the pump and it'll be done finally.
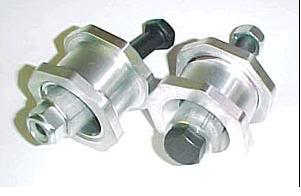
Then we will start putting the other rear end in. Today I bought the Wolfe upper control arm bushings
I also got the rear control arms
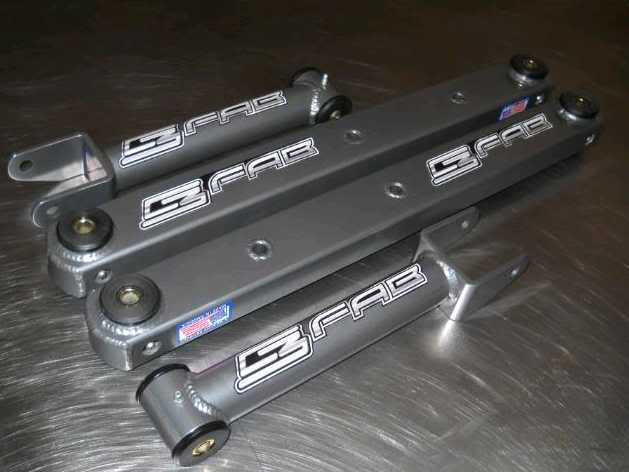
and I ordered some tubular upper and lower control arms for the front
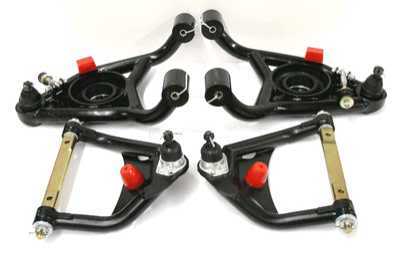
Then we will start putting the other rear end in. Today I bought the Wolfe upper control arm bushings
I also got the rear control arms
and I ordered some tubular upper and lower control arms for the front