
***3/11/13 Update*** Project Xtreme Boost! '02 Xtreme Blazer, Single Turbo 5.3
 07-06-2012, 10:27 PM
#1
TECH Fanatic
Thread Starter
iTrader: (16)
Join Date: Dec 2005
Location: Alvarado, Texas
Posts: 1,299
Likes: 0
Received 0 Likes
on
0 Posts

Well the past few months I have been debating on either building a pretty much full race twin or single turbo s10 or a stout little street truck. I recently finished a 5.3 Swap in a 01 S10 for a friend so I am VERY familiar with what fits and what doesn't, LOL.
Here's what I have decided on, a 2002 Xtreme Blazer. I really wanted the extra seating so the whole family could go cruising to car shows or whatever together. I buddy of mine happen to be selling his 2002 Xtreme, 102k miles on the clock, clean as a whistle, runs perfect.
Here is a run down of all the parts I am using and what my goals are.
This will be a fully capable daily driver that retains A/C and all creature comforts. Stock appearance outside. I'll be tuning myself using HPTuners, SD tune. Stock 5.3 wiring harness will be mated to stock harness so all factory gauges will work as if it came from GM this way.
I am building the turbo kit in my garage from the Turbo headers to the charge piping. This will give you guys on the fence about building your own turbo kit that it is fairly easy to build without a bunch of special high end crap. Battery will be relocated to the back to make room for the turbo. This will be a front mounted turbo. Drivers side header log will be forward facing, hugged close against the block, below the timing cover, under the right front frame rail then up thru the factory battery location. Pass header will be routed forward facing, right above the heater hoses on water pump, snaked around and mated to drivers side into a T4 flange to turbo. Downpipe will be 3", routed below the coolant resevoir on the pass side, above the upper control arm then routed down the pass frame rail dumped by the pass rear tire. Cold side will be 3" Stainless strait from the turbo to throttle body, no intercooler for now as I only plan on running 9-12psi.
My budget it $5000 total which includes the purchase of the Blazer (I got a great deal on it).
Below if the basic crap I have so far...
2005 5.3 83k Miles $550
2003 PCM and Wiring Harness (Cable Driven) $100
HPTuners $500
Stock 4L60E (For now to get it running, then going TH400) $0
Stock LS1 Intake Manifold $0
Stock Thottle Body $0
Used 60lb Injectors $250
Used Hummer H3 Pan $100
Trans Dapt Engine Mount Kit $75
Used 224 Cam (115) $200
Used Comp 918's $75
Used HD Pushrods $60
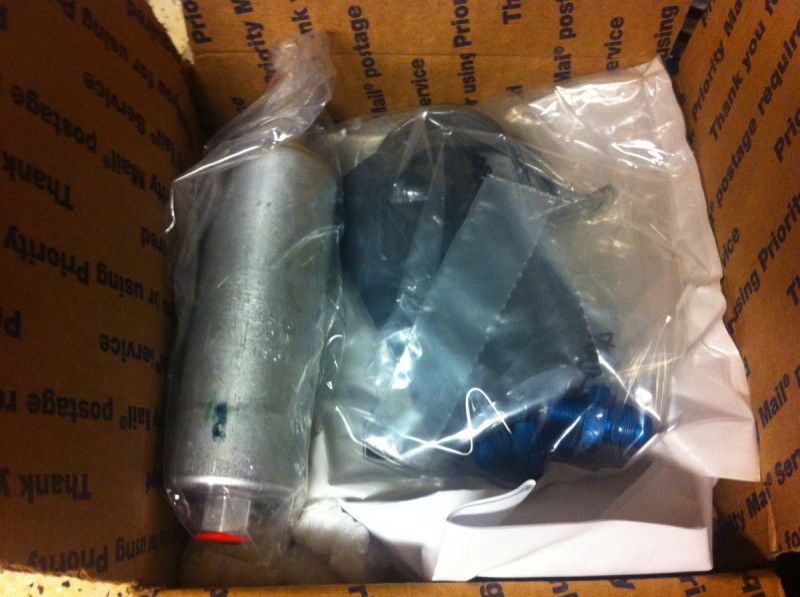
Stock Fuel Pump with addition to In-Line Walbro 255 $109
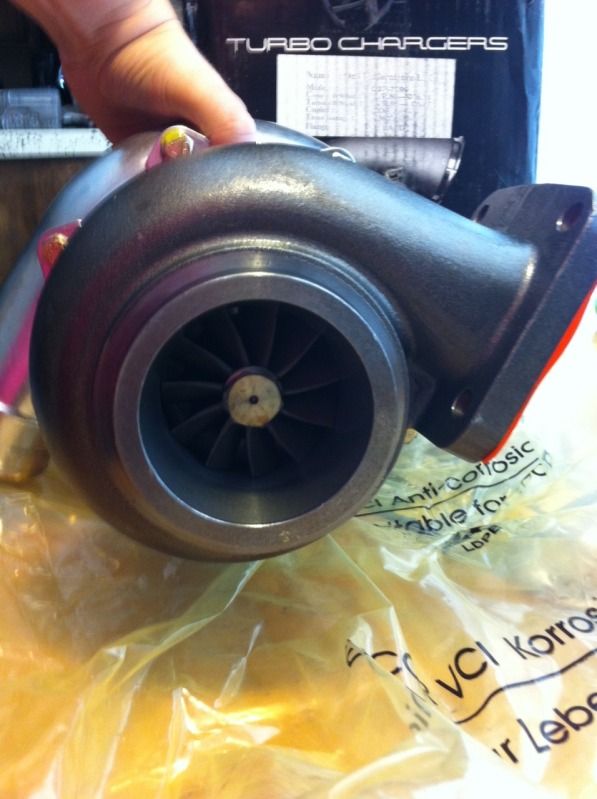
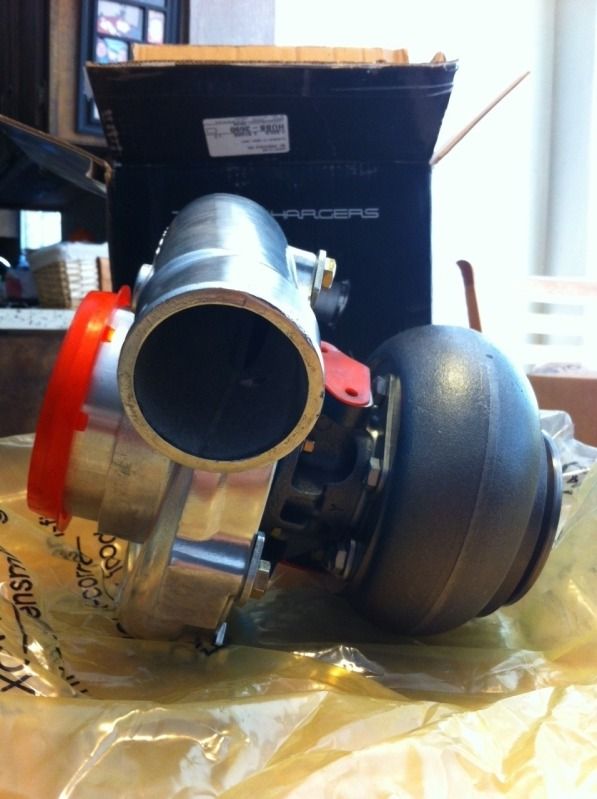
ON 3 76mm Turbo $360
EMUSA 38mm Wastegate $75
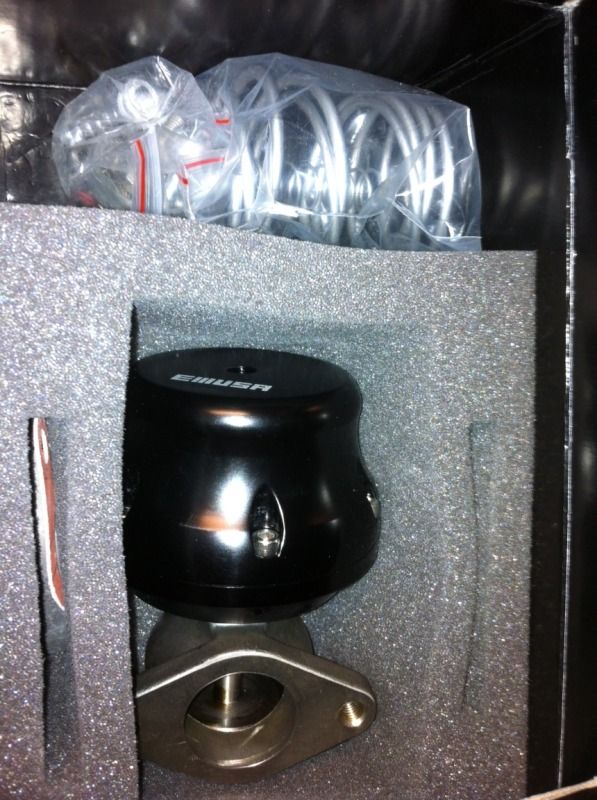
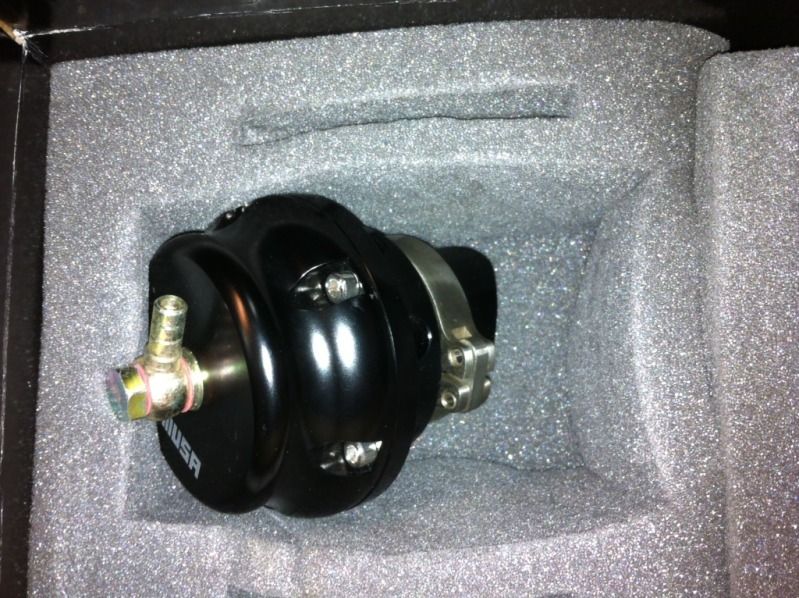
EMUSA 50mm B/O $65
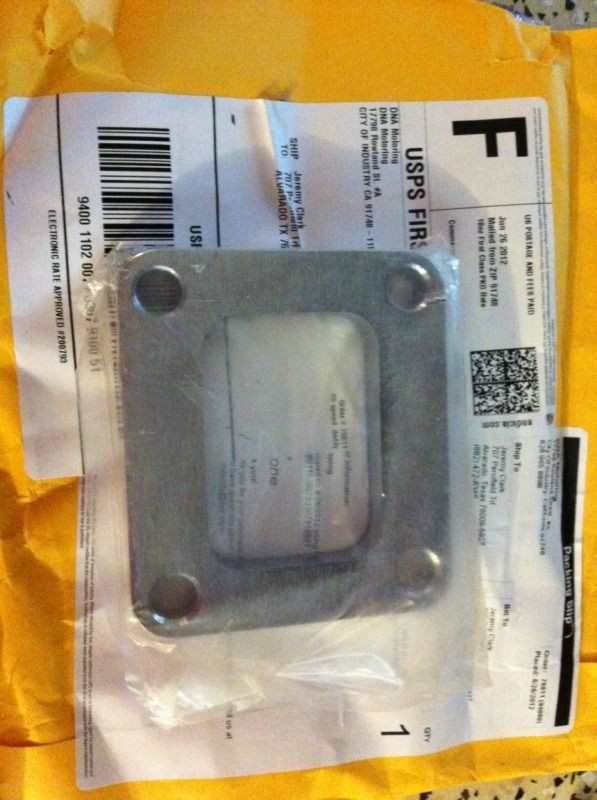
T4 Flange $17
Oil Feed Line to Turbo ($50)
Oil Drain Tube and Fitting ($30)
1/2" LS1 Header Flanges (2" Primary) $60
(4) 2" Mild Steel U-Bends $50
Misc 2.5" and 3" Mild Steel U, J, and Strait Pipes ($120)
Misc 3" Stainless Steel Bends ($75)
Stock Radiator $0
Dual Low Profile Fans with Aluminum Shroud $150
TRG Plugs and New Wires ($80)
Synthetic Oil and Filter ($35)
Prob some other stuff I am missing, I'll update it as I remember.
Plenty of pics showing step by step progress. Will keep this updated requently. Plan on driving it within a month. I am super excited about this build and think its gonna be a ton of fun to cruise around!
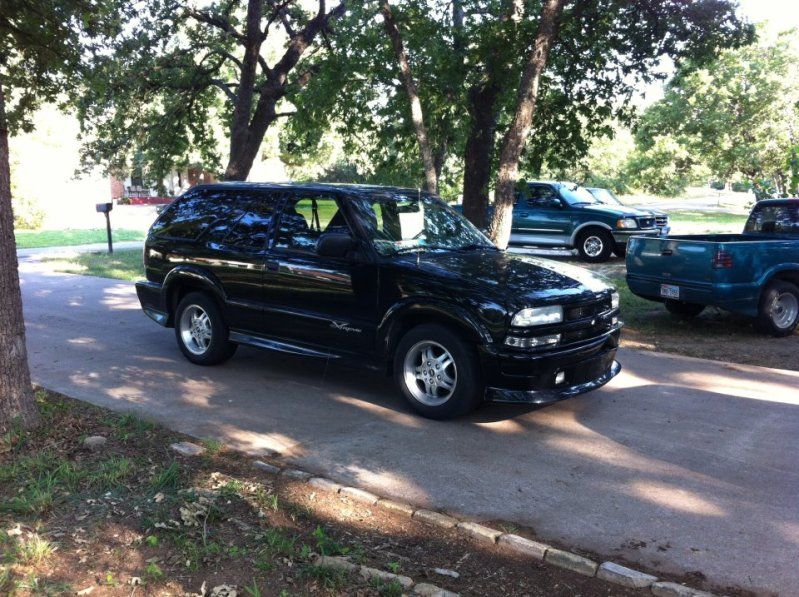
Stock as can be!
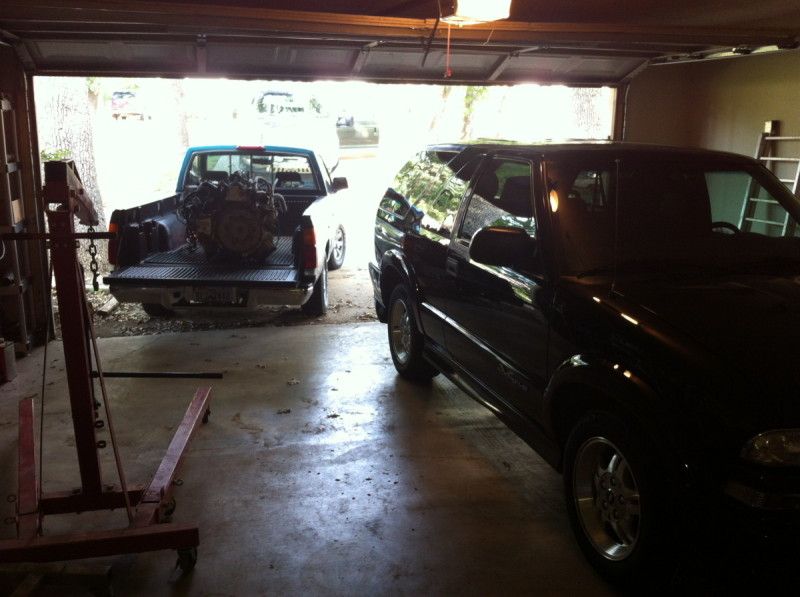
Unloading 5.3
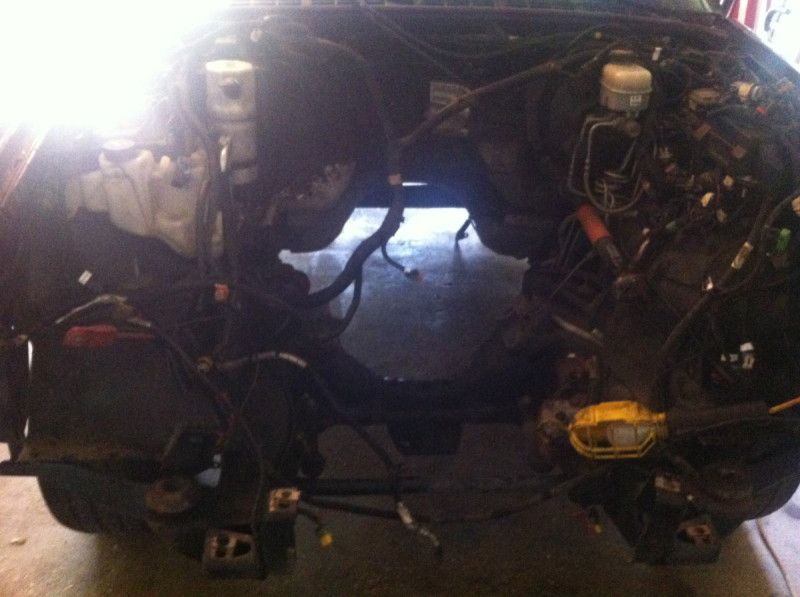
Pulling the V6
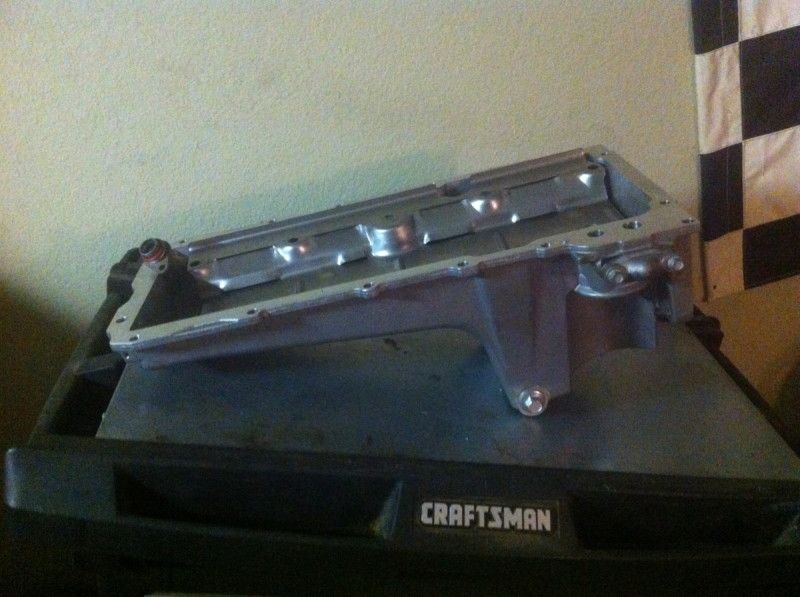
H3 Pan

5.3 All Cleaned Up
Getting it ready to drop in
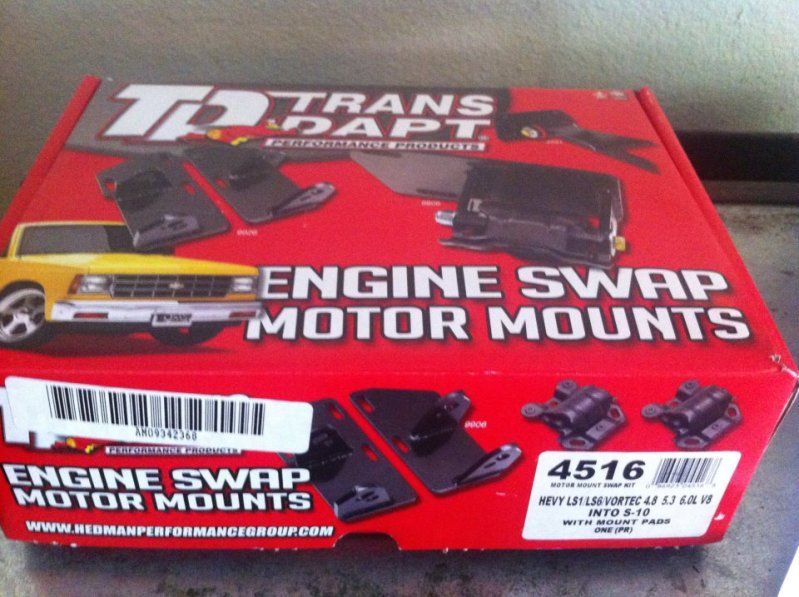
Mounts Used, fit like a glove!
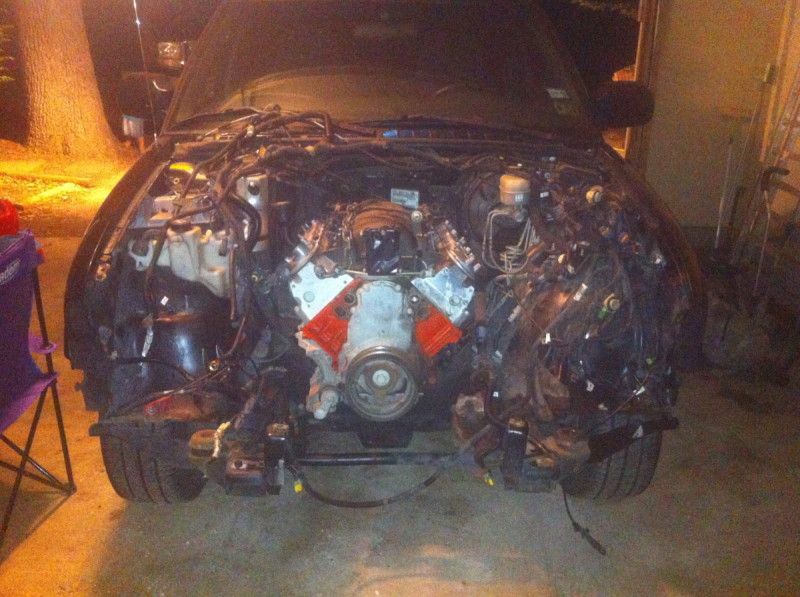
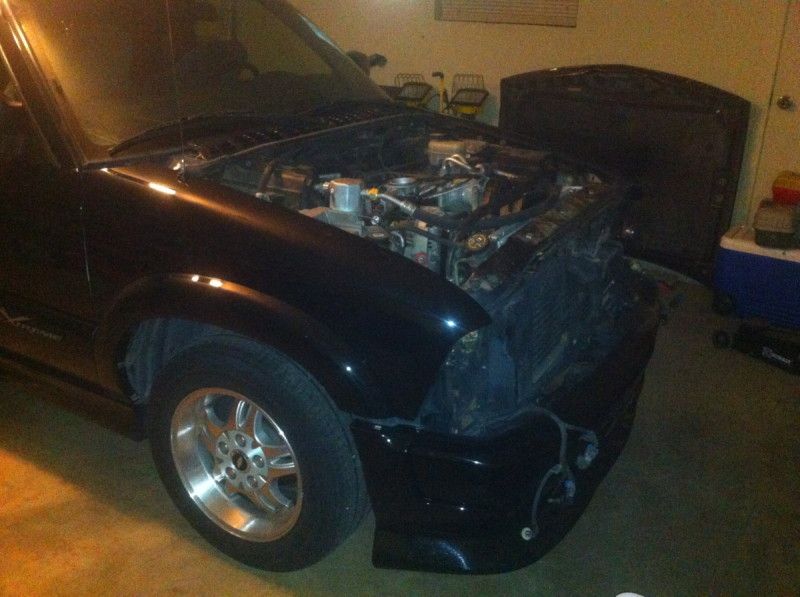
5.3 Resting in place!
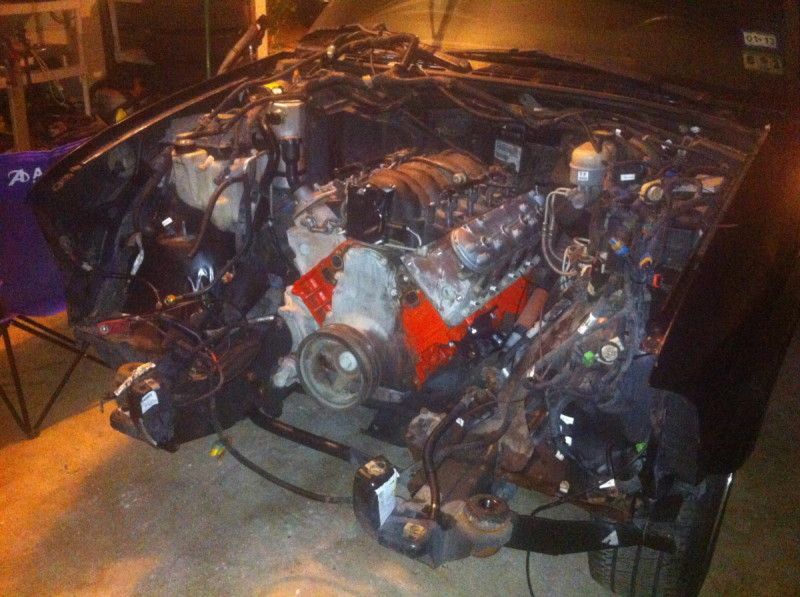
Sure looks good in there
Here's what I have decided on, a 2002 Xtreme Blazer. I really wanted the extra seating so the whole family could go cruising to car shows or whatever together. I buddy of mine happen to be selling his 2002 Xtreme, 102k miles on the clock, clean as a whistle, runs perfect.
Here is a run down of all the parts I am using and what my goals are.
This will be a fully capable daily driver that retains A/C and all creature comforts. Stock appearance outside. I'll be tuning myself using HPTuners, SD tune. Stock 5.3 wiring harness will be mated to stock harness so all factory gauges will work as if it came from GM this way.
I am building the turbo kit in my garage from the Turbo headers to the charge piping. This will give you guys on the fence about building your own turbo kit that it is fairly easy to build without a bunch of special high end crap. Battery will be relocated to the back to make room for the turbo. This will be a front mounted turbo. Drivers side header log will be forward facing, hugged close against the block, below the timing cover, under the right front frame rail then up thru the factory battery location. Pass header will be routed forward facing, right above the heater hoses on water pump, snaked around and mated to drivers side into a T4 flange to turbo. Downpipe will be 3", routed below the coolant resevoir on the pass side, above the upper control arm then routed down the pass frame rail dumped by the pass rear tire. Cold side will be 3" Stainless strait from the turbo to throttle body, no intercooler for now as I only plan on running 9-12psi.
My budget it $5000 total which includes the purchase of the Blazer (I got a great deal on it).
Below if the basic crap I have so far...
2005 5.3 83k Miles $550
2003 PCM and Wiring Harness (Cable Driven) $100
HPTuners $500
Stock 4L60E (For now to get it running, then going TH400) $0
Stock LS1 Intake Manifold $0
Stock Thottle Body $0
Used 60lb Injectors $250
Used Hummer H3 Pan $100
Trans Dapt Engine Mount Kit $75
Used 224 Cam (115) $200
Used Comp 918's $75
Used HD Pushrods $60
Stock Fuel Pump with addition to In-Line Walbro 255 $109
ON 3 76mm Turbo $360
EMUSA 38mm Wastegate $75
EMUSA 50mm B/O $65
T4 Flange $17
Oil Feed Line to Turbo ($50)
Oil Drain Tube and Fitting ($30)
1/2" LS1 Header Flanges (2" Primary) $60
(4) 2" Mild Steel U-Bends $50
Misc 2.5" and 3" Mild Steel U, J, and Strait Pipes ($120)
Misc 3" Stainless Steel Bends ($75)
Stock Radiator $0
Dual Low Profile Fans with Aluminum Shroud $150
TRG Plugs and New Wires ($80)
Synthetic Oil and Filter ($35)
Prob some other stuff I am missing, I'll update it as I remember.
Plenty of pics showing step by step progress. Will keep this updated requently. Plan on driving it within a month. I am super excited about this build and think its gonna be a ton of fun to cruise around!
Stock as can be!
Unloading 5.3
Pulling the V6
H3 Pan
5.3 All Cleaned Up
Getting it ready to drop in
Mounts Used, fit like a glove!
5.3 Resting in place!
Sure looks good in there
Last edited by Vcious04; 03-12-2013 at 10:07 AM. Reason: Update


 07-06-2012, 10:38 PM
#5
TECH Fanatic
Thread Starter
iTrader: (16)
Join Date: Dec 2005
Location: Alvarado, Texas
Posts: 1,299
Likes: 0
Received 0 Likes
on
0 Posts
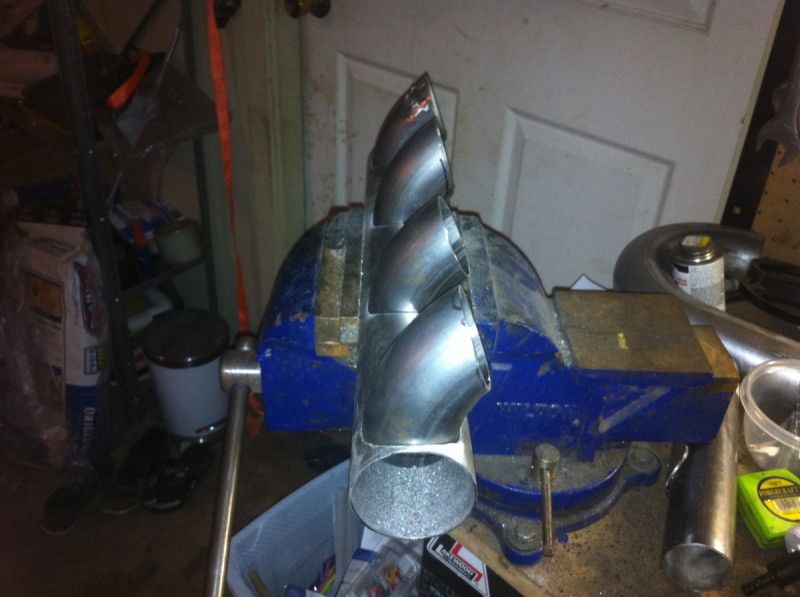
Drivers Side Tacked Together
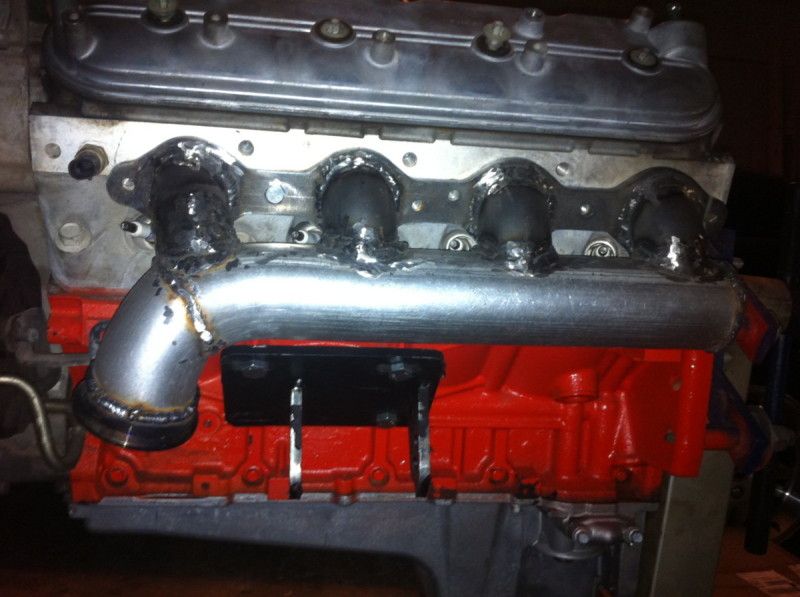
Drivers Side Fully Welded
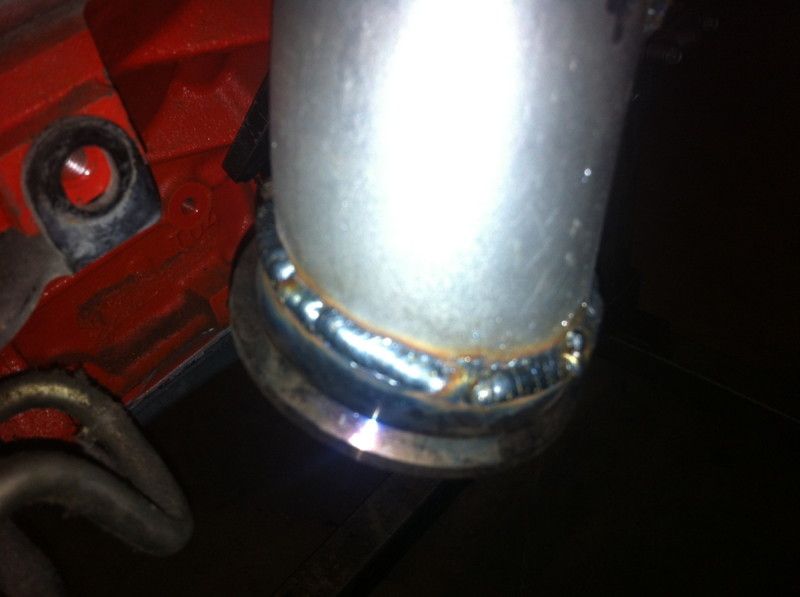
Not the greatest, I'm a little rusty but it will do, lol
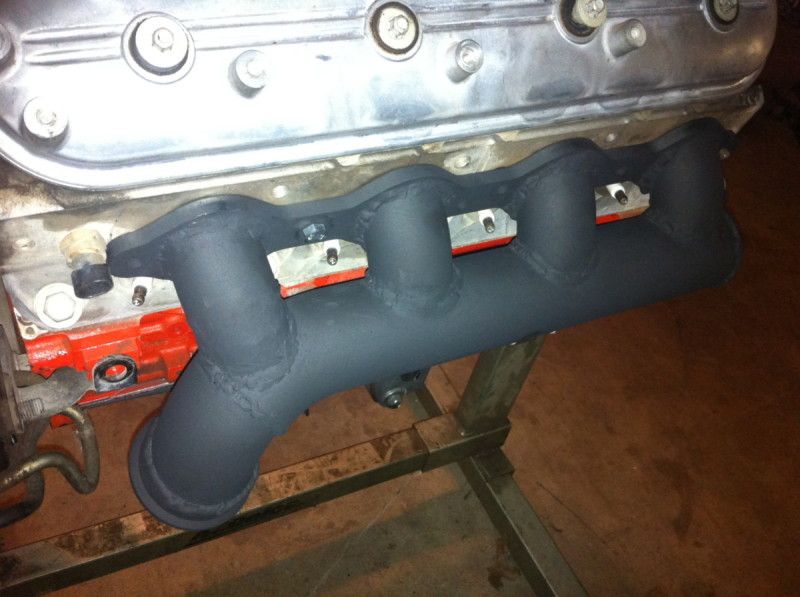
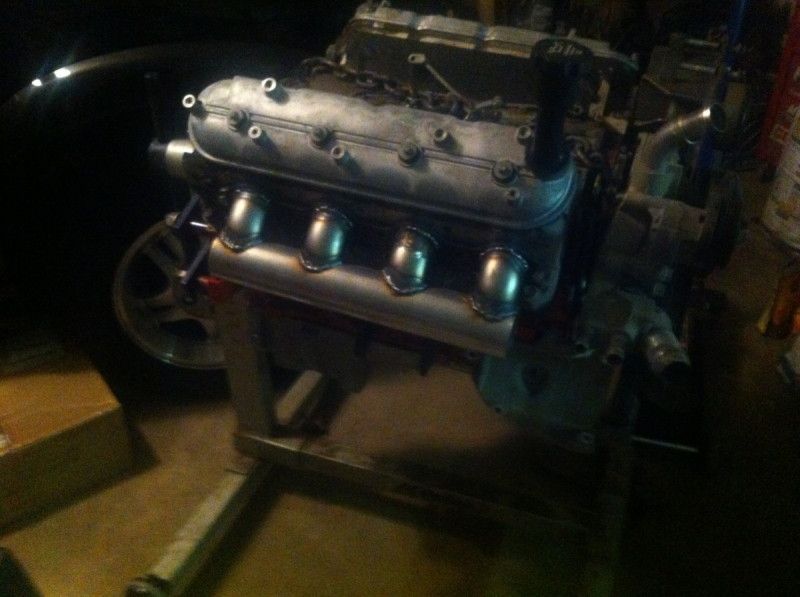
Drivers Side in Place and Coated
Another Shot
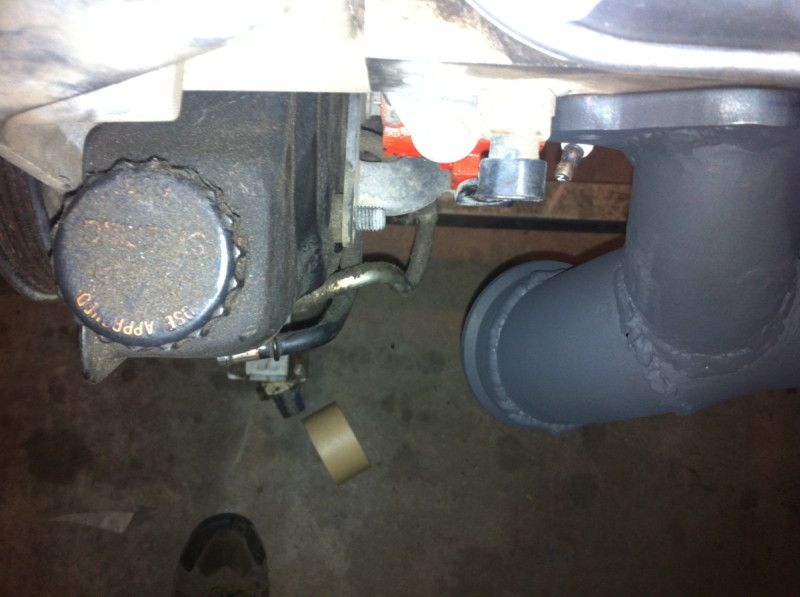
Perfect clearance betweem power steerng pump and motor mount. Steering shaft clears with NO modification.
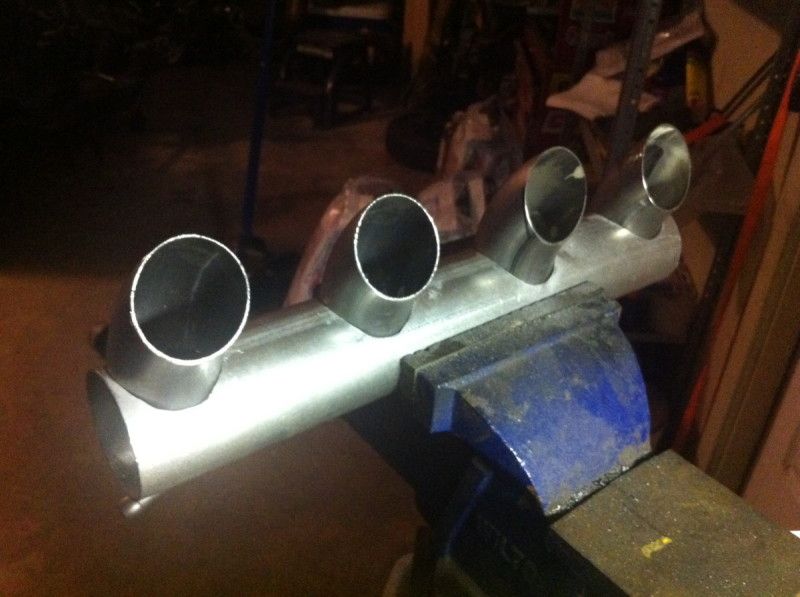
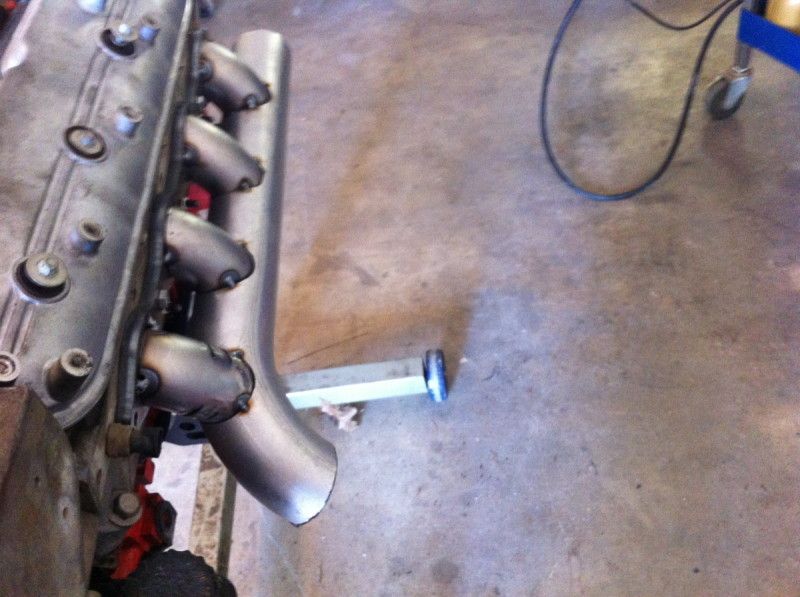
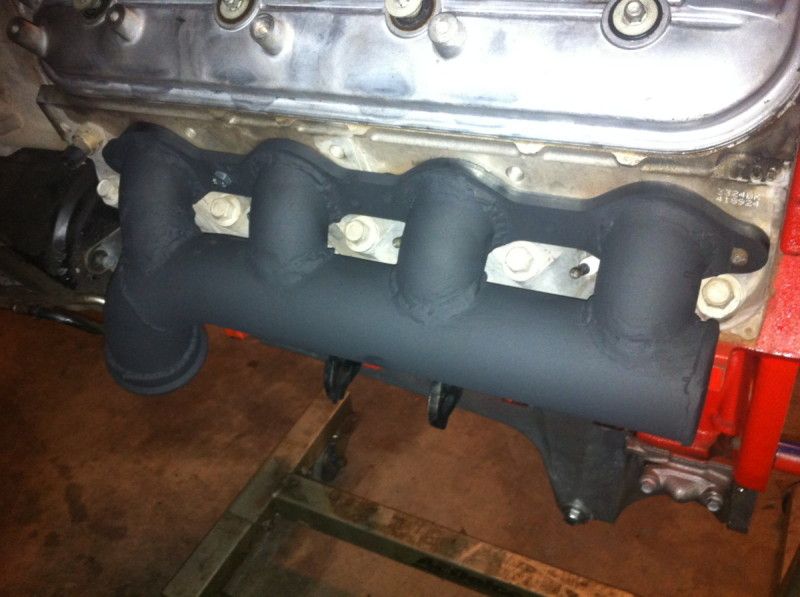
Pass side comming together, 2" Primarys on a 2.5" Log
Another shot
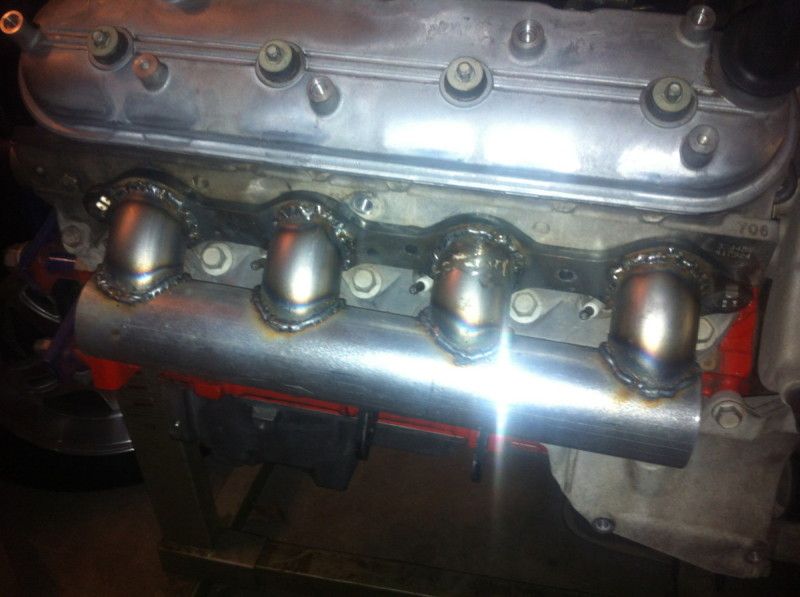
Pass side fully welded
Another shot
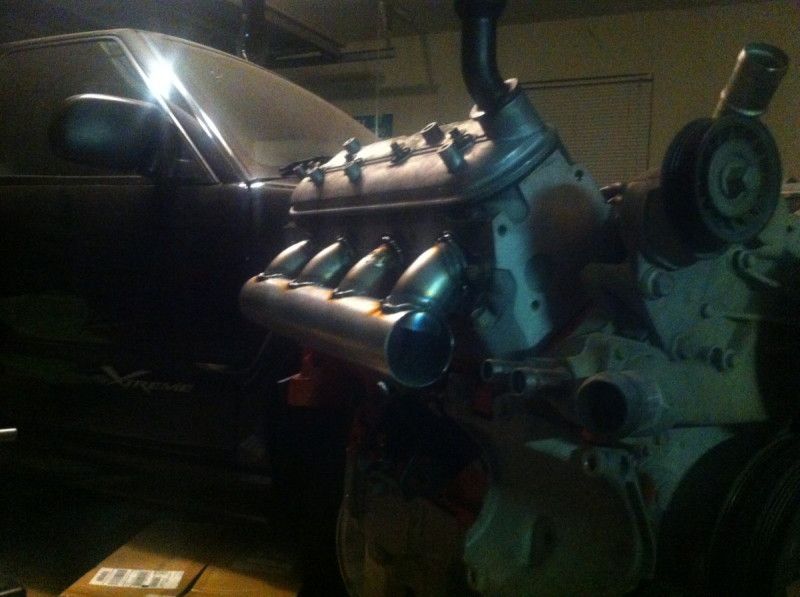
Gotta pat myself on the back, that looks plain SICK!
 07-06-2012, 10:44 PM
#6
TECH Fanatic
Thread Starter
iTrader: (16)
Join Date: Dec 2005
Location: Alvarado, Texas
Posts: 1,299
Likes: 0
Received 0 Likes
on
0 Posts
Thanks fellas!!
I'll keep posting progress with tons of pics! I am going to try to get into a magazine with this build with some kind of topic as, "See what $5k Can do for You!". I dunno, it would be cool tho
Tomarrow I will slap the motor back in and fab up the hot side.
TO BE CONTINUED!!
I'll keep posting progress with tons of pics! I am going to try to get into a magazine with this build with some kind of topic as, "See what $5k Can do for You!". I dunno, it would be cool tho
Tomarrow I will slap the motor back in and fab up the hot side.
TO BE CONTINUED!!
Trending Topics
07-08-2012, 07:37 AM
#9

VVcious
Where did you score the 1/2" header flanges? Price?
thanks,
Jim
Where did you score the 1/2" header flanges? Price?
thanks,
Jim
 07-08-2012, 09:07 PM
#12
TECH Fanatic
Thread Starter
iTrader: (16)
Join Date: Dec 2005
Location: Alvarado, Texas
Posts: 1,299
Likes: 0
Received 0 Likes
on
0 Posts
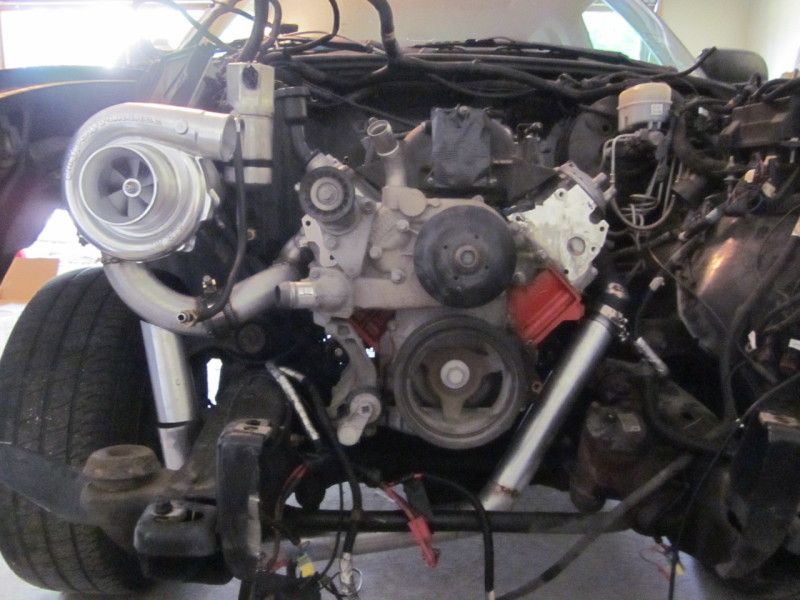
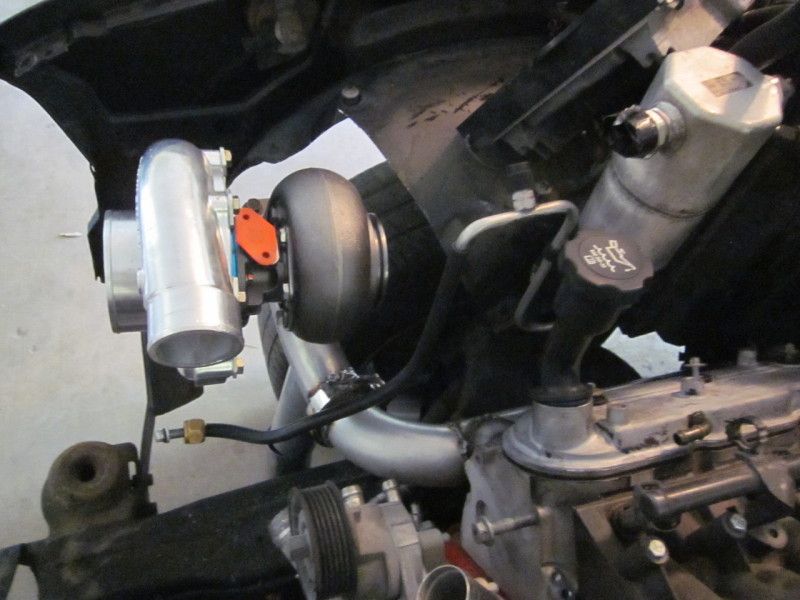
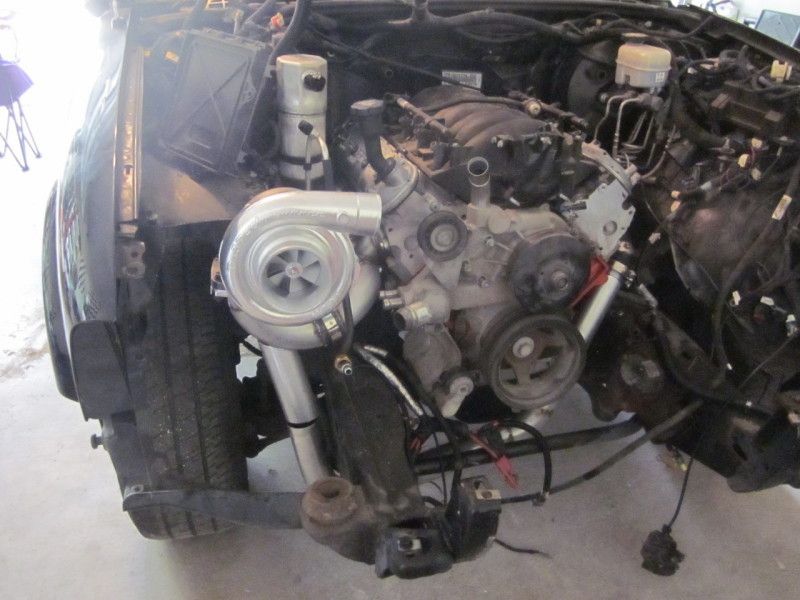
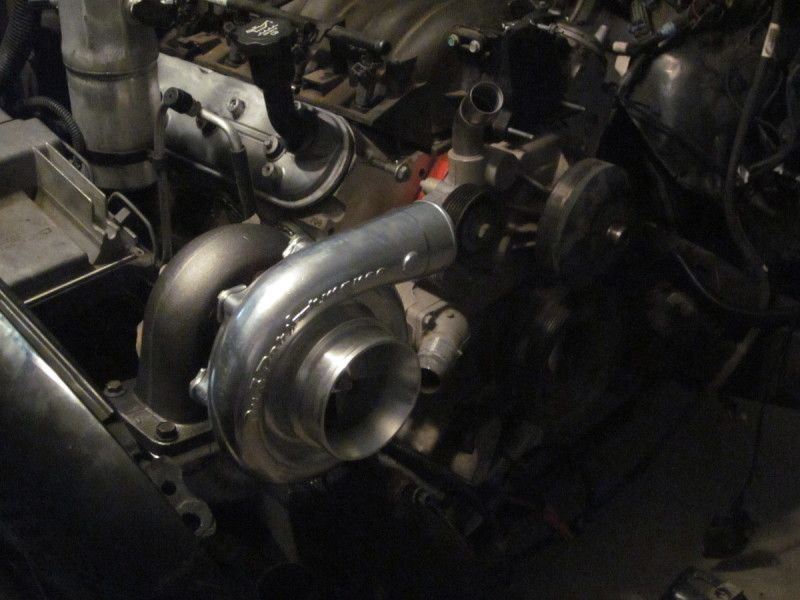
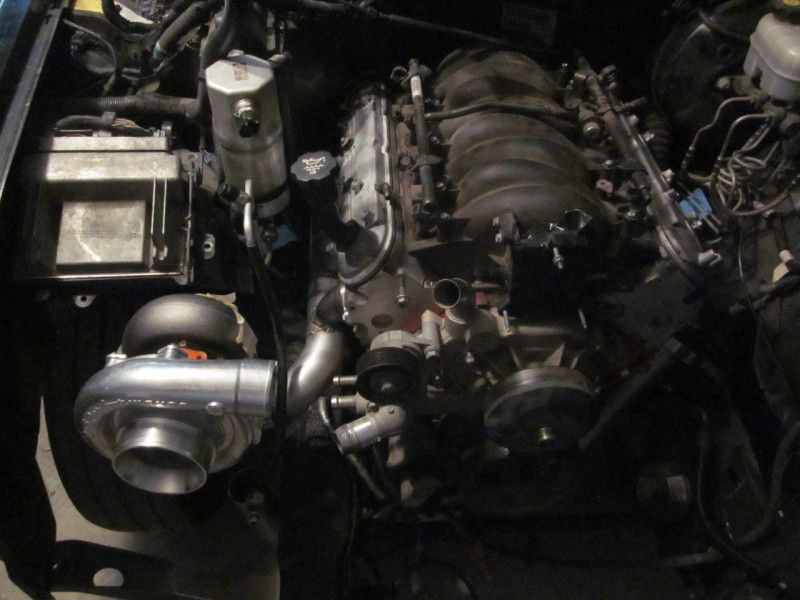
Well I got quite a bit accomplished this weekend working on it a few hours or so. Main goal this weekend was getting the turbo mounted. I did have to make a few changes tho....
Drivers side header I made had to be "massaged" on the #5 and #7 area where steering shaft goes. Once I removed everything I will re-design that a bit so it flows well. Also removed the coolant resevoir and trimmed the inner metal fender tub on the pass side to make room for the turbo and downpipe. Nothing major as I will weld the liner back in once the downpipe is completed so everything fits great without a ton of water flying in the engine bay as I will be driving this everywhere, lol.
What I did get accomplished was the hot side at about 90%. Pass side is fully welded, V-Band in place and all. Drivers side is all tacked together, ran out of time today but will be merging the drivers side to the pass side tomarrow.
Anyways I think it looks completely BADASS and couldn't be more happy with the way things are going. Pics honestly do not do justice, need to see in person to kinda take it all in.
Here's some more eye candy!! Sorry for the dark pics on some of them, flash is jacked up on my camera.
Whats do you guys think so far?
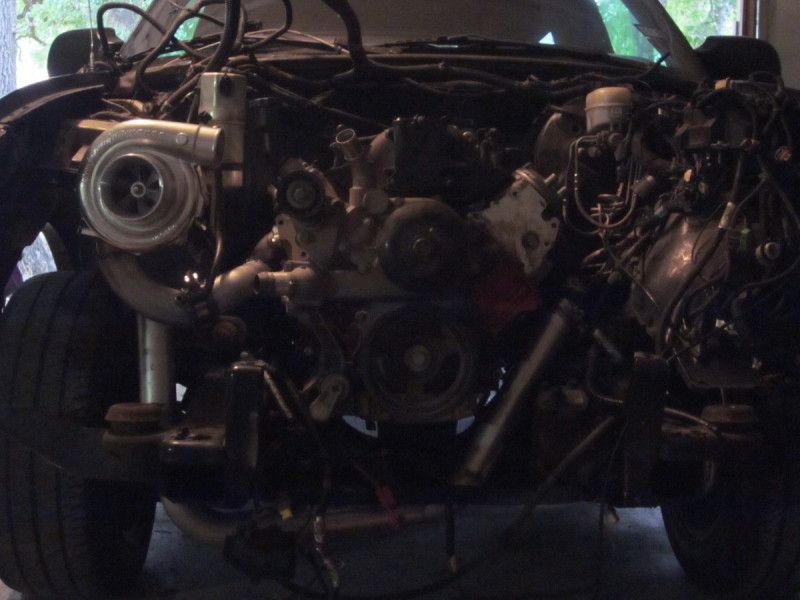
07-12-2012, 07:56 AM
#16
TECH Enthusiast
iTrader: (6)
Join Date: Jan 2012
Location: Alexandria, Ky
Posts: 541
Likes: 0
Received 0 Likes
on
0 Posts
Looking great!! I love the log manifolds (was going to do something similar at first). So is the PCM getting moved inside or ?? I only say because of the heat from the turbine side and DP.
Cool Build.
Cool Build.
07-12-2012, 08:01 AM
#17
TECH Fanatic
Thread Starter
iTrader: (16)
Join Date: Dec 2005
Location: Alvarado, Texas
Posts: 1,299
Likes: 0
Received 0 Likes
on
0 Posts
Thanks! Factory computer is staying in stock location, should be fine once DP is wrapped, which it is going to be a good distance away anyways. Truck PCM is going inside or behind drivers side headlamp.
07-12-2012, 08:07 AM
#18
TECH Apprentice
iTrader: (5)
Join Date: Jul 2011
Location: Indianapolis, IN
Posts: 390
Likes: 0
Received 0 Likes
on
0 Posts
OP, I've never done exhaust before, nor do I even know how to weld, so don't take my question as rude because I wish I could fab up my own Exhaust. But wouldn't this flow better if you got rid of the extra material from the primaries into the collector pipe? Just wondering! Looks good.
07-12-2012, 08:11 AM
#19
TECH Fanatic
Thread Starter
iTrader: (16)
Join Date: Dec 2005
Location: Alvarado, Texas
Posts: 1,299
Likes: 0
Received 0 Likes
on
0 Posts
OP, I've never done exhaust before, nor do I even know how to weld, so don't take my question as rude because I wish I could fab up my own Exhaust. But wouldn't this flow better if you got rid of the extra material from the primaries into the collector pipe? Just wondering! Looks good.
Keep the questions comming as I am always looking for advice.
07-13-2012, 09:04 AM
#20
TECH Fanatic
Thread Starter
iTrader: (16)
Join Date: Dec 2005
Location: Alvarado, Texas
Posts: 1,299
Likes: 0
Received 0 Likes
on
0 Posts
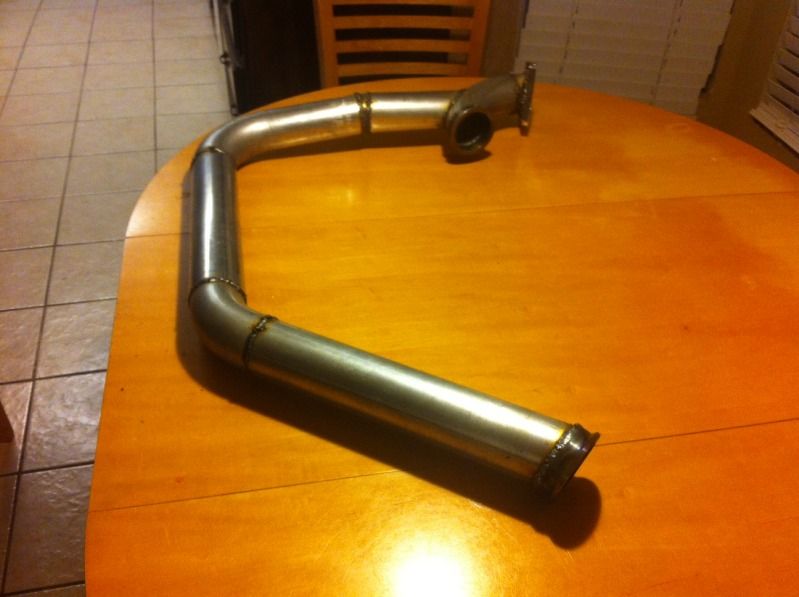
Finally had a chance to finish the hot side crossover. Merge was a little time consuming but turned out pretty good. Now I just gotta fab up the wastegate on the merge.
Few pic..
Few pic..