Conversions & Swaps LSX Engines in Non-LSX Vehicles
Sponsored by:
Sponsored by:

67 Camaro swap, project "belly button"

Thread Tools
 
Search this Thread
 
Old 05-29-2018, 11:42 AM
  #181  
TECH Addict
iTrader: (1)
 
-TheBandit-'s Avatar
 
Join Date: Apr 2010
Location: Instagram @chevyhotrodder
Posts: 2,813
Received 79 Likes on 67 Posts

Default

Woohoo! Can't tell you how happy I am to see you working on this again. The orange with black accessories is going to be awesome. Did you end up notching the frame?

What's your plan for wiring and fuel?
Old 05-30-2018, 10:26 AM
  #182  
TECH Apprentice
Thread Starter
 
MisterD's Avatar
 
Join Date: Aug 2010
Location: Sunny Sothern California
Posts: 304
Received 2 Likes on 2 Posts

Default More progress

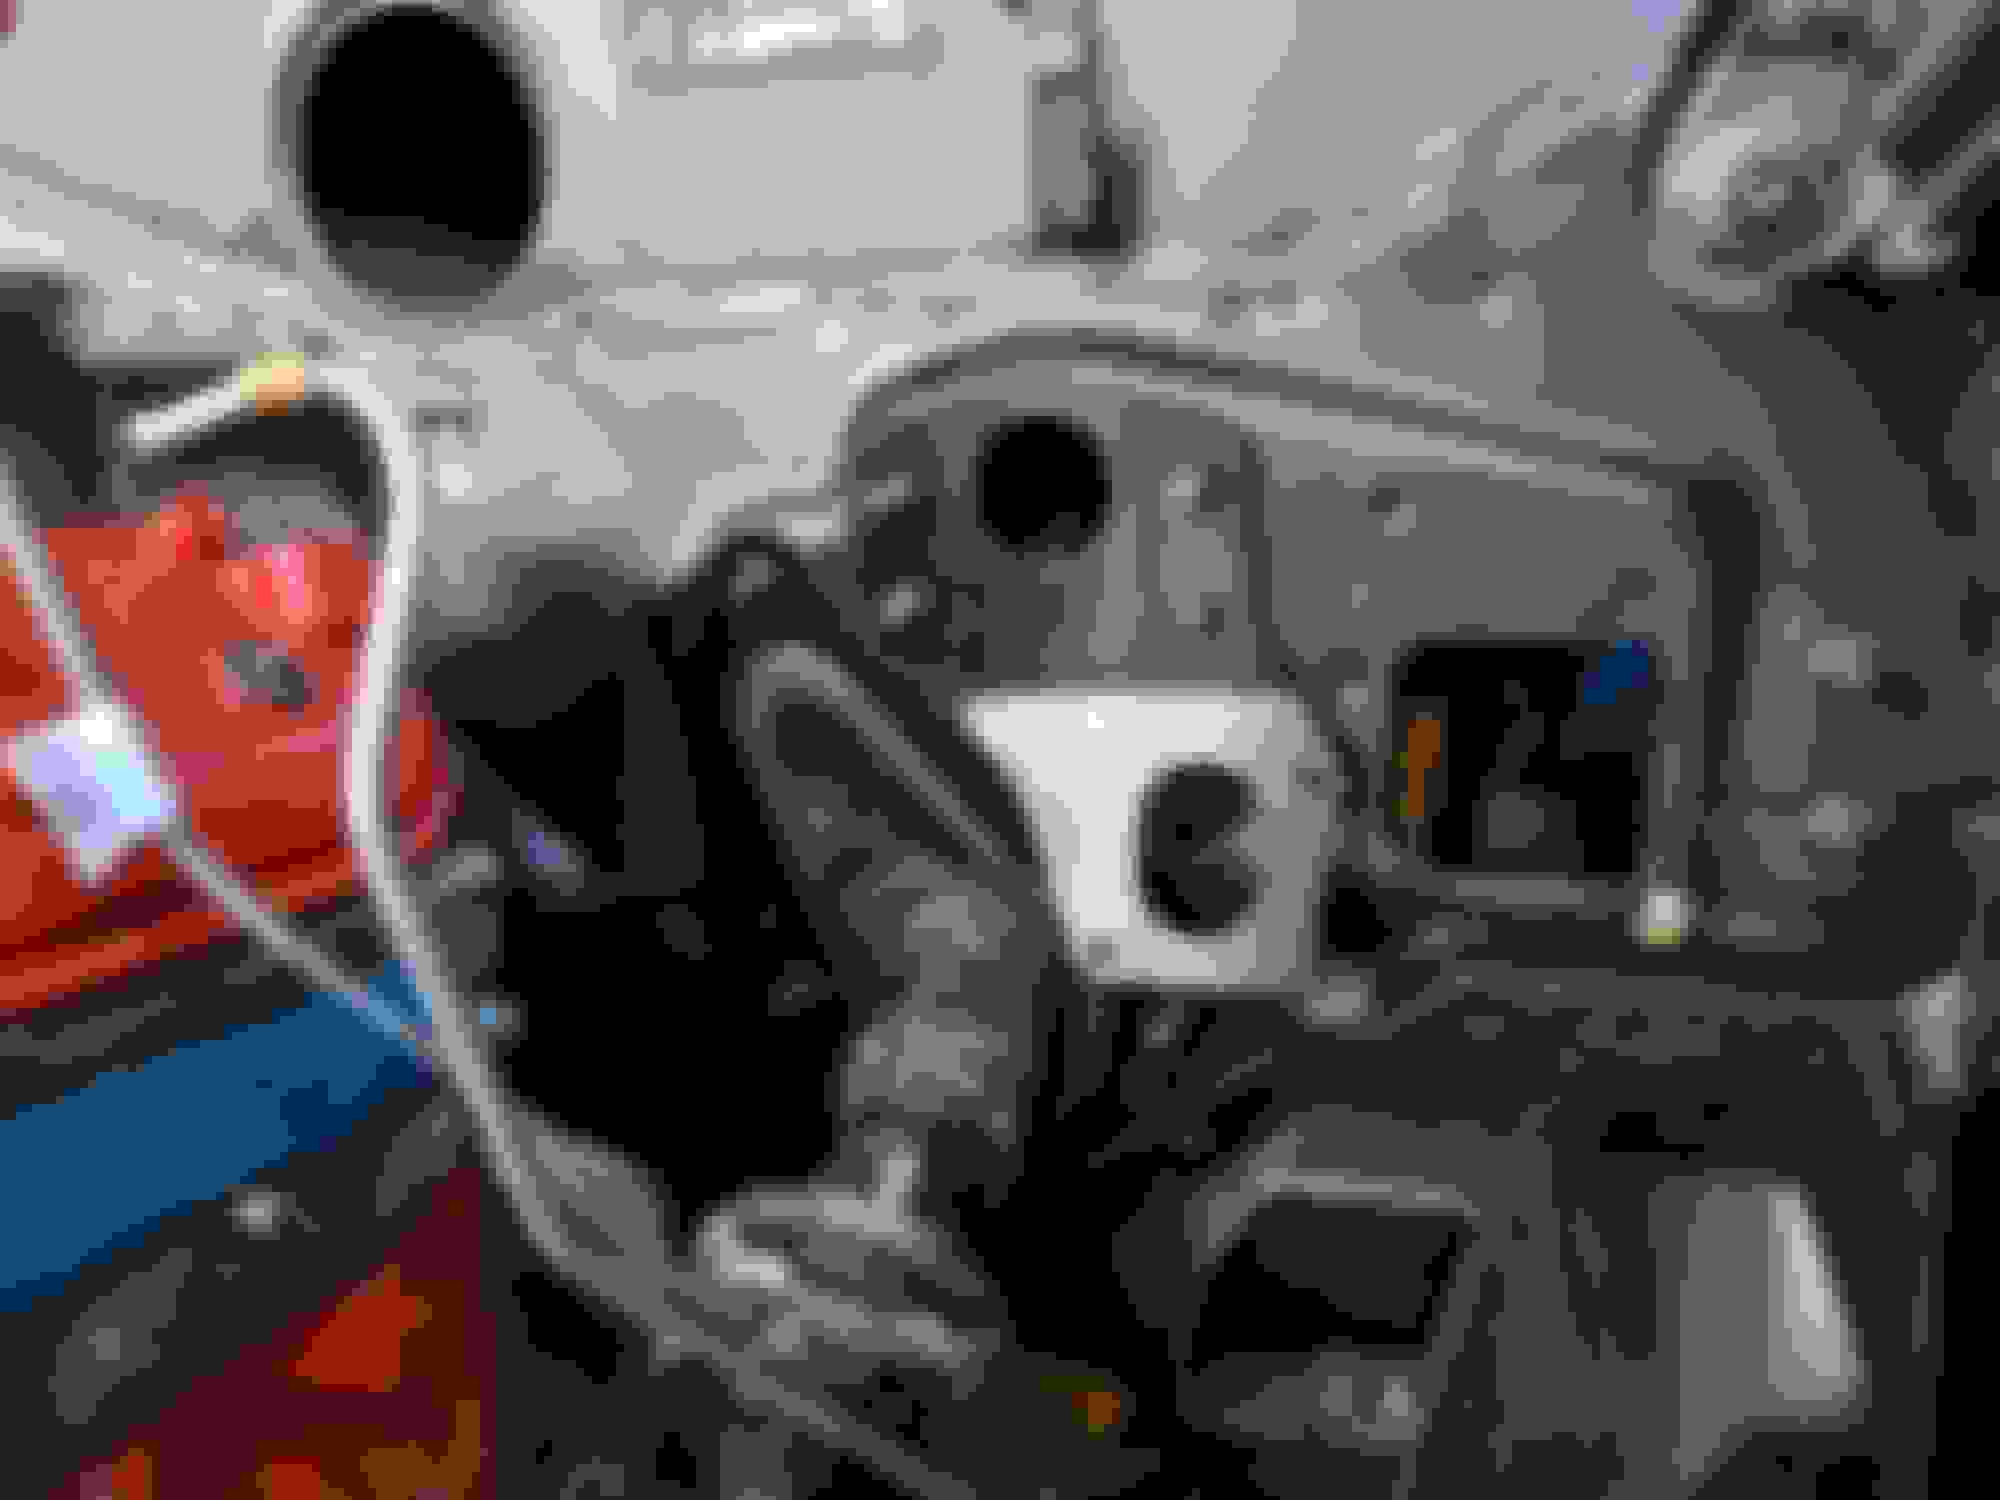
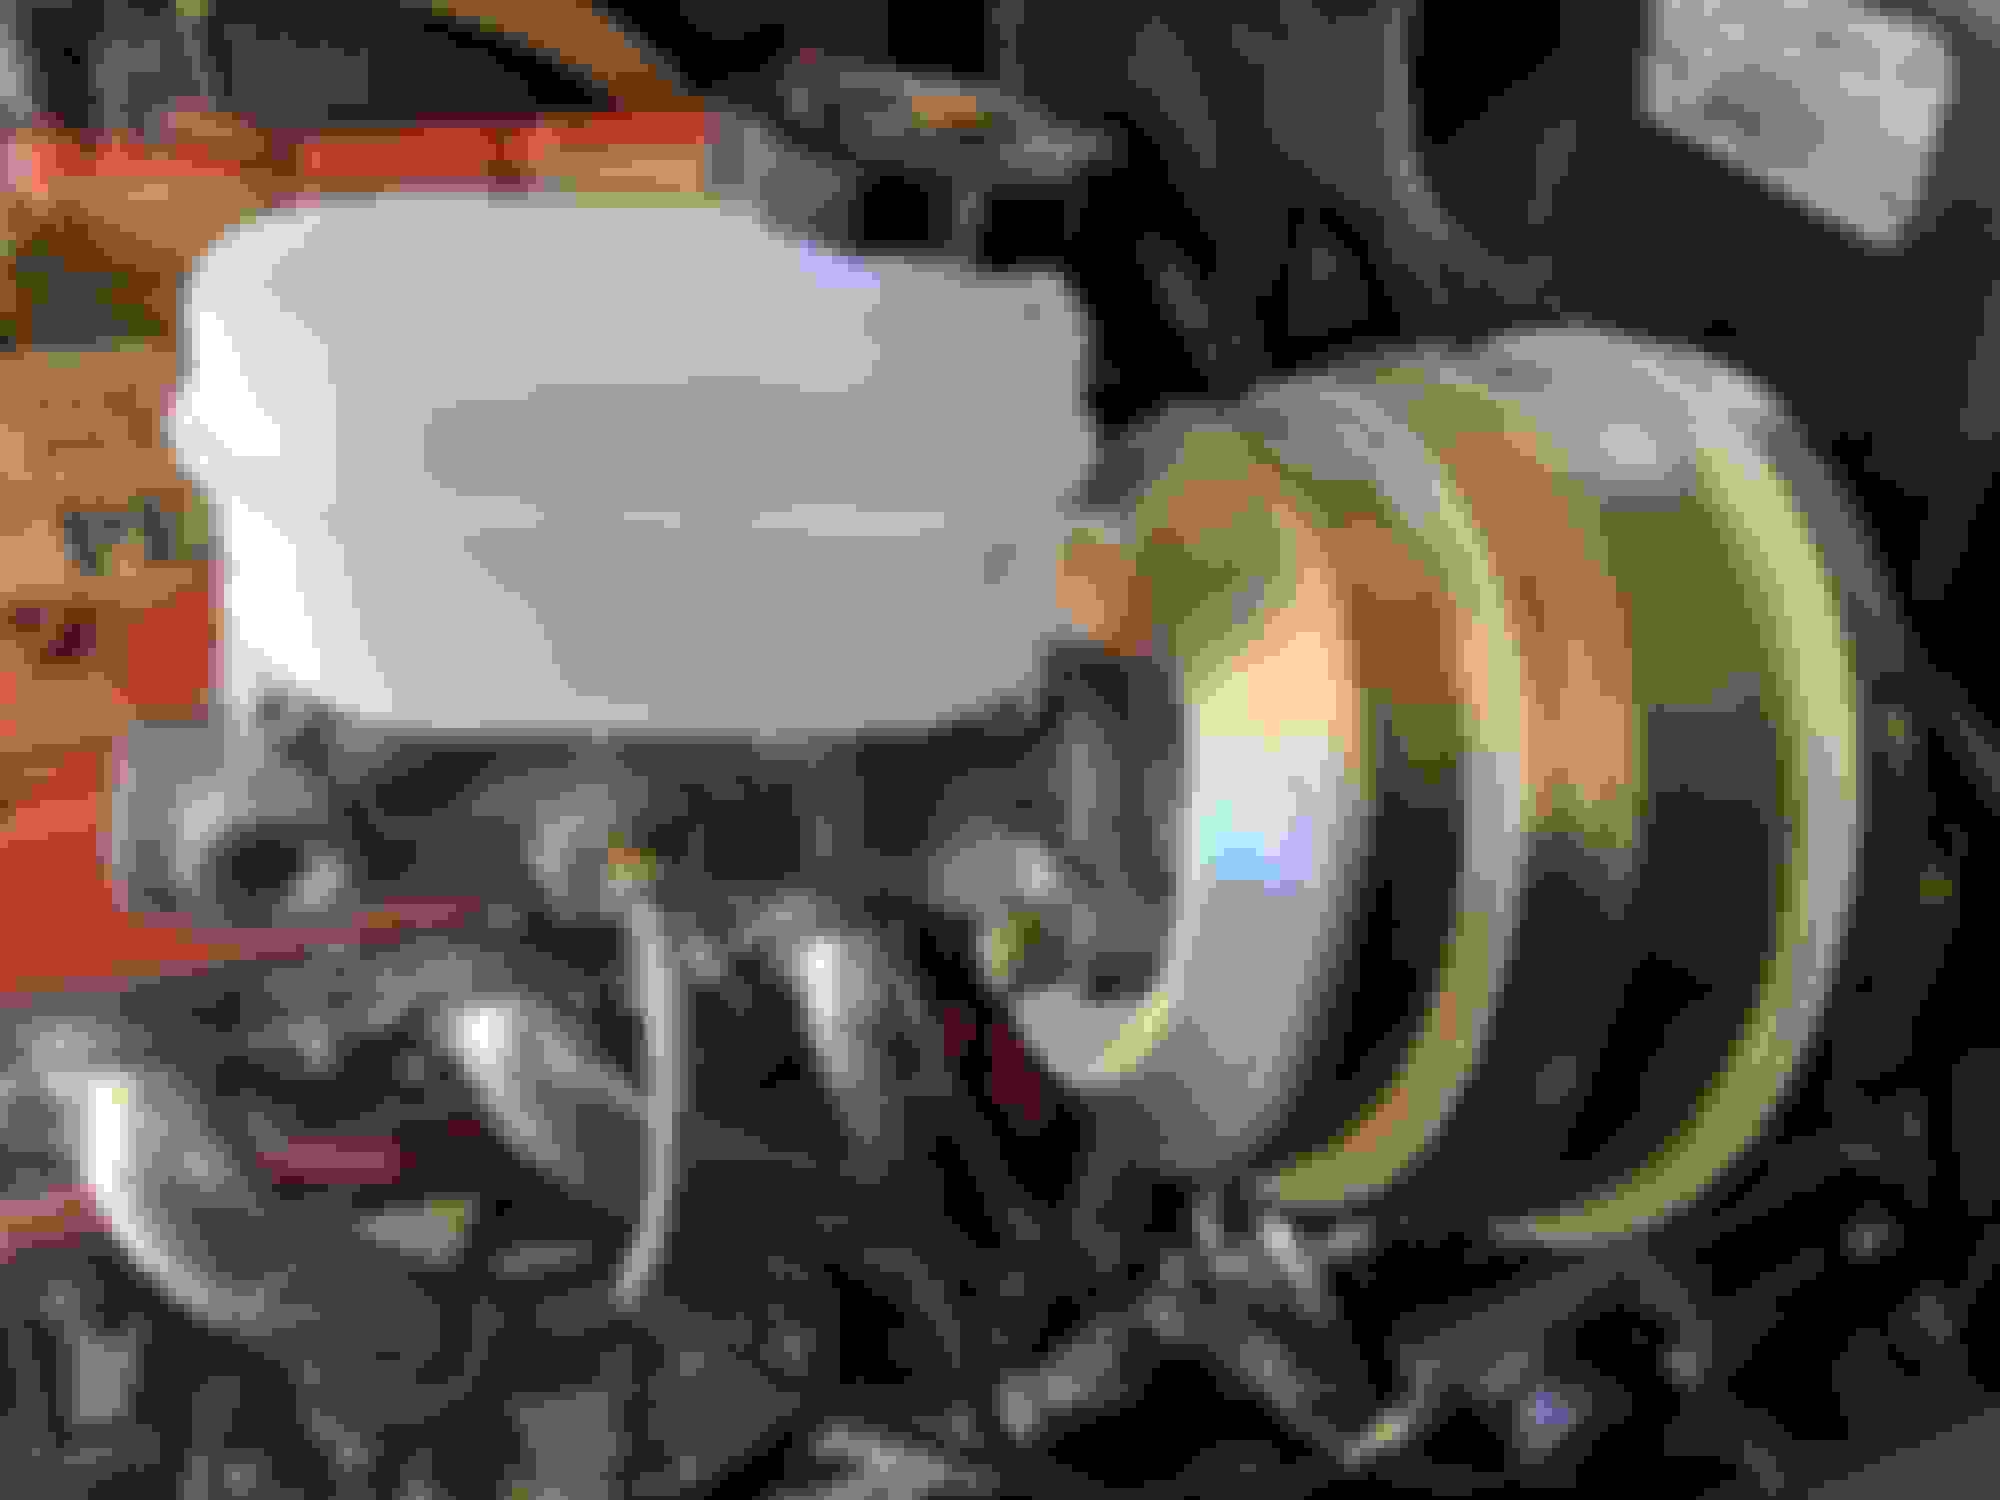
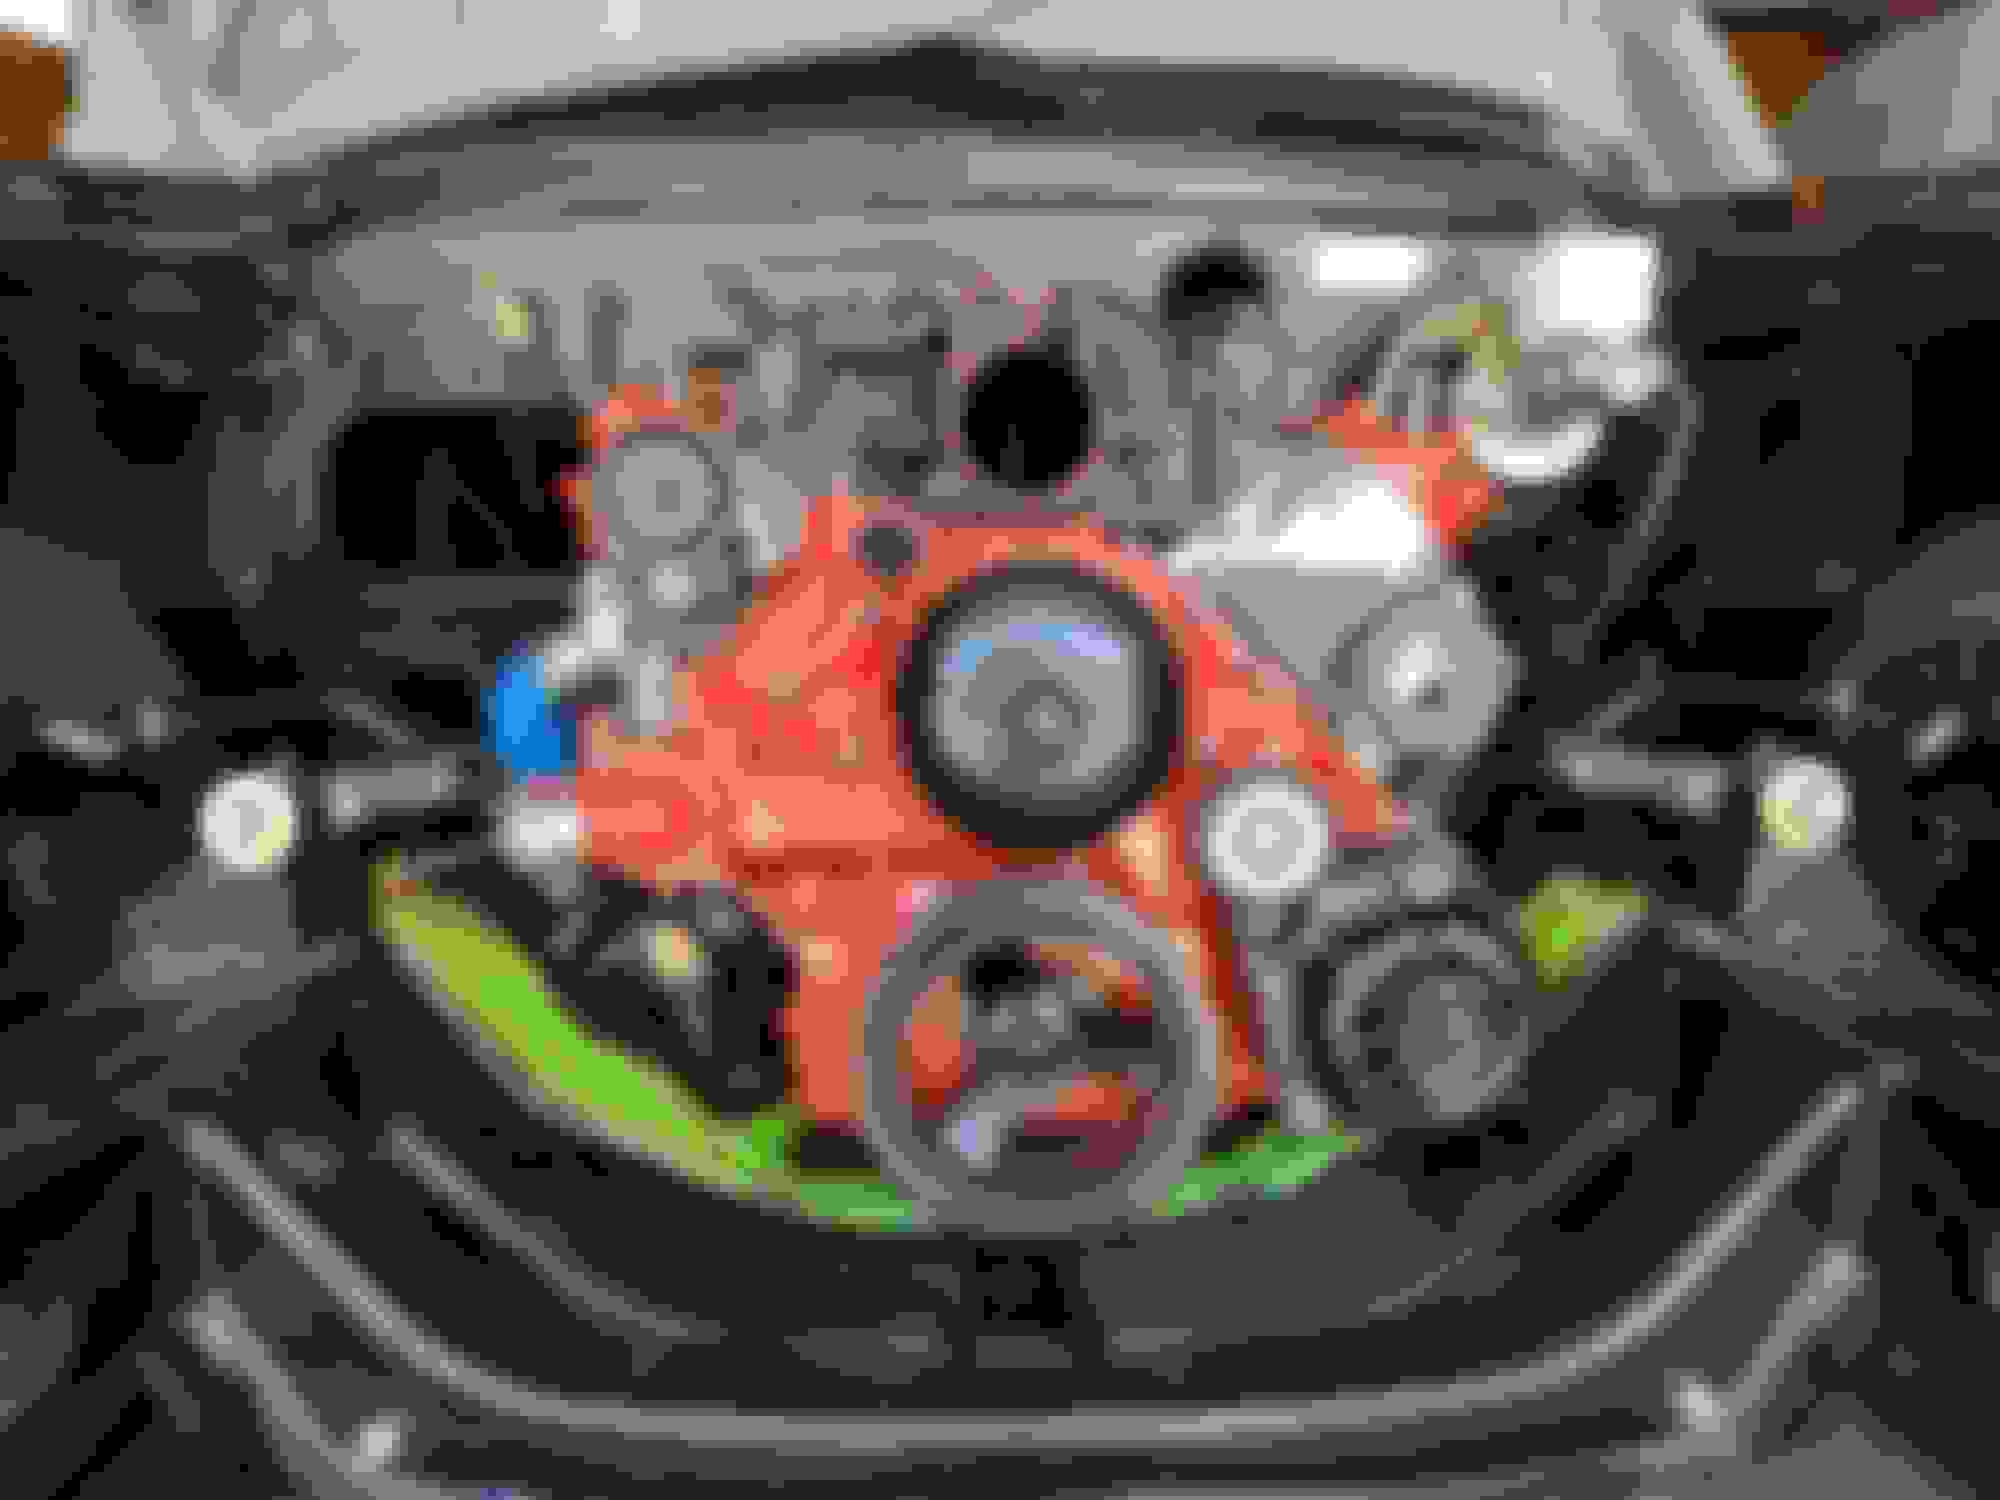
Motor is finally mated back to transmission and installed in the car. Hope it's the last time and I can start plumbing brake/fuel/clutch hydraulics. Still need to install gas tank, rear calipers/rotors and most importantly the AAW classic update wiring kit. Might have a ship so the AAW kit but if I do that will likely be the last step do they can connect everything. Getting close...


Beauty and the beast


Old 05-30-2018, 10:30 AM
  #183  
TECH Apprentice
Thread Starter
 
MisterD's Avatar
 
Join Date: Aug 2010
Location: Sunny Sothern California
Posts: 304
Received 2 Likes on 2 Posts

Default

Originally Posted by -TheBandit-
Woohoo! Can't tell you how happy I am to see you working on this again. The orange with black accessories is going to be awesome. Did you end up notching the frame?

What's your plan for wiring and fuel?
Thanks bandit! I hope to keep the momentum rolling through summer. Didn't need to notch the grand just minor cut around the plastic cover at the rear of the LS1 alt. I have an AAW classic update kit that needs to be installed and I also have a Rick's tank with vaporworx set up that needs to be installed. Then just run fuel lines to motor. Engine harness still needs to be sent somewhere to be modified and flash computer but I'm not quite there yet.
Old 06-10-2018, 07:12 PM
  #184  
TECH Apprentice
Thread Starter
 
MisterD's Avatar
 
Join Date: Aug 2010
Location: Sunny Sothern California
Posts: 304
Received 2 Likes on 2 Posts

Default


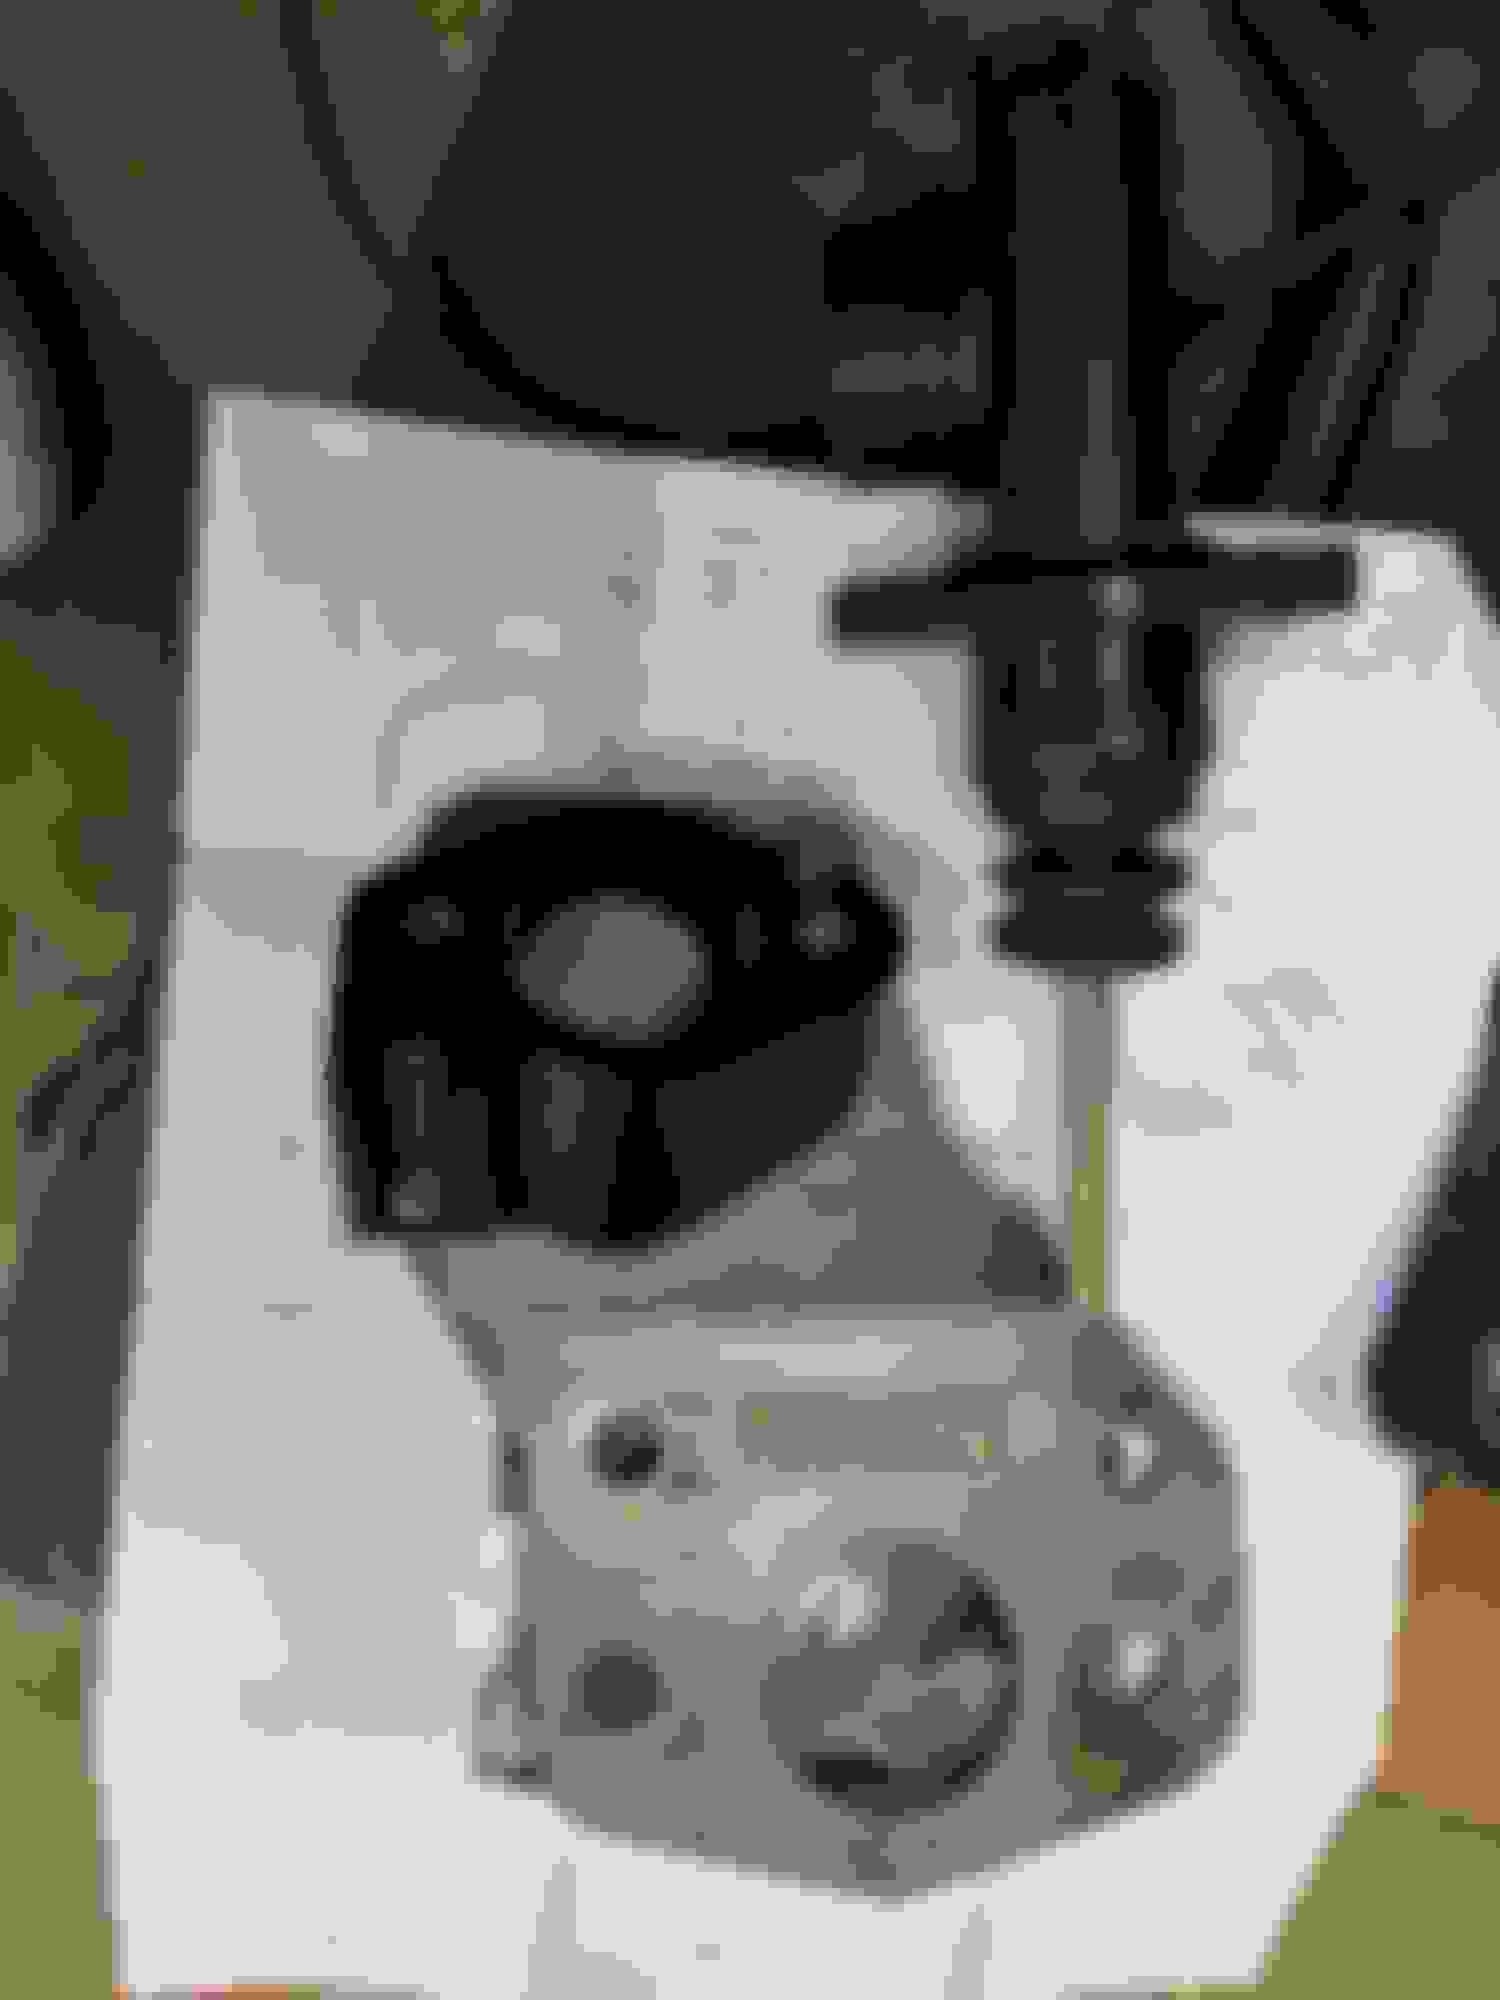
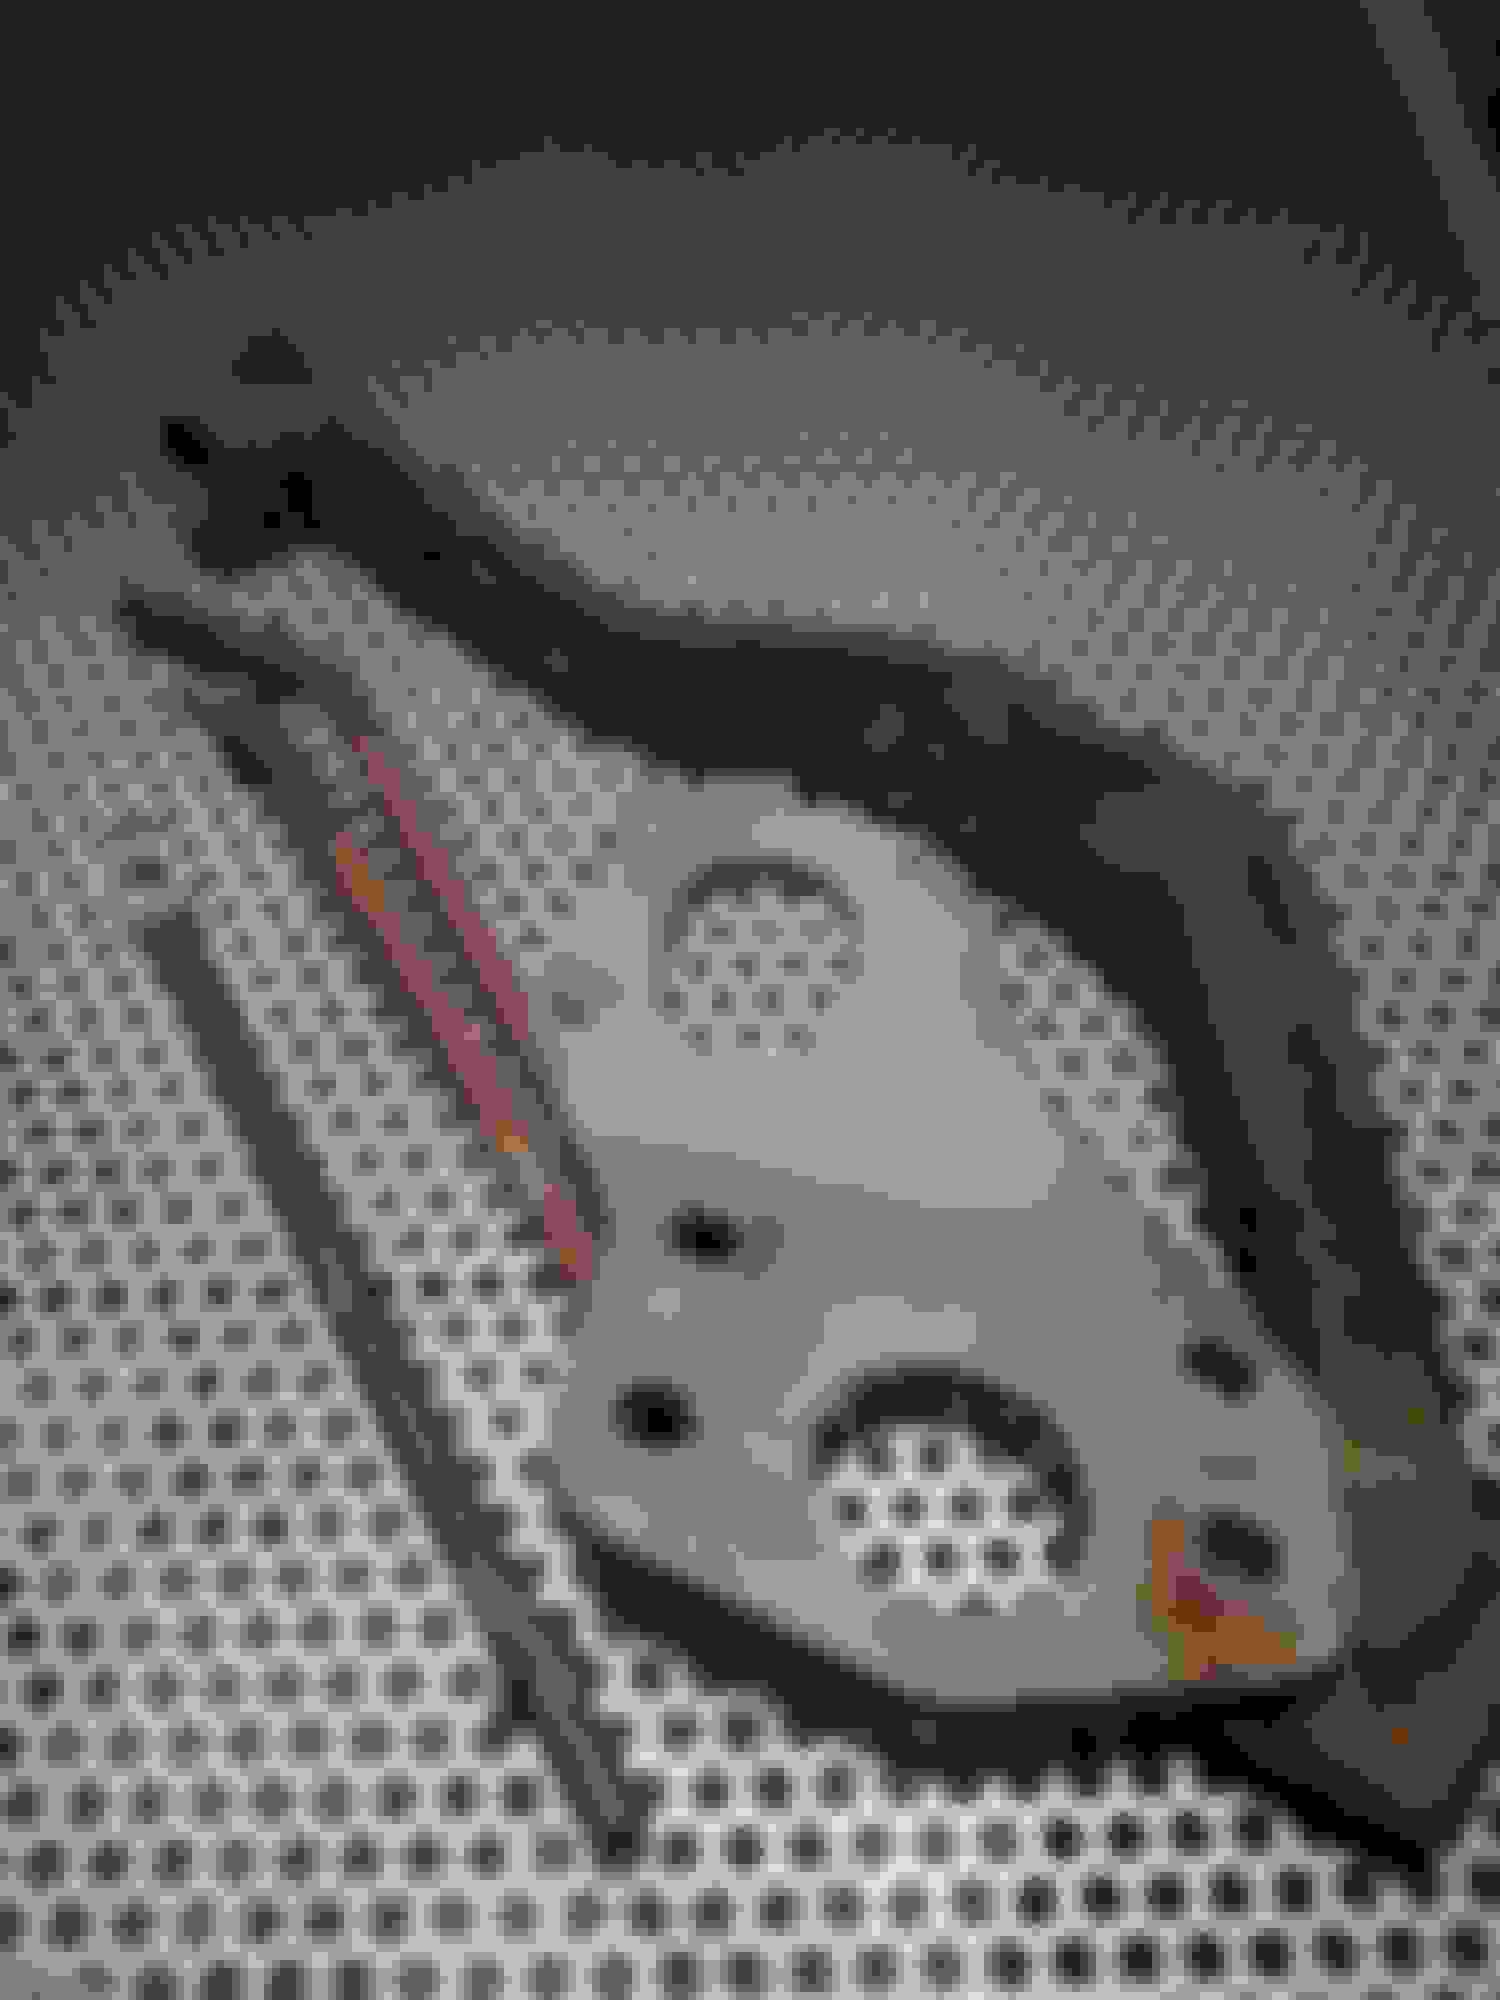
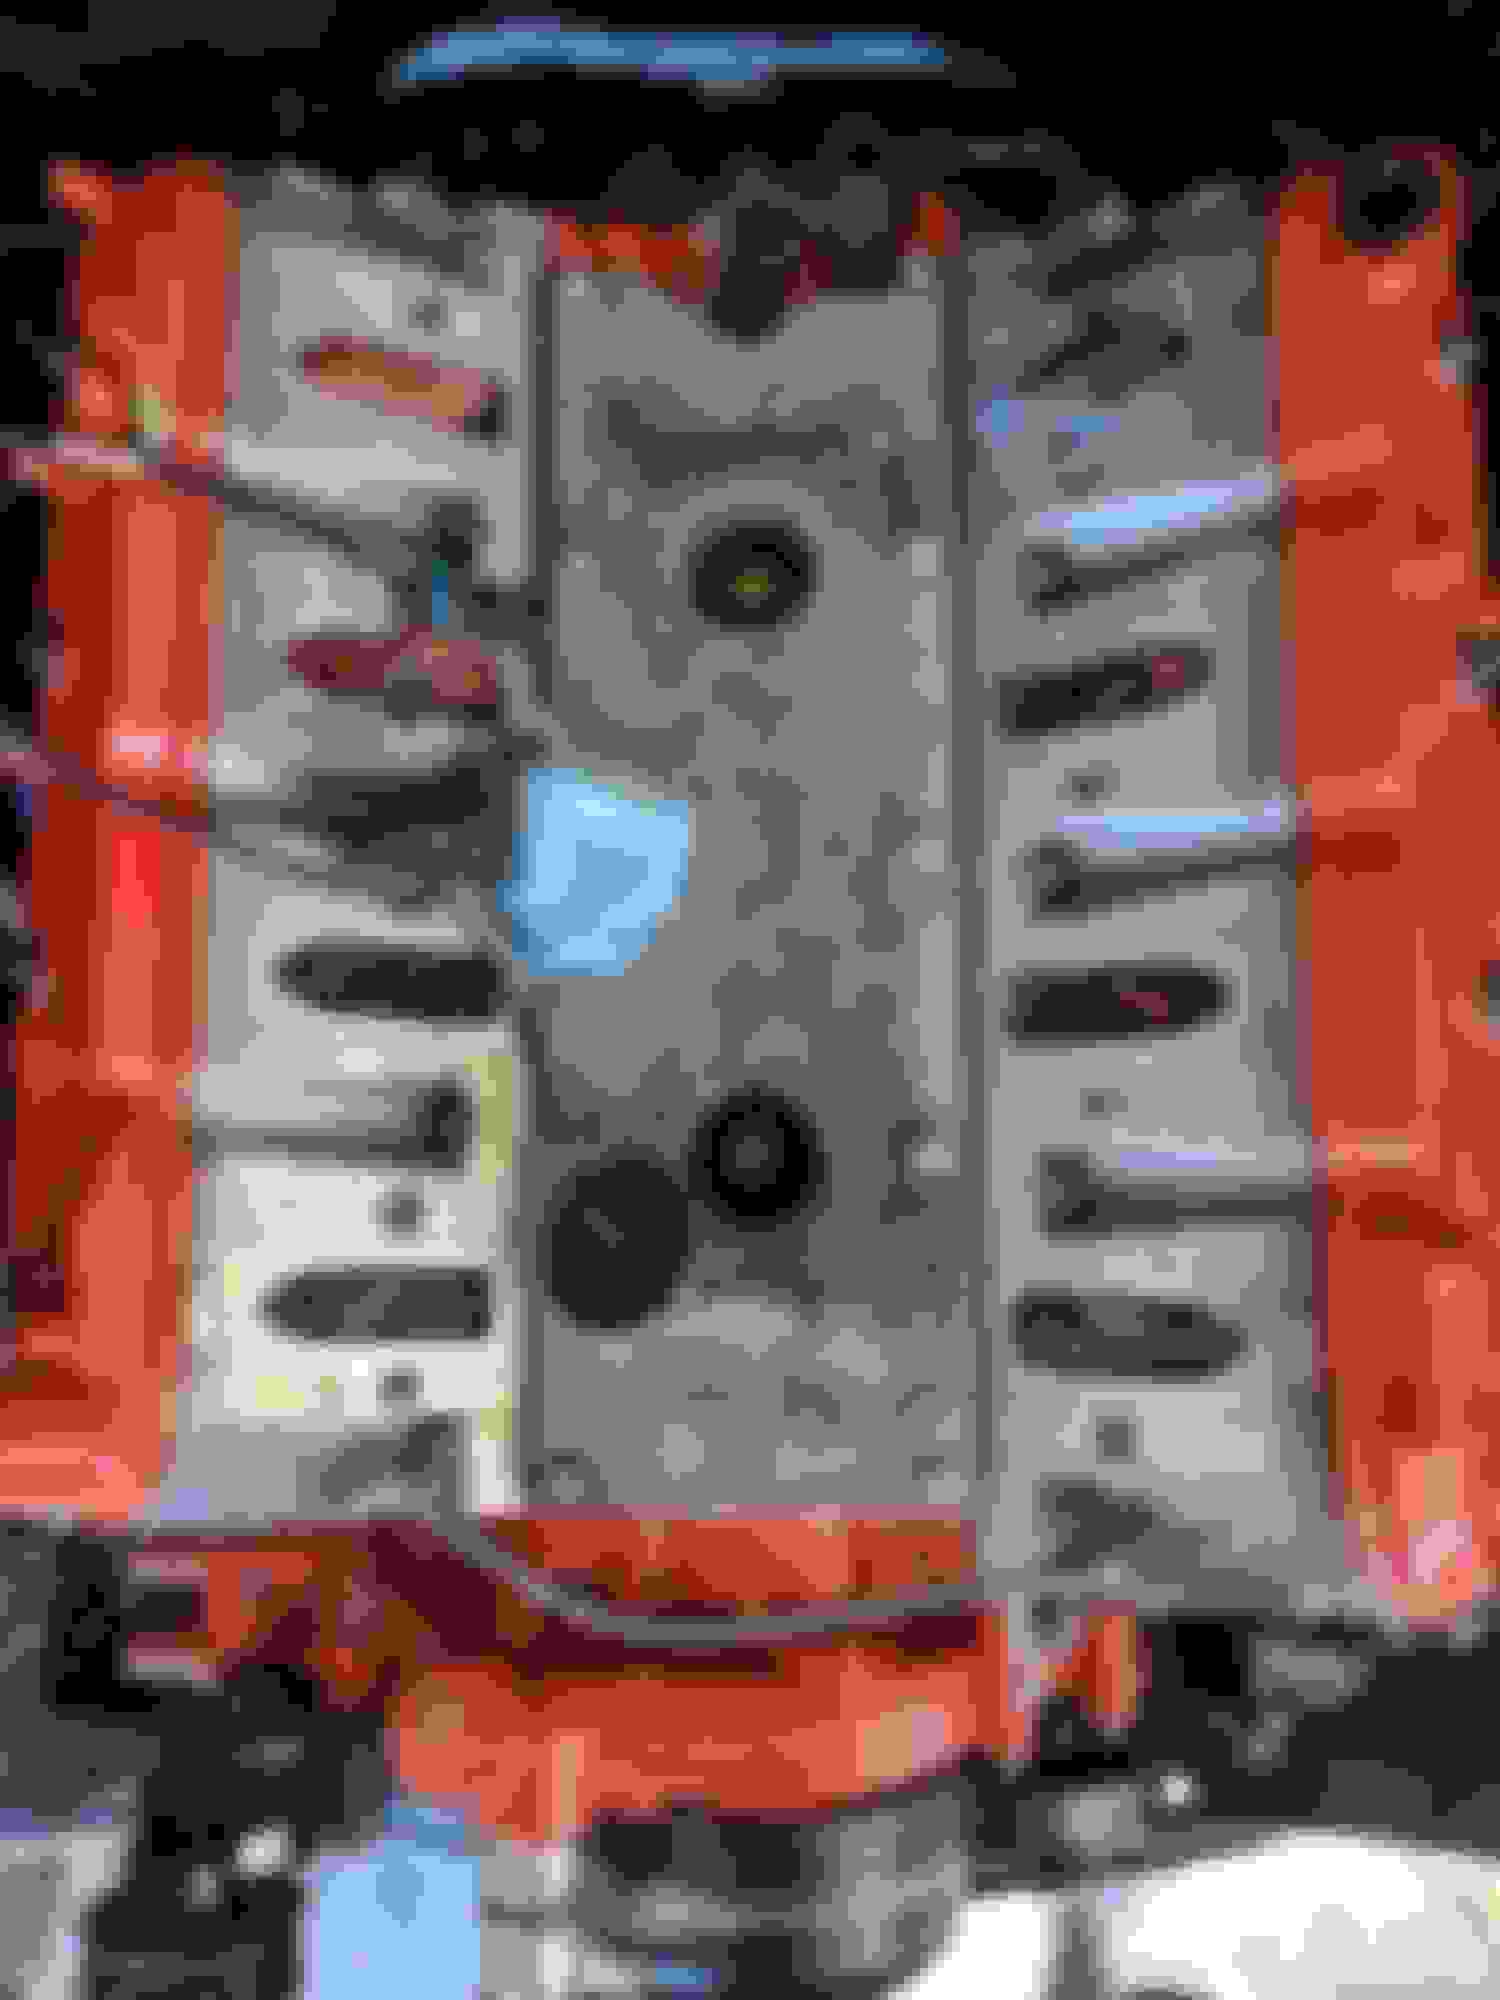
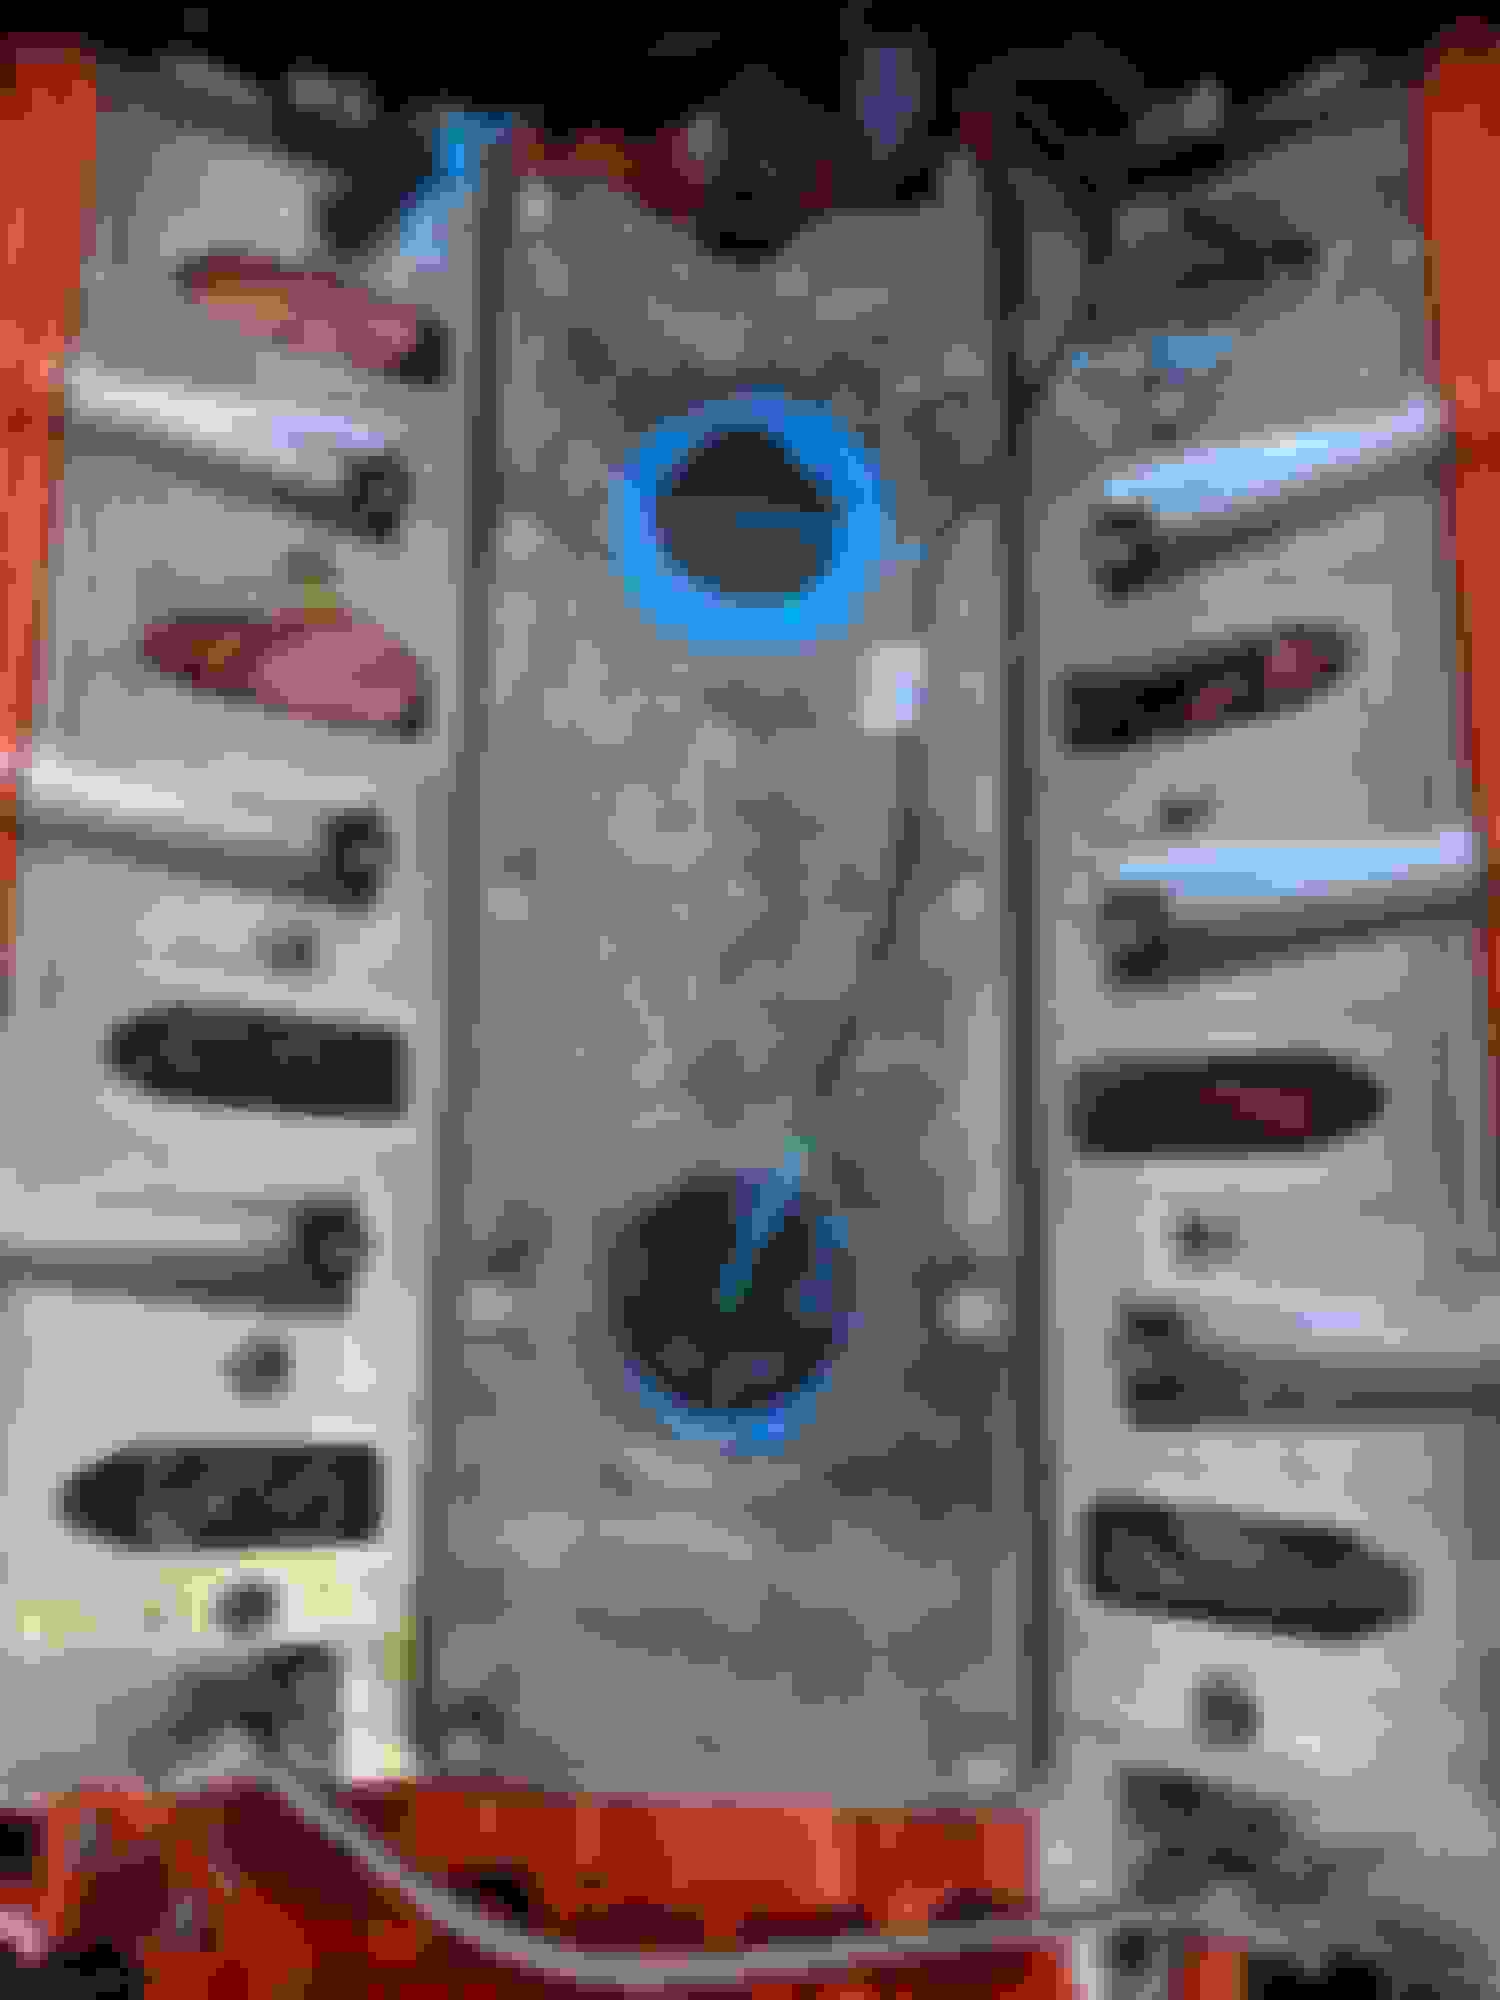
Squeezed in some Camaro time this weekend. Tapping water pump and trying to locate the box with steam port pipe in my garage ate up about two hours, lol. Happy to install and torque all front accessories... Minus power steering pump. Progress is progress...
Old 06-11-2018, 09:50 AM
  #185  
TECH Addict
iTrader: (1)
 
-TheBandit-'s Avatar
 
Join Date: Apr 2010
Location: Instagram @chevyhotrodder
Posts: 2,813
Received 79 Likes on 67 Posts

Default

I'm not a fan of routing the vent line there, but I'm happy to see progress. The color scheme is PERFECT. Keep chipping away.
Old 06-11-2018, 09:55 AM
  #186  
TECH Apprentice
Thread Starter
 
MisterD's Avatar
 
Join Date: Aug 2010
Location: Sunny Sothern California
Posts: 304
Received 2 Likes on 2 Posts

Default

Originally Posted by -TheBandit-
I'm not a fan of routing the vent line there, but I'm happy to see progress. The color scheme is PERFECT. Keep chipping away.
Thanks bandit! Curious why not route to top of water pump?
Old 06-11-2018, 10:08 AM
  #187  
TECH Addict
iTrader: (1)
 
-TheBandit-'s Avatar
 
Join Date: Apr 2010
Location: Instagram @chevyhotrodder
Posts: 2,813
Received 79 Likes on 67 Posts

Default

The vent should, in my opinion, route uphill so air can purge out of the system by gravity while filling the coolant system. In the OE systems it's routed to the top of the radiator. Lots of people have done what you've done without problems, but I suspect it's less effective.
Old 07-09-2018, 12:15 AM
  #188  
TECH Apprentice
Thread Starter
 
MisterD's Avatar
 
Join Date: Aug 2010
Location: Sunny Sothern California
Posts: 304
Received 2 Likes on 2 Posts

Default


Little progress today. Installed brake and fuel hardlines, dug out parts/brackets then made a to do list. Looking forward to checking this list off in the weeks to come.
Old 07-09-2018, 04:06 PM
  #189  
TECH Resident
 
cookseyb's Avatar
 
Join Date: Apr 2010
Location: Central Texas
Posts: 926
Received 17 Likes on 15 Posts

Default

Originally Posted by -TheBandit-
The vent should, in my opinion, route uphill so air can purge out of the system by gravity while filling the coolant system. In the OE systems it's routed to the top of the radiator. Lots of people have done what you've done without problems, but I suspect it's less effective.
Also if your water pump goes out 300 miles from home the new one wont be drilled and tapped.
Old 08-07-2018, 09:16 PM
  #190  
TECH Apprentice
Thread Starter
 
MisterD's Avatar
 
Join Date: Aug 2010
Location: Sunny Sothern California
Posts: 304
Received 2 Likes on 2 Posts

Default Project belly button updates...

Progress...


DSE Hydraulic Clutch Bracket and adapter kit


Line up clutch pedal push rod outside of car


Time to blast


Semi gloss black Rust-Oleum out of spray gun not rattle can


Finished product


Pedals back in and DSE clutch plate installed


DSE booster brackets helped fix high angle of booster and master (right hand drive S-10 master cylinder.


Hydraulics hooked up


Little eB@** bling for hydraulic clutch reservoir


Doug Thorley stainless headers ready for install


Cleared steering box very well


Doug Thorley👍🏽👍🏽


Test fitting 4th gen front brakes.


Cheapo rotor will be replaced before driving


Changing knock sensors


Out with old...


...In with new


New intake gaskets


Time to start wiring this thing!


Not bad for newbie


Need to clean up this cluster and wire up.


Booster at good angle, headers and intake installed.
Old 08-10-2018, 06:01 PM
  #191  
TECH Fanatic
 
bmf5150's Avatar
 
Join Date: Nov 2010
Posts: 1,679
Likes: 0
Received 0 Likes on 0 Posts
Default

Looking good
Old 09-30-2018, 03:55 PM
  #192  
TECH Apprentice
Thread Starter
 
MisterD's Avatar
 
Join Date: Aug 2010
Location: Sunny Sothern California
Posts: 304
Received 2 Likes on 2 Posts

Default

Placed PSI harness near trans tunnel. Hoping wires don't pinch. Couple pics for reference...

Old 09-30-2018, 03:57 PM
  #193  
TECH Apprentice
Thread Starter
 
MisterD's Avatar
 
Join Date: Aug 2010
Location: Sunny Sothern California
Posts: 304
Received 2 Likes on 2 Posts

Default

Placement inside is similar to this

Old 10-03-2018, 07:15 PM
  #194  
TECH Apprentice
Thread Starter
 
MisterD's Avatar
 
Join Date: Aug 2010
Location: Sunny Sothern California
Posts: 304
Received 2 Likes on 2 Posts

Default

Hmmm more goodies for the LS1...


Old 10-04-2018, 06:05 PM
  #195  
TECH Addict
iTrader: (1)
 
-TheBandit-'s Avatar
 
Join Date: Apr 2010
Location: Instagram @chevyhotrodder
Posts: 2,813
Received 79 Likes on 67 Posts

Default

Good stuff. I'm sure your dad would approve! Some tools I have that might help: flywheel lock, damper puller, damper install threaded rod/nuts, degree wheel, dial indicator, push rod length checker, spring height checker, and I can't recall what else. Hope to get down your way soon to help but no idea yet when that can happen.
The following users liked this post:
MisterD (11-15-2019)
Old 10-04-2018, 09:01 PM
  #196  
TECH Senior Member
 
G Atsma's Avatar
 
Join Date: Jun 2016
Location: Central Cal.
Posts: 20,878
Received 3,022 Likes on 2,353 Posts
Default

Originally Posted by MisterD
Hmmm more goodies for the LS1...
Yup, looks like the RIGHT STUFF to me....

The following users liked this post:
MisterD (11-15-2019)
Old 07-16-2019, 11:22 AM
  #197  
TECH Addict
iTrader: (1)
 
-TheBandit-'s Avatar
 
Join Date: Apr 2010
Location: Instagram @chevyhotrodder
Posts: 2,813
Received 79 Likes on 67 Posts

Default

I think it's time for an update!
The following users liked this post:
MisterD (11-15-2019)
Old 11-15-2019, 10:31 PM
  #198  
TECH Apprentice
Thread Starter
 
MisterD's Avatar
 
Join Date: Aug 2010
Location: Sunny Sothern California
Posts: 304
Received 2 Likes on 2 Posts

Default After 8 years, she's alive!!

Originally Posted by -TheBandit-
I think it's time for an update!
So you're right Clint, updates are in order in case anyone is still paying attention. Finally got the car fired up and running! Pics and video below.


Last edited by MisterD; 11-15-2019 at 10:39 PM.
Old 11-15-2019, 10:38 PM
  #199  
TECH Apprentice
Thread Starter
 
MisterD's Avatar
 
Join Date: Aug 2010
Location: Sunny Sothern California
Posts: 304
Received 2 Likes on 2 Posts

Default More pics can't upload video for some reason

Below are even more...


The following users liked this post:
cam (07-24-2020)
Old 07-23-2020, 06:14 PM
  #200  
TECH Addict
iTrader: (1)
 
-TheBandit-'s Avatar
 
Join Date: Apr 2010
Location: Instagram @chevyhotrodder
Posts: 2,813
Received 79 Likes on 67 Posts

Default

BTT because I can't believe nobody replied to congratulation you. I had the pleasure of doing it in person and I want to say this car and the builder are cool as hell. I wish mine looked nearly as nice under the hood. Look forward to meeting again after I get my six speed in.


The following users liked this post:
G Atsma (07-23-2020)


Quick Reply: 67 Camaro swap, project "belly button"


All times are GMT -5. The time now is 07:34 AM.