
67 Camaro swap, project "belly button"


 12-02-2017, 01:01 PM
#167


You can post pics directly to the forum. You don't need to host them elsewhere. I will demonstrate by doing so in this thread (sorry for the hijack):
First, click the drop-down next to the little paperclip at the top of the posting box. A pop-up will appear prompting you to choose files to upload.
You can choose more than one file at a time. After you have selected all of the images that you'd like to upload, click "Upload"
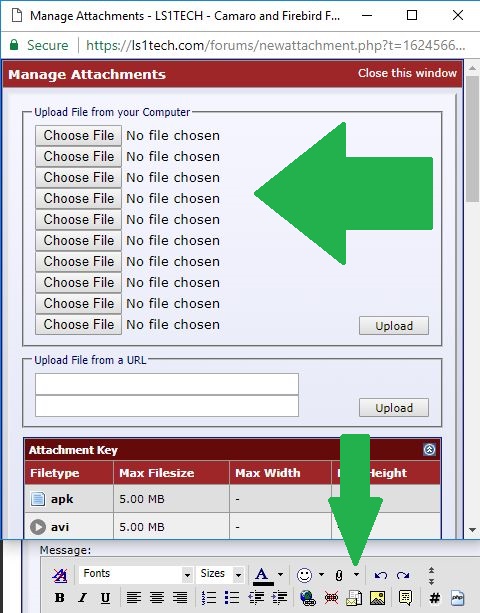
Once the images are uploaded, click the drop-down next to the paperclip again. You will now see a list of the files you uploaded available to be inserted into your post in a box called "Manage Attachments"
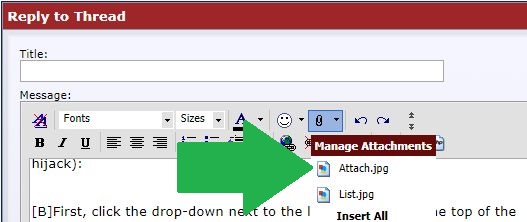
Select "Insert All" and the images will be inserted into your post as Thumbnails.
If you'd prefer to have the full image displayed, rather than the Thumbnail; First, preview the post. With the post previewed, right click each image and select "Open image in a new tab."
Once the image is dipalyed in a new tab, copy the URL of the image.
Now, go back to your post and insert each image URL inside the regular image tags ([IMG] Image URL Here [/IMG])
Last edited by TipsyMcStagger; 12-06-2017 at 03:30 PM.
12-03-2017, 05:14 AM
#168

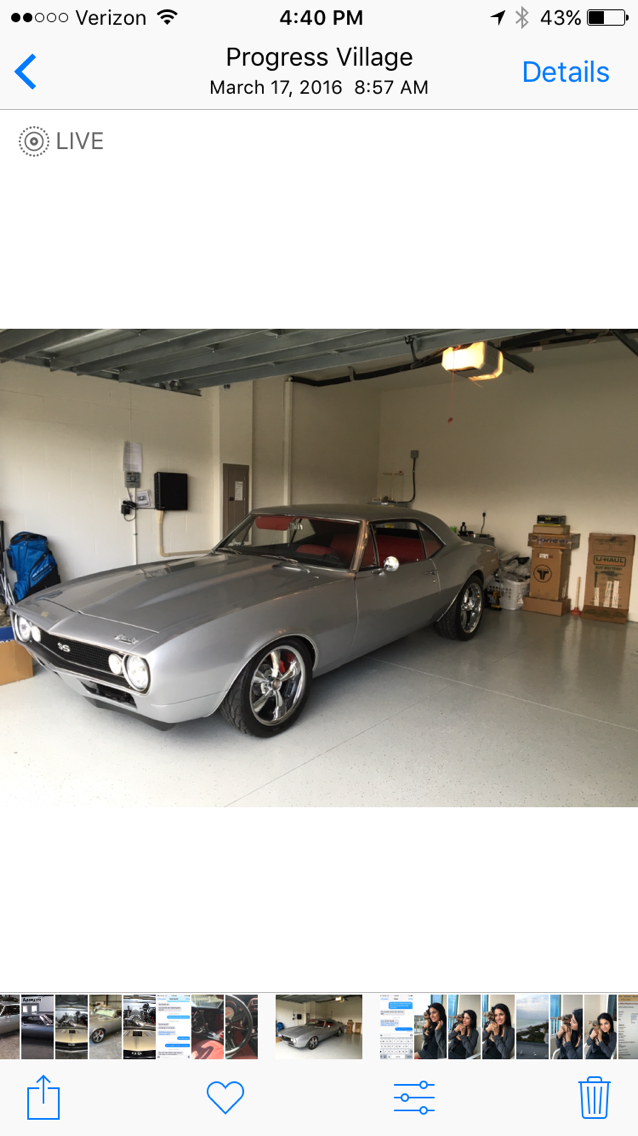
Ok this is just a Picture test for me now that Photo bucket is not allowing
any down loads. I uploaded it using " Manage Attachments " below from "My Pictures" I guess I'll have to start saving my pictures there from now on.
Anyway this is my car 11 years in the making LS2/ 4l70 from an 07 TBSS.
https://ls1tech.com/forums/attachmen...1&d=1512298986
Thanks , Tony
any down loads. I uploaded it using " Manage Attachments " below from "My Pictures" I guess I'll have to start saving my pictures there from now on.
Anyway this is my car 11 years in the making LS2/ 4l70 from an 07 TBSS.
https://ls1tech.com/forums/attachmen...1&d=1512298986
Thanks , Tony
12-07-2017, 02:12 PM
#171
TECH Apprentice
Thread Starter
You can post pics directly to the forum. You don't need to host them elsewhere. I will demonstrate by doing so in this thread (sorry for the hijack):
First, click the drop-down next to the little paperclip at the top of the posting box. A pop-up will appear prompting you to choose files to upload.
You can choose more than one file at a time. After you have selected all of the images that you'd like to upload, click "Upload"
Once the images are uploaded, click the drop-down next to the paperclip again. You will now see a list of the files you uploaded available to be inserted into your post in a box called "Manage Attachments"
Select "Insert All" and the images will be inserted into your post as Thumbnails.
If you'd prefer to have the full image displayed, rather than the Thumbnail; First, preview the post. With the post previewed, right click each image and select "Open image in a new tab."
Once the image is dipalyed in a new tab, copy the URL of the image.
Now, go back to your post and insert each image URL inside the regular image tags ([IMG] Image URL Here [/IMG])
12-07-2017, 02:50 PM
#172
TECH Apprentice
Thread Starter
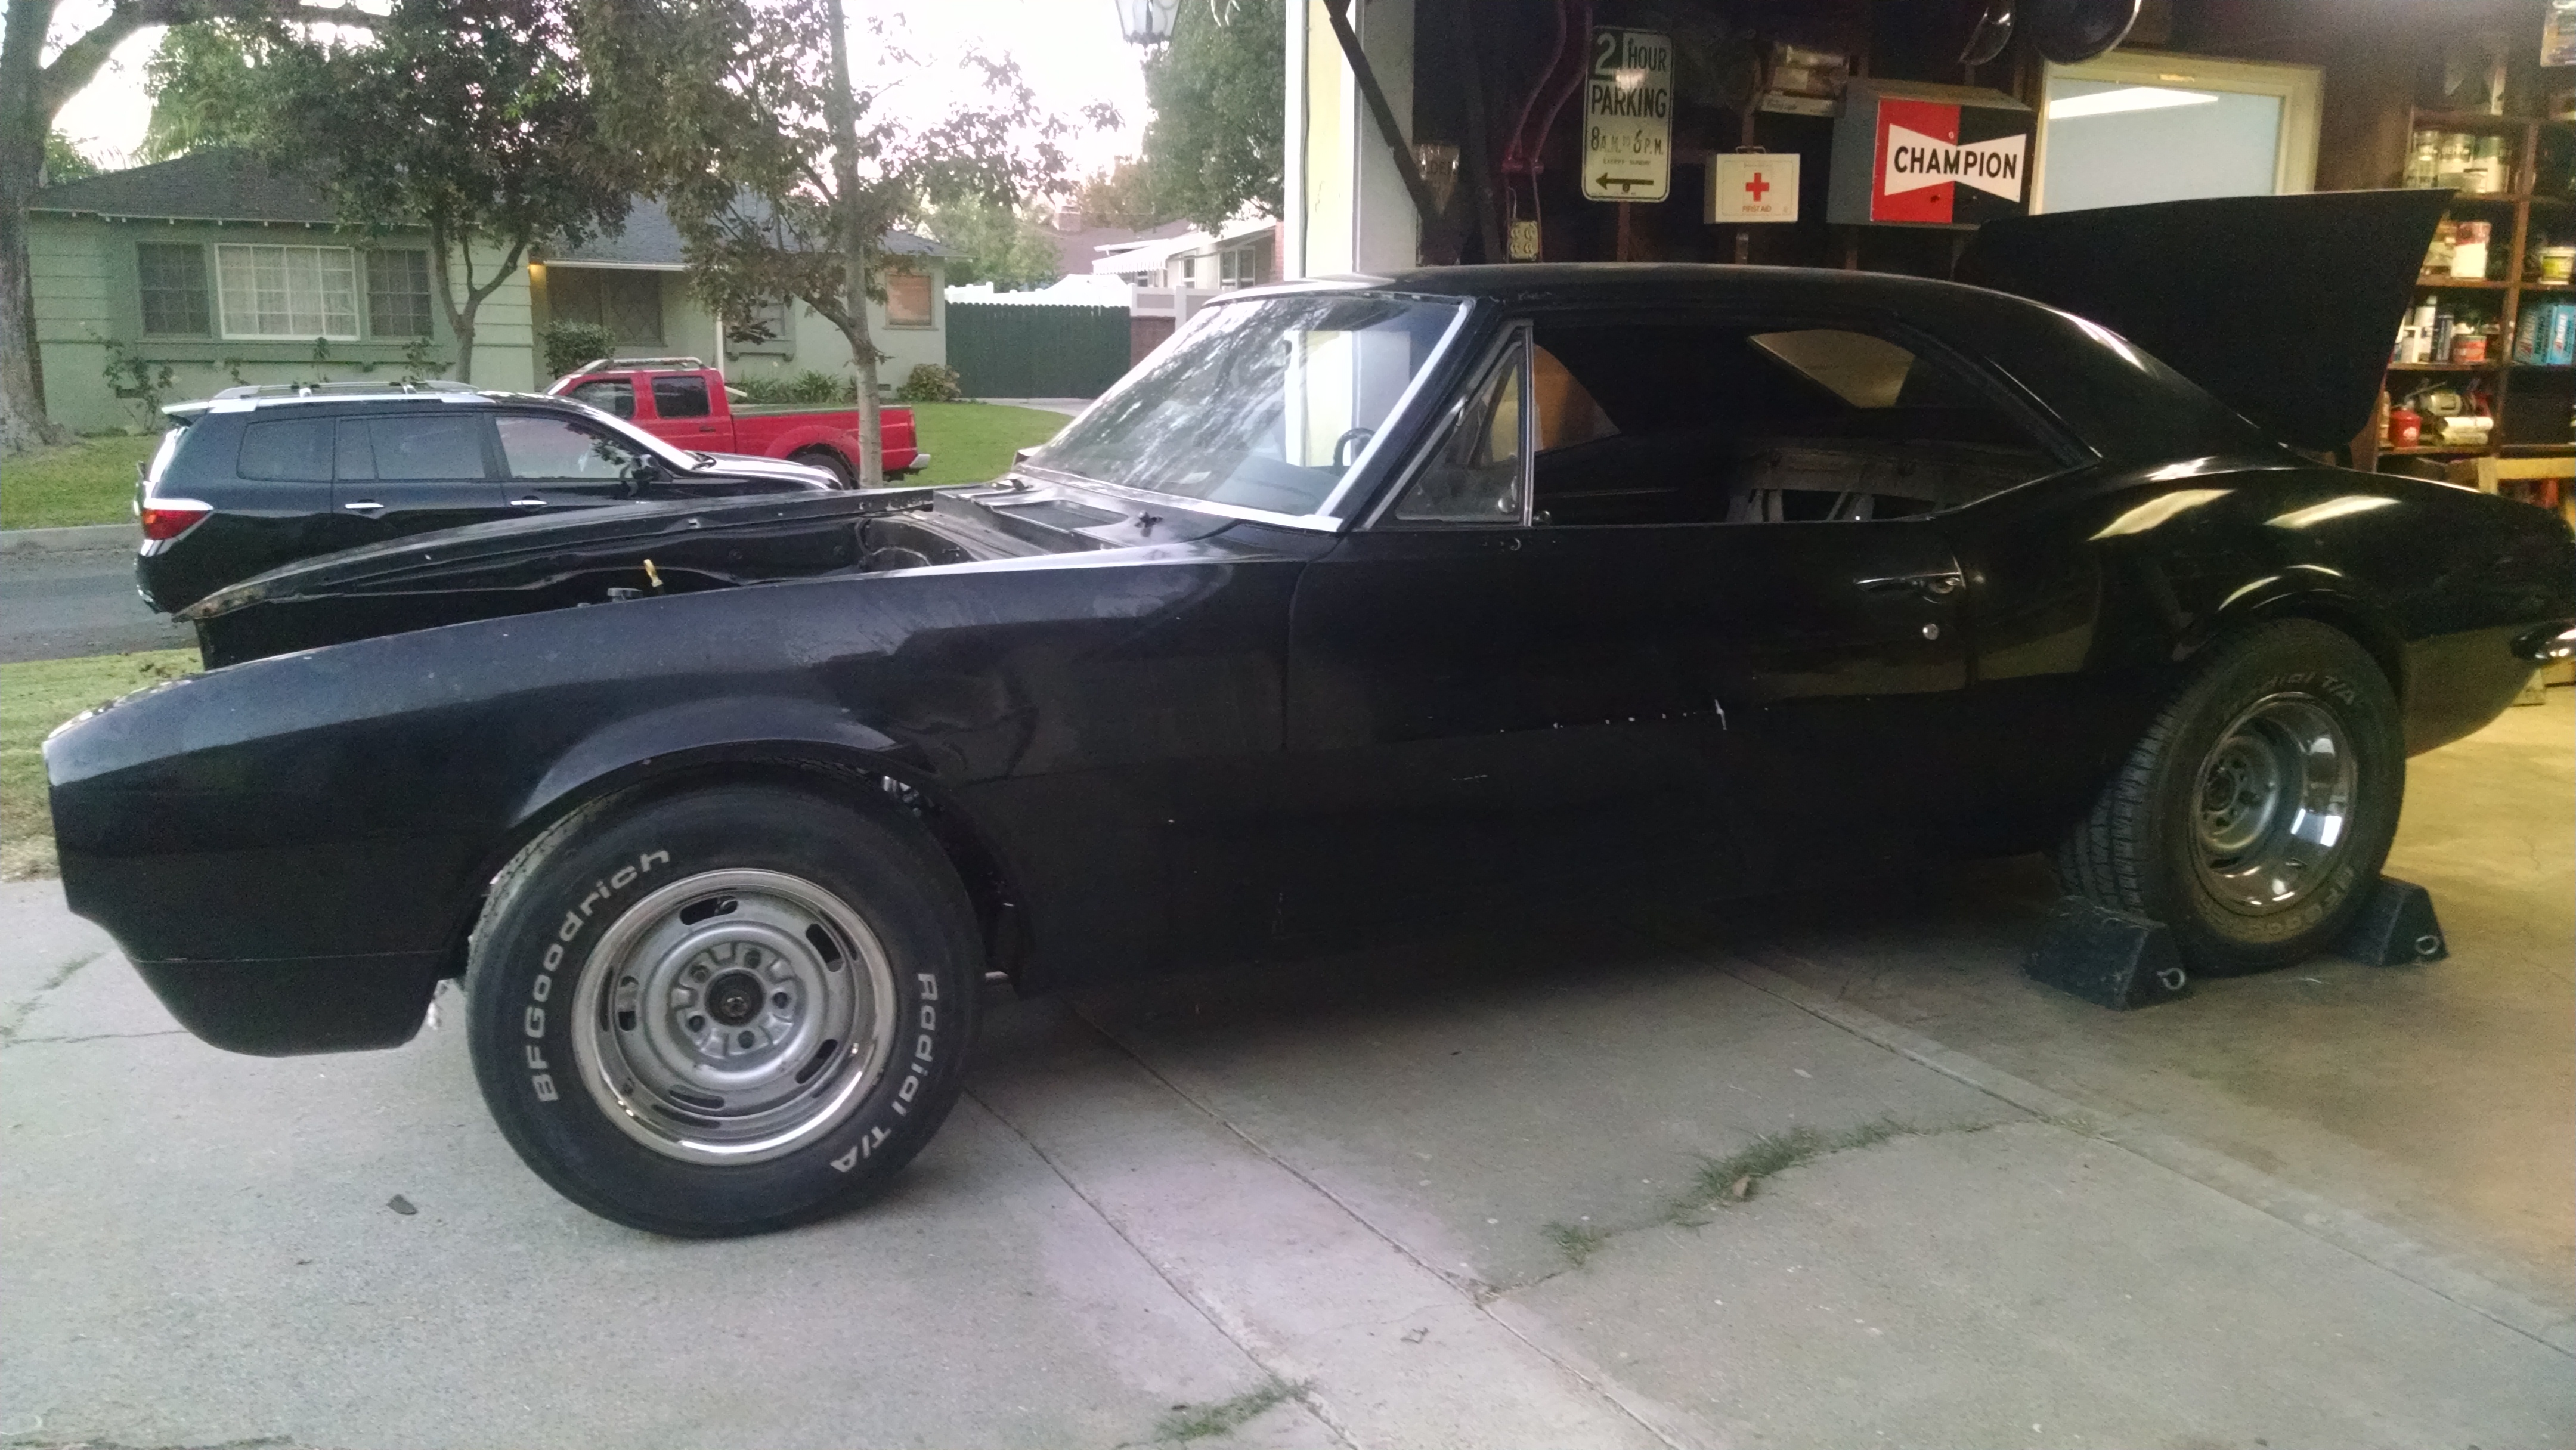
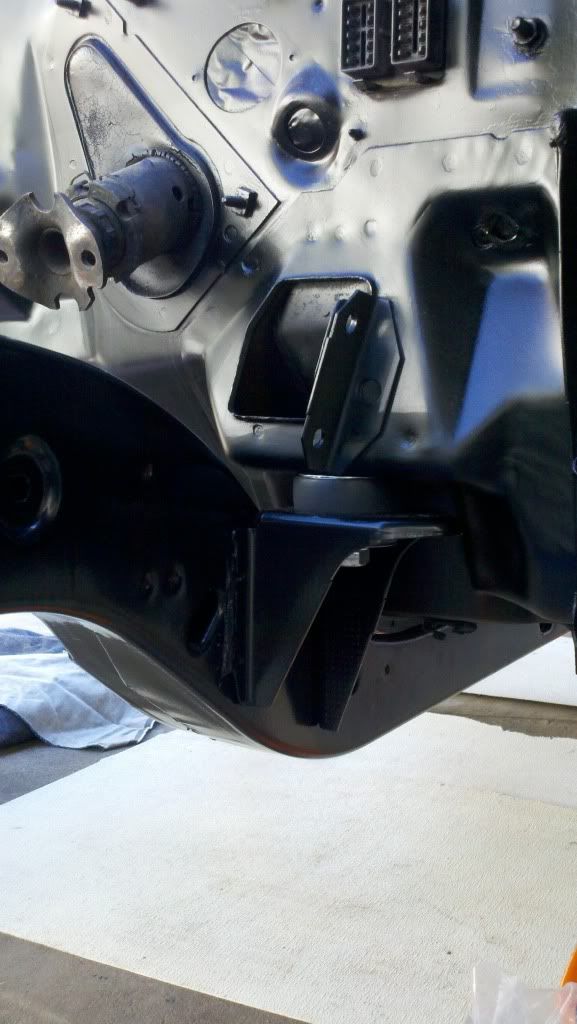
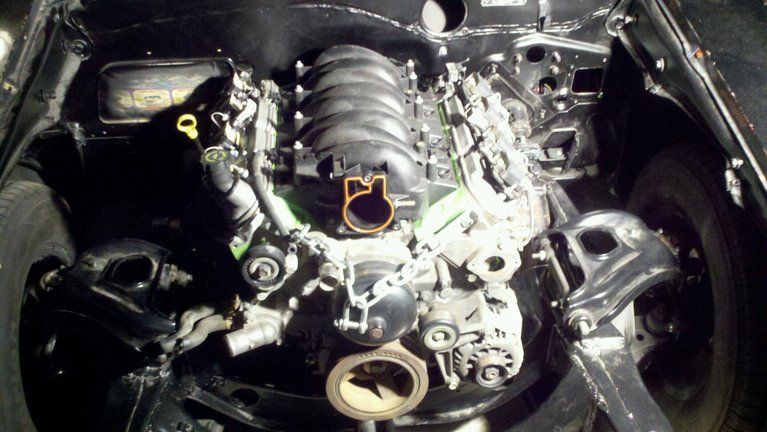
So I realized that I did not get pics of the rear brakes installed/rotors centered on rear end but they are much better than in the past, more centered on both sides, now that I machined the axles down. Also, I have many more parts that just came in to complete the clutch job/holley oil pan/rear main seal. That work will be happening soon. In the mean time here are a few pictures for the most recent update during thanksgiving break.
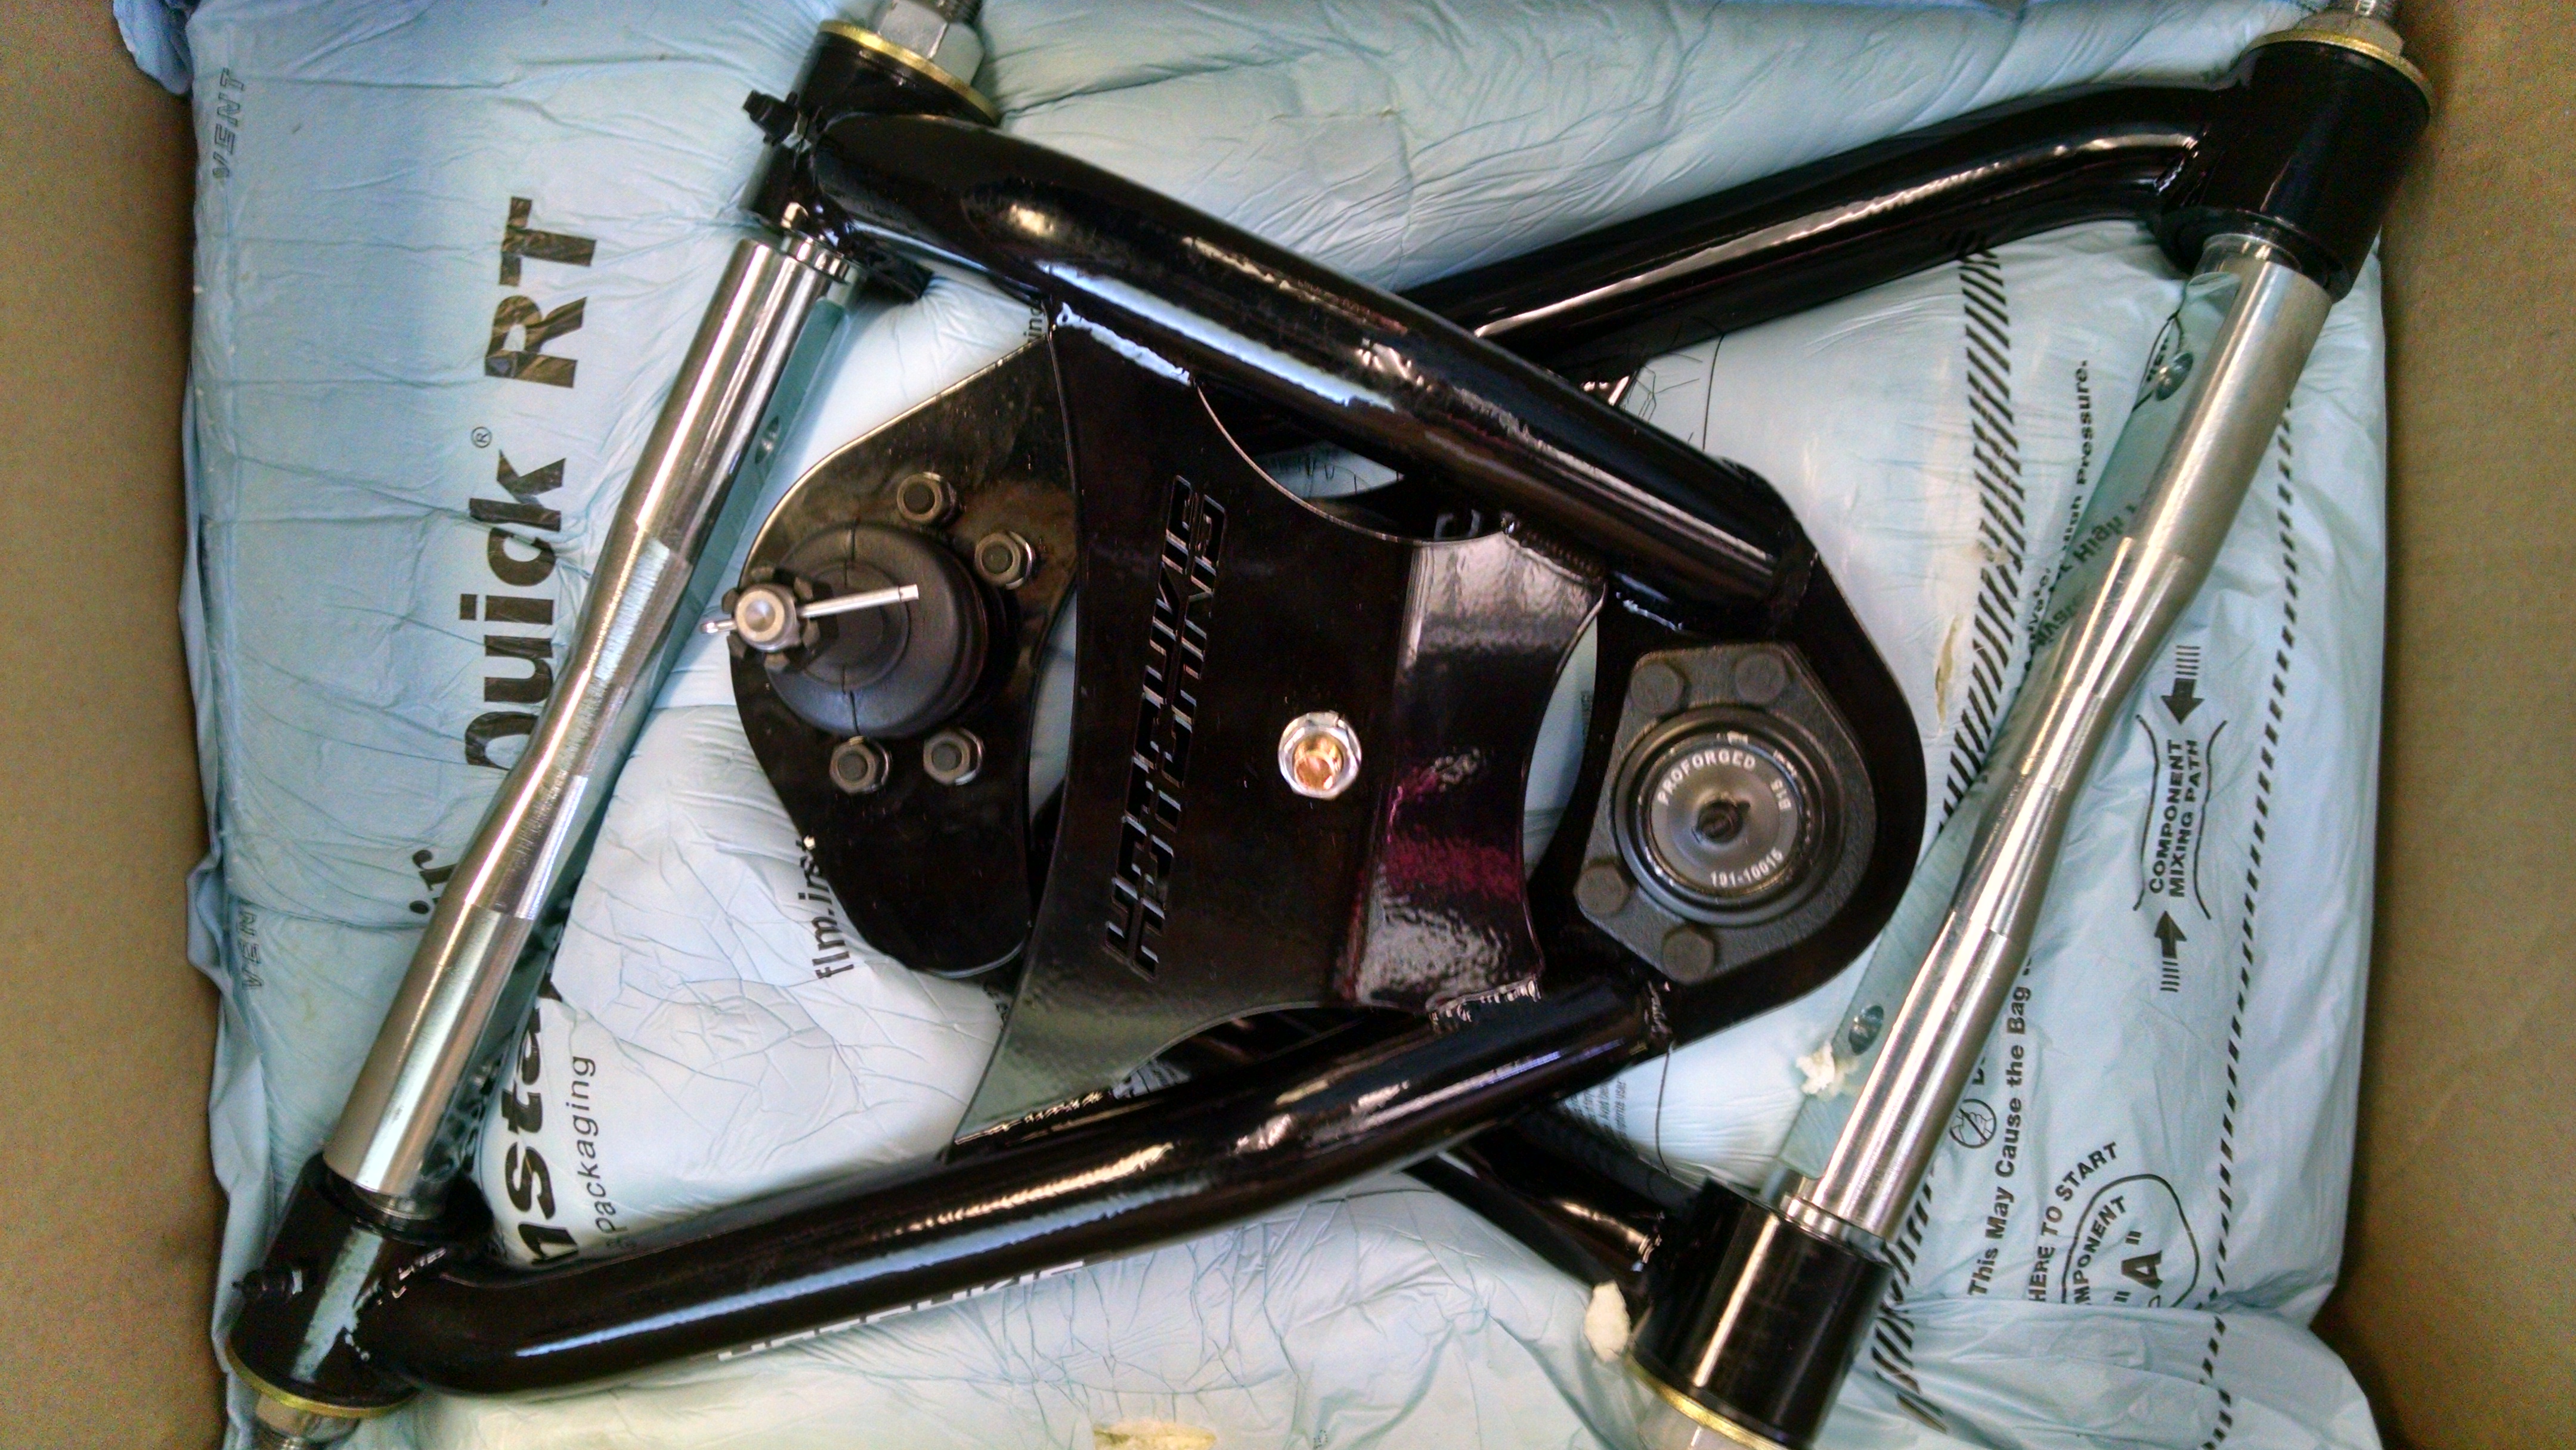
Control arms to be installed:
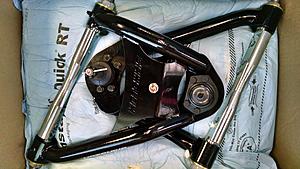
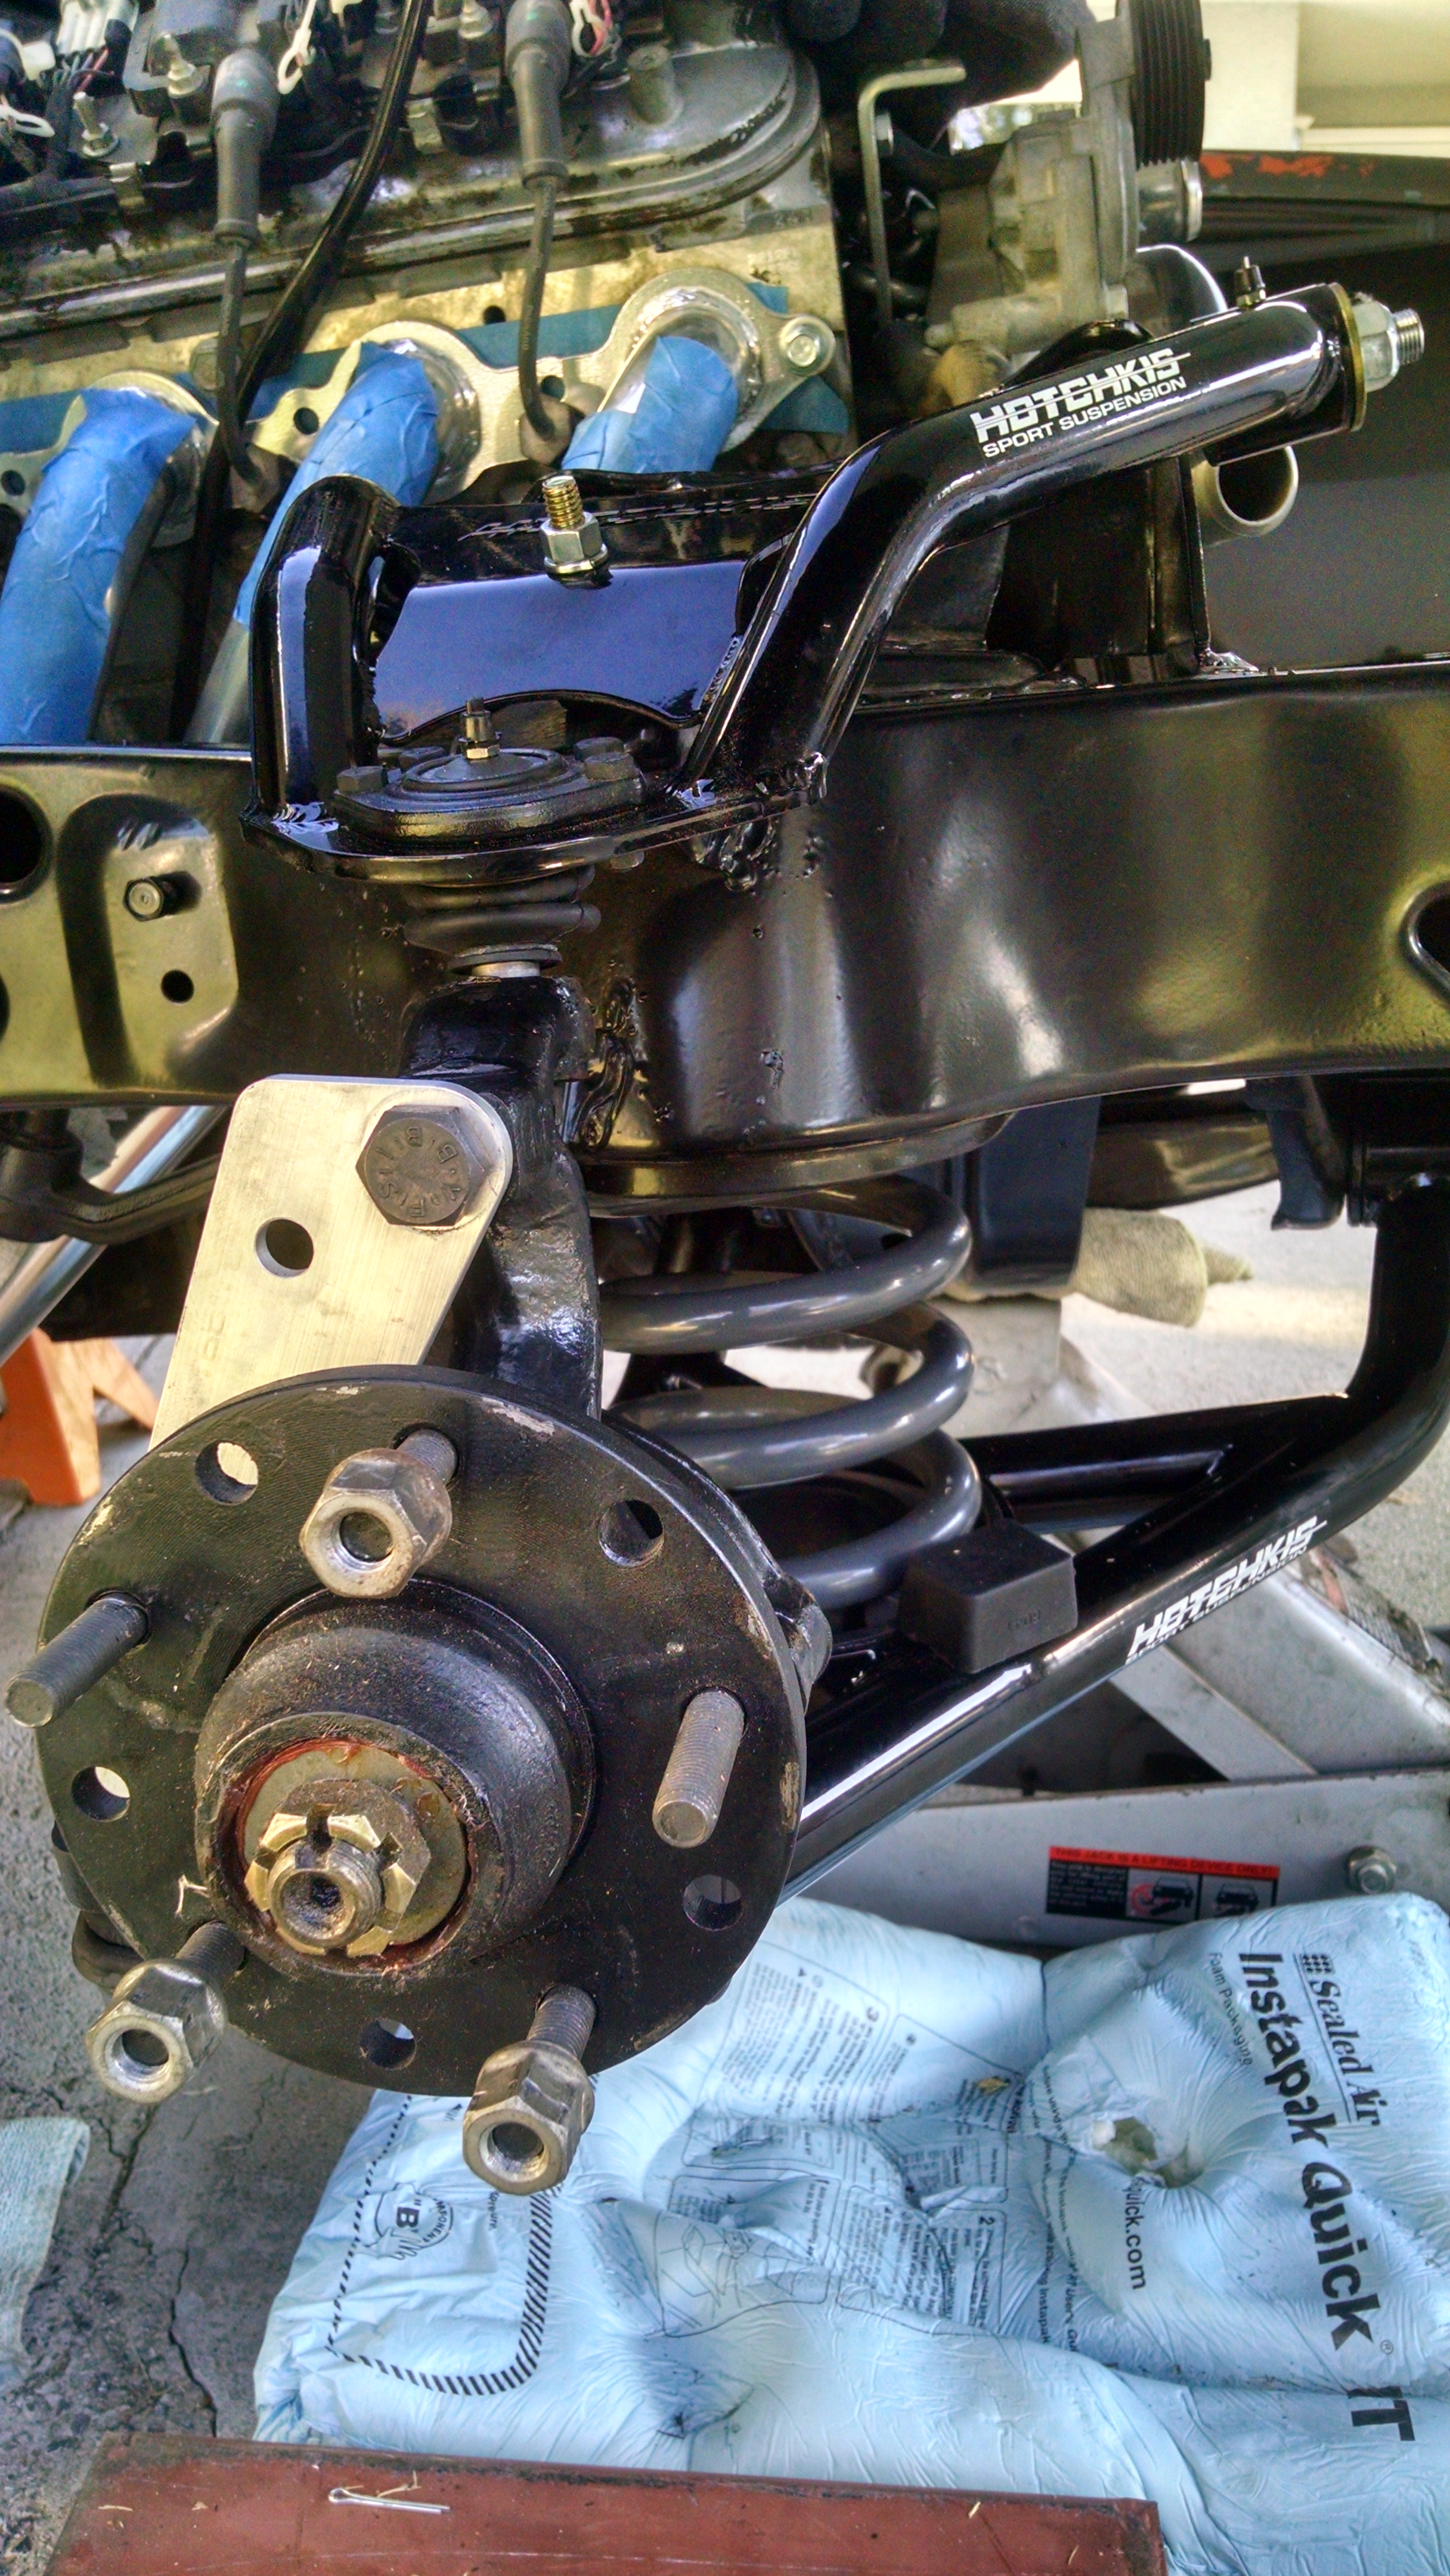
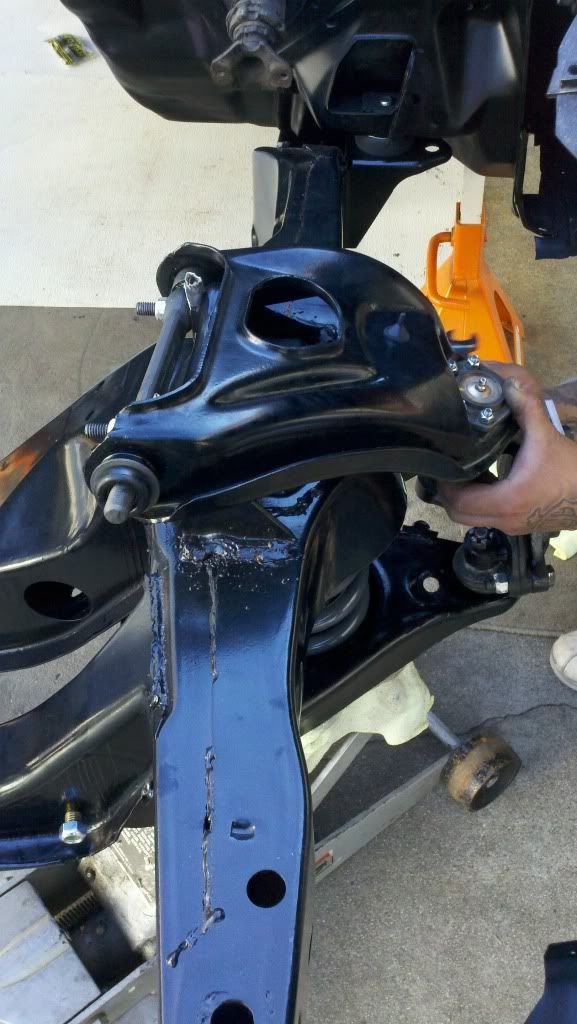
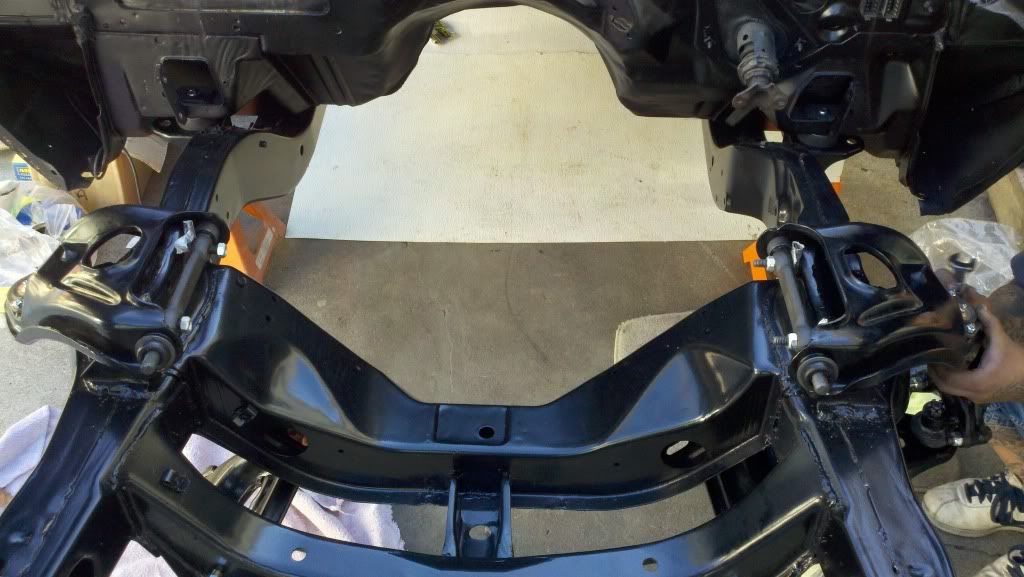
Installed:

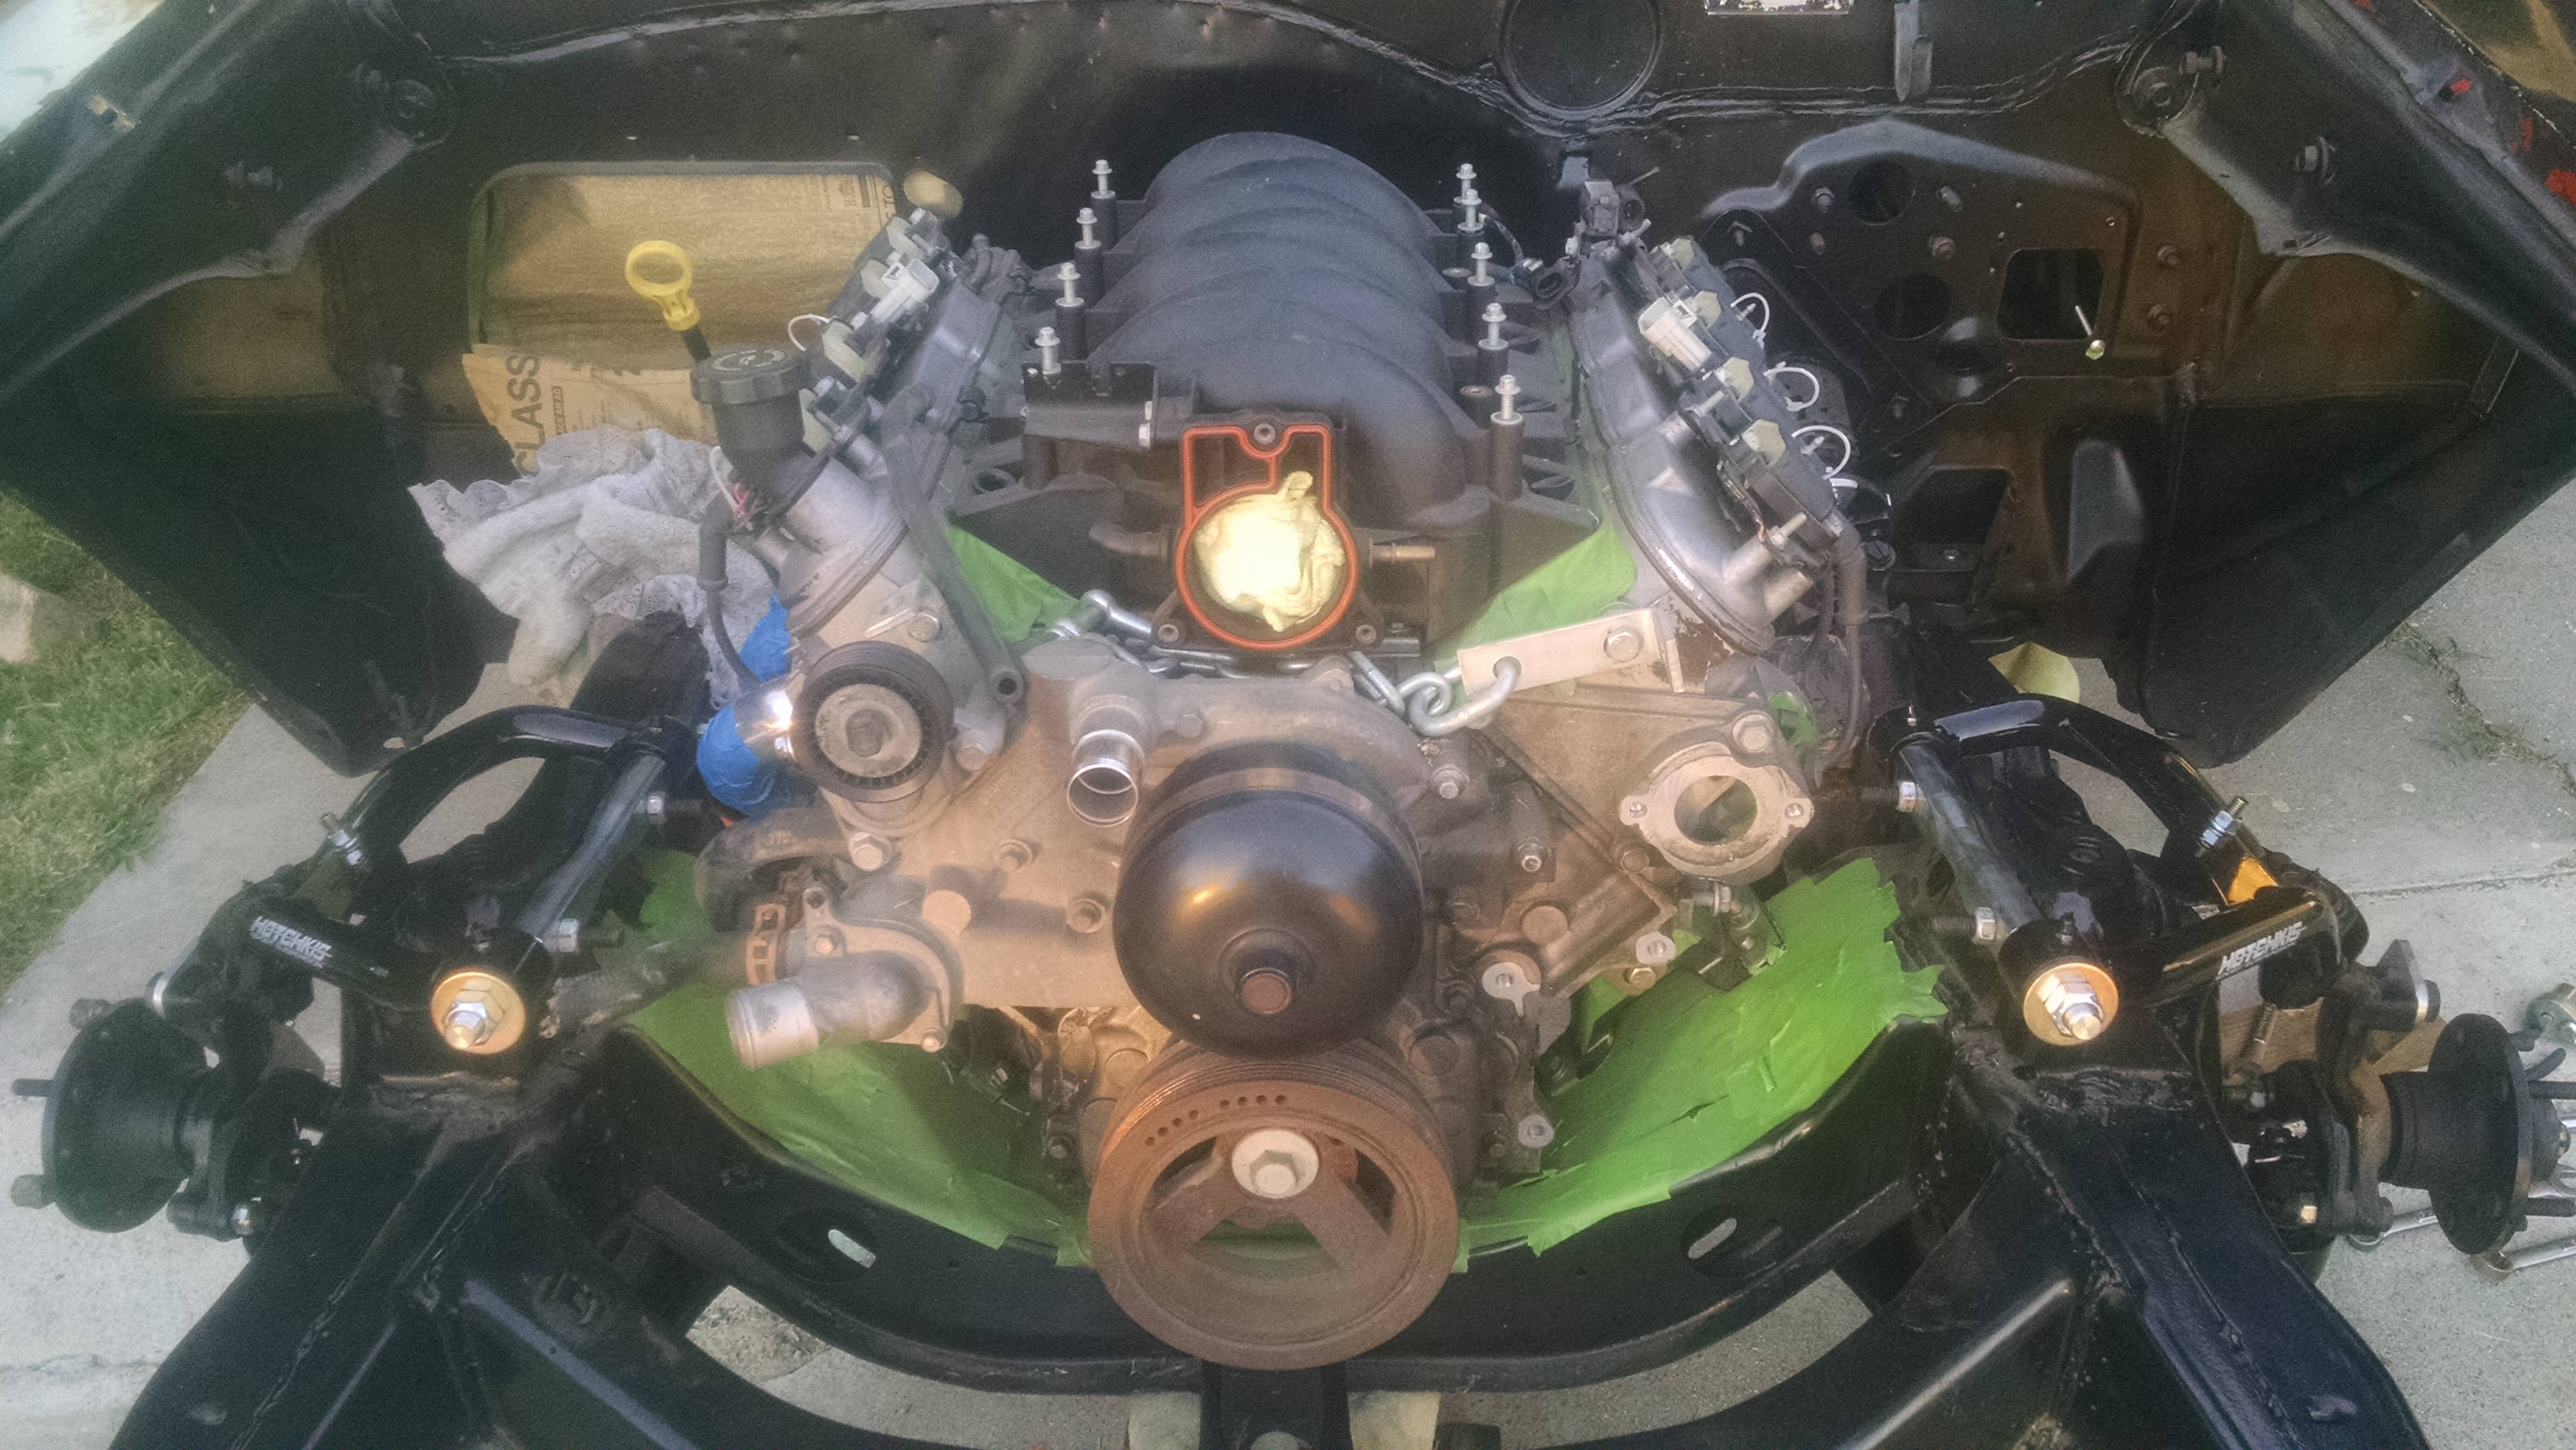
Shot of engine/new control arms:

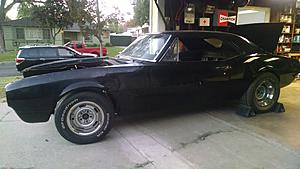
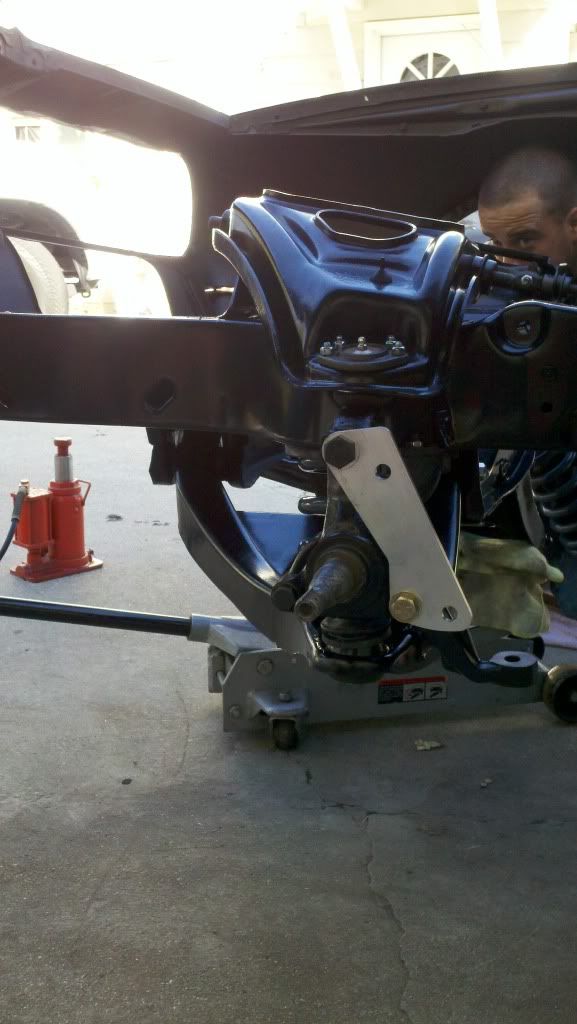
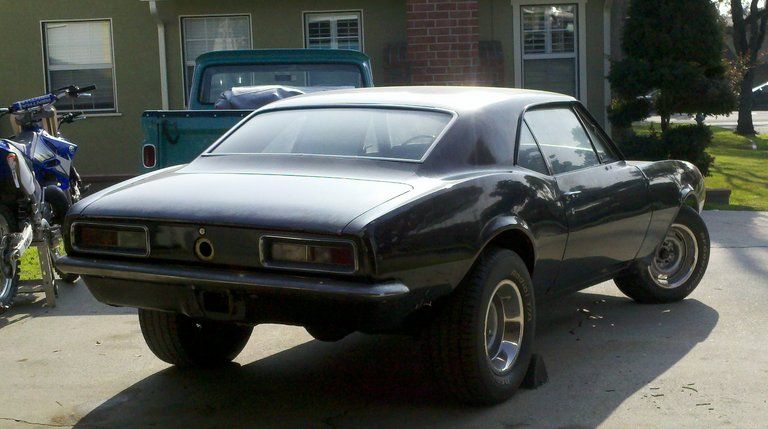
Stance after arms and 3" drop springs (hotchkis):
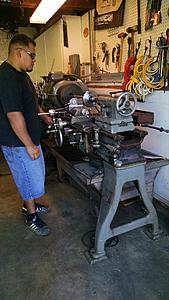
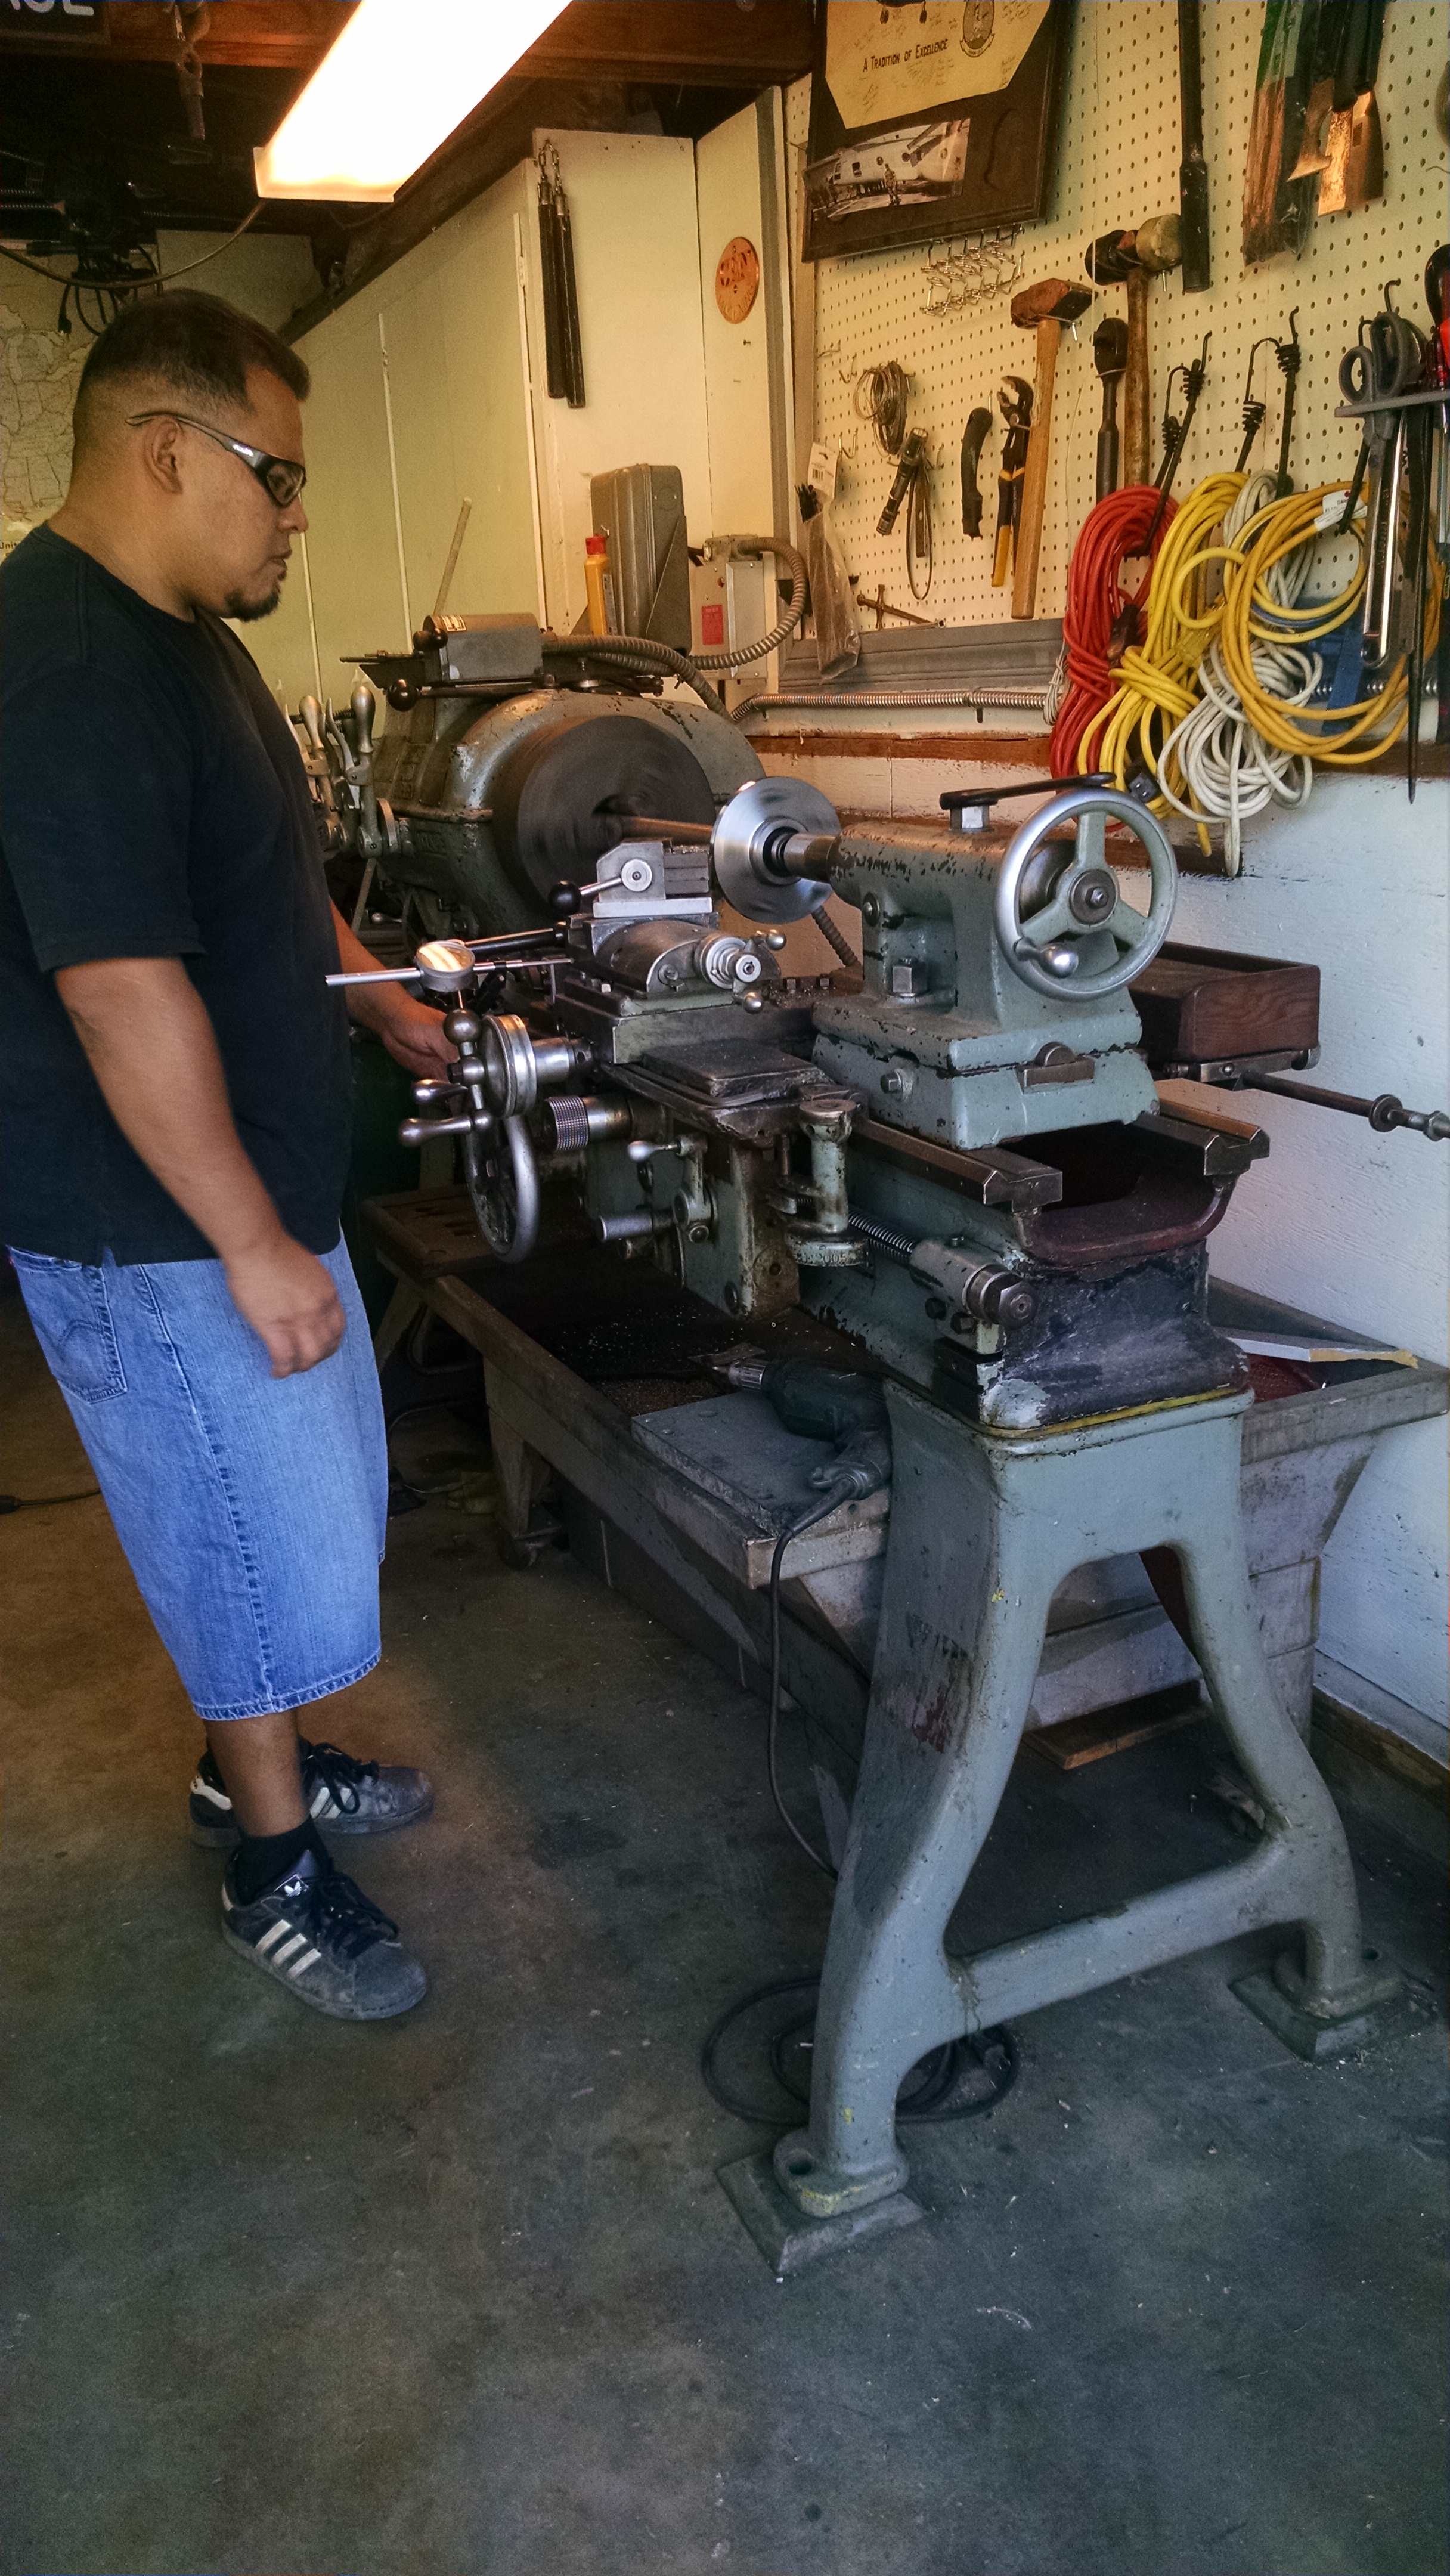
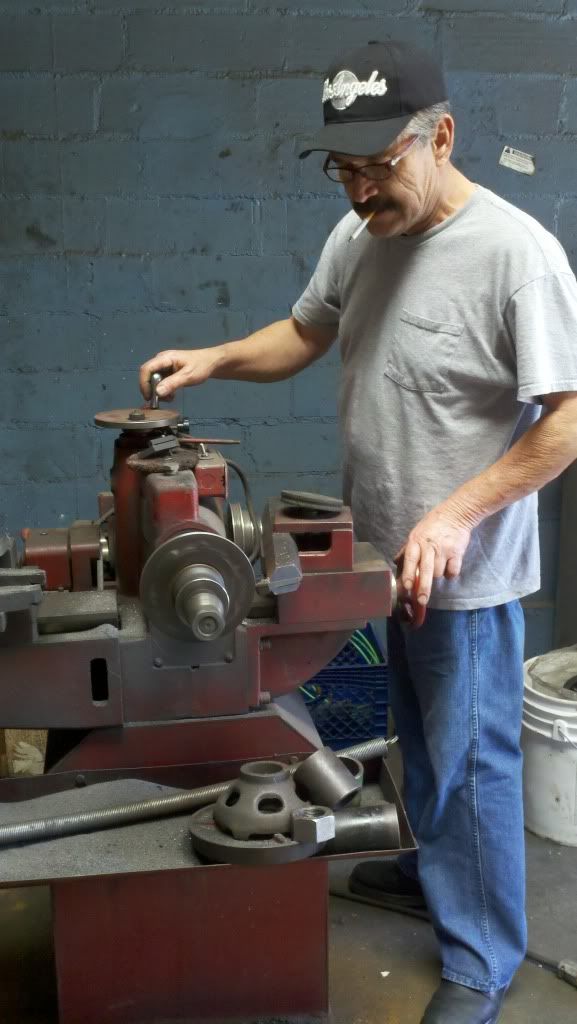
Machining rear axle hub for 4th gen camaro rear rotor clearance:
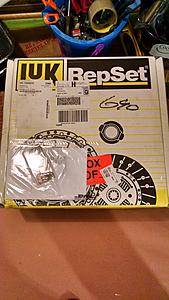
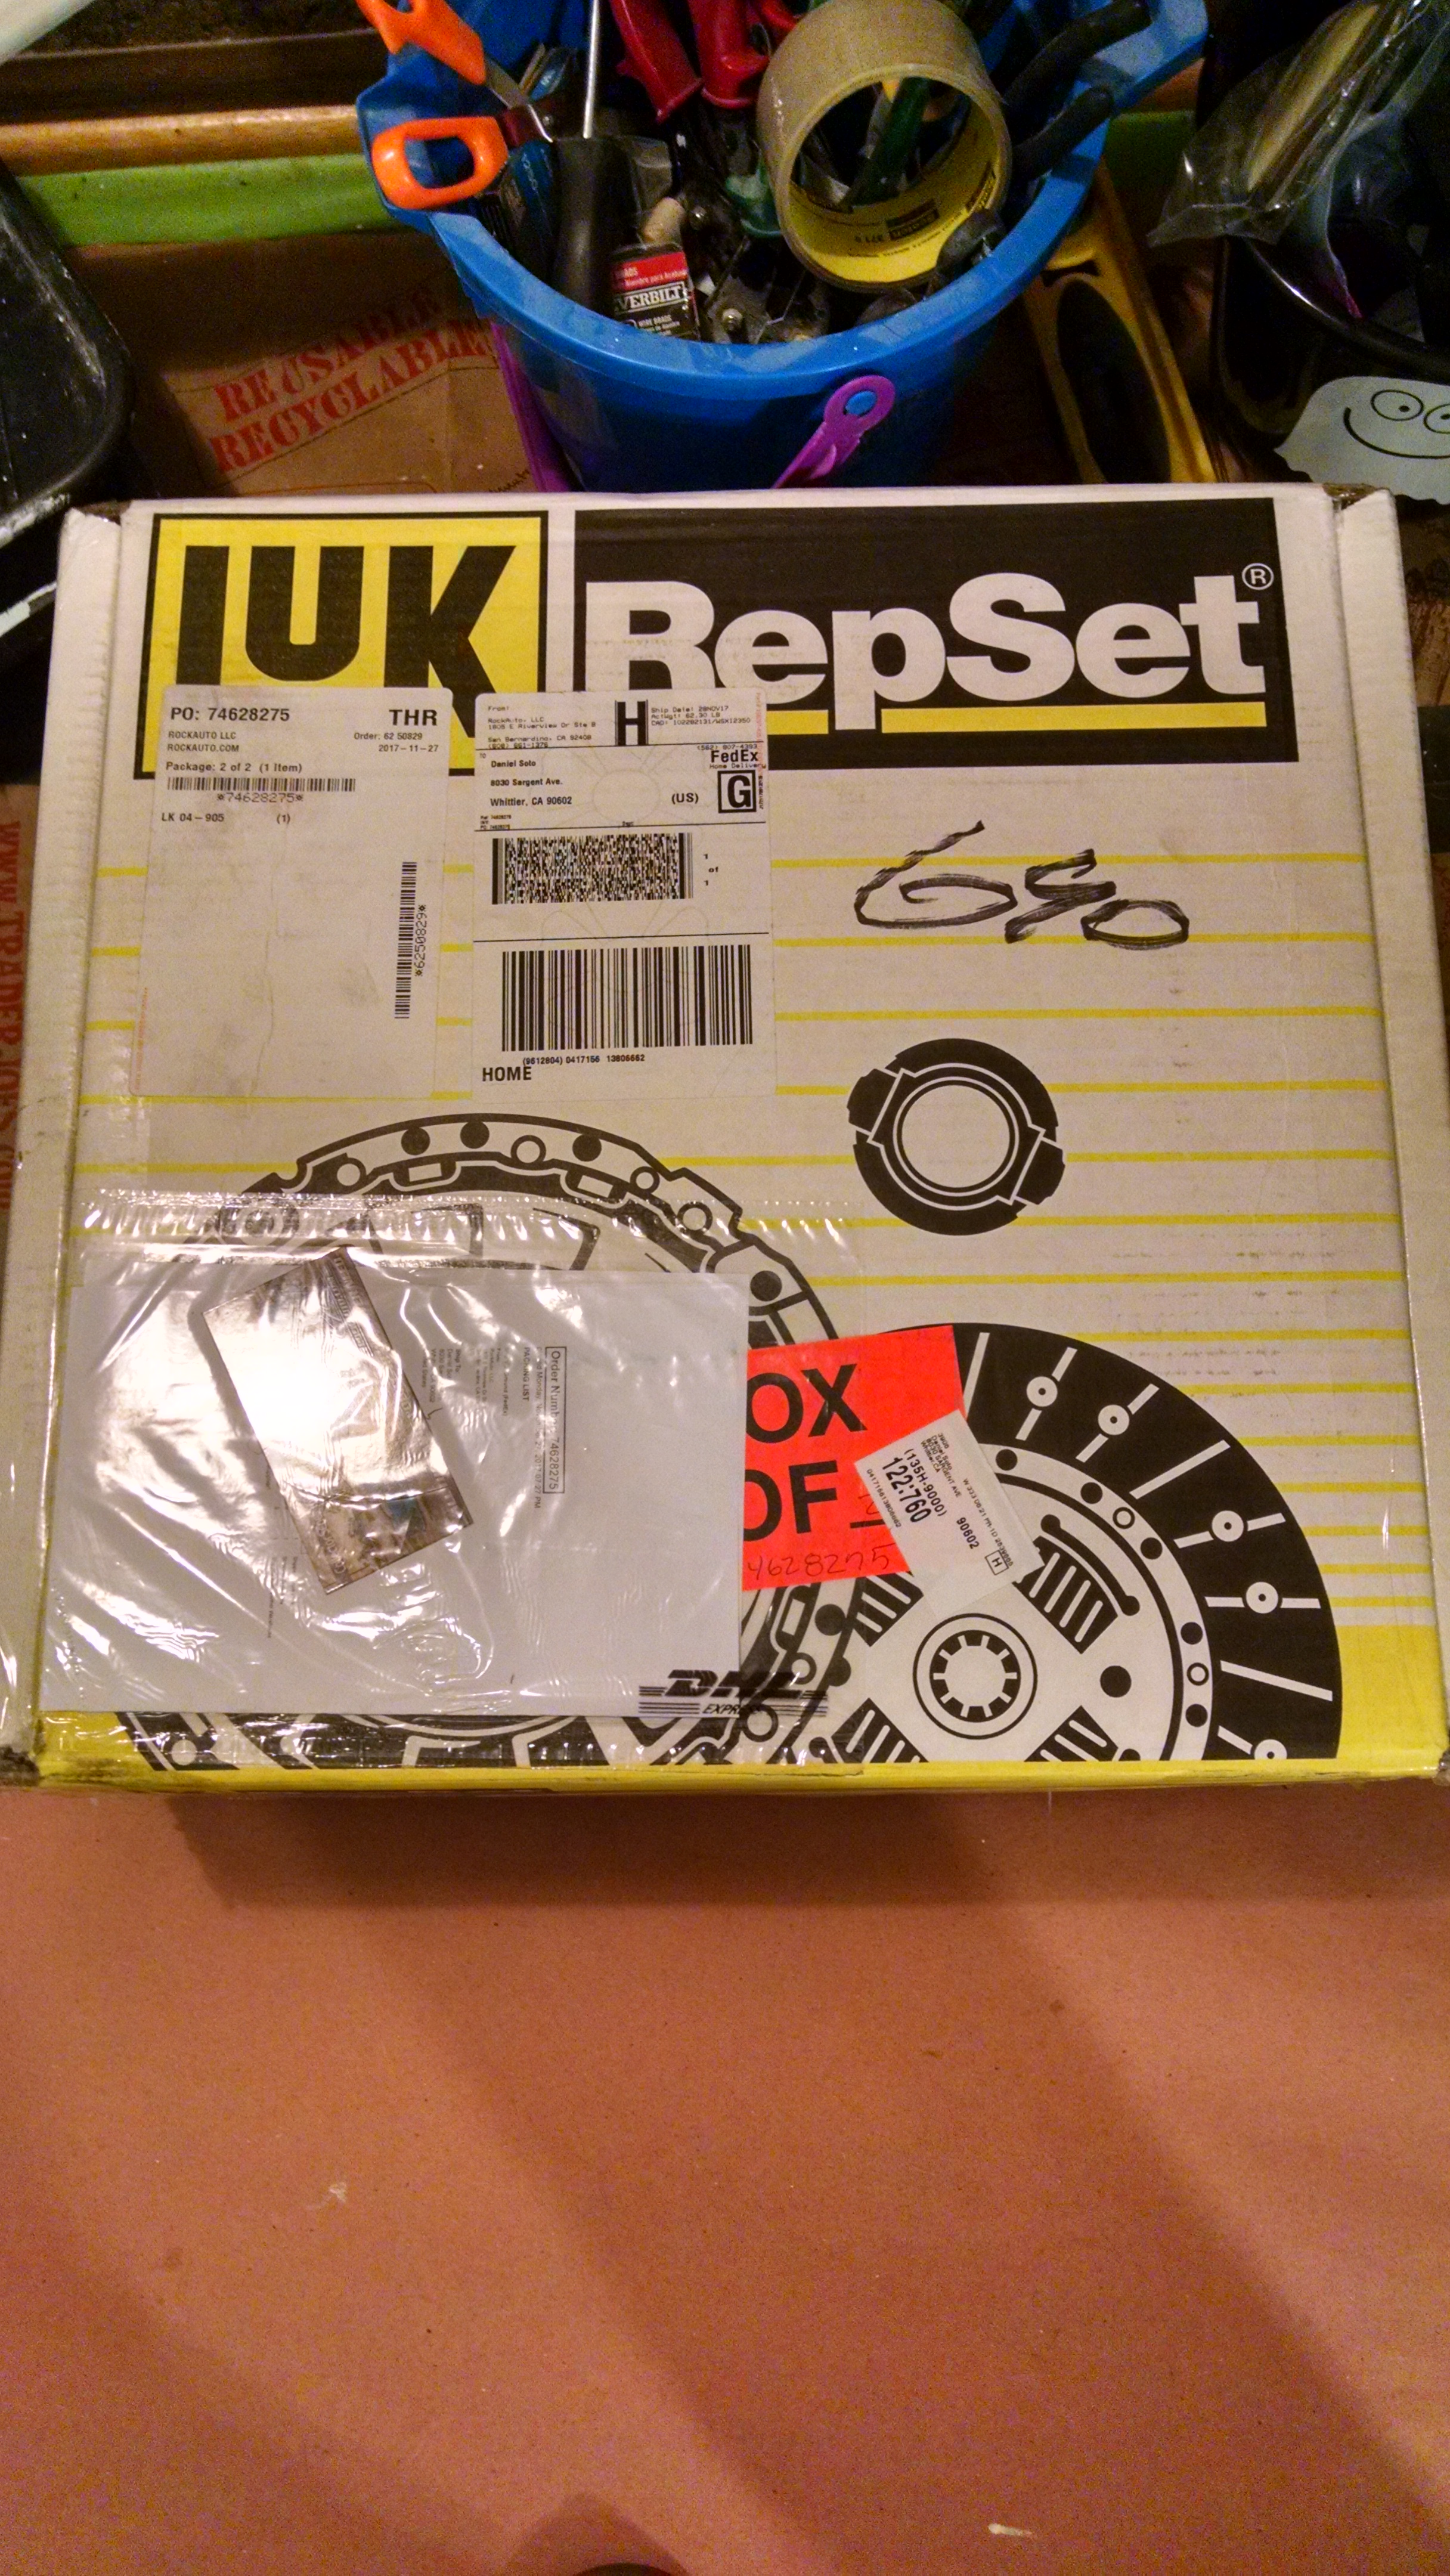
LUK/LS7 Clutch in box (to be installed soon):
Control arms to be installed:
Installed:
Shot of engine/new control arms:
Stance after arms and 3" drop springs (hotchkis):
Machining rear axle hub for 4th gen camaro rear rotor clearance:
LUK/LS7 Clutch in box (to be installed soon):
 12-08-2017, 03:07 PM
#174
TECH Apprentice
Thread Starter
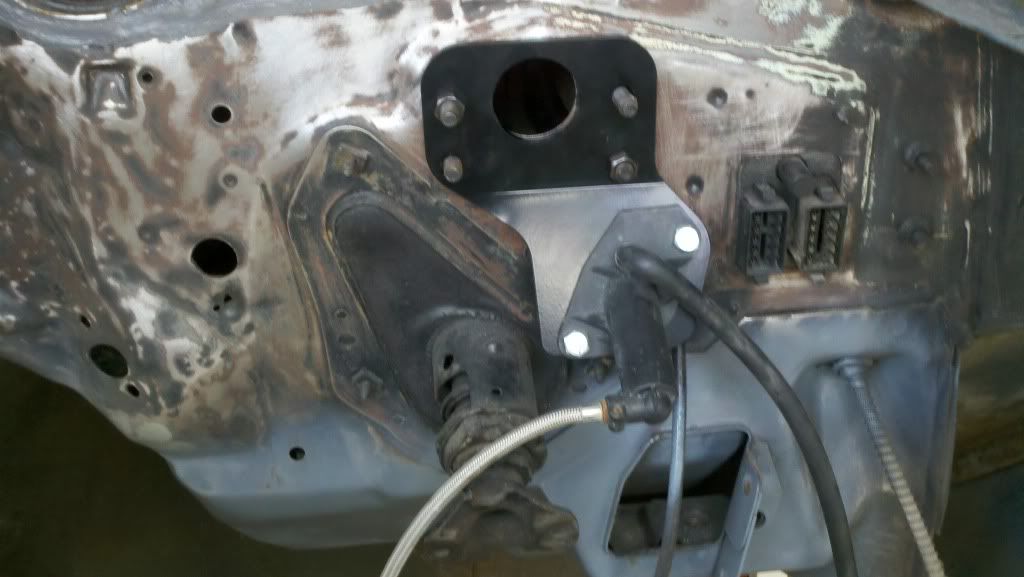
Good eye! That is actually my dad's efforts from back in the 90's. He was working on making late model brakes work on the car before the whole "LS/4th gen" brake craze happened. Think it was 5 on 5 pattern but could not confirm. it's only on that one side hub not driver's side.
12-08-2017, 03:58 PM
#175
What brakes are you using? I am trying to decide what to do up front to go with my LS1 rears. What master cylinder size did you decide on?
I see myself heading toward a brake system snowball/overhaul and it looks like I might have a lot to learn from your experience.
I see myself heading toward a brake system snowball/overhaul and it looks like I might have a lot to learn from your experience.
12-08-2017, 04:18 PM
#176
TECH Apprentice
Thread Starter
What brakes are you using? I am trying to decide what to do up front to go with my LS1 rears. What master cylinder size did you decide on?
I see myself heading toward a brake system snowball/overhaul and it looks like I might have a lot to learn from your experience.
I see myself heading toward a brake system snowball/overhaul and it looks like I might have a lot to learn from your experience.
12-08-2017, 04:49 PM
#178
TECH Apprentice
Thread Starter
05-28-2018, 10:39 AM
#180
TECH Apprentice
Thread Starter
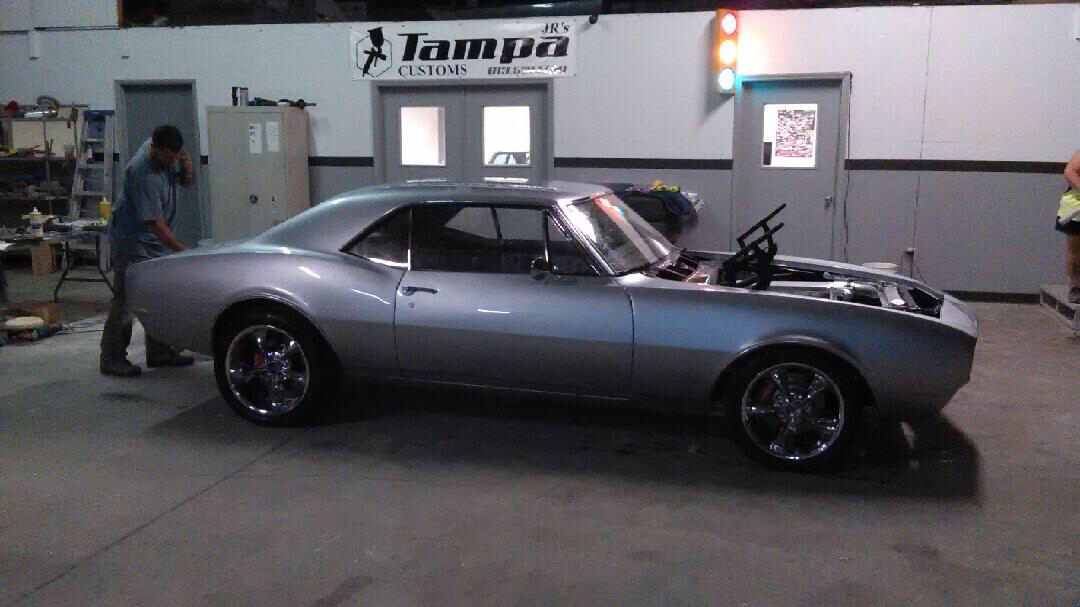
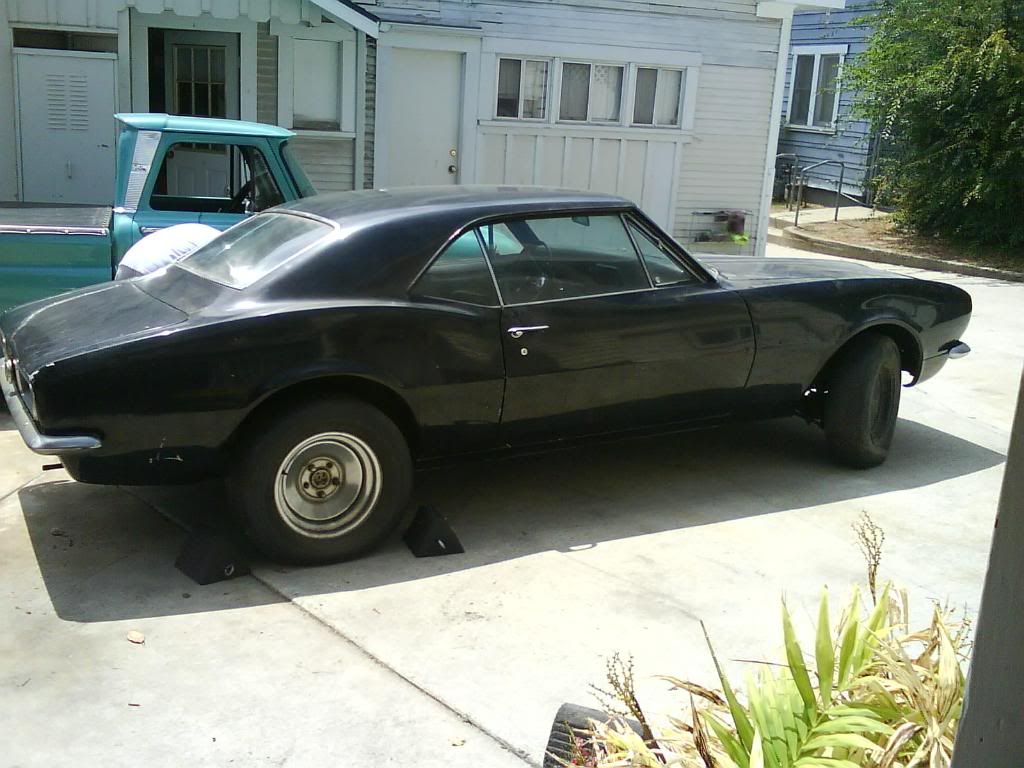
YEAH YEAH YEAH, ANOTHER first gen camaro LS conversion, hence the name project "belly button" everyone has one right! I hope to make mine stand out from the crowd and maintain as much of a budget as possible so follow along.
Alright after about two years of working on my car, browsing and posting on several of your threads (thanks G-Mag, TSnow, BMF5150, the artist formerly known as Klimaxx etc.) I have decided to get a thread of my own going. Hopefully someone out there will follow along patiently and learn from my mistakes, lol. Here goes the story:
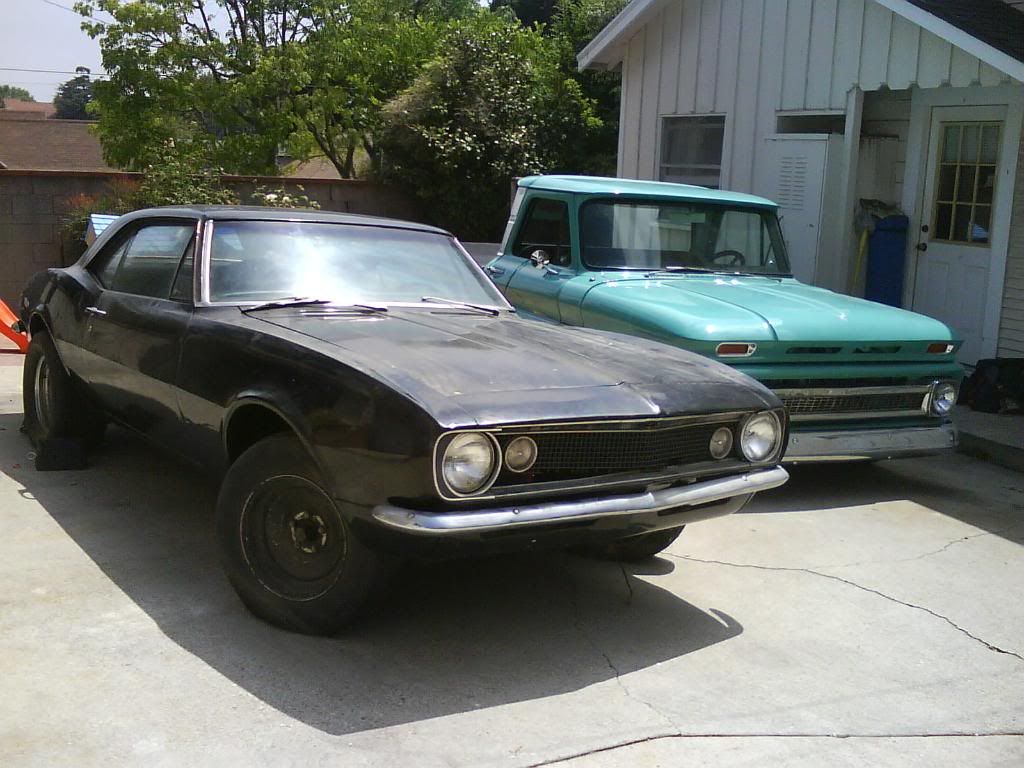
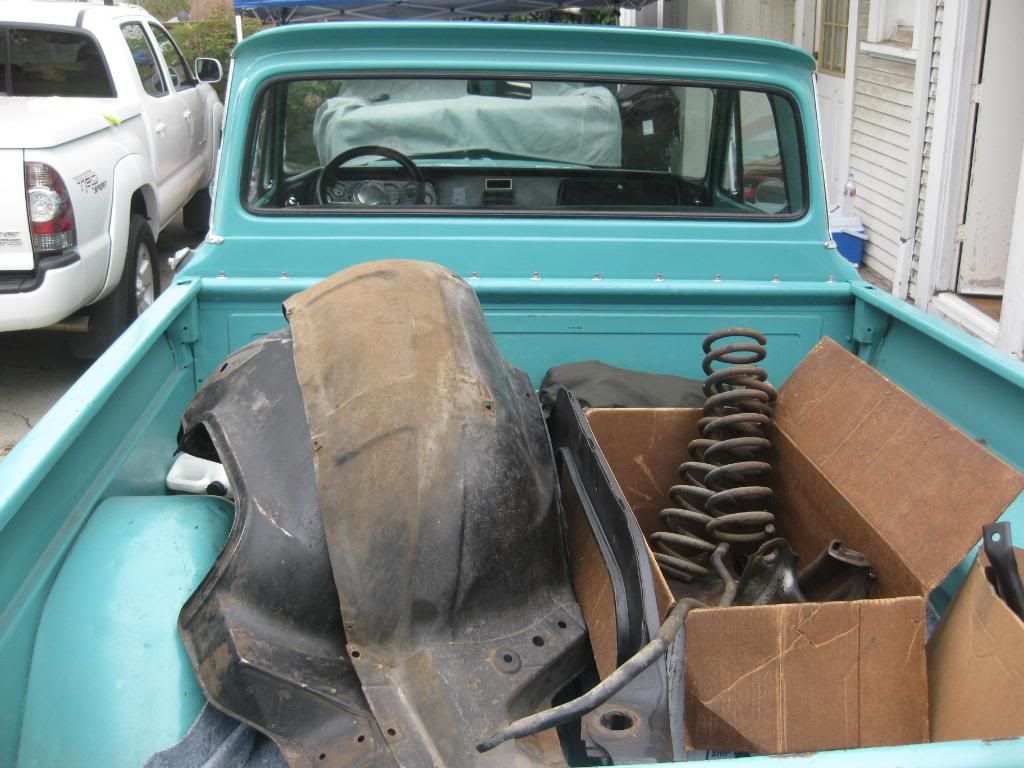
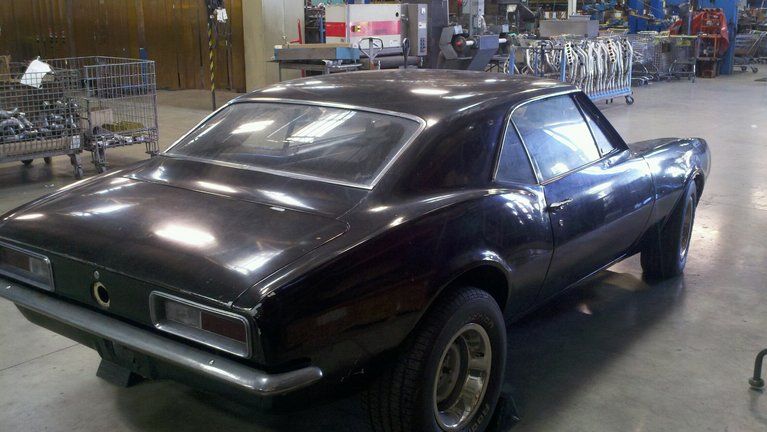
Back in 1992 my father and I purchased this 1967 camaro for $500.00 in Yorba Linda California because it was not running and needed to be towed out of the owners mother's driveway. My father tinkered with the brakes but no serious work happened to the car. It mostly sat in the garage while I went to college, started a family, got married etc. FINALLY a few years ago the day came when he said I could have the car and a game plan was set up.
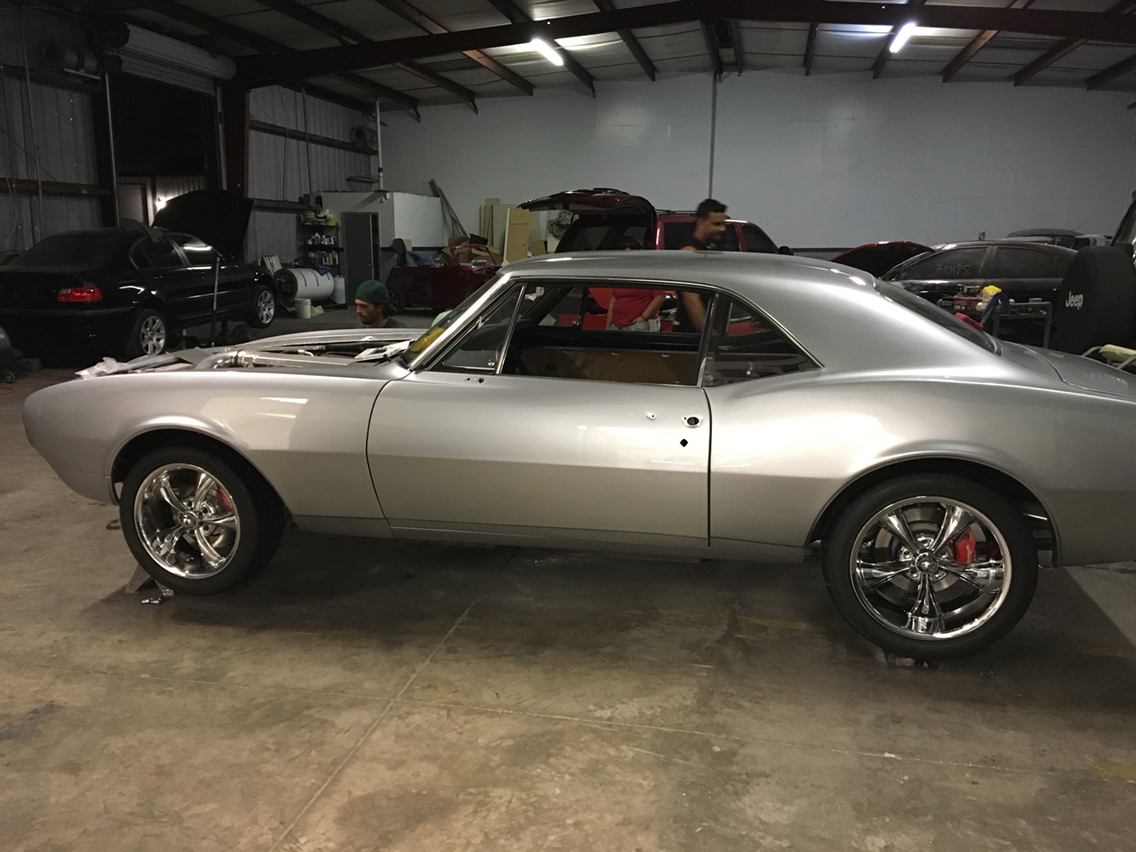
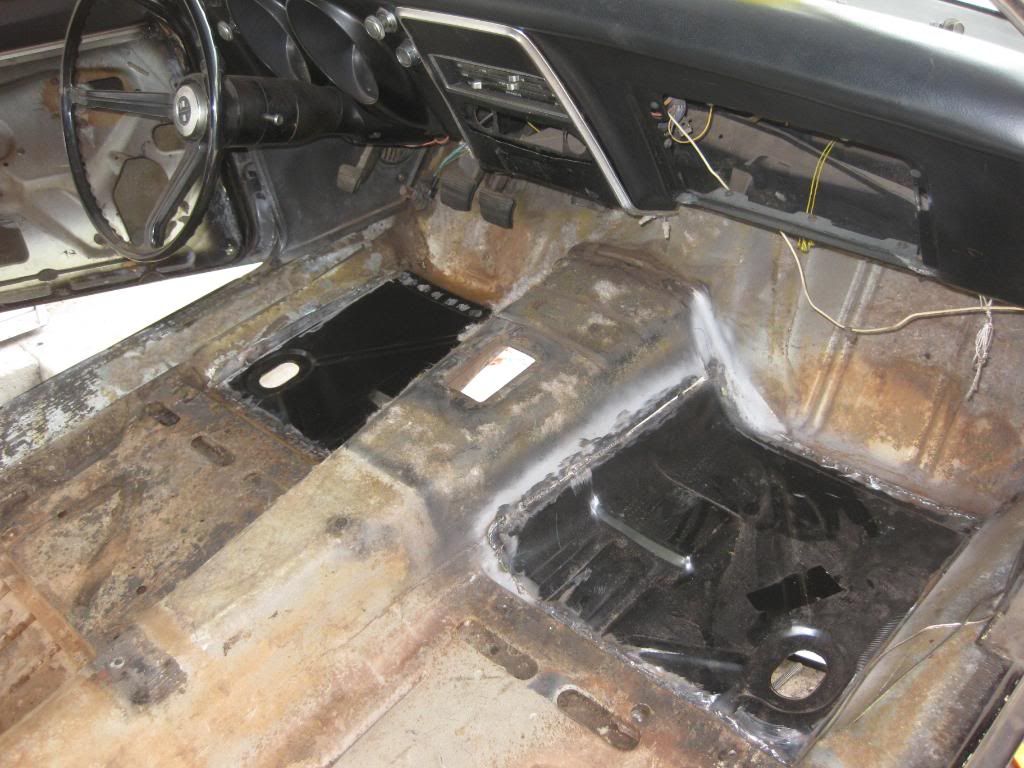
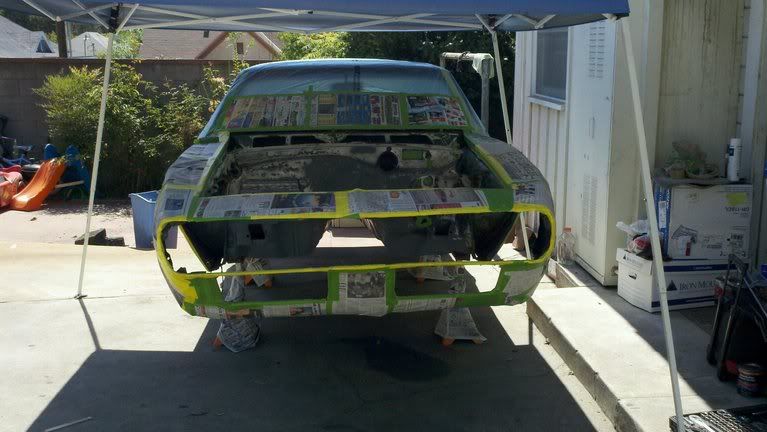
Here is the car after being garaged for about 10 years:
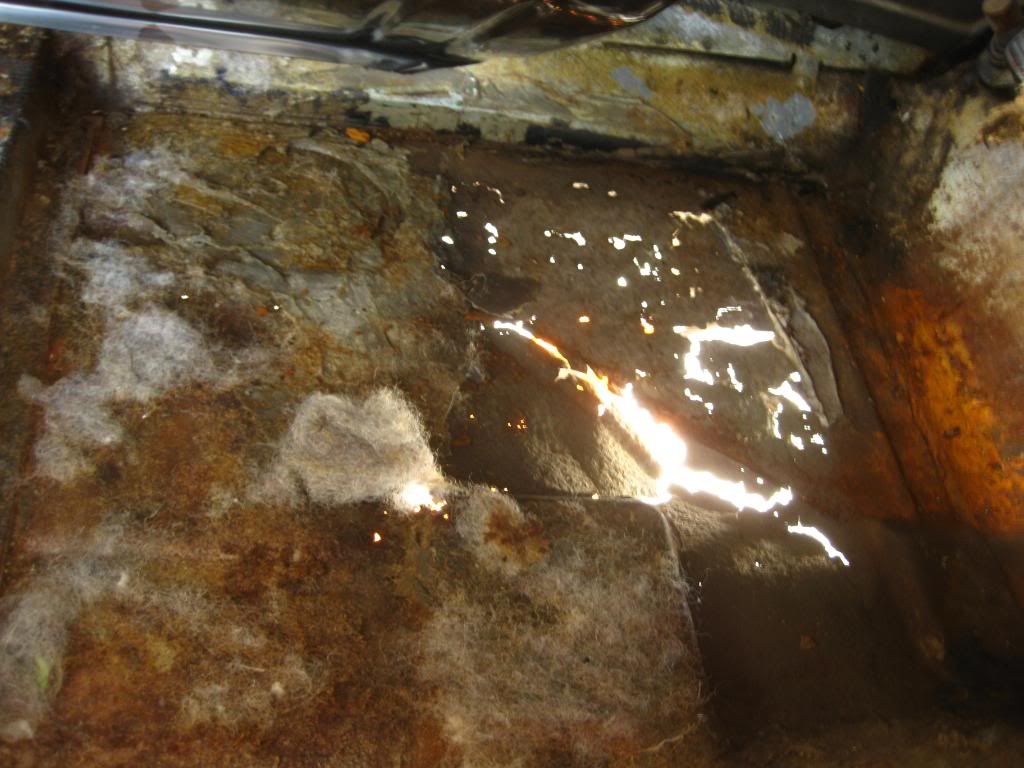
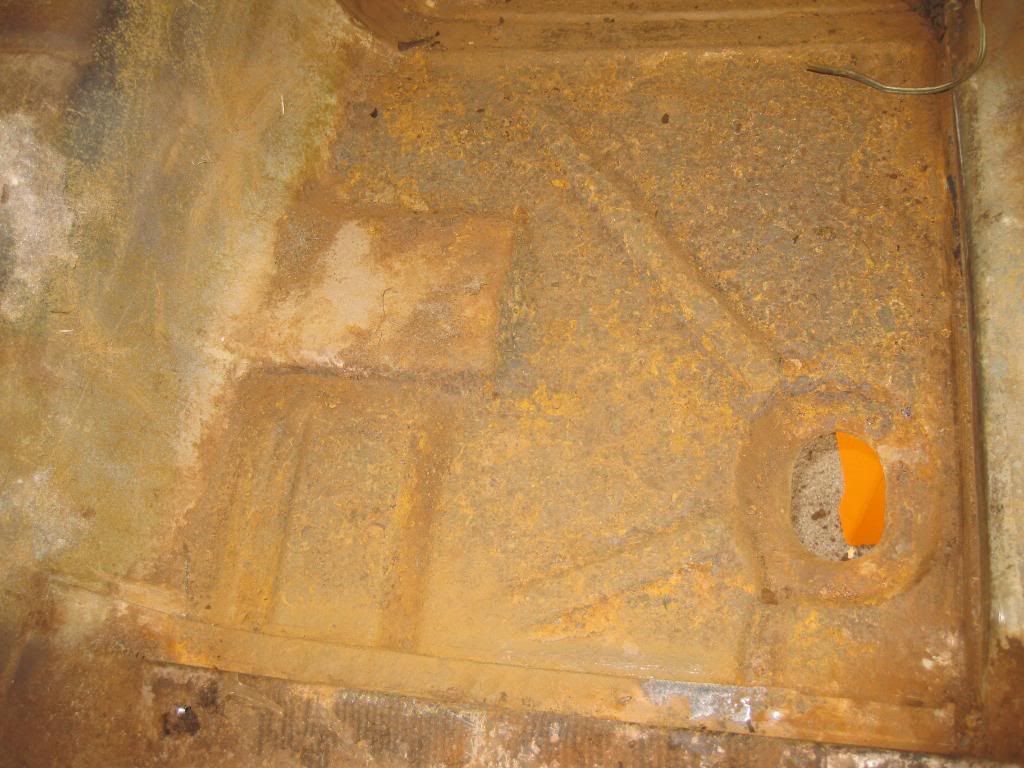
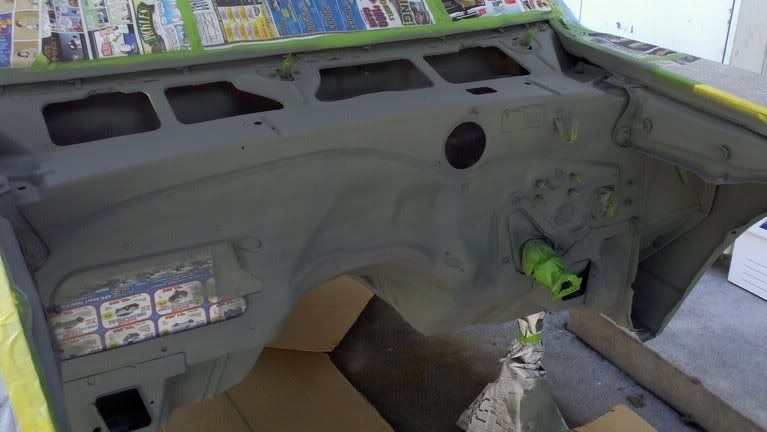
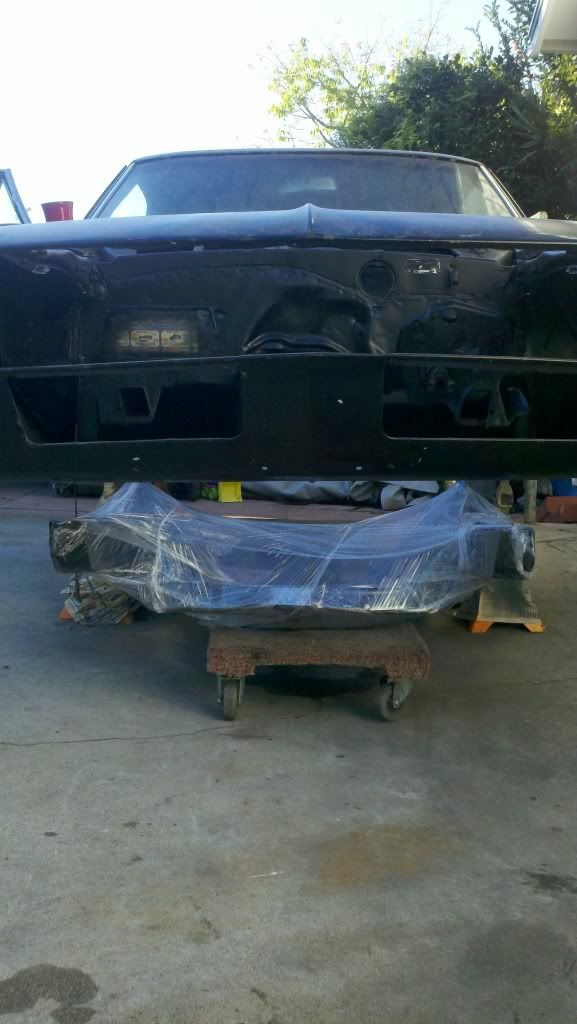
The plan now is to install a pull out 2002 SS camaro LS1/T56 in the car. Of course I came across a few bumps in the road along the way and I ended up replacing front floor pans, powdercoated the inner fenderwells, subframe and all components, even the radiator core support got powdercoated. My buddy and I prepped and painted the firewall and underside of the car as well.
Off to powdercoat:
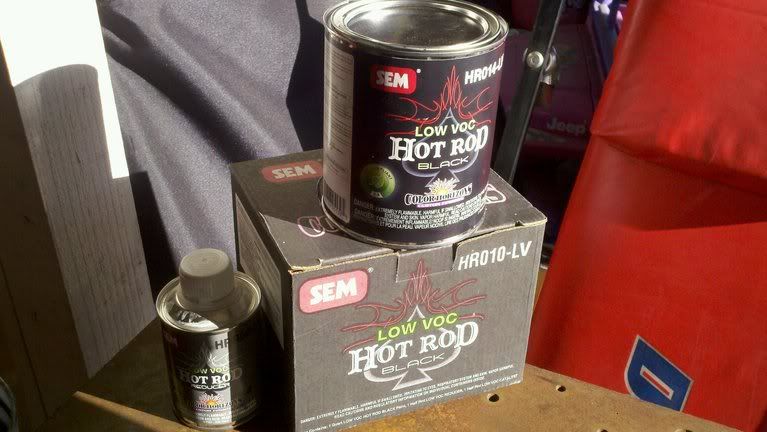
Paint/prep:
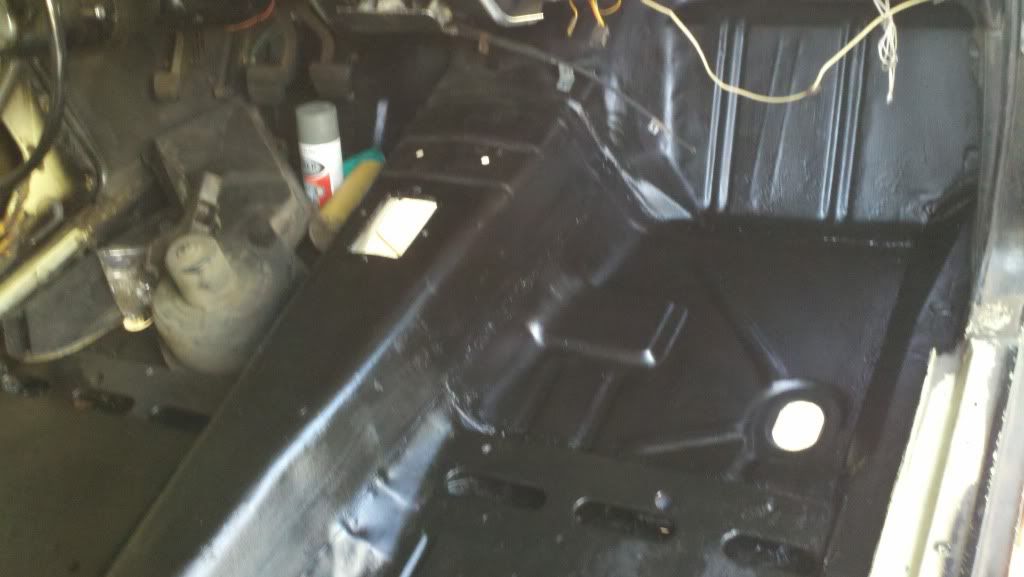
Firewall work:
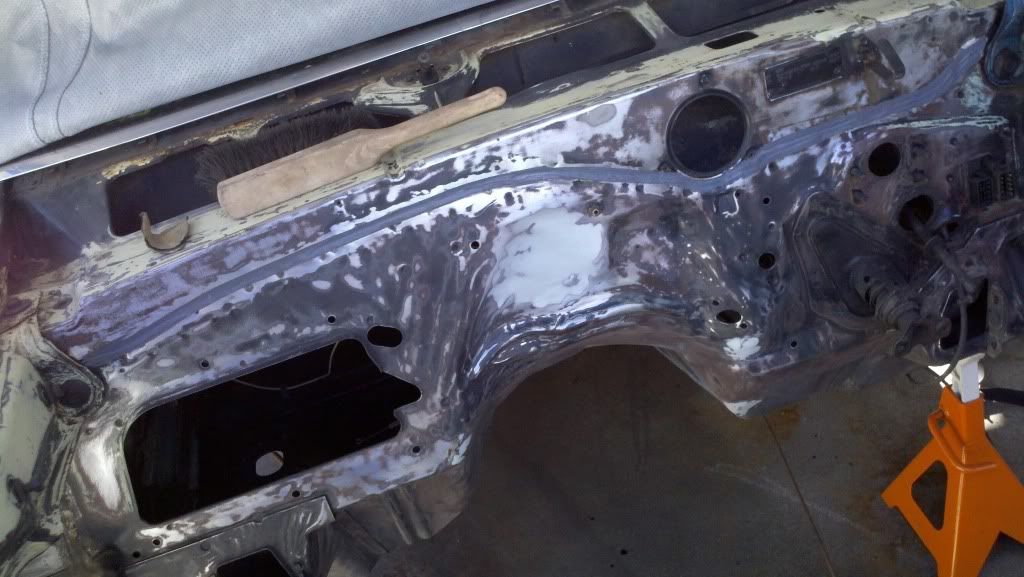
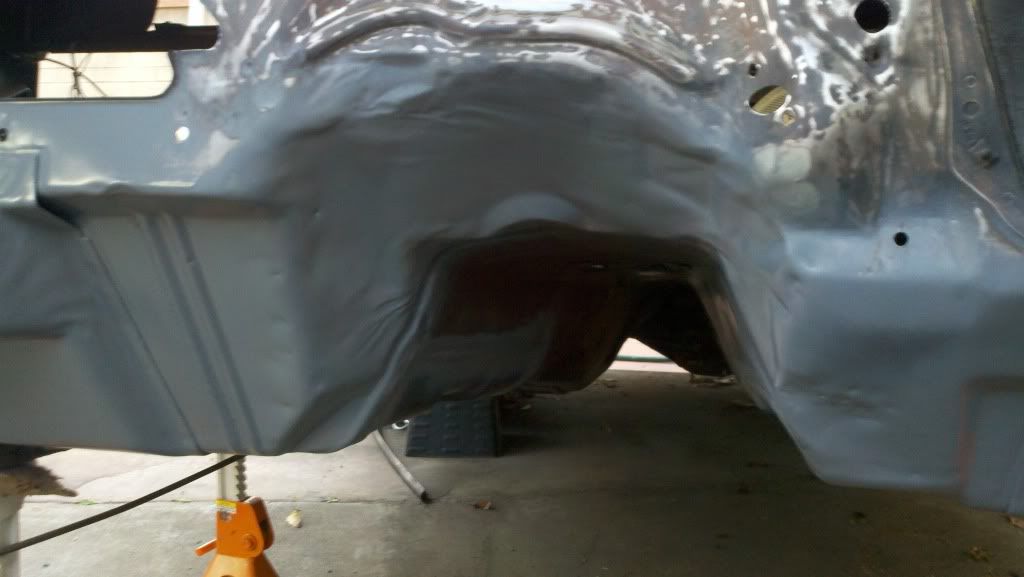
Prepped for paint:
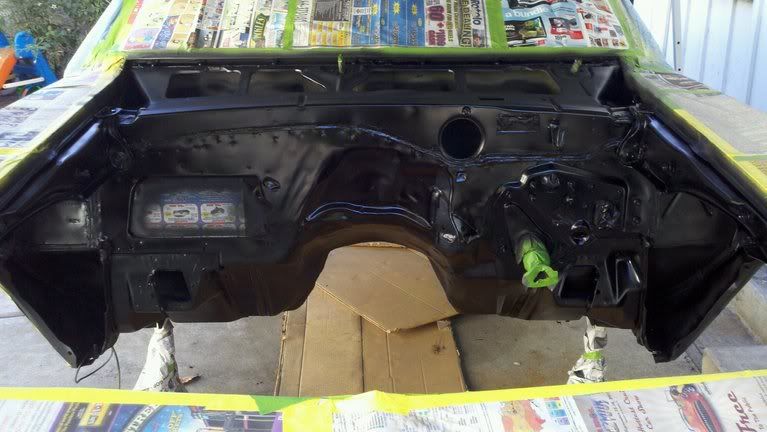
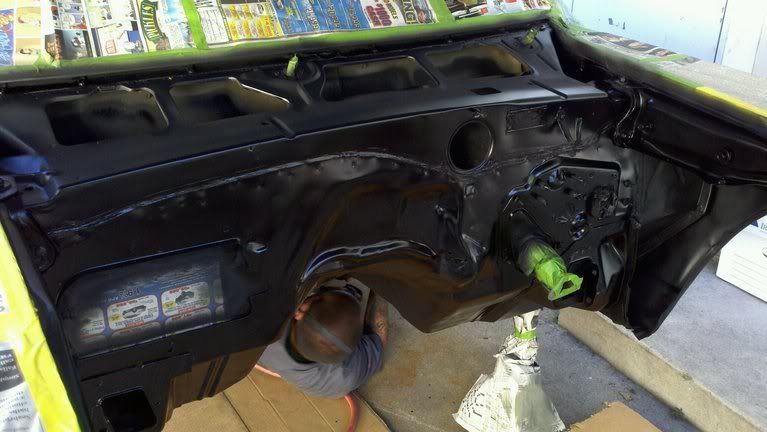
From there we installed the powdercoated subframe, a-arms, spindles etc. with new Moog ball joints, bushings etc. I also added the LS1/fourth gen camaro brake adapters and my dad turned the hubs to fit the rotors:
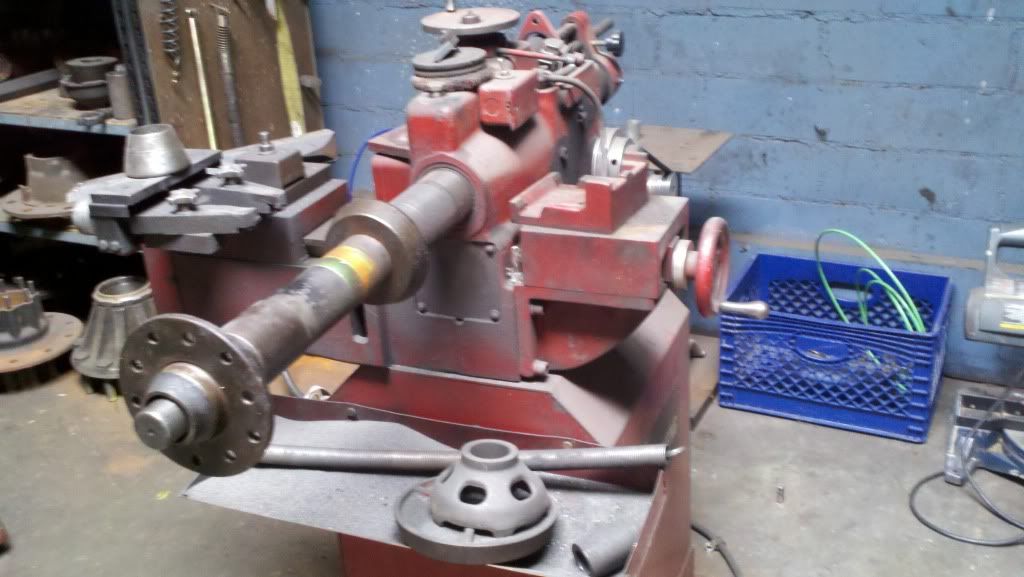
Using tractor trailer heavy duty drum lathe to turn down hubs (dad's a pro with this machine, old school!)
I also prepped and painted all of the suspension components and even scored a set of original short Z-28 steering arms from the guy I bought the brake kit from, he traded me straight across for my originals, score!
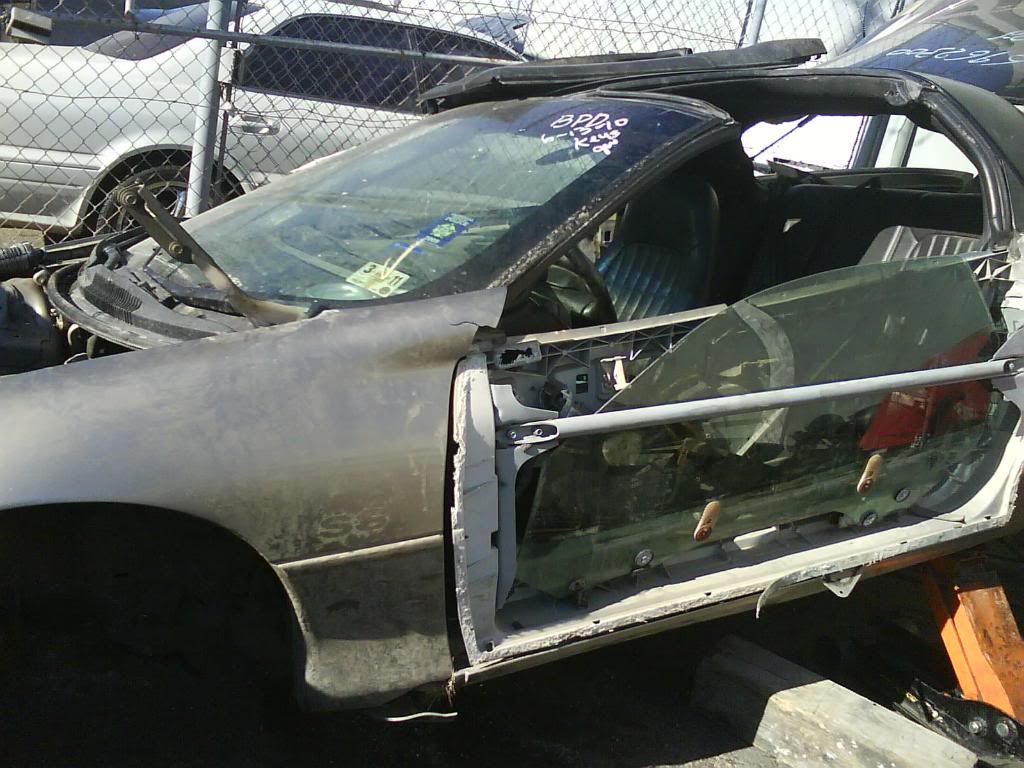
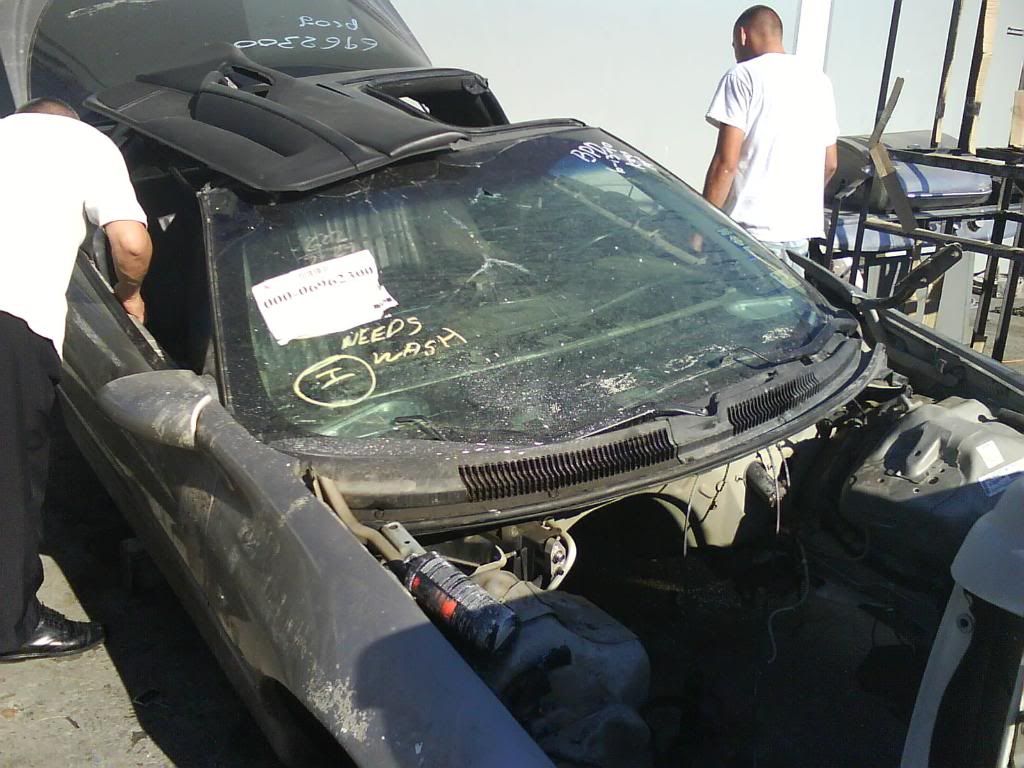
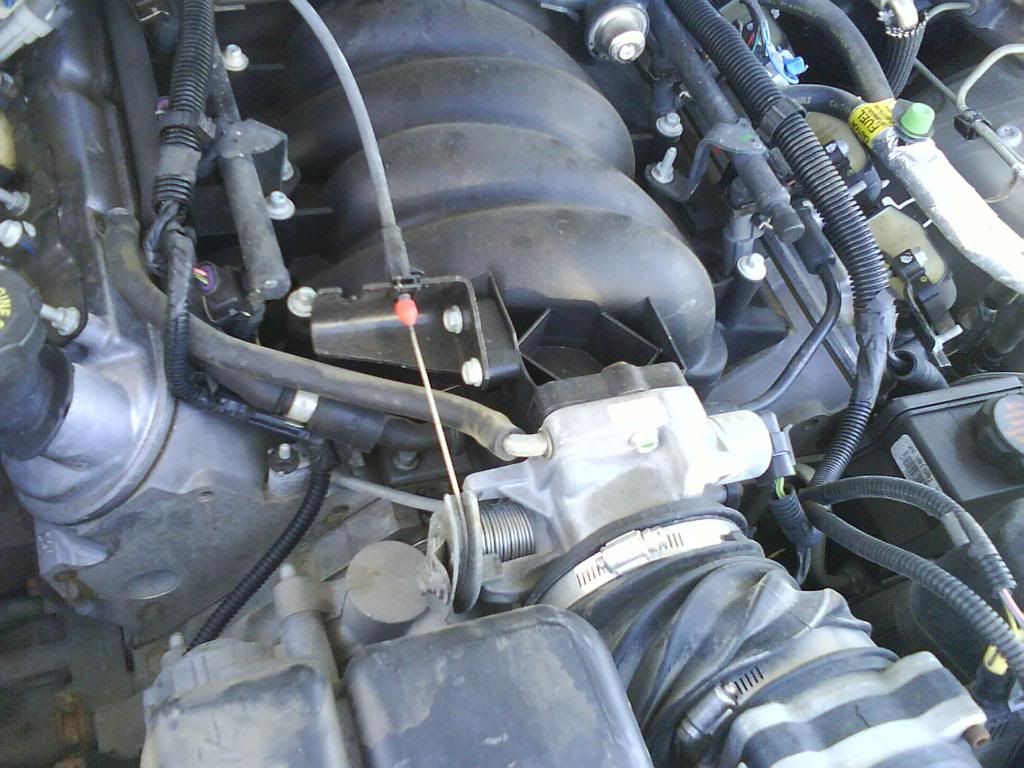
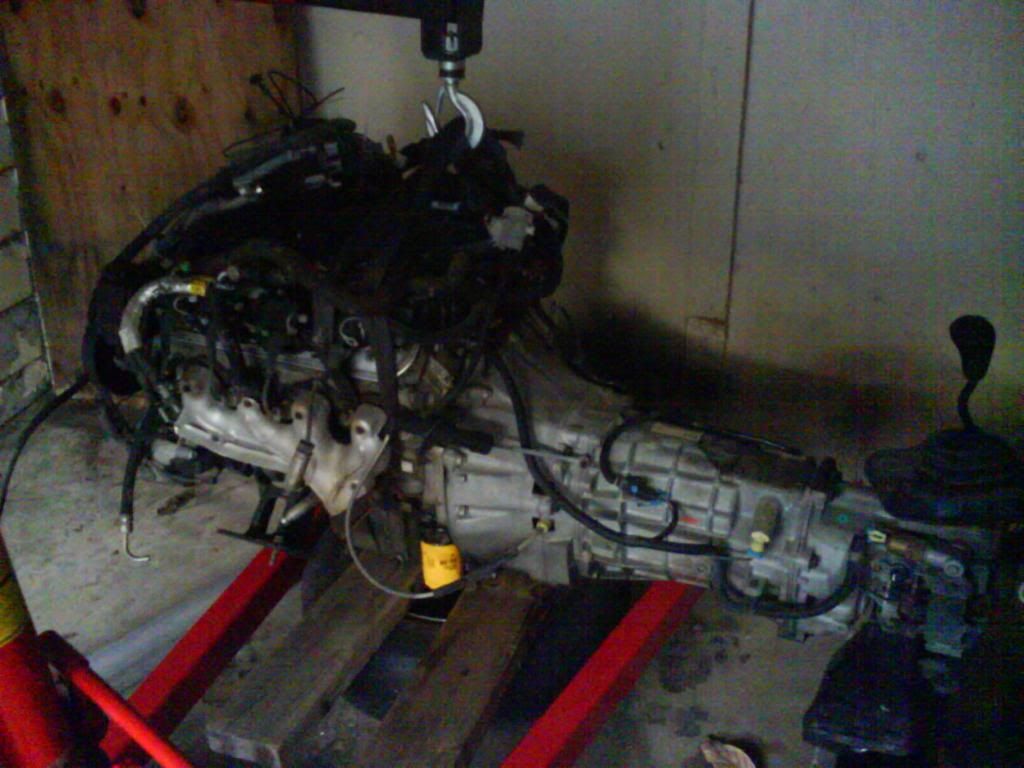
The donor engine and trans came from a roll over 2002 SS camaro. I found receipts etc and contacted the original owner of the car in Texas and he said it was FAST so be careful, he and his friend were both fine after the wreck, and that he babied the car and only drove it on long road trips to visit his in-laws. The combo has about 90K on it (yeah I know that is a little high but I got a sweet deal on the combo).
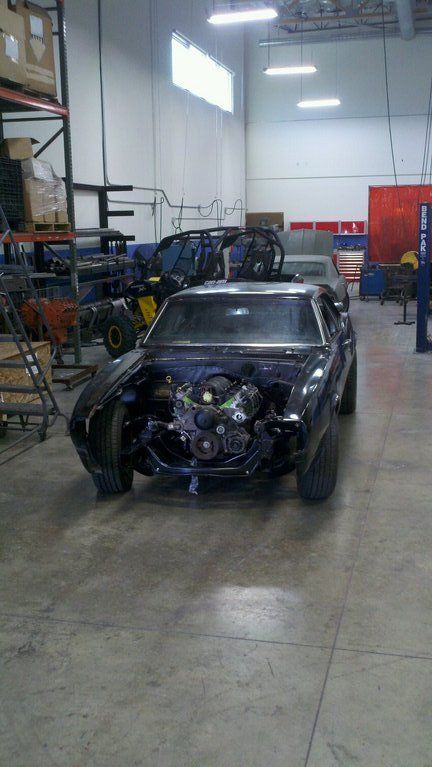
I currently am at a point in the build where I am fitting the engine/trans in the car using 1" setback plates and ATS adjustable crossmember. I am psyched because Doug Thorley used my car as the mock up car for their brand new 67-69 camaro LS conversion headers and all I can say is Nick and Jaime are top notch professional guys and the product is SWEET (they have pics posted on their facebook page so check them out!!!). Step design/stainless steel long tubes, they should go into production soon so keep an eye out. I'll let Nick post more information about that.
I also recently purchased a vaporworx tank since I picked up some extra work and felt that that was one area where I should spend a little more on the project so as not to have starvation issues etc. Plus Carl is a local/nice guy to deal with:-)
Anyway, I have TONS more work that I have done to the car over the past few years so feel free to ask any questions (for example I have converted the tailshaft of the trans for mechanical speedo, AAW classic update it to be installed, POR 15 on inside floor pans, DSE minitubs POSSIBLY this summer, hotchkis 3" drop springs all around etc.). I hope to get the engine fired up this summer but with work, kids, new house time is tighter than a June bride!
Couple recent pics:

So a few questions for everyone:
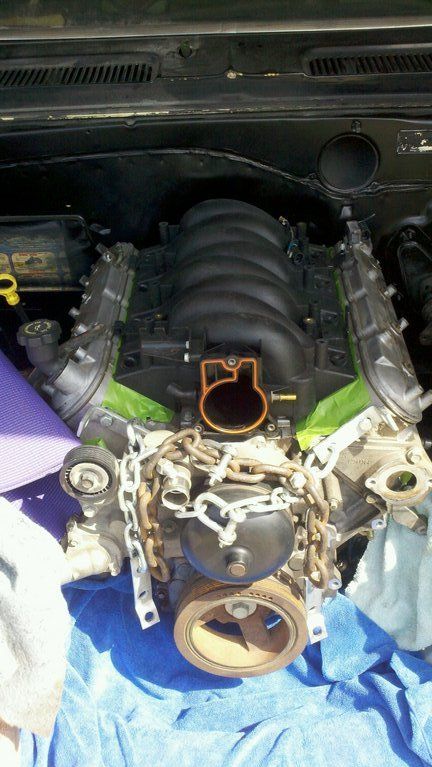
1. What should I do to the motor prior to firing it up again (it has been sitting a while but I did hear it run when I purchased it). Timing chain, oil pump, LS7 clutch/slave/master? Any suggestions on what chain, oil pump to get?
2. Do you all have any input regarding keeping the stock GM computer and harness and have Jon at Speartech re-work it or should I ditch that, save up funds, and get the Holley Dominator or Avenger computer/harness.
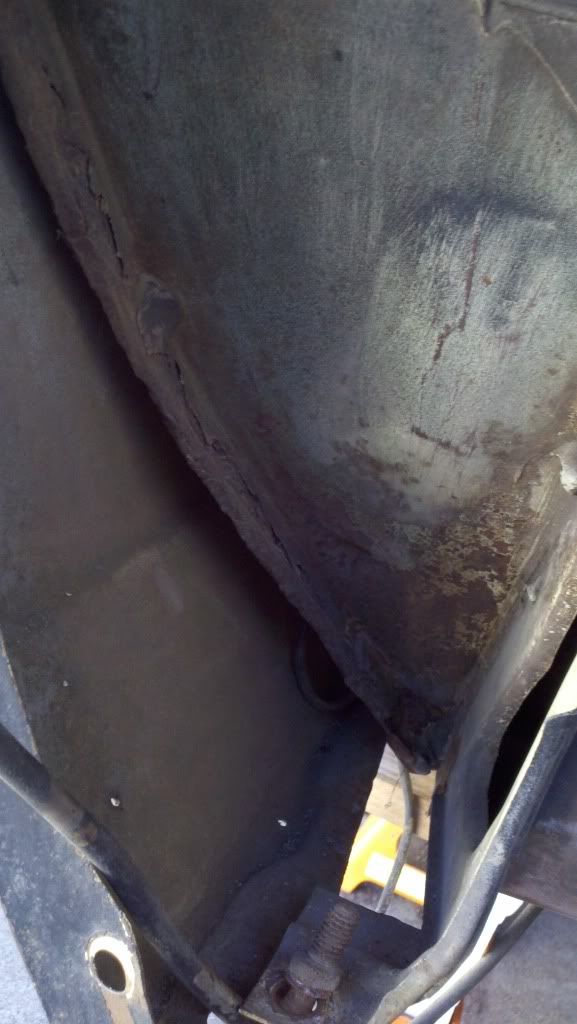
3. Any thoughts about the DSE minitubs? Anyone done it? I am not a great welder but I do have friends who can help with this if needed. I'm not sure it is necessary given that I will be keeping the leaf springs. BUT there is a little rust where the rear shocks mount so that will need attending to and minitubs might take care of that.
Let me know what you think guys, it feels great to FINALLY get this thread started after YEARS of lurking on Tsnows and others. There are GREAT projects here and standards are high on these first gen camaro builds but I will do my best with project belly button.
Alright after about two years of working on my car, browsing and posting on several of your threads (thanks G-Mag, TSnow, BMF5150, the artist formerly known as Klimaxx etc.) I have decided to get a thread of my own going. Hopefully someone out there will follow along patiently and learn from my mistakes, lol. Here goes the story:
Back in 1992 my father and I purchased this 1967 camaro for $500.00 in Yorba Linda California because it was not running and needed to be towed out of the owners mother's driveway. My father tinkered with the brakes but no serious work happened to the car. It mostly sat in the garage while I went to college, started a family, got married etc. FINALLY a few years ago the day came when he said I could have the car and a game plan was set up.
Here is the car after being garaged for about 10 years:
The plan now is to install a pull out 2002 SS camaro LS1/T56 in the car. Of course I came across a few bumps in the road along the way and I ended up replacing front floor pans, powdercoated the inner fenderwells, subframe and all components, even the radiator core support got powdercoated. My buddy and I prepped and painted the firewall and underside of the car as well.
Off to powdercoat:
Paint/prep:
Firewall work:
Prepped for paint:
From there we installed the powdercoated subframe, a-arms, spindles etc. with new Moog ball joints, bushings etc. I also added the LS1/fourth gen camaro brake adapters and my dad turned the hubs to fit the rotors:
Using tractor trailer heavy duty drum lathe to turn down hubs (dad's a pro with this machine, old school!)
I also prepped and painted all of the suspension components and even scored a set of original short Z-28 steering arms from the guy I bought the brake kit from, he traded me straight across for my originals, score!
The donor engine and trans came from a roll over 2002 SS camaro. I found receipts etc and contacted the original owner of the car in Texas and he said it was FAST so be careful, he and his friend were both fine after the wreck, and that he babied the car and only drove it on long road trips to visit his in-laws. The combo has about 90K on it (yeah I know that is a little high but I got a sweet deal on the combo).
I currently am at a point in the build where I am fitting the engine/trans in the car using 1" setback plates and ATS adjustable crossmember. I am psyched because Doug Thorley used my car as the mock up car for their brand new 67-69 camaro LS conversion headers and all I can say is Nick and Jaime are top notch professional guys and the product is SWEET (they have pics posted on their facebook page so check them out!!!). Step design/stainless steel long tubes, they should go into production soon so keep an eye out. I'll let Nick post more information about that.
I also recently purchased a vaporworx tank since I picked up some extra work and felt that that was one area where I should spend a little more on the project so as not to have starvation issues etc. Plus Carl is a local/nice guy to deal with:-)
Anyway, I have TONS more work that I have done to the car over the past few years so feel free to ask any questions (for example I have converted the tailshaft of the trans for mechanical speedo, AAW classic update it to be installed, POR 15 on inside floor pans, DSE minitubs POSSIBLY this summer, hotchkis 3" drop springs all around etc.). I hope to get the engine fired up this summer but with work, kids, new house time is tighter than a June bride!
Couple recent pics:
So a few questions for everyone:
1. What should I do to the motor prior to firing it up again (it has been sitting a while but I did hear it run when I purchased it). Timing chain, oil pump, LS7 clutch/slave/master? Any suggestions on what chain, oil pump to get?
2. Do you all have any input regarding keeping the stock GM computer and harness and have Jon at Speartech re-work it or should I ditch that, save up funds, and get the Holley Dominator or Avenger computer/harness.
3. Any thoughts about the DSE minitubs? Anyone done it? I am not a great welder but I do have friends who can help with this if needed. I'm not sure it is necessary given that I will be keeping the leaf springs. BUT there is a little rust where the rear shocks mount so that will need attending to and minitubs might take care of that.
Let me know what you think guys, it feels great to FINALLY get this thread started after YEARS of lurking on Tsnows and others. There are GREAT projects here and standards are high on these first gen camaro builds but I will do my best with project belly button.


