

My Pro-Touring Project - 1969 Camaro LSX427 TT


 06-23-2014, 01:41 PM
#87
Yea, if you call and talk to them you can get them added. I believe mine is the 2nd one they've done that way.
The options listed on the site are by no means all they can do. They did an excellent job on mine and everything on it is full custom.
William
The options listed on the site are by no means all they can do. They did an excellent job on mine and everything on it is full custom.
William
 06-27-2014, 10:32 PM
#89

Looks like MAST messed up and sent you MY motor., Son of a bitch!!!! lol
 06-28-2014, 10:26 AM
#91

Pure **** !
08-23-2014, 08:22 AM
#93
Weird, I just got a PM about no longer supporting private images. I will not be making my photo album public and the hassle of loading all these onto the site will probably end the updates on LS1tech. I'll continue to try but if it deletes all my pictures then you can continue to follow on another site:
Lateral-G:
http://www.lateral-g.net/forums/showthread.php4?t=28470
William
Lateral-G:
http://www.lateral-g.net/forums/showthread.php4?t=28470
William
 08-25-2014, 01:53 PM
#96
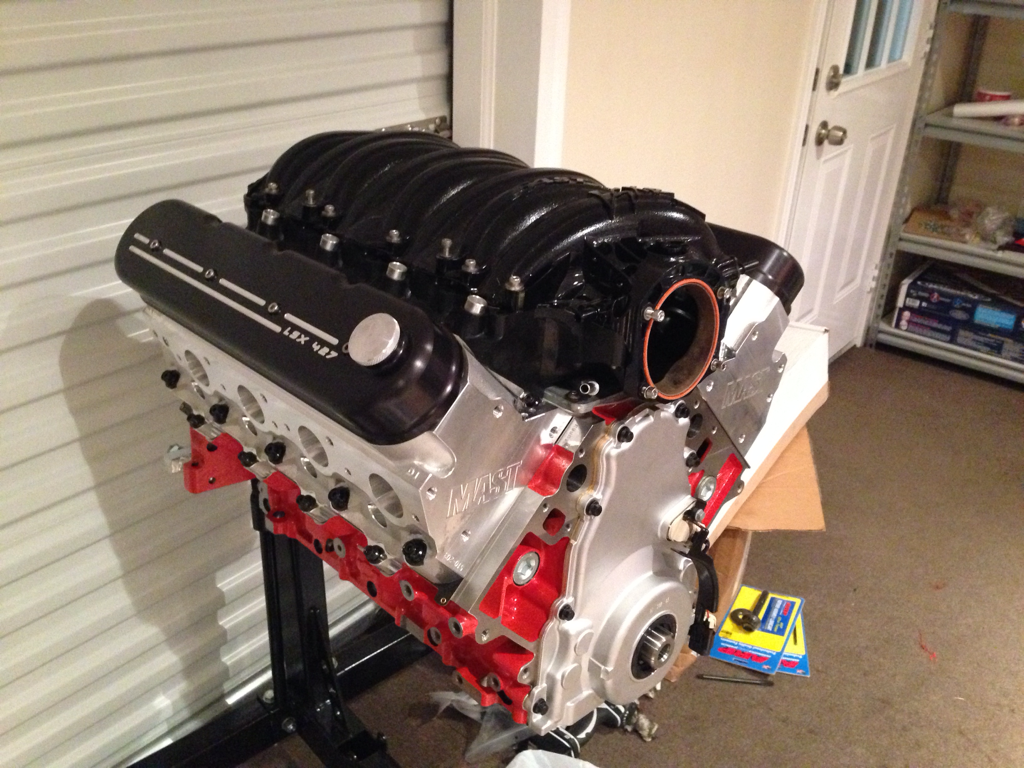
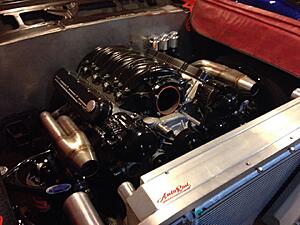
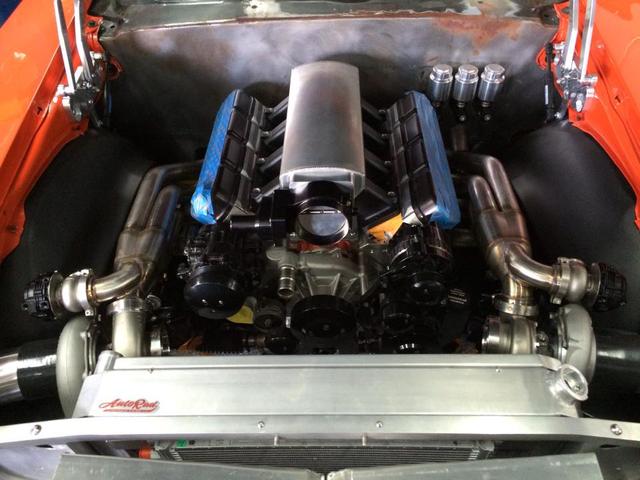
Valve covers are from Precision Metalcraft. Awesome looking product and very happy I went with them as they'll fit the build perfectly.
Thanks, I am also! Really wishing I was further along but this summer has been brutal and motivation to get in the garage and work on it is LOW.
William
Thanks, I am also! Really wishing I was further along but this summer has been brutal and motivation to get in the garage and work on it is LOW.
William
 08-29-2014, 07:54 AM
#99
Just depends on budget and what you downing the car. Their suspension is pretty much the best but also the most expensive. Te name helps increase value for resale also.
If I had budget restrictions and track only a few times a year is probably just go modified stock subframe. They can be made to handle very well.
If I had budget restrictions and track only a few times a year is probably just go modified stock subframe. They can be made to handle very well.
09-28-2015, 09:58 AM
#100
Updates:
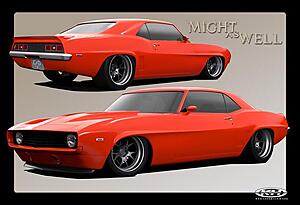
Rendering Done.
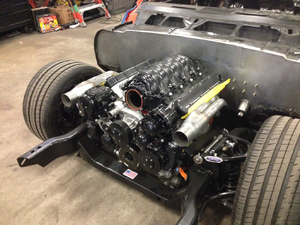
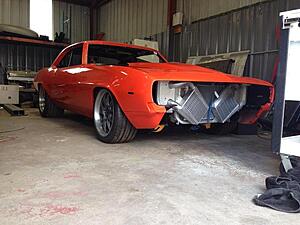
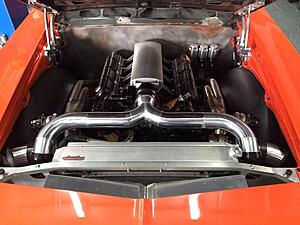
Motor placed to check firewall after more modifications/smoothing there.
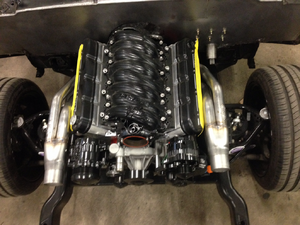
Transitions for the turbo flange added.
I gotta say it looks pretty good on the ground.
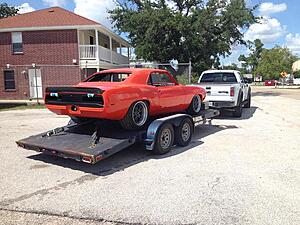
Enroute to turbo shop!
Time to start downpipe and wastegate dumps.
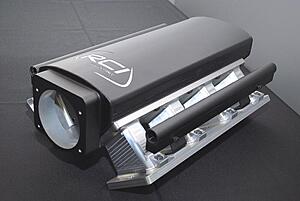
Beyond that we are still waiting on the RCI intake to arrive.
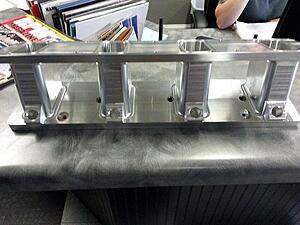
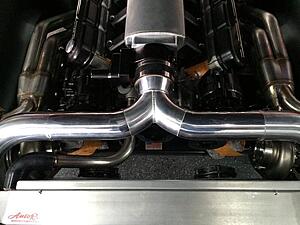
This started off as a 5in x 5in x 18in solid block of aluminum (runners)!
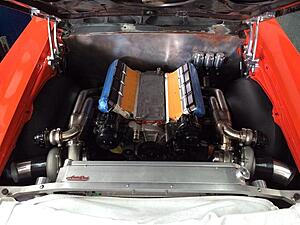
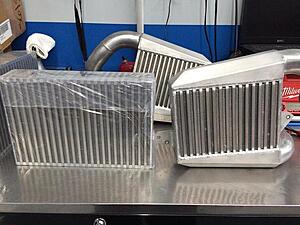
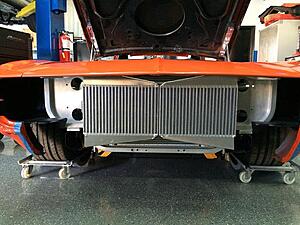
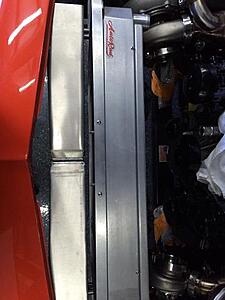
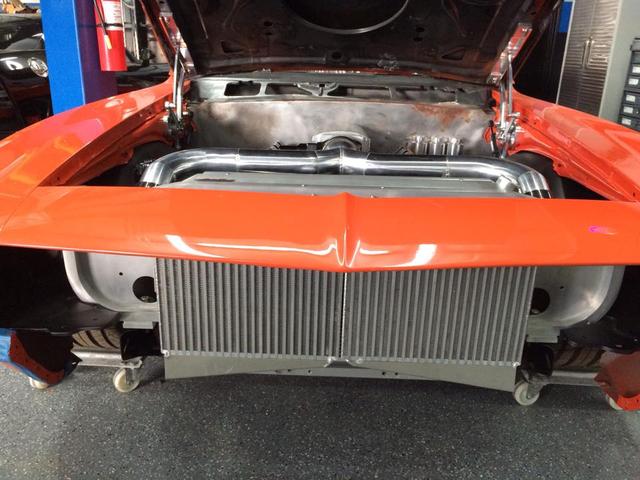
After some further discussion with Kevin at M2K and the Gerhard at Bell intercoolers, we discovered the old setup was only efficient to about 850hp (flywheel). We upgraded those cores from 7x11x3" cores to 11x15x3.5" cores. These are capable of efficiently supporting 1250 hp (flywheel).
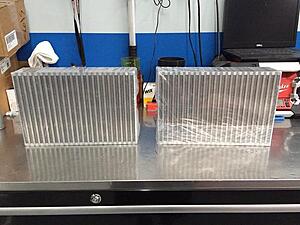
Comparison shot of the new intercooler vs the original...I guess you can say things are getting pretty serious...
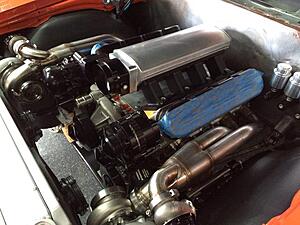
Well another round of pictures came in with more progress and my mock intake showed up today from RCI so we can complete the cold side now.
This is the mock intake that RCI sent me.

Looks amazing!


William
Rendering Done.

Motor placed to check firewall after more modifications/smoothing there.


Transitions for the turbo flange added.

I gotta say it looks pretty good on the ground.

Enroute to turbo shop!

Time to start downpipe and wastegate dumps.

Beyond that we are still waiting on the RCI intake to arrive.

This started off as a 5in x 5in x 18in solid block of aluminum (runners)!

After some further discussion with Kevin at M2K and the Gerhard at Bell intercoolers, we discovered the old setup was only efficient to about 850hp (flywheel). We upgraded those cores from 7x11x3" cores to 11x15x3.5" cores. These are capable of efficiently supporting 1250 hp (flywheel).

Comparison shot of the new intercooler vs the original...I guess you can say things are getting pretty serious...

Well another round of pictures came in with more progress and my mock intake showed up today from RCI so we can complete the cold side now.


This is the mock intake that RCI sent me.

Looks amazing!


William