When you click on links to various merchants on this site and make a purchase, this can result in this site earning a commission. Affiliate programs and affiliations include, but are not limited to, the eBay Partner Network.
This is my first LS swap or Late Model fuel injection motor to mess with since wrenching on 5.0’s back in the early 90’s. I wanted a cool daily that was also functional, made power and efficient. After looking around the GM Gen III drive train looks to be the one. I got the truck from a Lady in San Antonio, Texas. She had started the build to be a cool weekend hotrod truck. Not sure what shop she used but they put a Heidt Mustang II front end and a Camaro 10 bolt rear and 350 Gen I into it. This pic is how it looked when I brought it home. I’m changing out the Foose wheels with a set of Stockton 17” Chrome reverse and plan to leave the old paint in all its Glory.
I drove the truck home from San Antonio to Houston and then maybe 2 more times before pulling the engine out.
Here is a picture of the truck I got my motor out of. It was a 2007 Silverado that looks like a train hit it.
5.3 pulled out and loaded up to go home. Decided to pass on the transmission the driveshaft yoke was sheared off into the trans.
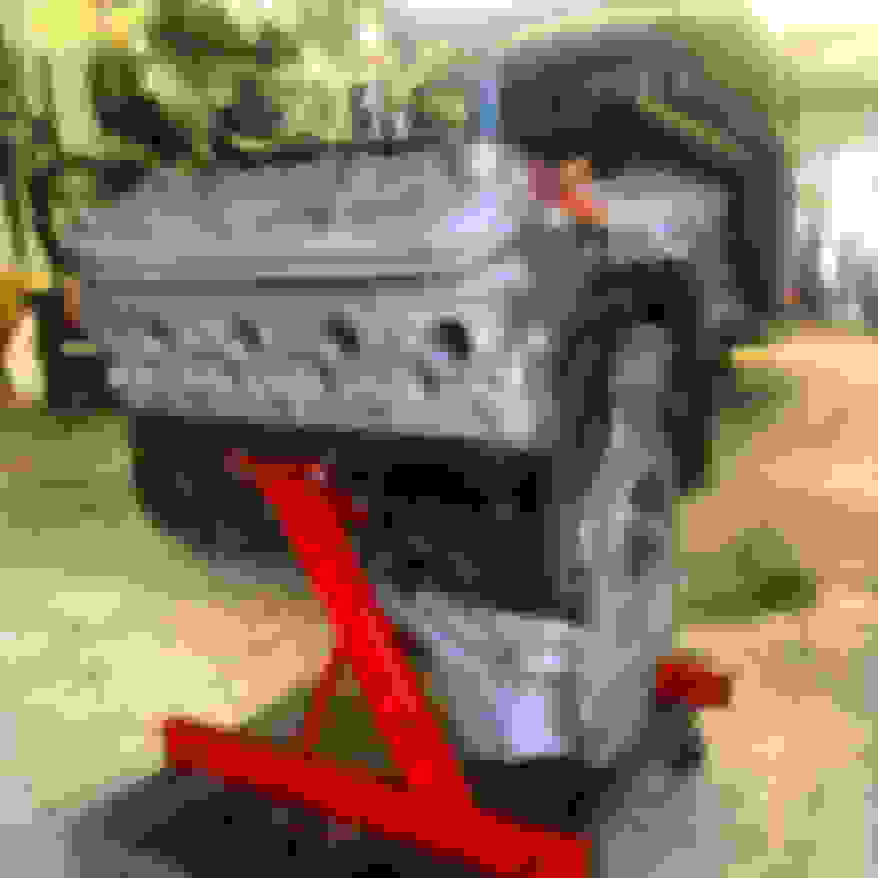
I'm skipping a bunch of steps here but here is the 5.3 after getting rebuilt. Nothing crazy wanted this truck to be a driver so got the heads gasket matched, installed a Comp Cam, new bearings, rings and Moroso oil pump.
Looks like a fun build... I am building the same thing except it will have shiny new paint. I'll be interested to see what things you do to make your engine work. I had mine mocked up in the frame once but then had to pull it to build it and it hasn't been back in yet.
And, your spot on for leaving the paint as is...this thing has such bitchin' patina...
Awesome project! I have very similar in a '51 ford F1. Same front suspension. Gen IV engine. With AC. Let me know if you need any help. I used the LS3 corvette manifolds instead of headers. They are very narrow. I also built a shorty steering column so the steering wheel was more vertical rather than Horizontal like the original. It was tricky to snake the steering shaft around the exhaust. I have about 100 build pictures on an online if you want any ideas.
Also best mod I did was the hydroboost brake conversion. I have really awesome brakes but just using 11" rotors and GM metric calipers.
Next best mid was a triangulated 4 link I built for the ford 9".
I went ahead and used a 4L80E for the trans and a stock stall convertor. The cam I picked was a Comp Cam part# 54-000-11, I .601 E .605. In this pic the motor and trans are joined and ready to go into its new home.
This might sound crazy but worked for me, on the passenger side I repurposed the stock engine mount out of the 2007 Silverado and welded it to the inner frame rail. Had to also make a gusset to add strength to the reshaped mount.
On the driver side I reused the 350 motor mount and a Dirty Dingo adjustable. Needed more room for steering clearance.
This motor was so tight everywhere! This pick you can see how close the sway bar is to the stock truck oil pan.
For the 4L80E I used a speed way drop trans mount. I boxed the inside of the frame rails to add some strength to the frame and welded the flanges to the bar. The drop bar now bolts on to the frame. Plenty of room now for exhaust clearance except for that pesky brake booster.
Awesome project! I have very similar in a '51 ford F1. Same front suspension. Gen IV engine. With AC. Let me know if you need any help. I used the LS3 corvette manifolds instead of headers. They are very narrow. I also built a shorty steering column so the steering wheel was more vertical rather than Horizontal like the original. It was tricky to snake the steering shaft around the exhaust. I have about 100 build pictures on an online if you want any ideas.
Also best mod I did was the hydroboost brake conversion. I have really awesome brakes but just using 11" rotors and GM metric calipers.
Next best mid was a triangulated 4 link I built for the ford 9".
Awesome thanks! I am really interested to learn more on the hydroboost brake conversion.
These three pictures may give some ideas about the Hydroboost setup. I ran the 3 lines along the driver's side chassis rail. Since one of the lines comes close to the exhaust, I used some fire shield to insulate. And you can see the trans crossmember I built and how the hydroboost lines snake through.
In short, I bought a master cylinder from a 90s chevy 3/4 ton truck equipped with hydroboost - rockauto is a good source for figuring this out. Bought a new hydroboost unit on Amazon for a 2010 silverado truck. It was $125 or so - much better than a used unit and not much more $ and then cut off the hydroboost input shaft to weld on a longer threaded tube that is capped with a male heim joint which attaches to the bell crank (one end of the bell crank is the in-cab pedal). I could adjust the overall length with the heim joint shaft.
The hydroboost mounting plate needed some fab too. I cut out a large square of the steel which included the HB mounting hole. I cut the square such that when I flipped it 180 degrees it put the HB unit in to the right orientation for my application. I then welded the square back in and ground things smooth. (sorry no pictures). The plate is may 6" x 6" and I cut out a 3" x 3" and measured the offset so when I flipped it, the hole would be in the right spot for my application. Probably won't make sense until you have the parts.
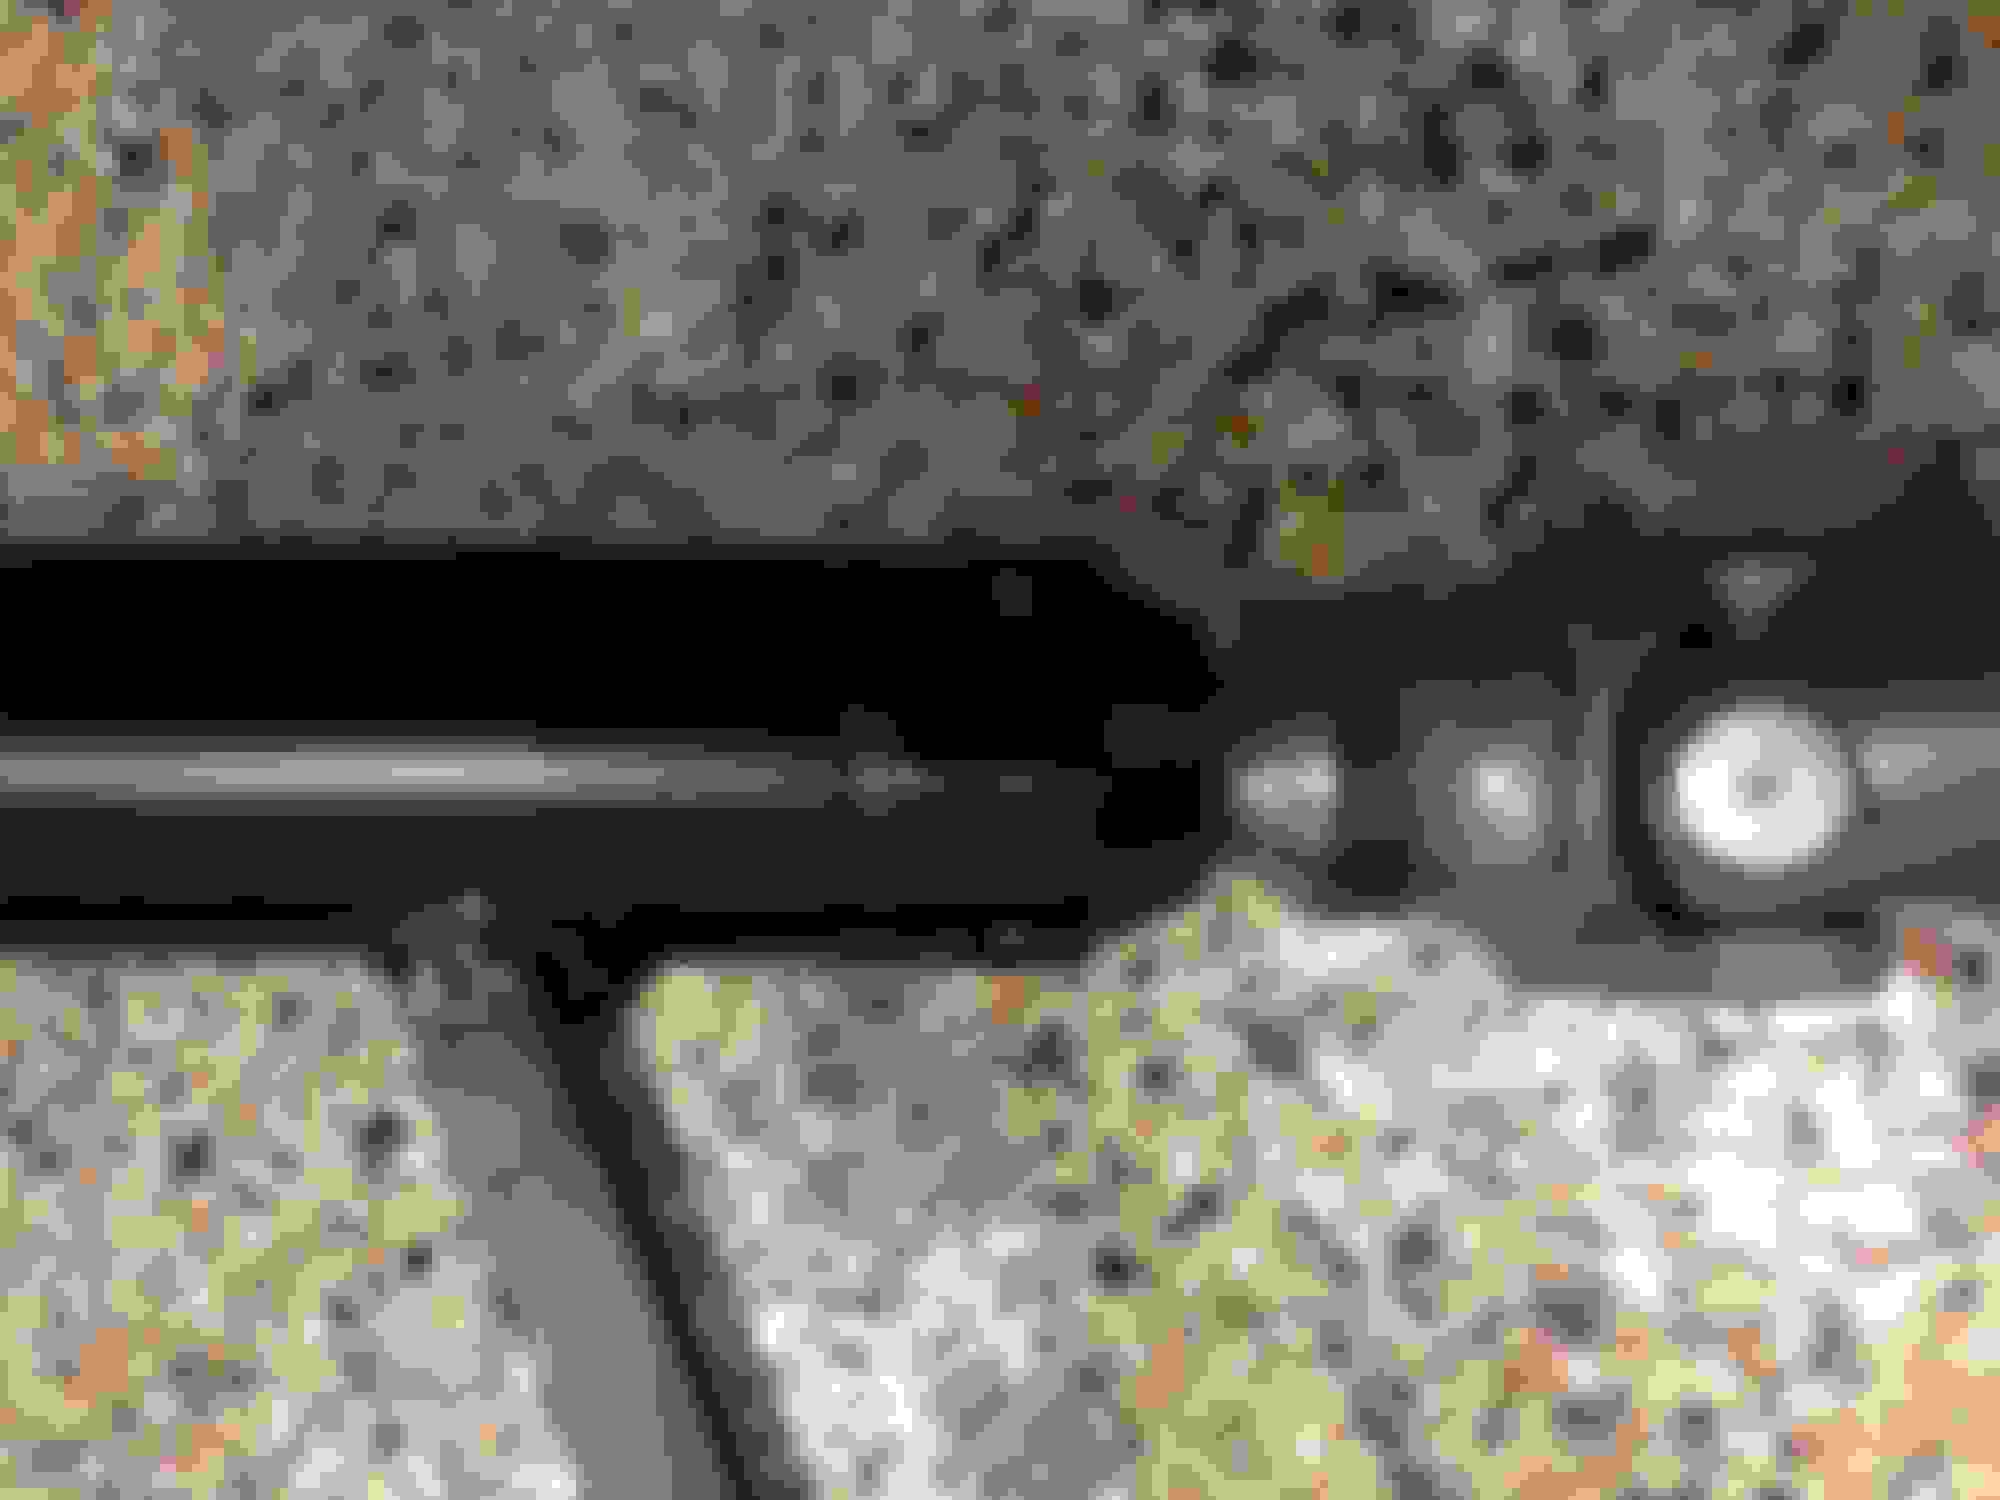
I made my own steering column from the original. Just sectioned it. I used one of the roll bar clamp accessory mounts to mount the column to the bottom of the dash. I just beveled the mount and lock-tited studs in to the mount. These shots show the powder - coated and assembled column. I welded on the struts too to mount the column to the firewall to make it strong. I had a friend machine a flanged bushing to support the steering shaft on the end next to the u-joint.
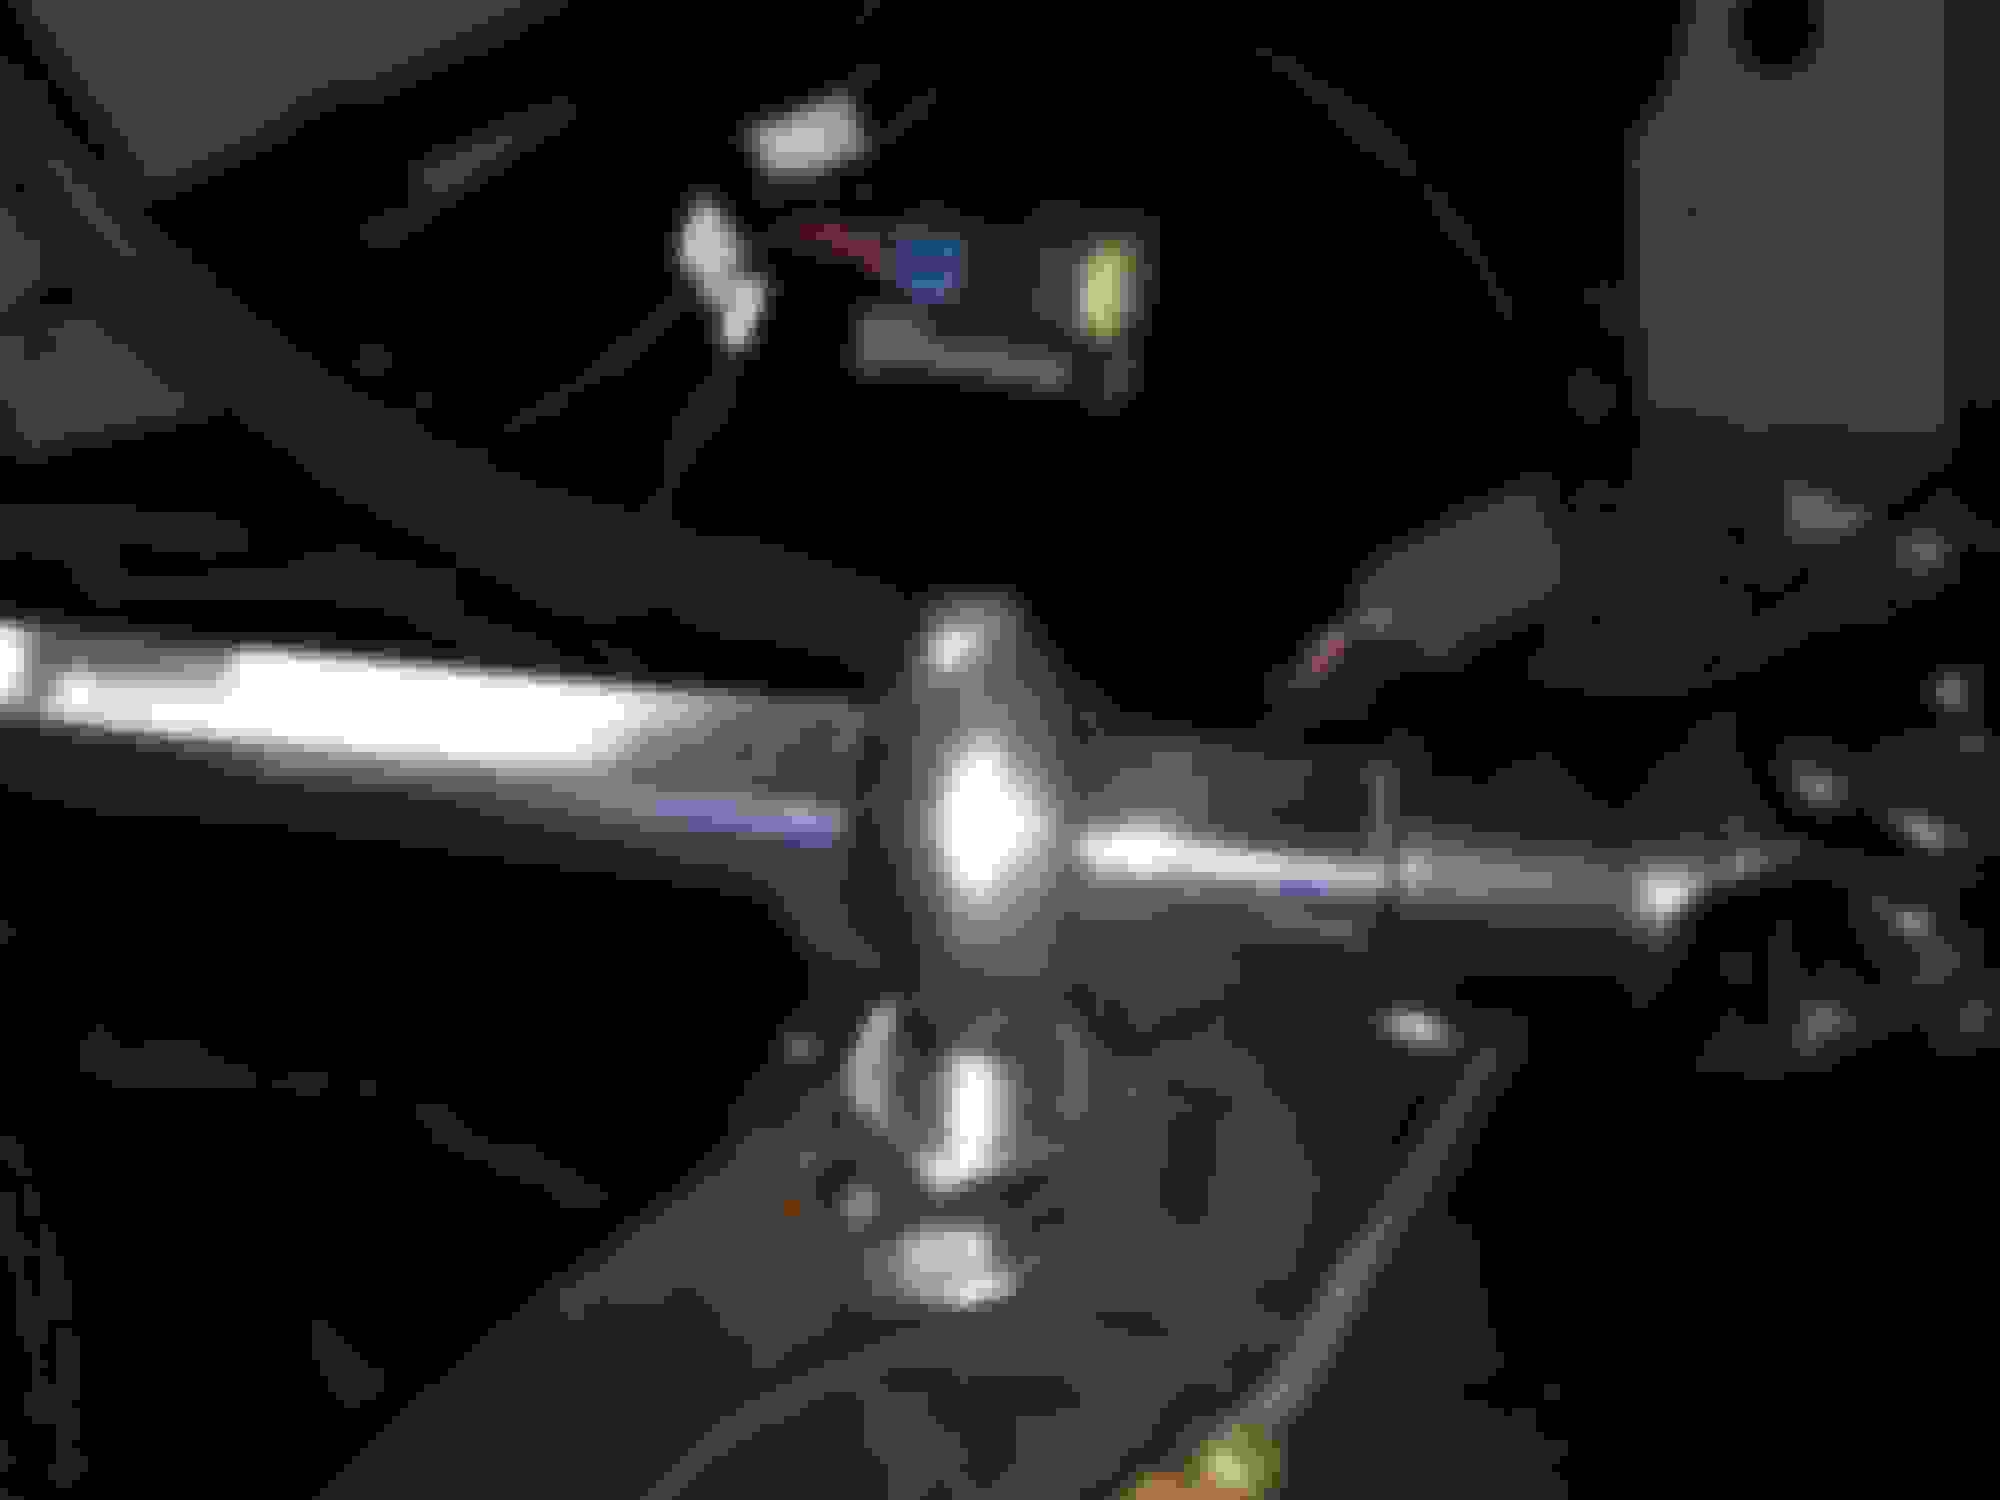
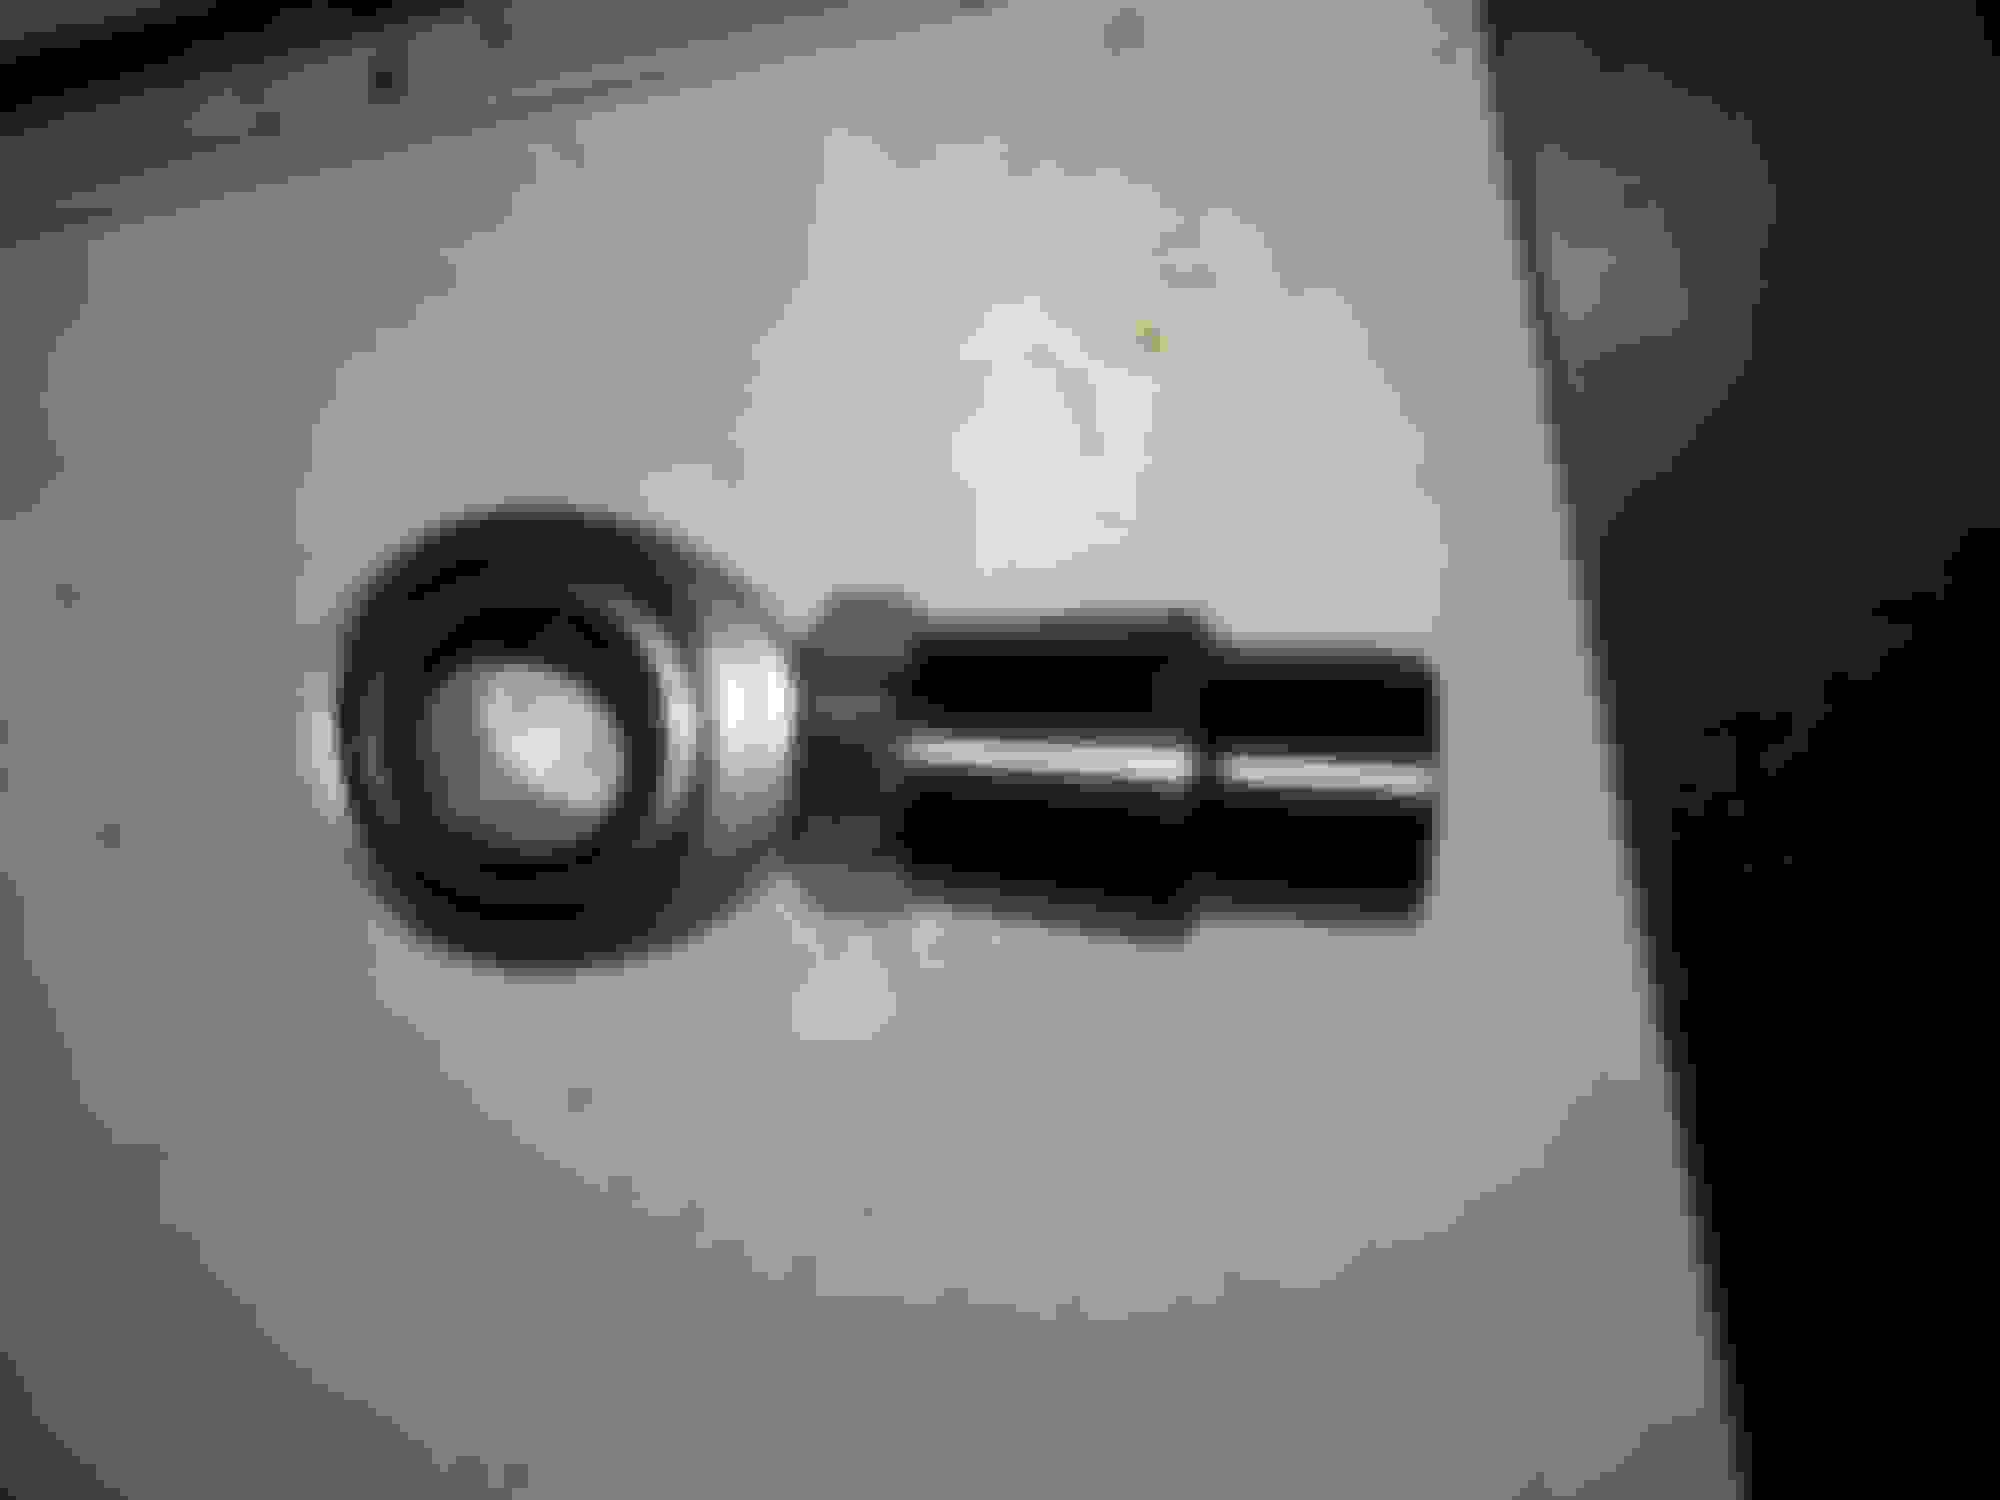
The steering shaft is supported using two heim joints welded with flanged, threaded supports into the boxed frame. You can see a double u-joint to accommodate the large angle change between the two ends of the shaft. This allows me to clear the exhaust manifold. My engine is set as far back as possible to balance F to R weight ratio. (55% / 45%, which isn't bad for a truck!) I wanted it to handle, which it does, pretty damned well.
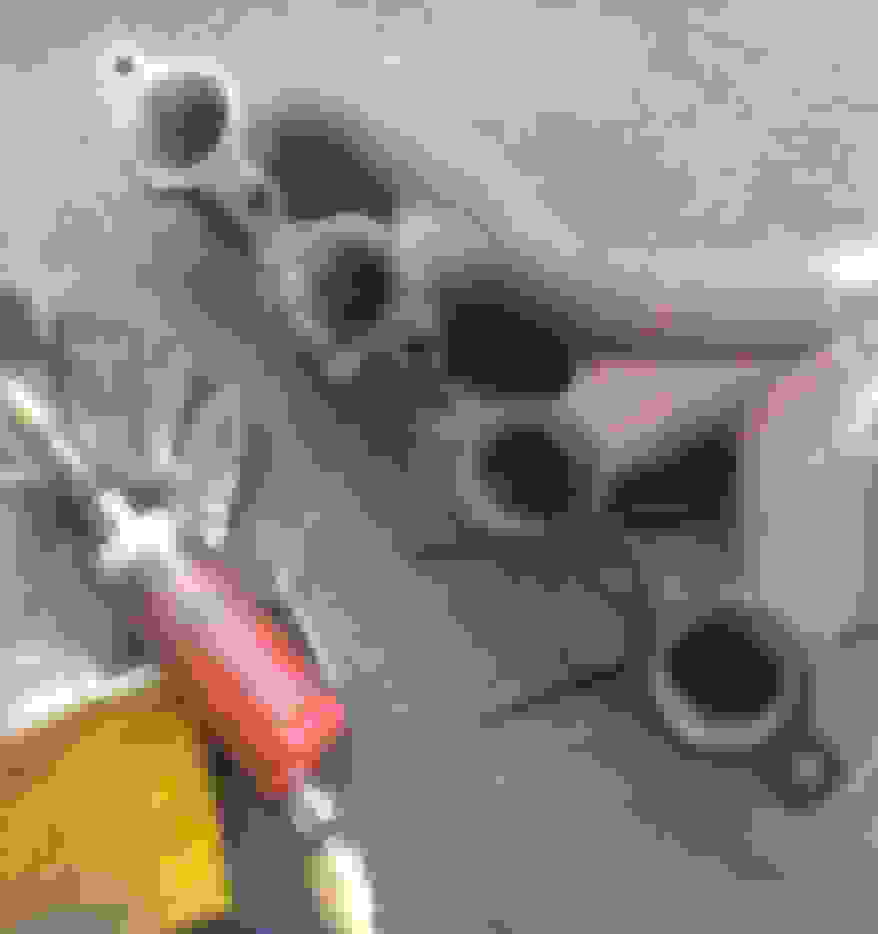
I wanted to use a set of headers but after seeing what they cost and not even sure really what would fit I decided to use a set of WS6 manifolds a buddy gave me. I gasket matched the manifolds to also match the ported heads. Then I knocked down all of the casting stuff and radiused all of the sharp edges to help eliminate hot spots.
The stock flanges were HUGE so I cut them off and welded some exhaust pipe to it. Going to use Stainless slip clamps to hold pipe to manifolds. My buddy Darren at Accu-Coat Inc. High temp Powdercoated them for me. Super rad dude and does great work! When Welding the manifolds I used a torch and preheated the steel, then mig welded the pipe to manifold, Post heated it all with a torch again and then buried them in a bucket full of sand to cool over the night.
Then finished off the exhaust with an X Pipe style and dumped under the bed.

 11-14-2015, 08:26 PM