

1996 LSX BMW E36 Hatchback


 07-14-2011 | 10:19 PM
#126
Had the day off, so, naturally, im outside working on the ti.
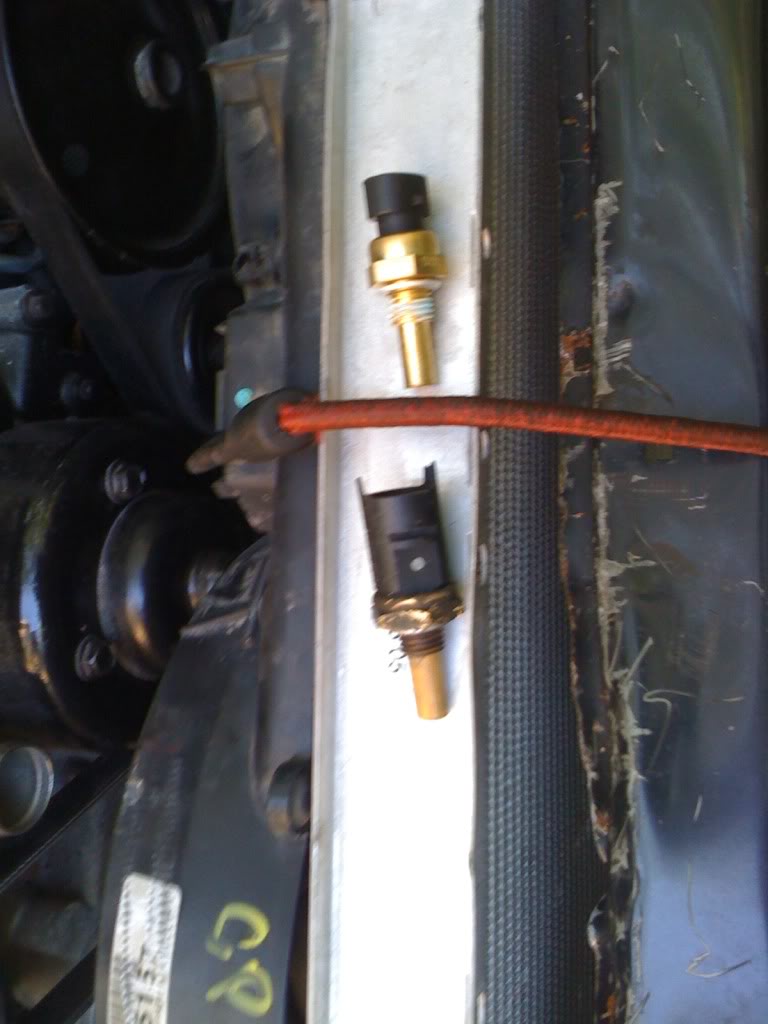
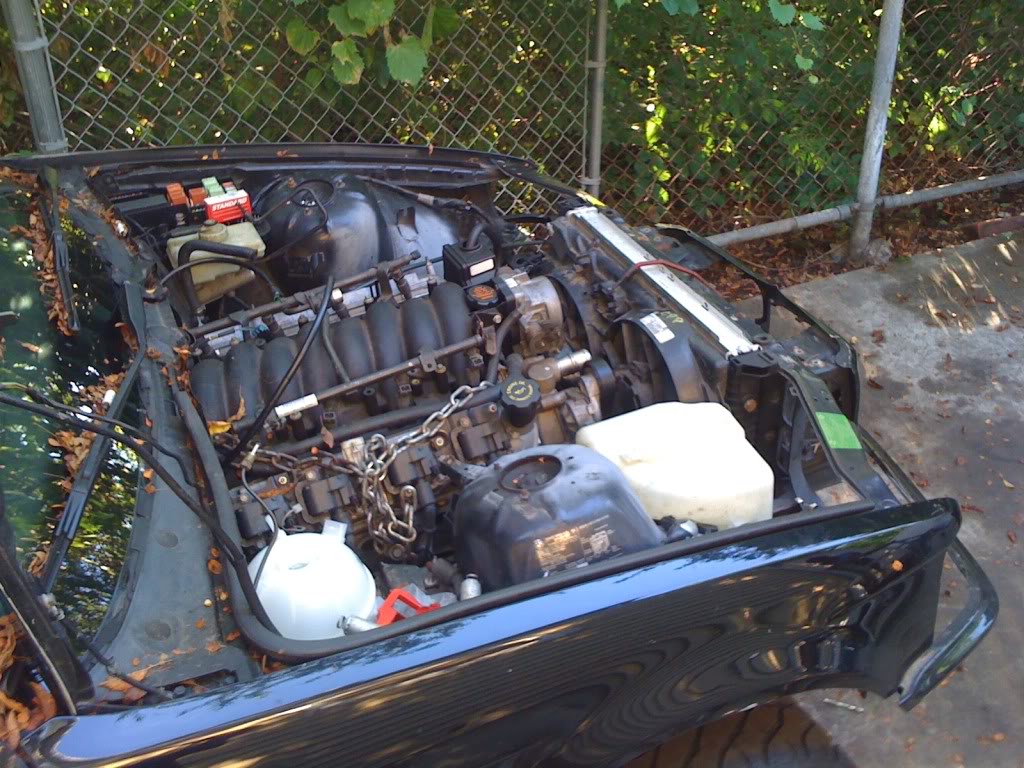
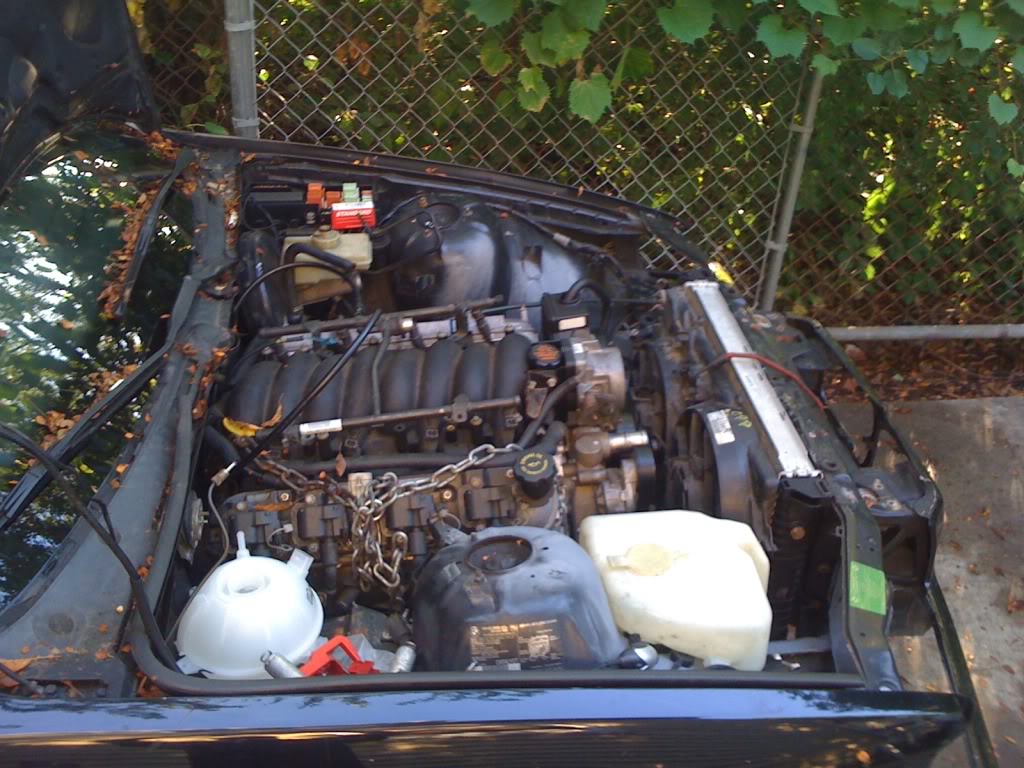
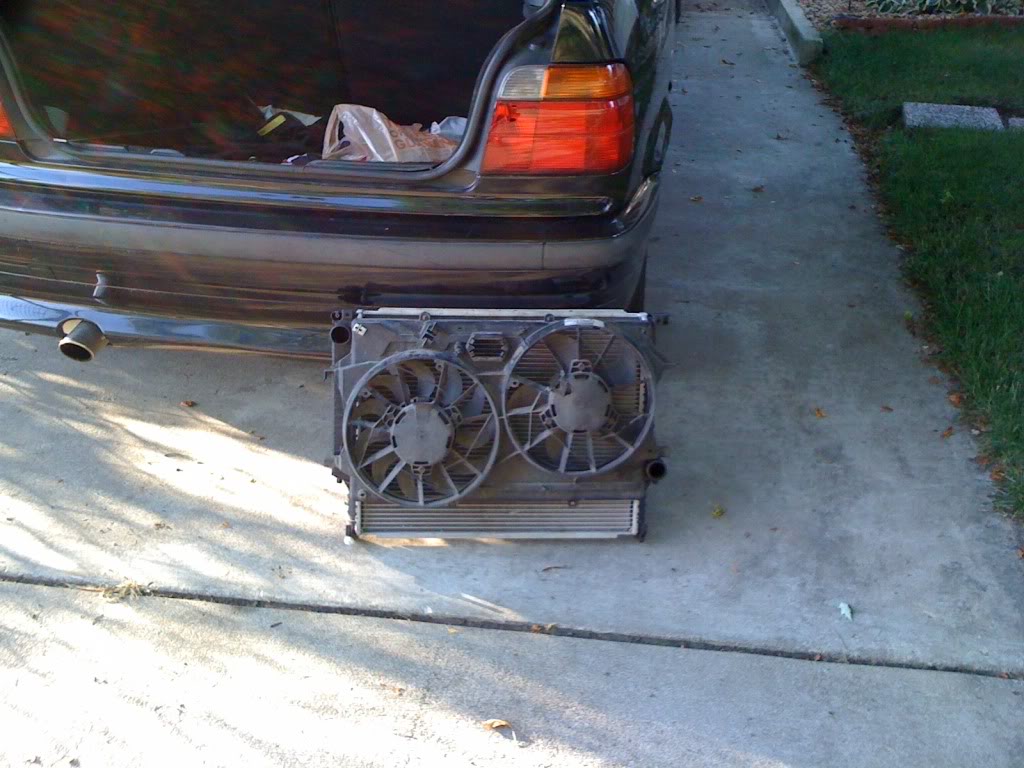
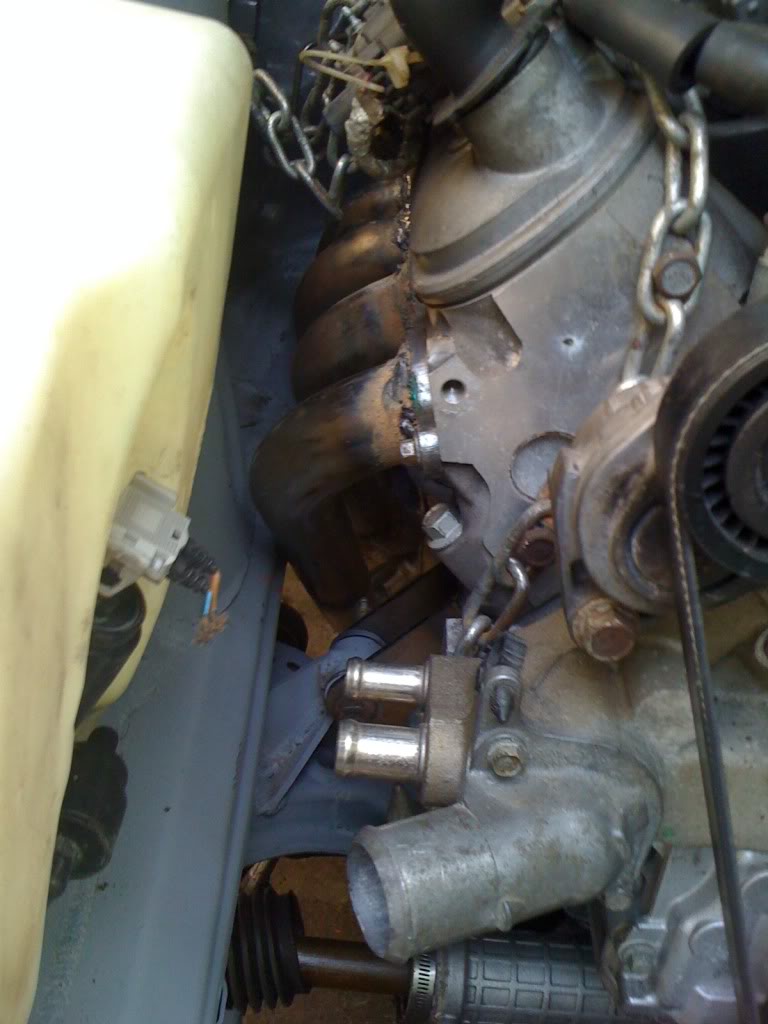
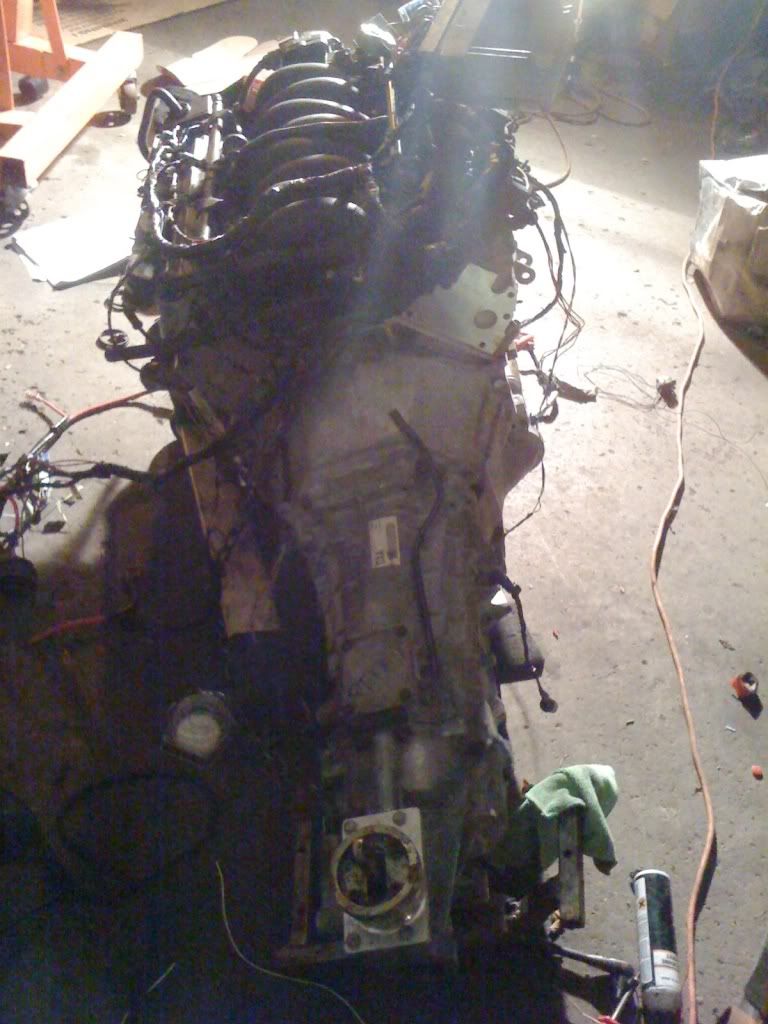
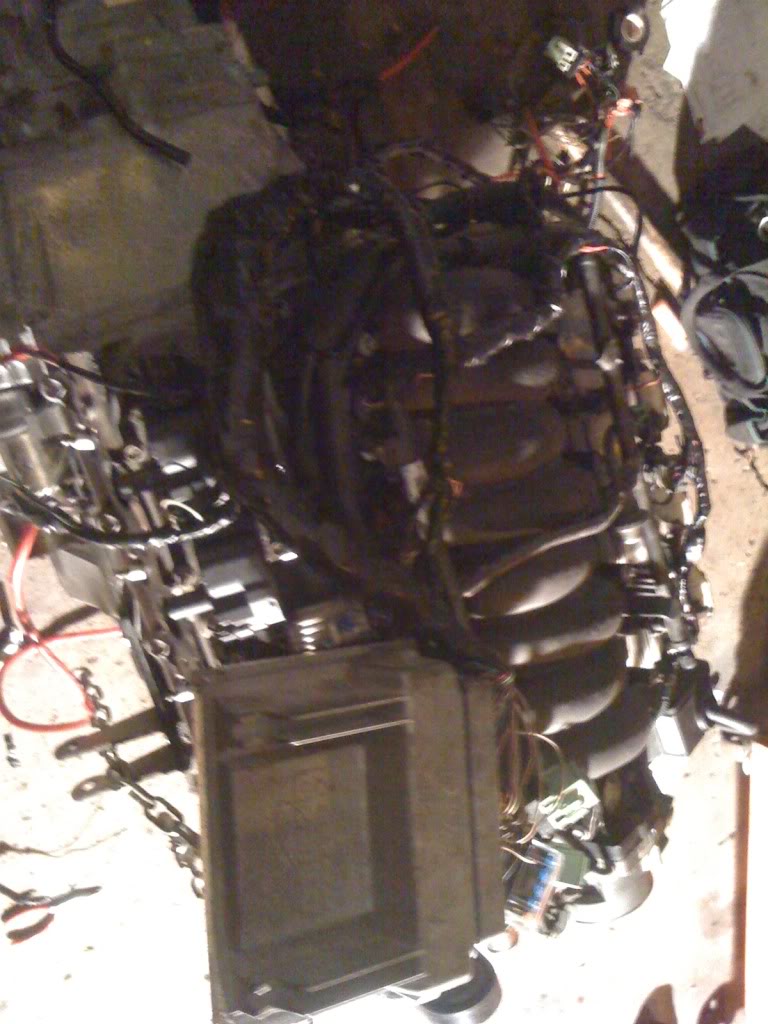
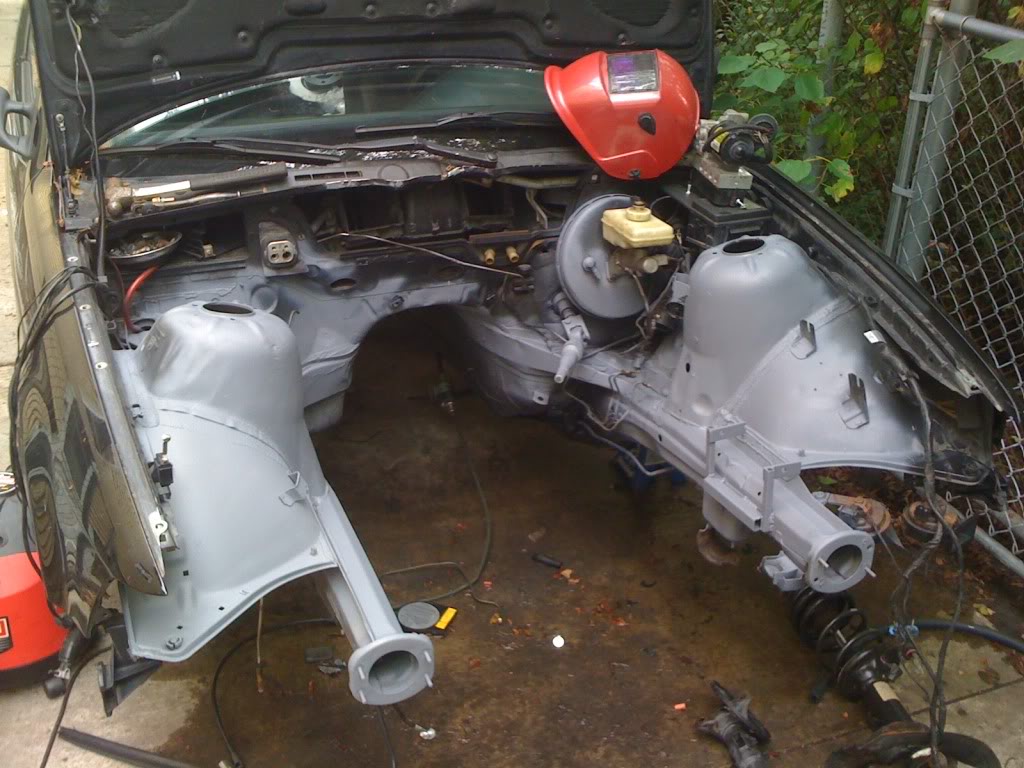
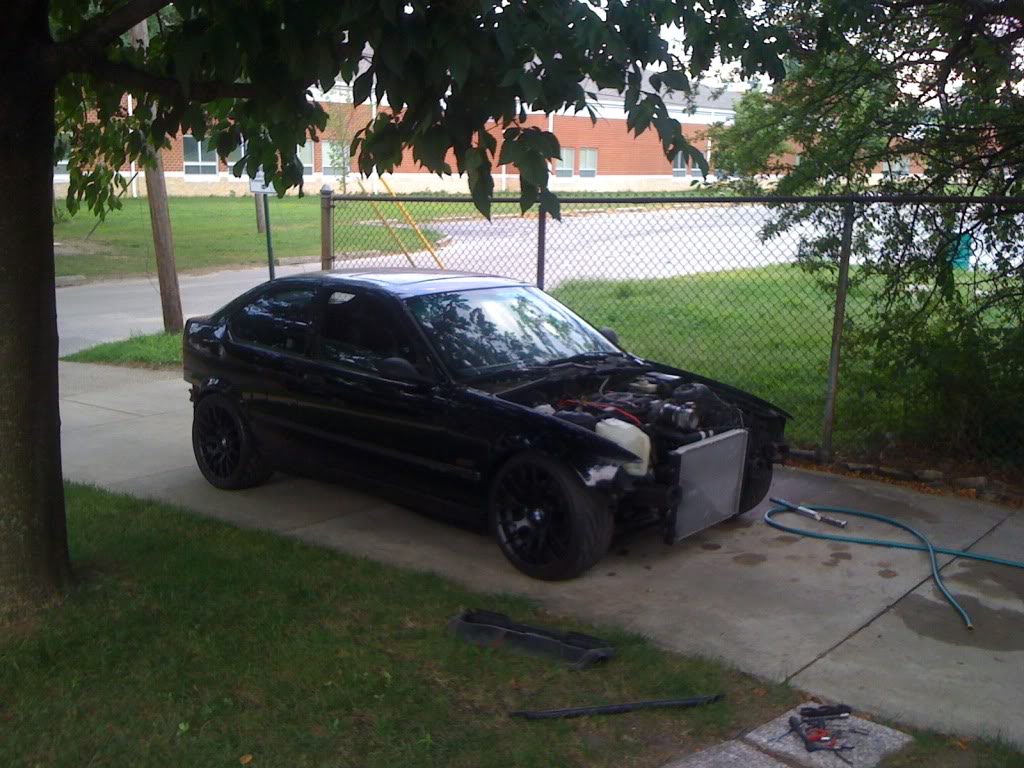
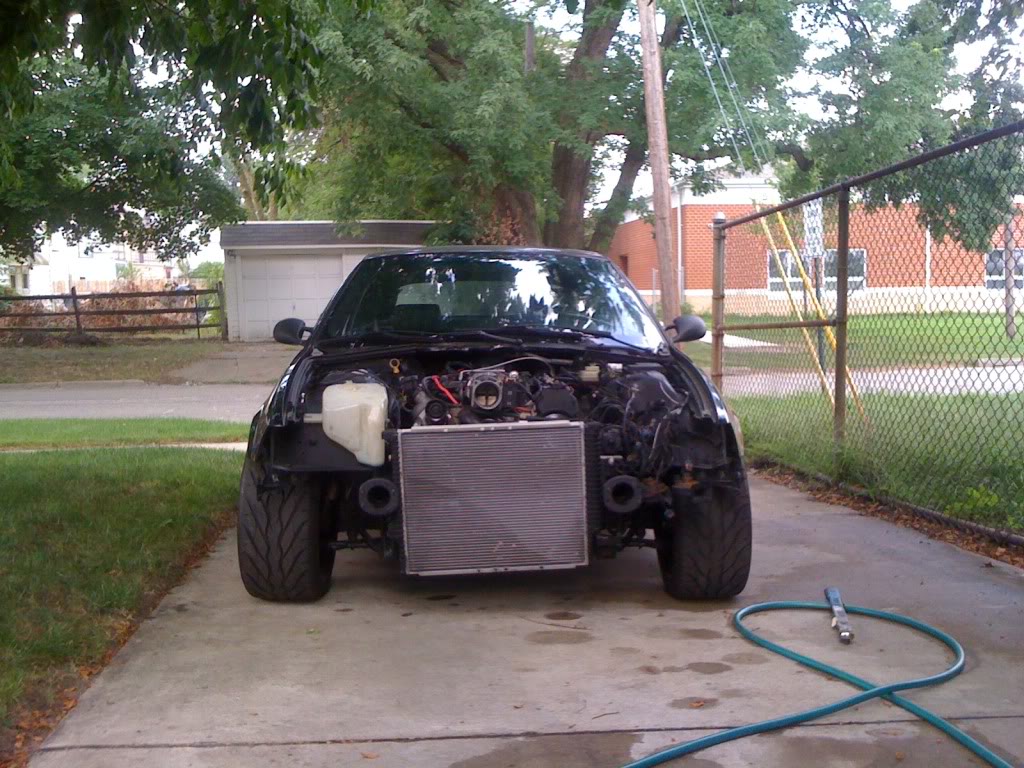
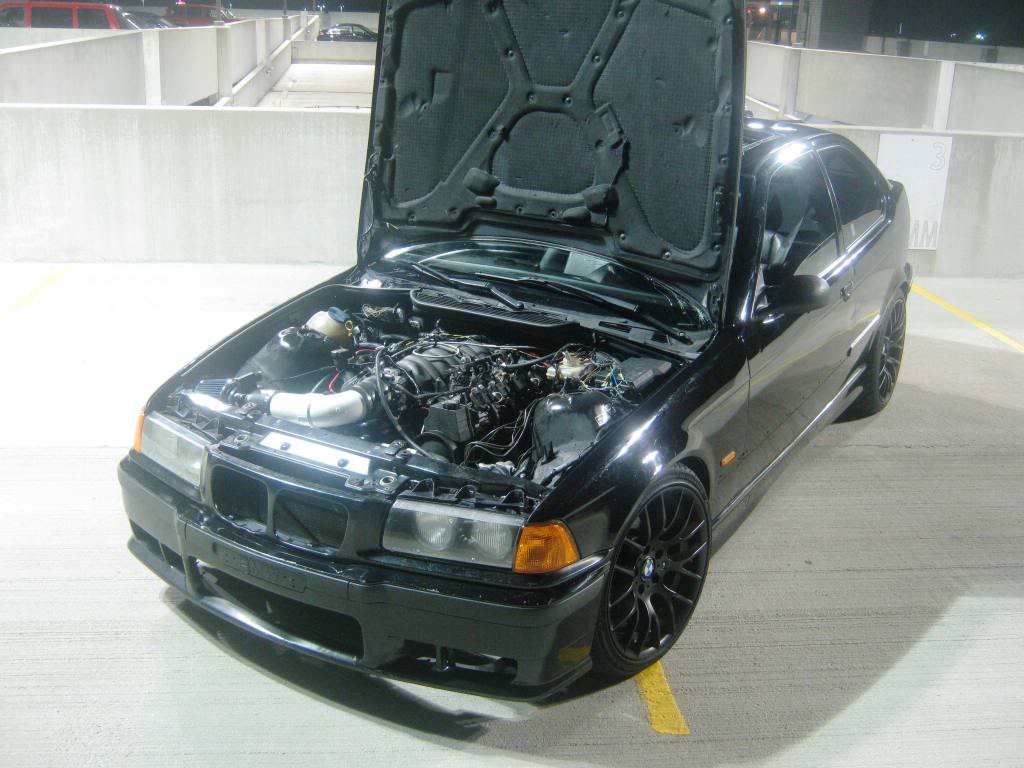
Went to the junkyard and picked up a cooling fan from a ford fuckus for 20$. Its almost the correct width, just a bit oversized, but it will do what i need it to do. Ill have the radiator sitting ~2" lower in the chassis, lower protection brace, and ram air induction. On the passenger head, ill have the BMW OBDII coolant temperature sensor, specifically to run the dummy light and gauge in the cluster. On the drivers head, the GM coolant temperature sensor will be installed, for PCM information. Sourced my pressurized coolant tank from the VW jetta, because i like the way they look, its a sphere , and will be located near the PCMs so itll be at the highest place in the engine bay to help with air pockets and bleeding.
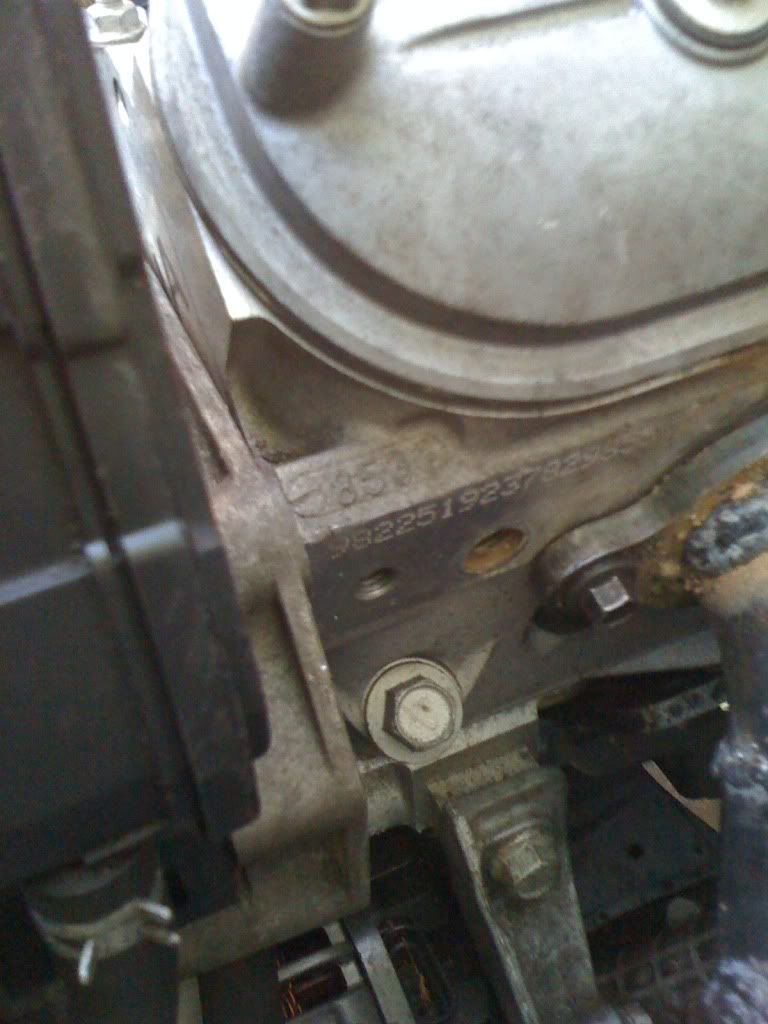


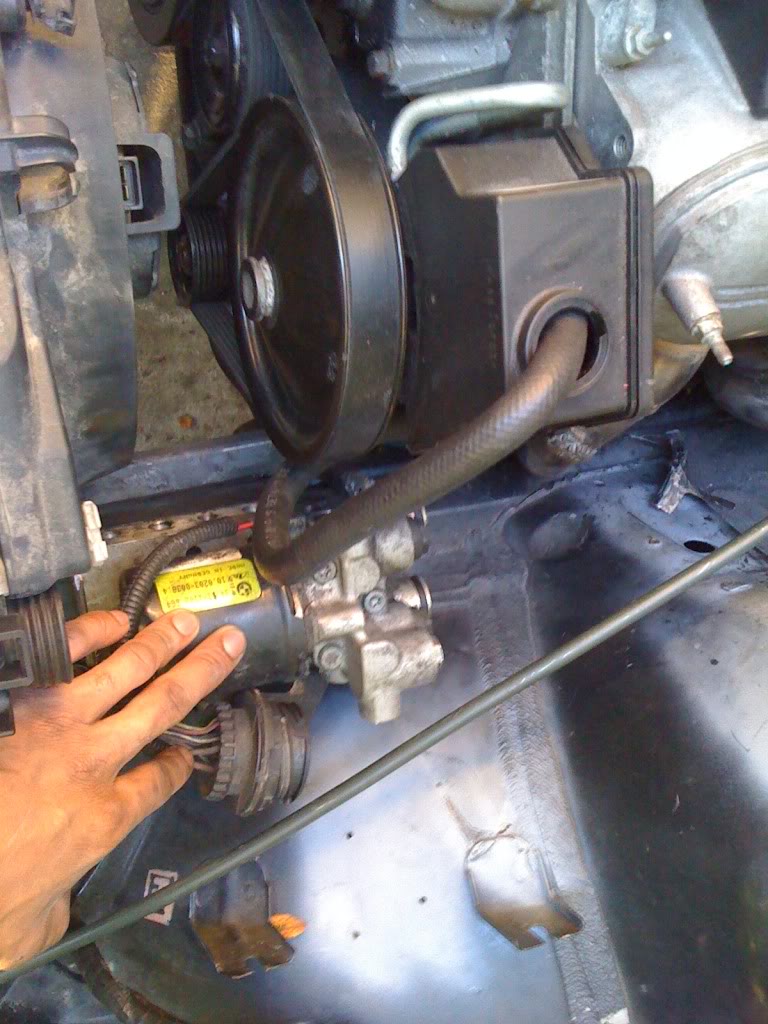
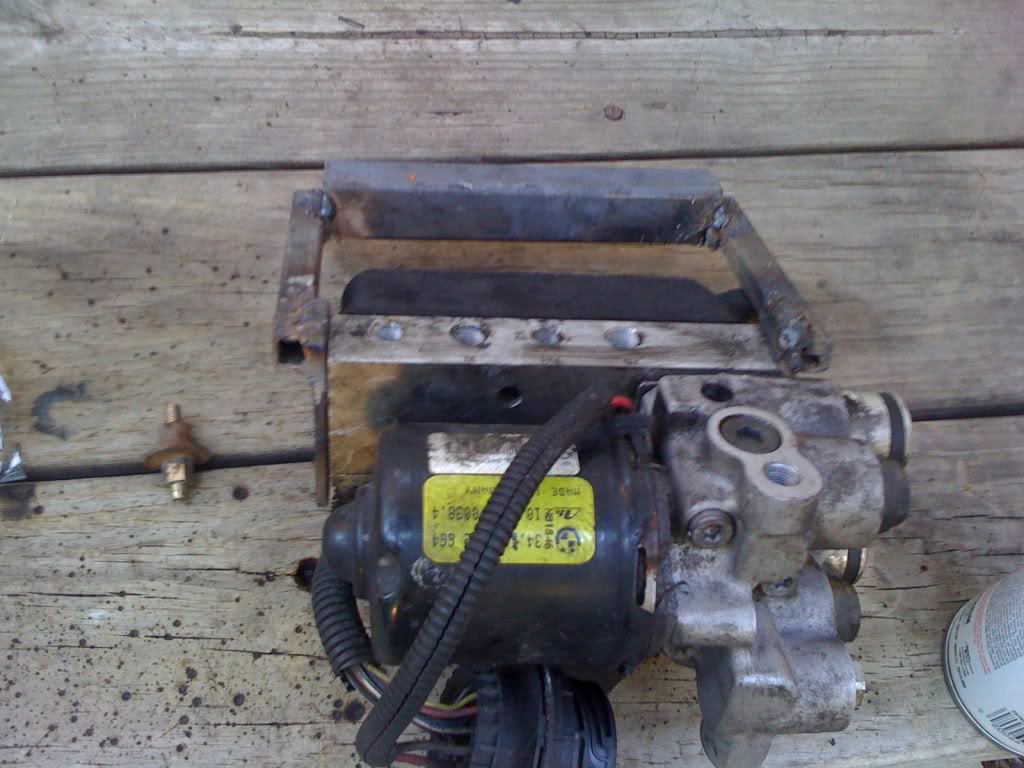
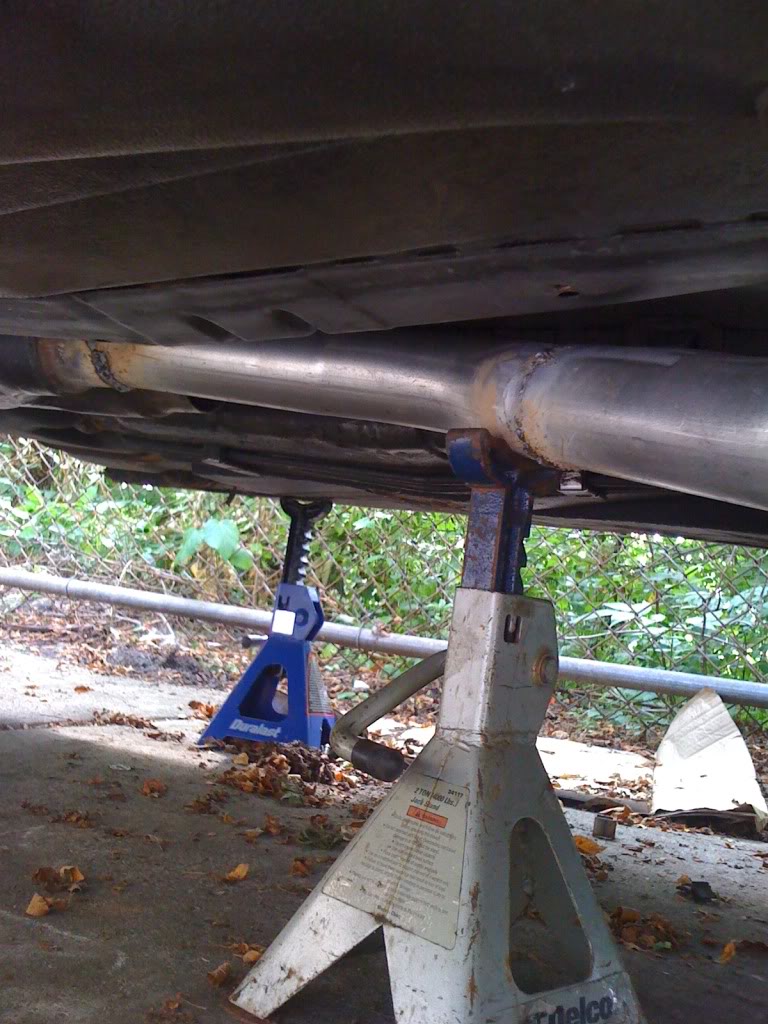
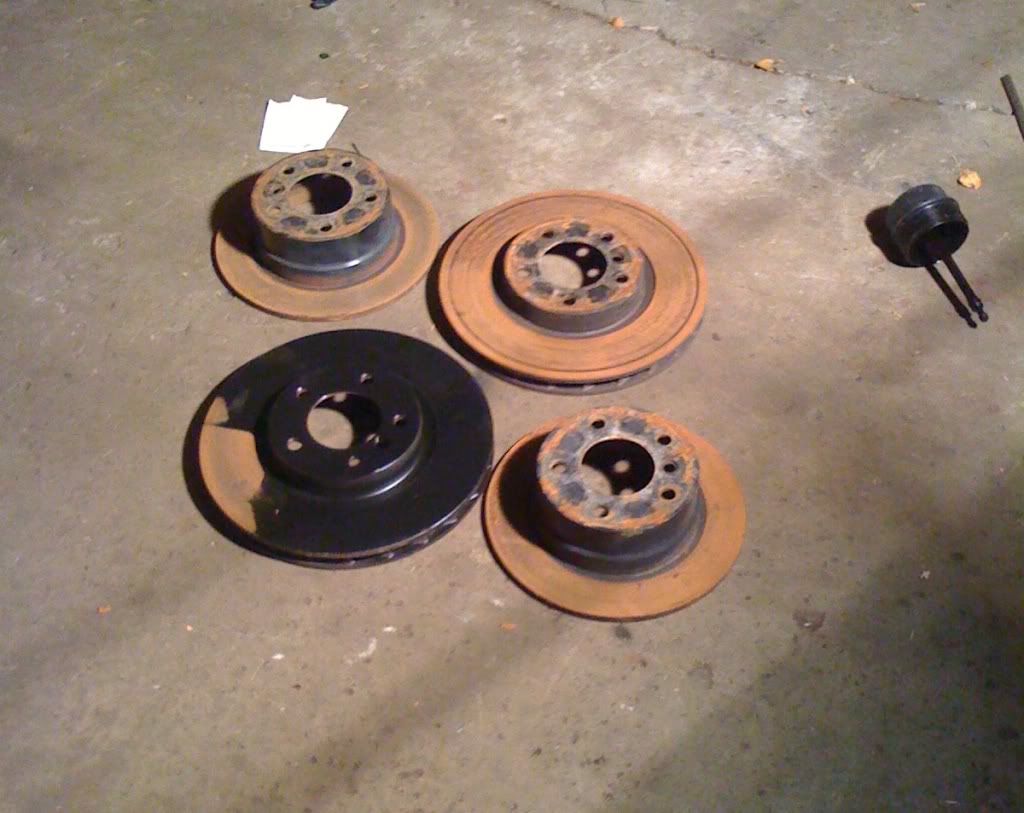
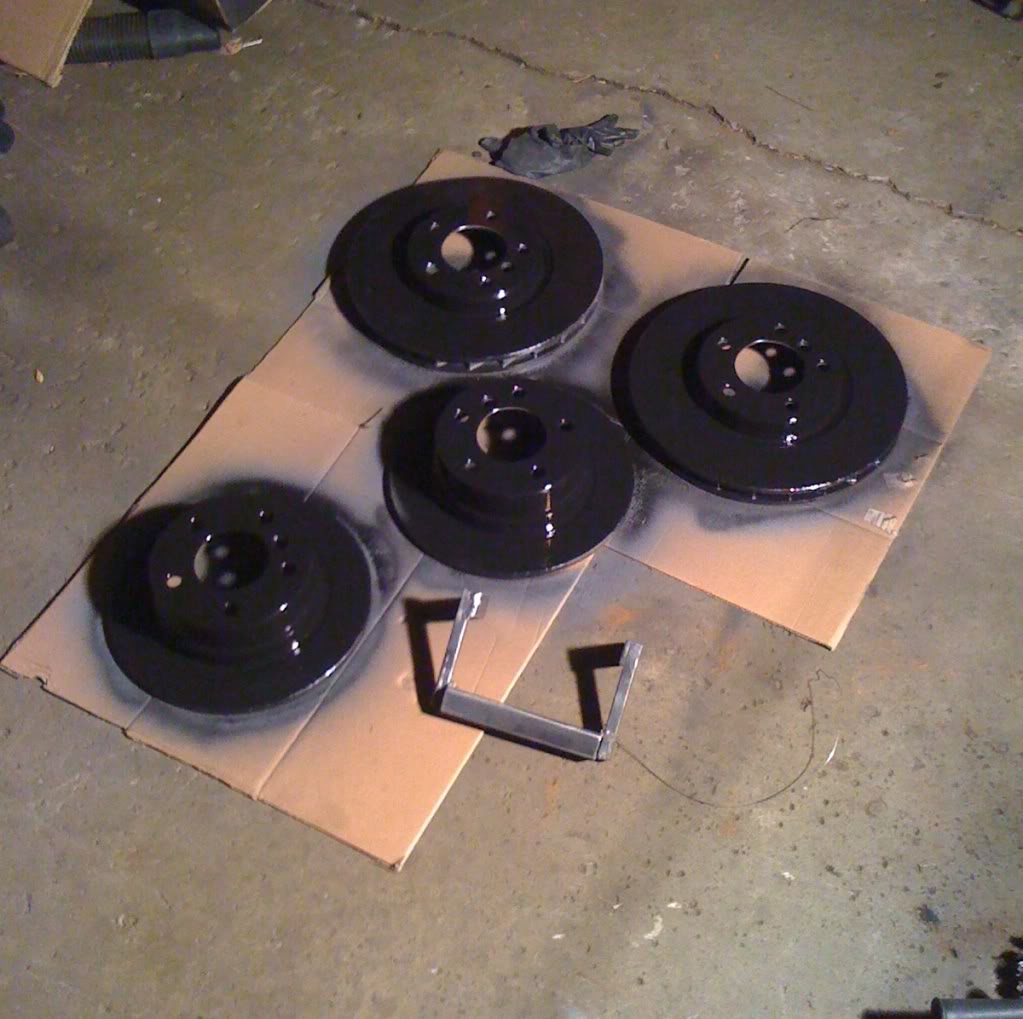
Made an ABS bracket to relocate the setup to forward position of previous location and ahead of the power steering bracket. Nor sure if im going to run my lines above, and over to the master or underneath the frame rail to keep it from the headers heat. I also crimped my passenger brake line, so ill be replacing that as well. Since it has sat, the new calipers and rotors i just put on, are not rusted over, so ill be removing them for cleaning, paint, and will take a light cut on all four rotors as well as buffing the pads and lubing the slides. Cleaned off the RF caliper, while still on the car, then got a bit "happy" with a spray can. lol

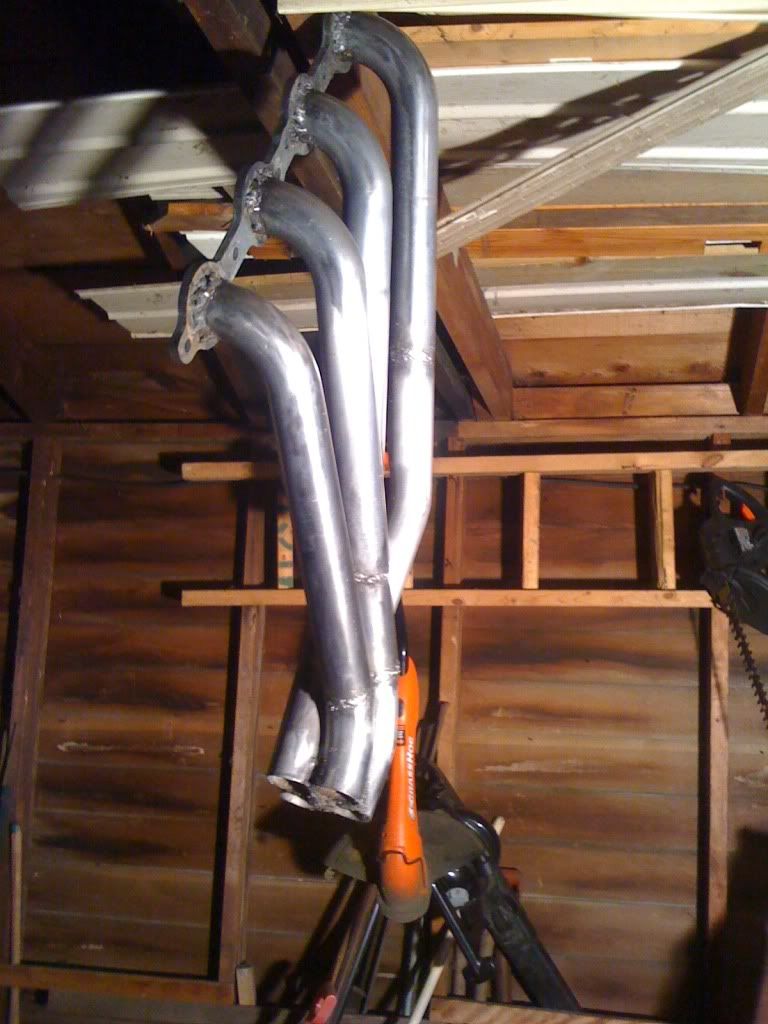
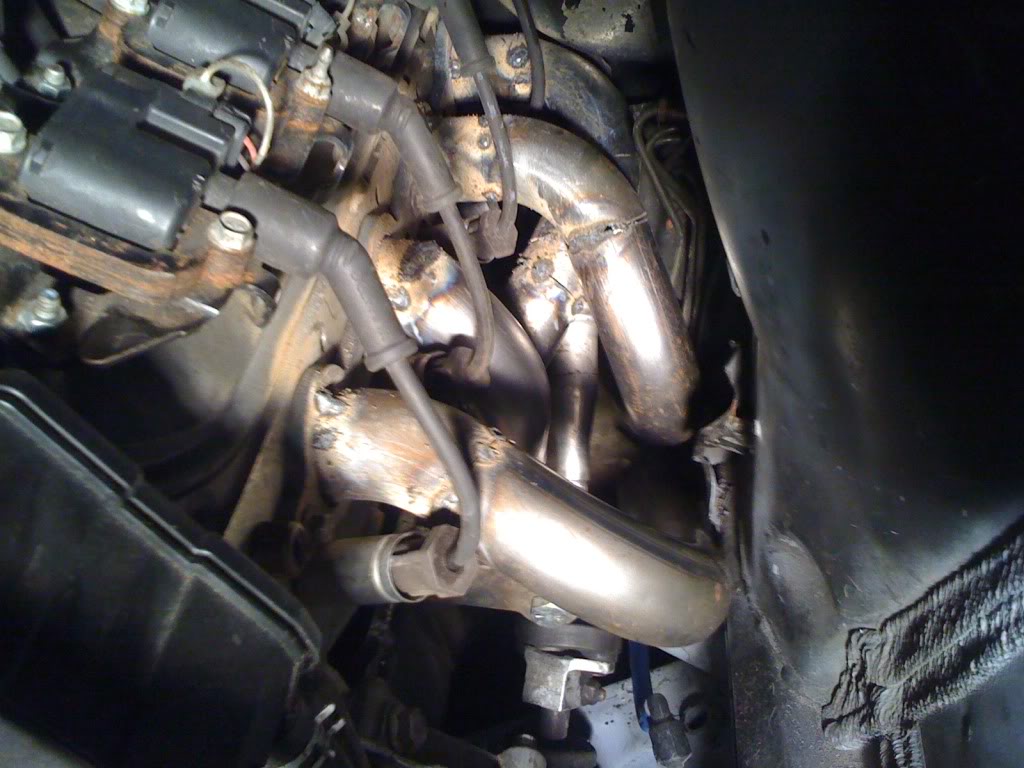
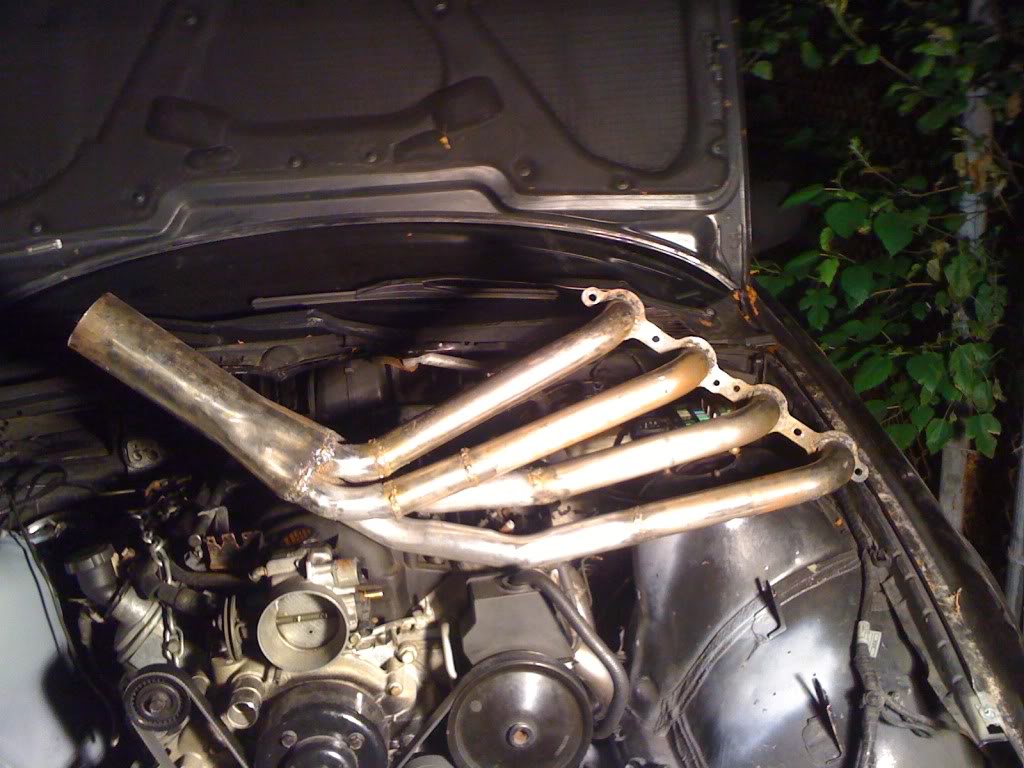
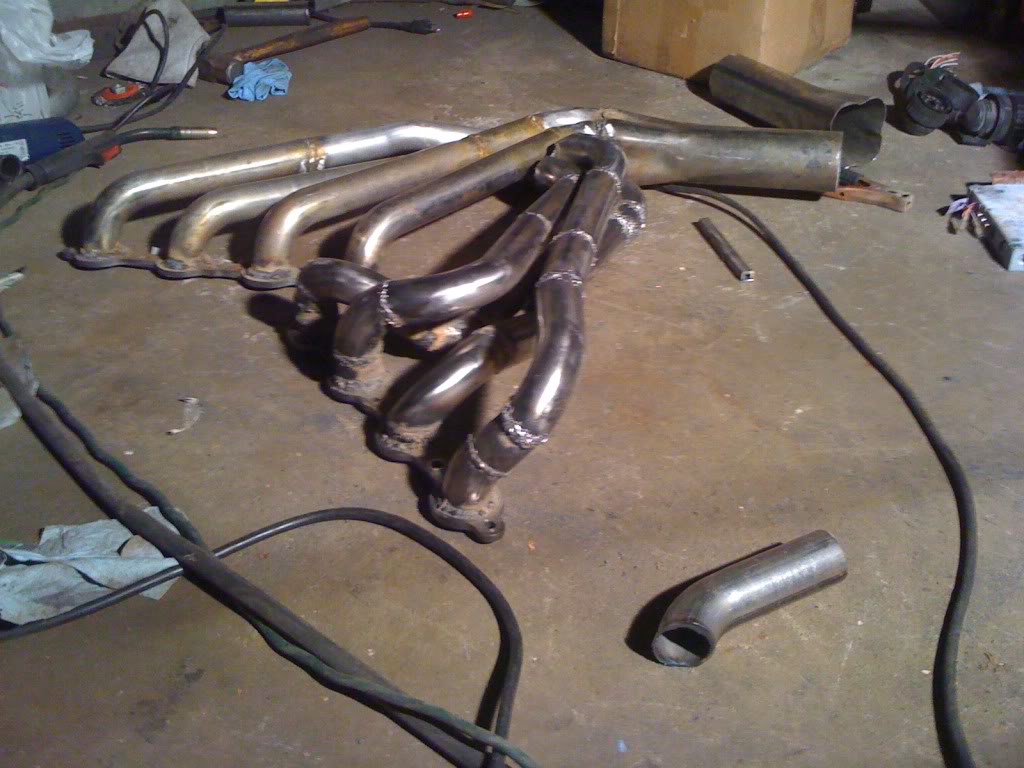
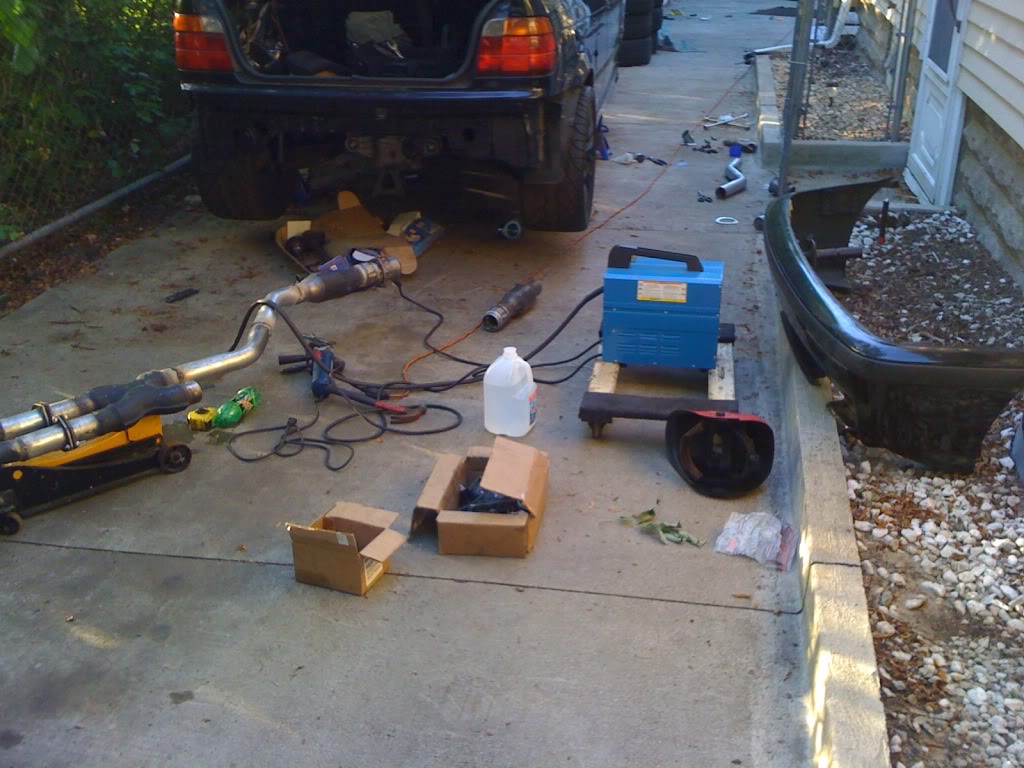
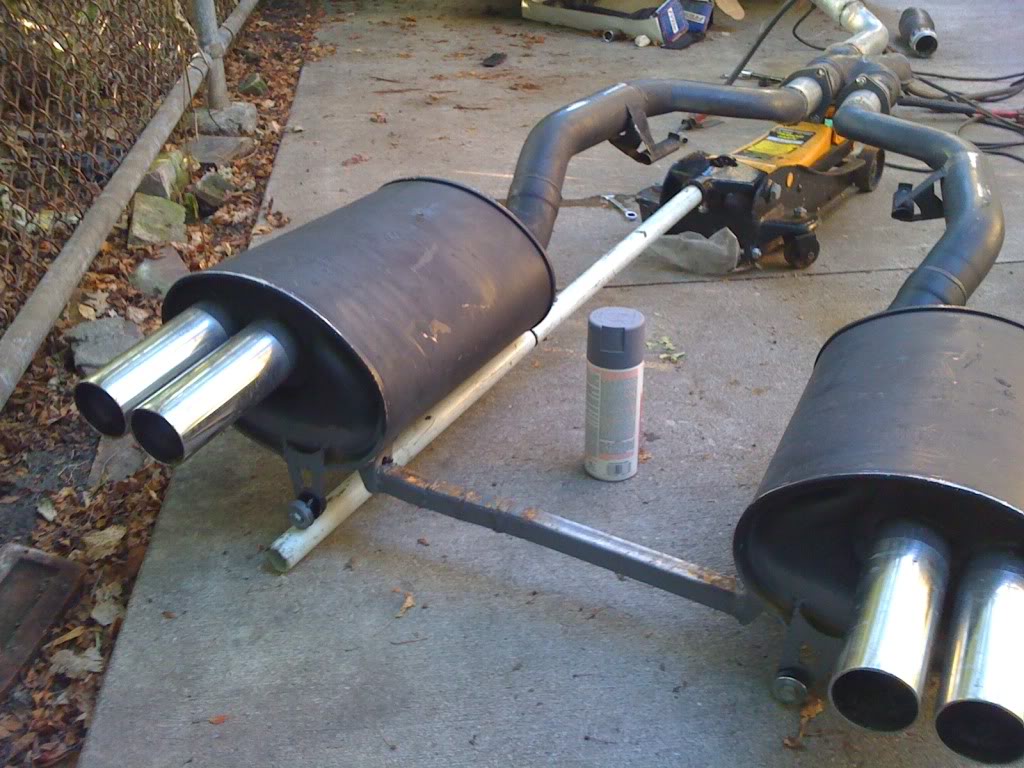
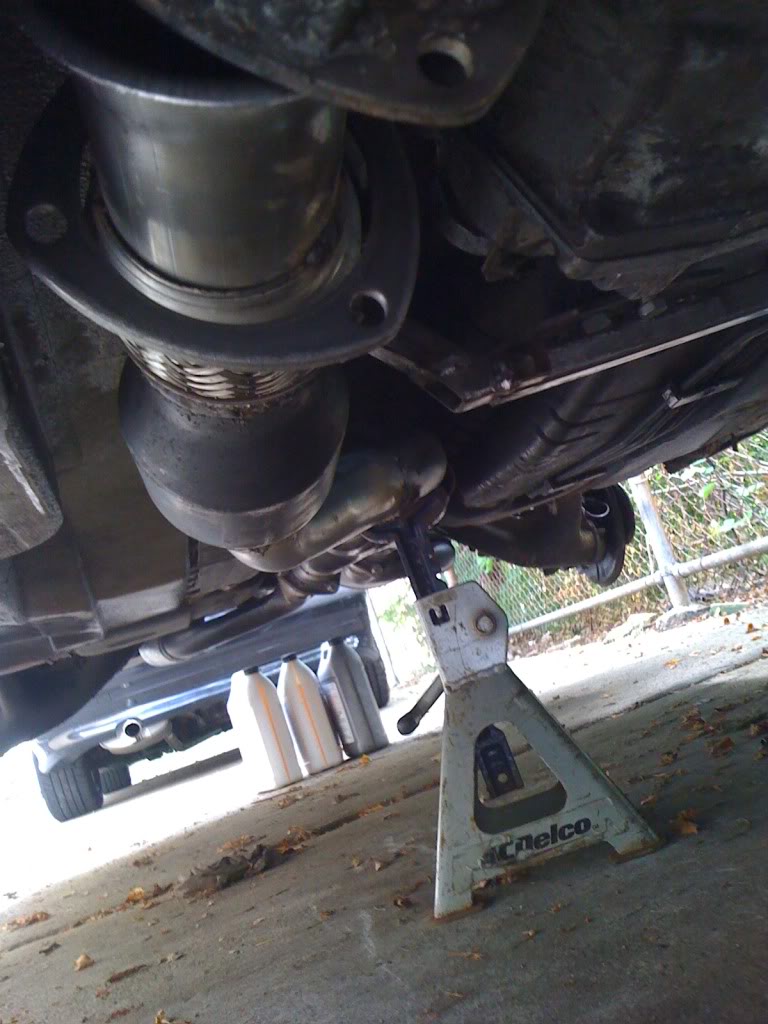
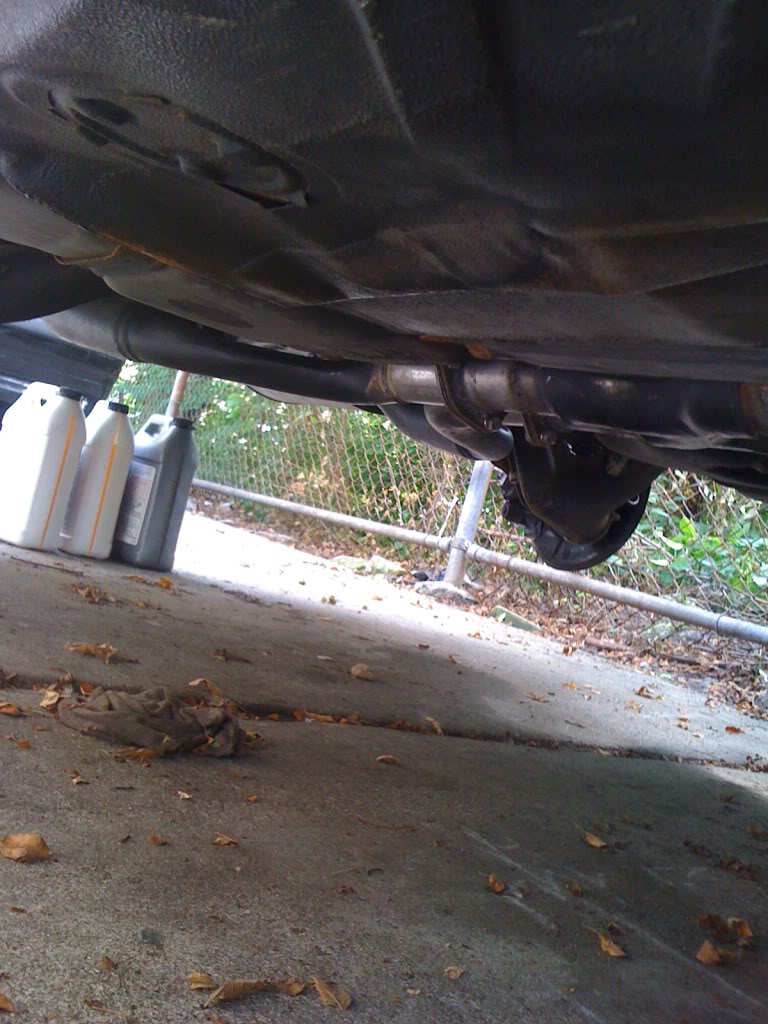
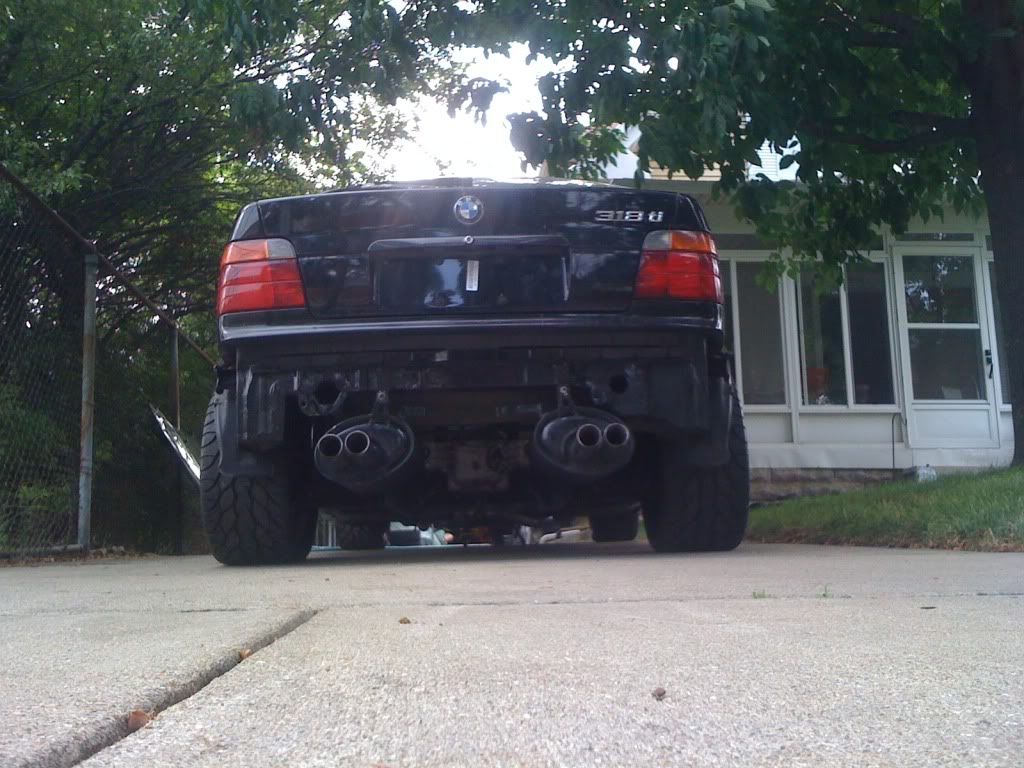
And lastly, worked on the exhaust system. Patched up a few holes on the passenger header, cut the drivers sides downpipes off to redo them and rid myself of a non-repairable leak and to make the merge cleaner to the collector. I also hung the catback setup, welded in my brackets, started and finished the passenger side of the midpipe, then it was time for dinner. Ill have more updates tomorrow. Also, the guy i sent my PCM to didnt even have it for a day and was done and sent it back yesterday, so hopefully ill see it tomorrow or next monday.


Went to the junkyard and picked up a cooling fan from a ford fuckus for 20$. Its almost the correct width, just a bit oversized, but it will do what i need it to do. Ill have the radiator sitting ~2" lower in the chassis, lower protection brace, and ram air induction. On the passenger head, ill have the BMW OBDII coolant temperature sensor, specifically to run the dummy light and gauge in the cluster. On the drivers head, the GM coolant temperature sensor will be installed, for PCM information. Sourced my pressurized coolant tank from the VW jetta, because i like the way they look, its a sphere , and will be located near the PCMs so itll be at the highest place in the engine bay to help with air pockets and bleeding.
Made an ABS bracket to relocate the setup to forward position of previous location and ahead of the power steering bracket. Nor sure if im going to run my lines above, and over to the master or underneath the frame rail to keep it from the headers heat. I also crimped my passenger brake line, so ill be replacing that as well. Since it has sat, the new calipers and rotors i just put on, are not rusted over, so ill be removing them for cleaning, paint, and will take a light cut on all four rotors as well as buffing the pads and lubing the slides. Cleaned off the RF caliper, while still on the car, then got a bit "happy" with a spray can. lol
And lastly, worked on the exhaust system. Patched up a few holes on the passenger header, cut the drivers sides downpipes off to redo them and rid myself of a non-repairable leak and to make the merge cleaner to the collector. I also hung the catback setup, welded in my brackets, started and finished the passenger side of the midpipe, then it was time for dinner. Ill have more updates tomorrow. Also, the guy i sent my PCM to didnt even have it for a day and was done and sent it back yesterday, so hopefully ill see it tomorrow or next monday.
07-18-2011 | 06:51 AM
#127
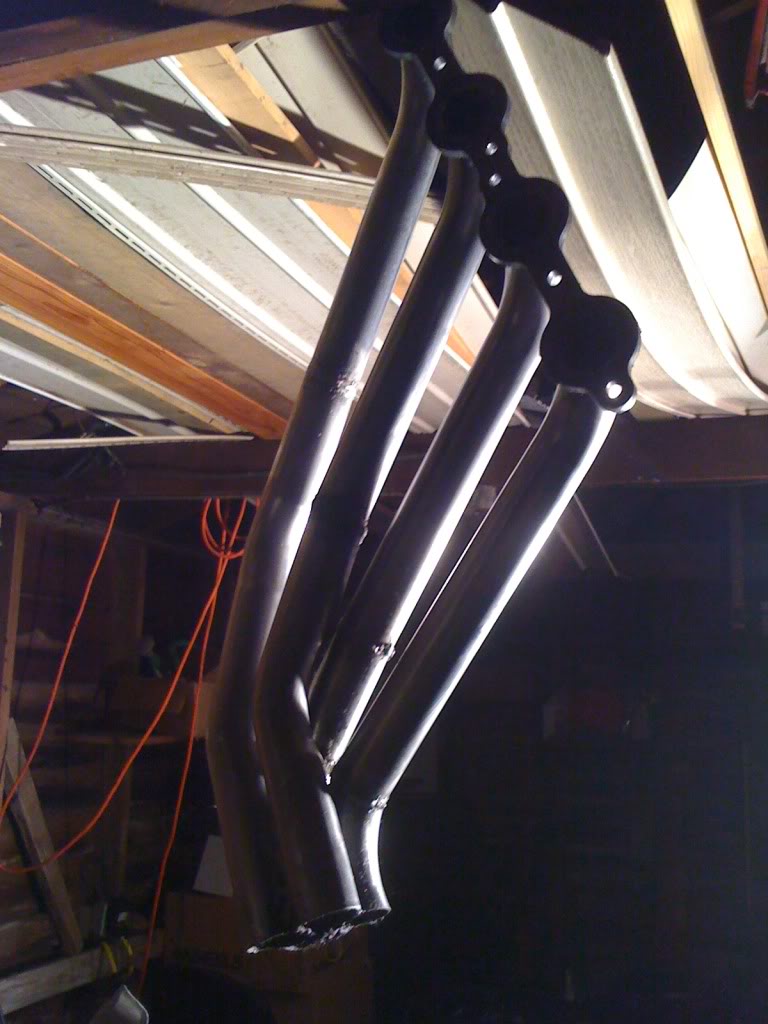
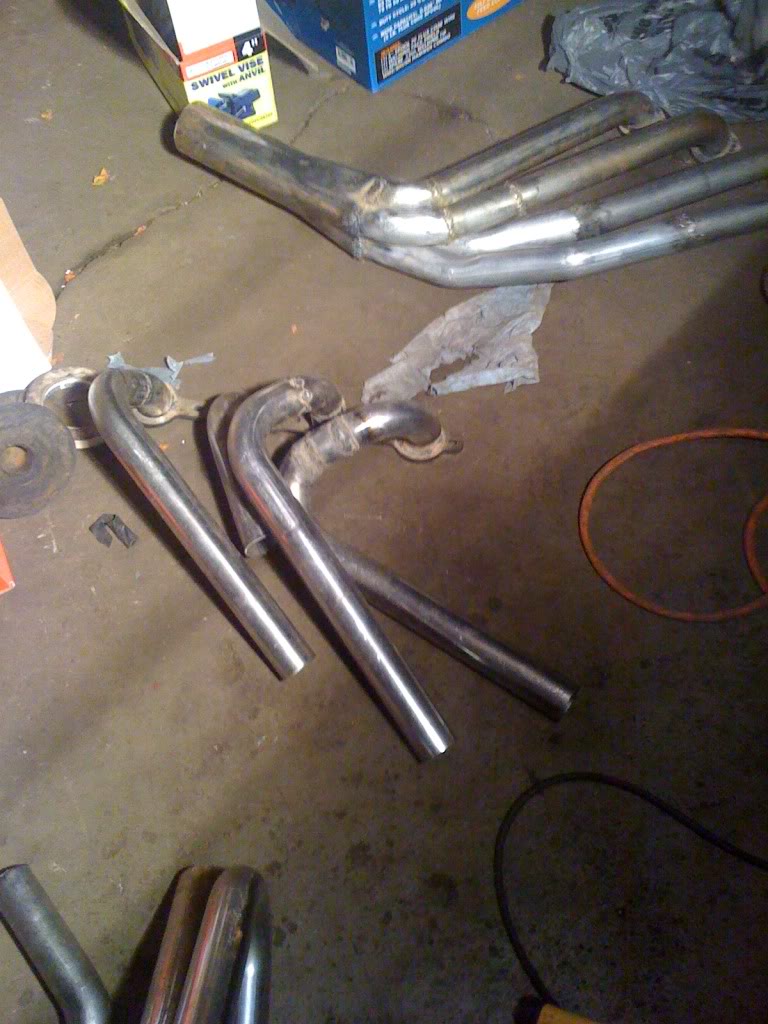
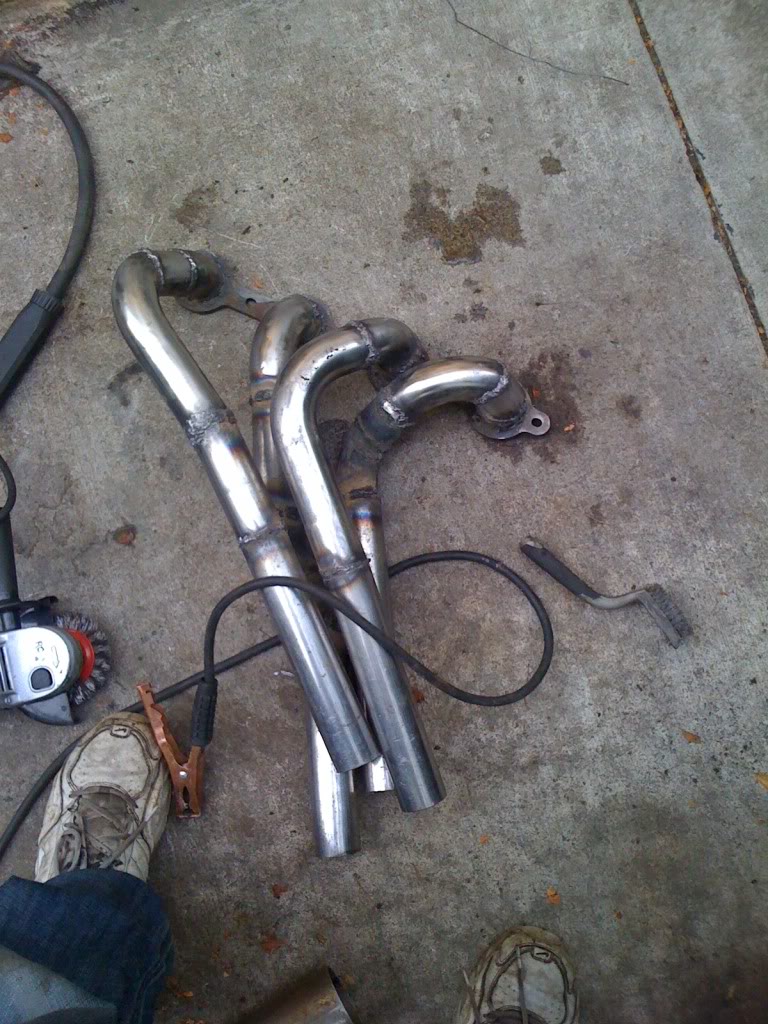
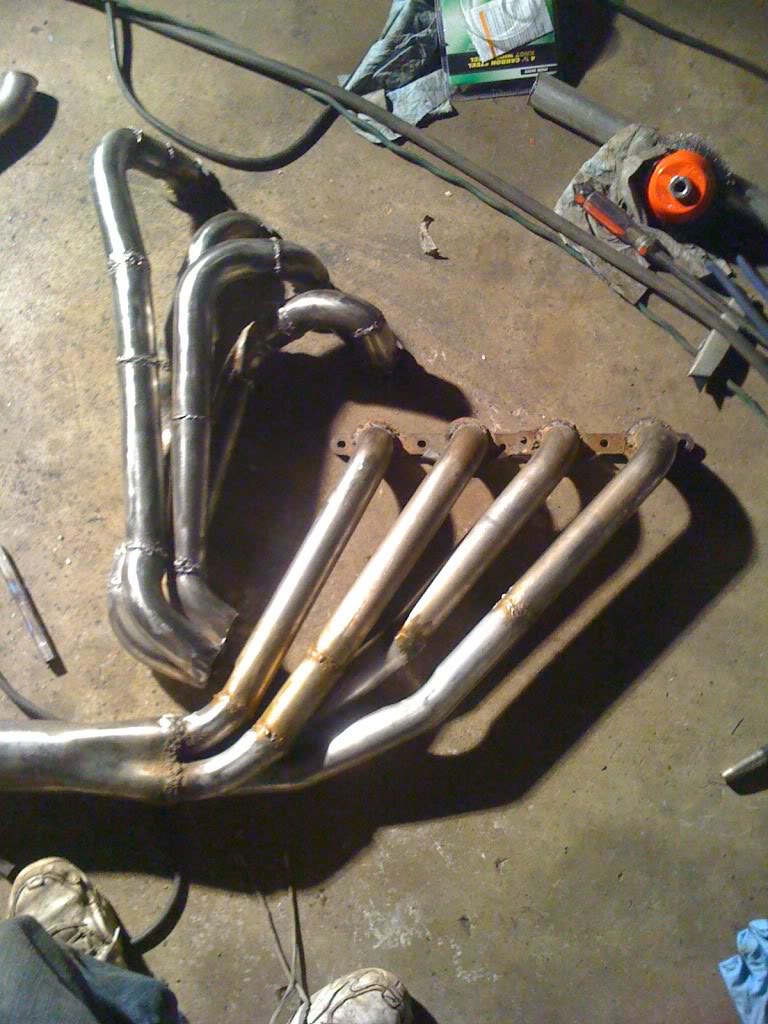
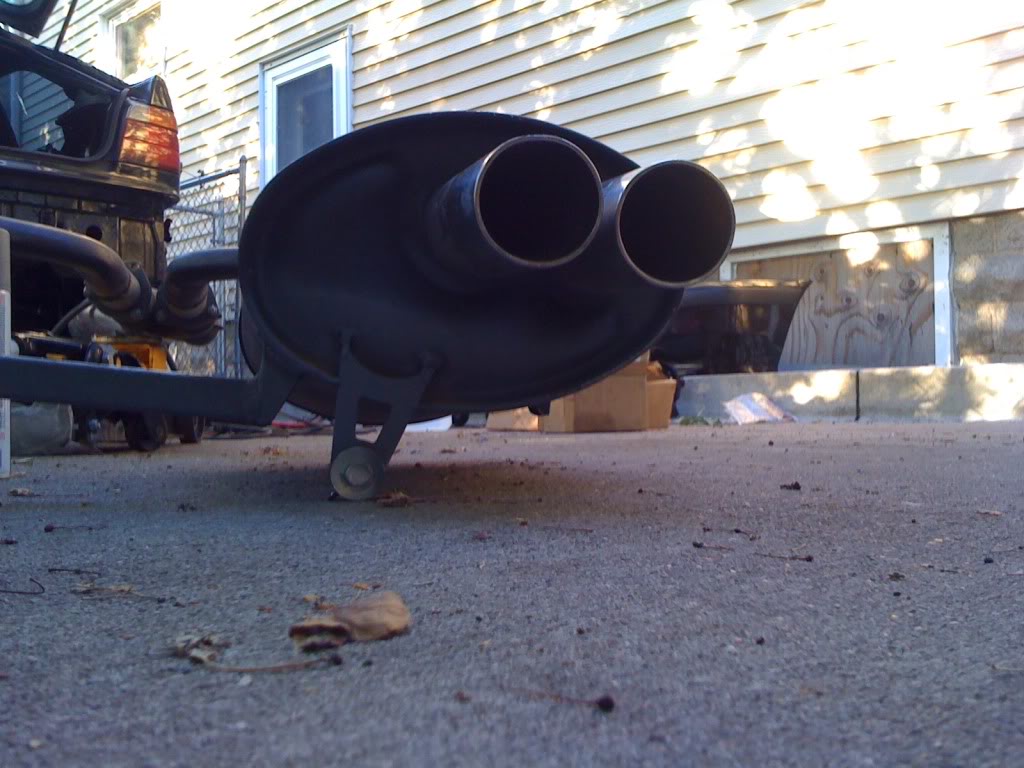
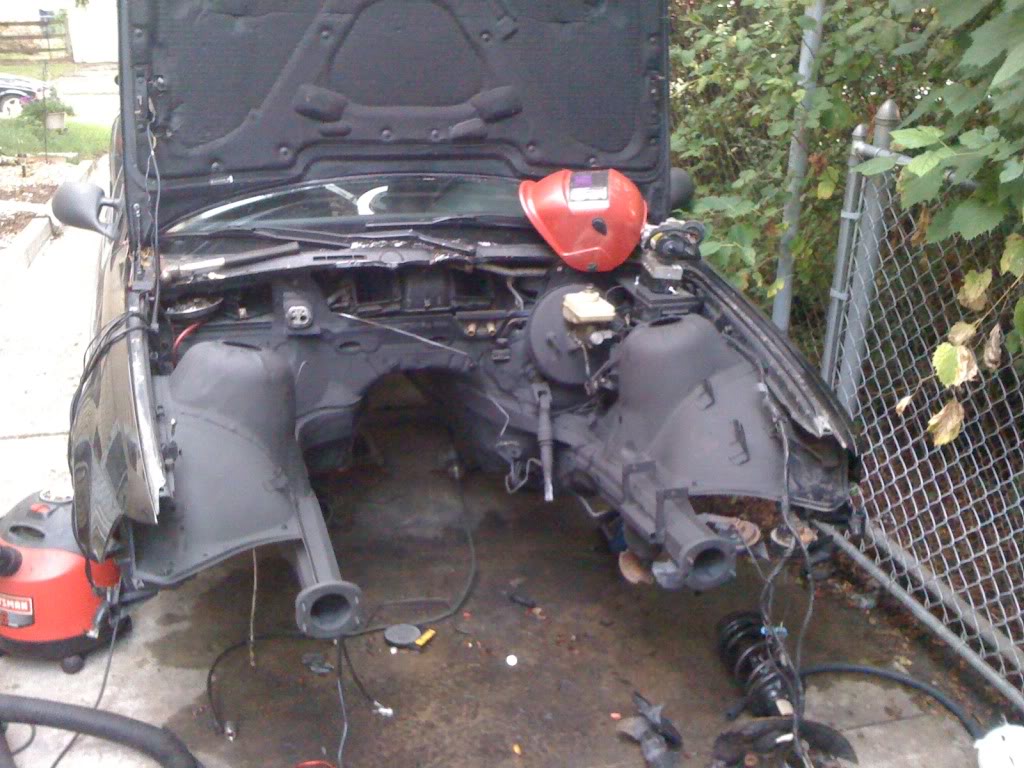
Did some more exhaust work.
And then it looked like this....
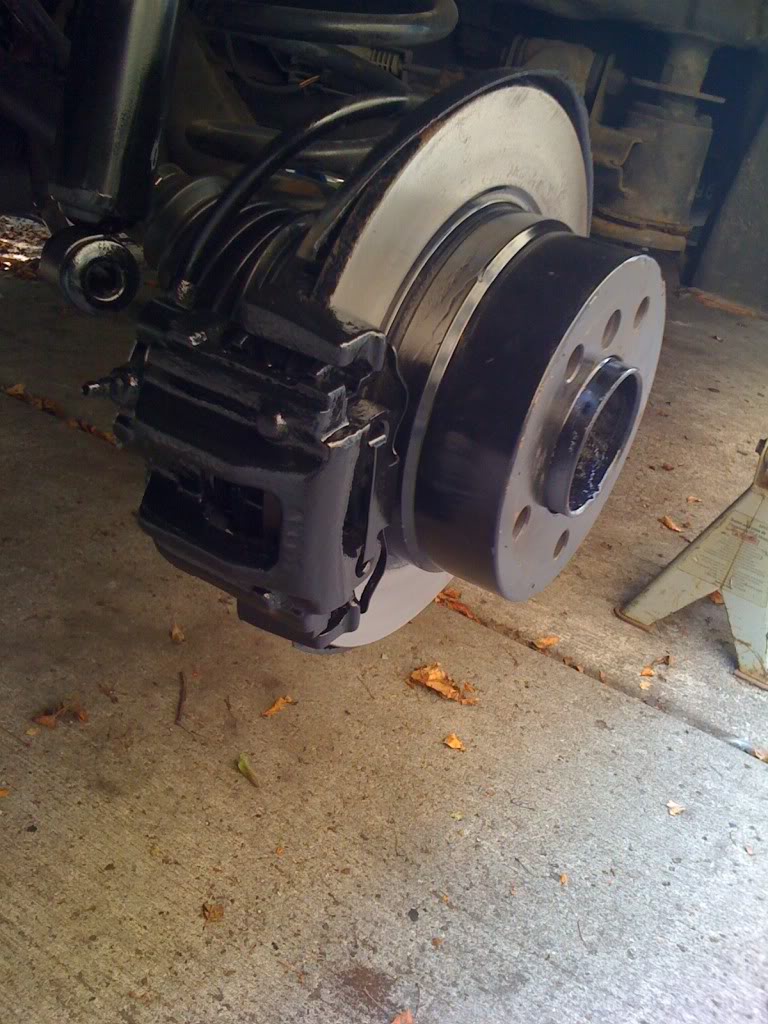
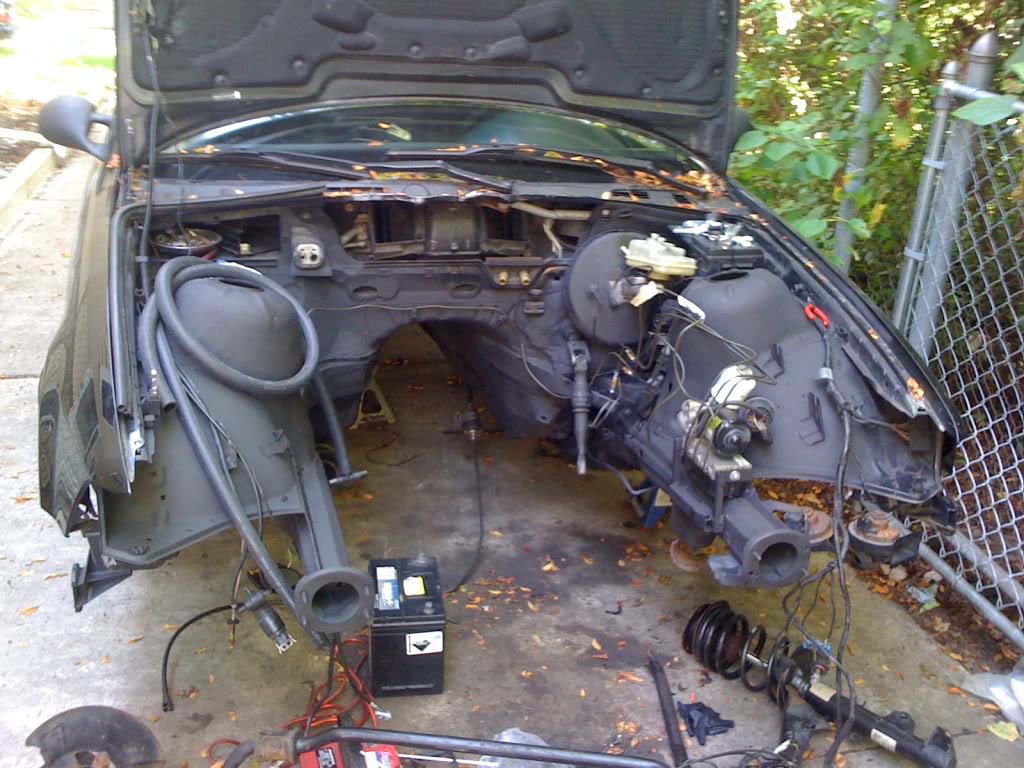
Then i pulled the brakes. Ran a new line to the passenger front, cleaned up the abs bracket to install the new abs setup, did a cut on the rotors and added a layer of paint for a little more protection from rust, and painted all found calipers and brackets.


And then it looked like this....
Then i pulled the brakes. Ran a new line to the passenger front, cleaned up the abs bracket to install the new abs setup, did a cut on the rotors and added a layer of paint for a little more protection from rust, and painted all found calipers and brackets.


 07-27-2011 | 09:27 AM
#135
About 97% finished with the wiring, just gotta tie up some loose ends on the x20, then a power supply to the rear of the car for the battery relocation.

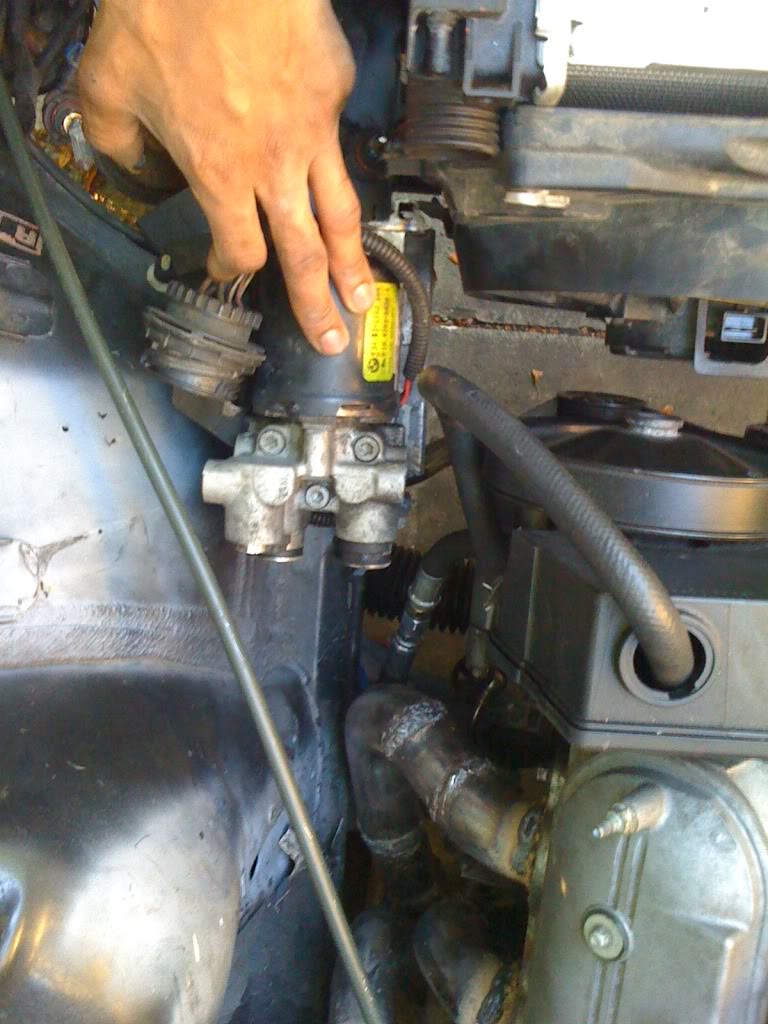
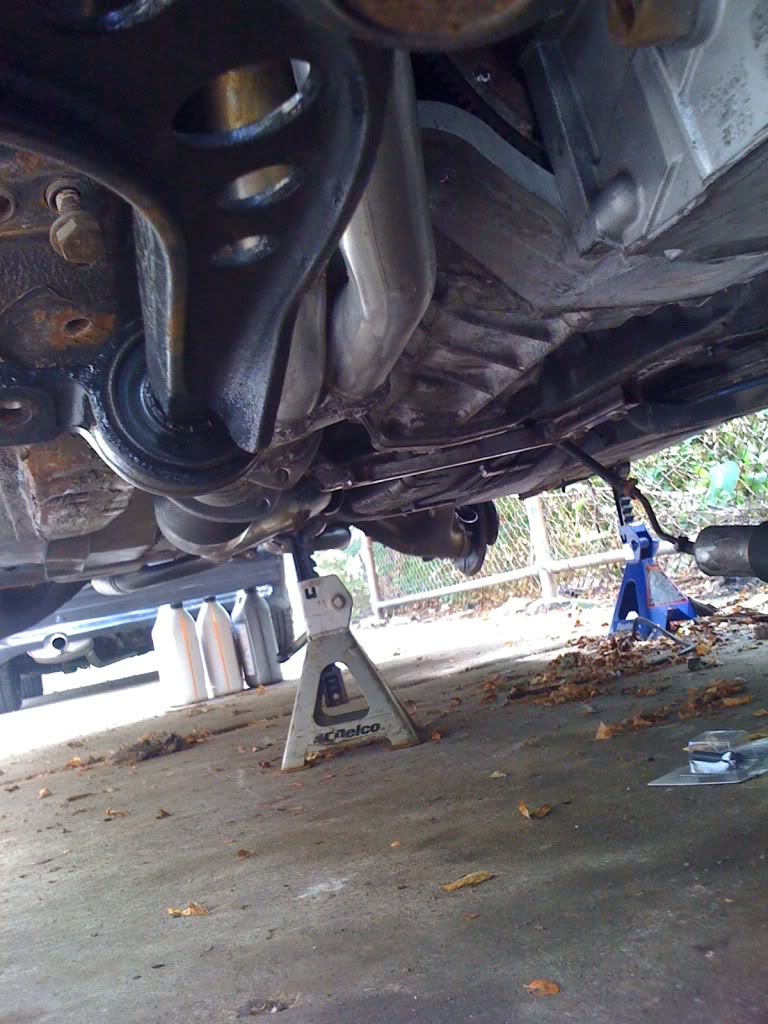
In the meantime, i threw another coat of paint onto the subframe, then primed and painted the engine bay, after i had removed misc. brackets and installed my ABS frame.
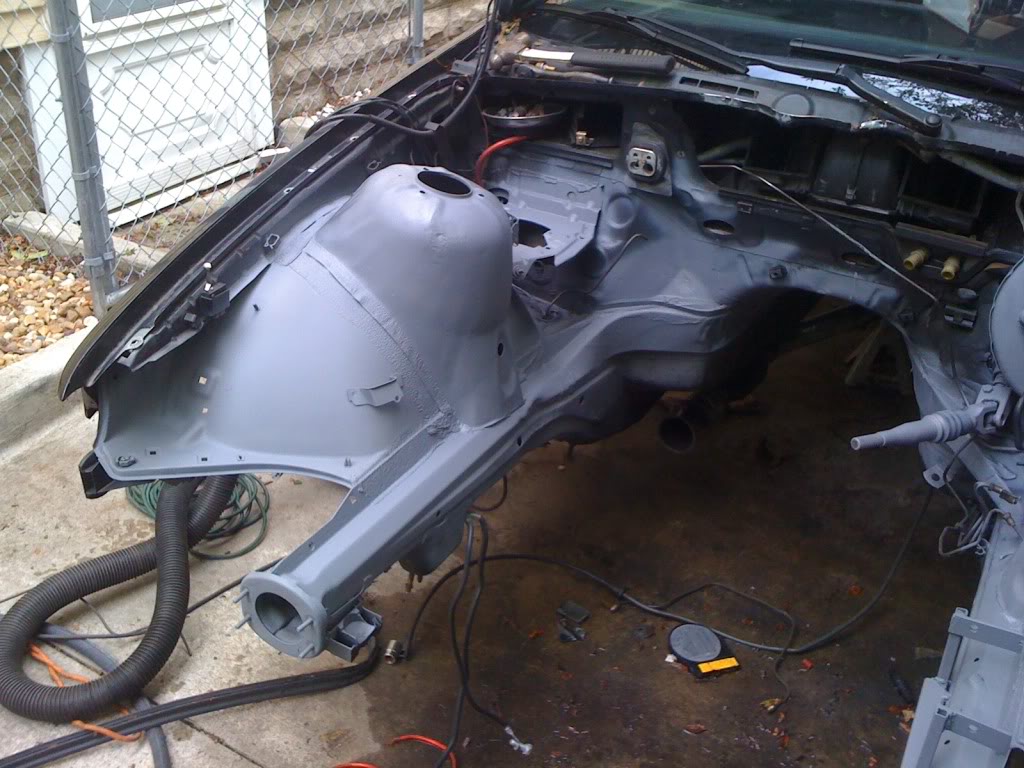

ABS lines ran
In the meantime, i threw another coat of paint onto the subframe, then primed and painted the engine bay, after i had removed misc. brackets and installed my ABS frame.
ABS lines ran

 08-24-2011 | 03:26 PM
#138

Go take a welding class, your welds look terrible. Mine were the same before I was shown the proper technique at a community college. Welding is not that hard, but some basics need to be learned.
All those welds look very contaminated and will probably fail shortly.
All those welds look very contaminated and will probably fail shortly.
09-05-2011 | 08:05 AM
#140
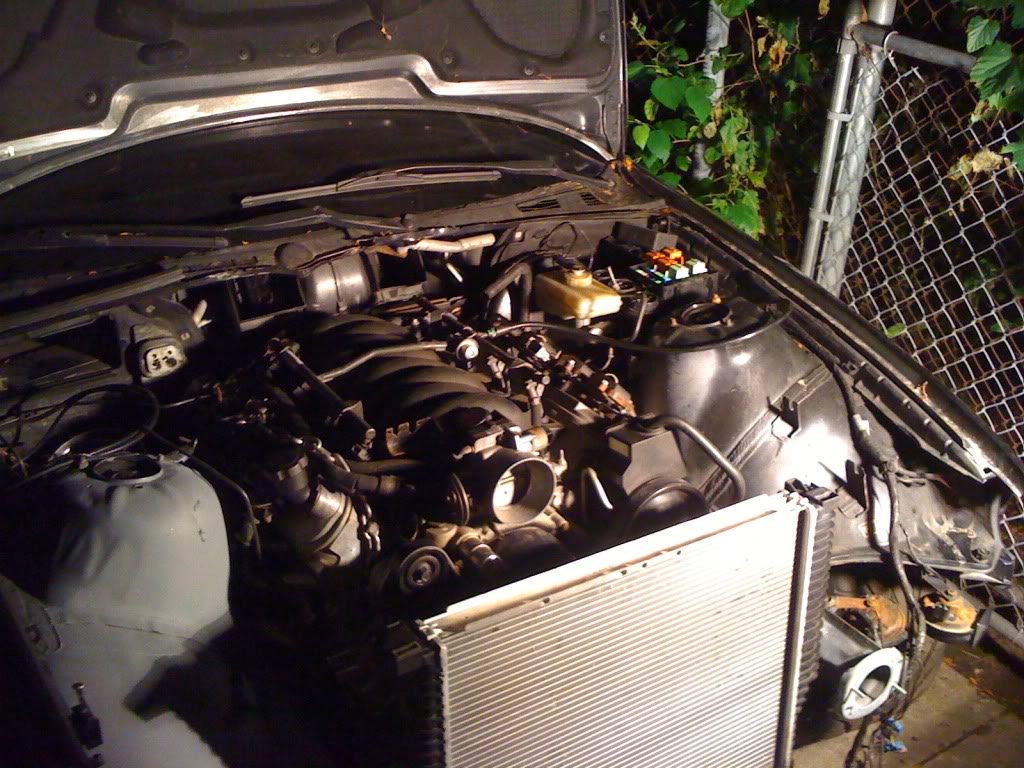
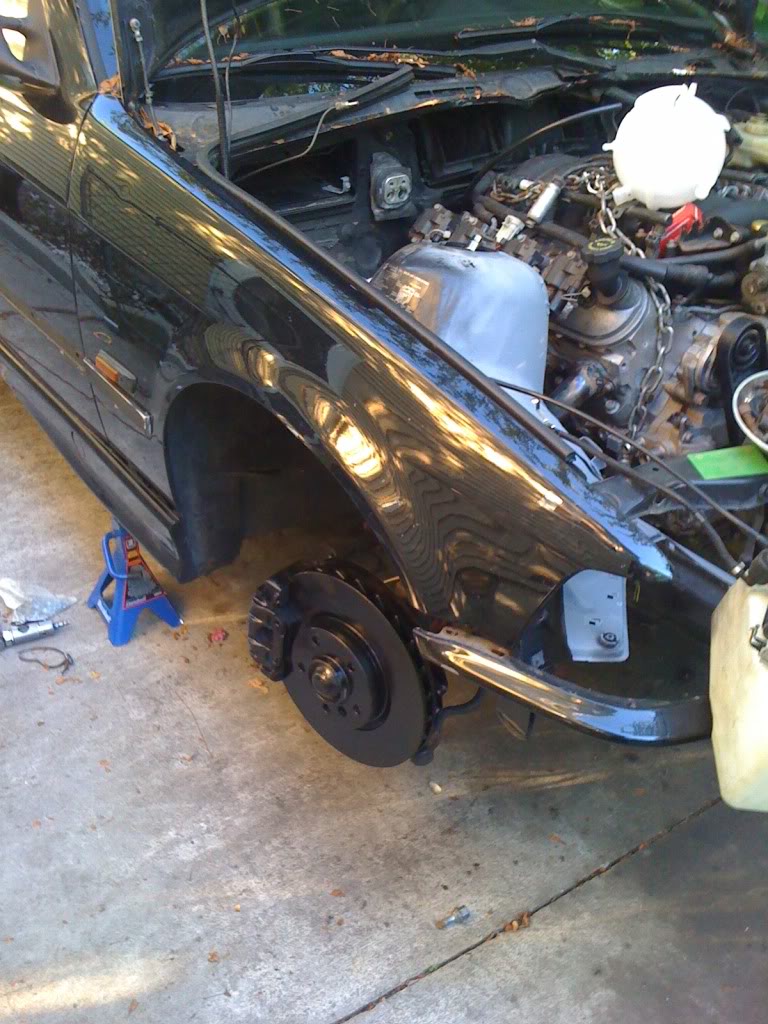
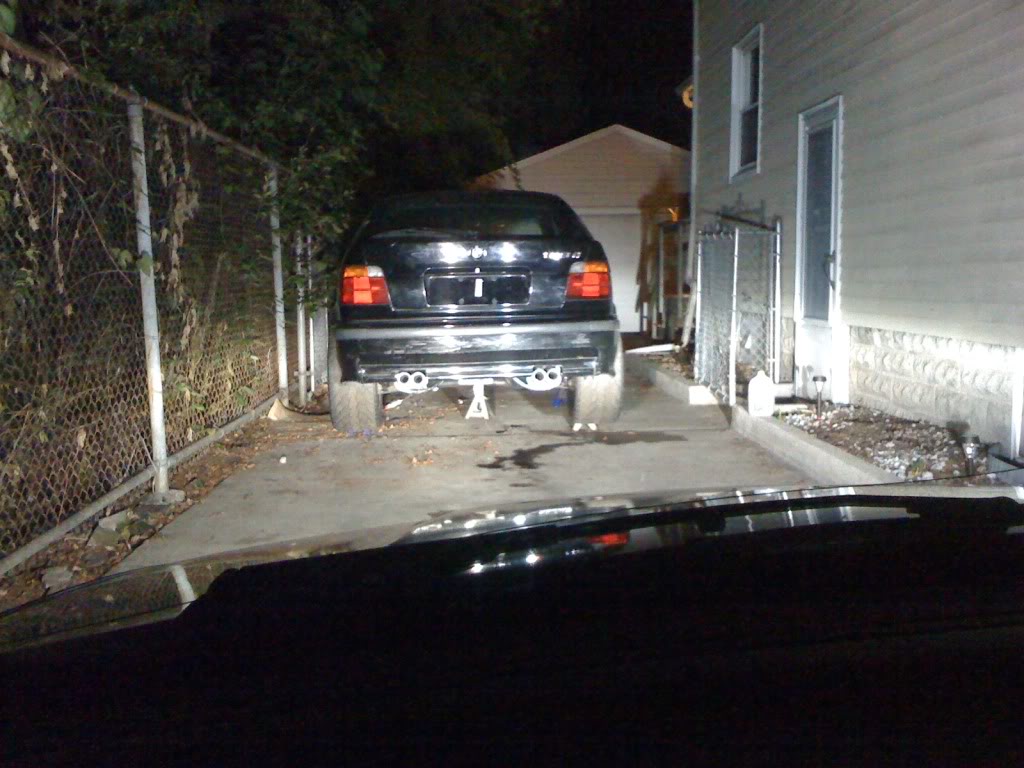
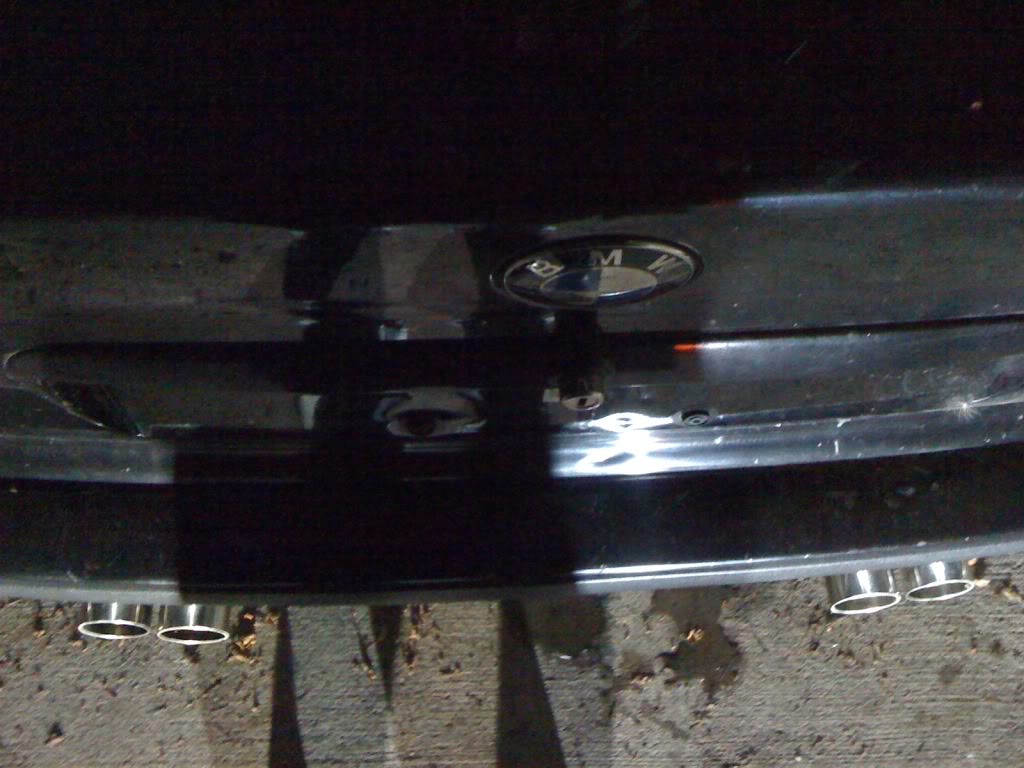
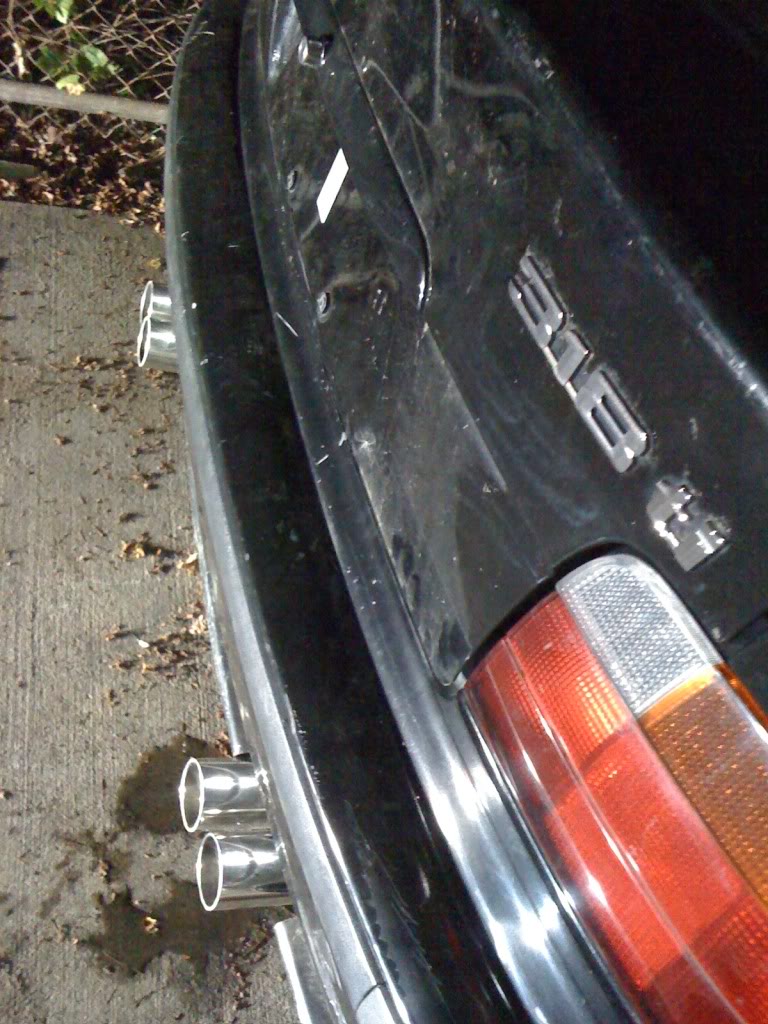
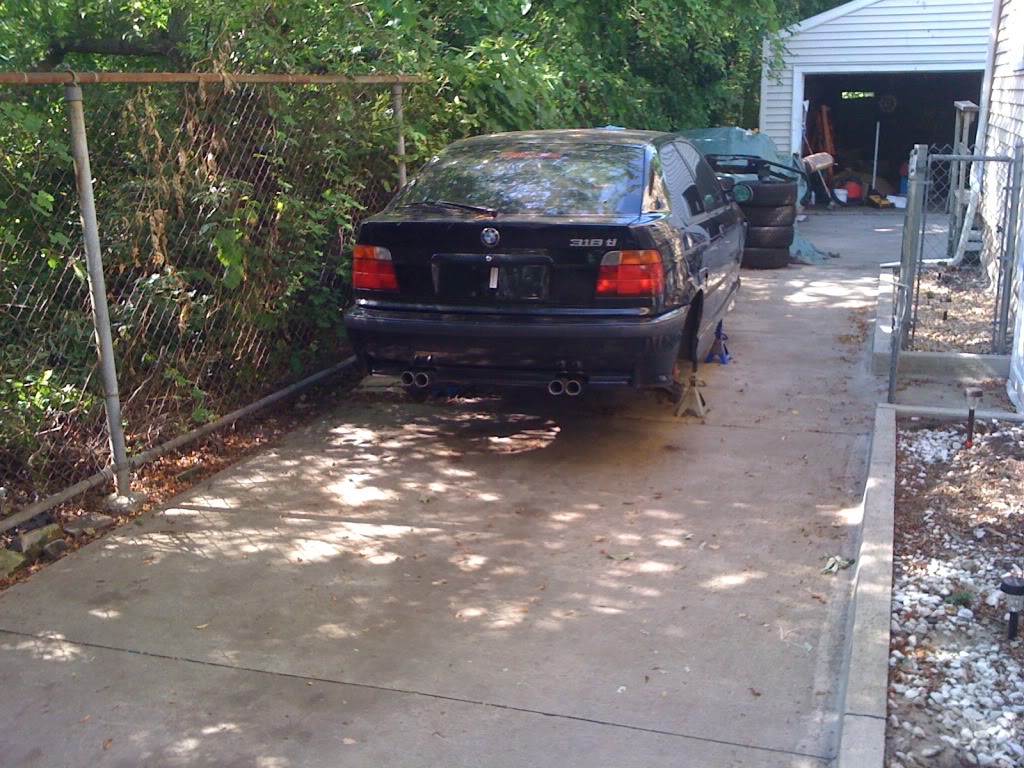
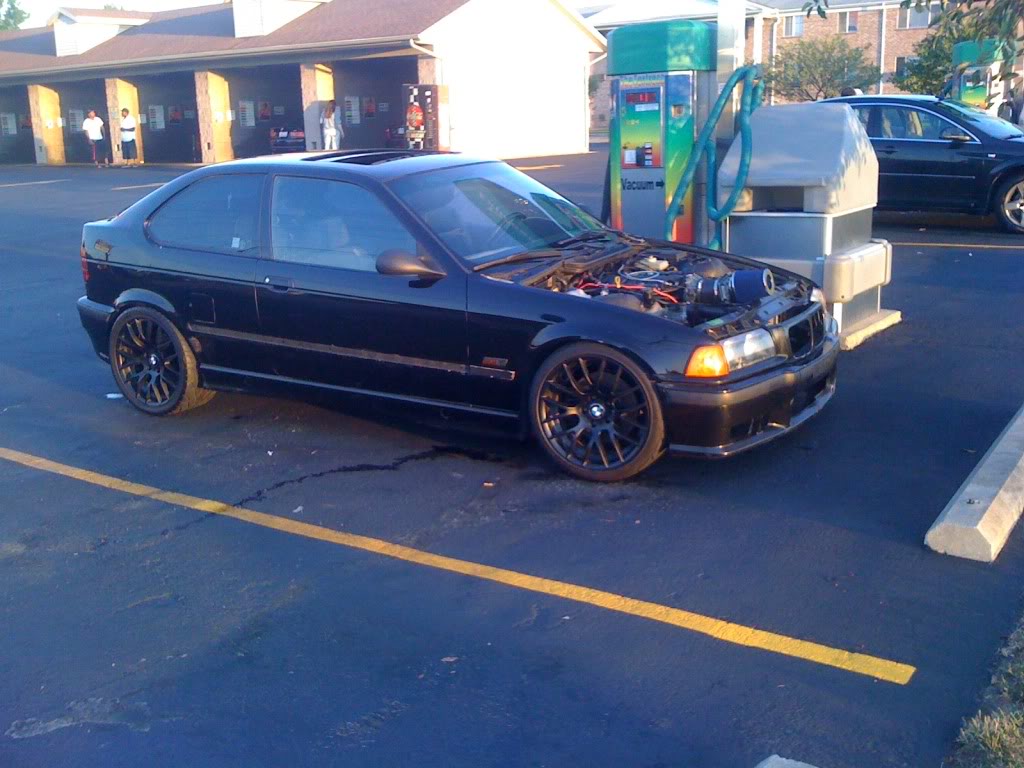
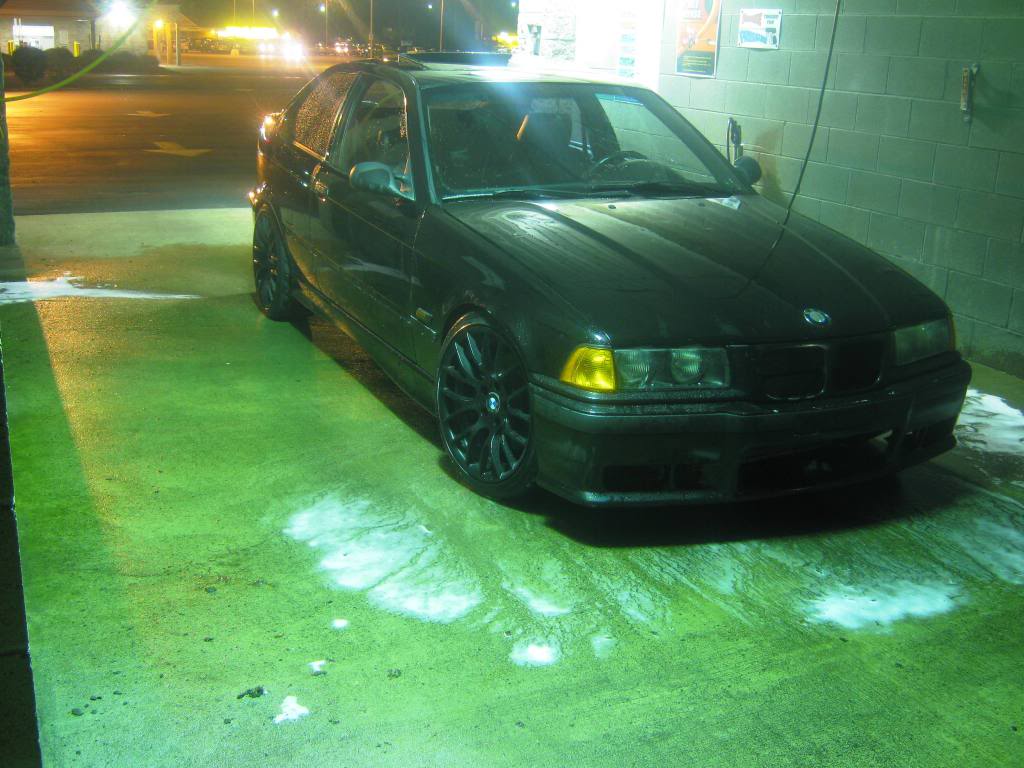
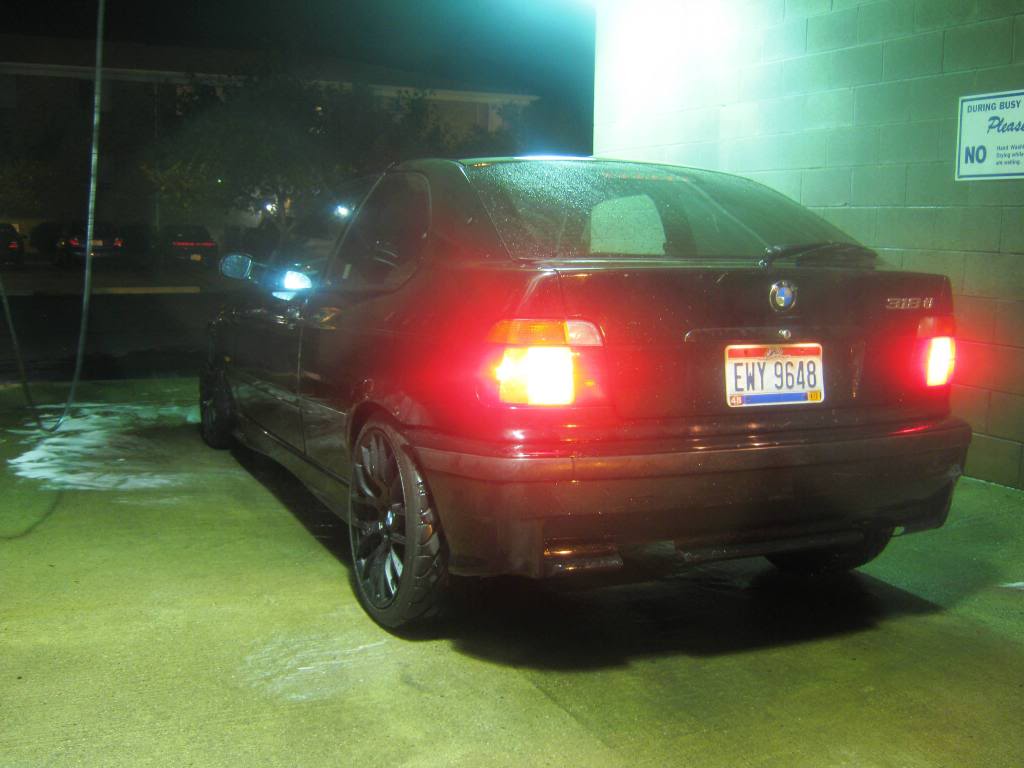
Not exactly by choice, but the car is finally on the road. My DD 4 cylinder took a poo, so i did everything needed to get this on the road and somewhat DD-able. I still have some wiring and tucking to do, not to mention, finishing my actual intake system other things, but hey, things arent supposed to be rushed, thats how mistakes are made.
The catbacks are currently removed for tip restoration and repaint, so its a bit loud. Not the best pics, but o well. Video will be up in a bit.
1996 318ti
2900.43lbs
2000 5.7L v8
2000 t56 6speed
4.10 Limited-slip
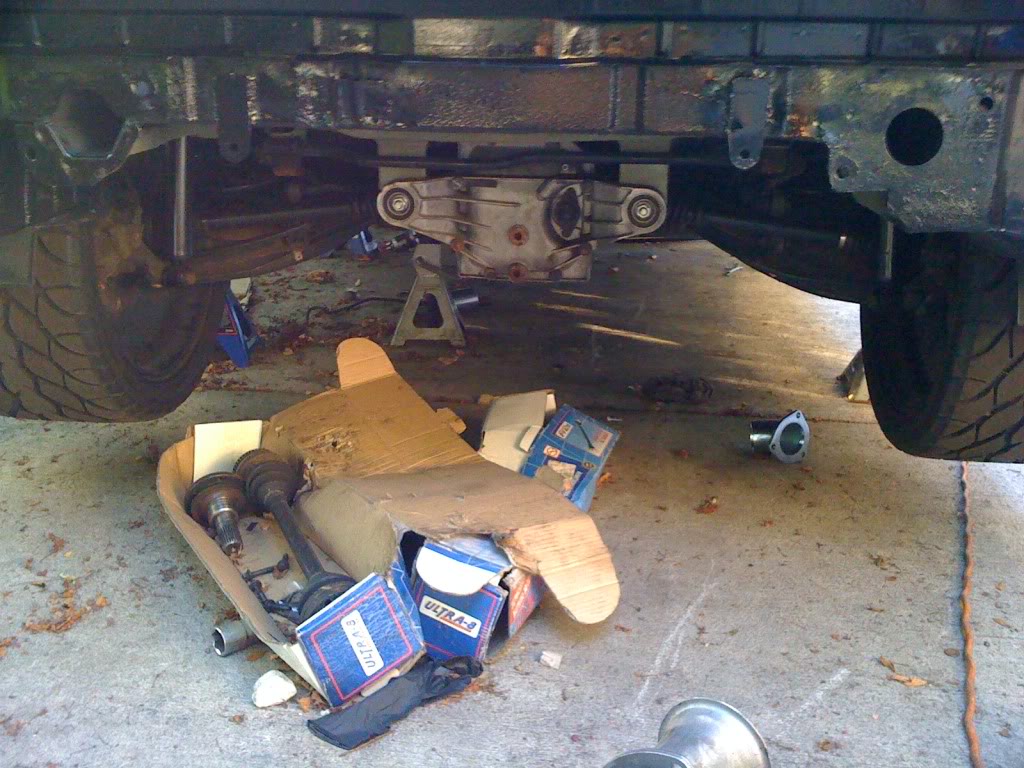
E30 axles
E36 Dual ear Differential mount
Custom trunk floor
Custom 2.5" steel driveshaft
Hand made engine and trans mount, poly and rubber
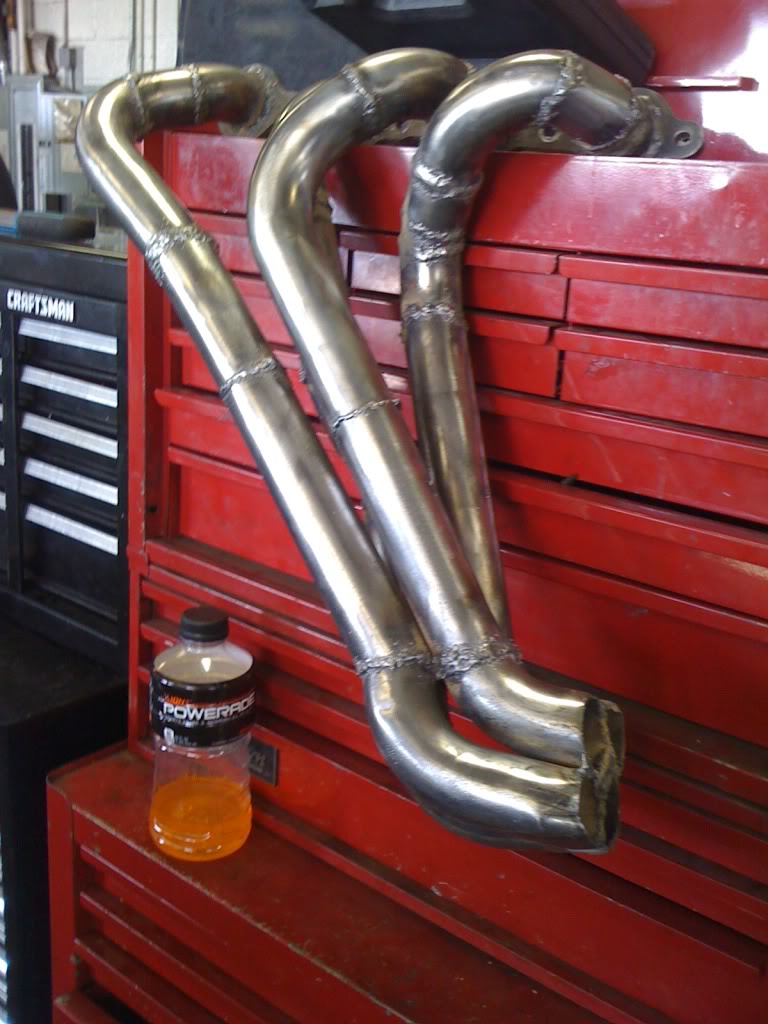
Hand made 1.75" long tube headers ~28" long
3" collector to 2.5" downsize
True dual system with bullet Catalytics
2.5" Crossover
Mroadster Dual catback with quad tips
M3 front Brakes
SS brake lines
318ti Rear brakes
Mroadster struts
Mustang cobra shocks
Lowering springs
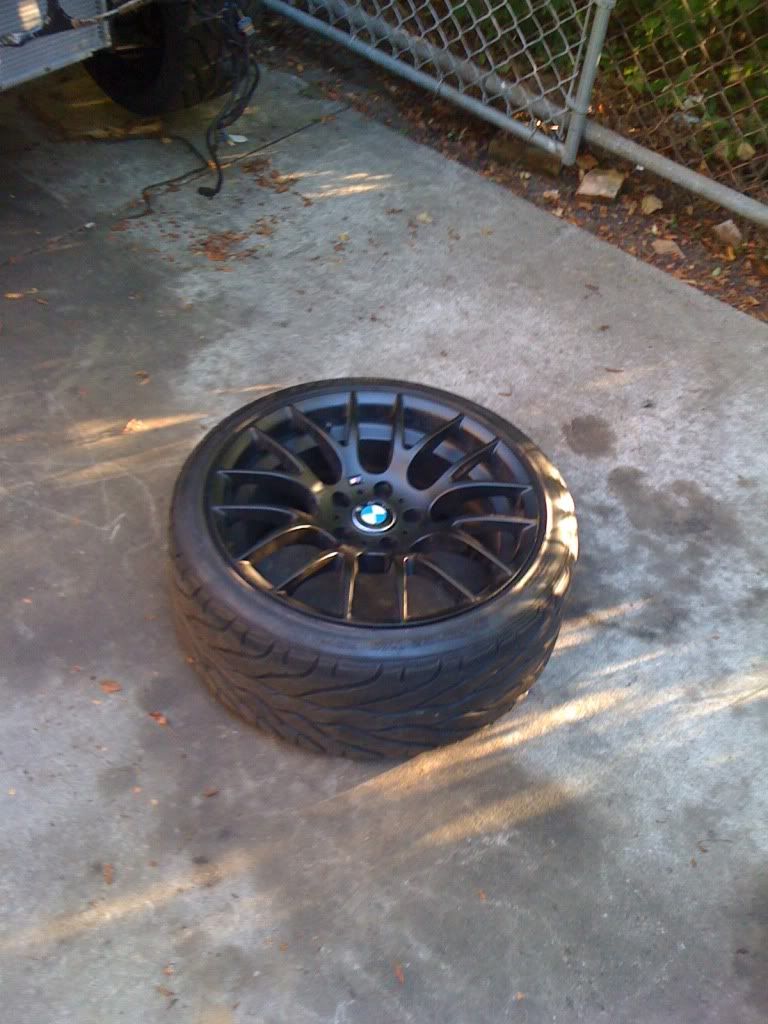
18x9 M3 Gts rims
Current 225/40/18-245/35/18 With optional 285/30/18 Bfg KDW2
Converted Active leather package interior


http://www.youtube.com/watch?v=wRBr_...ature=youtu.be
The catbacks are currently removed for tip restoration and repaint, so its a bit loud. Not the best pics, but o well. Video will be up in a bit.
1996 318ti
2900.43lbs
2000 5.7L v8
2000 t56 6speed
4.10 Limited-slip
E30 axles
E36 Dual ear Differential mount
Custom trunk floor
Custom 2.5" steel driveshaft
Hand made engine and trans mount, poly and rubber
Hand made 1.75" long tube headers ~28" long
3" collector to 2.5" downsize
True dual system with bullet Catalytics
2.5" Crossover
Mroadster Dual catback with quad tips
M3 front Brakes
SS brake lines
318ti Rear brakes
Mroadster struts
Mustang cobra shocks
Lowering springs
18x9 M3 Gts rims
Current 225/40/18-245/35/18 With optional 285/30/18 Bfg KDW2
Converted Active leather package interior
http://www.youtube.com/watch?v=wRBr_...ature=youtu.be