

96 mustang Gt lsx swap
 08-03-2010, 09:10 PM
#221
On The Tree
Thread Starter
iTrader: (6)

Join Date: Oct 2009
Posts: 119
Likes: 0
Received 0 Likes
on
0 Posts
ok tranny arrived yesterday converter on way back. converter is now a pt 4000 not ss3600. Should be gettn back in car this weekend and continueing with what little tunin is left to do and gettn speedo operating.

 08-22-2010, 07:07 AM
#223

Finally got everything up and running and to the strip!
http://www.youtube.com/watch?v=T6bzxIQtIJg
11.92@113 still tweaking on the tune.
Here's an in-car video of him racing my '00 Z28, Cam, stall tune and boltons. I ran a 12.8 to his 11.8, 106 MPH to 114. This was in 98 degree temps, at over 4000ft corrected D/A.
http://www.youtube.com/watch?v=WFznQVdeTvg
He made two 11.7 passes later on, at over 115. When the weather cools and the D/A comes around, it should see mid-low 11's no problem.
08-29-2010, 10:28 PM
#226
Staging Lane
iTrader: (1)
Join Date: Apr 2009
Location: O'Fallon, IL
Posts: 66
Likes: 0
Received 0 Likes
on
0 Posts
What did you end up doing for the upper radiator hose?? What part number for the lower as well if you don't mind? I have the exact same problem with the aftermarket radiator. Thanks in advance!
Last edited by LSNotch; 08-29-2010 at 10:57 PM.
08-29-2010, 11:01 PM
#227
Unfortunately it's been so long I don't remember the part number for the lower. I do know it's a stock radiator hose for something. It was selected by going to the local Autozone and looking over their wall of hoses till one was found that looked right. It fit perfectely, whatever it was off of.
The upper hose is a stock 2003 Silverado 1500 5.3L hose. This car has an aftermarket aluminum Chevy outlet style radiator installed, the problem we had was the radiator had a larger diameter neck than the hose would accept. The solution we used was to take the radiator hose to the exhaust shop and have them put it on the pipe sweller. Swell it up till it almost ripps, then take it off. It will shrink back down, but it will be more pliable and stretch right over the larger radiator neck no issue, and still be strong.
That idea was courtesy of a local gentleman to us. I didn't think it would work, but it worked like a champ!
08-30-2010, 06:57 AM
#228
Staging Lane
iTrader: (1)
Join Date: Apr 2009
Location: O'Fallon, IL
Posts: 66
Likes: 0
Received 0 Likes
on
0 Posts
Unfortunately it's been so long I don't remember the part number for the lower. I do know it's a stock radiator hose for something. It was selected by going to the local Autozone and looking over their wall of hoses till one was found that looked right. It fit perfectely, whatever it was off of.
The upper hose is a stock 2003 Silverado 1500 5.3L hose. This car has an aftermarket aluminum Chevy outlet style radiator installed, the problem we had was the radiator had a larger diameter neck than the hose would accept. The solution we used was to take the radiator hose to the exhaust shop and have them put it on the pipe sweller. Swell it up till it almost ripps, then take it off. It will shrink back down, but it will be more pliable and stretch right over the larger radiator neck no issue, and still be strong.
That idea was courtesy of a local gentleman to us. I didn't think it would work, but it worked like a champ!
The upper hose is a stock 2003 Silverado 1500 5.3L hose. This car has an aftermarket aluminum Chevy outlet style radiator installed, the problem we had was the radiator had a larger diameter neck than the hose would accept. The solution we used was to take the radiator hose to the exhaust shop and have them put it on the pipe sweller. Swell it up till it almost ripps, then take it off. It will shrink back down, but it will be more pliable and stretch right over the larger radiator neck no issue, and still be strong.
That idea was courtesy of a local gentleman to us. I didn't think it would work, but it worked like a champ!
12-18-2010, 10:43 PM
#229
On The Tree
Thread Starter
iTrader: (6)
Join Date: Oct 2009
Posts: 119
Likes: 0
Received 0 Likes
on
0 Posts
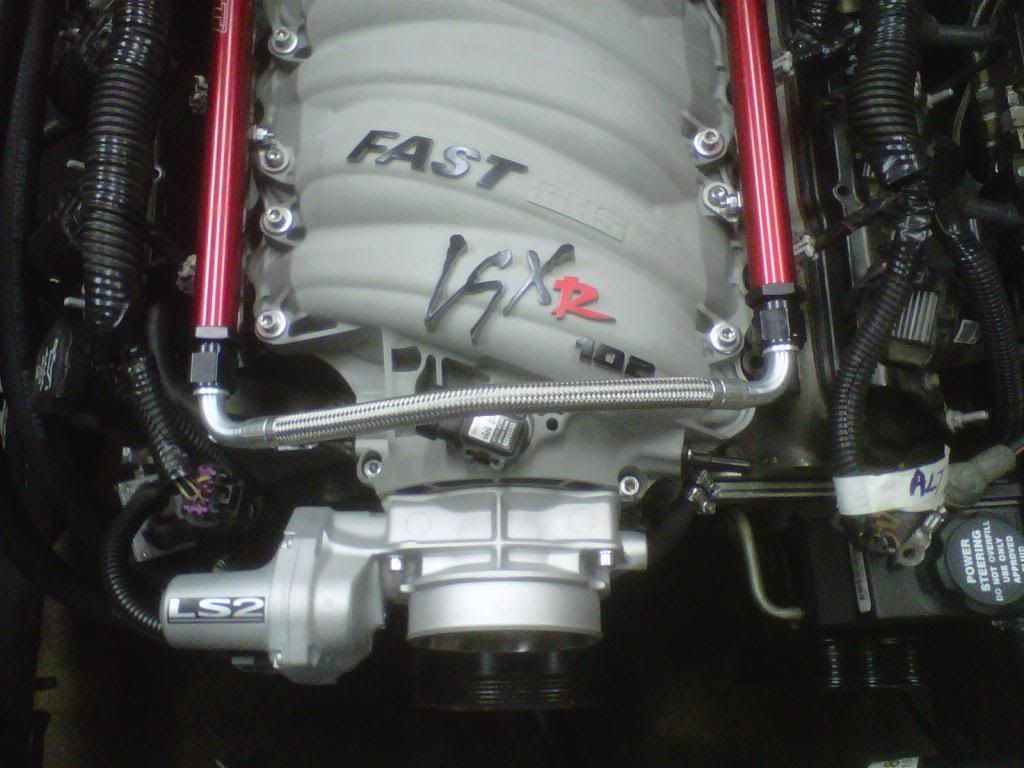
Some updates on this build. The car went 11.70s consistently thru full exhaust. Changes over the winter will be more gearing which is needed greatly. Going to 4.33s with 27inch tire from 3.73s with 26inch tire. Taken the truck intake off and installing a fast 102 Nick Williams combo. Putting the stock mustang hood on by switching from the truck accessory drive to a F-body. And to help with the consistant launchs and future nitrous be adding a Lingenfelter Drag Pac. Will putting electric cutouts on as well. Hopefully get some low elevens NA the car should be capable of running with these changes.
02-17-2011, 08:01 PM
#230
On The Tree
Thread Starter
iTrader: (6)
Join Date: Oct 2009
Posts: 119
Likes: 0
Received 0 Likes
on
0 Posts
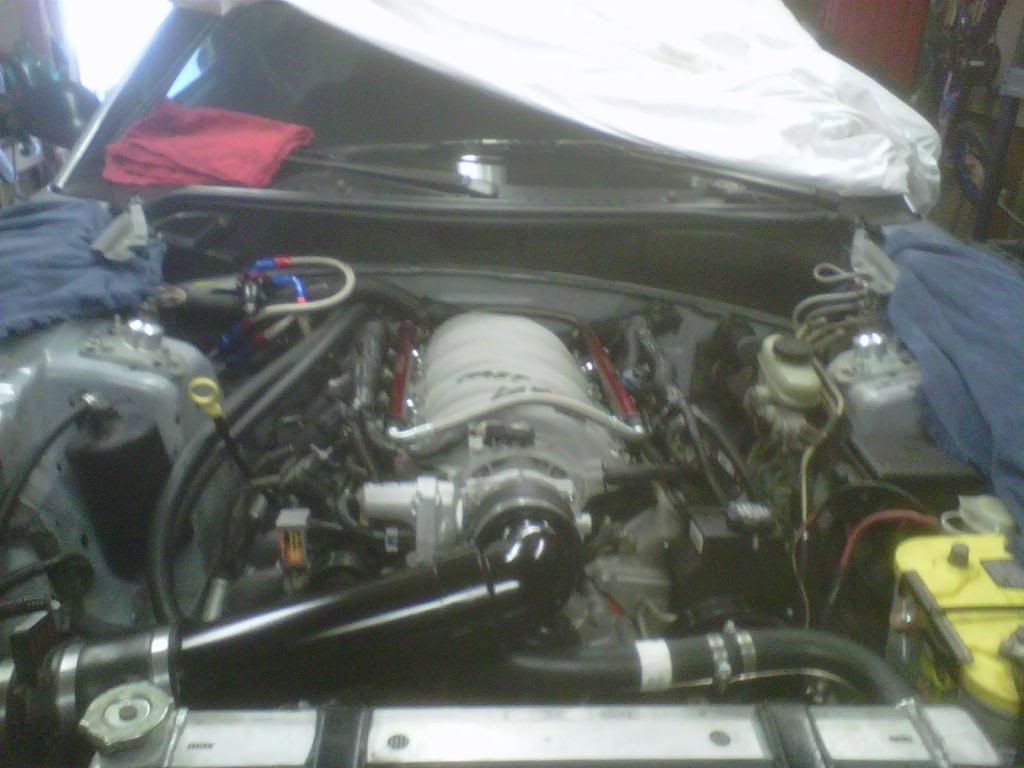
Here is engine bay after some changes over the winter.
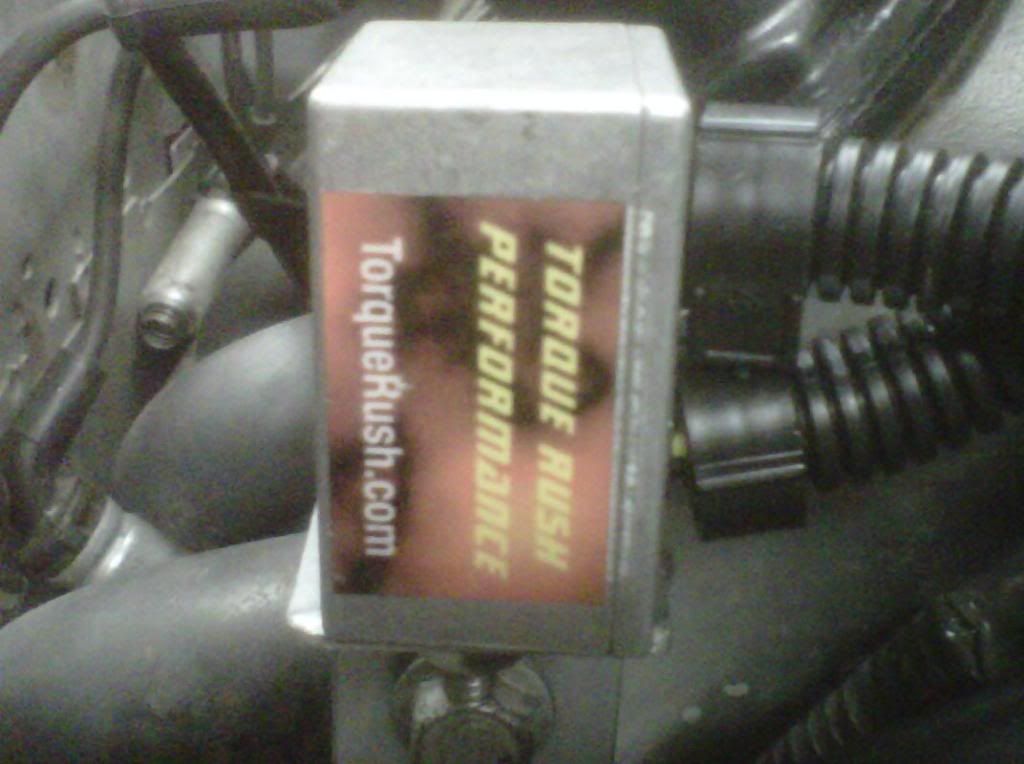
This is what I'm using to correct the signal to the computer (had factory truck throttle body went to ported LS2).
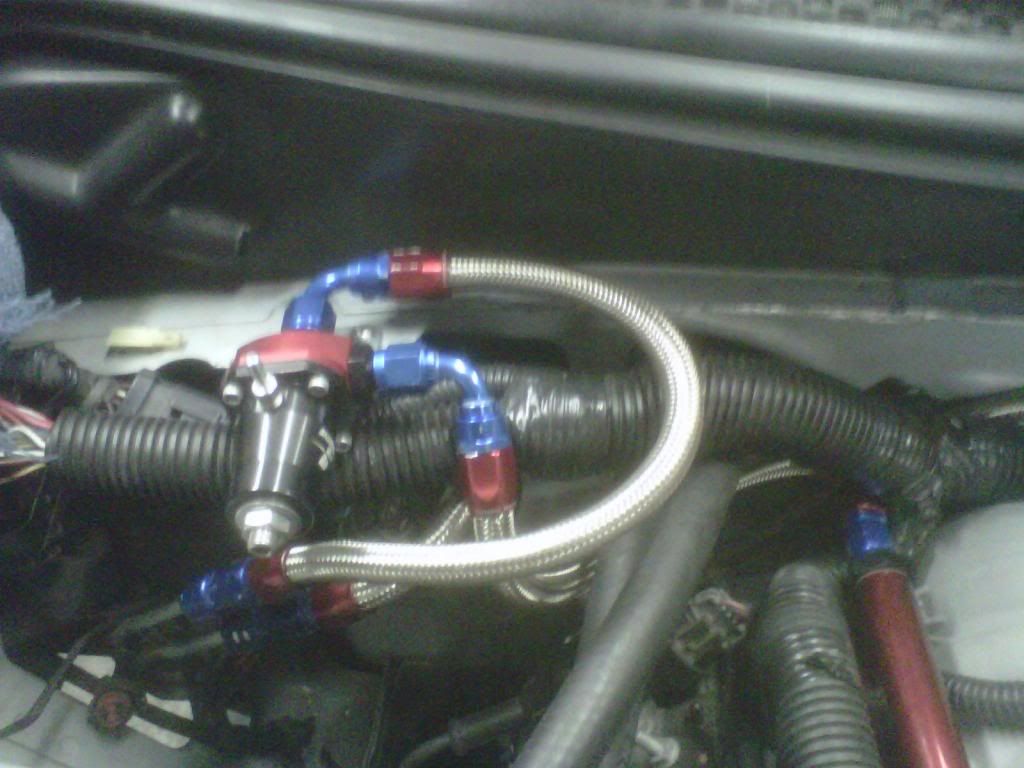
Shot of bypass regulator install on backside of fuel rails.
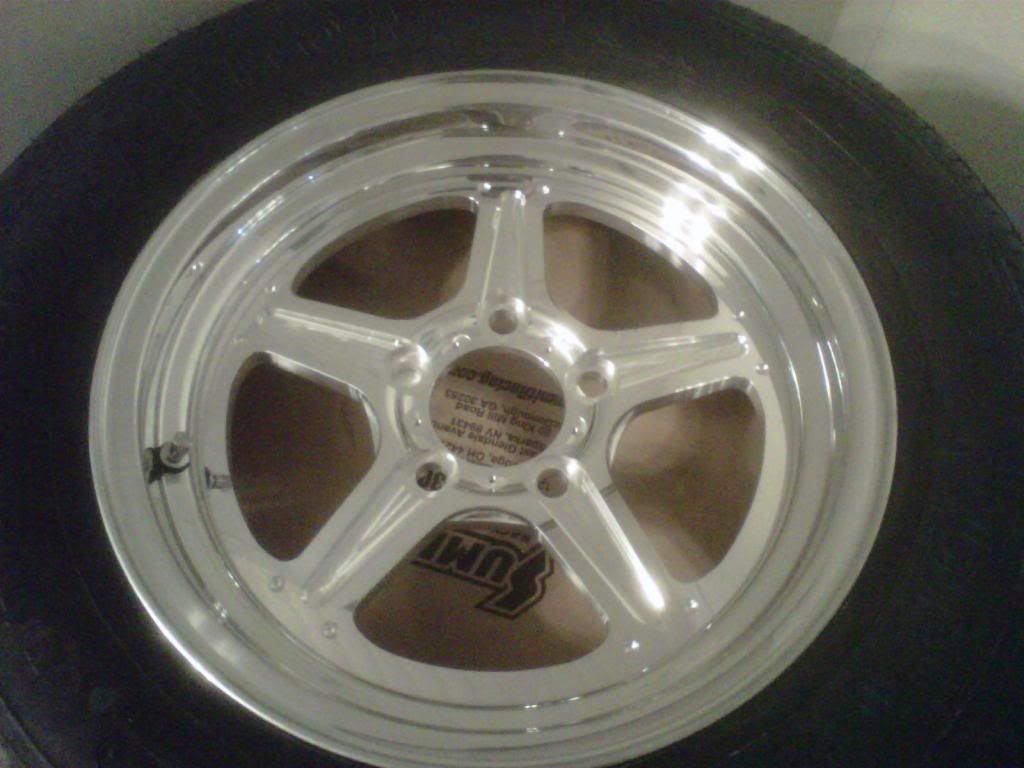
The new wheels (Billet Specialties Street Lite 15x 3/12 front 15x8 rear)
Changing ring and pinion from 3.73s to 4.33s and went to SS4000 Yank from the PT4000 Yank
This is what I'm using to correct the signal to the computer (had factory truck throttle body went to ported LS2).
Shot of bypass regulator install on backside of fuel rails.
The new wheels (Billet Specialties Street Lite 15x 3/12 front 15x8 rear)
Changing ring and pinion from 3.73s to 4.33s and went to SS4000 Yank from the PT4000 Yank


 03-14-2011, 09:03 PM
#238
On The Tree
Thread Starter
iTrader: (6)
Join Date: Oct 2009
Posts: 119
Likes: 0
Received 0 Likes
on
0 Posts
Took to track last Saturday. With some more fine tuning got a 11.54 @116.87 with 1.60 sixty foot on motor. This was without the gear change still has the 3.73s. Race weight was 3380. Beginning of next month will be doing the gear swap. Hoping for 11.20-11.30s.
03-19-2011, 08:03 AM
#239
On The Tree
Thread Starter
iTrader: (6)
Join Date: Oct 2009
Posts: 119
Likes: 0
Received 0 Likes
on
0 Posts
Took to track again last night. With little more tuning went 1.56 60ft 11.31 at 118.96 mph on motor. Will be puttin the 4.33 gears in and have more updates in couple weeks. Not bad for 60000 mile stock bottom end 6.0 in my opinion.
04-08-2011, 11:32 PM
#240
On The Tree
iTrader: (3)
Join Date: Mar 2010
Location: Calgary, Alberta
Posts: 121
Likes: 0
Received 0 Likes
on
0 Posts
quick question for you. I grabbed the gray/black wire (58) for the speedo input, and found the green VSS signal from the LS computer. When I hook them up I get no movement on my speedo... any thoughts?
I checked the green wire with a test light and it pulsates with the rear wheel speed. hmmm...
-Garrett
I checked the green wire with a test light and it pulsates with the rear wheel speed. hmmm...
-Garrett
Wiring the cluster is easy. You do not need to remove it to access any wires behind it at all. All the necessary input wires for the tach and speedo are located at the factory Ford PCM connector in the passenger kick panel.
Here's how you hook it up.
Beware, these instructions only apply to '96-'98 PCM's. I DID NOT check pinouts for any other years. On the GM side, the pin numbers are for the drive by wire computer, but are possibly shared by the drive by cable. Double check for safety!
Tach
On the factory Ford PCM connector, locate pin#48. They are labeled on the back side of the connector. Snip this wire off the connector. Now, on your LS PCM, connector 2, Green (assuming you are using a drive-by-wire PCM) find pin 10. Splice Pin 10 from the LS PCM to Pin 48 on the Ford PCM. Now, you will need to add a "pull up" resistor to the circuit. Grab a 1K resistor from Radio Shack, splice one end of the resistor to a 12V switched power source (I used an adjacent power wire going to the LS PCM) and connect the other end of the resistor to the new circuit you have made. This must be done as the factory LS PCM's tach output signal is too weak to be read by the factory tach. If you are using EFI Live, i'm told you have the capability to turn this feature on with your tuner. Now, you'll need to change the factory LS's pcm output tach pulses to match the 'Stang's. Go into the tune and change this parameter from 6 to 3. Done!

Speedo
On the Ford PCM connector, find pin 58. On the LS connector C2 - Green - (again assuming you are using DBW) find pin 50. Splice the two together. Now beware, there will only be a VSS pulse on this wire if you are using a 4L60E/80E/6spd trans where the VSS input to the LS pcm is hooked up! If say you're using a TH350, you will need to get an in-line signal generator and hook it up to the LS PCM, then go into the tune and calculate the VSS pulses/mile to get the proper output pulses on this output wire.
You guys might check and make sure i've got those pin numbers right on the Speedo output, there are two outputs on the LS PCM, one is at a higher pulse rate for the ABS, and one is for the cluster. I believe that's the right pin number.
Nope, it's lazy in the video. I'm not sure if it's YouTube or the video itself. It's fine in person, snaps with the RPM perfectly. If you notice the oil PSI guage is also lazy in the video.
Here's how you hook it up.
Beware, these instructions only apply to '96-'98 PCM's. I DID NOT check pinouts for any other years. On the GM side, the pin numbers are for the drive by wire computer, but are possibly shared by the drive by cable. Double check for safety!
Tach
On the factory Ford PCM connector, locate pin#48. They are labeled on the back side of the connector. Snip this wire off the connector. Now, on your LS PCM, connector 2, Green (assuming you are using a drive-by-wire PCM) find pin 10. Splice Pin 10 from the LS PCM to Pin 48 on the Ford PCM. Now, you will need to add a "pull up" resistor to the circuit. Grab a 1K resistor from Radio Shack, splice one end of the resistor to a 12V switched power source (I used an adjacent power wire going to the LS PCM) and connect the other end of the resistor to the new circuit you have made. This must be done as the factory LS PCM's tach output signal is too weak to be read by the factory tach. If you are using EFI Live, i'm told you have the capability to turn this feature on with your tuner. Now, you'll need to change the factory LS's pcm output tach pulses to match the 'Stang's. Go into the tune and change this parameter from 6 to 3. Done!
Speedo
On the Ford PCM connector, find pin 58. On the LS connector C2 - Green - (again assuming you are using DBW) find pin 50. Splice the two together. Now beware, there will only be a VSS pulse on this wire if you are using a 4L60E/80E/6spd trans where the VSS input to the LS pcm is hooked up! If say you're using a TH350, you will need to get an in-line signal generator and hook it up to the LS PCM, then go into the tune and calculate the VSS pulses/mile to get the proper output pulses on this output wire.
You guys might check and make sure i've got those pin numbers right on the Speedo output, there are two outputs on the LS PCM, one is at a higher pulse rate for the ABS, and one is for the cluster. I believe that's the right pin number.
Nope, it's lazy in the video. I'm not sure if it's YouTube or the video itself. It's fine in person, snaps with the RPM perfectly. If you notice the oil PSI guage is also lazy in the video.