
1973 RS Camaro LSX Swap
 08-04-2010, 02:43 PM
#121

Either way, my LH8 pan doesn't have any bypass in it and I'm not going to add it until I find it's absolutely necessary (ie. my oil pressure is through the roof).
 08-04-2010, 03:36 PM
#122
TECH Fanatic
iTrader: (37)
Join Date: May 2008
Location: ocala,fl--- forest-ocklawaha
Posts: 1,034
Likes: 0
Received 0 Likes
on
0 Posts
i have an 08".. im pretty sure i have correct pan.......... .. i my be mistakenn.. i do have a couple of pans....ima look it up some more to see more info......
08-15-2010, 03:57 PM
#125


 LOL
08-15-2010, 09:08 PM
LOL
08-15-2010, 09:08 PM
#126
Well, I've been pretty busy the last couple weekends (son's birthday party, my anniversary, party at a buddy's house.....) so I haven't gotten a whole lot done, but I guess it's enough for an update. This'll probably shut down my Photobucket account until the 22nd though......
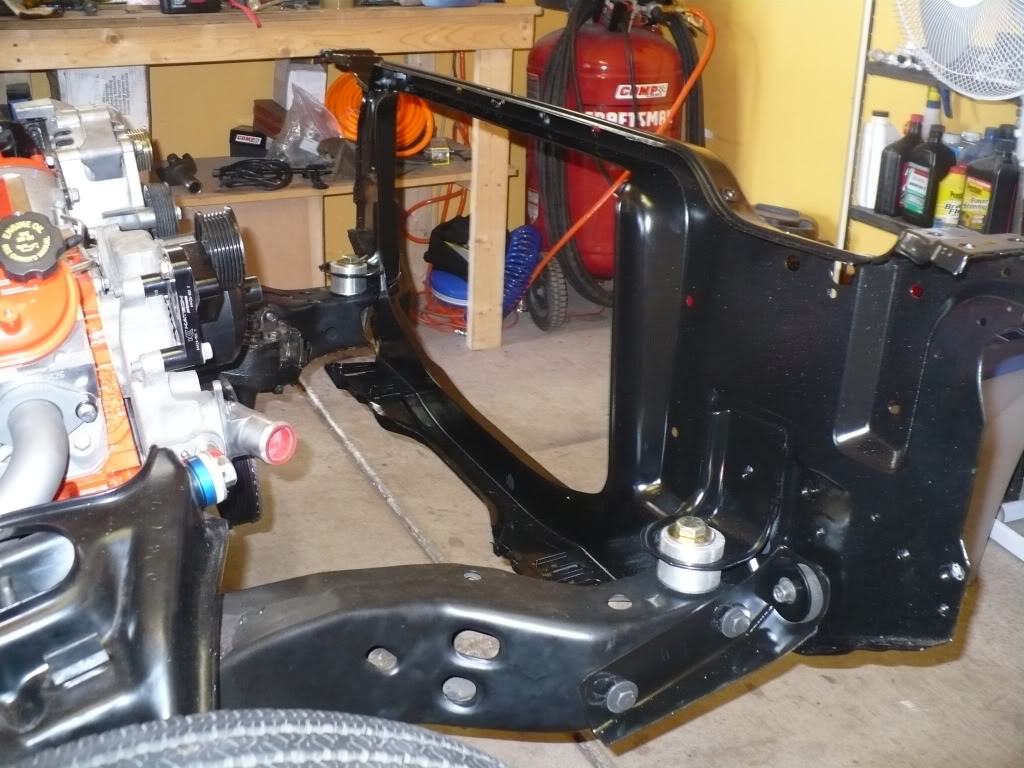
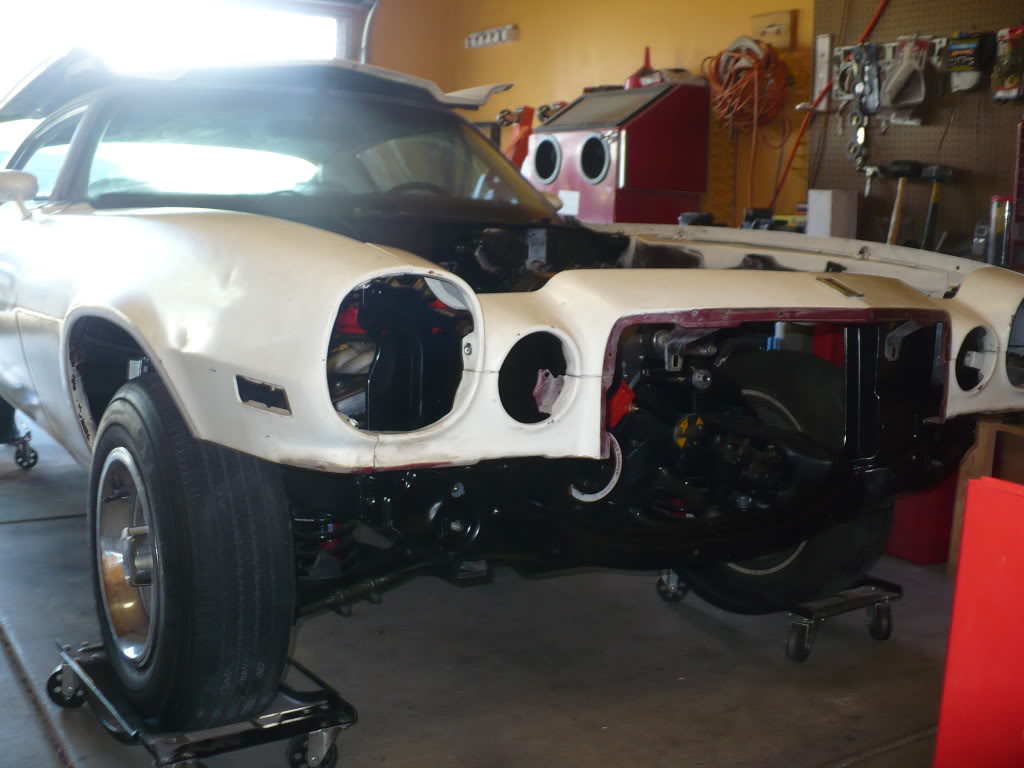
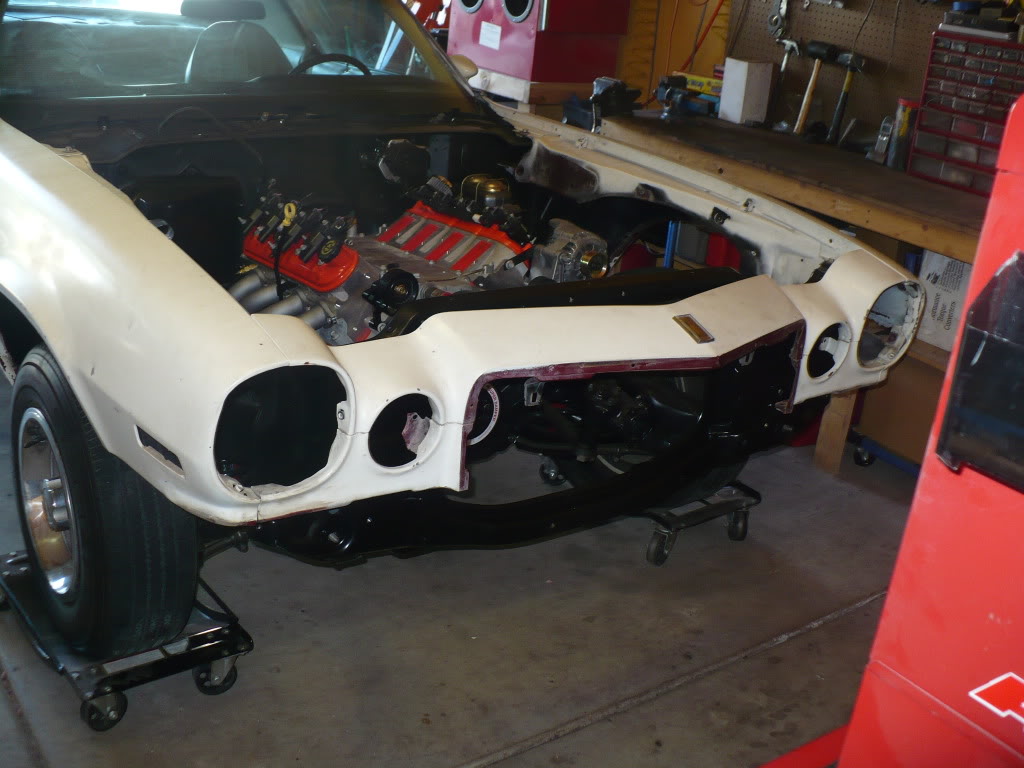
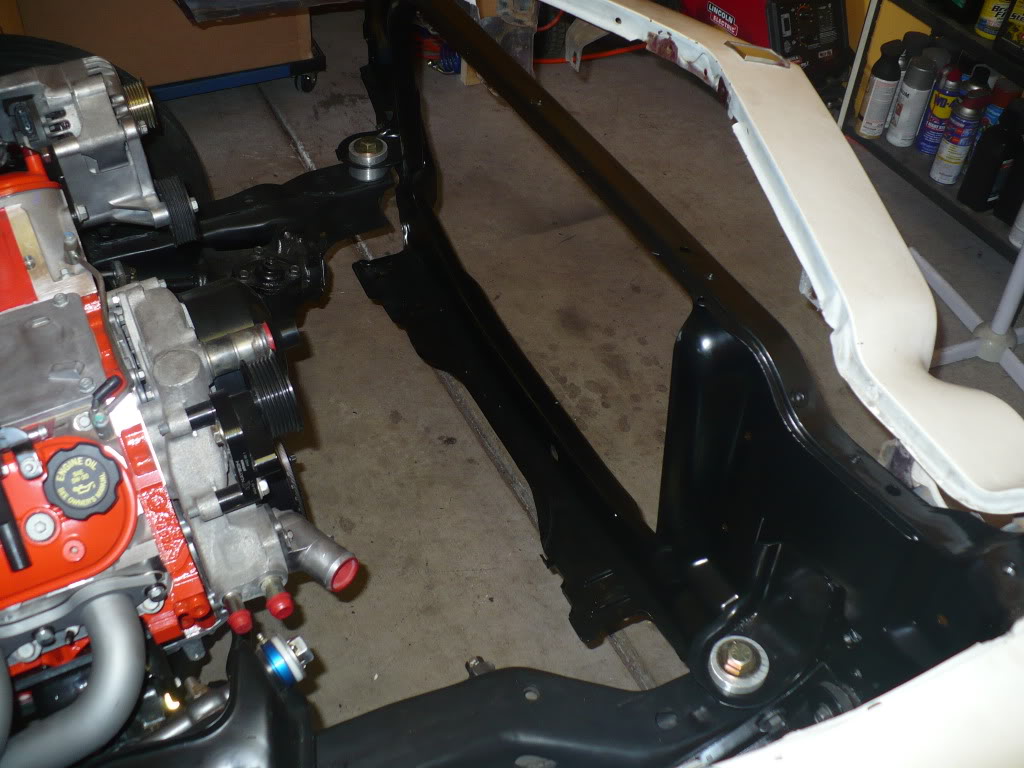
Last Saturday the core support came back from the powder coaters. I was real happy with how it turned out. The more stuff I get coated the more I want to take back to him. It's just so much easier than blasting it my self and painting it.....but more expensive too. I also cleaned, blasted, and painted the core support brackets that bolt to the side of the frame. No pics of those, but I guess you can see on in the pic below.
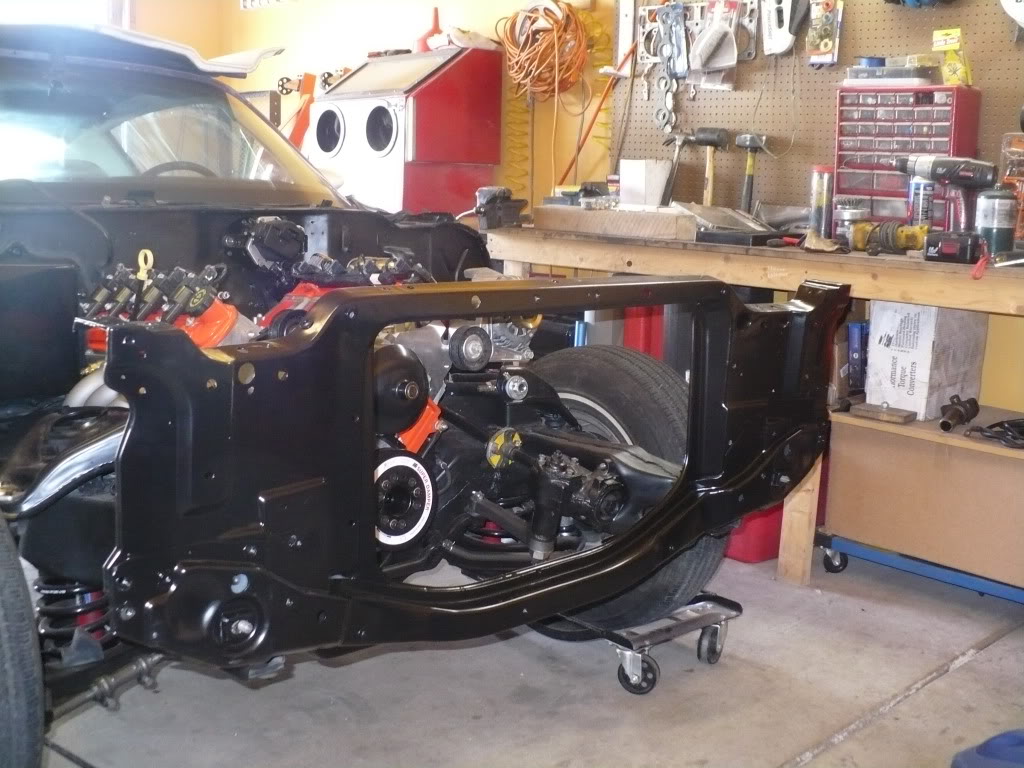
Once I got the core support back and loosely bolted in place, the plan was gonna be to clean and paint the insides of the front end sheet metal and then re-install it all together. But after thinking about it, I knew I wasn't gonna be happy unless I was able to clean and paint each panel individually and separated from each other. So, instead of fighting with re-aligning all the sheet metal, I reinstalled it as a unit and will pull one panel at a time for cleaning and painting.
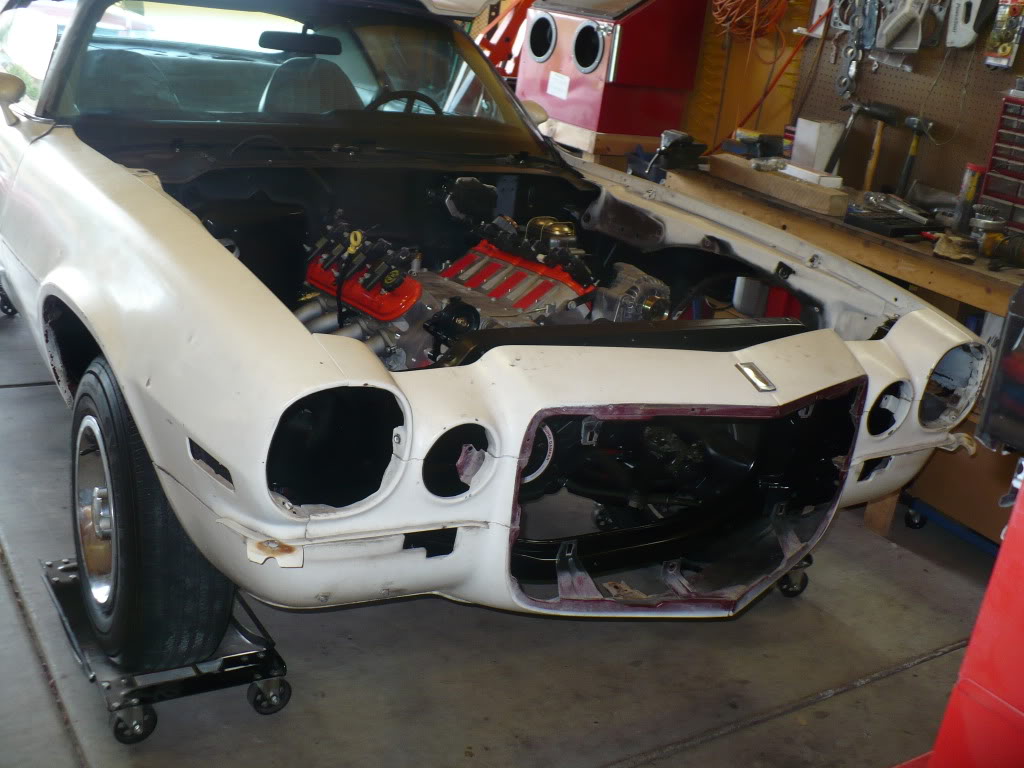
I started today by mocking up all the front end bracing (header panel to lower valance brace and hood latch bracket/plate), got all the sheet metal aligned "close enough", tightened the core support in place, and then took all the bracing back out. I still have to blast and either paint or powder coat that stuff. Then I pulled the lower valance since it's the panel I'll start with.
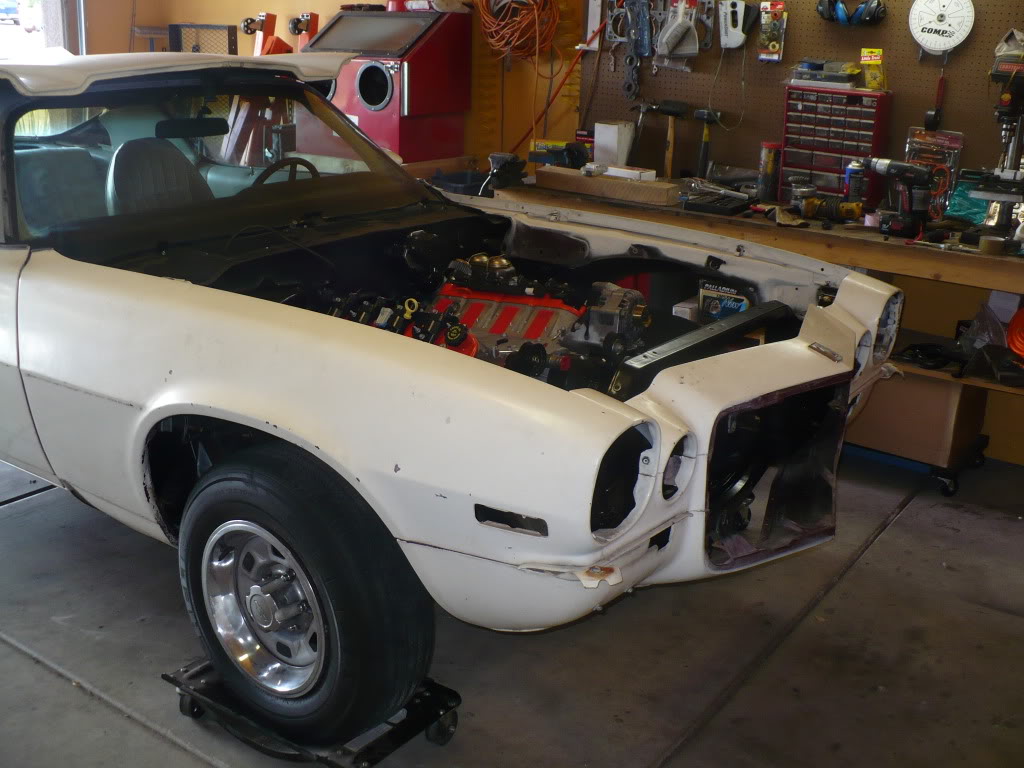
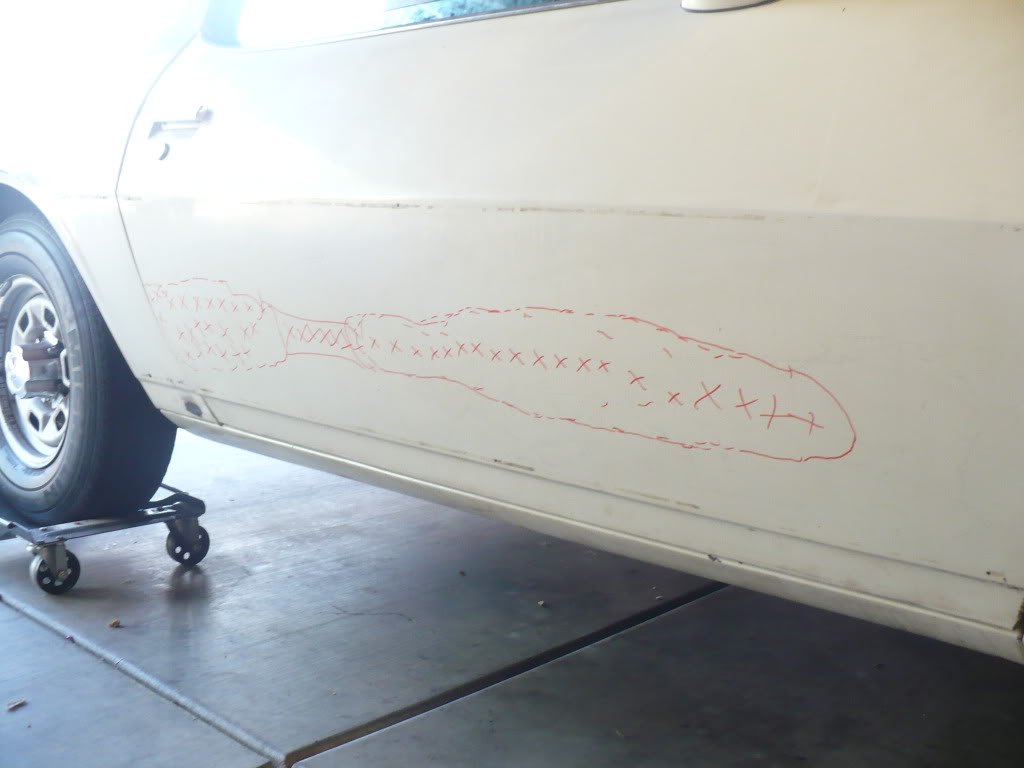
Also, earlier this week, the sunlight hit my passenger door just right and grabbed my attention. Admittedly, when I bought this car I really only looked quickly to see if the doors were straight, and then (being originally from the salt belt) checked the bottoms of the doors to be sure they were solid. I really didn't look that close for collision damage. Well, now that I really look at it below the body line, that door is full of bondo. Hopefully the door frame itself is OK and I can just reskin the door when the time comes. Judging by the way the body work was done on this car the last time it was painted, it wouldn't surprise me if there's just a few small dents in the panel that they were too lazy to repair properly and just laid it thick full of mud. I guess I'll see when I get time to grind it all out. Here's a rough outline of where it's all at.
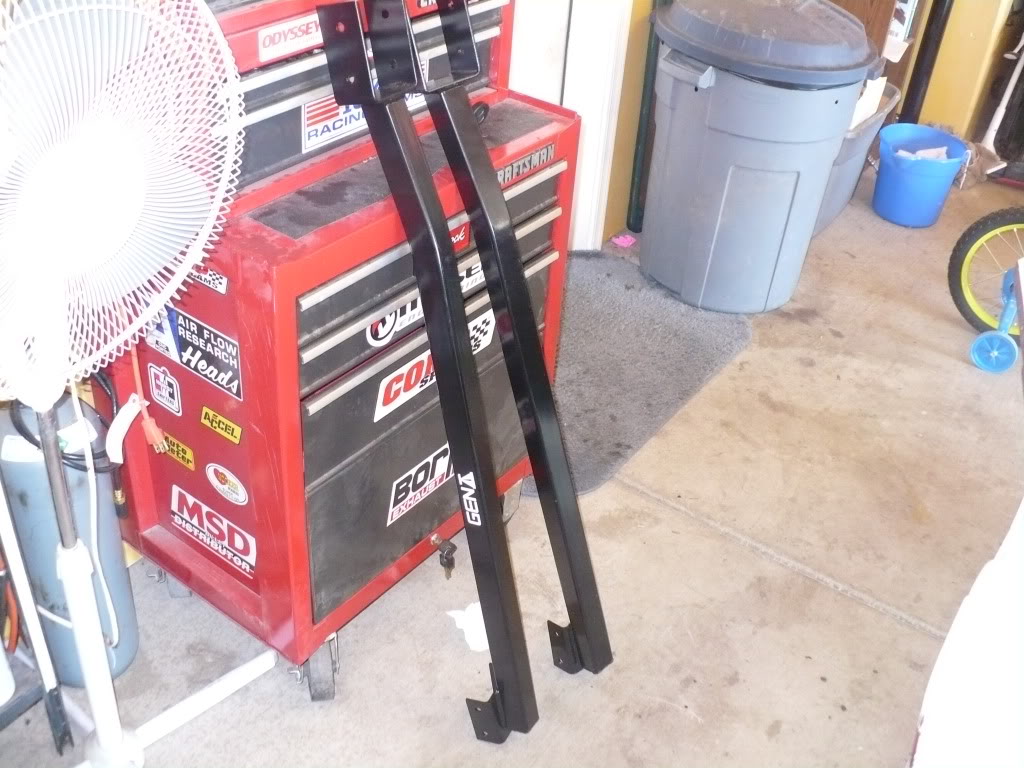
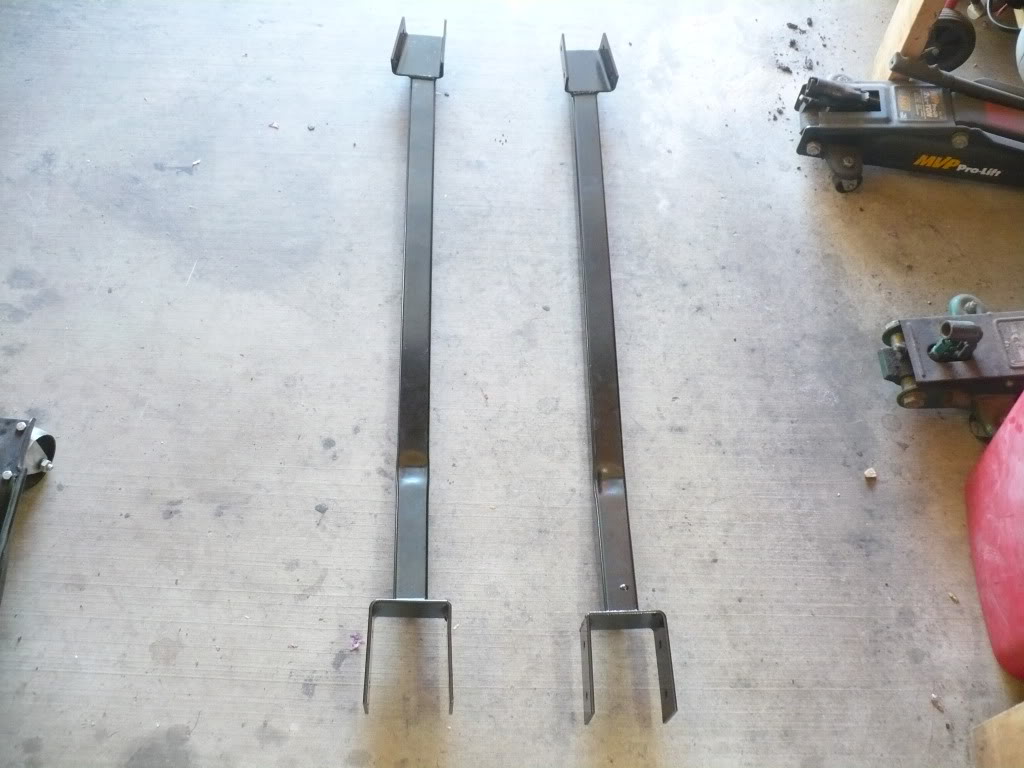
I’m also waiting for my PTFB subframe connectors to show up. Hopefully they’ll be here later this week.
Last Saturday the core support came back from the powder coaters. I was real happy with how it turned out. The more stuff I get coated the more I want to take back to him. It's just so much easier than blasting it my self and painting it.....but more expensive too. I also cleaned, blasted, and painted the core support brackets that bolt to the side of the frame. No pics of those, but I guess you can see on in the pic below.
Once I got the core support back and loosely bolted in place, the plan was gonna be to clean and paint the insides of the front end sheet metal and then re-install it all together. But after thinking about it, I knew I wasn't gonna be happy unless I was able to clean and paint each panel individually and separated from each other. So, instead of fighting with re-aligning all the sheet metal, I reinstalled it as a unit and will pull one panel at a time for cleaning and painting.
I started today by mocking up all the front end bracing (header panel to lower valance brace and hood latch bracket/plate), got all the sheet metal aligned "close enough", tightened the core support in place, and then took all the bracing back out. I still have to blast and either paint or powder coat that stuff. Then I pulled the lower valance since it's the panel I'll start with.
Also, earlier this week, the sunlight hit my passenger door just right and grabbed my attention. Admittedly, when I bought this car I really only looked quickly to see if the doors were straight, and then (being originally from the salt belt) checked the bottoms of the doors to be sure they were solid. I really didn't look that close for collision damage. Well, now that I really look at it below the body line, that door is full of bondo. Hopefully the door frame itself is OK and I can just reskin the door when the time comes. Judging by the way the body work was done on this car the last time it was painted, it wouldn't surprise me if there's just a few small dents in the panel that they were too lazy to repair properly and just laid it thick full of mud. I guess I'll see when I get time to grind it all out. Here's a rough outline of where it's all at.
I’m also waiting for my PTFB subframe connectors to show up. Hopefully they’ll be here later this week.
08-22-2010, 01:37 PM
#127
Any updates yet?
08-22-2010, 01:41 PM
#128
Nah, just the stuff I put up last weekend. My subframe connectors did show up earlier this week and I had intended to install them this weekend, but I'm dealing with a real bad lower back pull/strain (got stuck on the floor for 2hrs yesterday LOL) so I'm avoiding the garage this weekend. Hopefully I'll get something done next weekend. I don't get any time to work on it throughout the week.
08-22-2010, 02:01 PM
#129
ouch. better take it easy. I skip quite a few days toying with "that car" due to spine/back issues. Three fusions so far. 2 more to go. Hopefully 5 yrs or MORE away.
good luck with yer back !
good luck with yer back !
08-22-2010, 02:06 PM
#130
Thanks. I'm sure it'll be just fine if I take it easy for a while. I'm just stubborn and did too much until it didn't give me a choice any more. Probably would have healed a long time ago if had I taken better care of it sooner.
08-22-2010, 02:37 PM
#131
GG99Ta,
When you had your rad. sup. powder coated, was it just that piece and do they sand blast the part first? Do you mind saying the price? I am shopping around for a powder coater.
thanks,
Jim
When you had your rad. sup. powder coated, was it just that piece and do they sand blast the part first? Do you mind saying the price? I am shopping around for a powder coater.
thanks,
Jim

 08-22-2010, 04:37 PM
#133
I just took him the radiator core support this time. I took it the way it was in the first picture (leaning on my 4-wheeler); still painted and rusty. He completely blasts everything before powder coating it. The core support cost me $100.00 out the door to have it done. He basically charges me half to blast it and half to coat it. So, if I would have blasted it myself, he would have coated it for $50.00. To me it's worth it to pay him for the blasting because my compressor is on it's last leg (oiless 33gal Craftsman) so it'd taken me forever to blast something that size and I'd probably blow up the compressor in the process. Most of the smaller stuff I'll do in my cabinet and then just pay him to coat it. Even the small stuff is getting tedious because my compressor can't keep up and runs constantly. I need rebuild it soon.
08-22-2010, 05:11 PM
#135
Nice IRs are only $1200
thanks,
08-22-2010, 05:51 PM
#137
Yeah I'm gonna get a real compressor once I get to my retirement (next) assignment and finally buy a house I'm gonna live in longer than three years. Til then I'll do my best to limp this one along since it's both cheap and more portable than a 80 gallon.
08-28-2010, 11:47 PM
#139
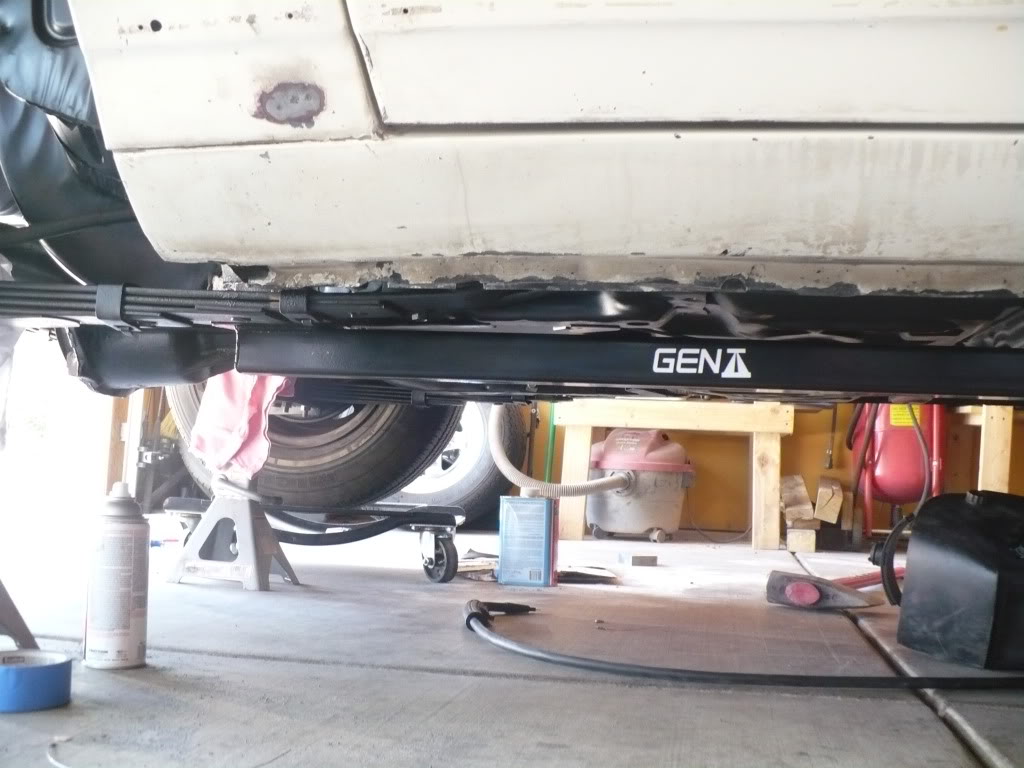
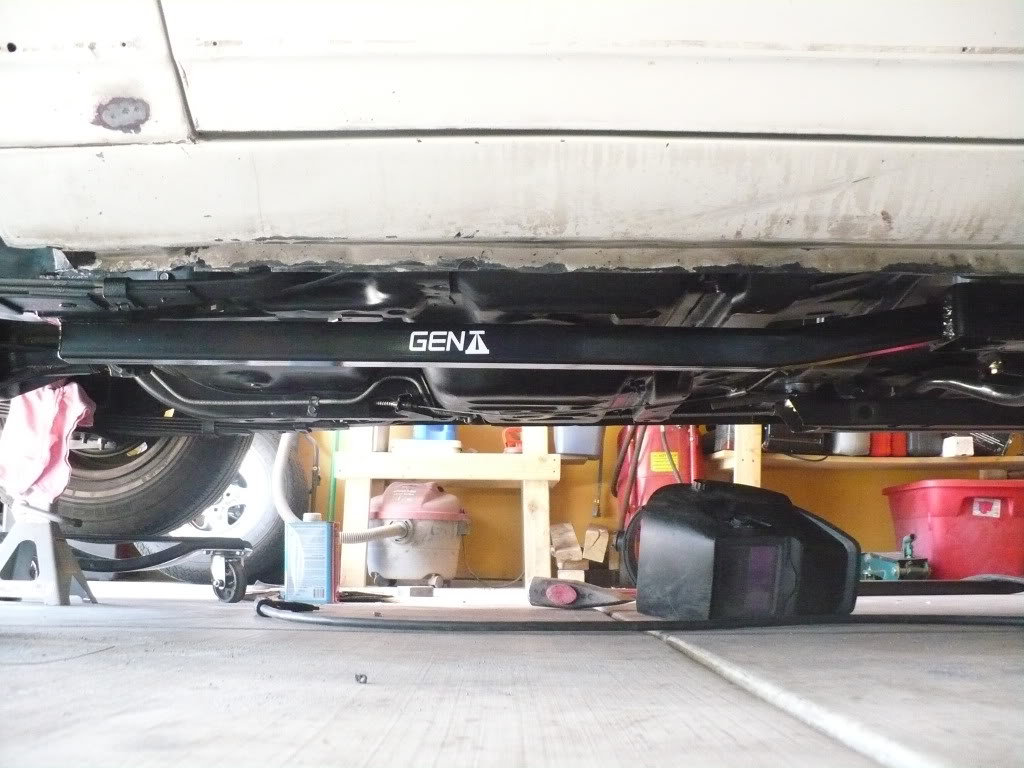
I finally got a decently full day in the garage after quite a few weeks. I started out with fitting up and welding on my PTFB sub frame connectors. Overall I’m really happy with how these fit. The bend in them fits the floors perfectly and they tuck up really nice. The only issue I had was the rear brackets were way too wide for the rear frame rails, so I had to add some steel flat bar between the bracket and the frame to take up the extra space.


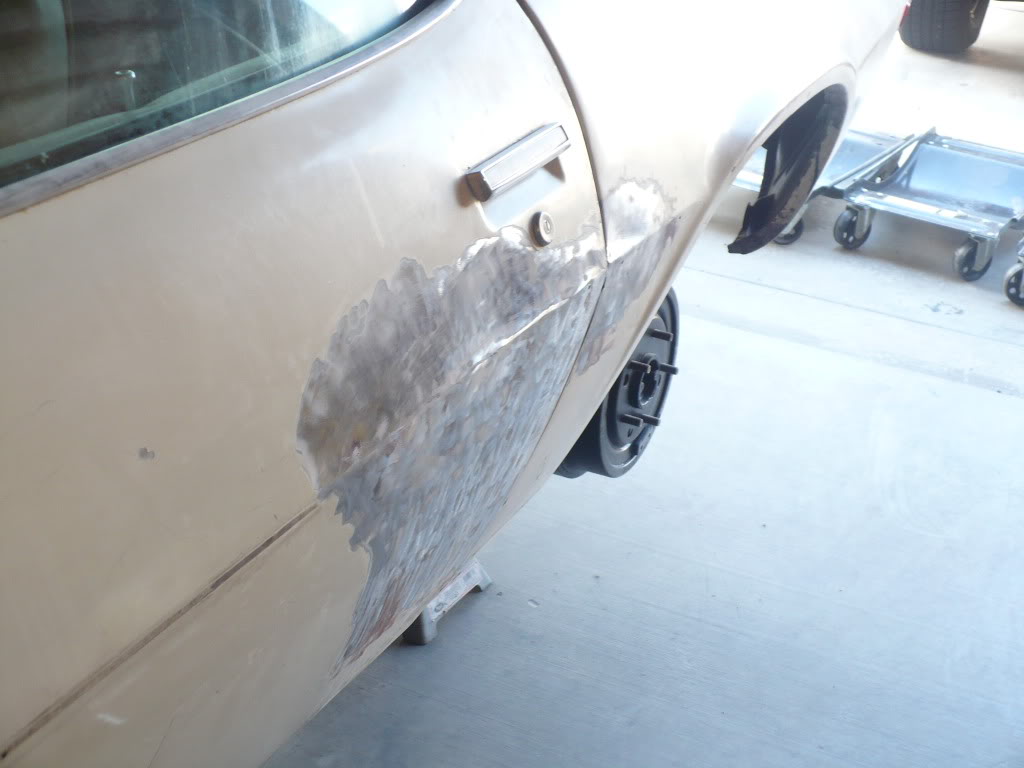
Once I was finished with the connectors, I decided to go ahead and grind the bondo out of my passenger side door…just to see what was hiding under there. There were some decent little dents in it, but nothing that warranted the amount of mud they put in that door. I'm not sure if my body guy will choose to fix this door or reskin it, but if he fixes it I'm sure it won't have anywhere near as much bondo in it as what I ground out.
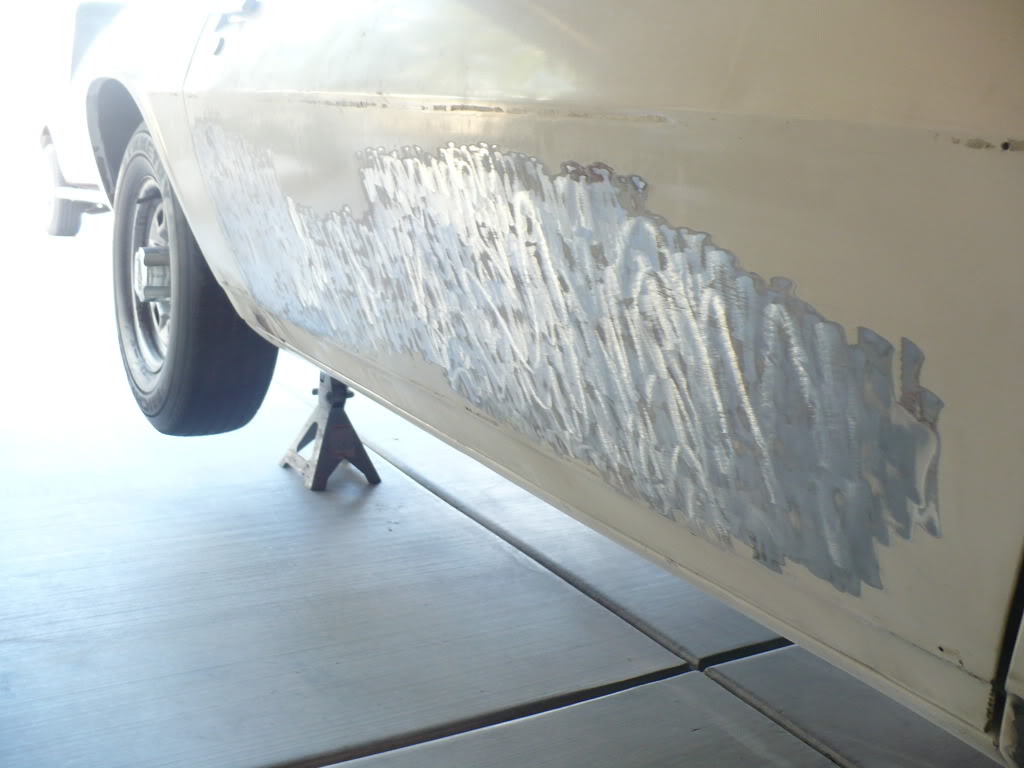
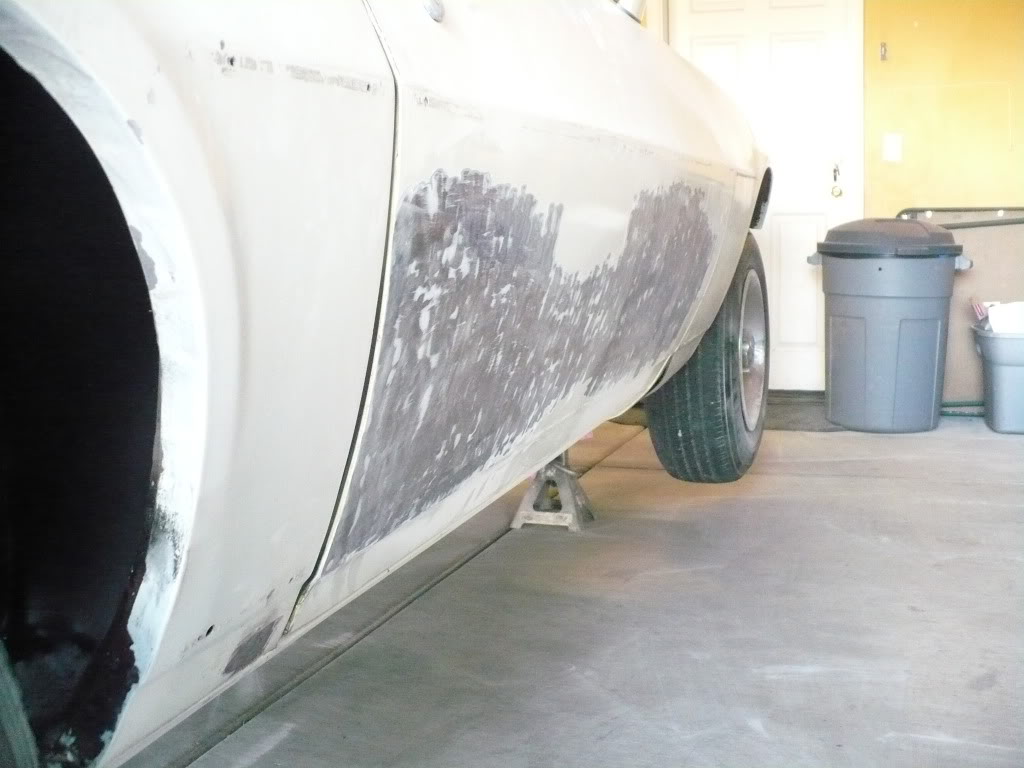
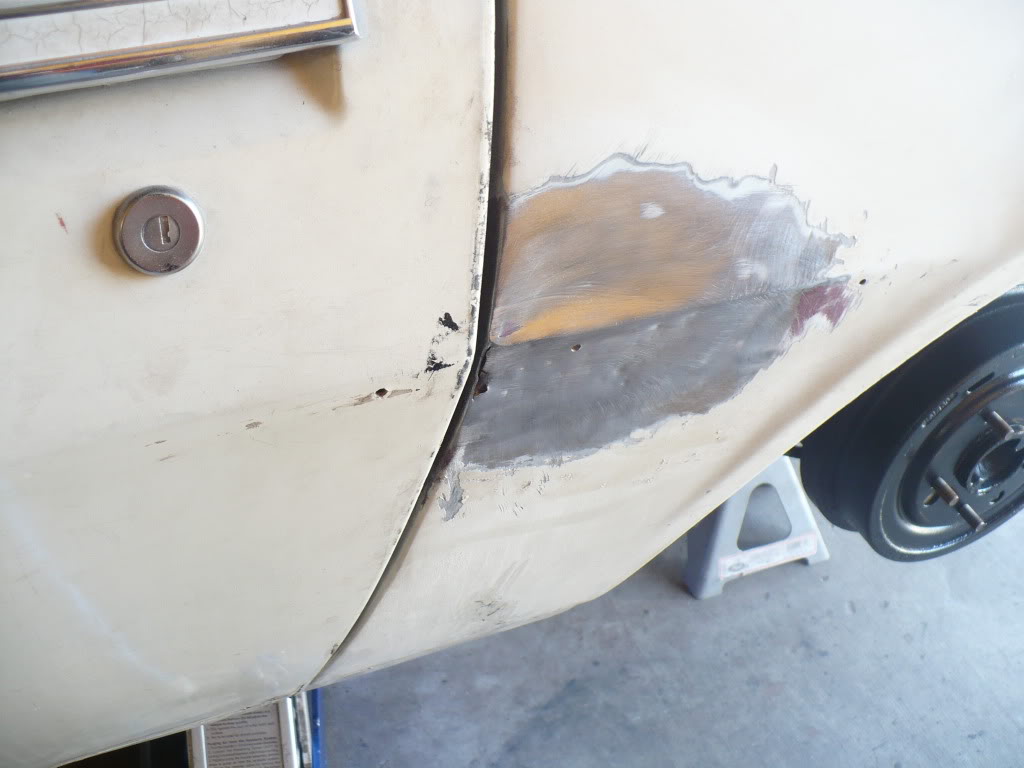
And....for more good news....I found some more damage on the passenger side. Looks like someone backed into the side of the car and hit the door and the front part of the quarter.
I originally planned to not strip this car down and to just let my body man do it all. But, since the body of this car seems to be hiding a lot of secrets, I'm now pretty sure I'm going to strip everything down and put the whole car in primer. That way, when I take it to get it done, it'll be showing all it's cards and it'll be easier to get an accurate estimate on the body work.
Once I was finished with the connectors, I decided to go ahead and grind the bondo out of my passenger side door…just to see what was hiding under there. There were some decent little dents in it, but nothing that warranted the amount of mud they put in that door. I'm not sure if my body guy will choose to fix this door or reskin it, but if he fixes it I'm sure it won't have anywhere near as much bondo in it as what I ground out.
And....for more good news....I found some more damage on the passenger side. Looks like someone backed into the side of the car and hit the door and the front part of the quarter.
I originally planned to not strip this car down and to just let my body man do it all. But, since the body of this car seems to be hiding a lot of secrets, I'm now pretty sure I'm going to strip everything down and put the whole car in primer. That way, when I take it to get it done, it'll be showing all it's cards and it'll be easier to get an accurate estimate on the body work.