
C3 78' Corvette LS1/T-56 with Holset HX-55 Turbo build


 01-31-2013, 08:57 AM
#63
Launching!
Thread Starter
Join Date: Jul 2011
Location: Detroit, Michigan
Posts: 209
Likes: 0
Received 0 Likes
on
0 Posts
Dude, SSSSSSICK!
Nice build
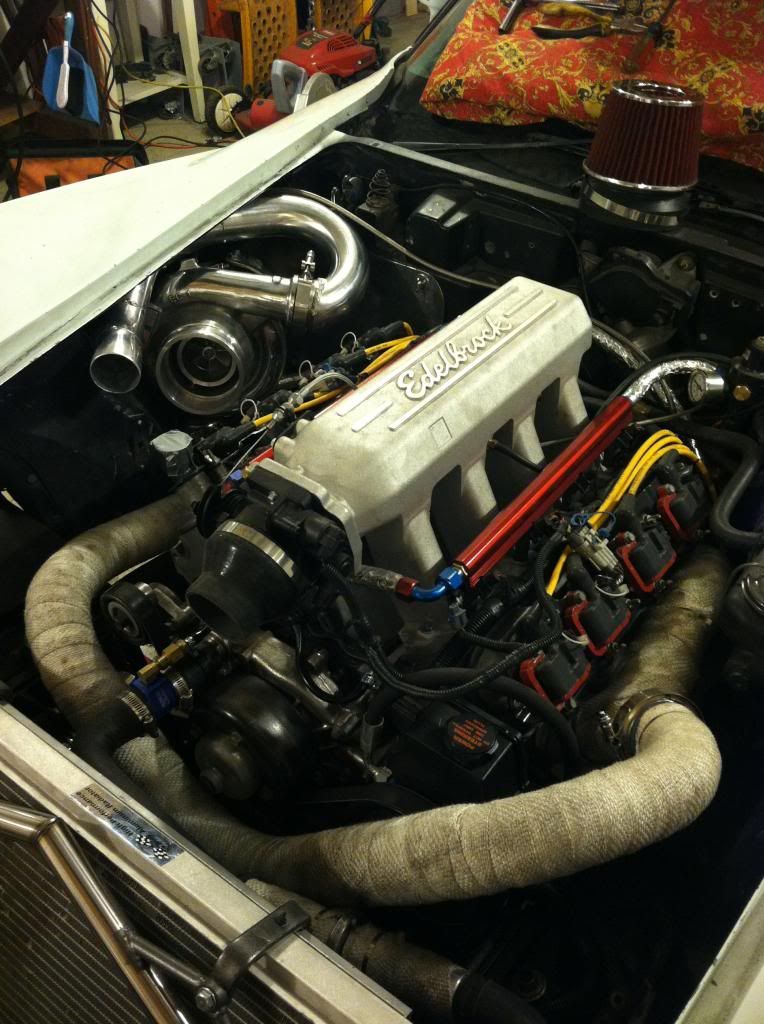
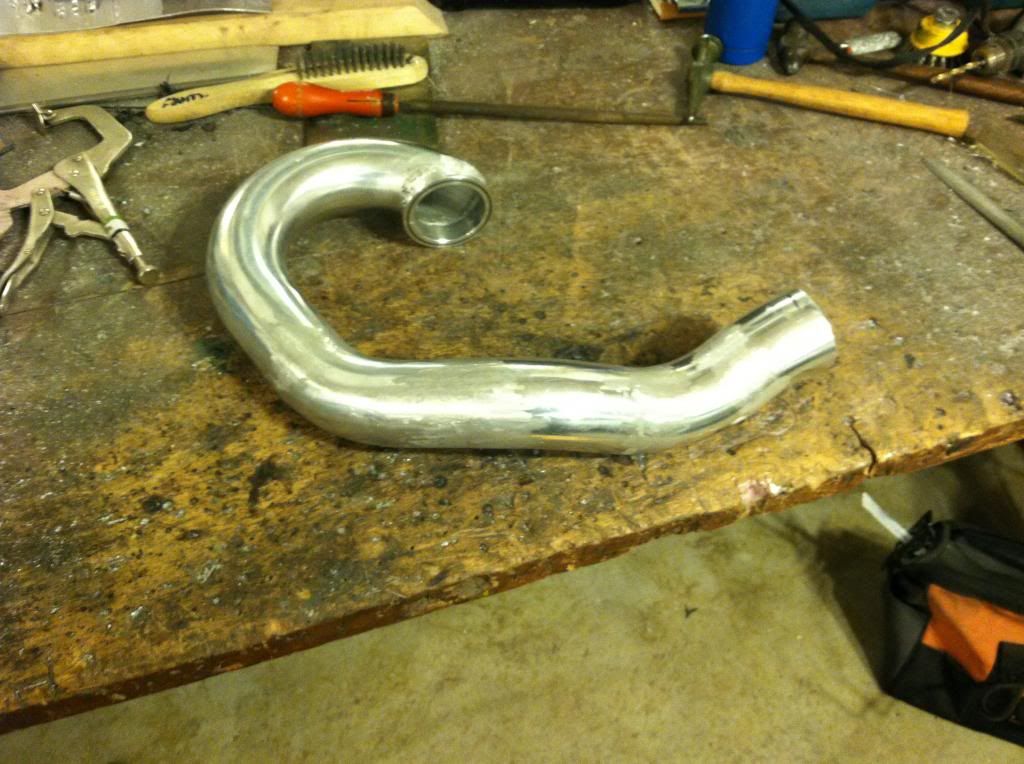
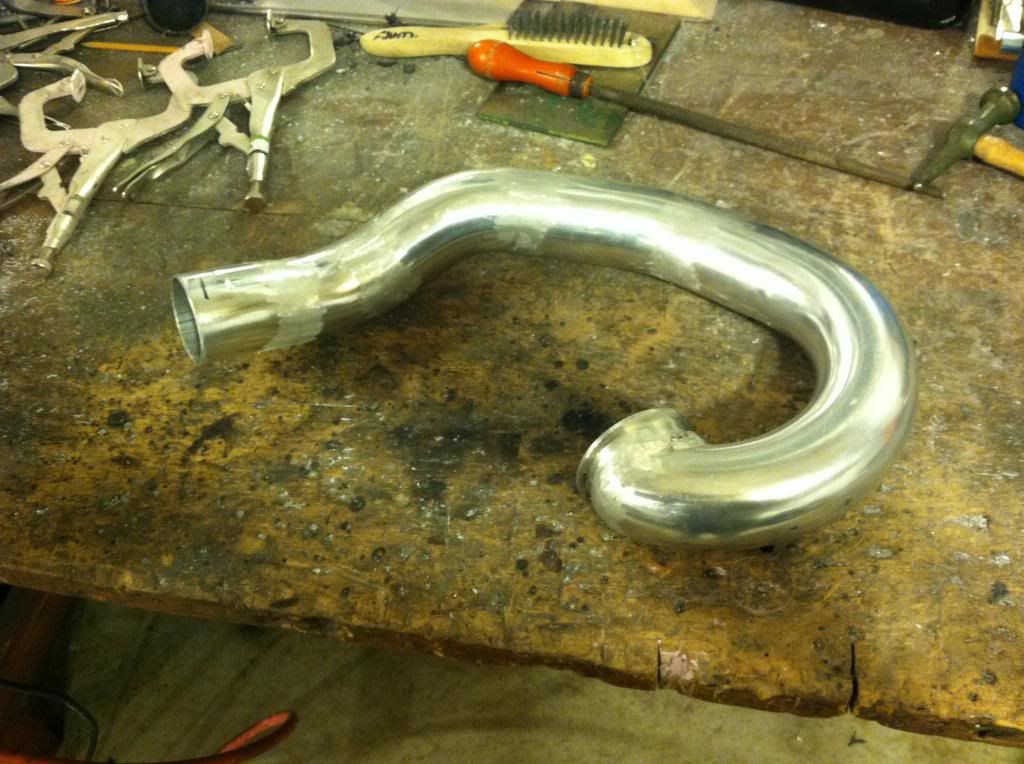
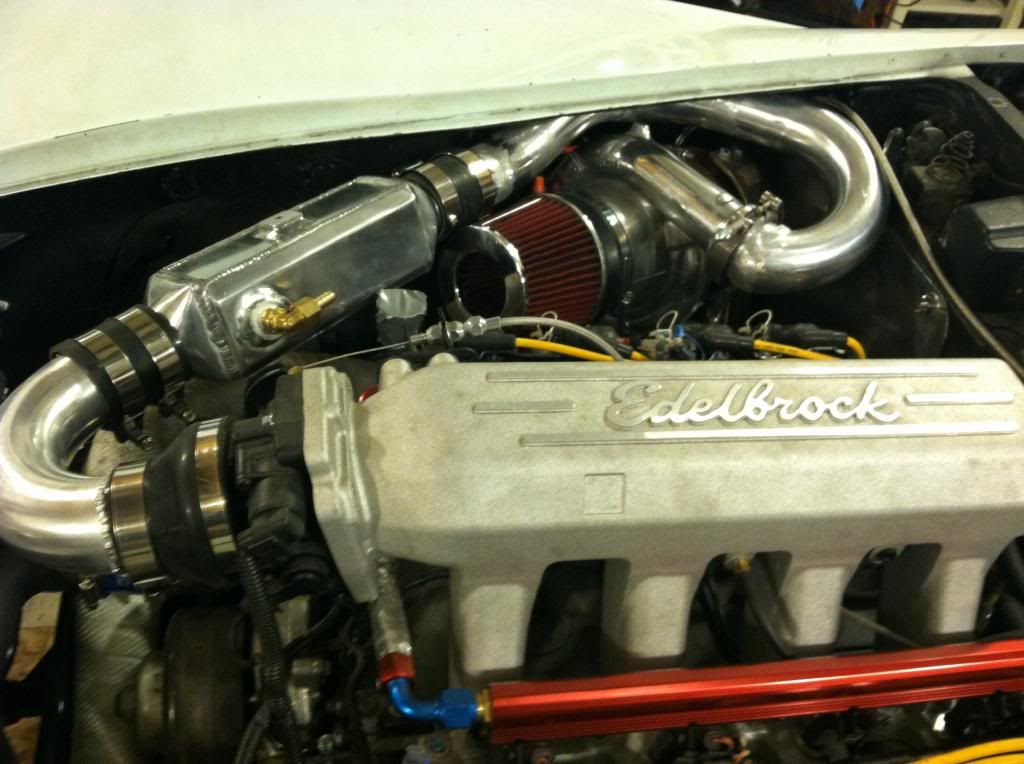
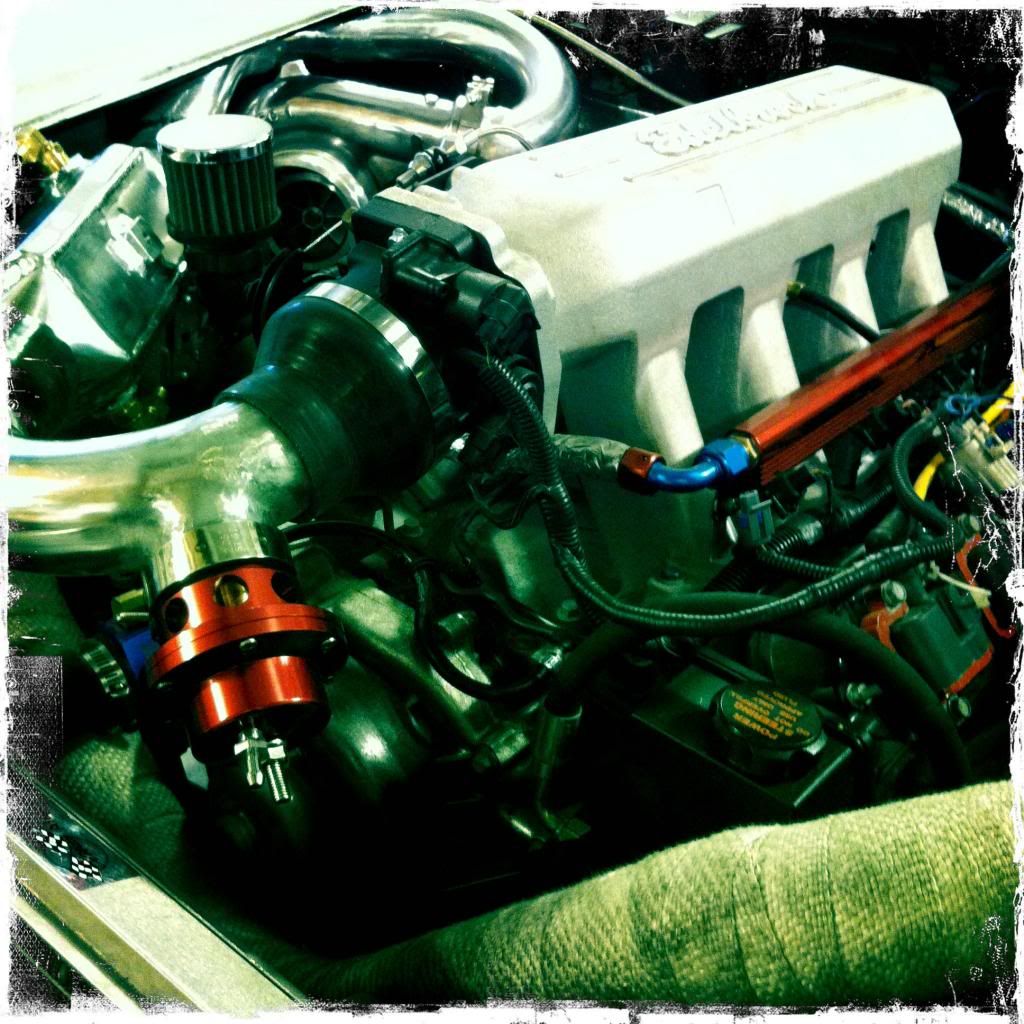
Last night I pretty much wrapped up the cold side and the intercooler. I'm pretty happy with it, there are other options I would have rather taken but this seemed to work out pretty well. I just have to do a bit more smoothing out of the aluminum tubes on the welds, and make a bracket for the intercooler that will mount to the engine for some added support. I will be wrapping the piping that bends behind the turbo in heat wrap and making a heat shield to go around the turbo hot side. Hopefully it wont create any heat issues. I am thinking I will also make a heat shield to go over the cross over under the intercooler.
 02-04-2013, 03:54 AM
#64
Staging Lane

Join Date: Oct 2012
Posts: 58
Likes: 0
Received 0 Likes
on
0 Posts
That is truly amazing! Your work is great!. I'm fitting a ls1 t56 to my c3 and think that i plenty of a project but this is insane. Looks great and can't wait to see the kind of numbers you will be pulling.
//
//
02-04-2013, 10:29 AM
#65
Launching!
Thread Starter
Join Date: Jul 2011
Location: Detroit, Michigan
Posts: 209
Likes: 0
Received 0 Likes
on
0 Posts
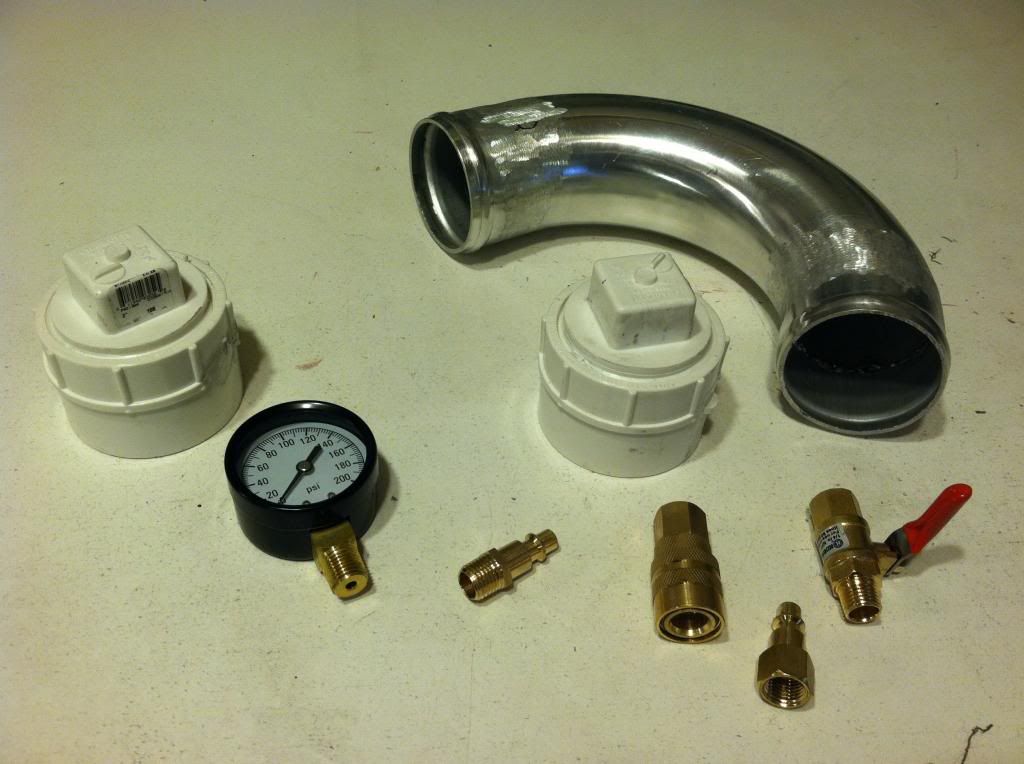
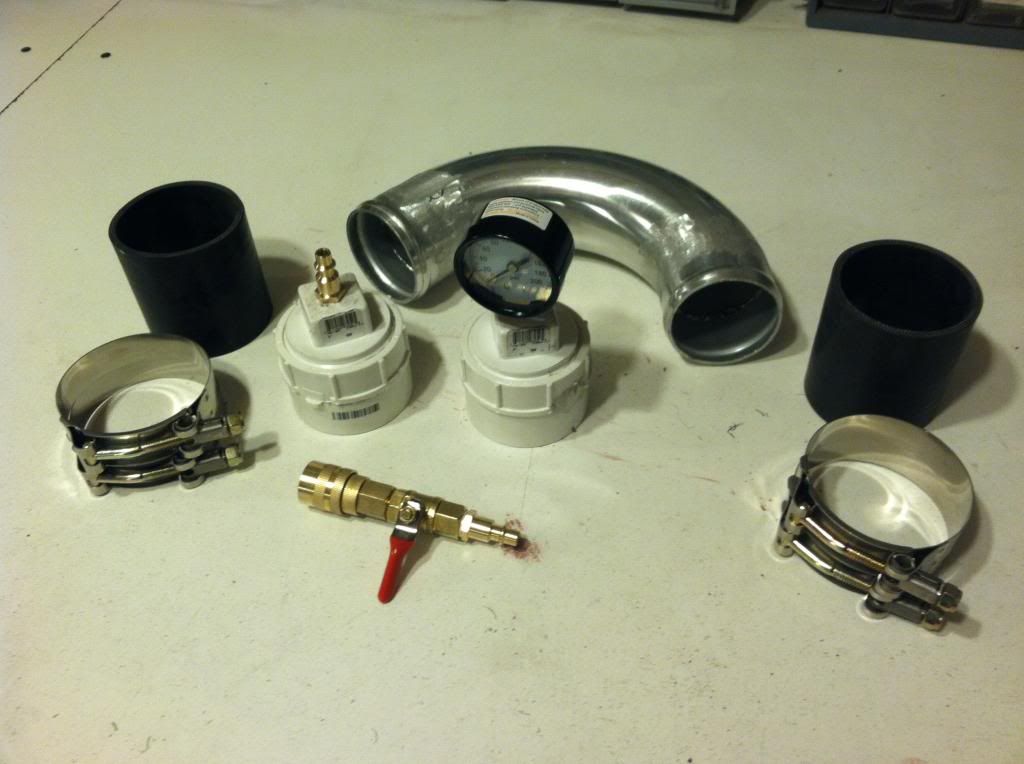
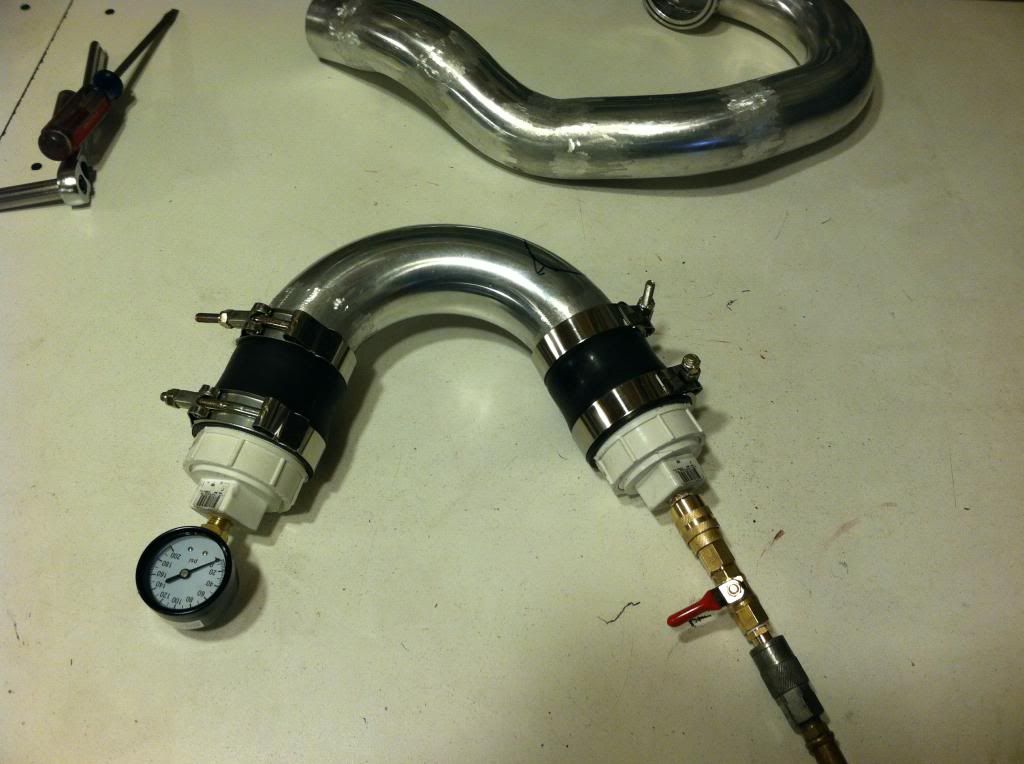
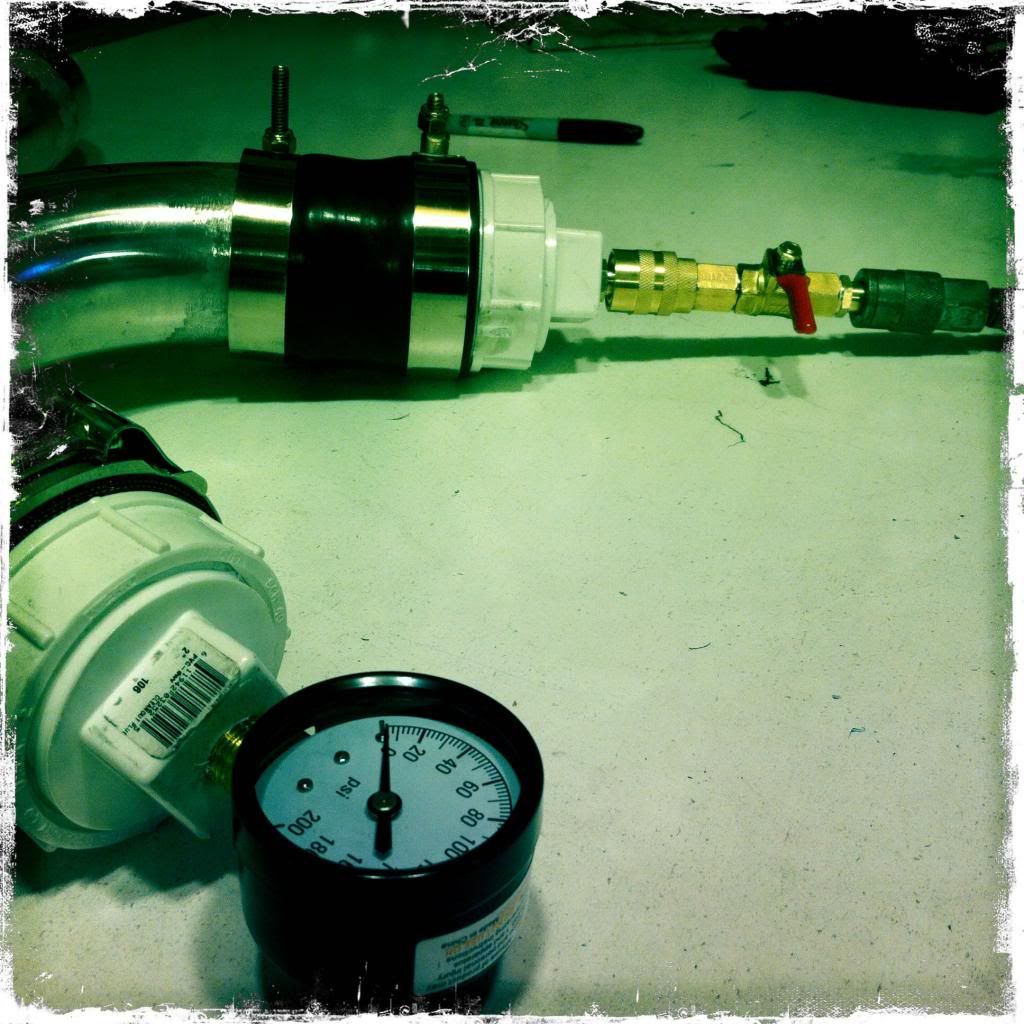
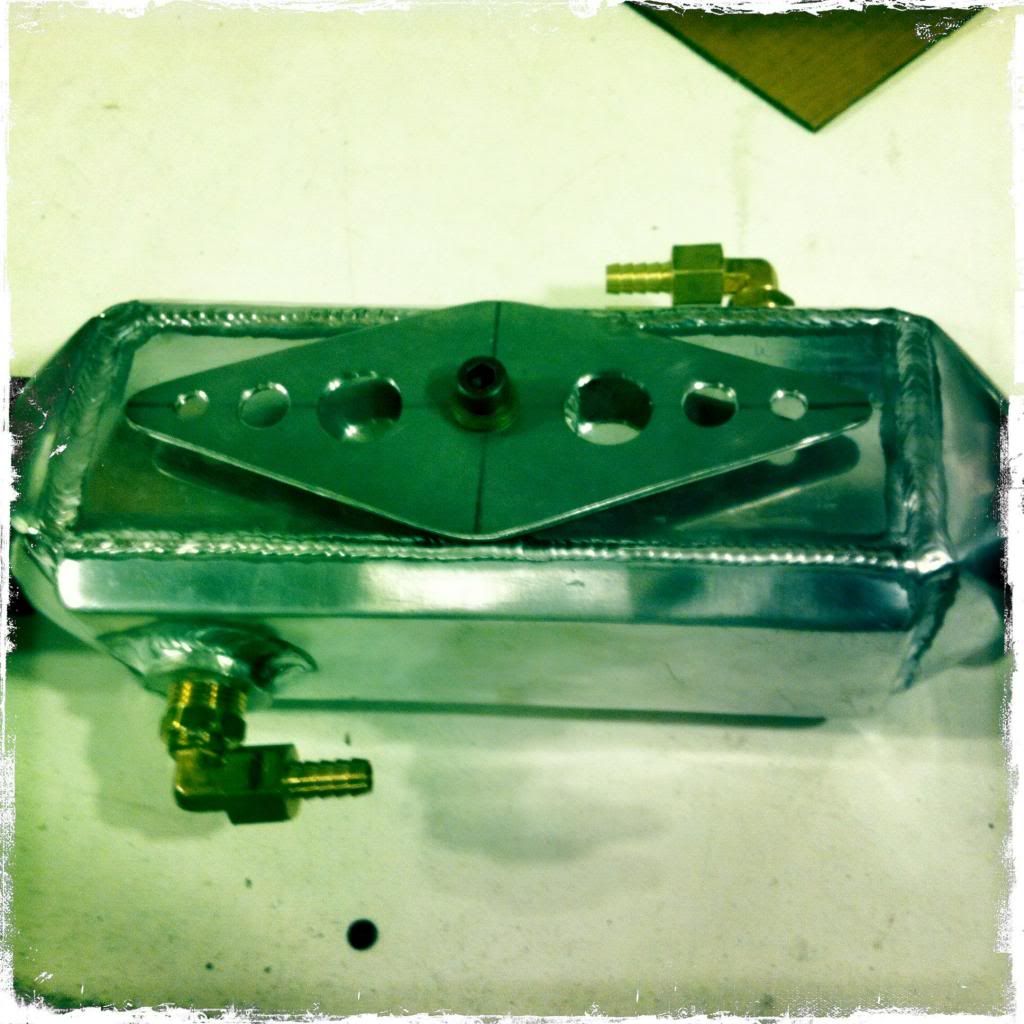
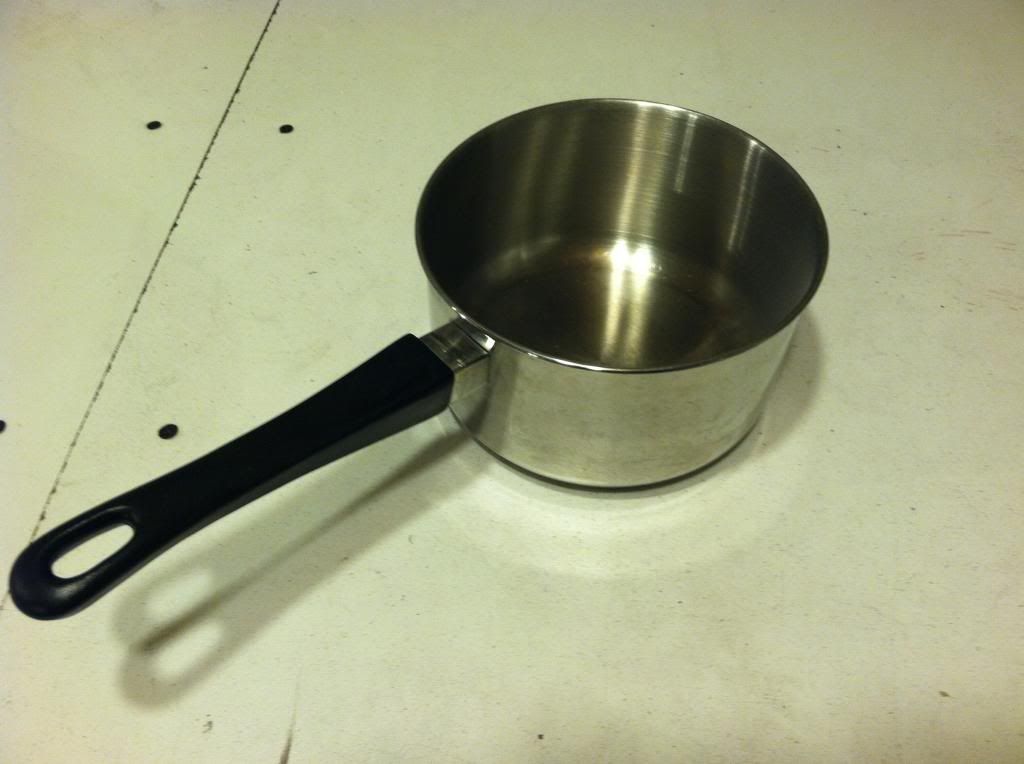
After finishing the intercooler tubing I figured I should check my welds after smoothing them out, I inspected everything for pinholes and went back over anything that looked suspect but figured I should do a pressure test. Here is what I did, pretty simple and cheap.
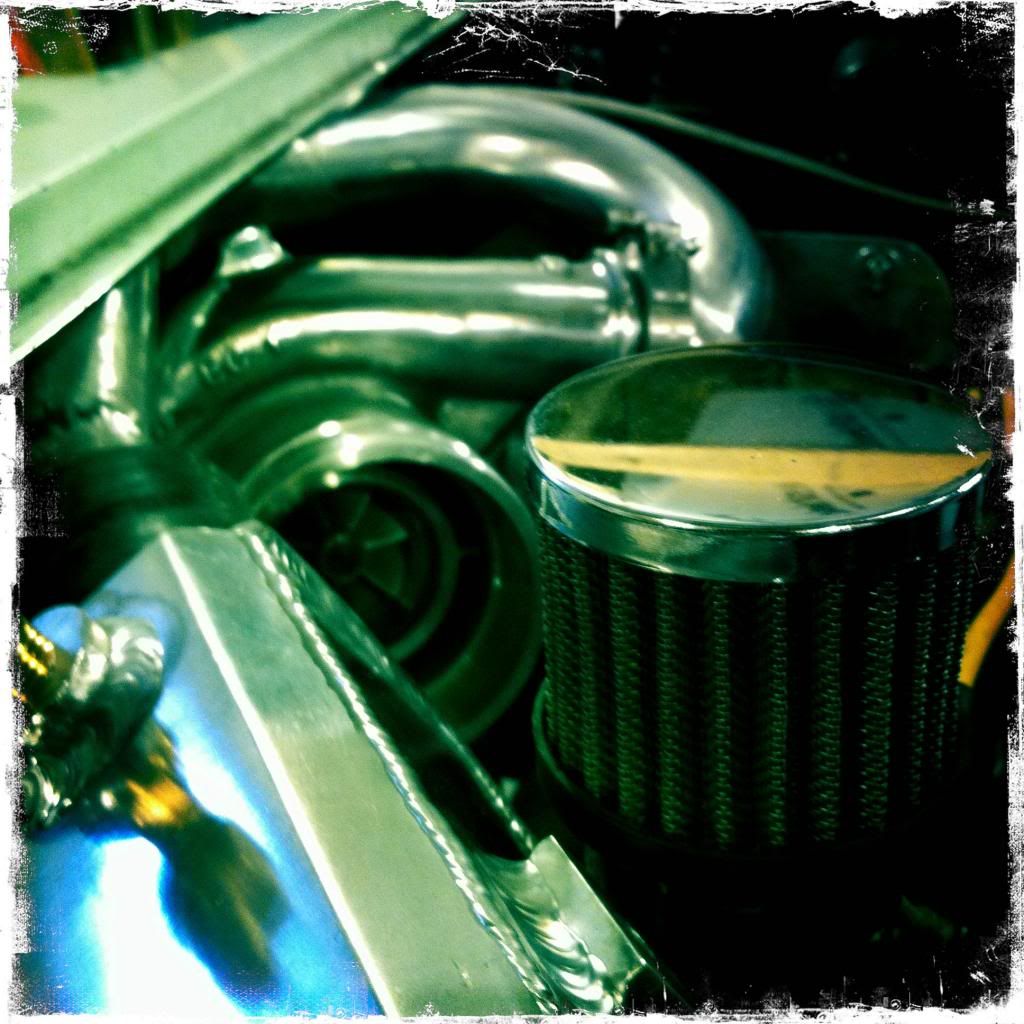
I got my blow off valve all sorted out as well.

I made a support bracket for the intercooler
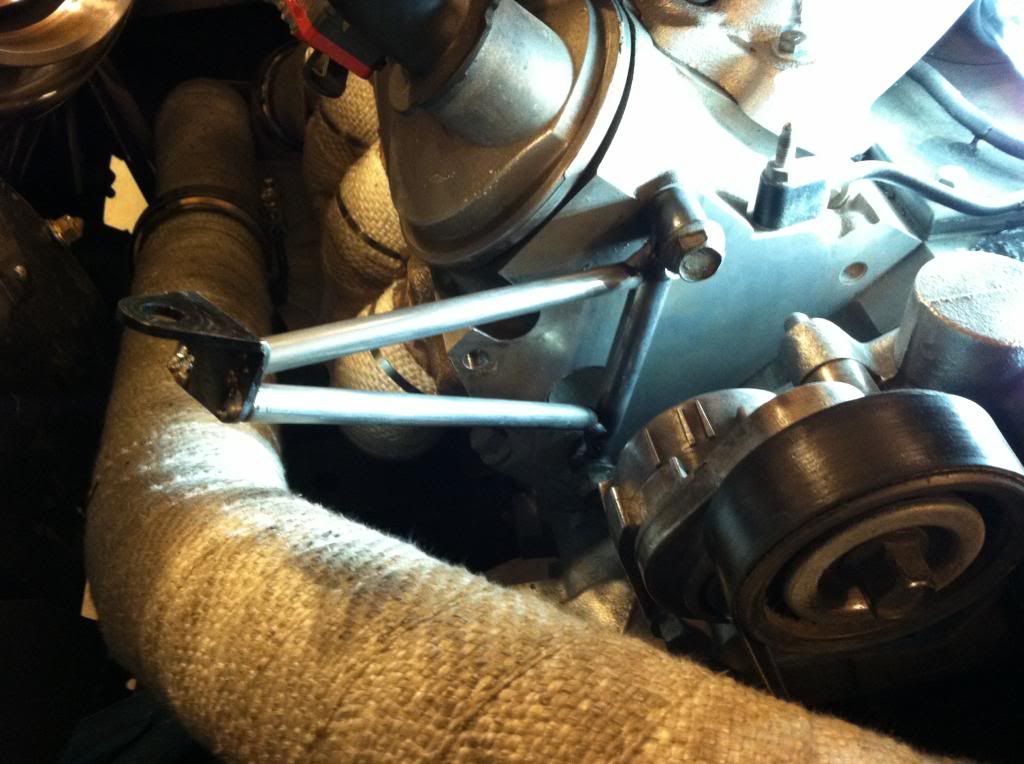
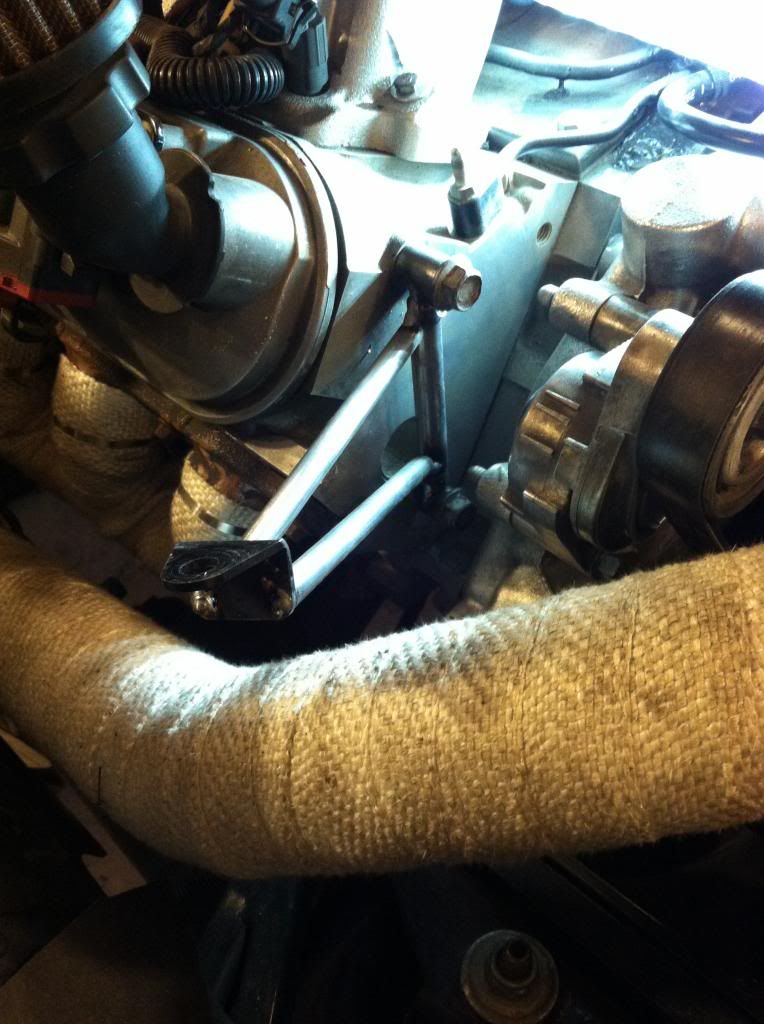
This was part of my first attempt at an intercooler bracket that would wrap around the intercooler and aslo act as a heat shield. It ended up just being a nice little accent piece.
And a shot because I like it...............
I got my blow off valve all sorted out as well.
I made a support bracket for the intercooler
This was part of my first attempt at an intercooler bracket that would wrap around the intercooler and aslo act as a heat shield. It ended up just being a nice little accent piece.
And a shot because I like it...............
 02-13-2013, 08:15 AM
#69
Launching!
Thread Starter
Join Date: Jul 2011
Location: Detroit, Michigan
Posts: 209
Likes: 0
Received 0 Likes
on
0 Posts
Made my heat shield for the turbo. did the old stove pot method. Love it
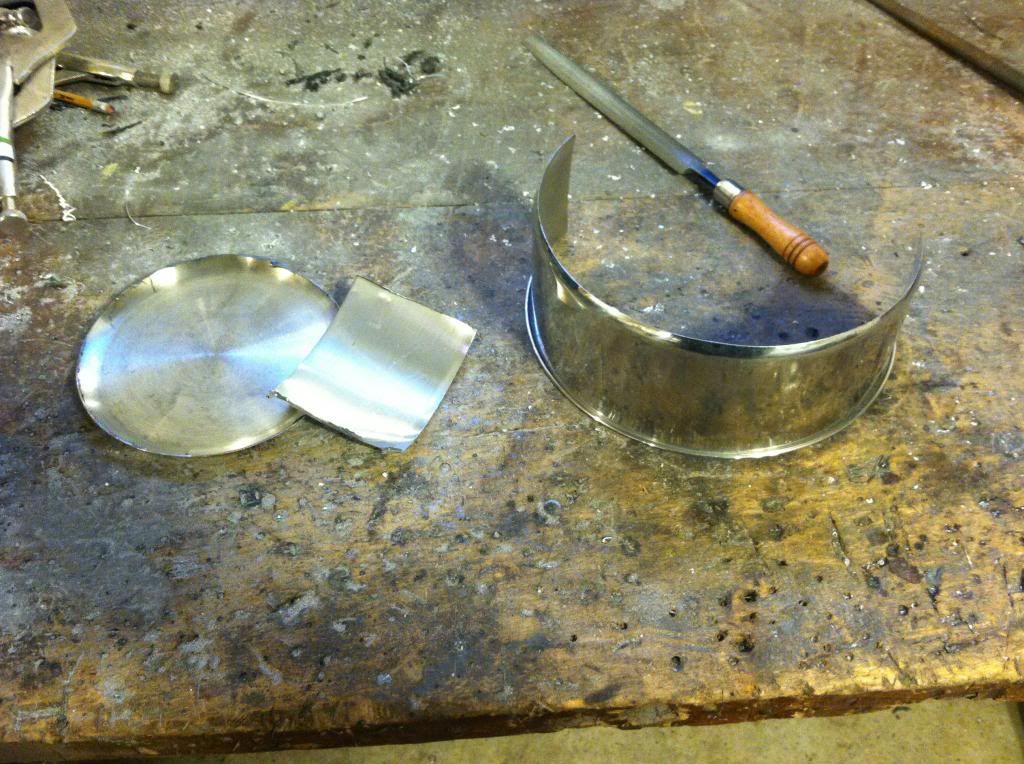
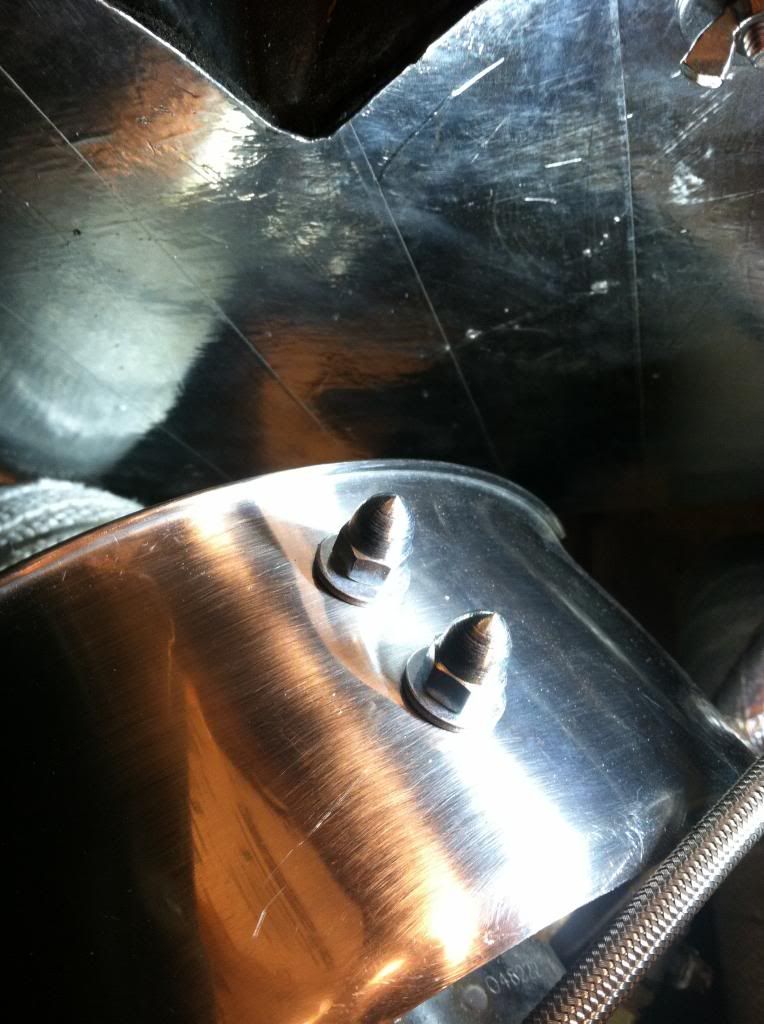
The bracket I made was already a quazy heat shield in itself, but I ended up welding 2 allen bolts to it to mount the shield.
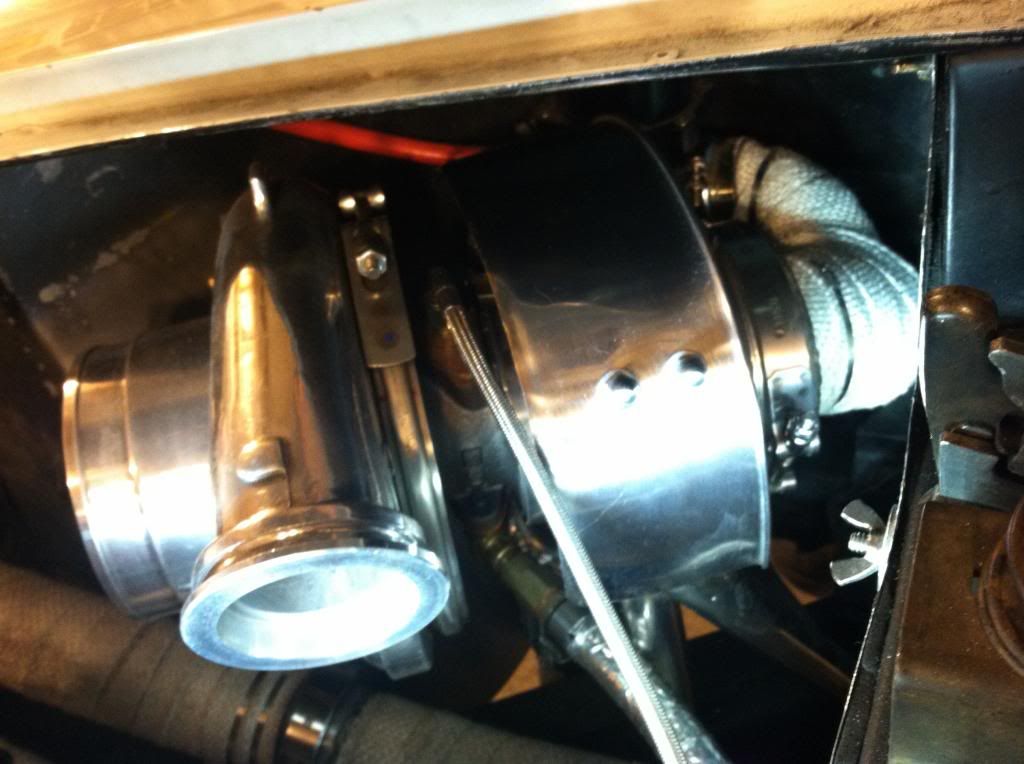
Its all in the details...
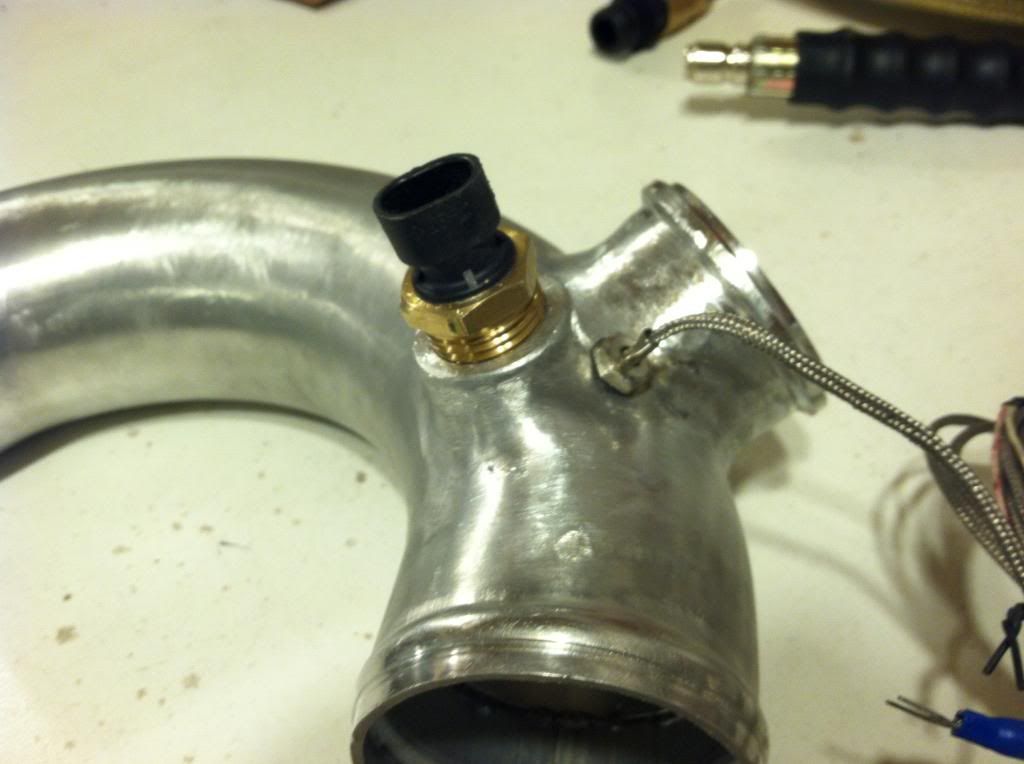
I also finished smoothing out my welds on the intercooler piping, and whent with a brushed finish. if its scratched up later I can just hit it with some sand paper.
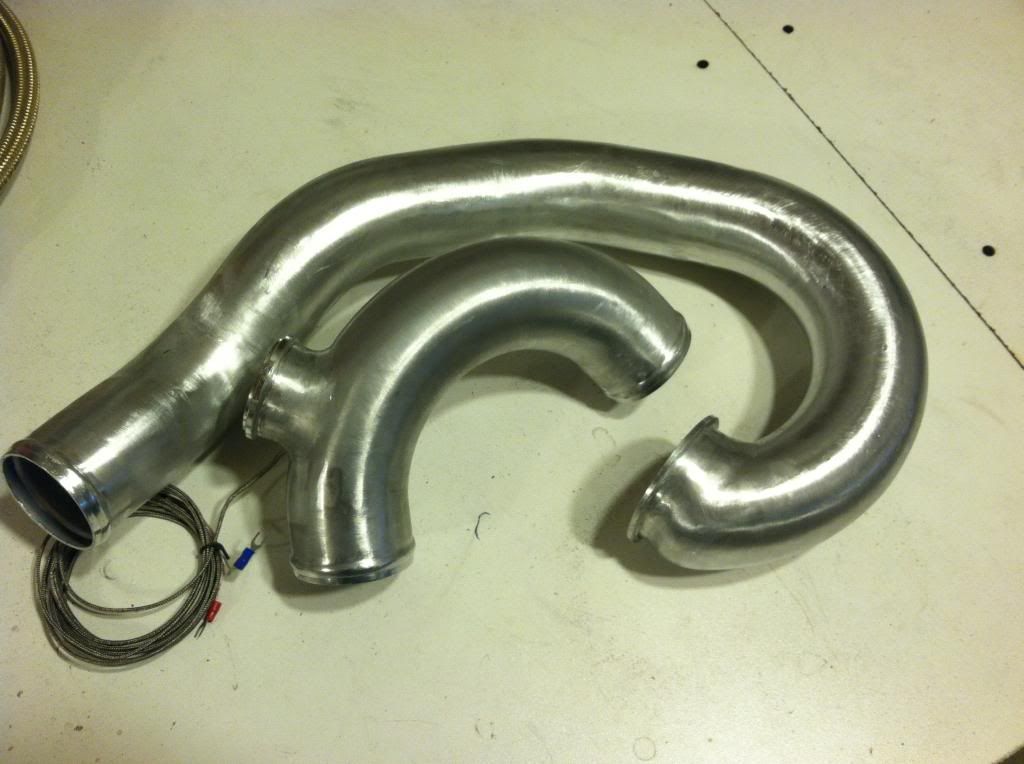
I also welded in a bung for my IAT sensor, and installed my thermocouple for my temp gauge/ intercooler pump trigger.
The bracket I made was already a quazy heat shield in itself, but I ended up welding 2 allen bolts to it to mount the shield.
Its all in the details...
I also finished smoothing out my welds on the intercooler piping, and whent with a brushed finish. if its scratched up later I can just hit it with some sand paper.
I also welded in a bung for my IAT sensor, and installed my thermocouple for my temp gauge/ intercooler pump trigger.
03-14-2013, 09:42 AM
#71
Launching!
Thread Starter
Join Date: Jul 2011
Location: Detroit, Michigan
Posts: 209
Likes: 0
Received 0 Likes
on
0 Posts
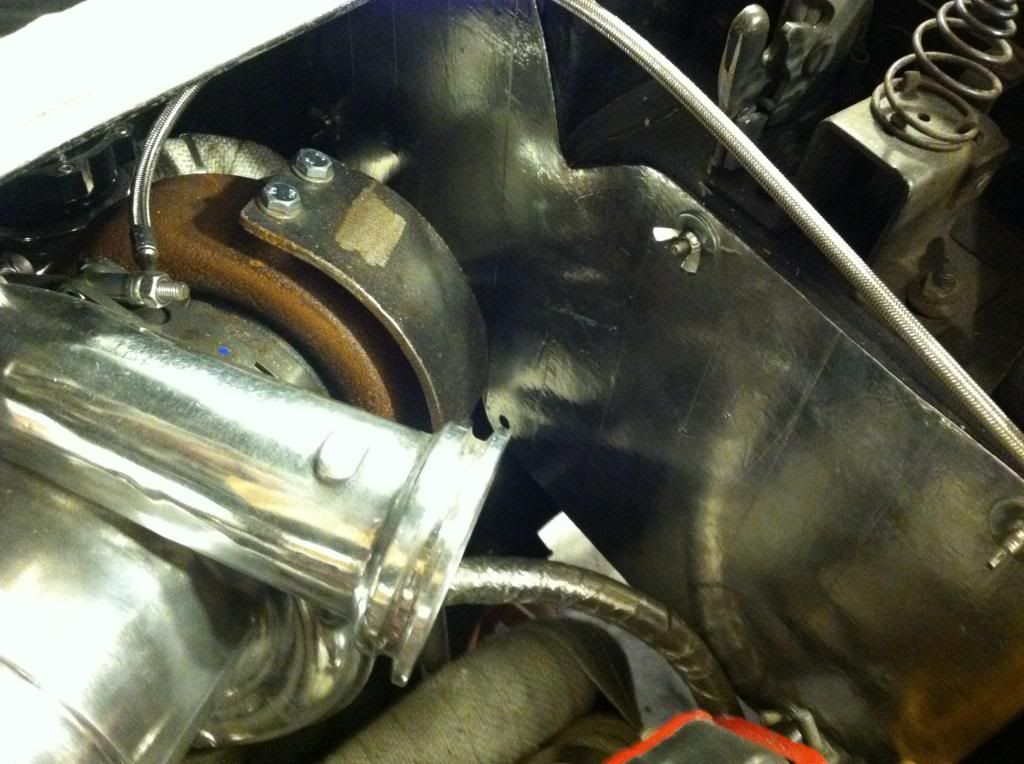
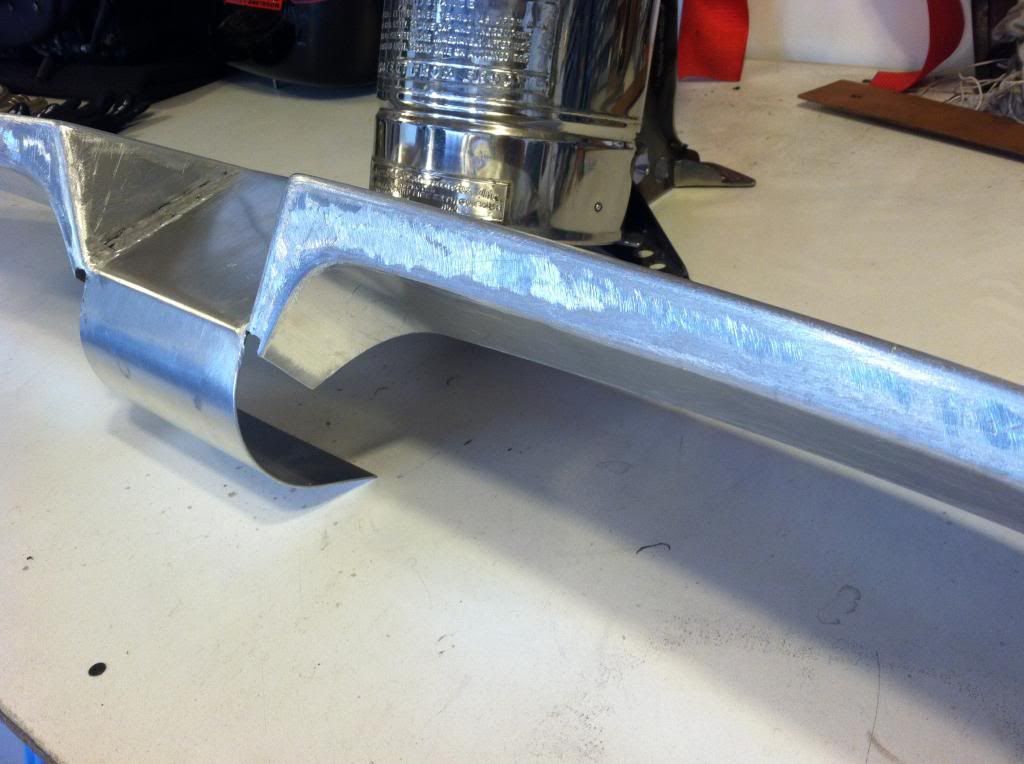
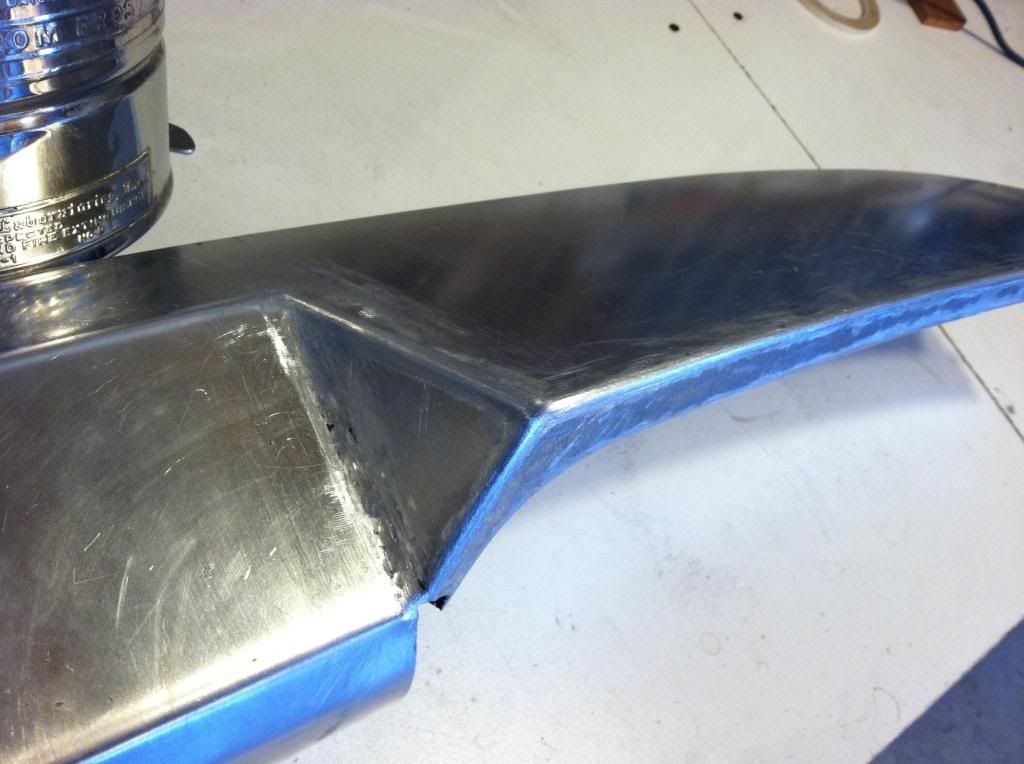
Been super busy remodeling the house and building a new kitchen so the car has been sitting. I did get the fender exhaust plate figured out though. Used some aluminum and came up with something that should serve the purpose. I'm not 100% sure how I feel about it right now, but over all I think it works.

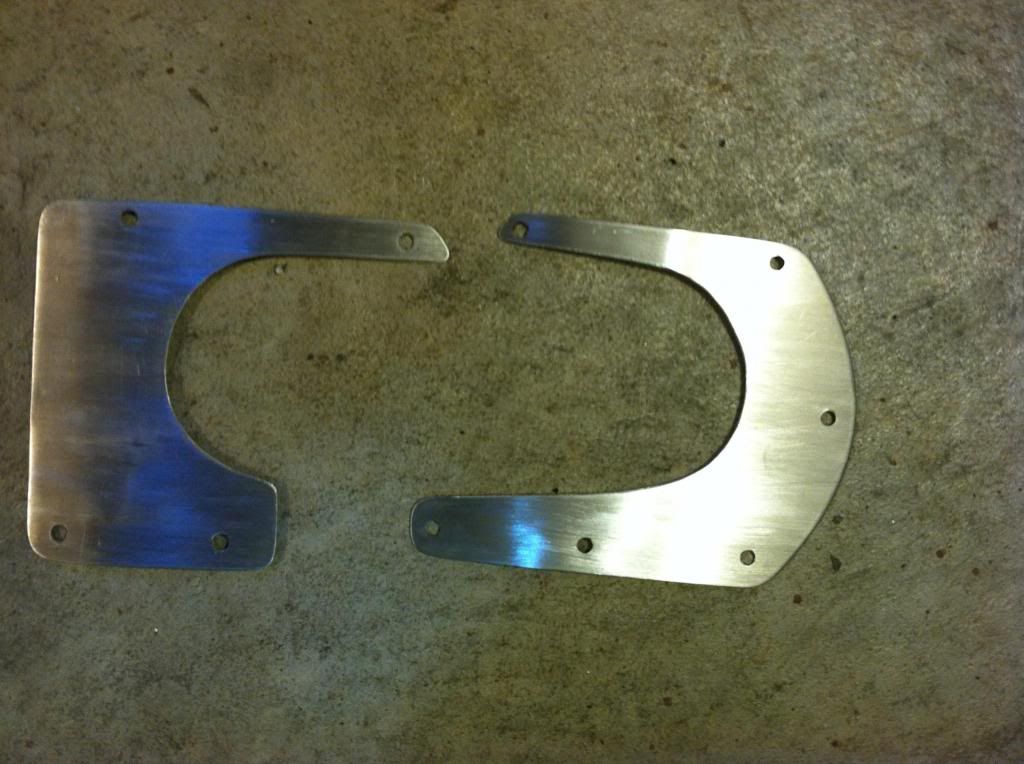
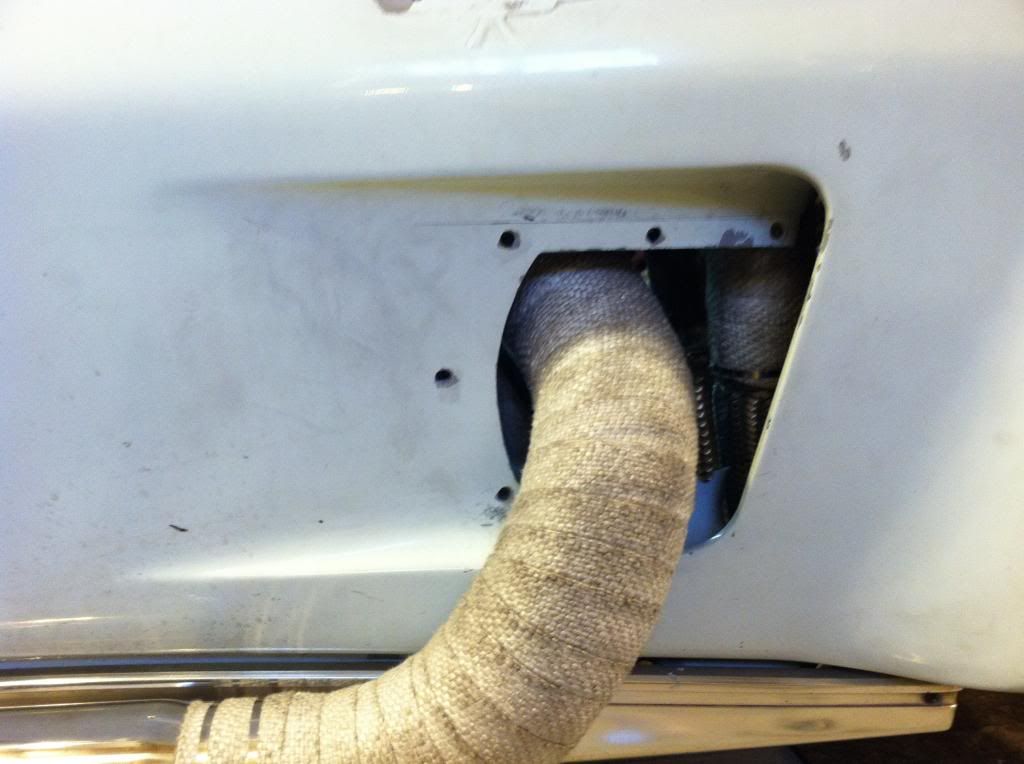
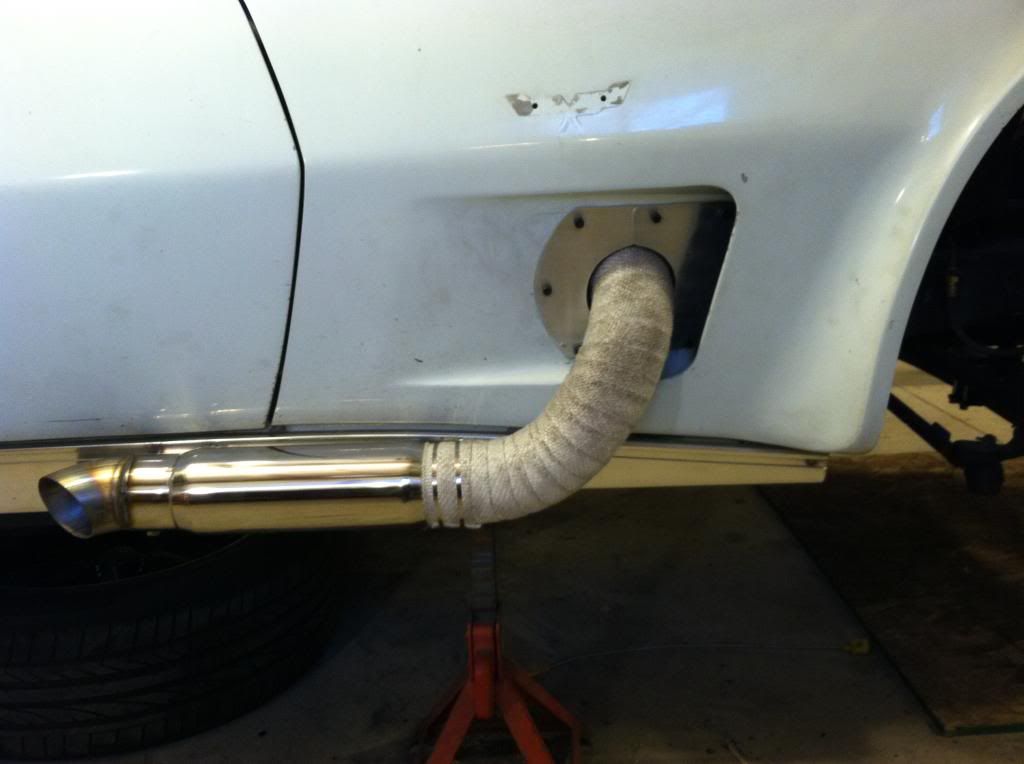
Next up is the full aluminum interior fab...... get ready its about to get real!!!
Next up is the full aluminum interior fab...... get ready its about to get real!!!

 03-18-2013, 02:33 PM
#73
Launching!
Thread Starter
Join Date: Jul 2011
Location: Detroit, Michigan
Posts: 209
Likes: 0
Received 0 Likes
on
0 Posts
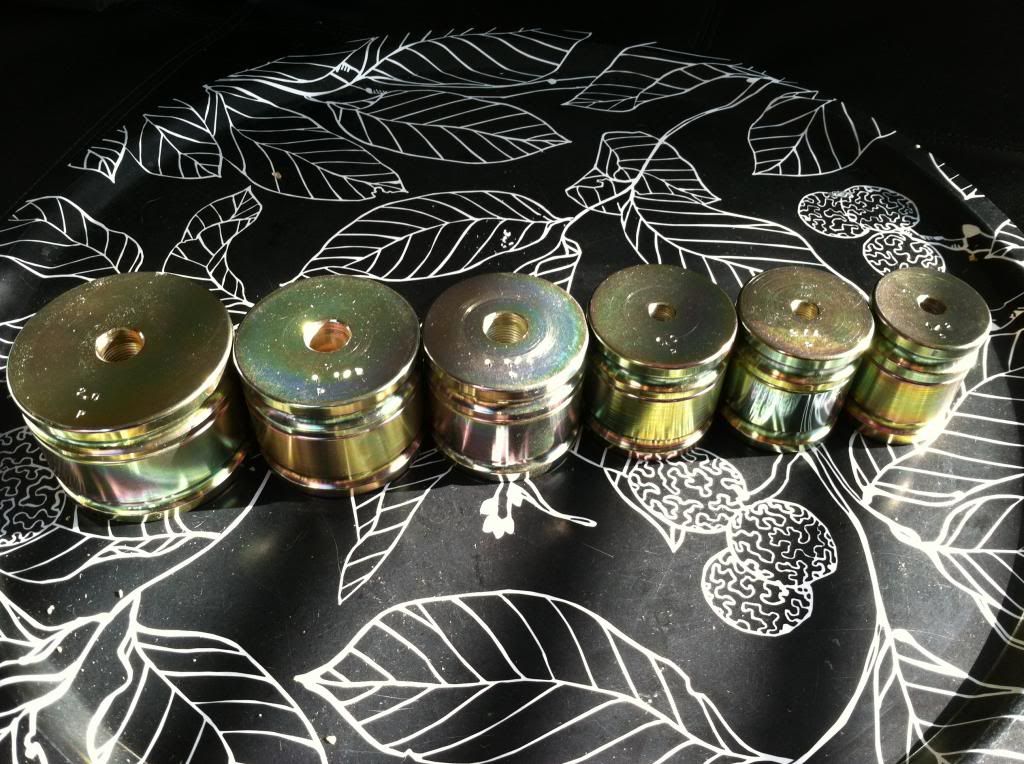
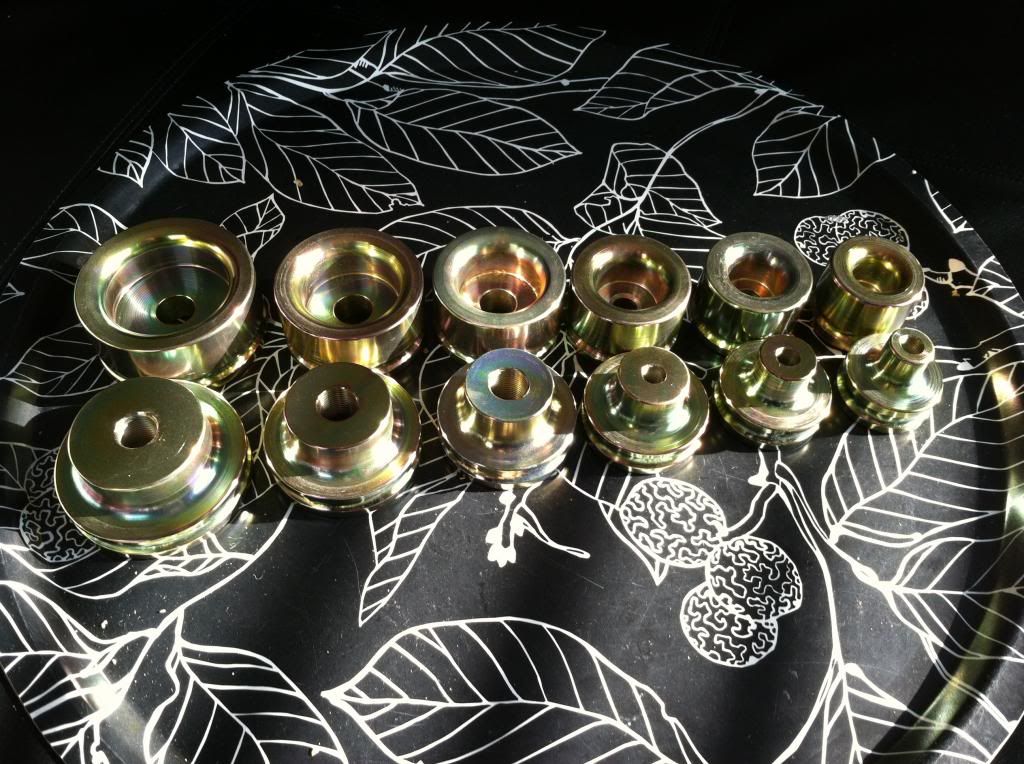
Recieved my new dimply dies the other day..... Killer deal and they are pipe size so I can use the HF Punch kit. They are also threaded so I dont have to use a press but the proper size to use the HF Punch kits hydraulic pump. Most places I had seen them for min. $400 - $700 and not threaded / press only. These where a fraction of the lesser and the quality is spot on.
Interior soon!!
Interior soon!!
 03-21-2013, 07:38 AM
#76
Launching!
Thread Starter
Join Date: Jul 2011
Location: Detroit, Michigan
Posts: 209
Likes: 0
Received 0 Likes
on
0 Posts
I've gotten started on the interior fabrication. I am doing all aluminum custom one off dash, center consol, and door panels. Hopefully when its done it will be something pretty unique. I am also debating if I want to go the full route and clay this up to make everything a bit softer and then make molds. If there is enough people who may be interested in custom aftermarket light weight fiberglass or carbon fiber interiors I may start reproducing them.
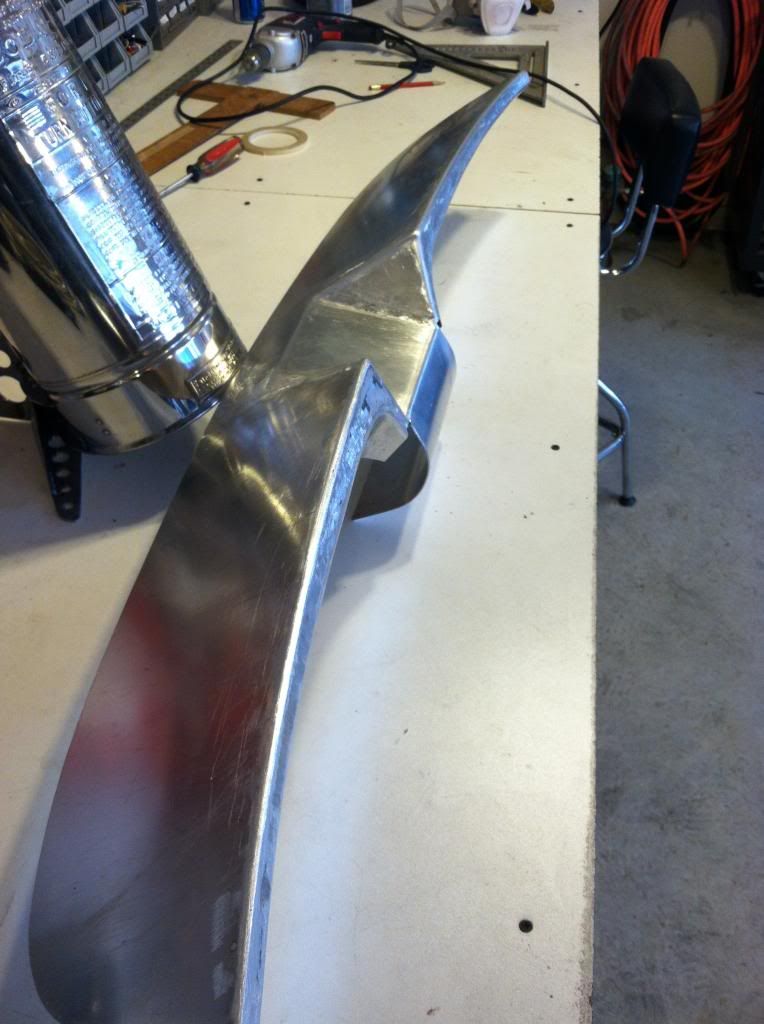
Step one..... how to make a sheet af aluminum into a sculpted interior...
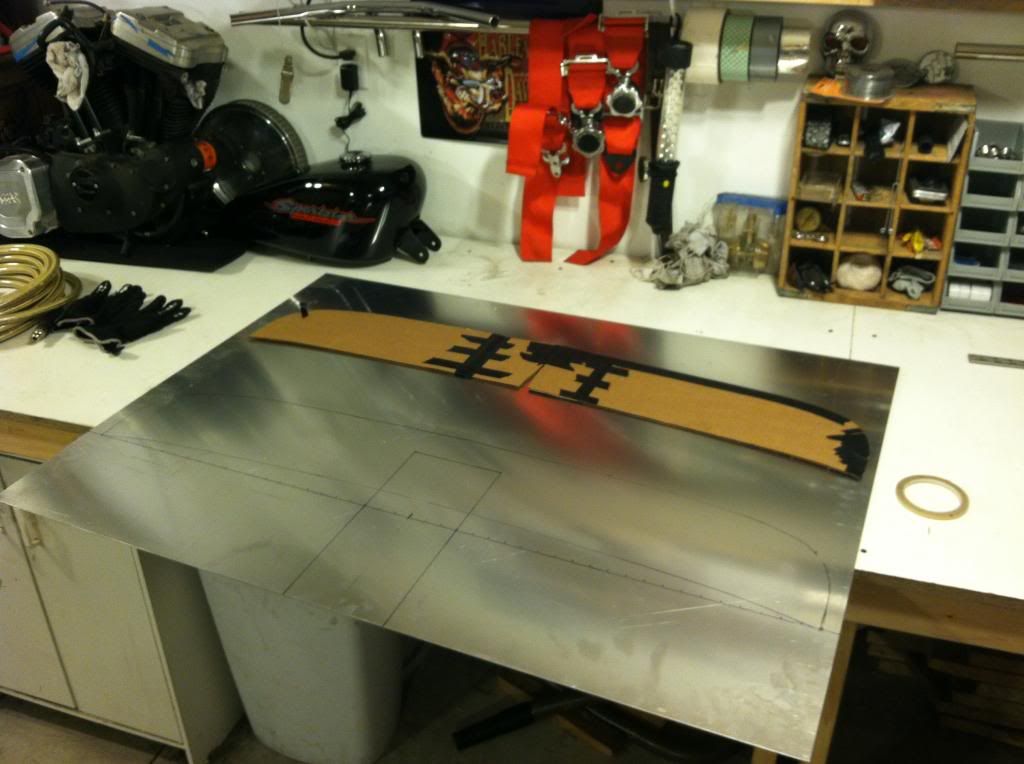
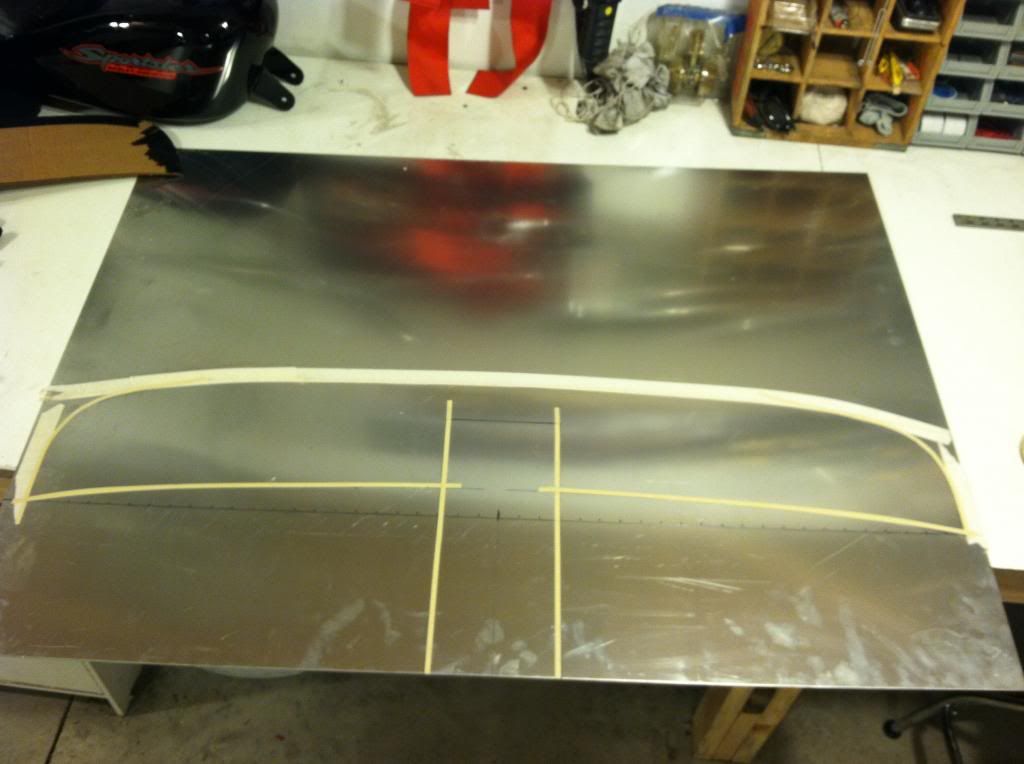
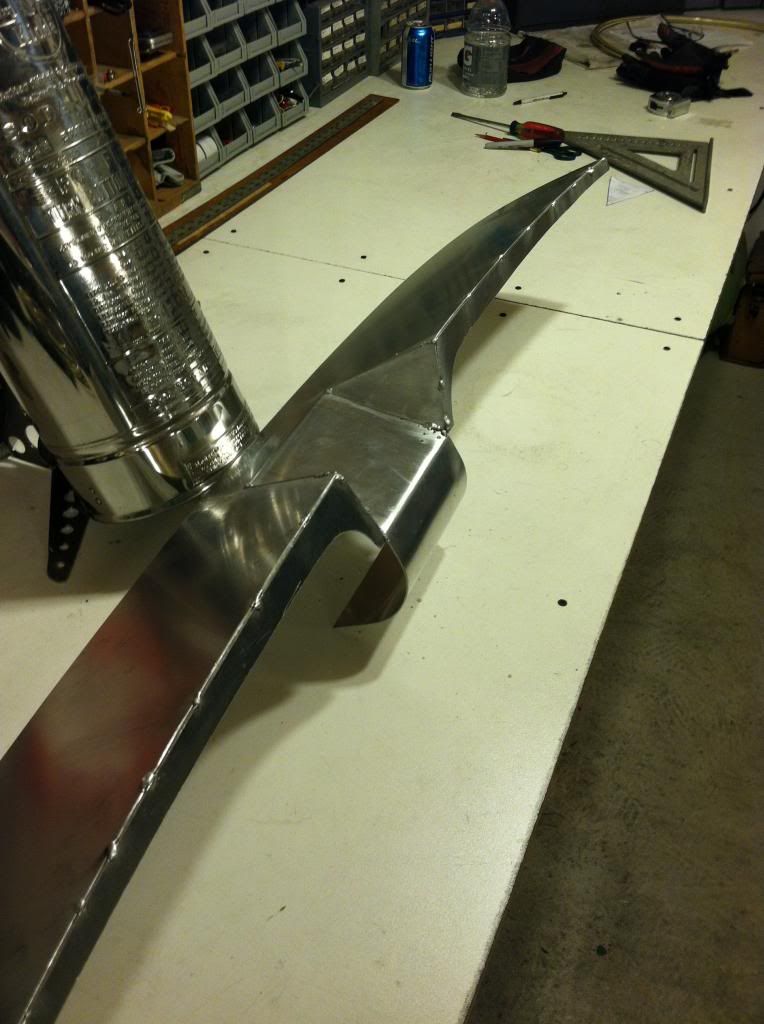
I'm really happy with the start of this. The flat that extends down from the main top pad will eventually be a smoked lens with two recesset gauges behind it. It will only be known once the gauges are lit up. The interior will have a sort of bomber style feel, debating how much raw aluminum I want to leave exposed, but as I get farther along it will most likely just work itself out.
Step one..... how to make a sheet af aluminum into a sculpted interior...
I'm really happy with the start of this. The flat that extends down from the main top pad will eventually be a smoked lens with two recesset gauges behind it. It will only be known once the gauges are lit up. The interior will have a sort of bomber style feel, debating how much raw aluminum I want to leave exposed, but as I get farther along it will most likely just work itself out.
 03-22-2013, 07:11 AM
#78
Launching!
Thread Starter
Join Date: Jul 2011
Location: Detroit, Michigan
Posts: 209
Likes: 0
Received 0 Likes
on
0 Posts
I found the dimple dies on the garage Journal. I was researching all sorts of different ways to make them, cheap alternatives and so on when I found this guy making them for a great price. His name is Claude, if you do a quick google search for dimple dies and garage journal you will most likely find the thread.
He makes them in standard size as well as pipe size so you can use the Harbor Freight knock out punch kit. The dies then also use the knock out hydraulic to press them for the dimple. A great alternative from using a shop press, and makes the ability to use the tool in many more applications.
He makes them in standard size as well as pipe size so you can use the Harbor Freight knock out punch kit. The dies then also use the knock out hydraulic to press them for the dimple. A great alternative from using a shop press, and makes the ability to use the tool in many more applications.
03-23-2013, 10:42 AM
#79

Cool build. Where did you find the dimple dies?
03-27-2013, 09:03 AM
#80
Launching!
Thread Starter
Join Date: Jul 2011
Location: Detroit, Michigan
Posts: 209
Likes: 0
Received 0 Likes
on
0 Posts
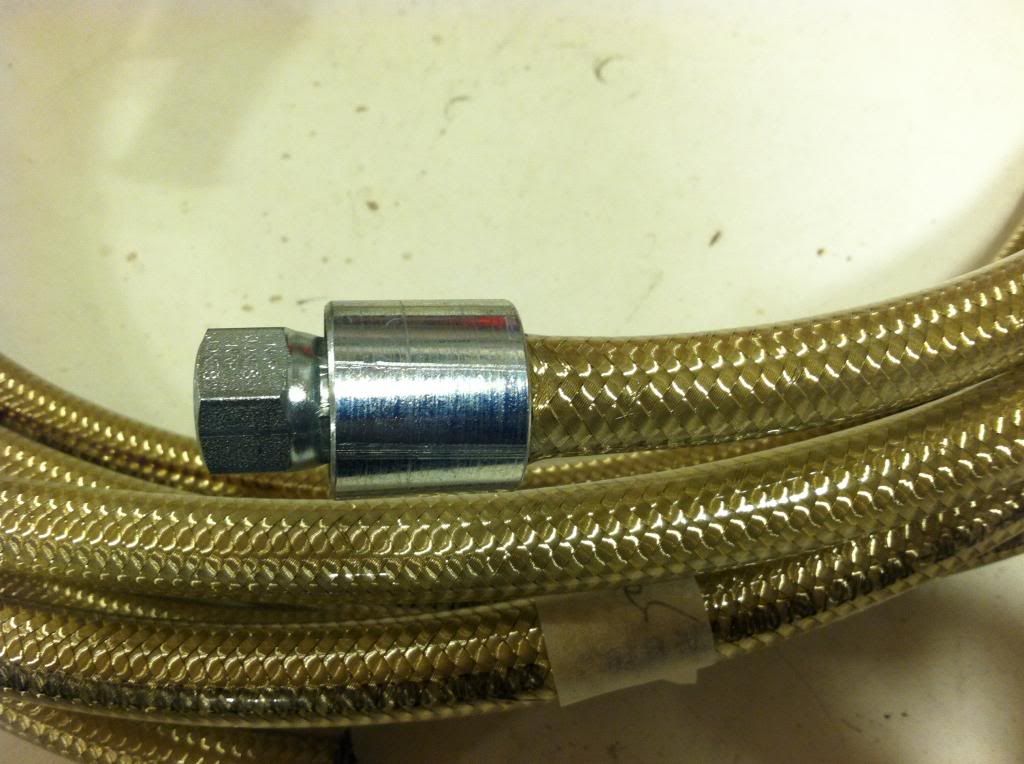
I made all my intercooler hoses yesterday. I used some braided line I had that was for a pressure washer. I cut to fit each location and had the fittings pressed on from a local hydraulic shop right by my house. This picture showes the line and the fitting before pressing or clamping, or whatever you want to call it.
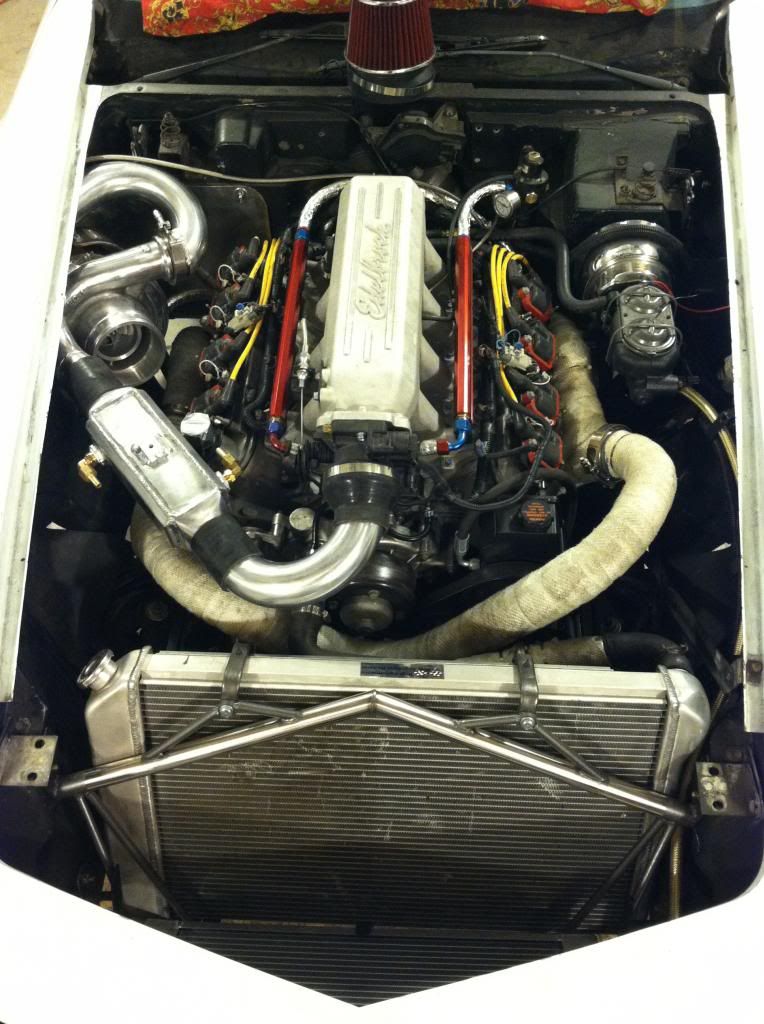
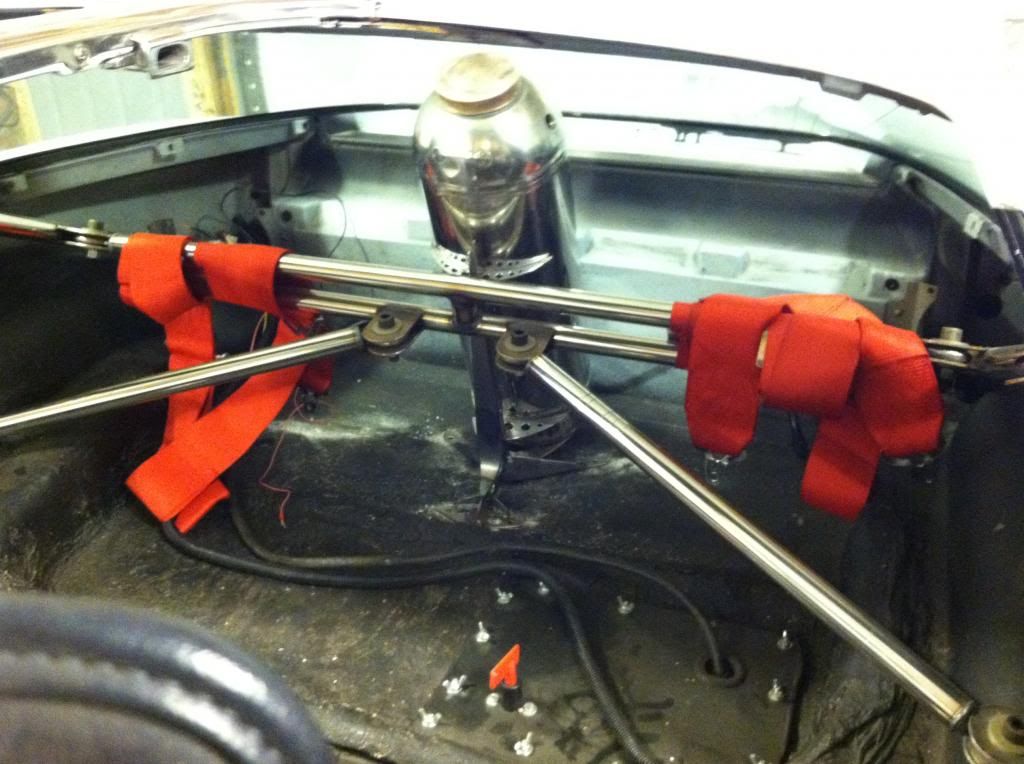
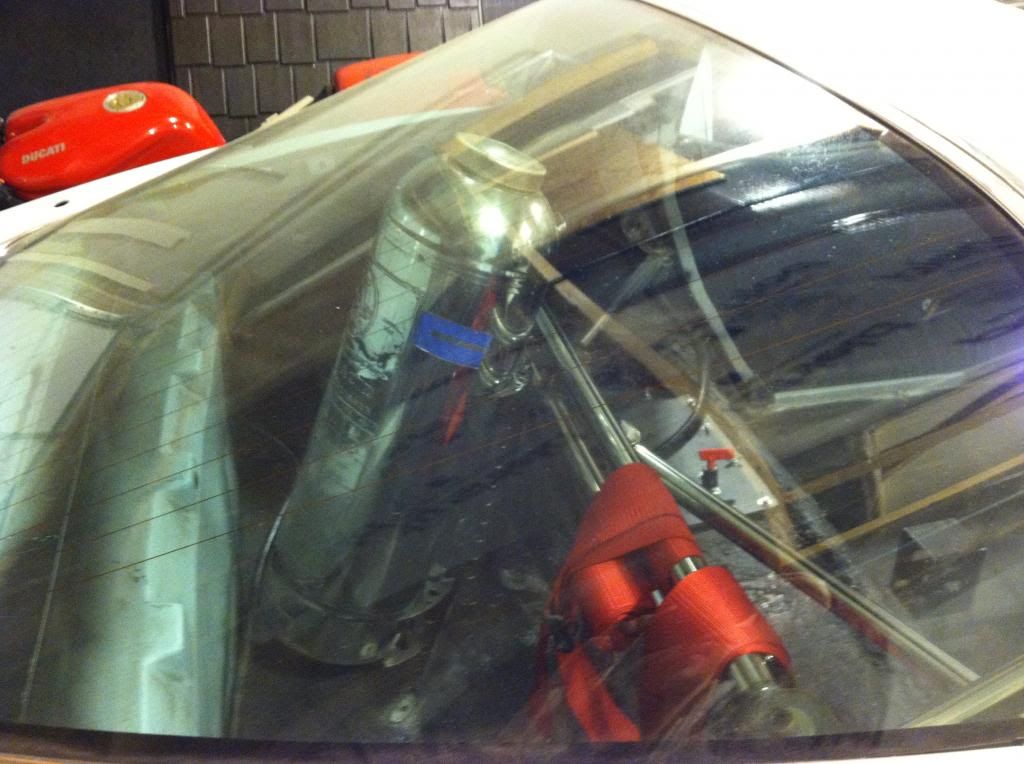
Here is what the intercooler tank/ AKA bad *** fire extinguisher looks like in the car. Seats are out for interior fab but you get the idea. I'm planning on tinting the back glass pretty dark so it wont be so in your face from outside the car.
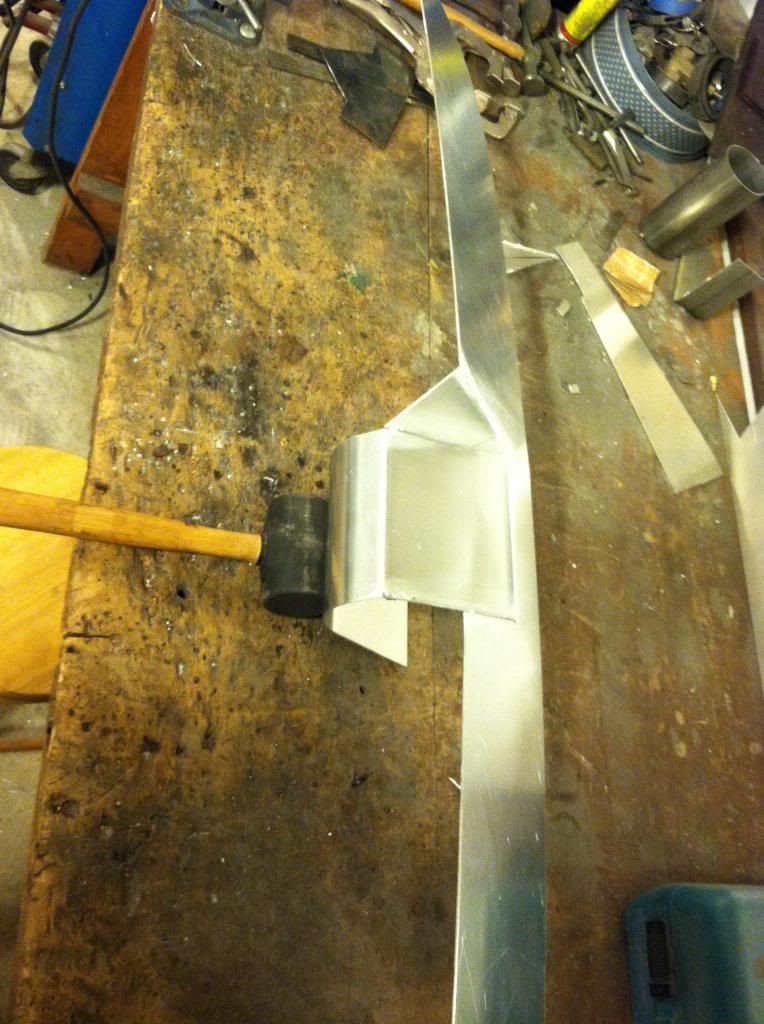
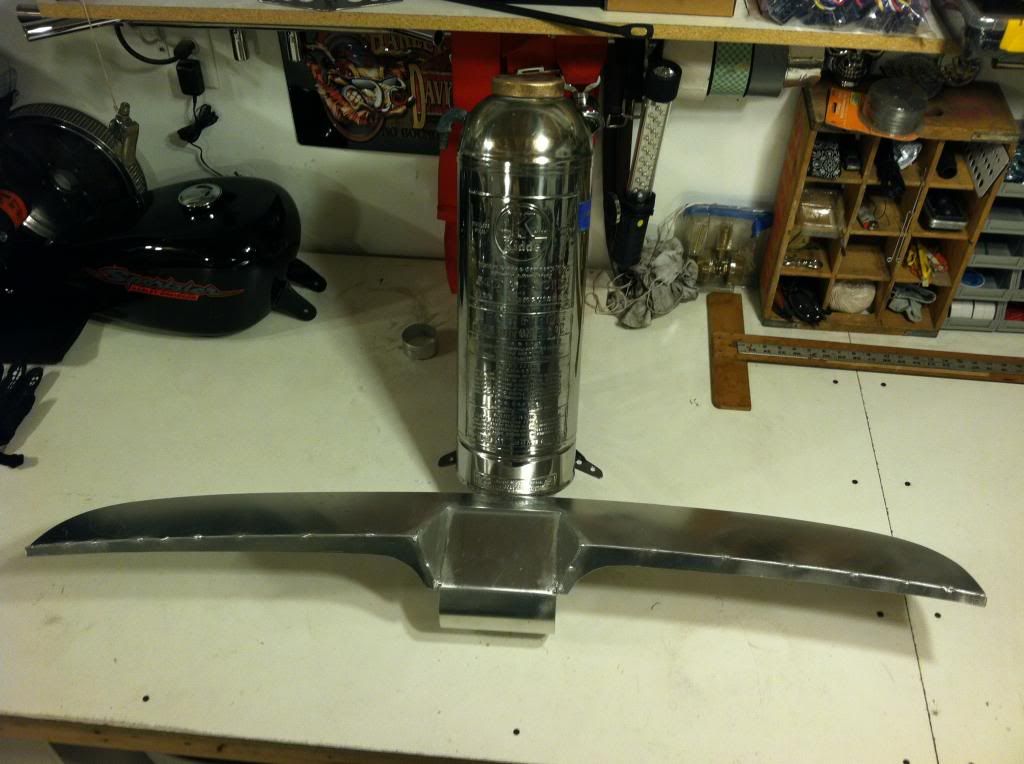
Did a bit more work on the IP. Made the under surface of the top pad, welded everything and rounded off the radiuses and fillets on the edges. Still manny hourse of filing and finishing on this piece alone but its starting to take shape.
And how its starting to look and fit in the car.
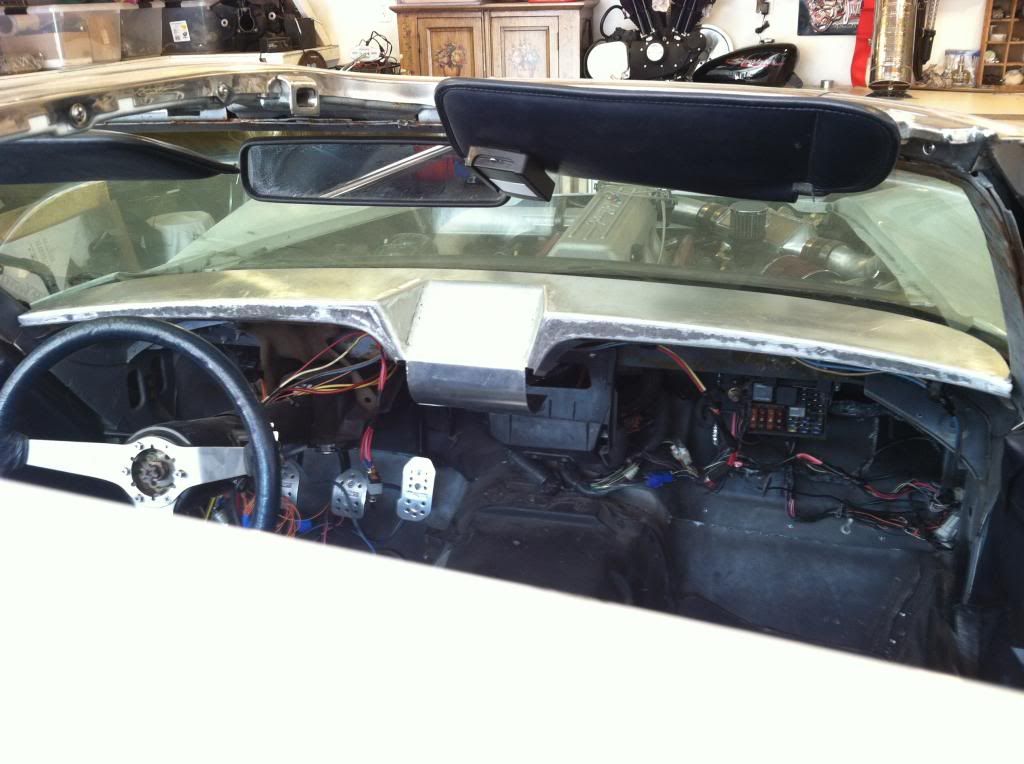
Here is what the intercooler tank/ AKA bad *** fire extinguisher looks like in the car. Seats are out for interior fab but you get the idea. I'm planning on tinting the back glass pretty dark so it wont be so in your face from outside the car.
Did a bit more work on the IP. Made the under surface of the top pad, welded everything and rounded off the radiuses and fillets on the edges. Still manny hourse of filing and finishing on this piece alone but its starting to take shape.
And how its starting to look and fit in the car.
Last edited by User-c3; 03-27-2013 at 09:26 AM.