
LS1 350z Drift Build 'Nuff Said'
 07-29-2011, 06:30 PM
#1
Launching!
Thread Starter

Join Date: Oct 2009
Posts: 218
Likes: 0
Received 0 Likes
on
0 Posts

Okay it is time for me to start this build thread. First I would like to say this has been a long time coming and I just can't wait for the finish product to be done. I will do this build in stages and tell you everything, from building the engine to suspension work. I will also make note of how much everything cost since that is a big deal for everyone that wants to do an LS build. I will post an update once a week with pics so there will be something to look at..And last but not least I will post a beer of the week, since I love crafted beers:thumbup: So lets get started!!

Wanted to post this pic here.. Some of you know my car and some of you don't. but it has been through so many wheels/looks its not funny.. But it will not look like this any more and hopefully the last change.....
STAGE 1: Phase 1...'Engine tear down and clean up'
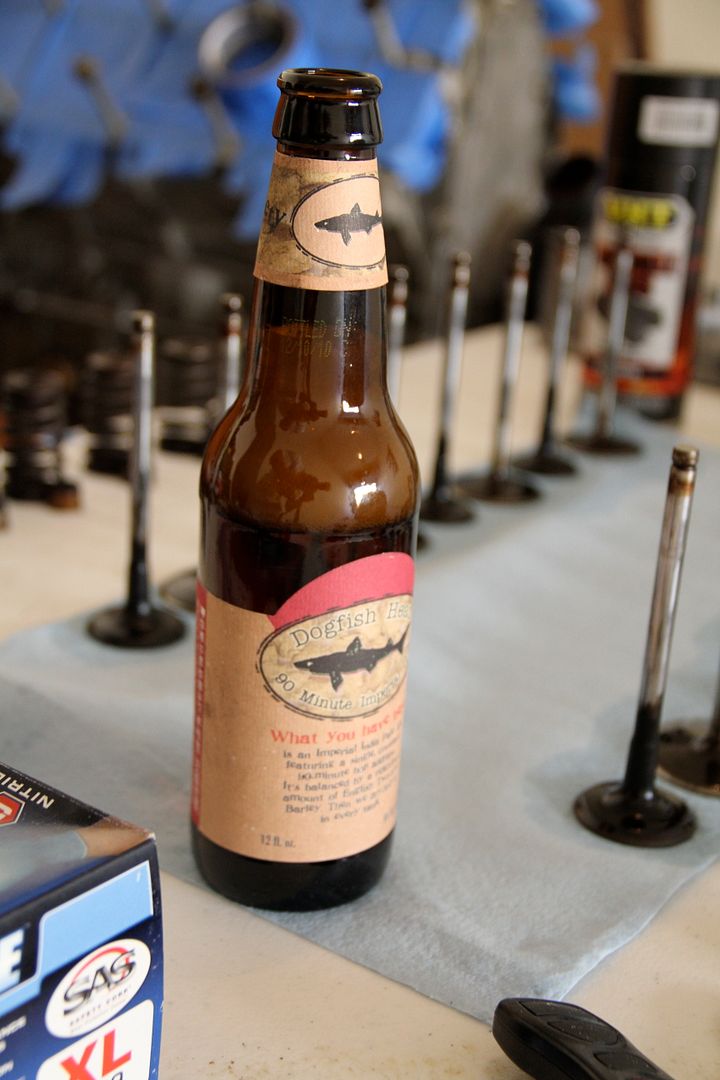
Let's start this with the beer of the week.. One of my Favs 'DogFish Head 90 Min' Good stuff
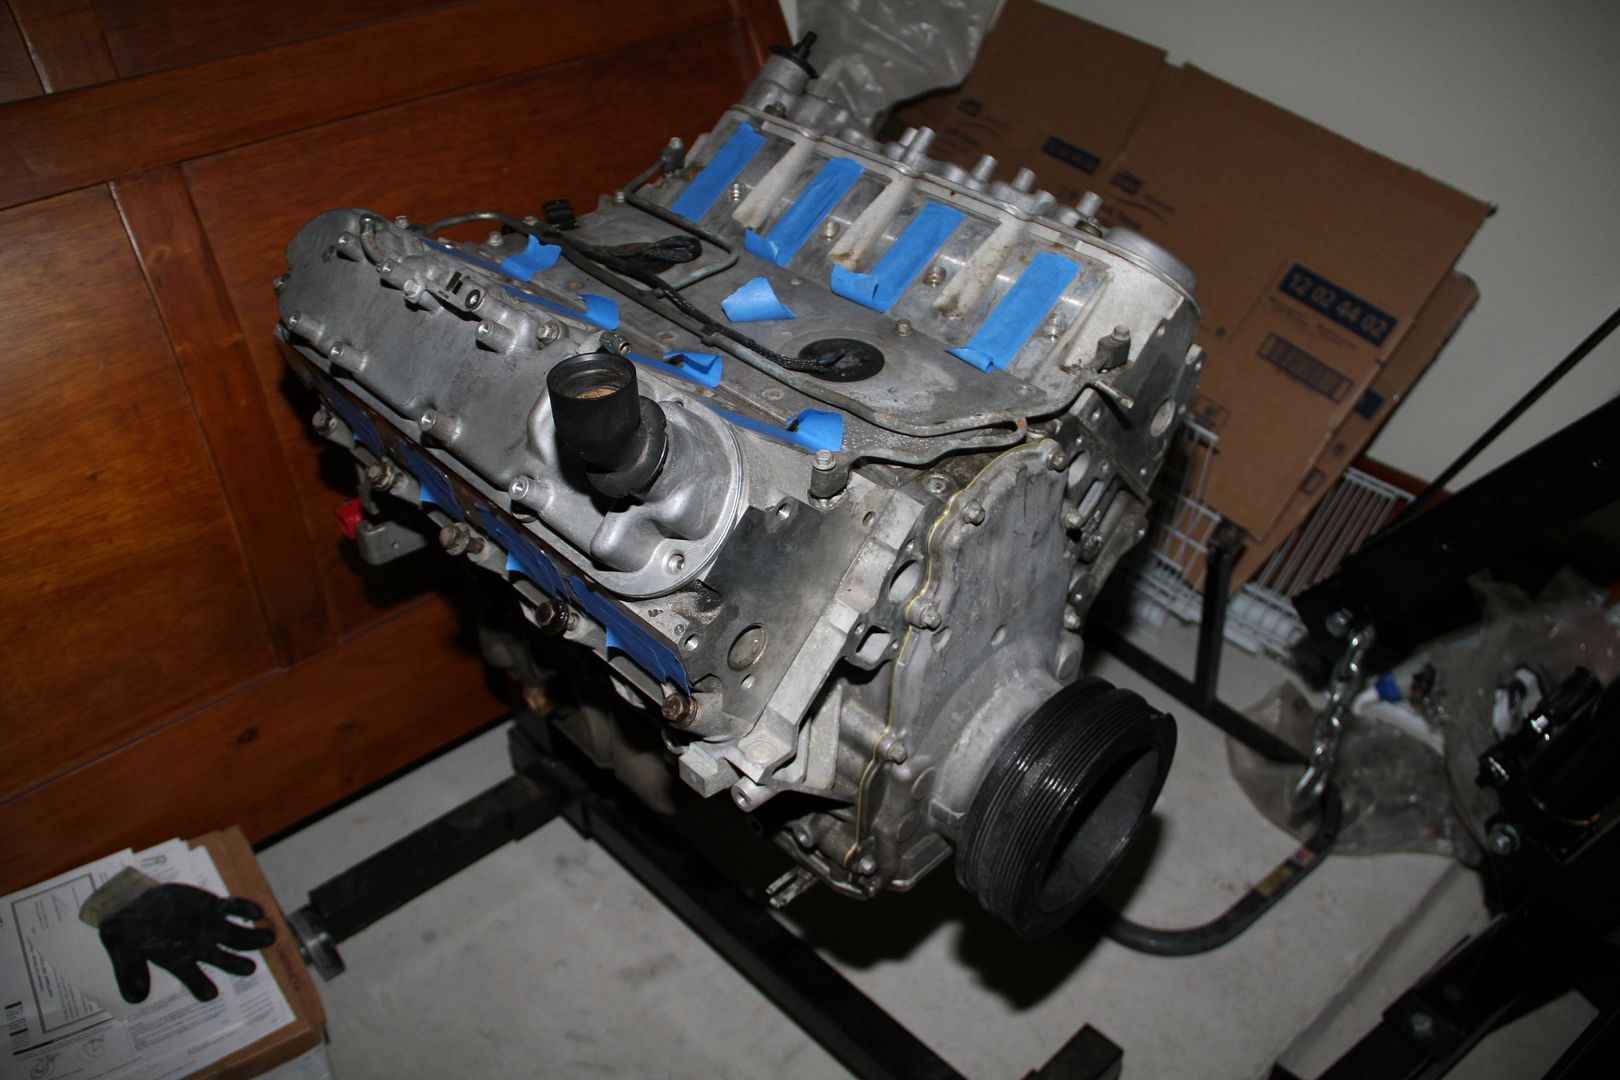
First thing was the purchase of this LS1 longblock that I got from a member on here.
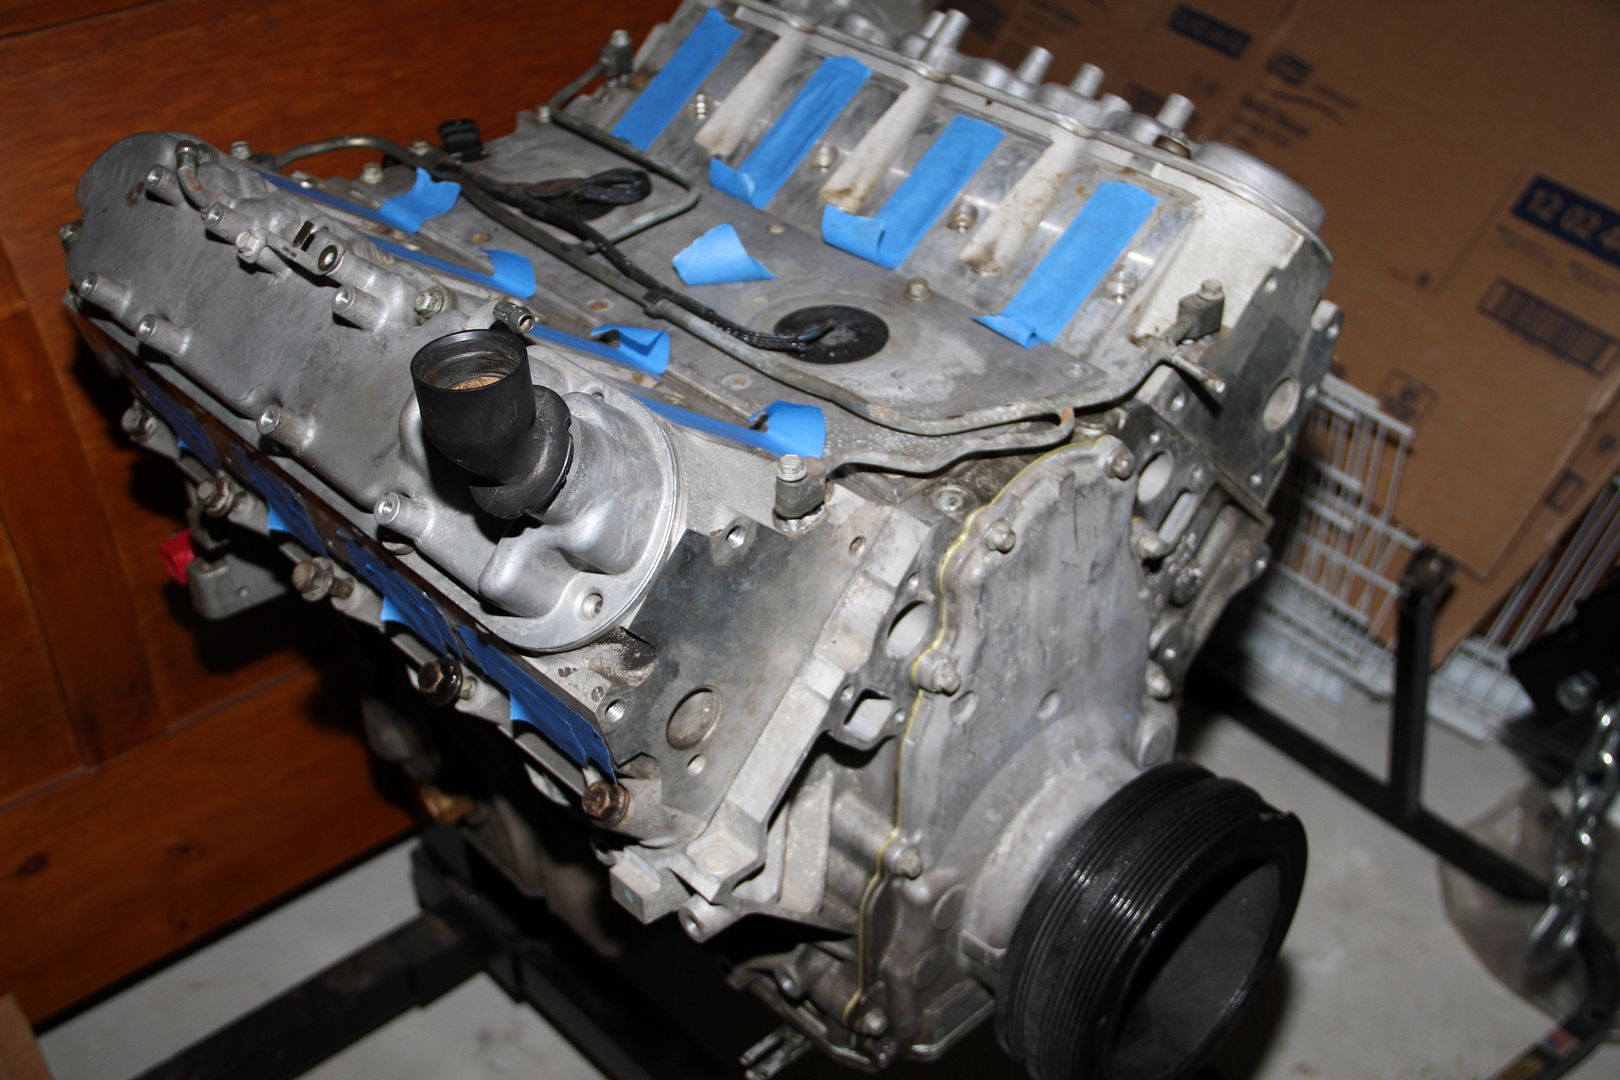
A little dirty but that will all change. Had 38k on it and the owner had the Bottom end torn down by a local machine shop (to check the condition of it which was great still) and had all the bearings replaced, ls6 oil pump installed, ls2 timing chain, ARP rod bolts.. All this for the price of $1500
In my opinion not a bad purchases since I plan on changing and adding a lot of aftermarket parts..
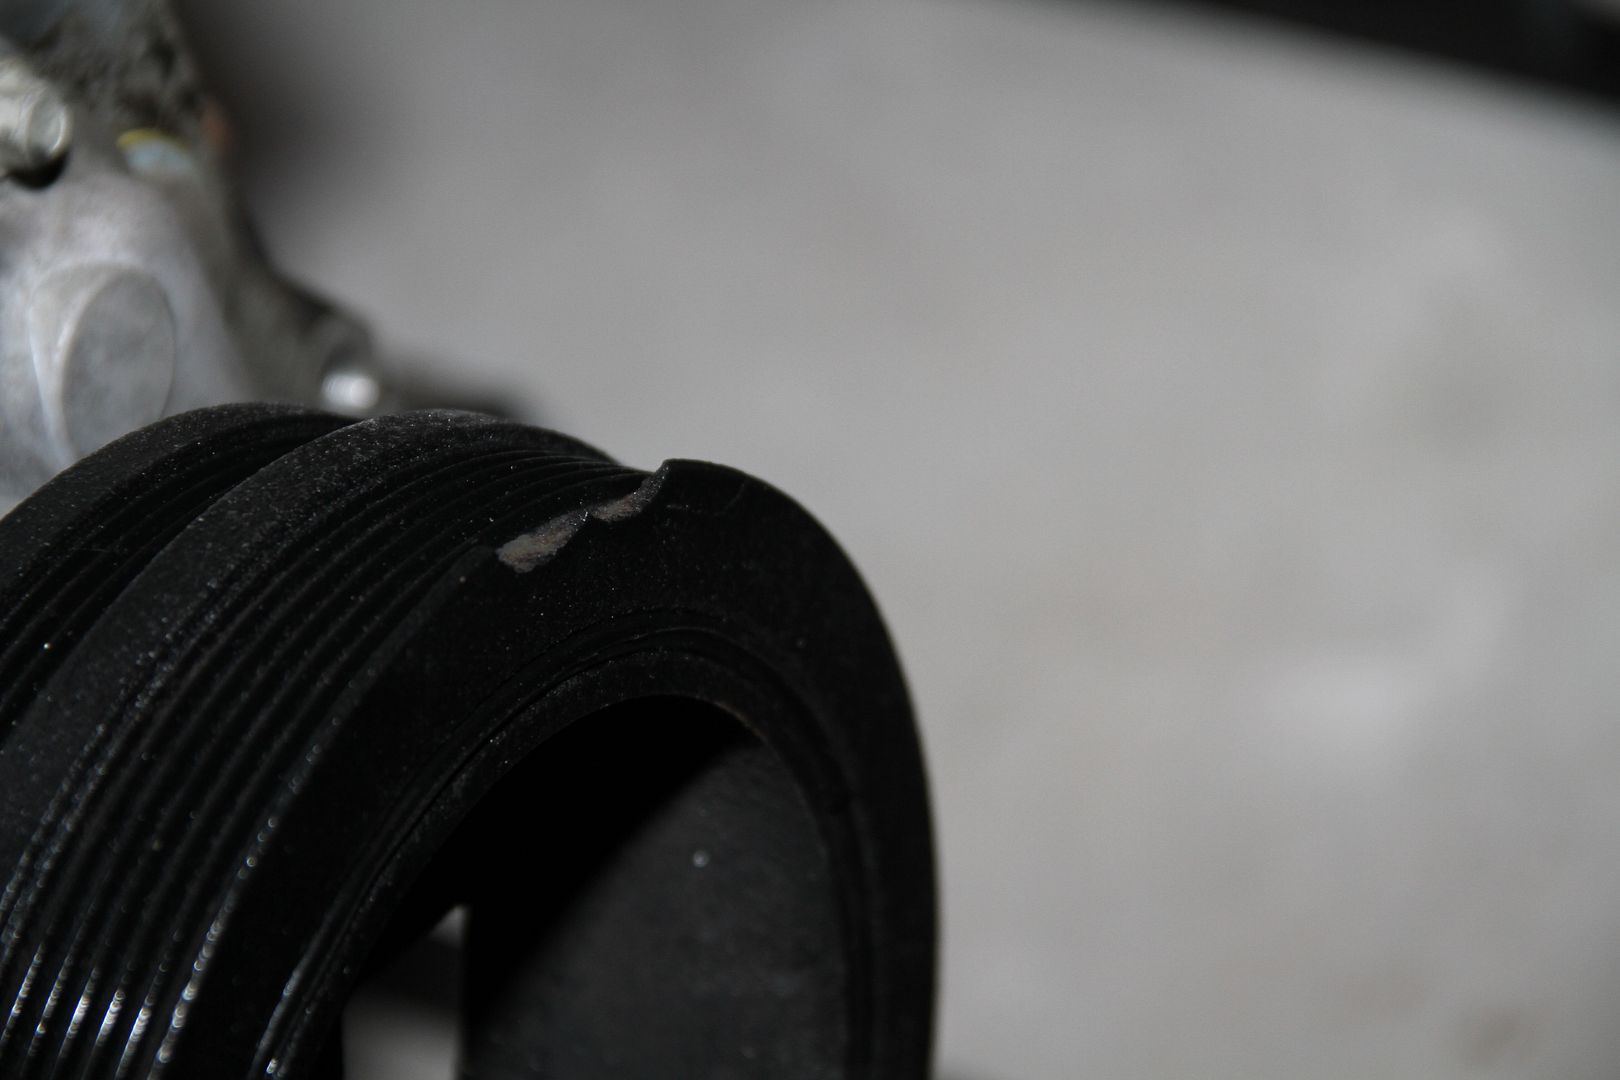
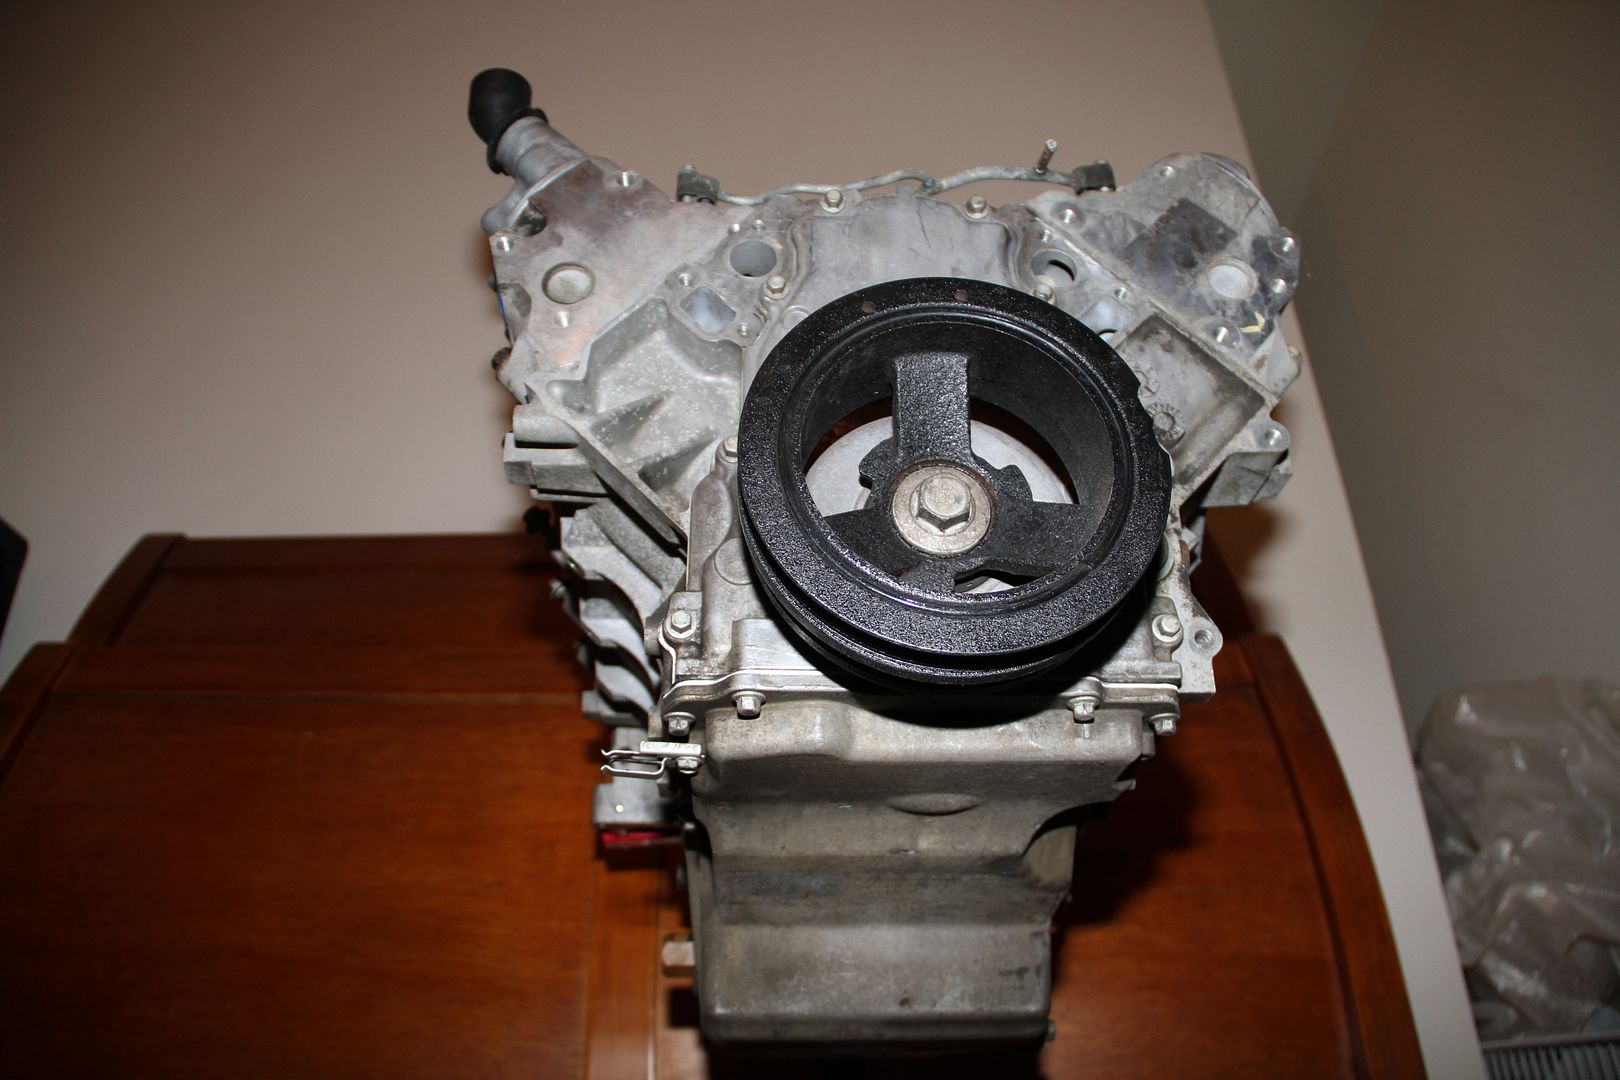
First thing I saw was this little chip on the crank balancer pulley.. a no go in my book and will get replaced...

Now lets crack open these heads and see what we have.. To do so you will need a 10mm to unbolt all the head bolts.
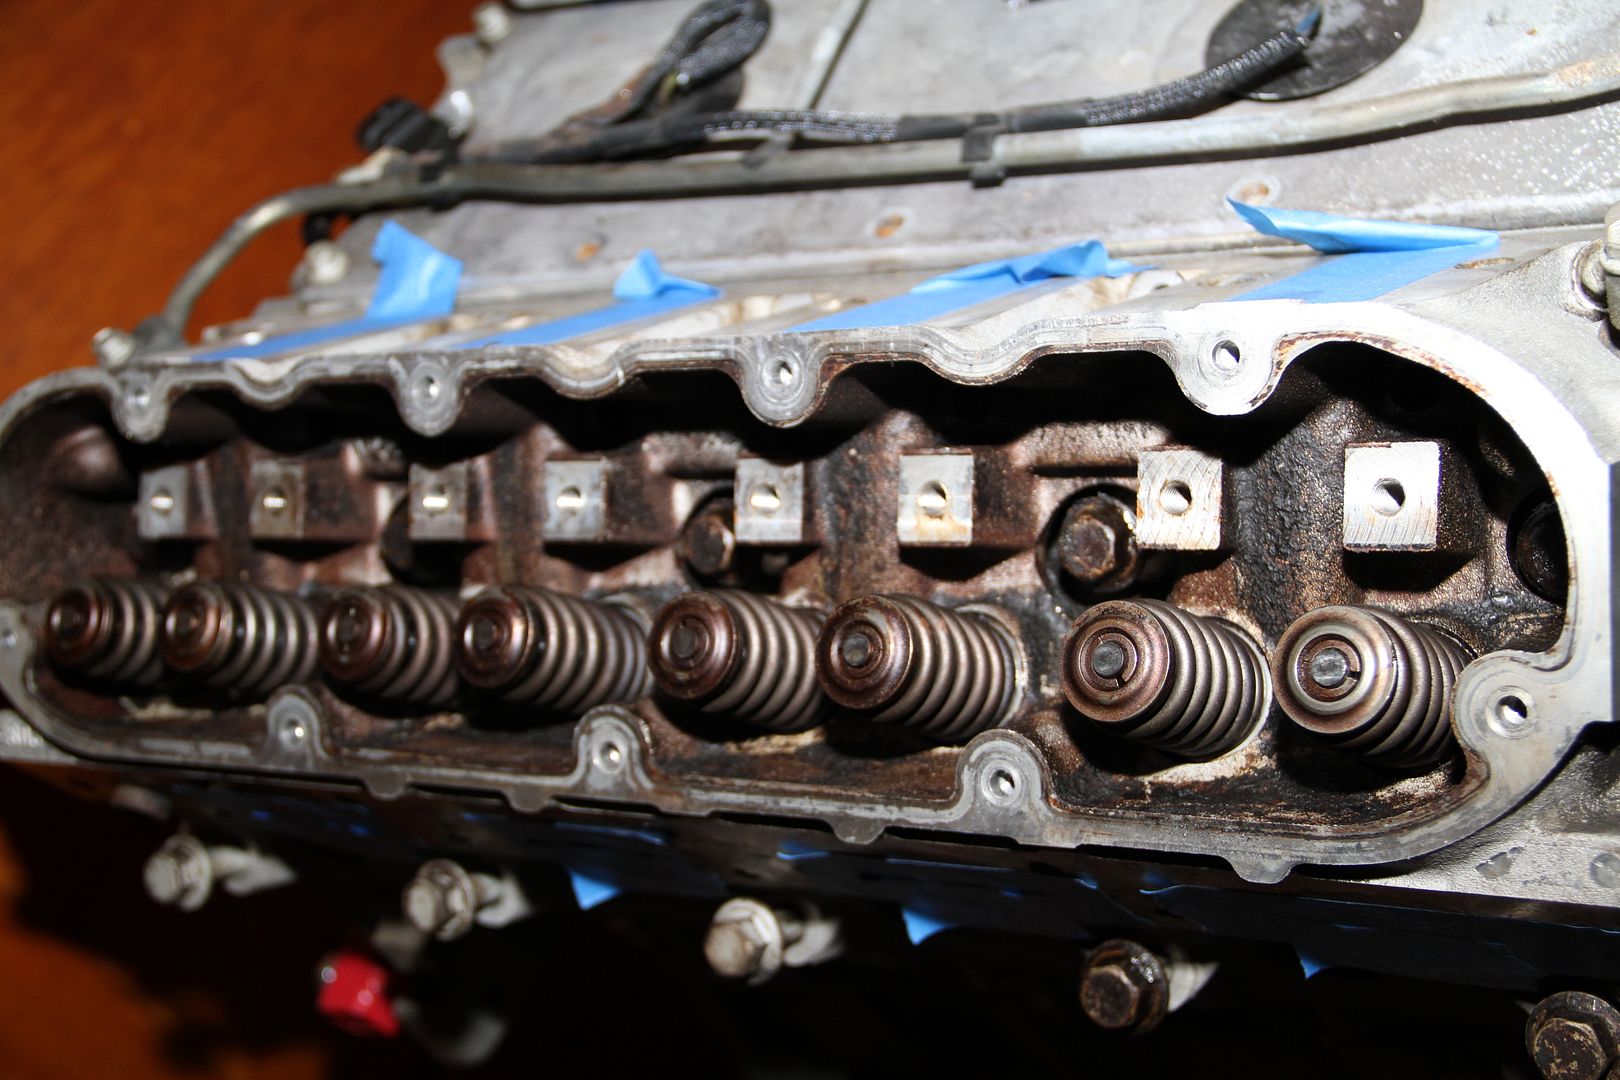
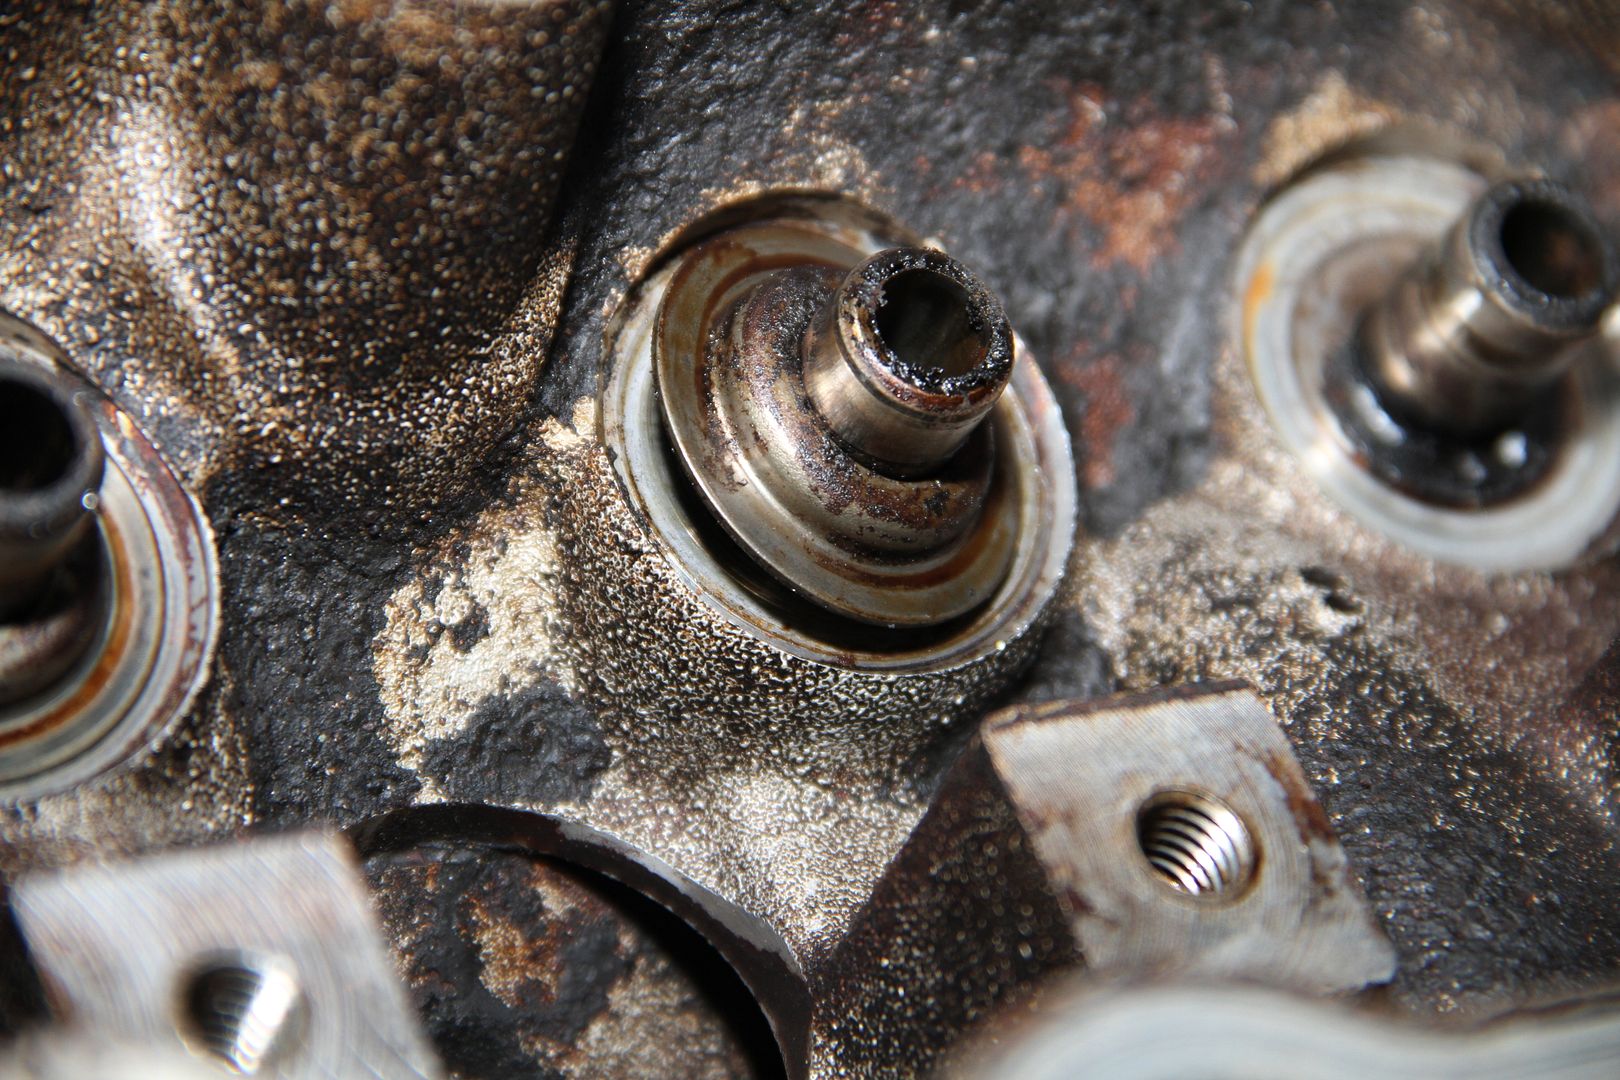
Nasty, I don't like how dirty they are so I will send these off to the machine shop to get cleaned..
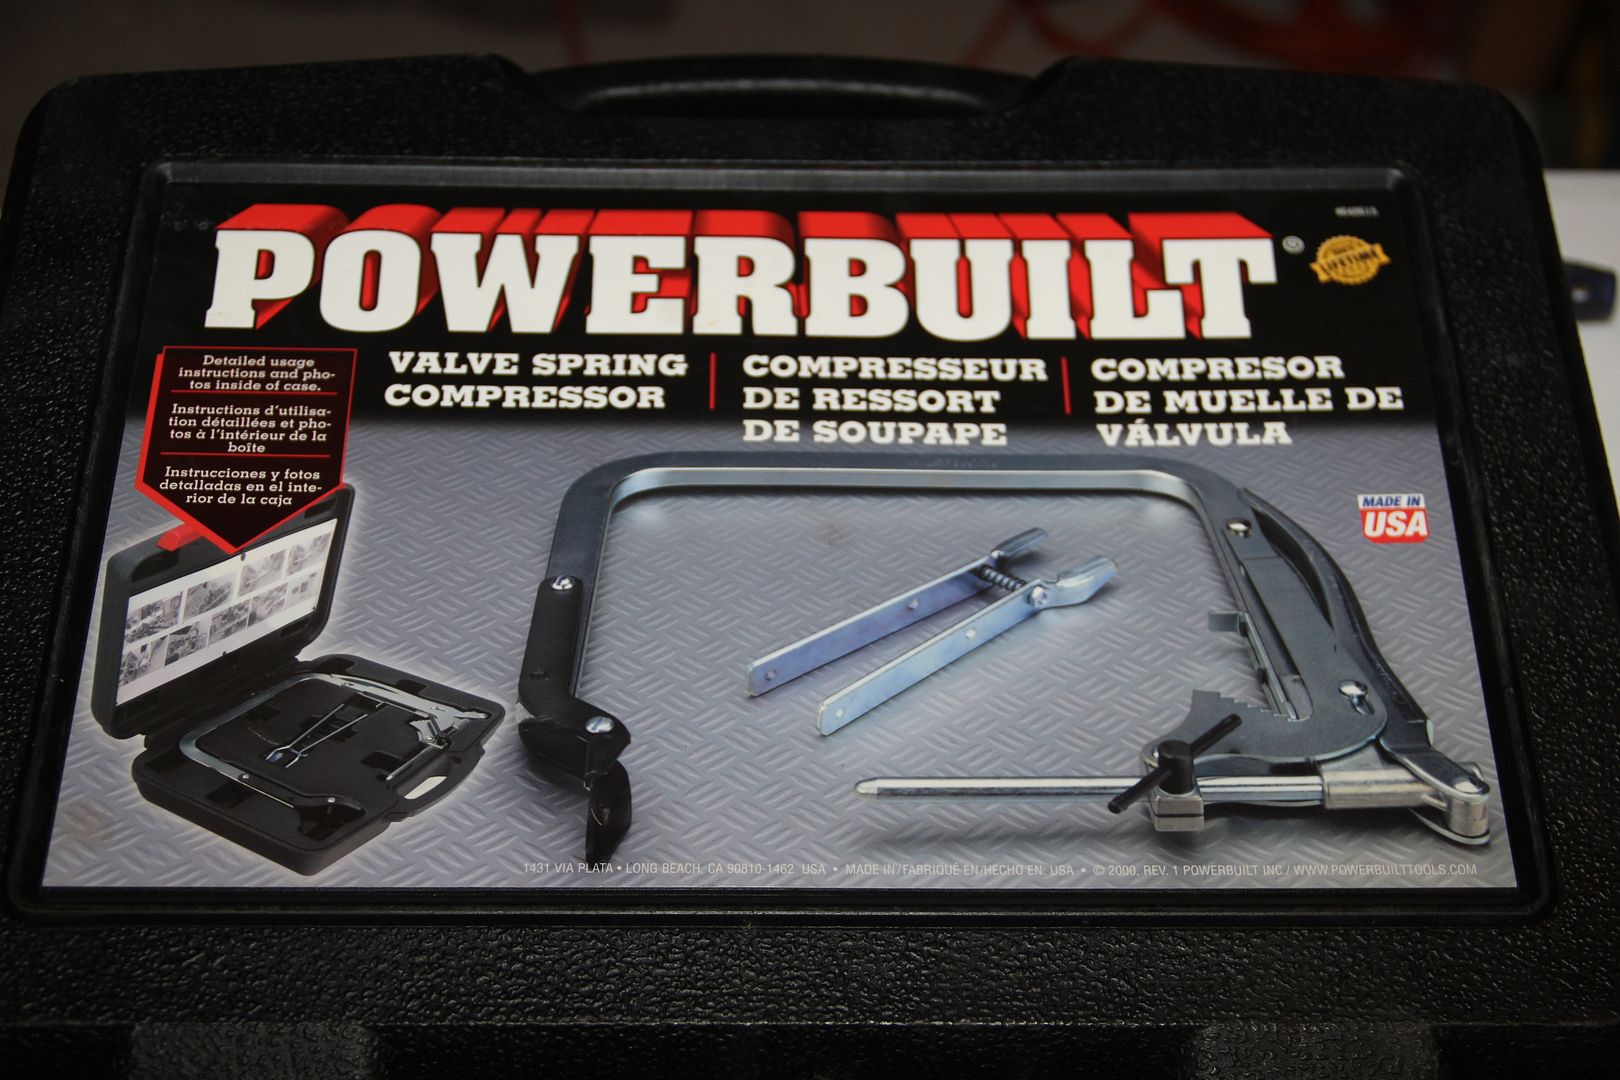
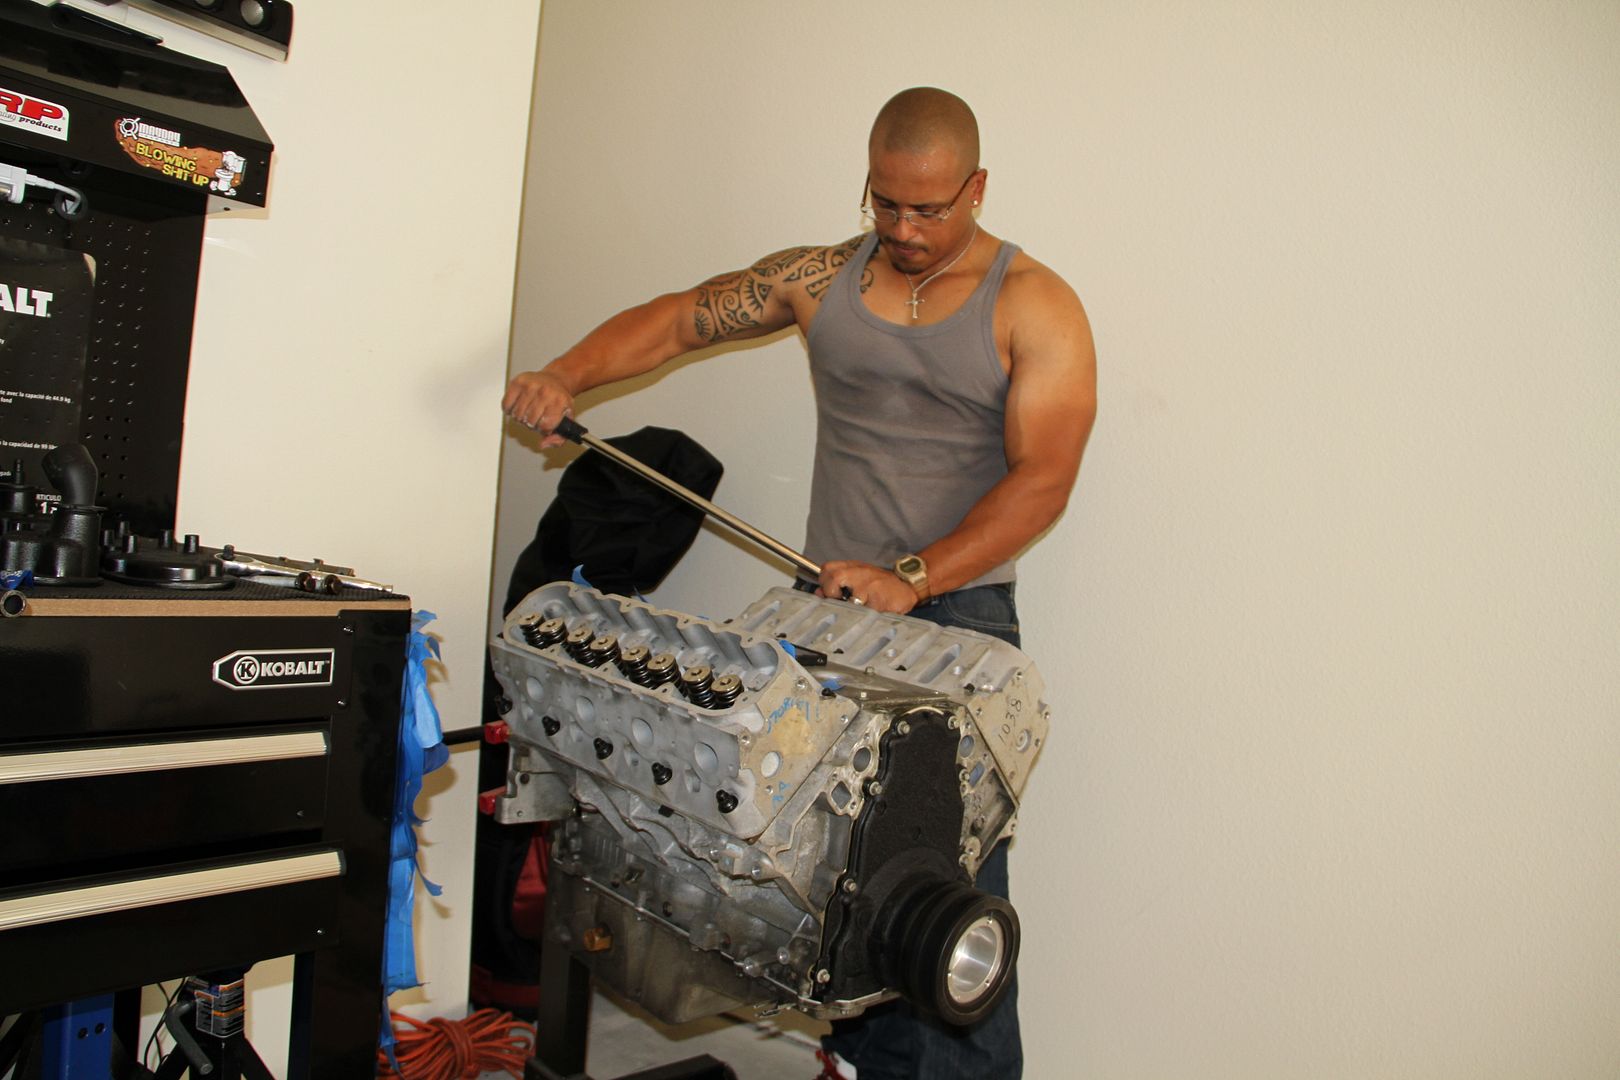
To have the heads ready for the machine shop, I went to Advance Auto parts to rent out there Valve Spring Compressor. This is a free service through them and you guys should def take advantage of it.. Just leave a deposit and you get it back when you return it..
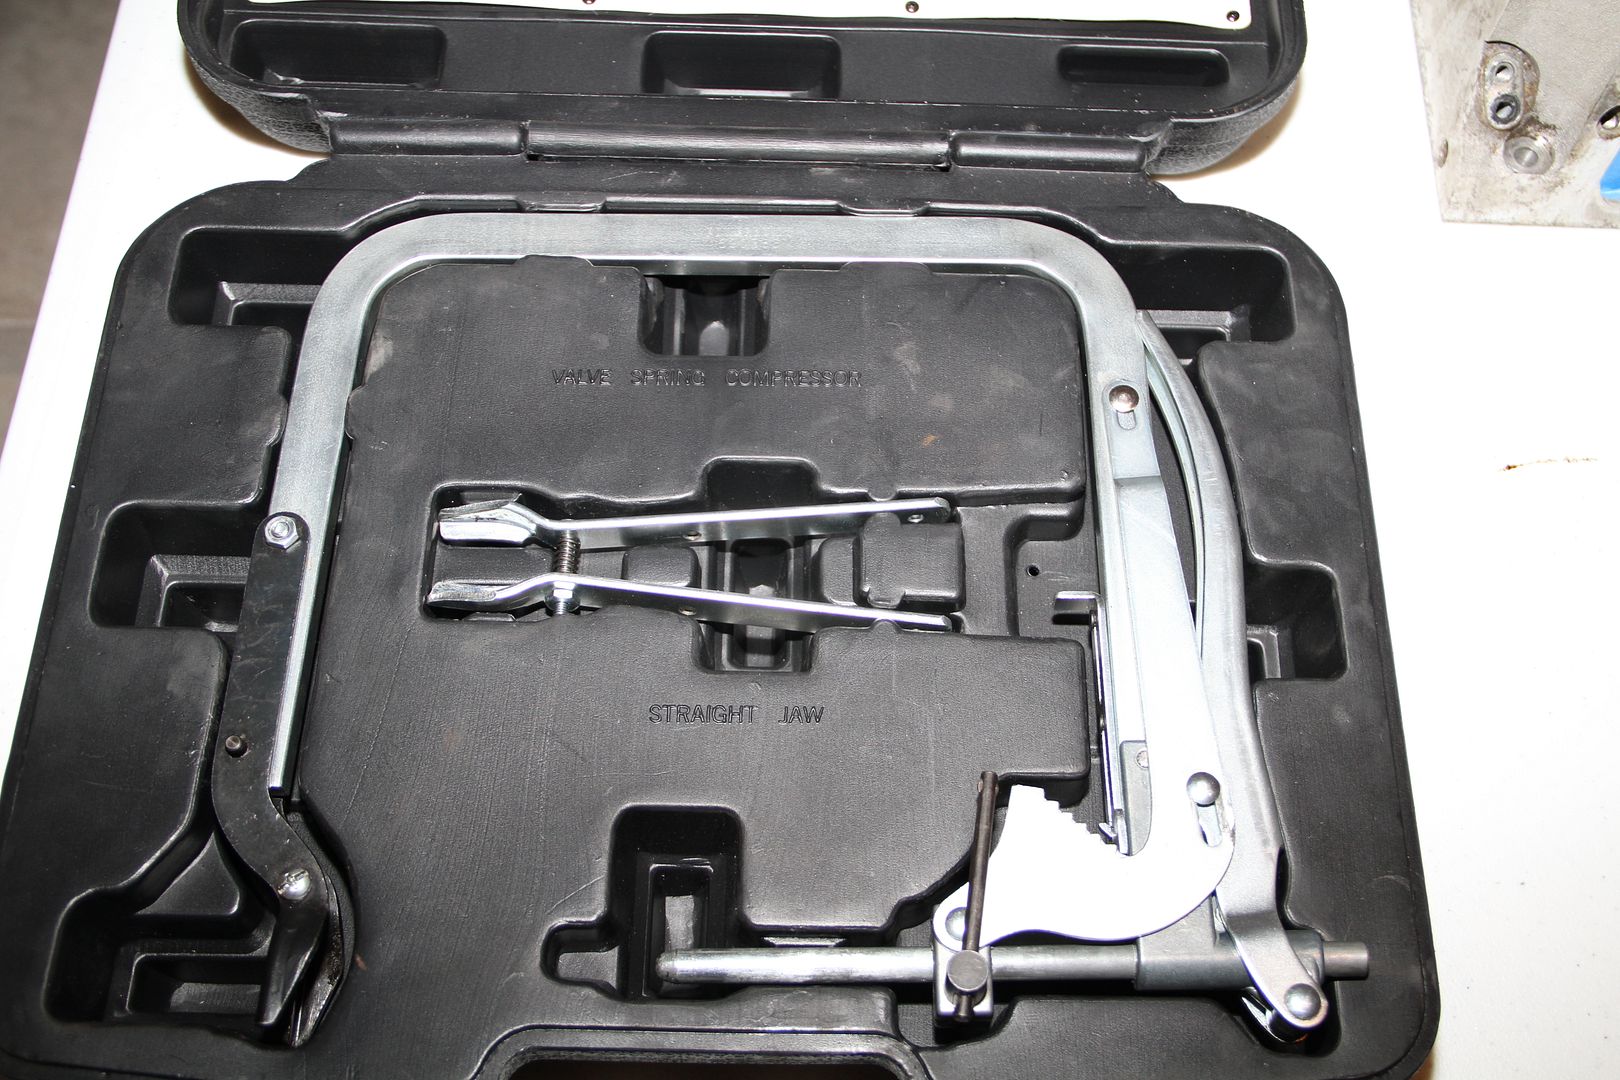
Comes with everything you need to get the job done.. It is kind of like a big *** C clamp
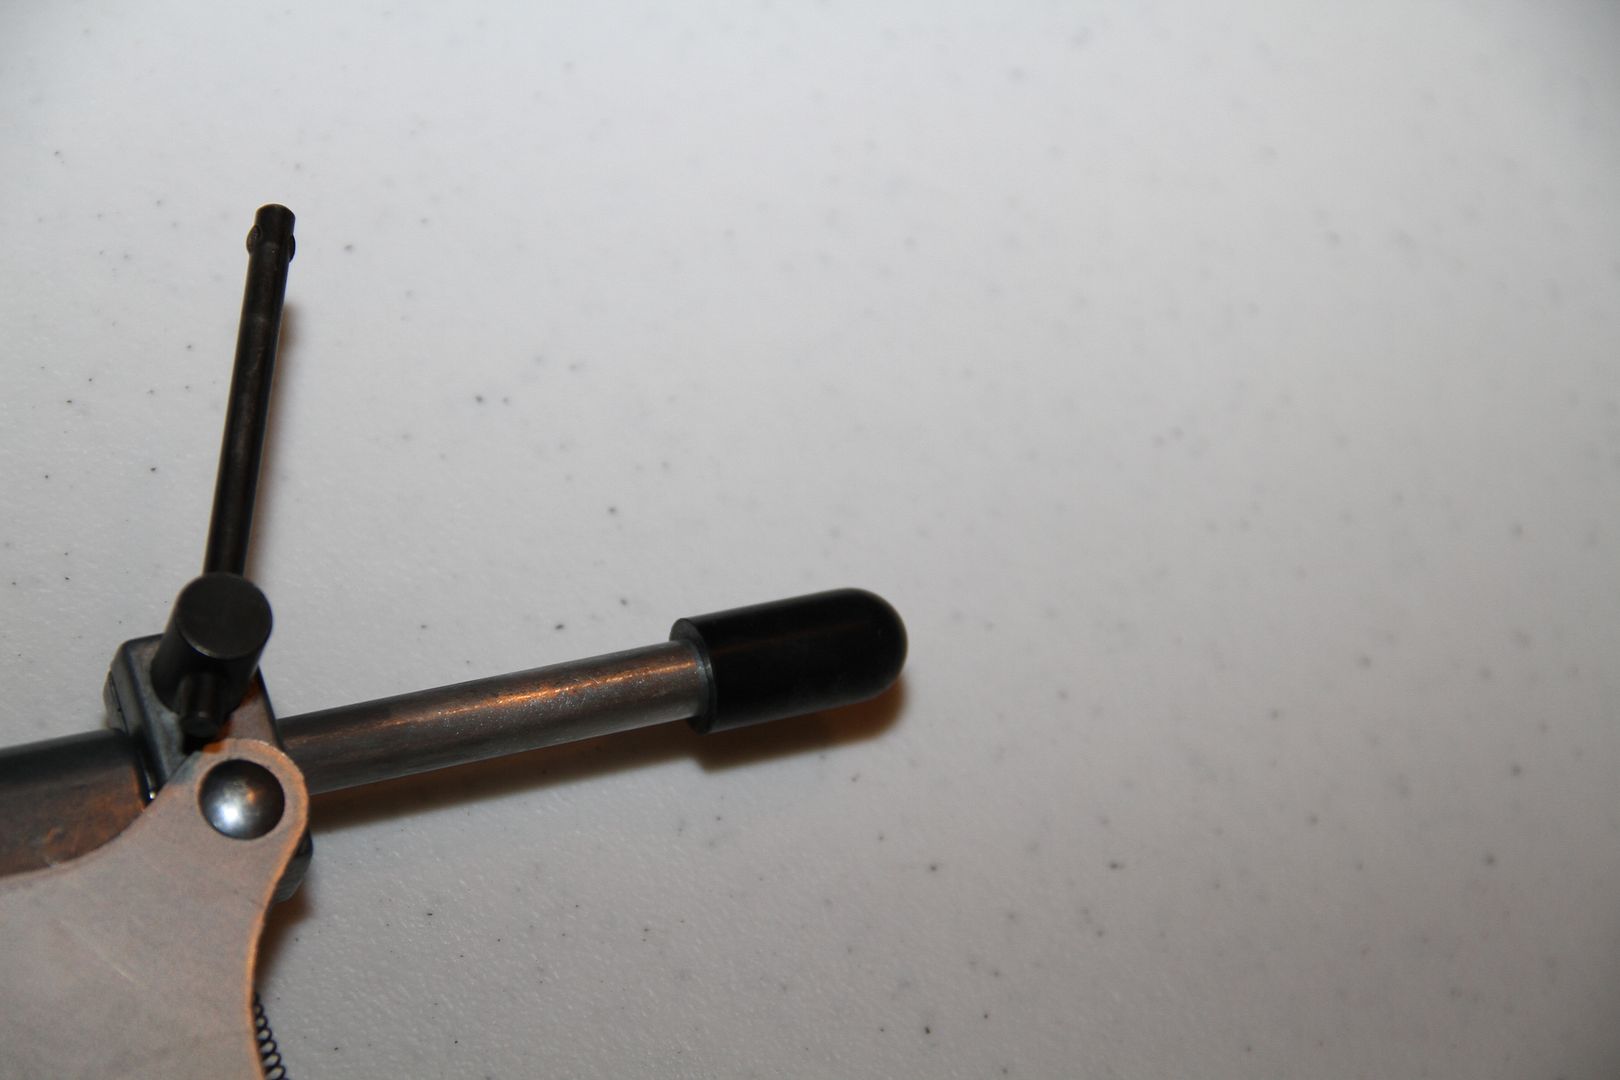
I placed a little rubber cap over the end of the compressor so it would not F up the valves..
Lets do this... Gloves are good
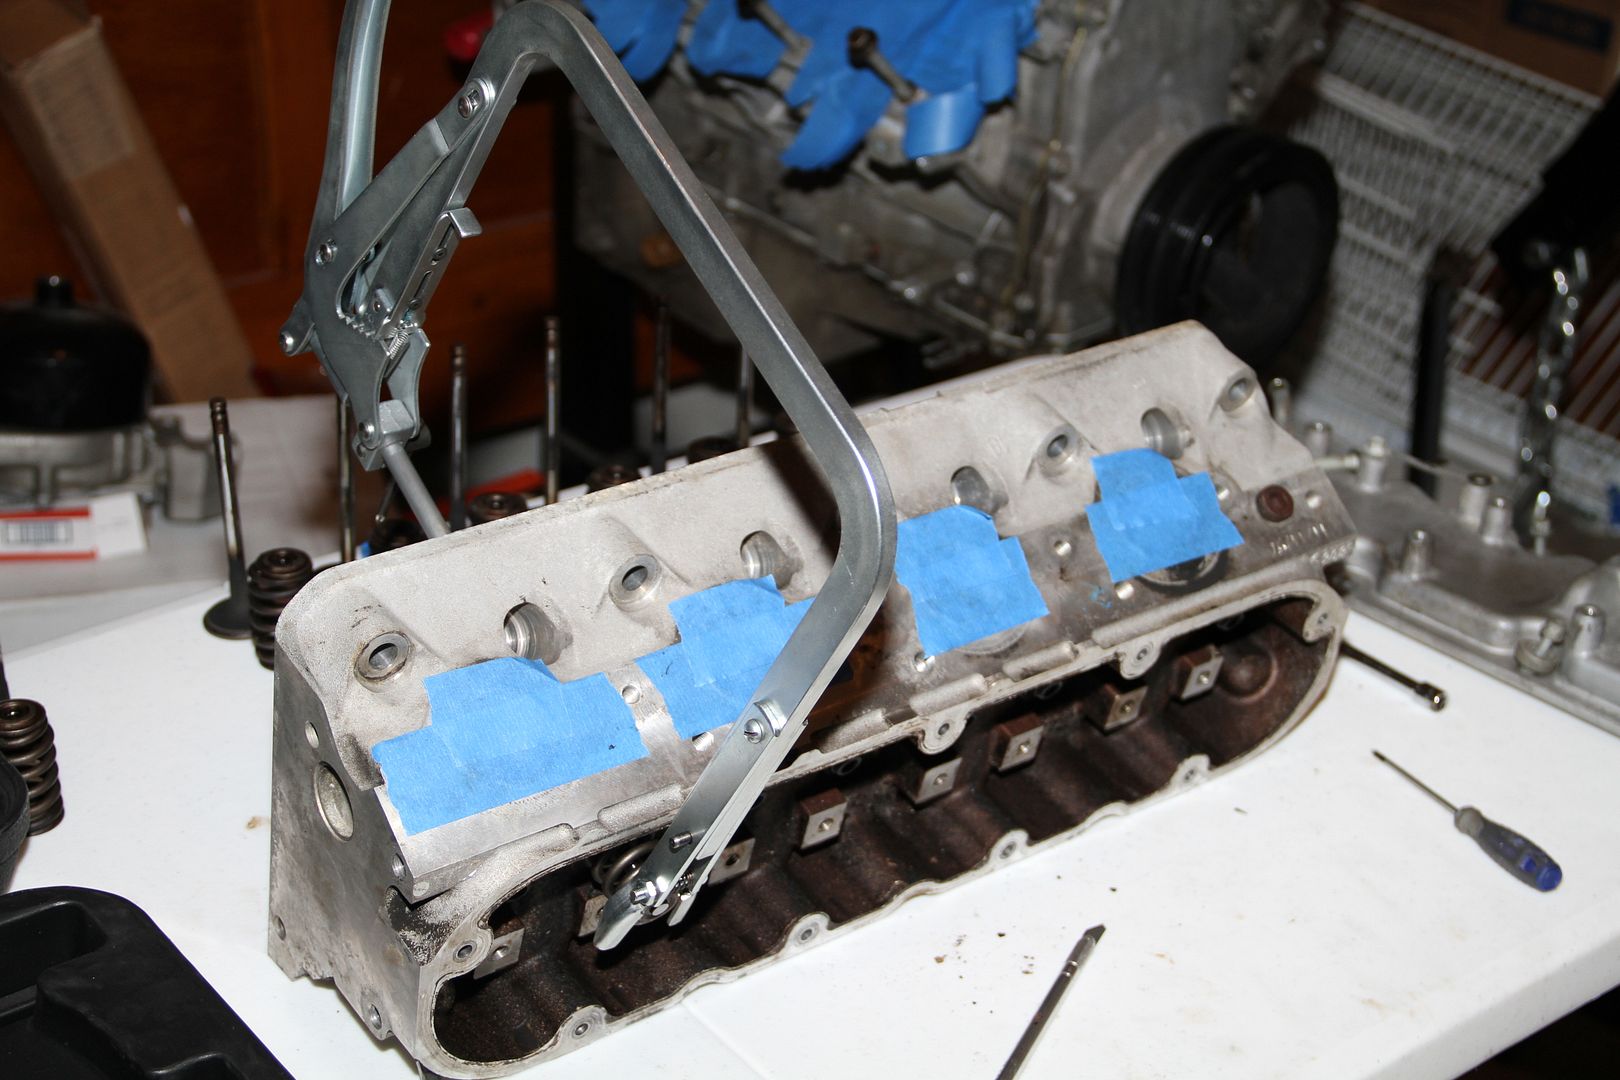
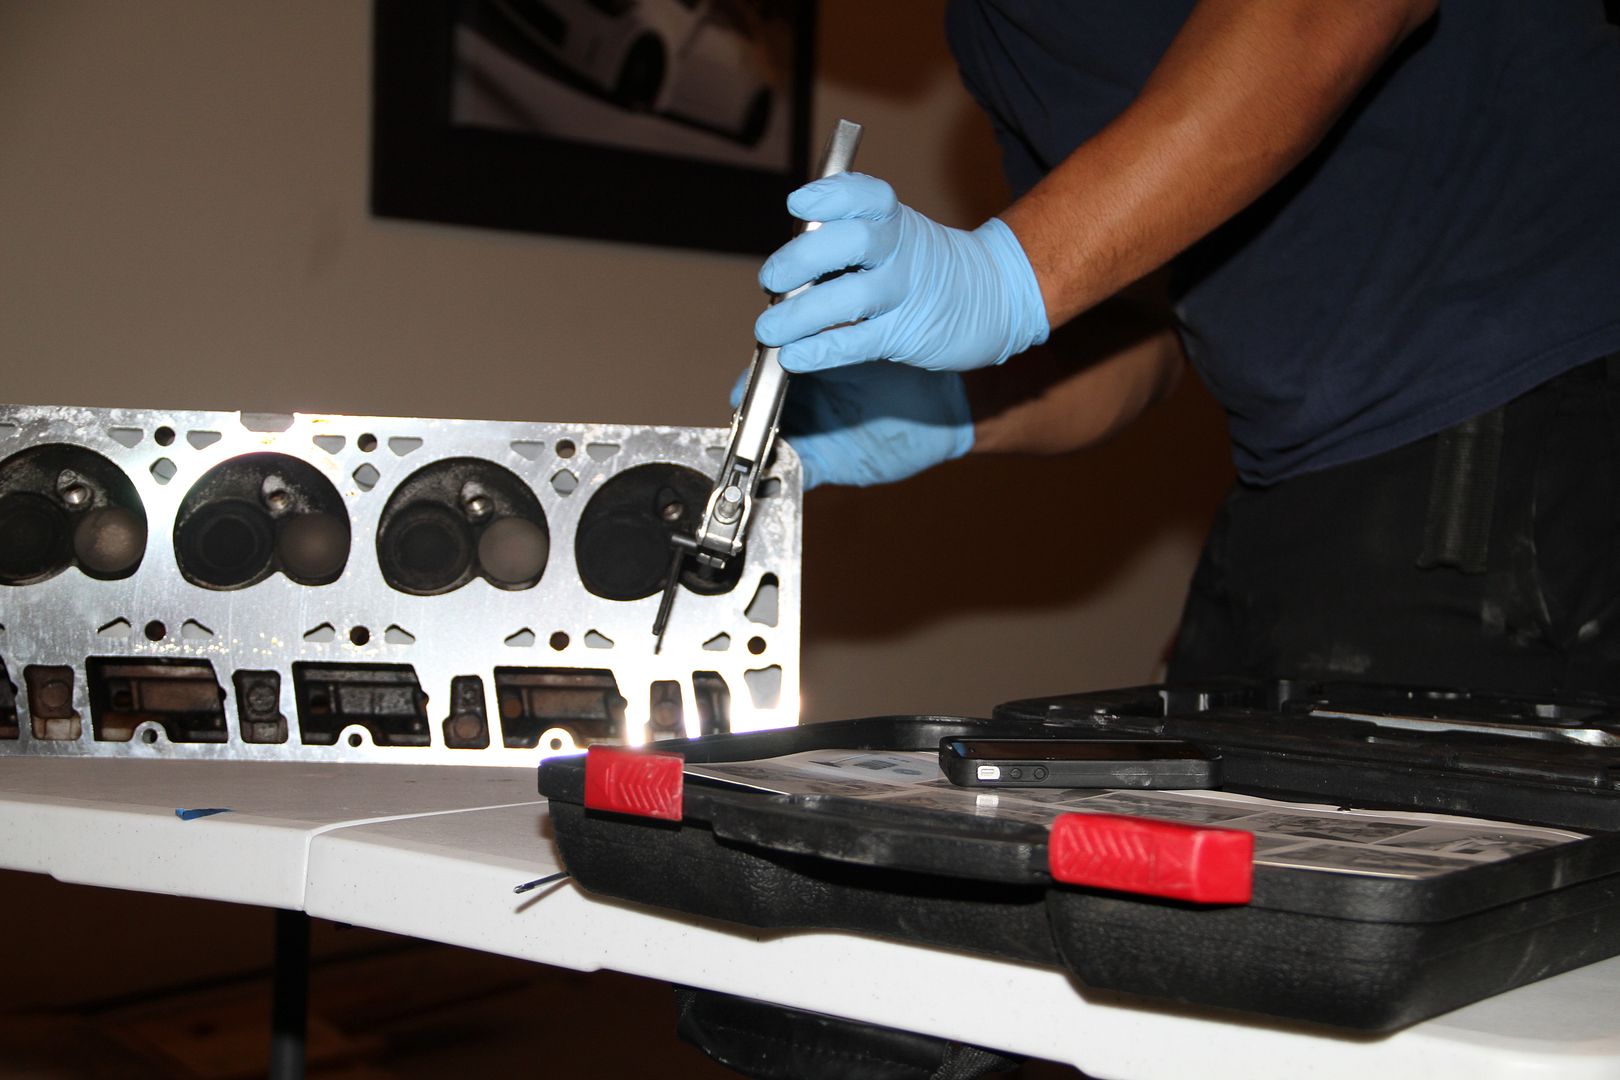
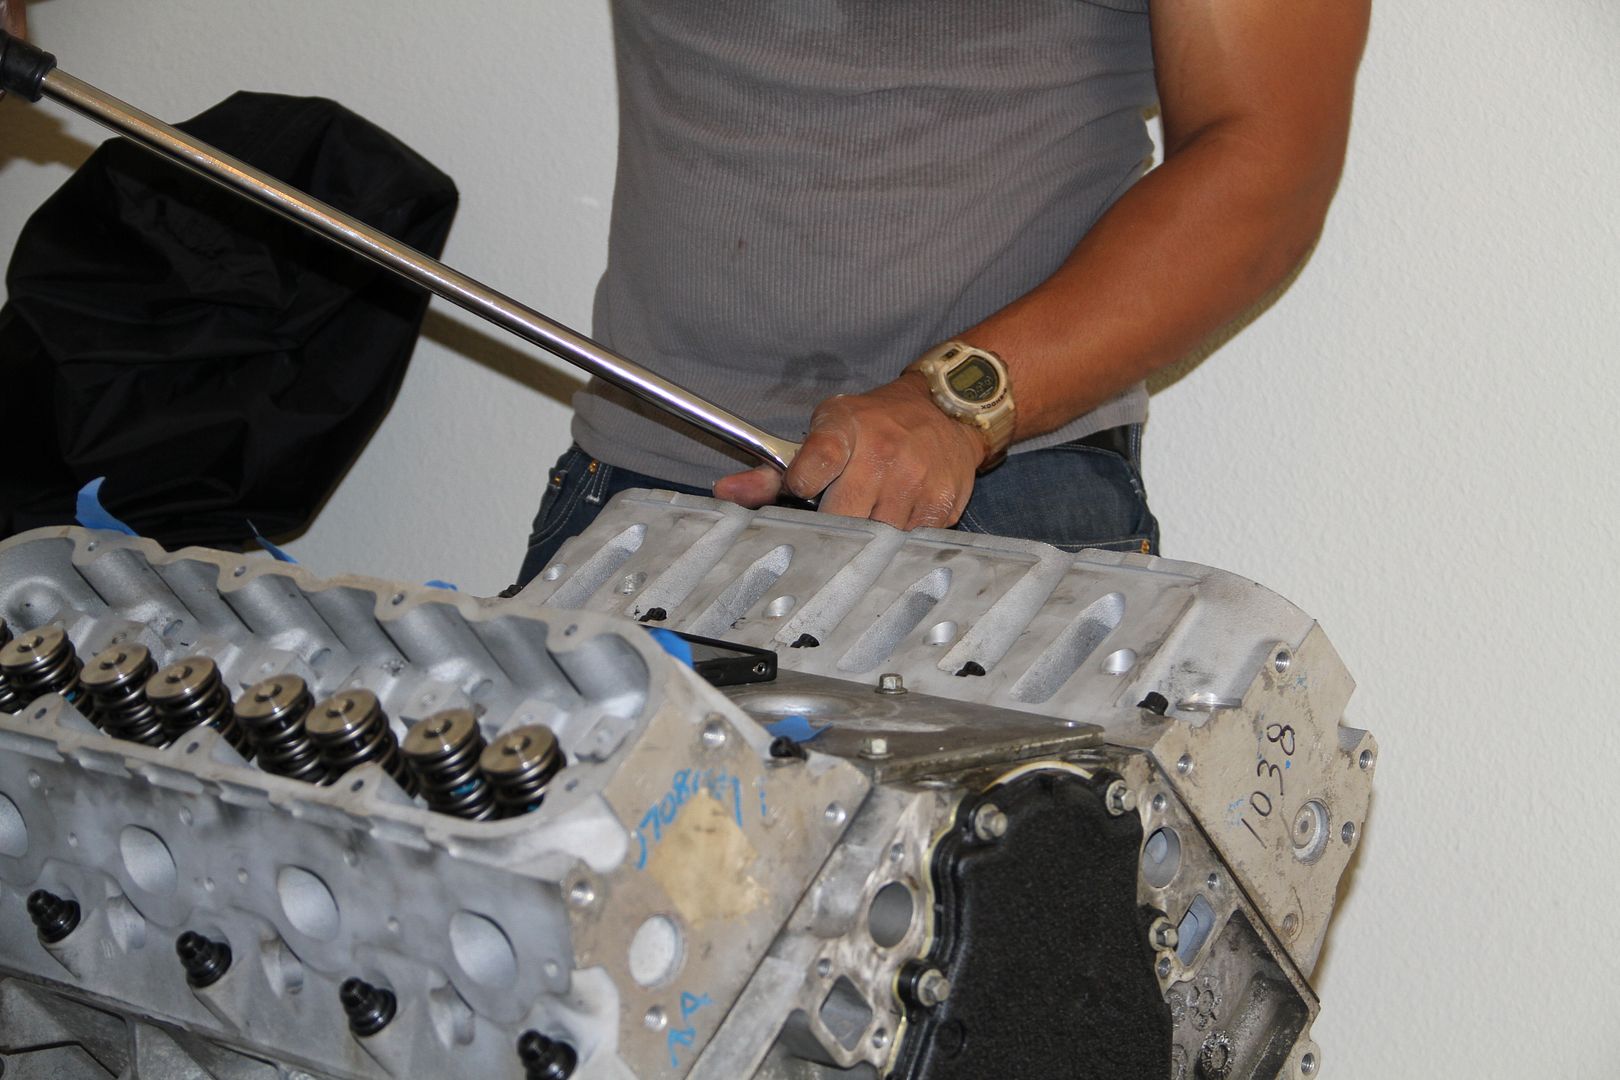
This is how you use this tool for those that don't know. The Heads have to be off the engine to use this tool.
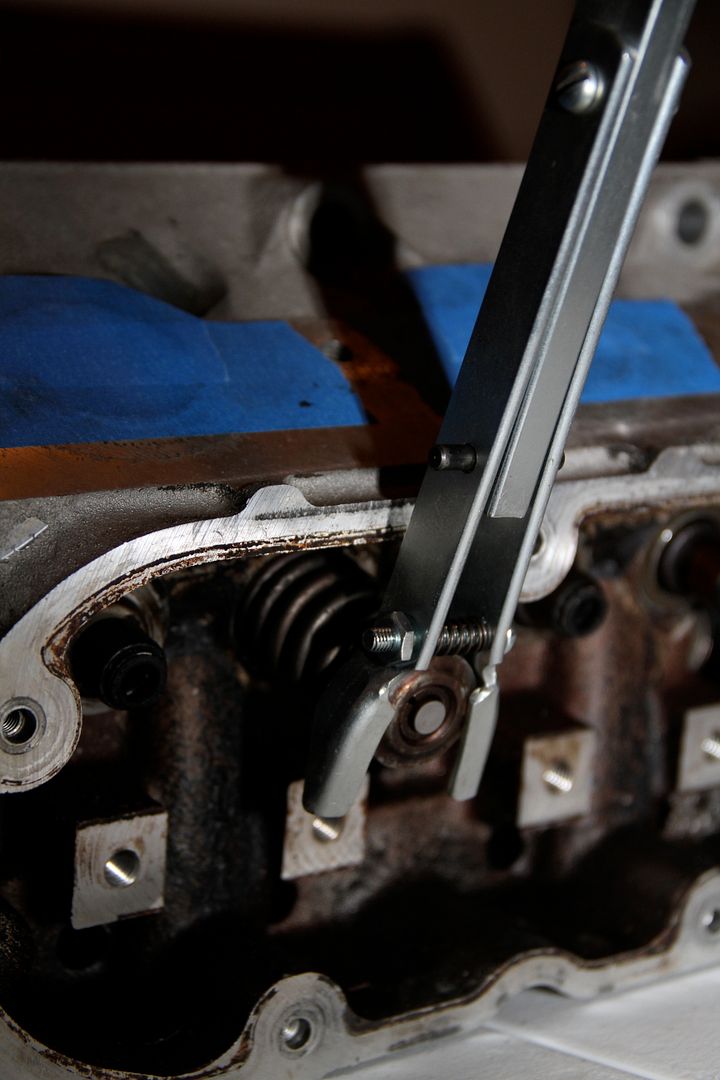
Placement of the tool
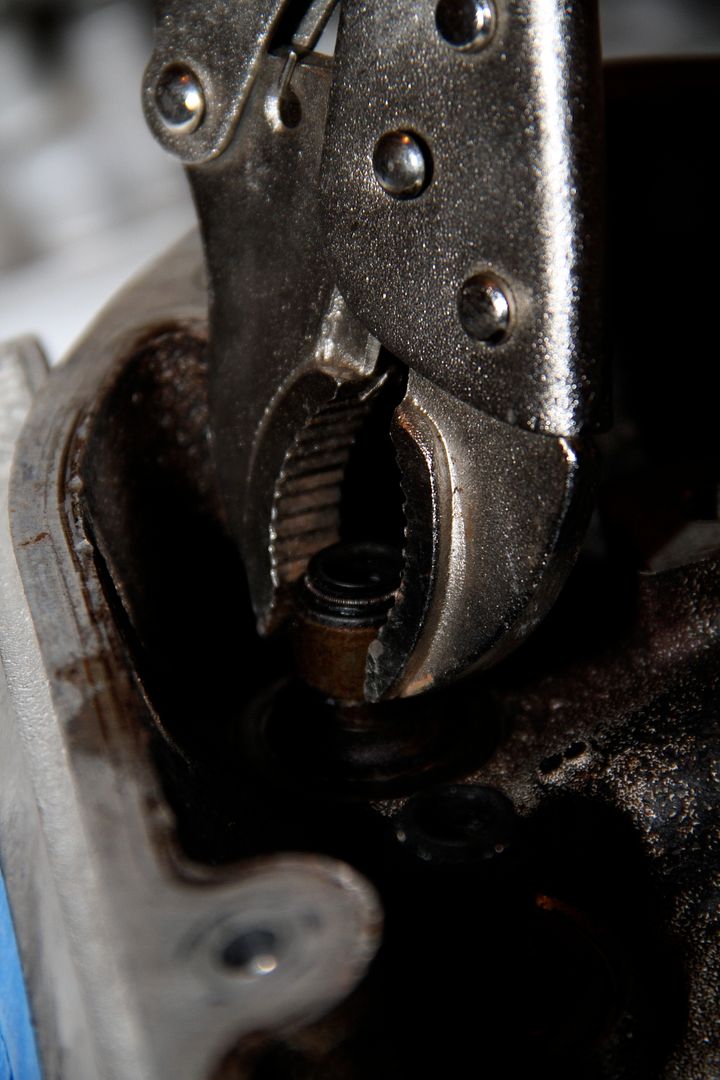
next is getting these damn Valve seals out.. Just use pliers and a lot of force..
Then remove the retainers...
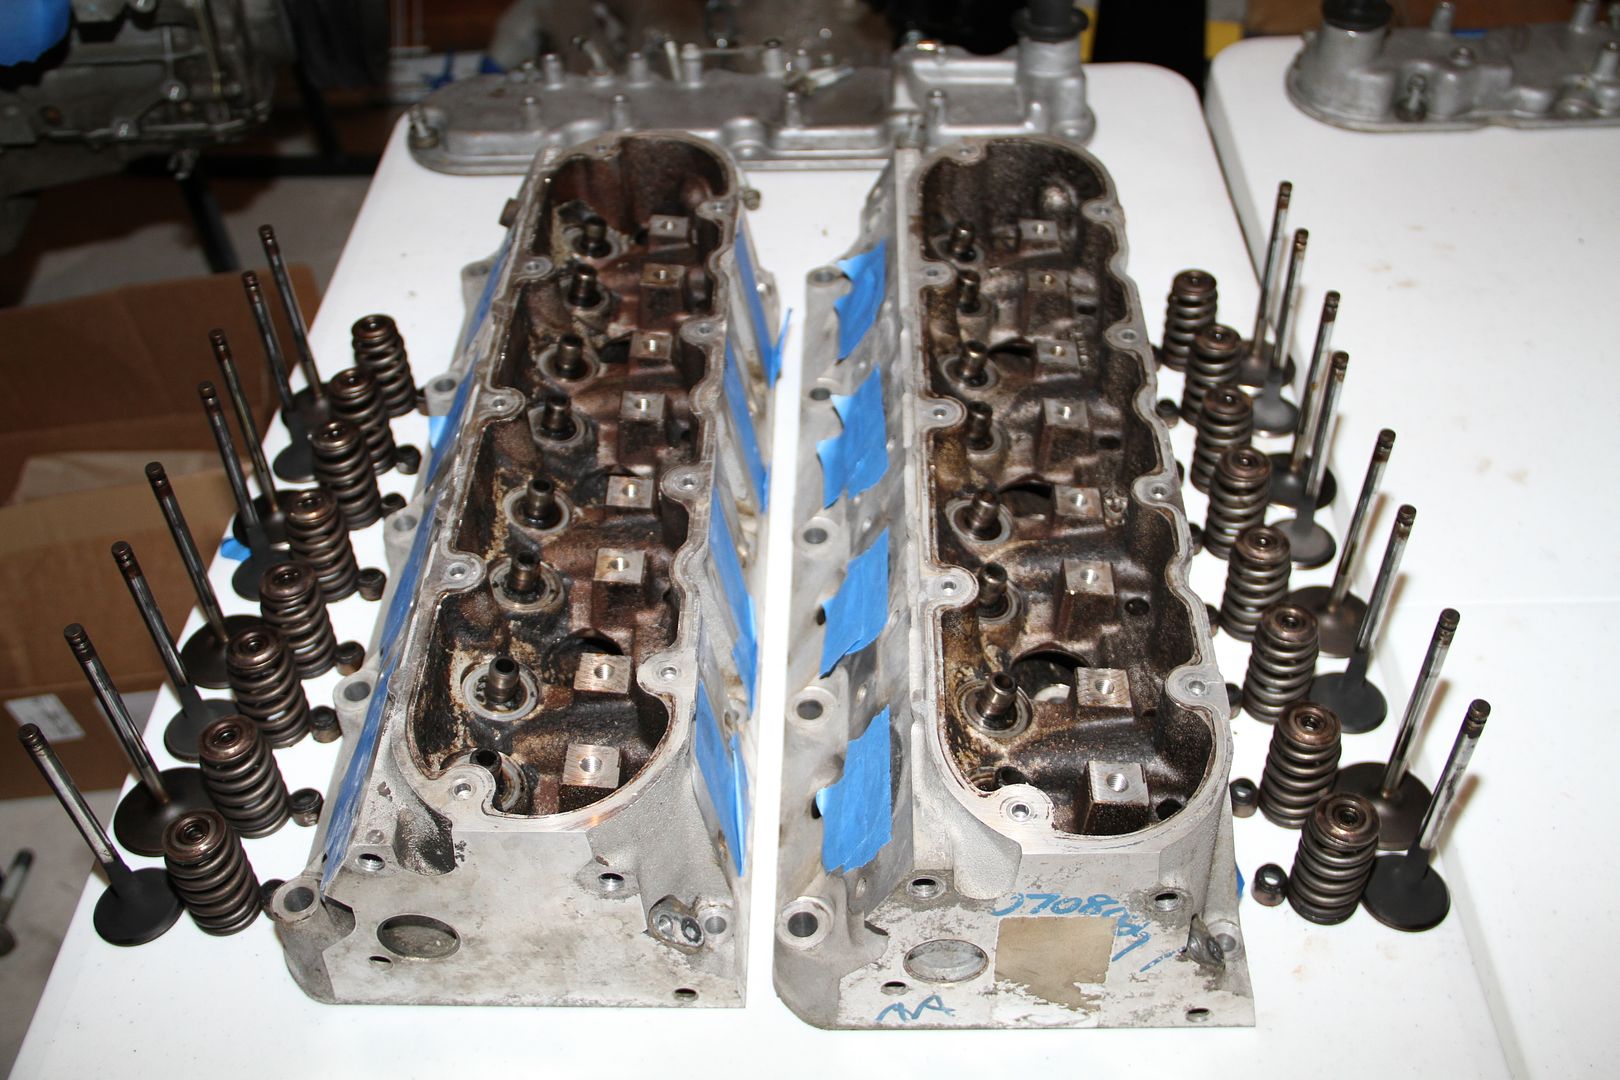
Bam!!! everything is all done and ready to send to machine shop..
......
...
..
.
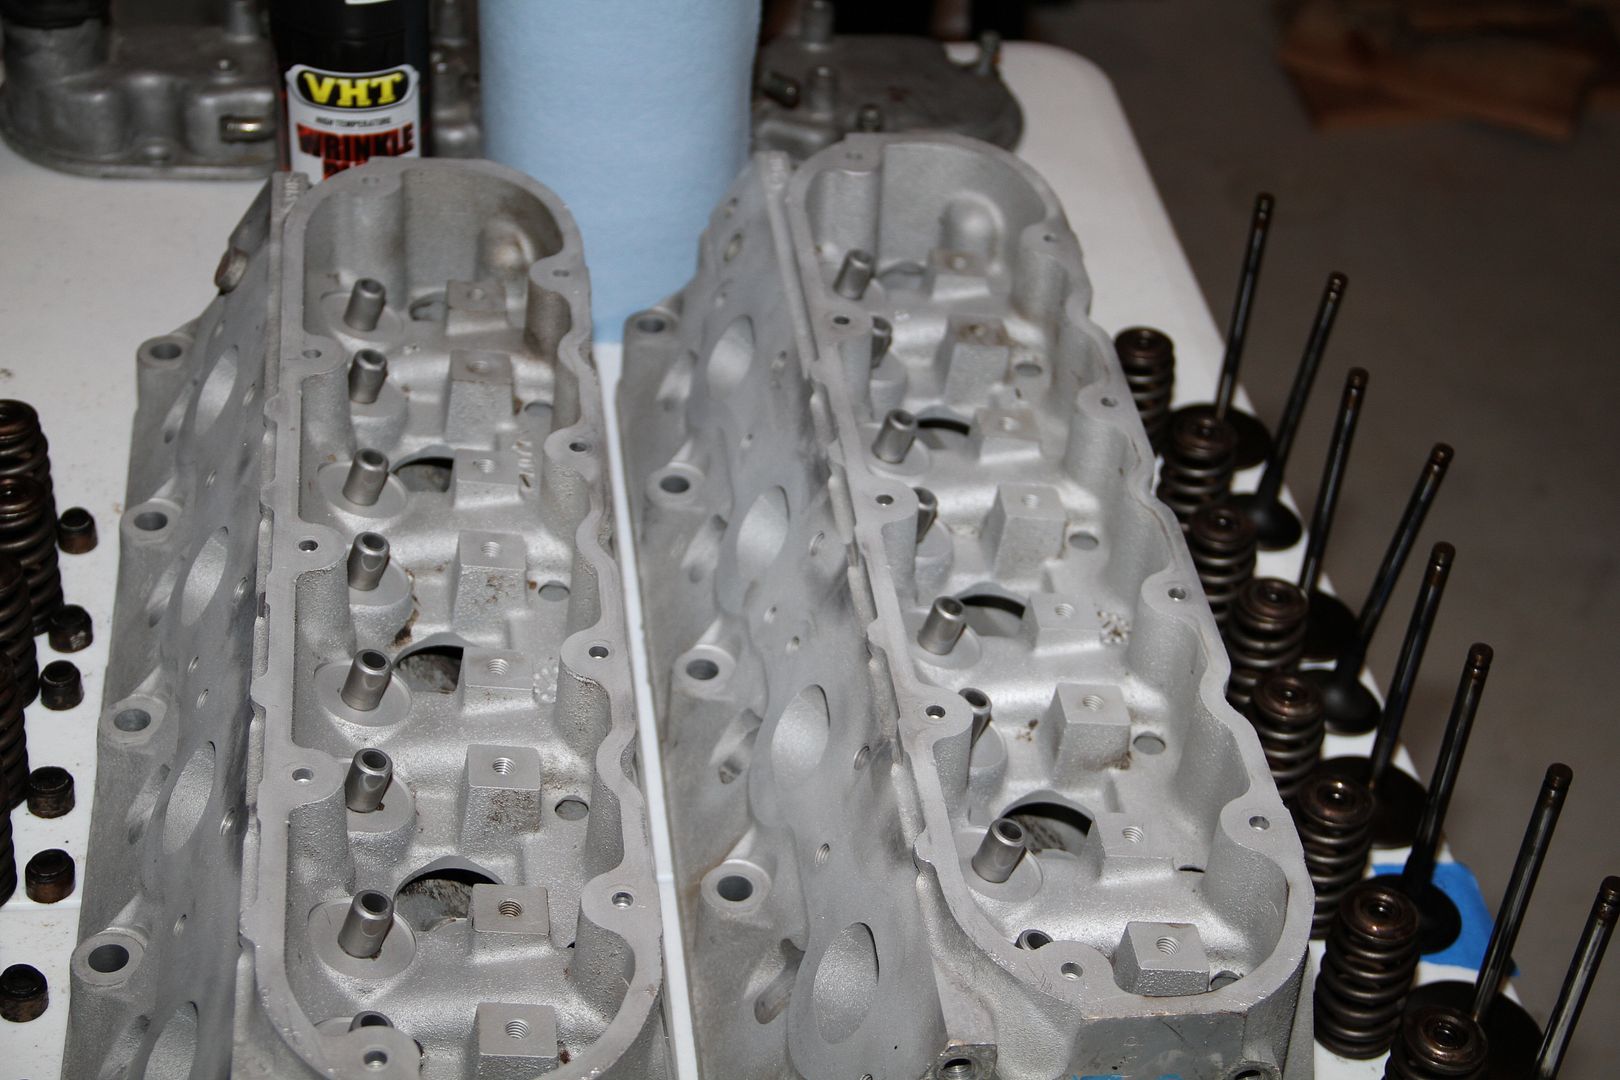
Okay got them back from the machine shop from their bath.. and man does it look so much better.. Price of this service is only $25 a head...
So Build total so far is $1550
Next week: STAGE 1: Phase 2 'Cam/Pulley Install'
Wanted to post this pic here.. Some of you know my car and some of you don't. but it has been through so many wheels/looks its not funny.. But it will not look like this any more and hopefully the last change.....
STAGE 1: Phase 1...'Engine tear down and clean up'
Let's start this with the beer of the week.. One of my Favs 'DogFish Head 90 Min' Good stuff
First thing was the purchase of this LS1 longblock that I got from a member on here.
A little dirty but that will all change. Had 38k on it and the owner had the Bottom end torn down by a local machine shop (to check the condition of it which was great still) and had all the bearings replaced, ls6 oil pump installed, ls2 timing chain, ARP rod bolts.. All this for the price of $1500
In my opinion not a bad purchases since I plan on changing and adding a lot of aftermarket parts..
First thing I saw was this little chip on the crank balancer pulley.. a no go in my book and will get replaced...
Now lets crack open these heads and see what we have.. To do so you will need a 10mm to unbolt all the head bolts.
Nasty, I don't like how dirty they are so I will send these off to the machine shop to get cleaned..
To have the heads ready for the machine shop, I went to Advance Auto parts to rent out there Valve Spring Compressor. This is a free service through them and you guys should def take advantage of it.. Just leave a deposit and you get it back when you return it..
Comes with everything you need to get the job done.. It is kind of like a big *** C clamp
I placed a little rubber cap over the end of the compressor so it would not F up the valves..
Lets do this... Gloves are good
This is how you use this tool for those that don't know. The Heads have to be off the engine to use this tool.
Placement of the tool
next is getting these damn Valve seals out.. Just use pliers and a lot of force..
Then remove the retainers...
Bam!!! everything is all done and ready to send to machine shop..
......
...
..
.
Okay got them back from the machine shop from their bath.. and man does it look so much better.. Price of this service is only $25 a head...
So Build total so far is $1550
Next week: STAGE 1: Phase 2 'Cam/Pulley Install'
 07-31-2011, 10:29 PM
#2
Launching!
Thread Starter
Join Date: Oct 2009
Posts: 218
Likes: 0
Received 0 Likes
on
0 Posts
Okay folks here I am with week 2 update.. I plan on updating every Sunday...
STAGE 1: Phase 2 'Cam/Pulley Install'

Lets start this off with the Beer of the week.. We have here folks 'Mississippi Mud' Its a Black & Tan beer which has a little kick to it.. I also love the bottle it comes in, makes me feel like I should be sitting on a porch throwing meat to alligators..lol

Okay what I am installing today is a MS4 Cam from Texas Speed Shop and a ASP Harmonic Balancer. Now I bought the the Texas Speed Shop Camshaft package that comes with a Texas Speed Hardened Chromoly Pushrods and Dual Valve Sprigs.. I will install those later..
MS4 CamShaft Package = $699.99
ASP Harmonic Balancer = $214.99

Okay lets get started on removing the old stuff. First on the list is the balancer. You will need a 1" socket to remove the bolt that holds it in place..

A braker bar is a must when it comes to taking off this damn bolt..

Again Advance Auto Parts come in handing when I needed to rent a tool.. I went there to pick up a Pulley puller. This tool is a must and really the only way you can actually get this dang pulley off the engine.

Tool set up...

The claw hooks grab the pulley and pulls it away from the engine.. As you begin to tightening the bolt it starts to get harder and harder to do.

That is when a pole comes in handy...lol

You know you are doing it right when you start to see silver from behind the pulley.

Just to give you an idea of the size difference between the ASP pulley and OEM pulley.. ASP gives you around a 15% more power, every bet counts..

Next we can remove the timing chain cover.. This requires you to use a 10mm,, really easy..

Bam!!, look at the LS6 oil pump and LS2 timing chain... Good stuff..

Now we can remove the timing chain sprocket, Unbolt the 3 cam gear bolts and remove the gear, letting the chain droop down into the oil pan for now

Next is the retainer plate

Next you'll see a black/brown cam retainer plate behind the gear, held on by 4 10mm bolts. Unbolt and remove this too.

remove, the bolts..

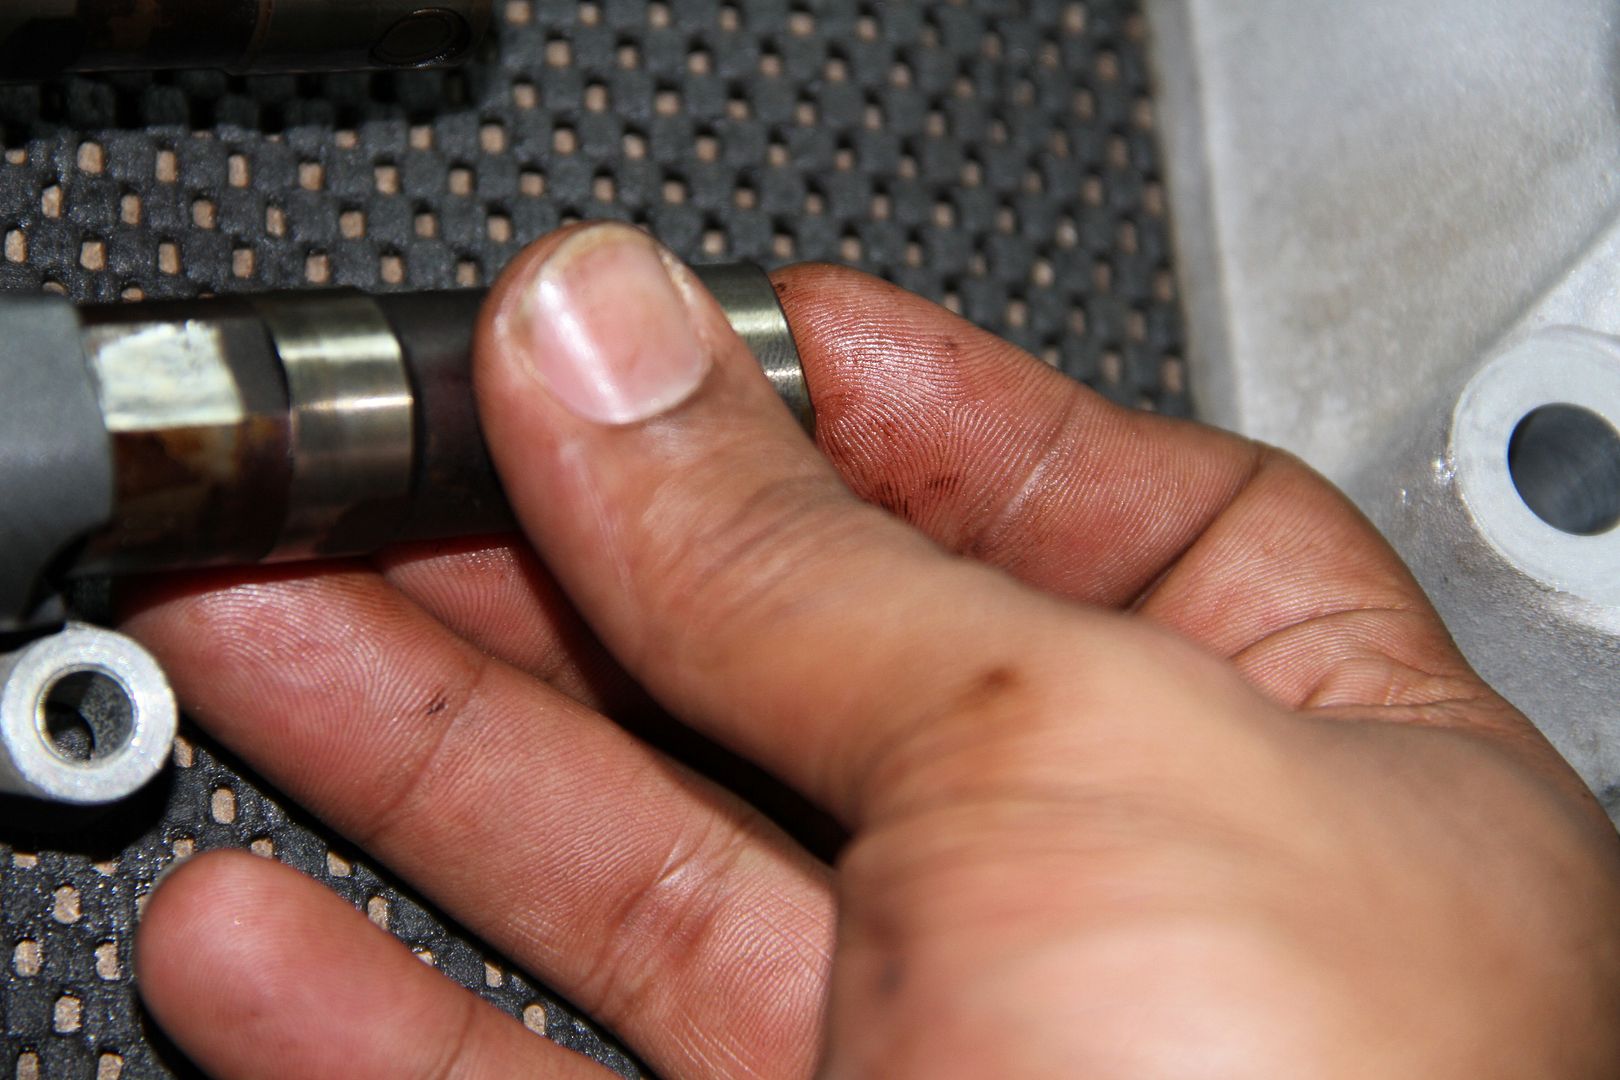
Out with the old cam....

And in with the new.. The MS4 cam is a 239/242 .649"/.609" Camshaft.... Oh yeah...

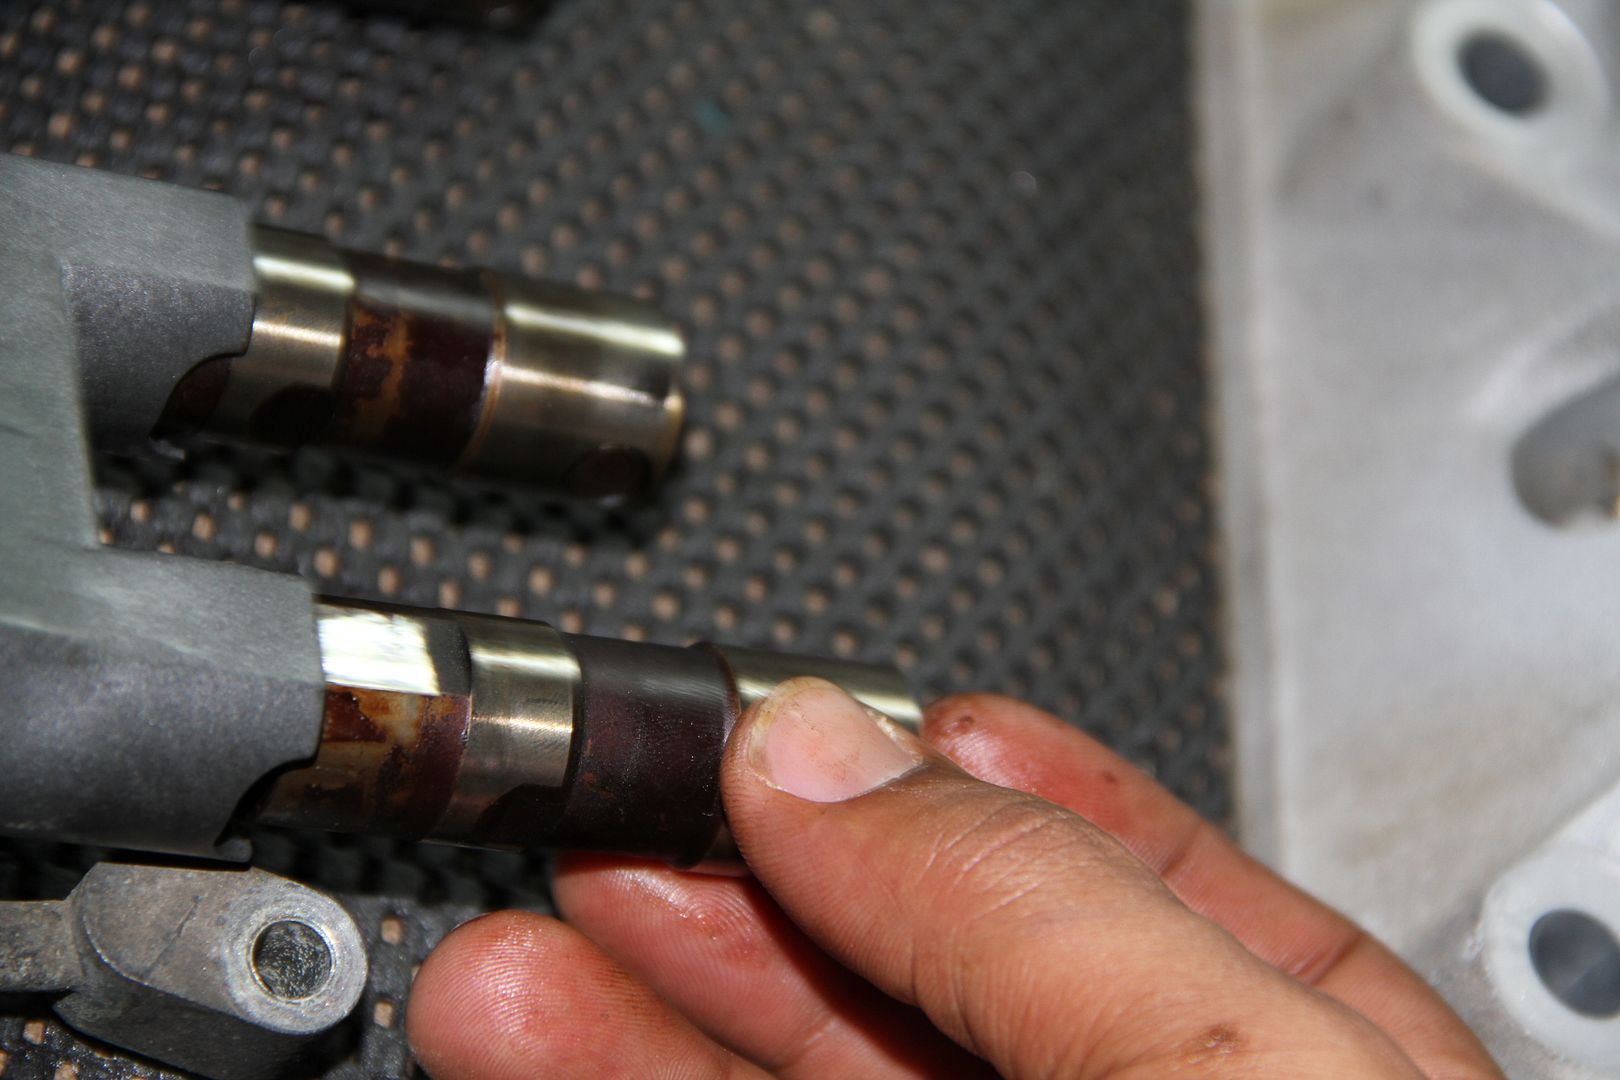
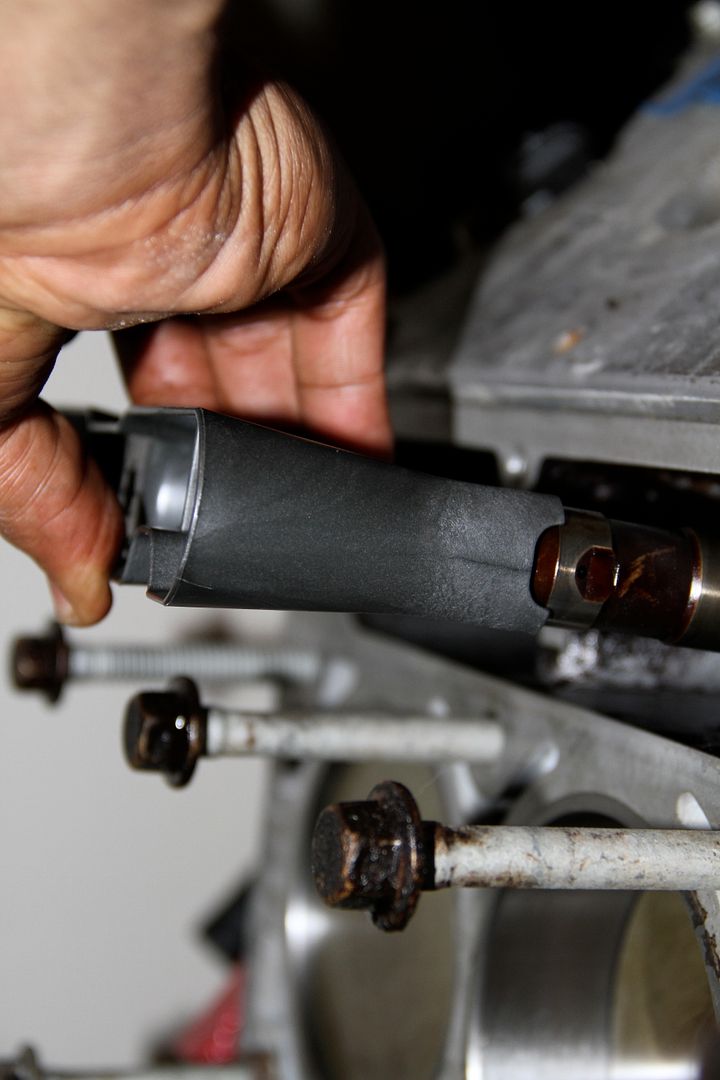
Now it is time to prep the new cam for install. Coat the whole thing with fresh motor oil, and transfer your 3 camgear bolts (or waterpump bolts if you were using those) to the end of the new cam so again you have a handle to grip onto.

Now take your time installing the new cam, and keep on coating the cam with fresh oil as you go..

Almost done,, the 3 camgear bolts come in handy towards the end when you don't have nothing to grab onto,, so def do this..

Once in, re-install the cam retainer plate and its 4 10mm bolts. I usually put some locktite on the 4 bolts and the GM torque spec on them is 18lbft.

Then install the timing gear, and torque spec on these is 18lbft as well.

Now since the timing chain cover was off, I decided to spice it up some.. So I painted it a black crinkle. I think it turned out great.

Now for the time being I used the OEM balancer bolt to install the new ASP balancer. Now the Crankshaft Balancer Bolt (Installation Pass-to Ensure the Balancer is Completely Installed) needs to be torqued to 240lbft. And then remove bolt and replace with an ARP balancer bolt and torque to 37lbft. I will do this later once tranny is installed.
Well hope you enjoyed this weeks post...
Total spent: $2,464.98
STAGE 1: Phase 3 'rocker arms/valve springs/ head Install'
STAGE 1: Phase 2 'Cam/Pulley Install'
Lets start this off with the Beer of the week.. We have here folks 'Mississippi Mud' Its a Black & Tan beer which has a little kick to it.. I also love the bottle it comes in, makes me feel like I should be sitting on a porch throwing meat to alligators..lol
Okay what I am installing today is a MS4 Cam from Texas Speed Shop and a ASP Harmonic Balancer. Now I bought the the Texas Speed Shop Camshaft package that comes with a Texas Speed Hardened Chromoly Pushrods and Dual Valve Sprigs.. I will install those later..
MS4 CamShaft Package = $699.99
ASP Harmonic Balancer = $214.99
Okay lets get started on removing the old stuff. First on the list is the balancer. You will need a 1" socket to remove the bolt that holds it in place..
A braker bar is a must when it comes to taking off this damn bolt..
Again Advance Auto Parts come in handing when I needed to rent a tool.. I went there to pick up a Pulley puller. This tool is a must and really the only way you can actually get this dang pulley off the engine.
Tool set up...
The claw hooks grab the pulley and pulls it away from the engine.. As you begin to tightening the bolt it starts to get harder and harder to do.
That is when a pole comes in handy...lol
You know you are doing it right when you start to see silver from behind the pulley.
Just to give you an idea of the size difference between the ASP pulley and OEM pulley.. ASP gives you around a 15% more power, every bet counts..
Next we can remove the timing chain cover.. This requires you to use a 10mm,, really easy..
Bam!!, look at the LS6 oil pump and LS2 timing chain... Good stuff..
Now we can remove the timing chain sprocket, Unbolt the 3 cam gear bolts and remove the gear, letting the chain droop down into the oil pan for now
Next is the retainer plate
Next you'll see a black/brown cam retainer plate behind the gear, held on by 4 10mm bolts. Unbolt and remove this too.
remove, the bolts..
Out with the old cam....
And in with the new.. The MS4 cam is a 239/242 .649"/.609" Camshaft.... Oh yeah...
Now it is time to prep the new cam for install. Coat the whole thing with fresh motor oil, and transfer your 3 camgear bolts (or waterpump bolts if you were using those) to the end of the new cam so again you have a handle to grip onto.
Now take your time installing the new cam, and keep on coating the cam with fresh oil as you go..
Almost done,, the 3 camgear bolts come in handy towards the end when you don't have nothing to grab onto,, so def do this..
Once in, re-install the cam retainer plate and its 4 10mm bolts. I usually put some locktite on the 4 bolts and the GM torque spec on them is 18lbft.
Then install the timing gear, and torque spec on these is 18lbft as well.
Now since the timing chain cover was off, I decided to spice it up some.. So I painted it a black crinkle. I think it turned out great.
Now for the time being I used the OEM balancer bolt to install the new ASP balancer. Now the Crankshaft Balancer Bolt (Installation Pass-to Ensure the Balancer is Completely Installed) needs to be torqued to 240lbft. And then remove bolt and replace with an ARP balancer bolt and torque to 37lbft. I will do this later once tranny is installed.
Well hope you enjoyed this weeks post...
Total spent: $2,464.98
STAGE 1: Phase 3 'rocker arms/valve springs/ head Install'
07-31-2011, 11:29 PM
#3
TECH Fanatic
iTrader: (2)

Join Date: Nov 2007
Location: Newport, RI
Posts: 1,406
Likes: 0
Received 0 Likes
on
0 Posts
Excellent writeup!! I'll be following this one closely. I don't plan doing any work like this to my LS1any time soon, but I like to know what's involved, and the detailed pics and description are a great help.
 08-01-2011, 04:41 PM
#6
Launching!
Thread Starter
Join Date: Oct 2009
Posts: 218
Likes: 0
Received 0 Likes
on
0 Posts
Dont know if you have figured out wiring or not but the company that i work for makes harnesses for this exact swap! If you check out my LSX build thread for my LQ9 swapped g35 sedan there are plenty of pictures of the harness. No cutting and splicing done and everything we use is 100% brand new.
If you have any questions or need anything else let me know.
Thanks,
-Logan
Logan@chasebays.com
205-623-2188 ext.1
Add us on Facebook
www.facebook.com/chasebayspage
If you have any questions or need anything else let me know.
Thanks,
-Logan
Logan@chasebays.com
205-623-2188 ext.1
Add us on Facebook
www.facebook.com/chasebayspage
Funny you mention them.. I have been talking to chasebays for a min about their harness and I am going to use there's but having them add on additional relays, and then pairing it up with a Speed Wire switch panel.. Thanks
Yup I am def going to degree the Cam, but going to have some one come over that has more knowledge in that..
Trending Topics
08-02-2011, 11:24 PM
#8
Launching!
Thread Starter
Join Date: Oct 2009
Posts: 218
Likes: 0
Received 0 Likes
on
0 Posts
Anyways,, since it is about to be hump day (Wednesday for people that don't know). I had to get a workbench cause working on fold out tables is not cutting it for me...lol
I also cleaned up the garage just a little..
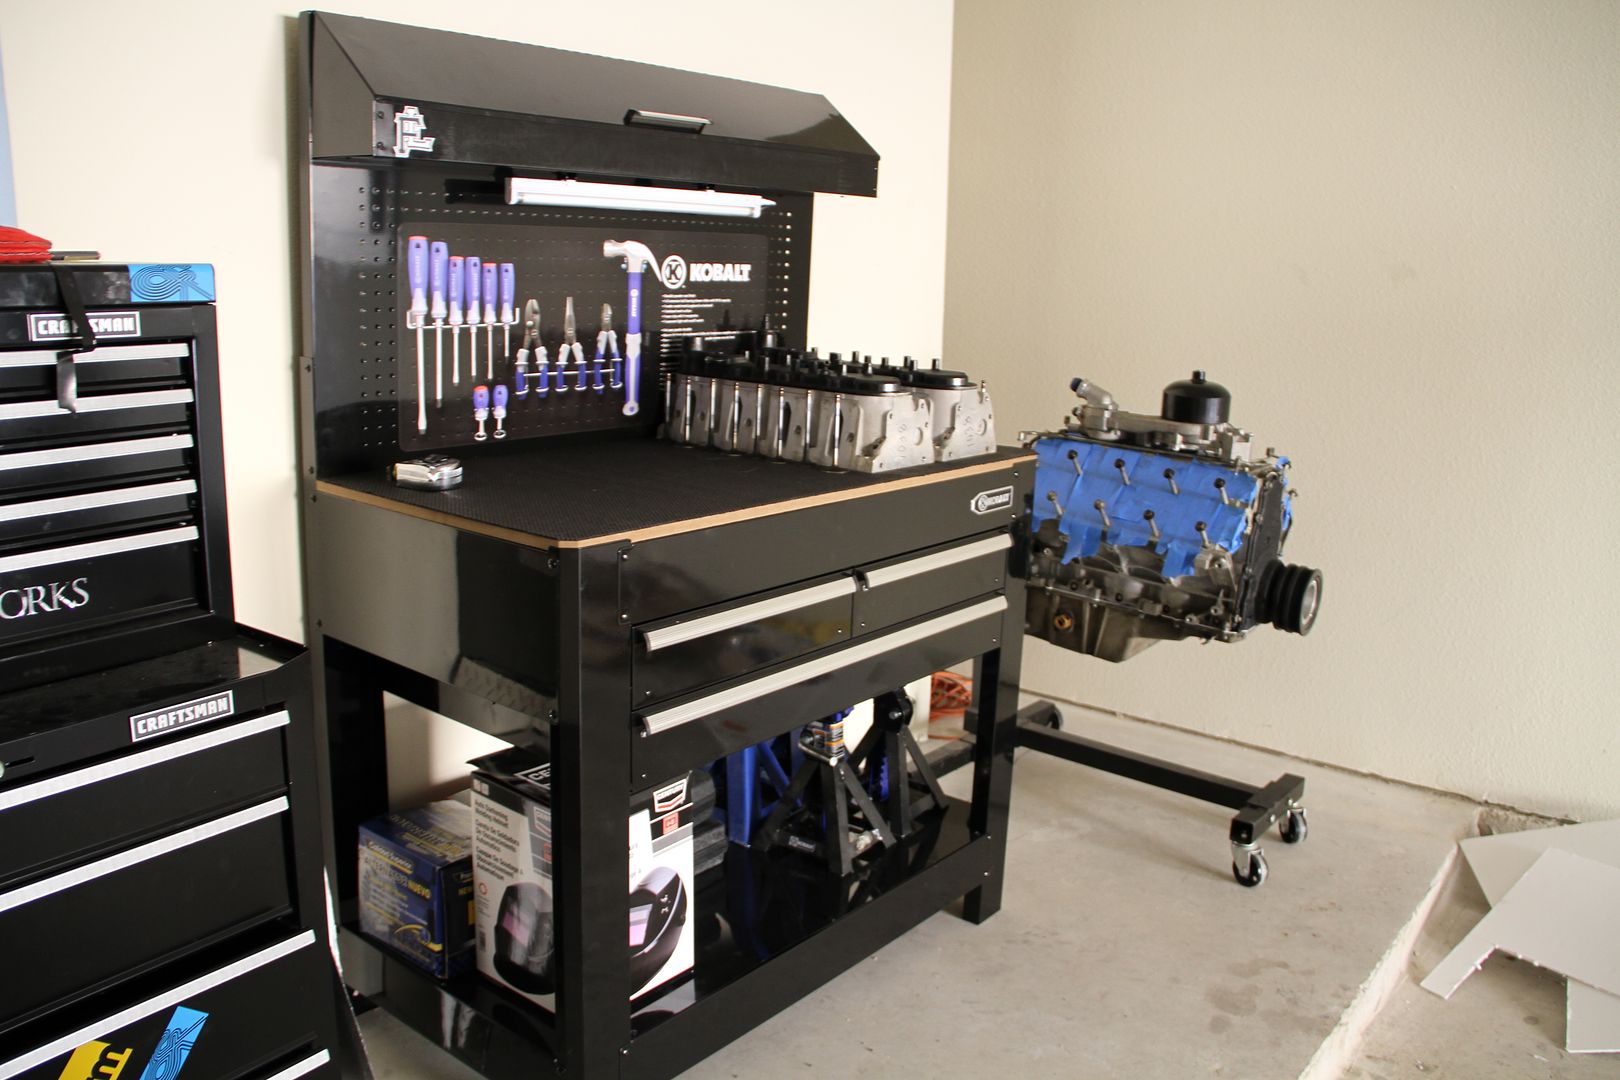
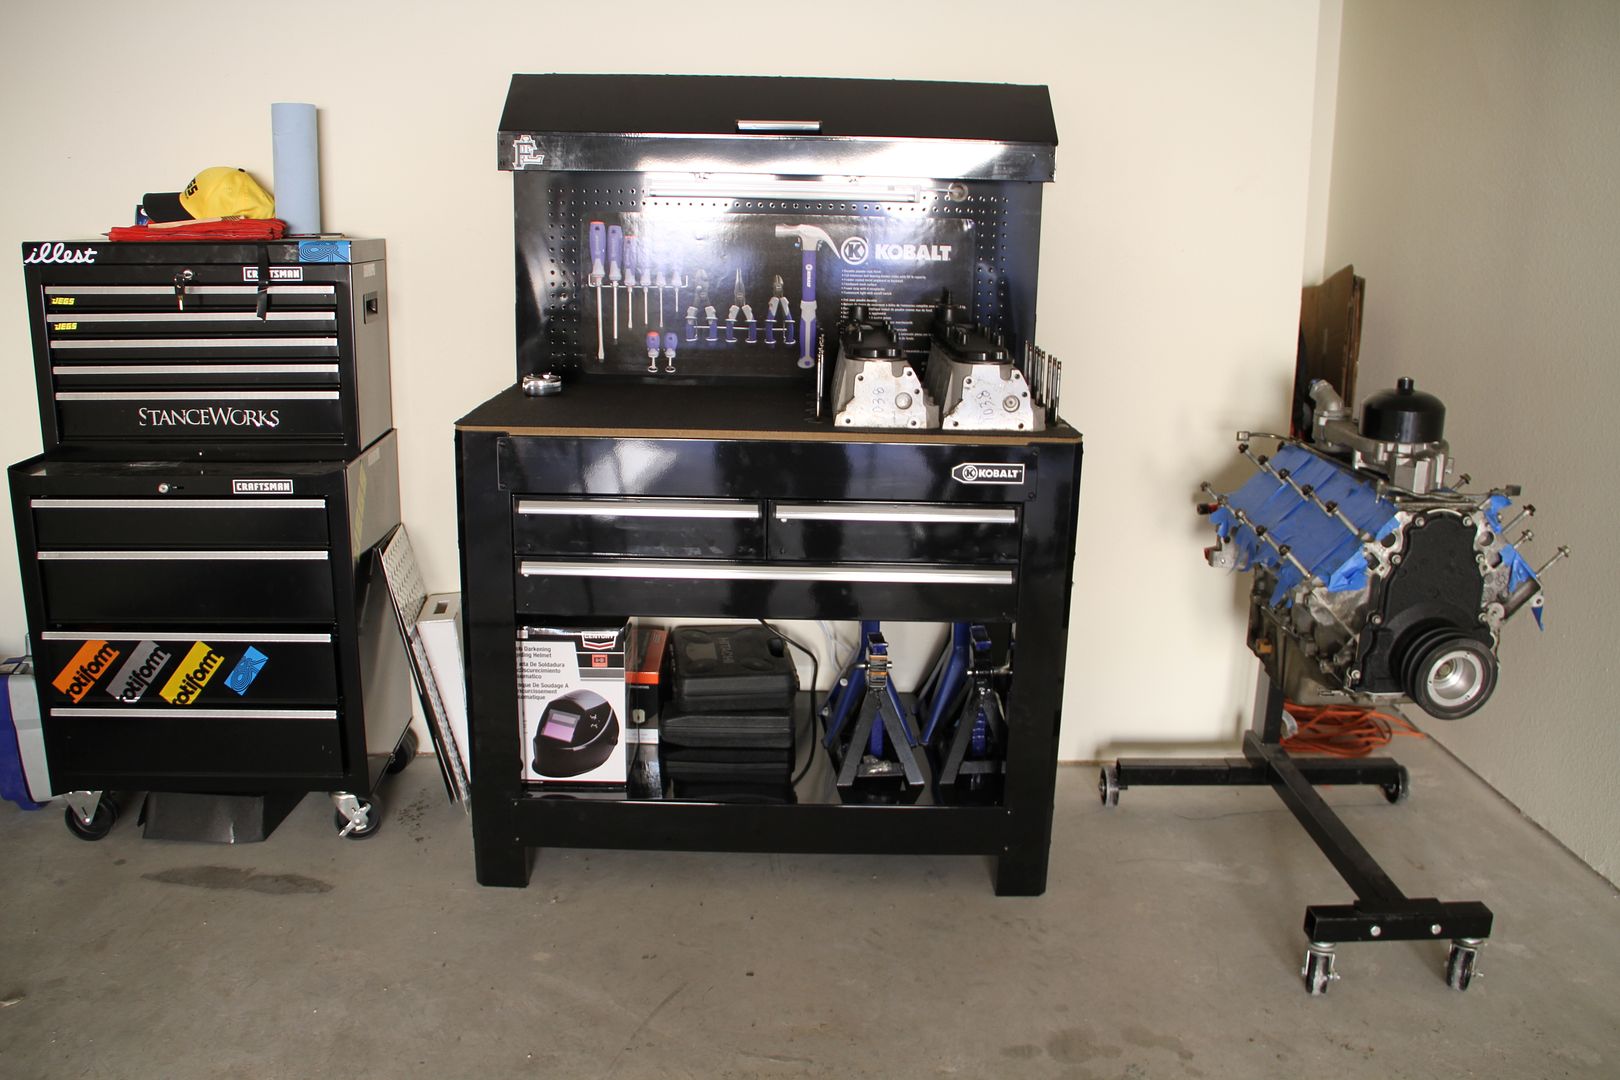
I might update little pics from time to time, during the week if something comes up that need to be posted.. Like little treats for you guys.. lol
Tell next week enjoy.
I also cleaned up the garage just a little..
I might update little pics from time to time, during the week if something comes up that need to be posted.. Like little treats for you guys.. lol
Tell next week enjoy.
08-03-2011, 11:31 AM
#11
Launching!
Thread Starter
Join Date: Oct 2009
Posts: 218
Likes: 0
Received 0 Likes
on
0 Posts
Thanks for the kind words... Yeah I love photography
 08-03-2011, 03:01 PM
#14
Launching!
Thread Starter
Join Date: Oct 2009
Posts: 218
Likes: 0
Received 0 Likes
on
0 Posts
08-08-2011, 12:25 AM
#15
Launching!
Thread Starter
Join Date: Oct 2009
Posts: 218
Likes: 0
Received 0 Likes
on
0 Posts
STAGE 1: Phase 3 'rocker arms/valve springs/ head Install'
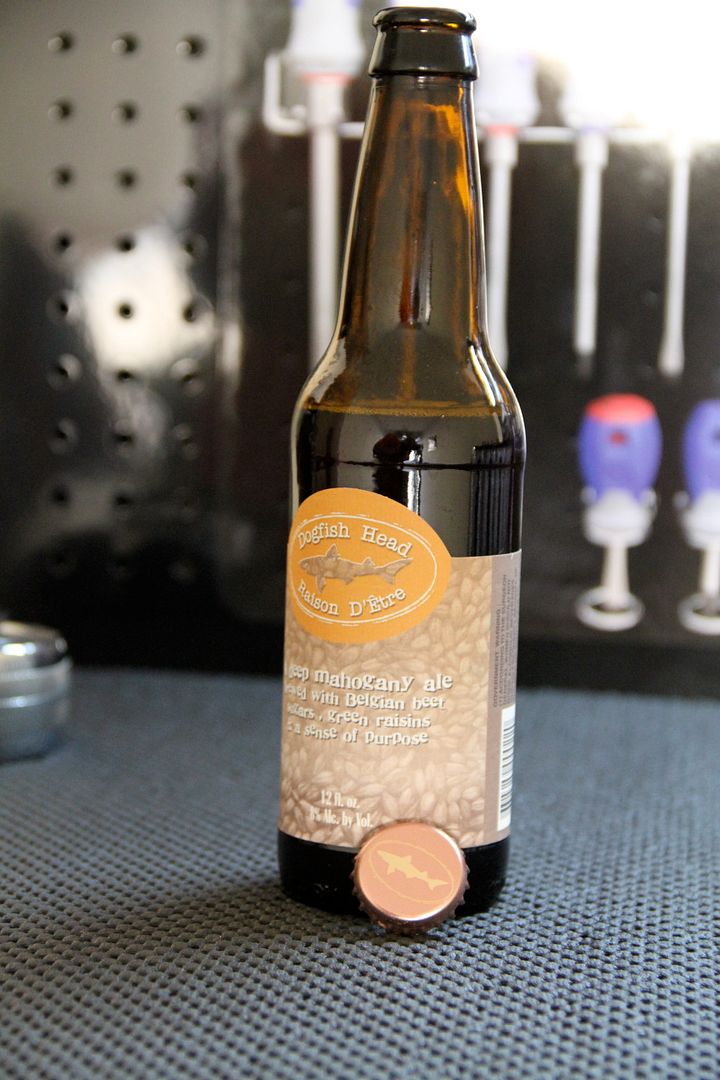
Beer of choice this week is DogFish Head again but their Raison D'Etre. A deep, mahogany Belgian-style brown ale brewed with beet sugar, raisins, and Belgian-style yeast.
Man I just love the after taste of this beer, def a good summer time beer..
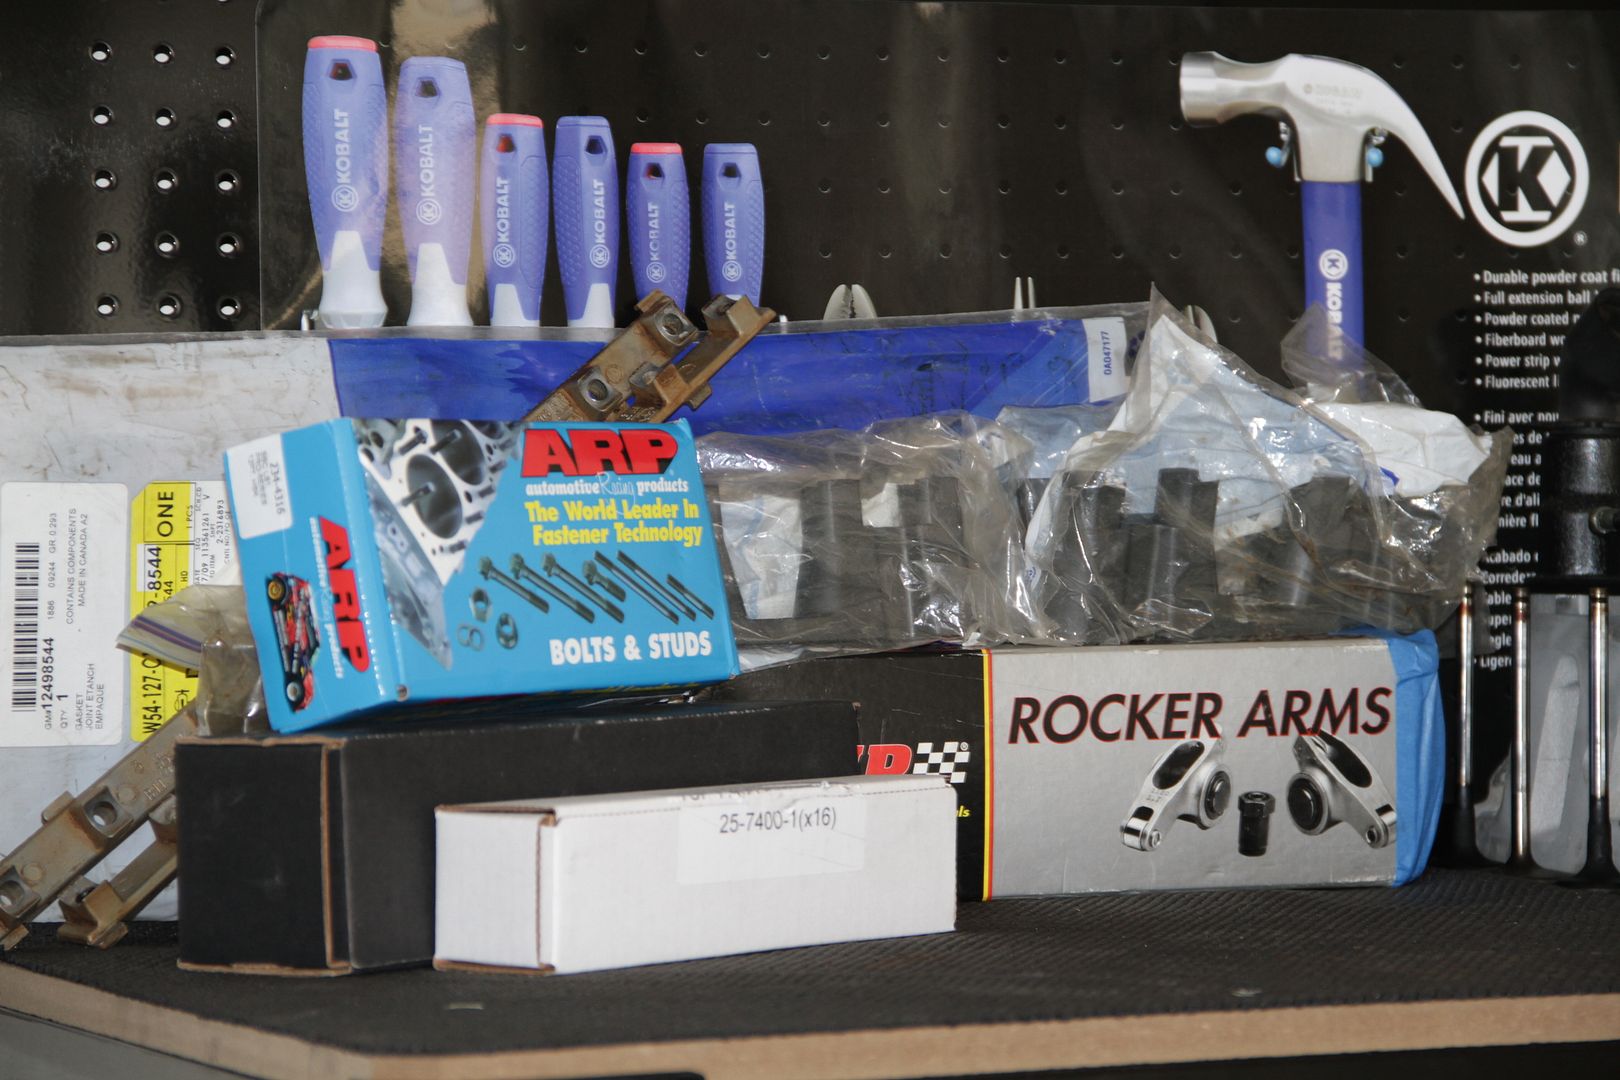
Okay what I have to install today is some, Dual Valve Springs, Hardened Chromoly Pushrods and Titanium Retainers that came with the Camshaft package I mentioned last week..Also ARP head studs, Comp Pro Rocker Arms and Comp Cam High Performance Valve Locks.
Comp Pro Rocker Arms: $300 (got from LS1tech.com)
Comp Cam High Performance Valve Locks: $31.99
ARP 12-point head studs: $279.99
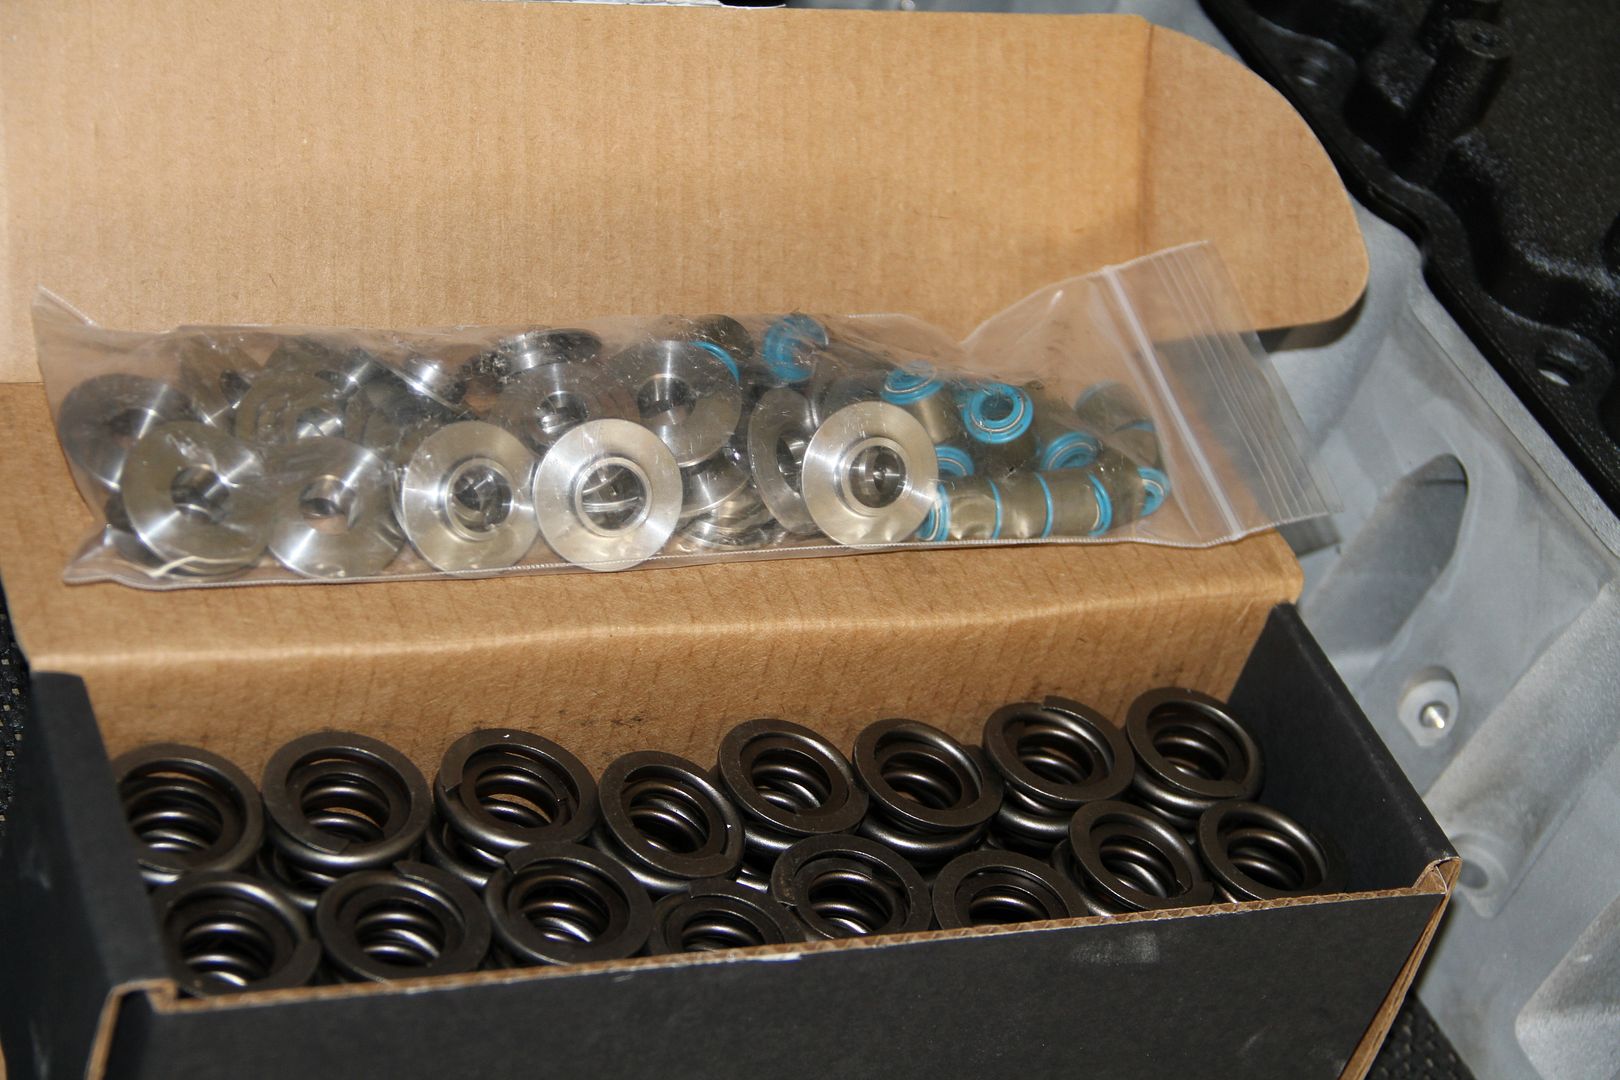
First we have the Dual Valve Springs and Titanium Retainers...
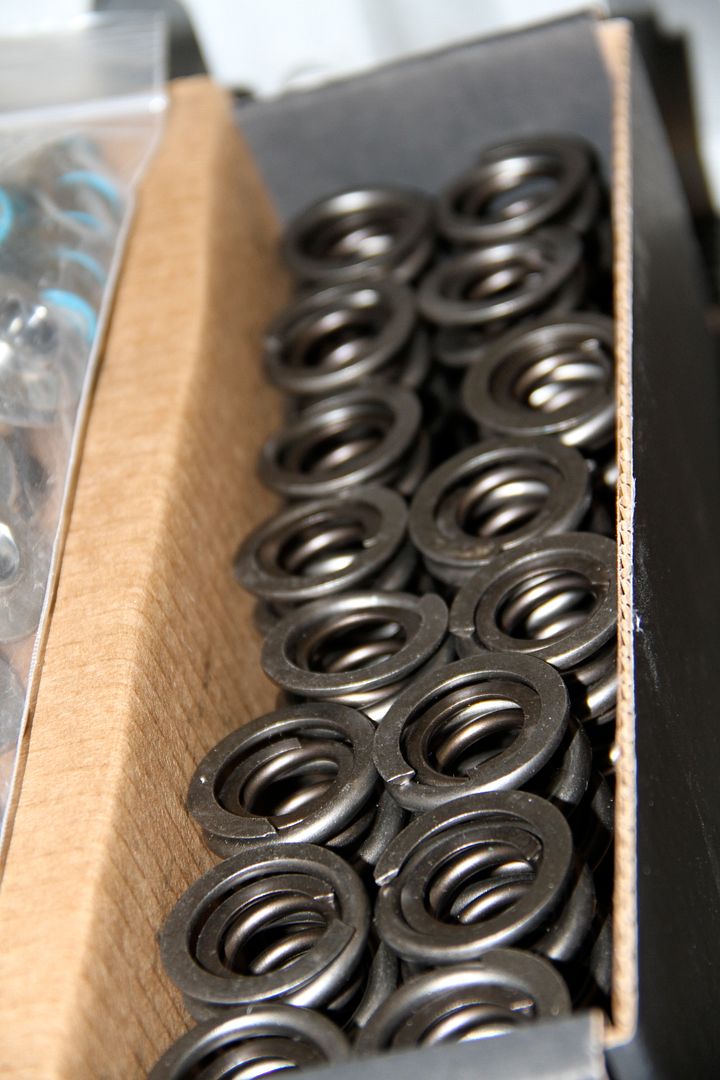
These things are sooo sick..
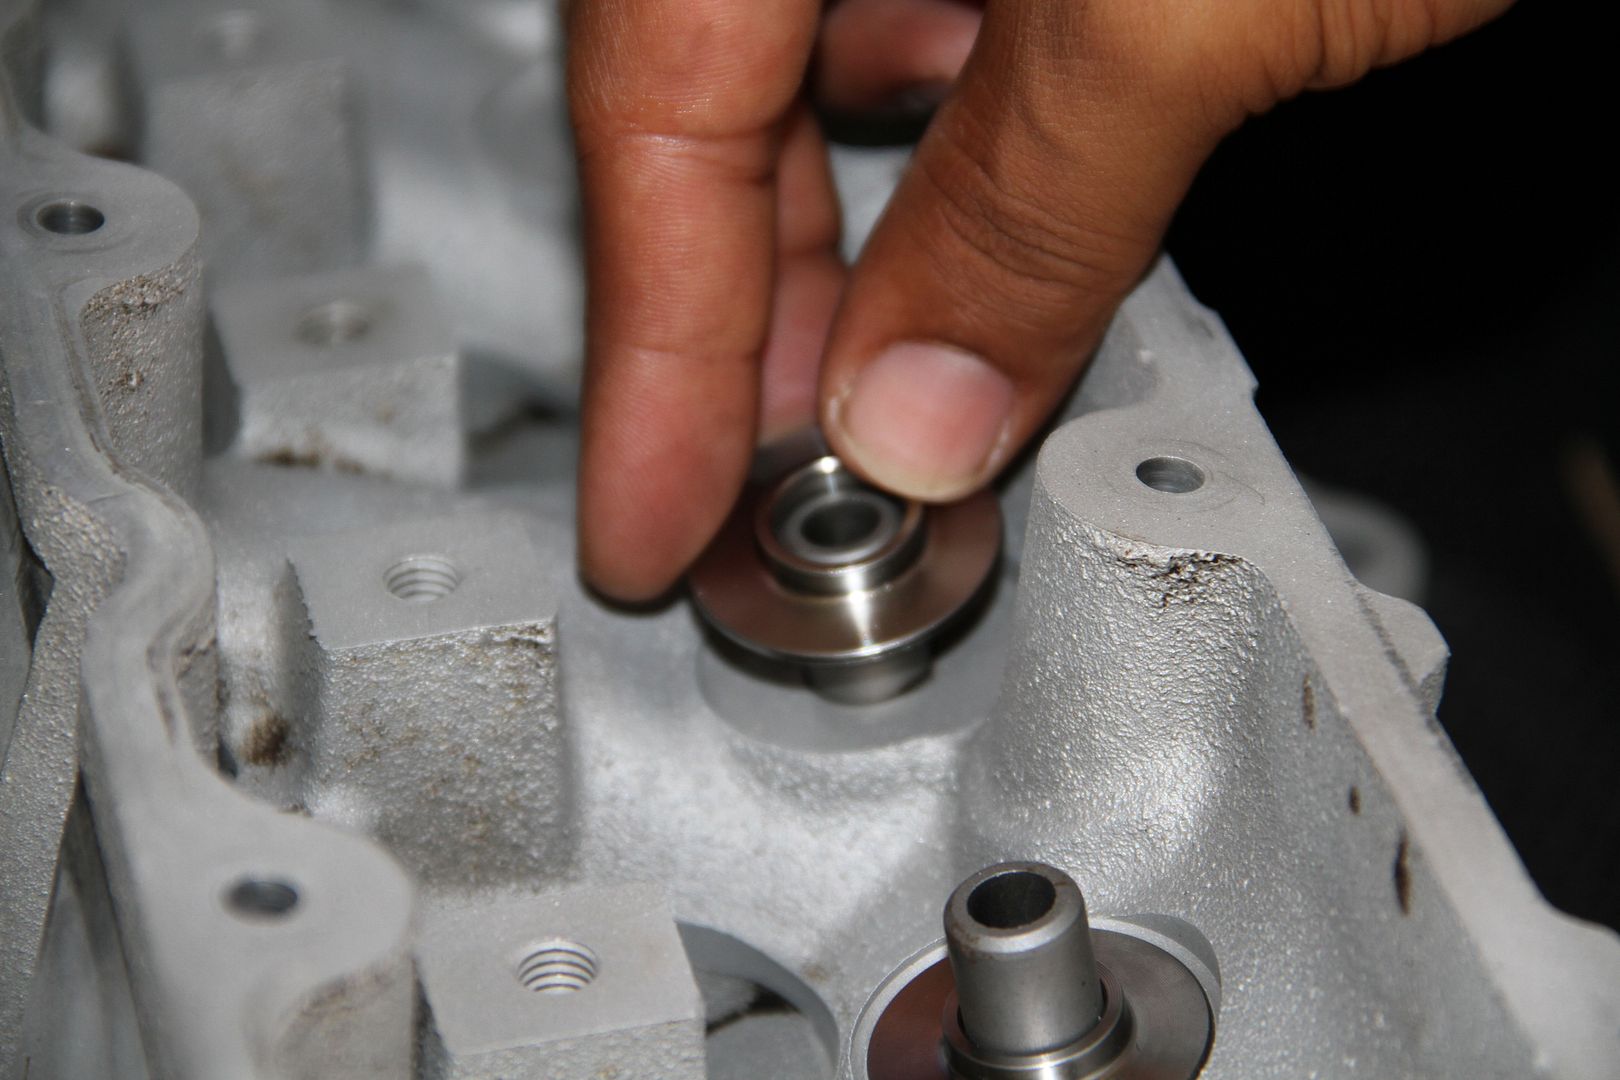
First you have to place the bottom Retainers..
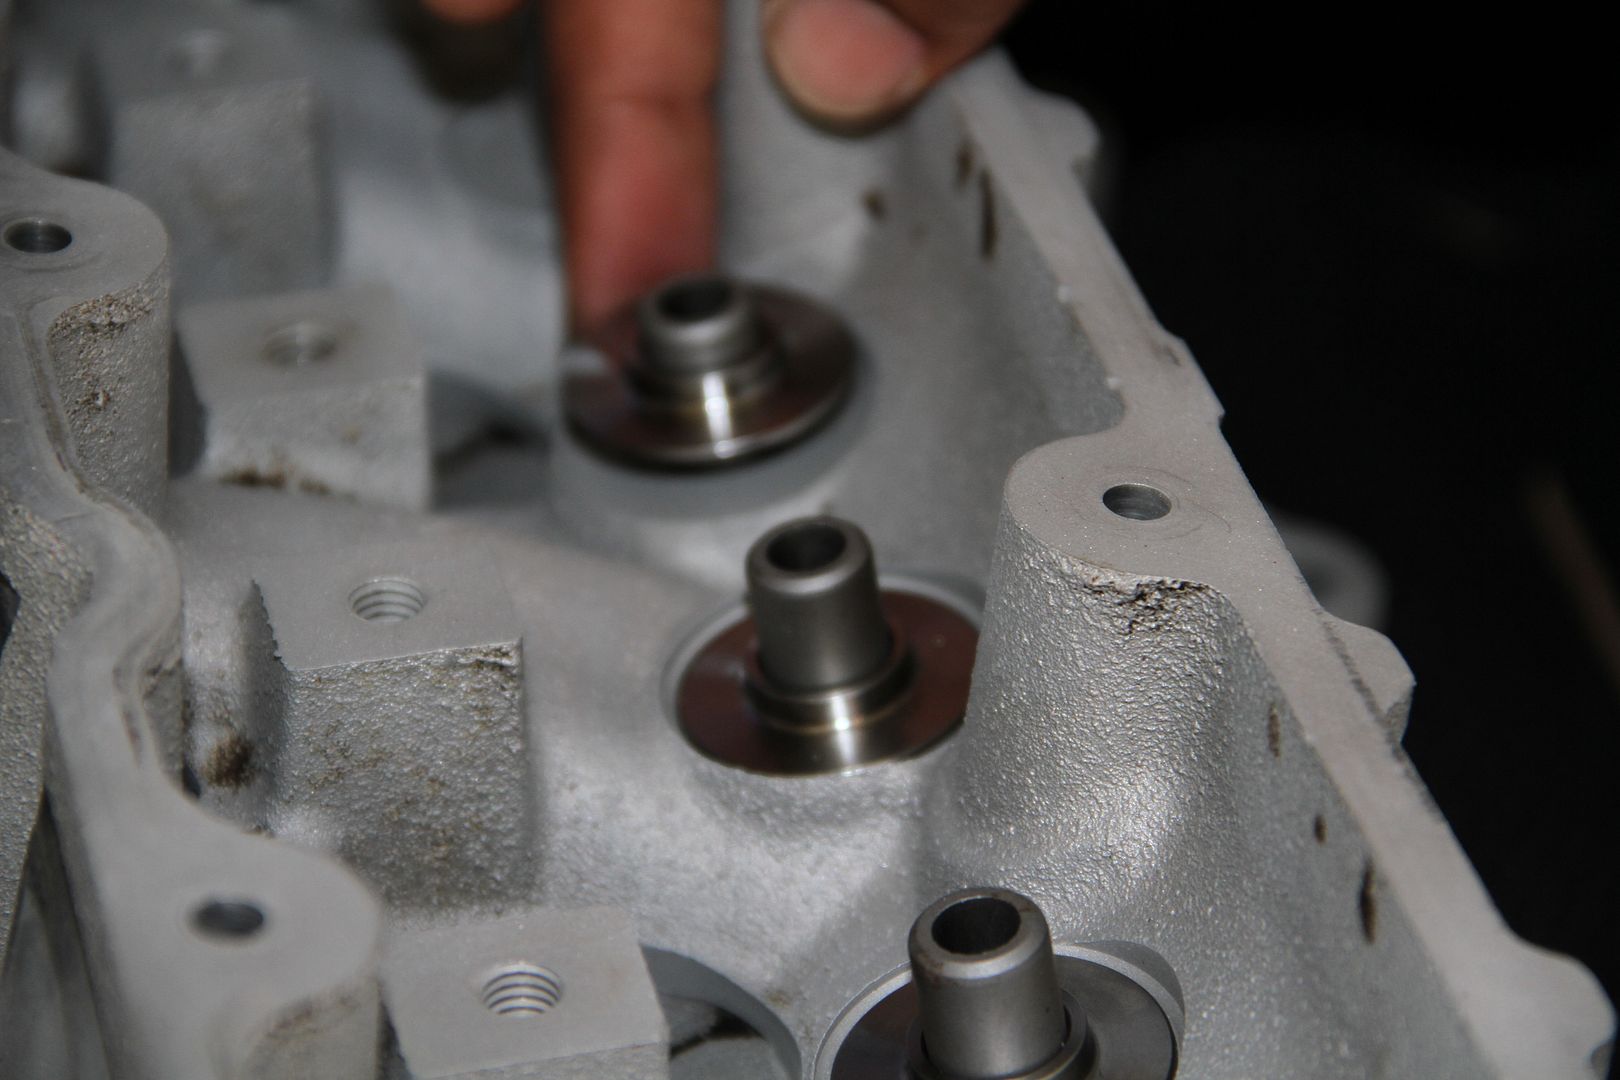
Pretty straight forward on this part..
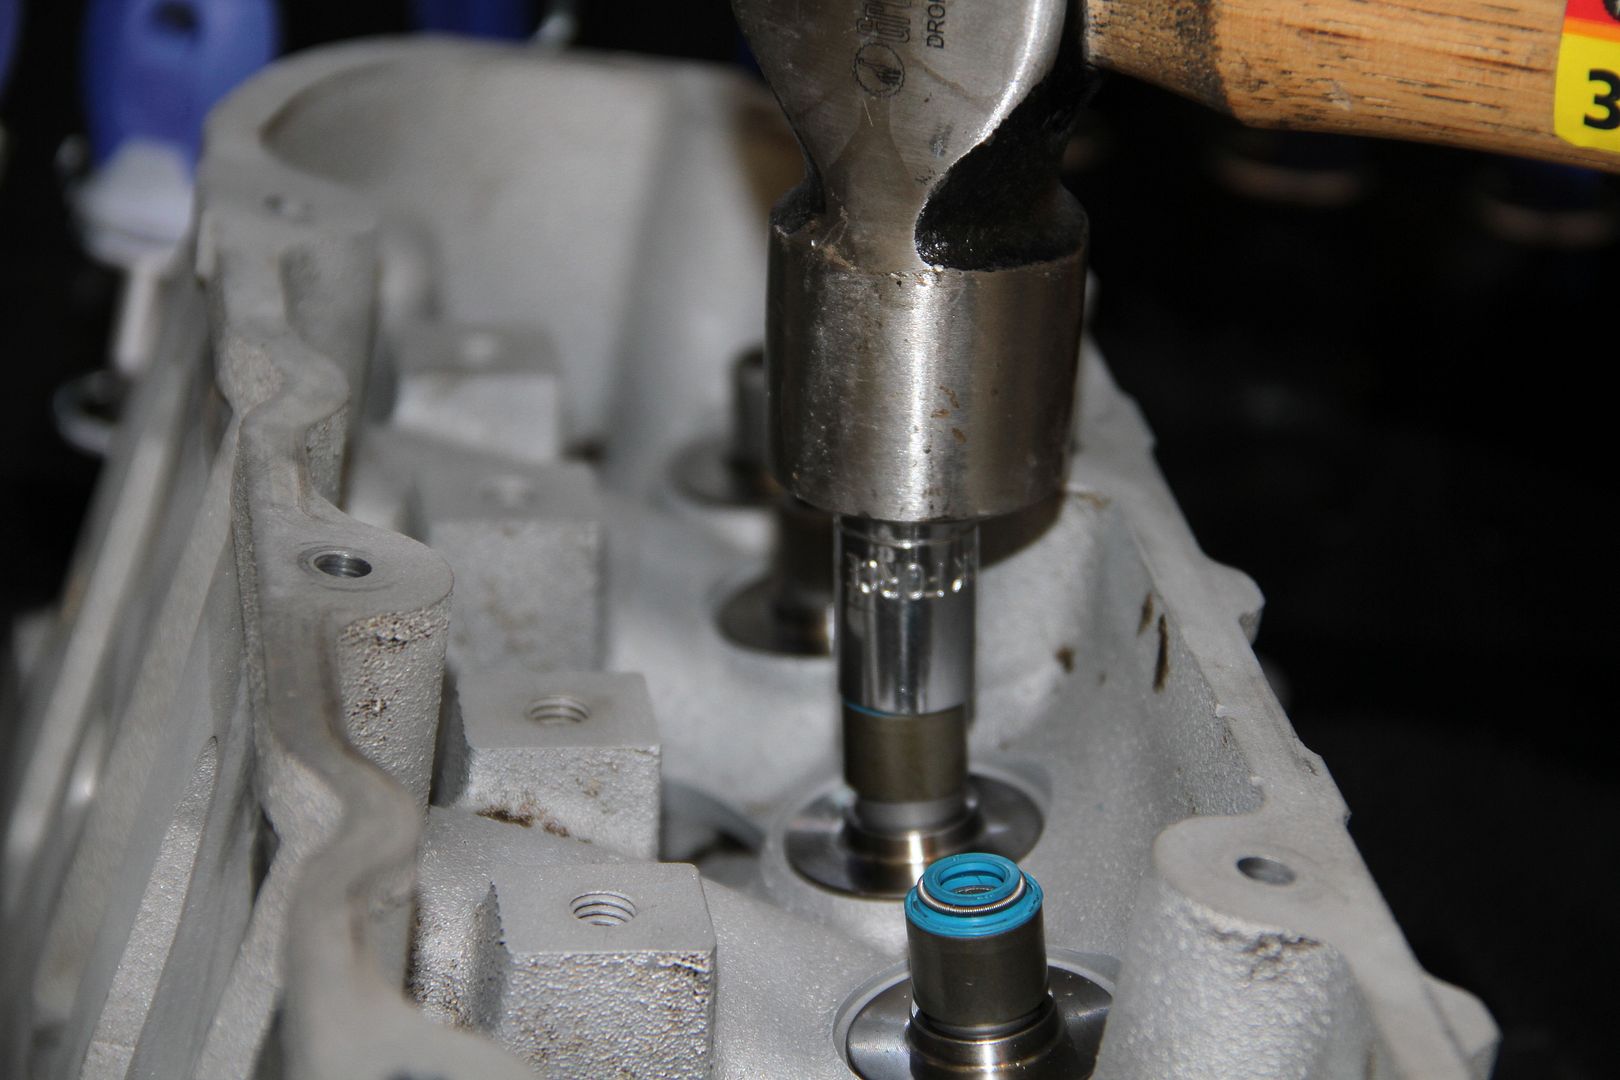
Next is the Valve Seals.. Now to install these you will need a 12mm and a hammer. Tap, Tap, Tap, take your time and make sure they are straight. You don't want to F one of these up and have to go out and buy new ones..
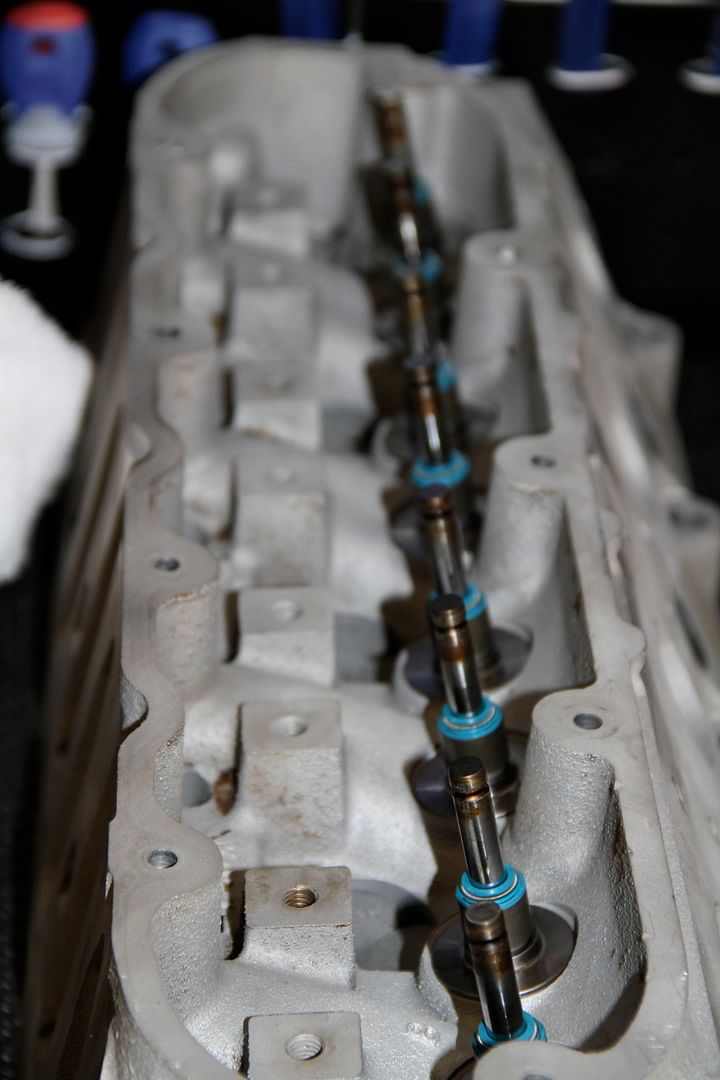
Seals all in place. Next reinstall the Valves
Bam!! Next are the Dual Springs
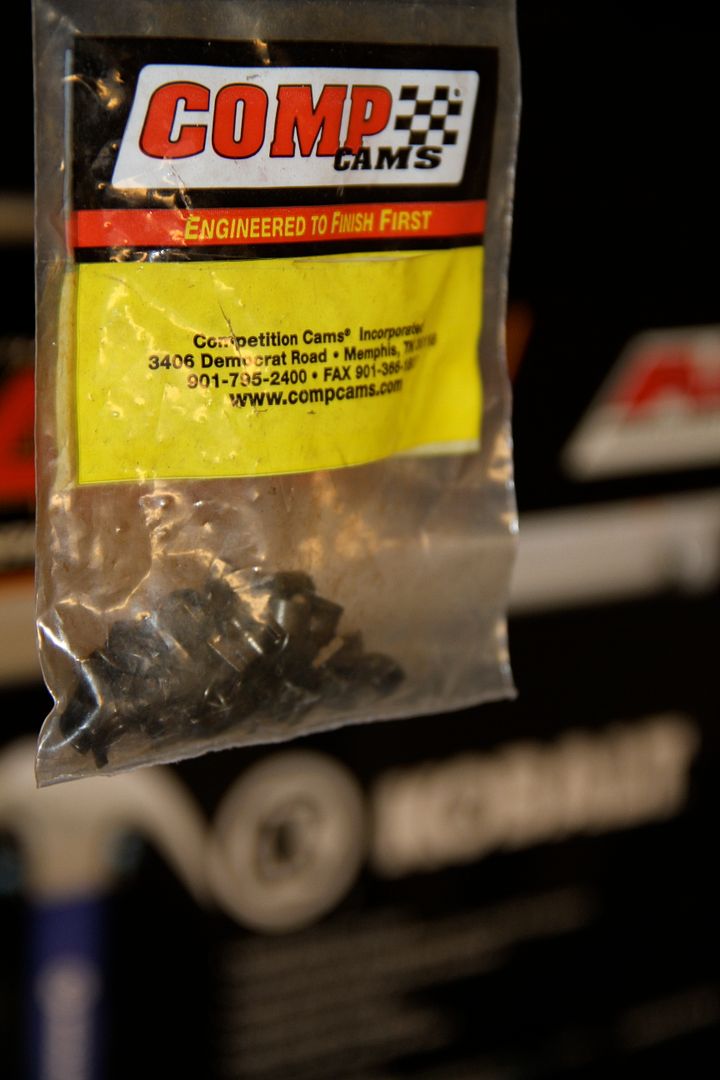
I bought some Comp Cam High Performance Valve Locks

Now you are going to use the same Valve Spring Compressor tool you rented from Advance Auto Parts to install them..
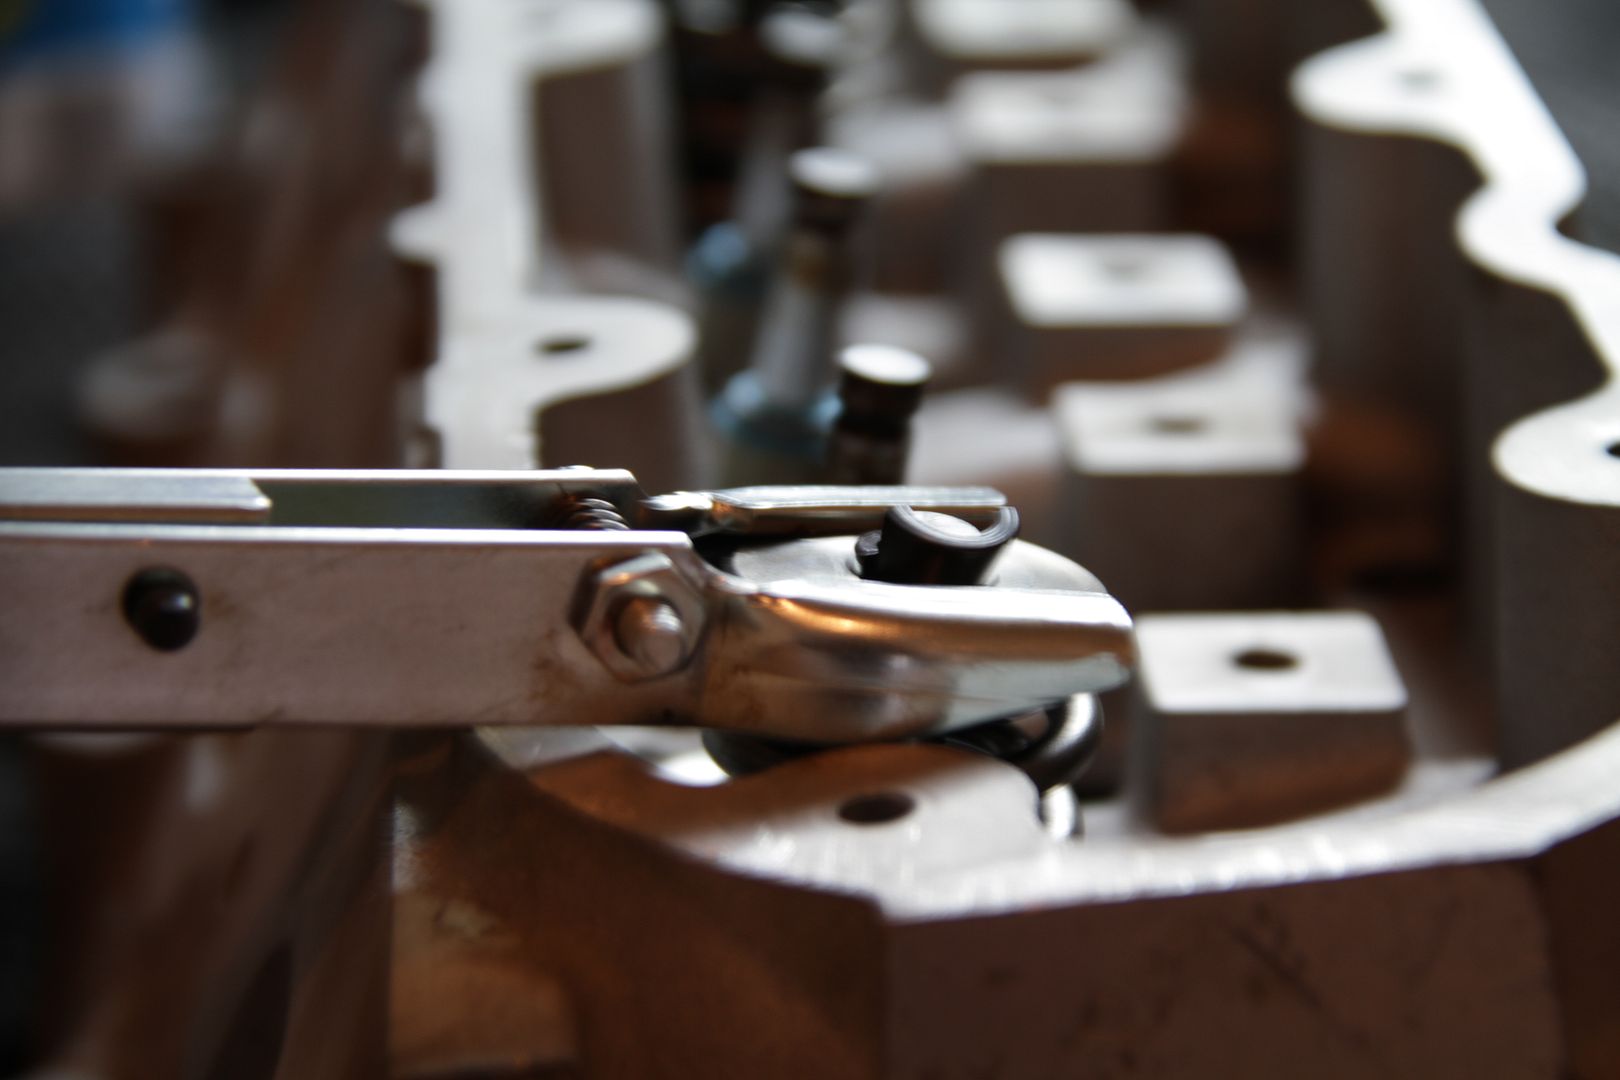
Place the Spring over the valve and then the top Retainer. Compress the Spring with the tool and then insert the Valve locks. Slowly release the tool and bam you have money...
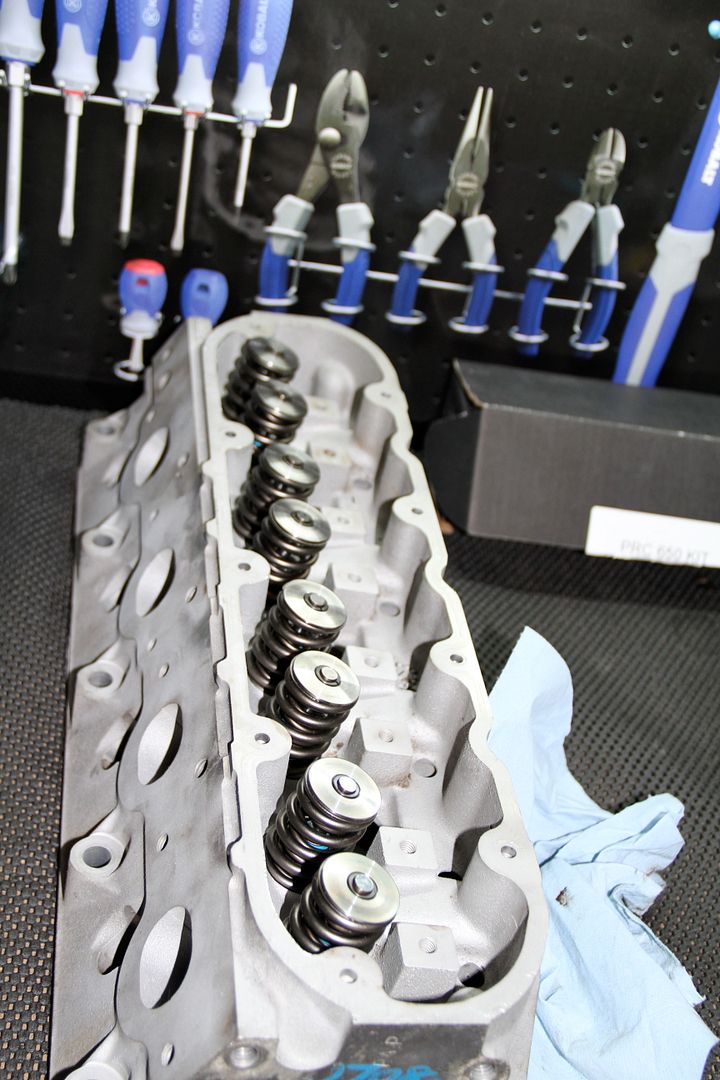
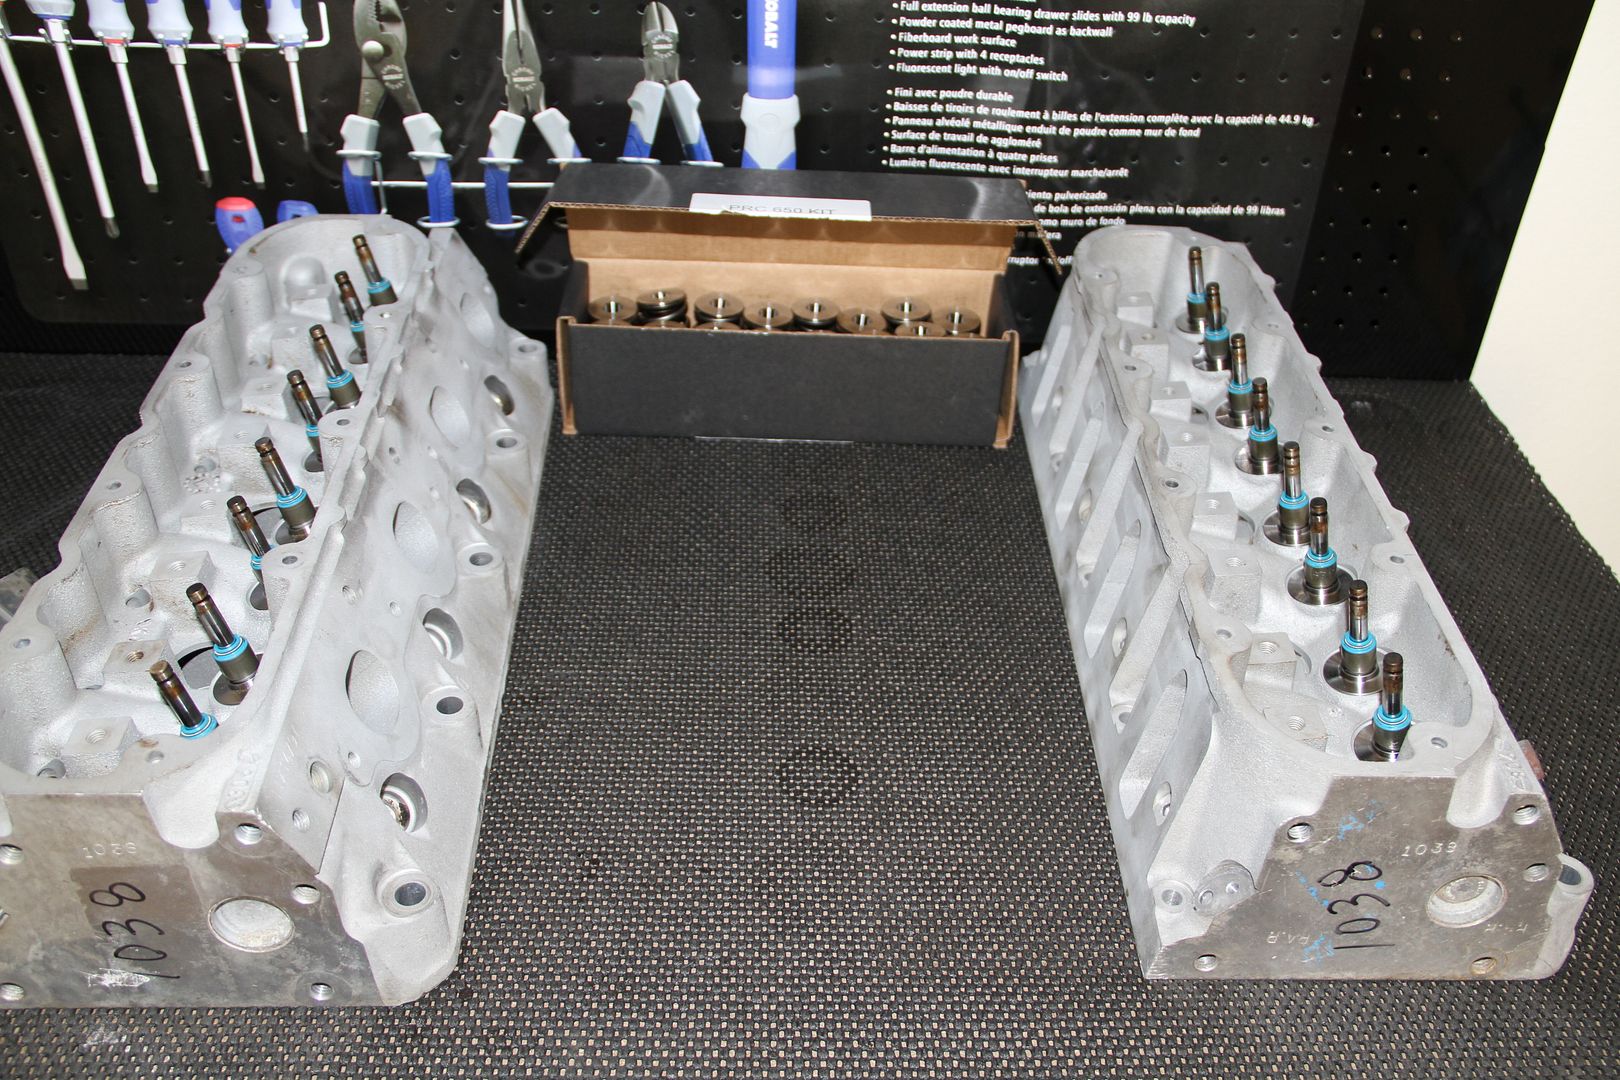
All done with this head..On to the next..
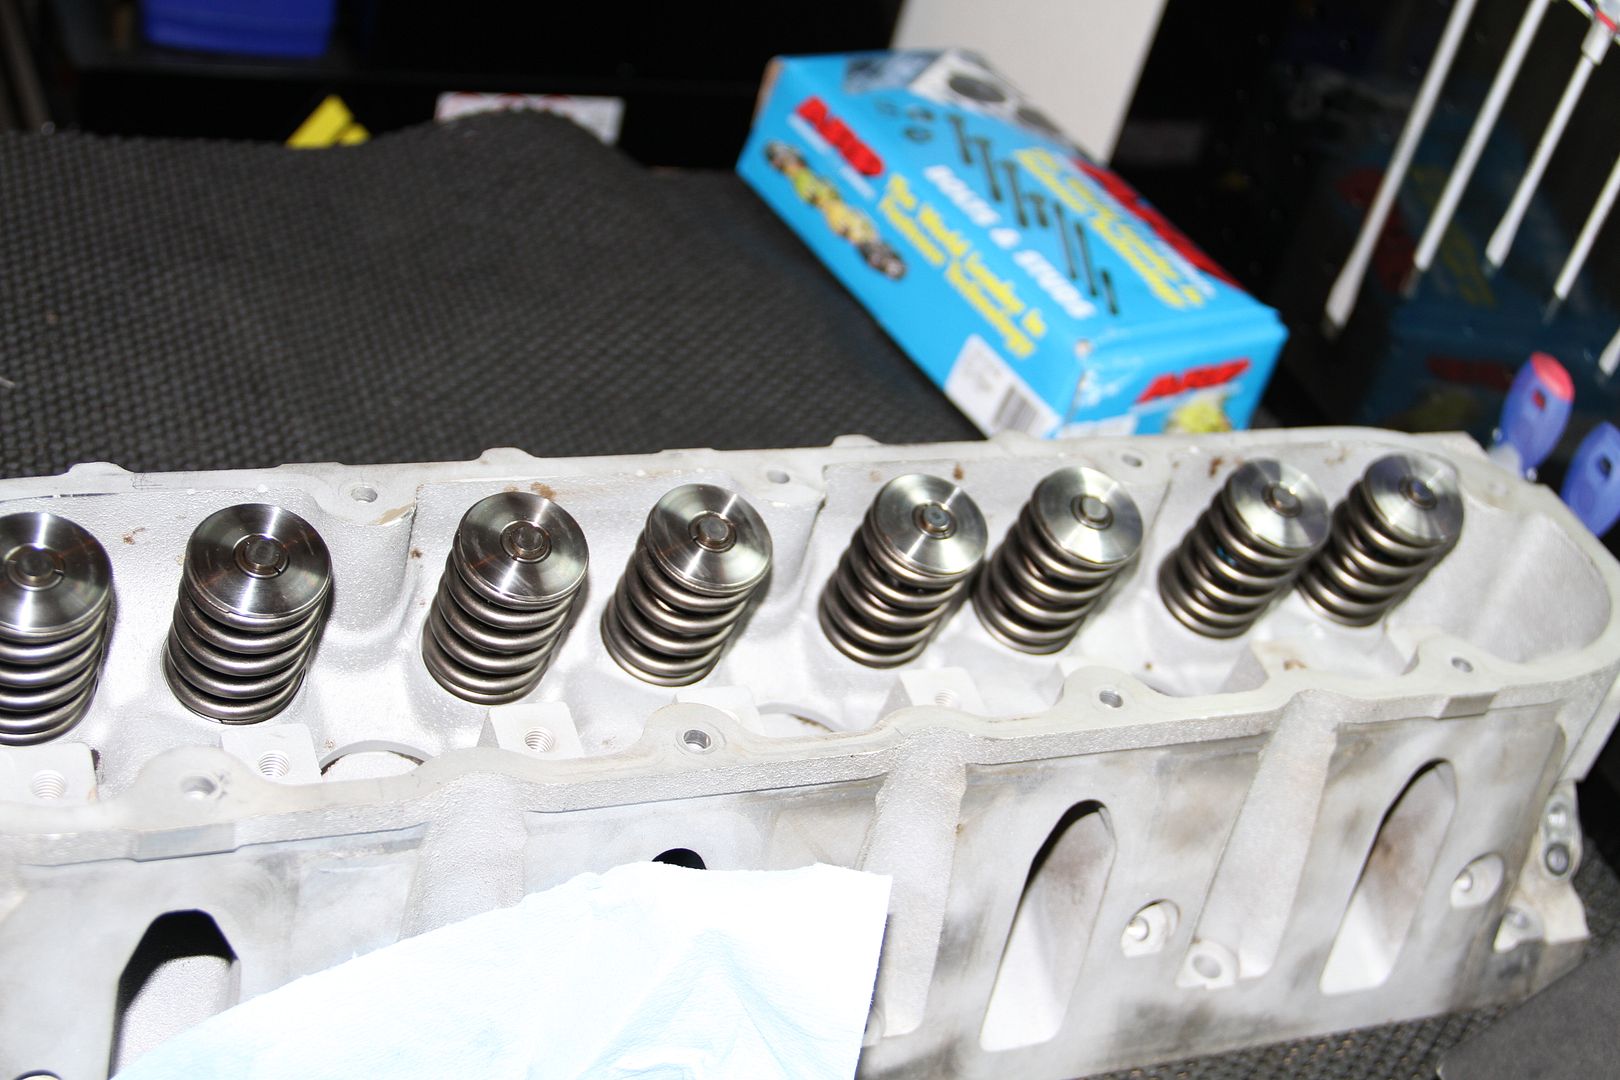
Nice and easy.. These things looks so damn good..
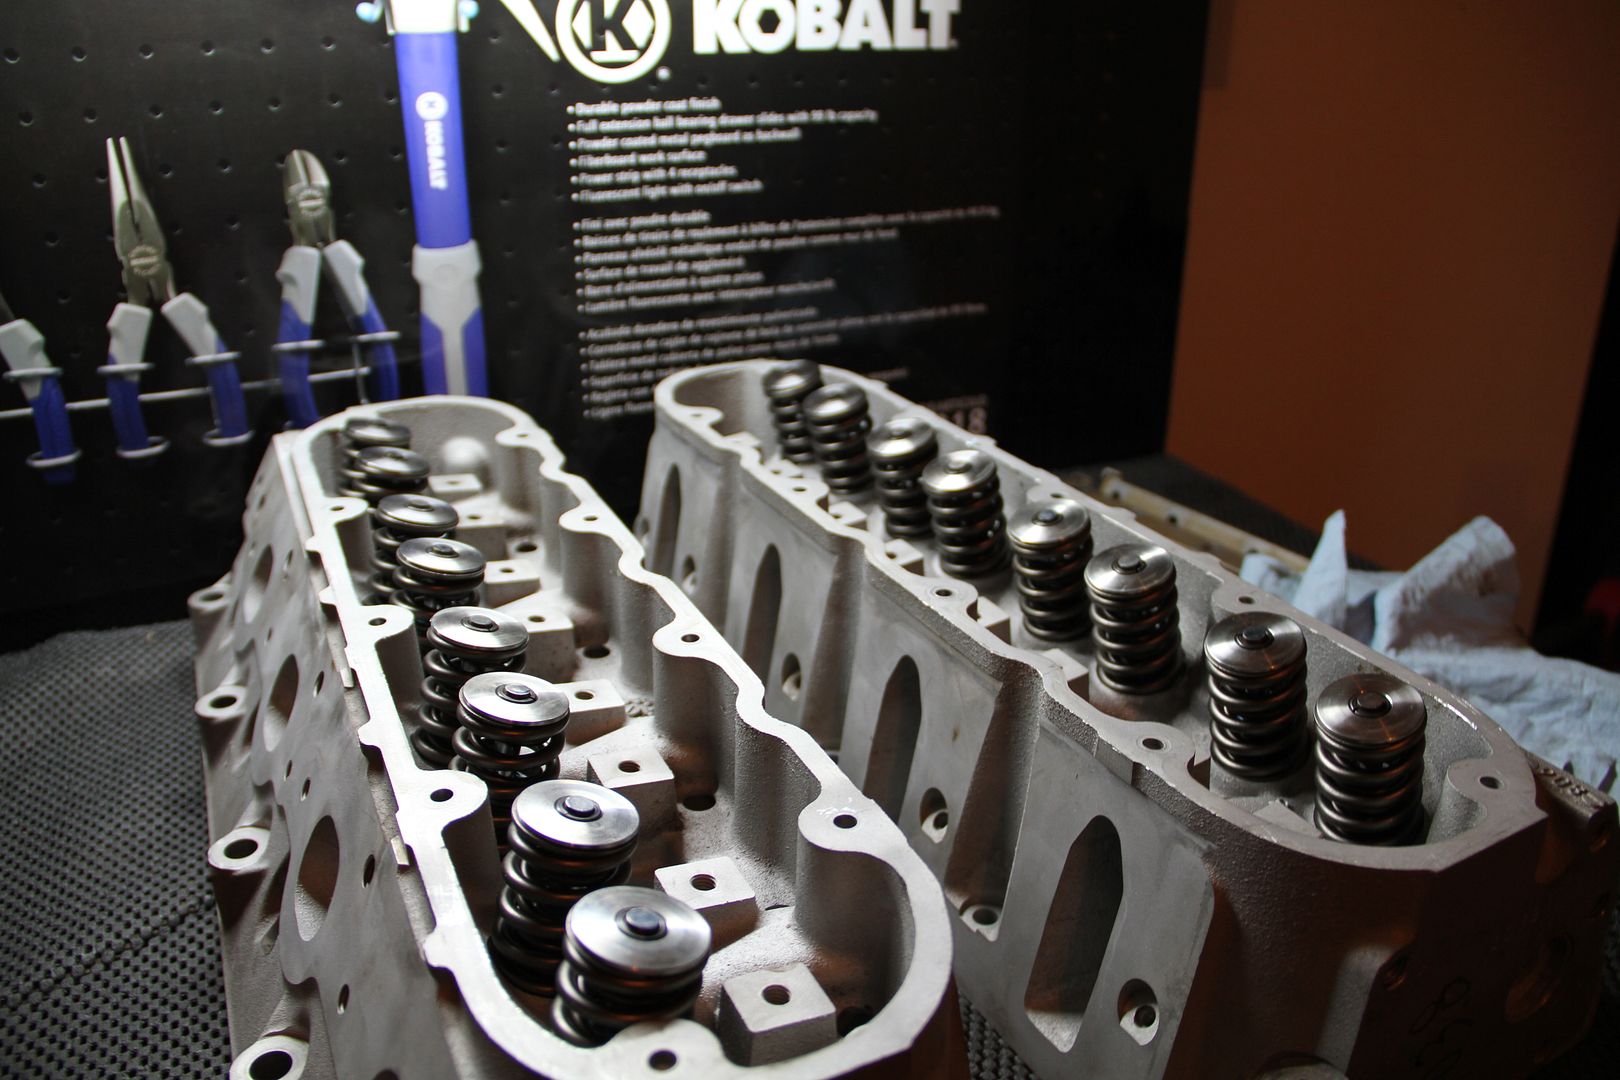
Both heads are complete.. On to the next item at hand..
Next we have the lifters and lifter try. Pretty simple install...
Just place the roller lifters in the tray,, easy as it sounds..
Now drop into place...

Good to go...
And use a 10mm and torque to 106 in-lb.
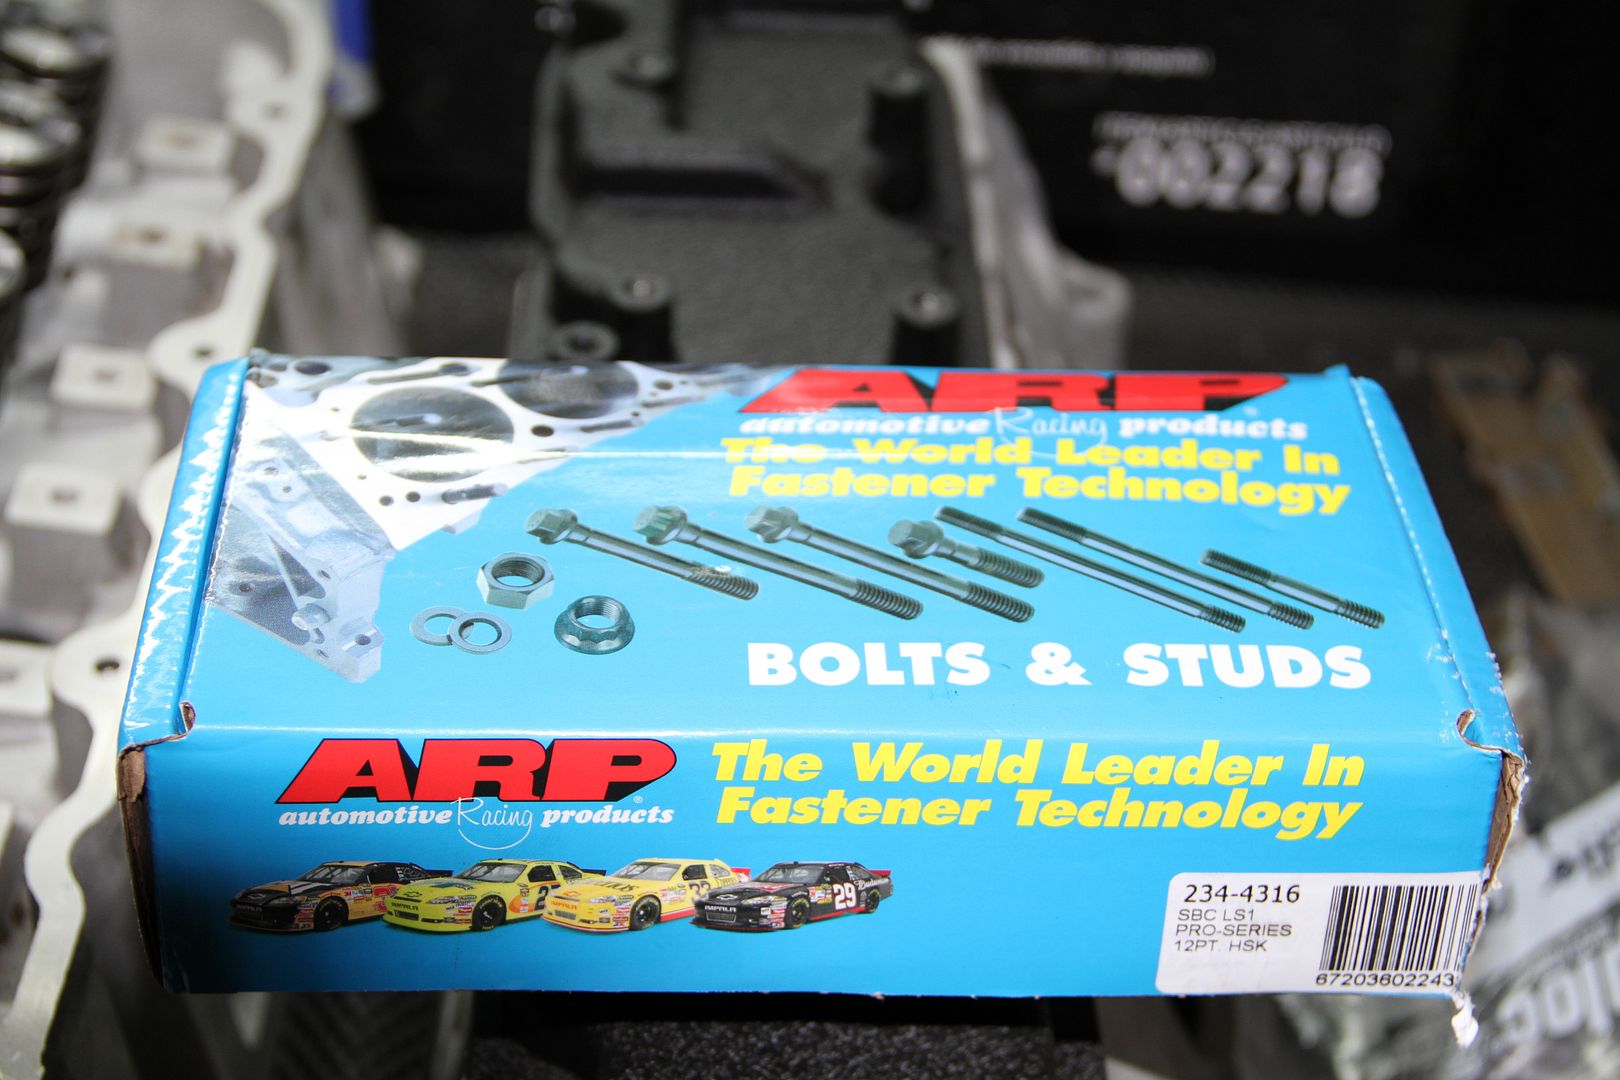
Next we have the 12-point ARP head bolts
Comes with all the bolts to mount your heads to the block..
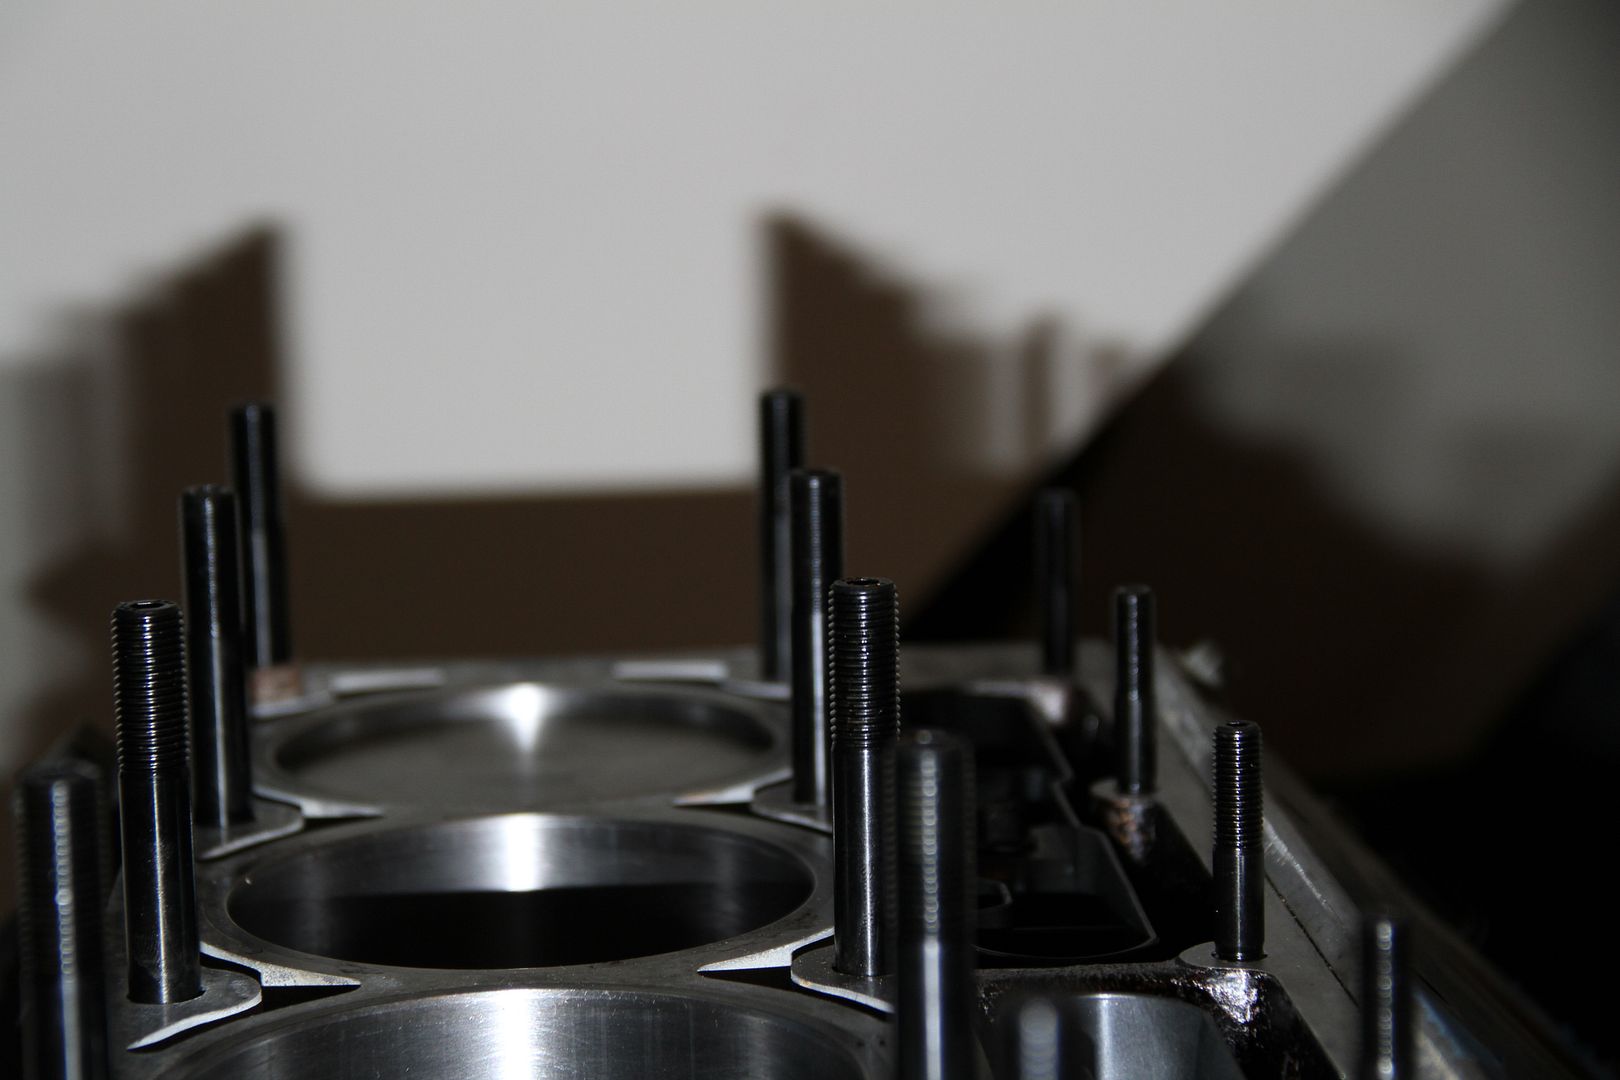
First you will install all the bolts in their proper location and tighten with an allen wrench.
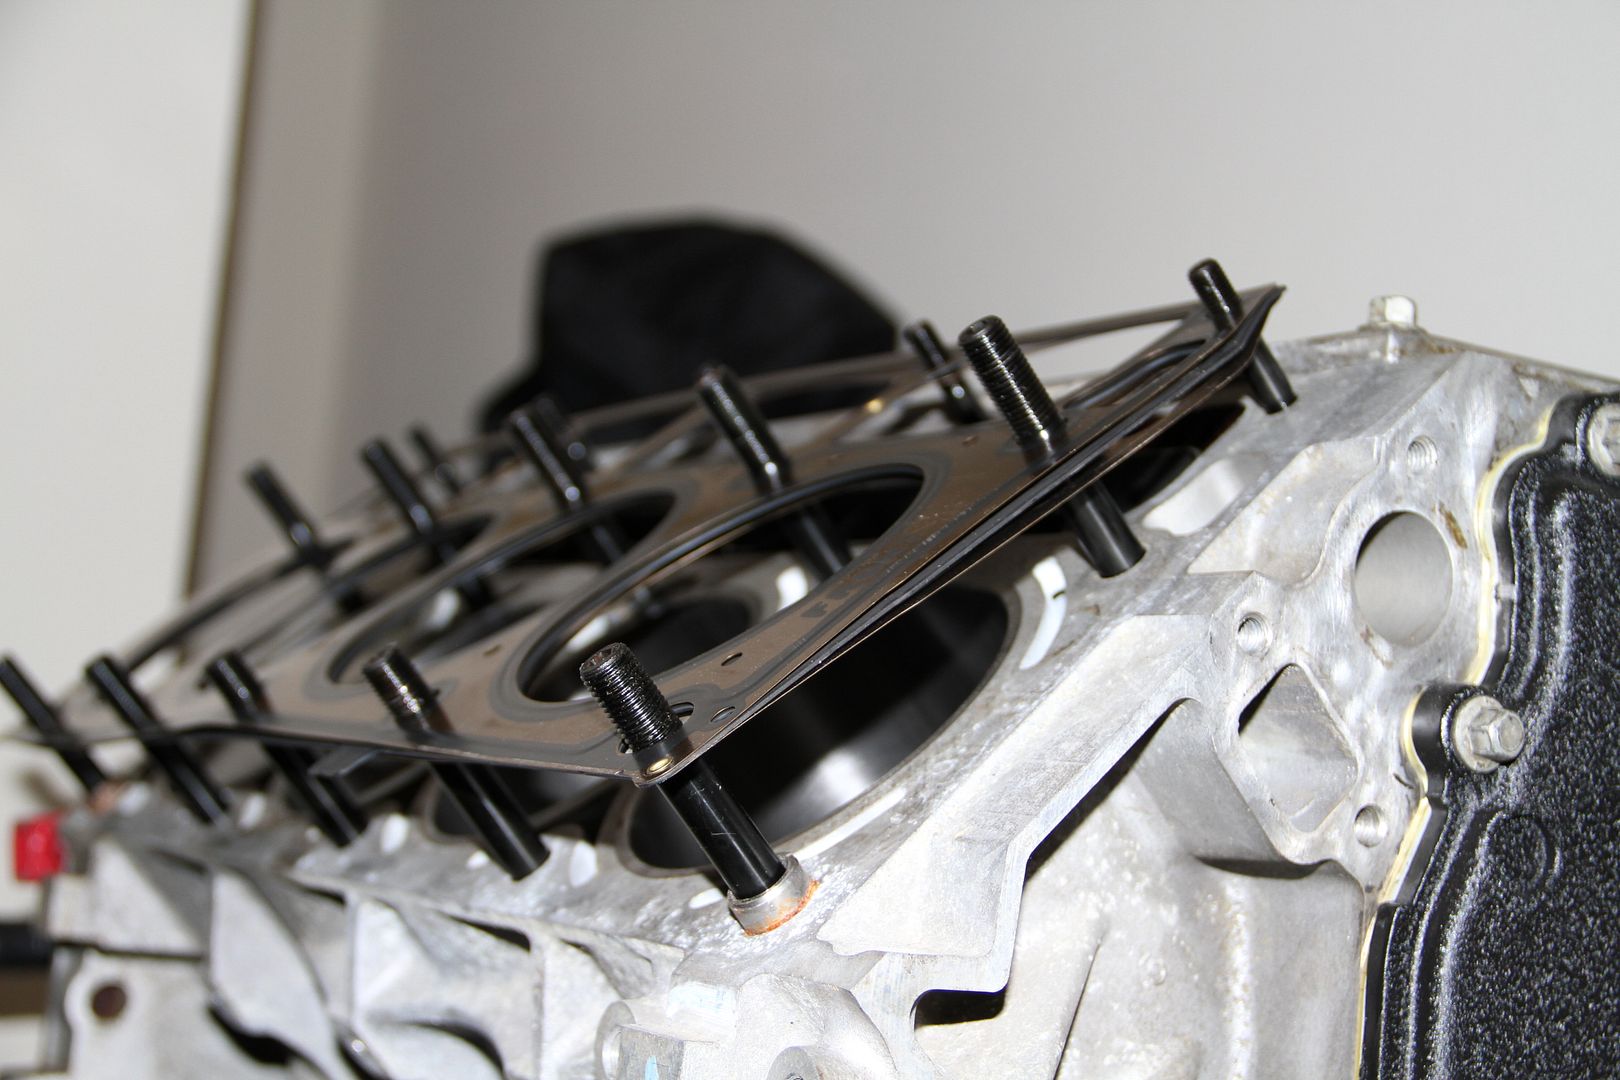
Next install the head gasket. Mine came with my long block so I did not have to buy one.. It was brand new in the bag still.

Next I placed the heads on the block. Then installed the ARP bolts. Now to torque these down I followed the pic above and torque all 10 15mm bolts to 22lb-ft.
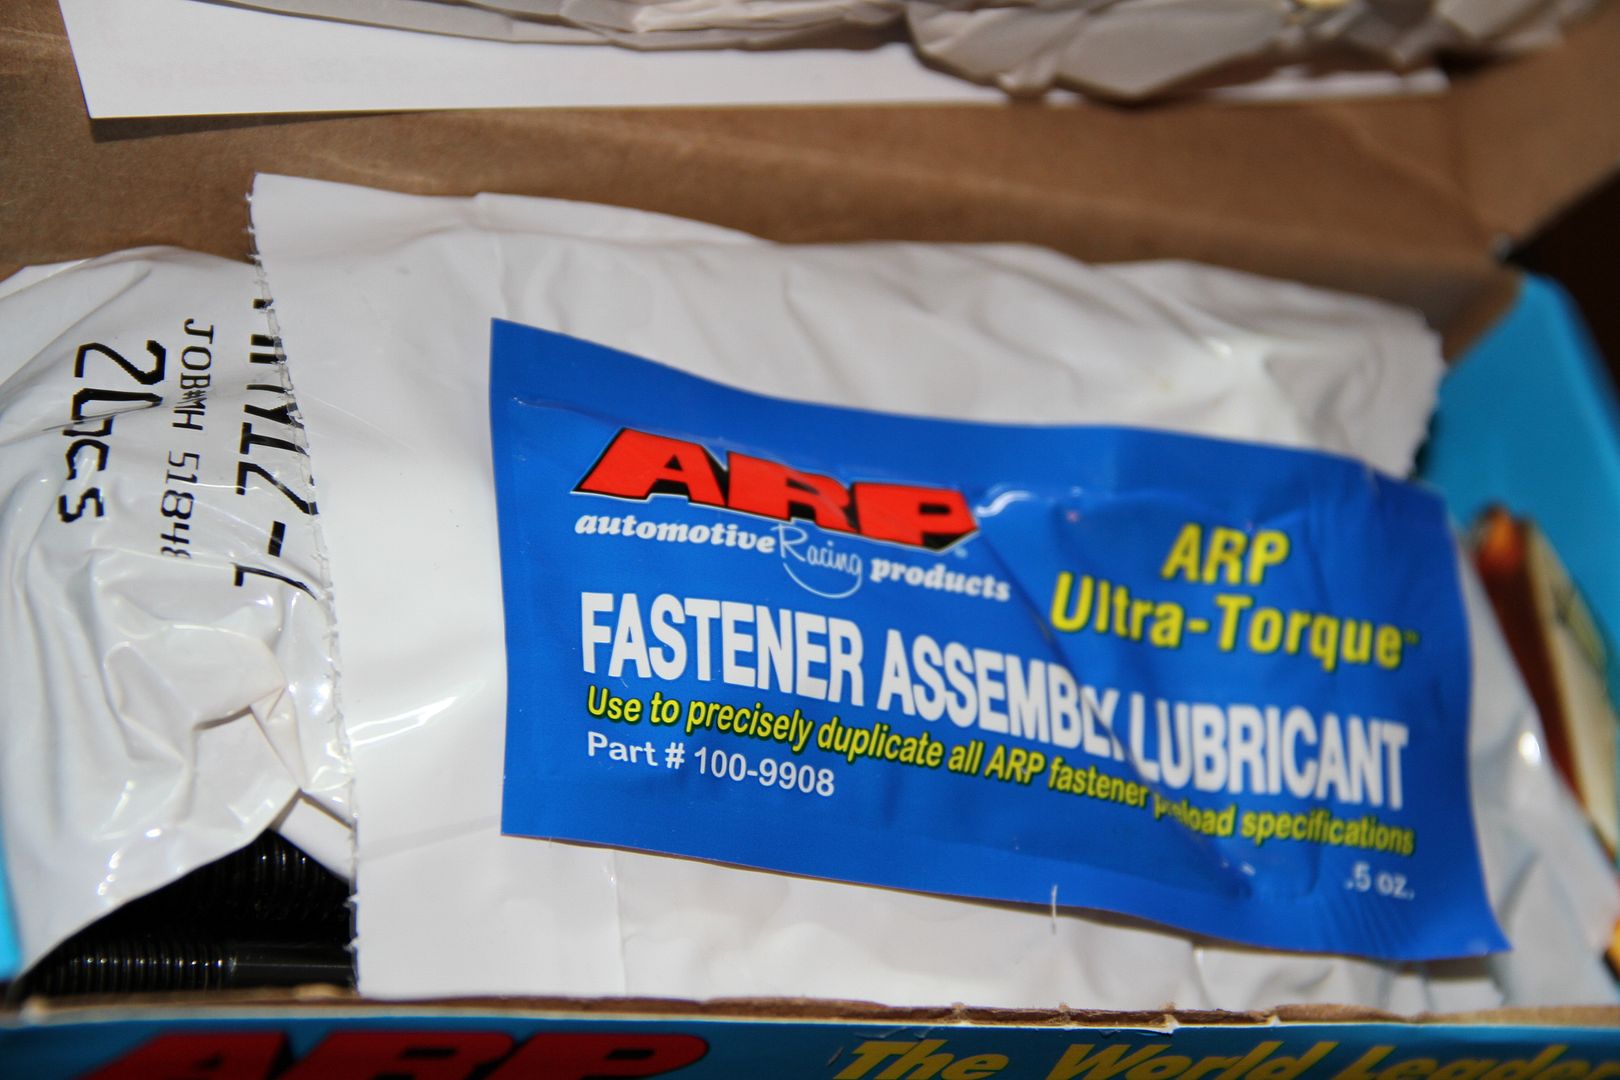
Edit: Okay I was confusing some people about the torque specs on the ARP bolts. You just need to follow the ARP instructions that came with the box.
Again it is a lot of work but worth it..
Close up...
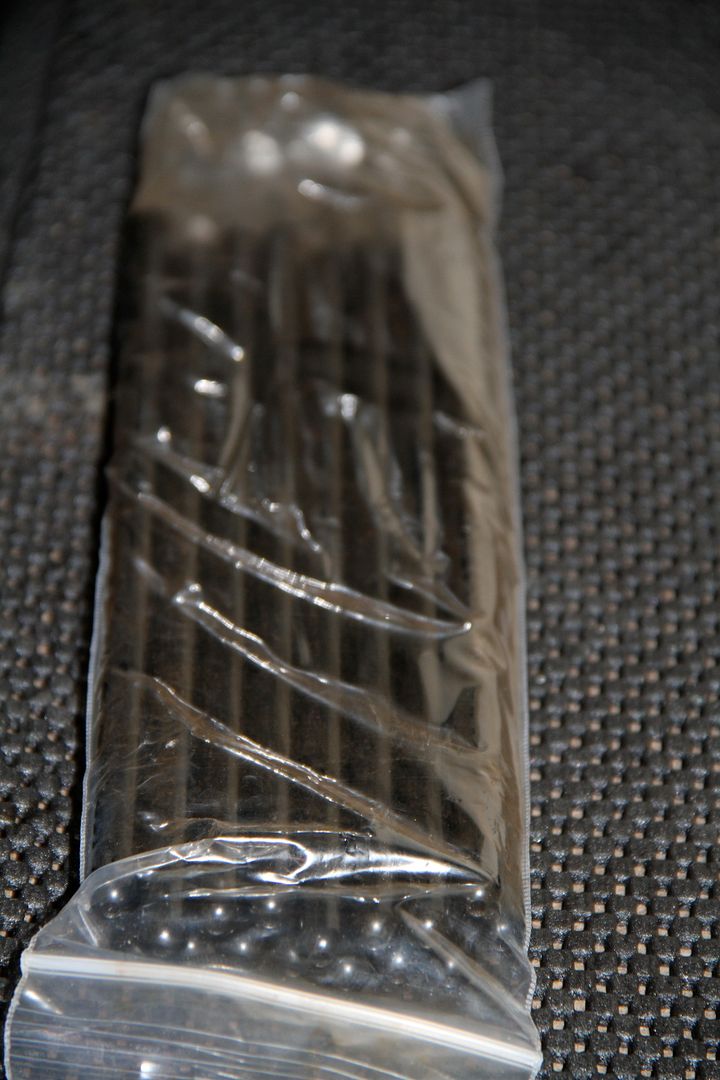
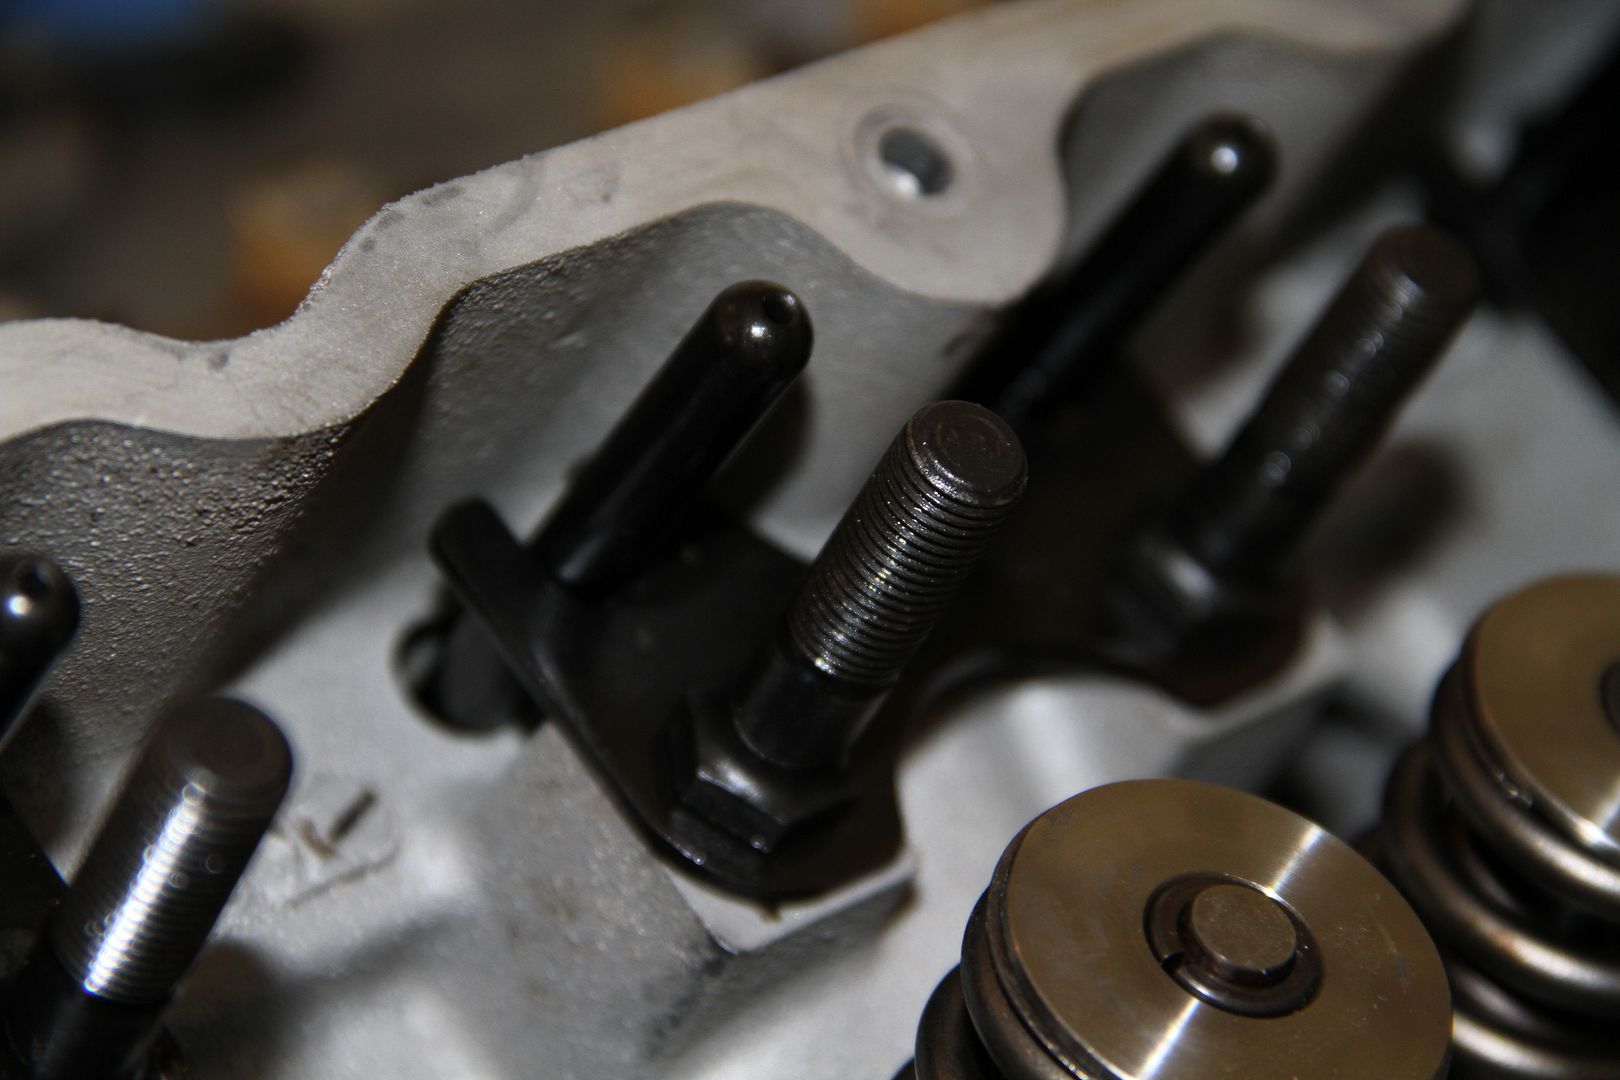
Next are the Hardened Chromoly Pushrods
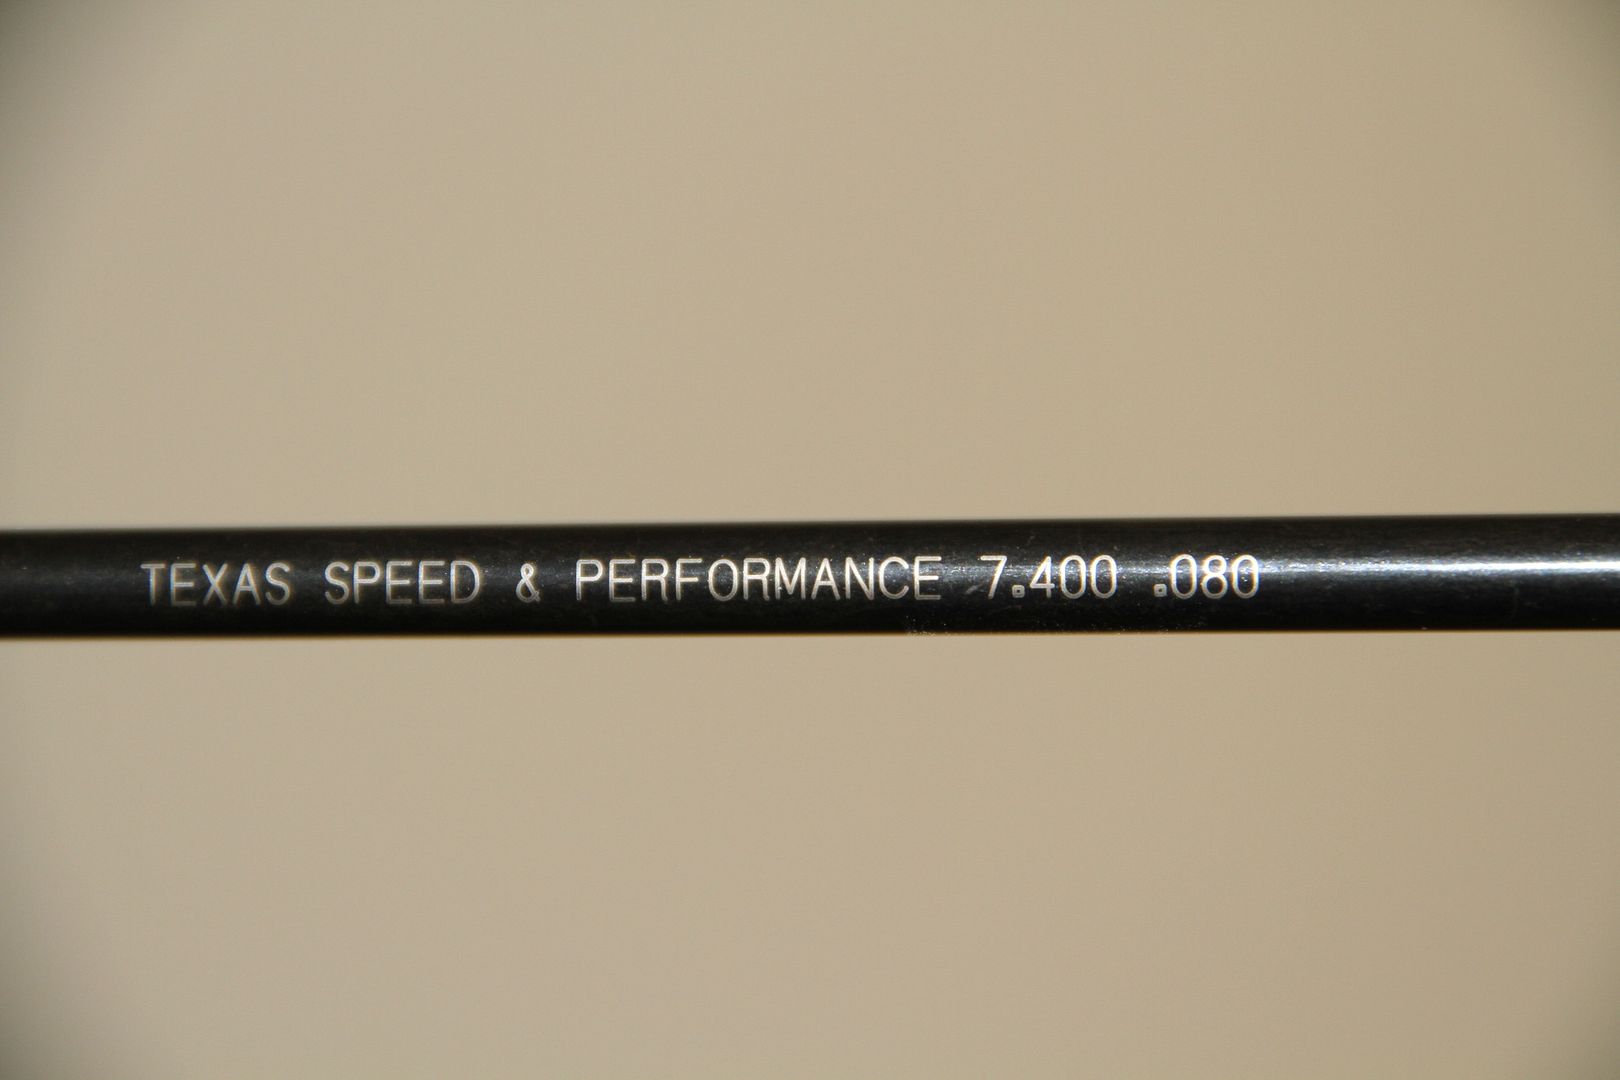
Texas Speed Shop knows their stuff and so glad they are in TX.. Good stuff..
To install the pushrods just drop them in...
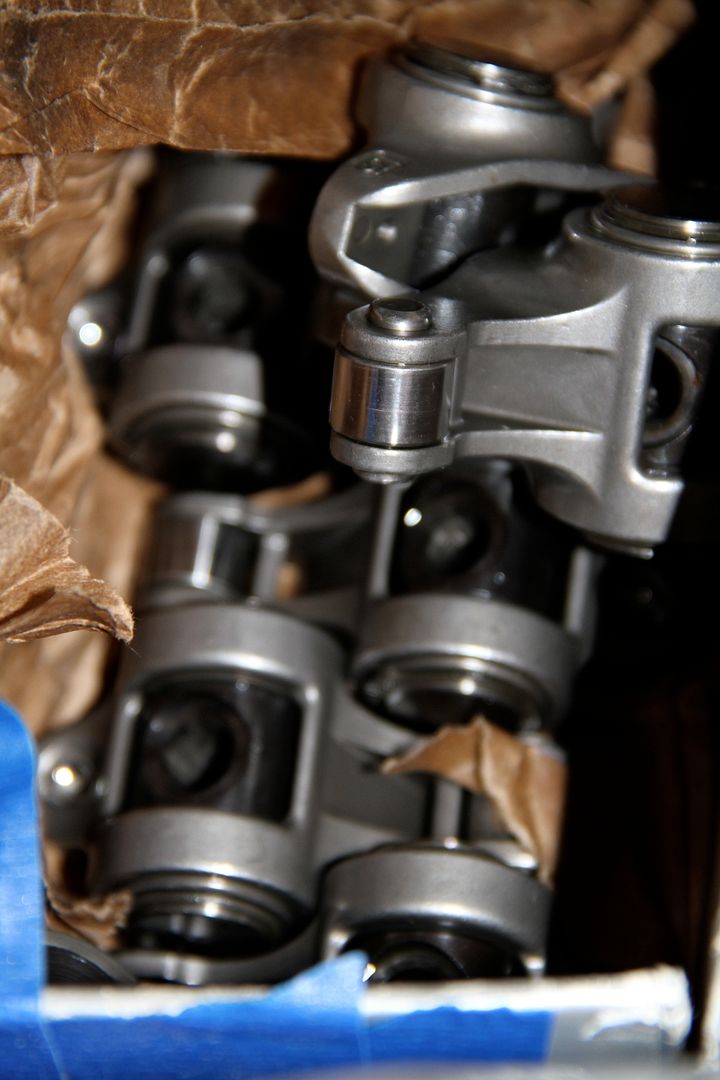
Next are Comp Pro Rocker Arms. I got these off of LS1tech..
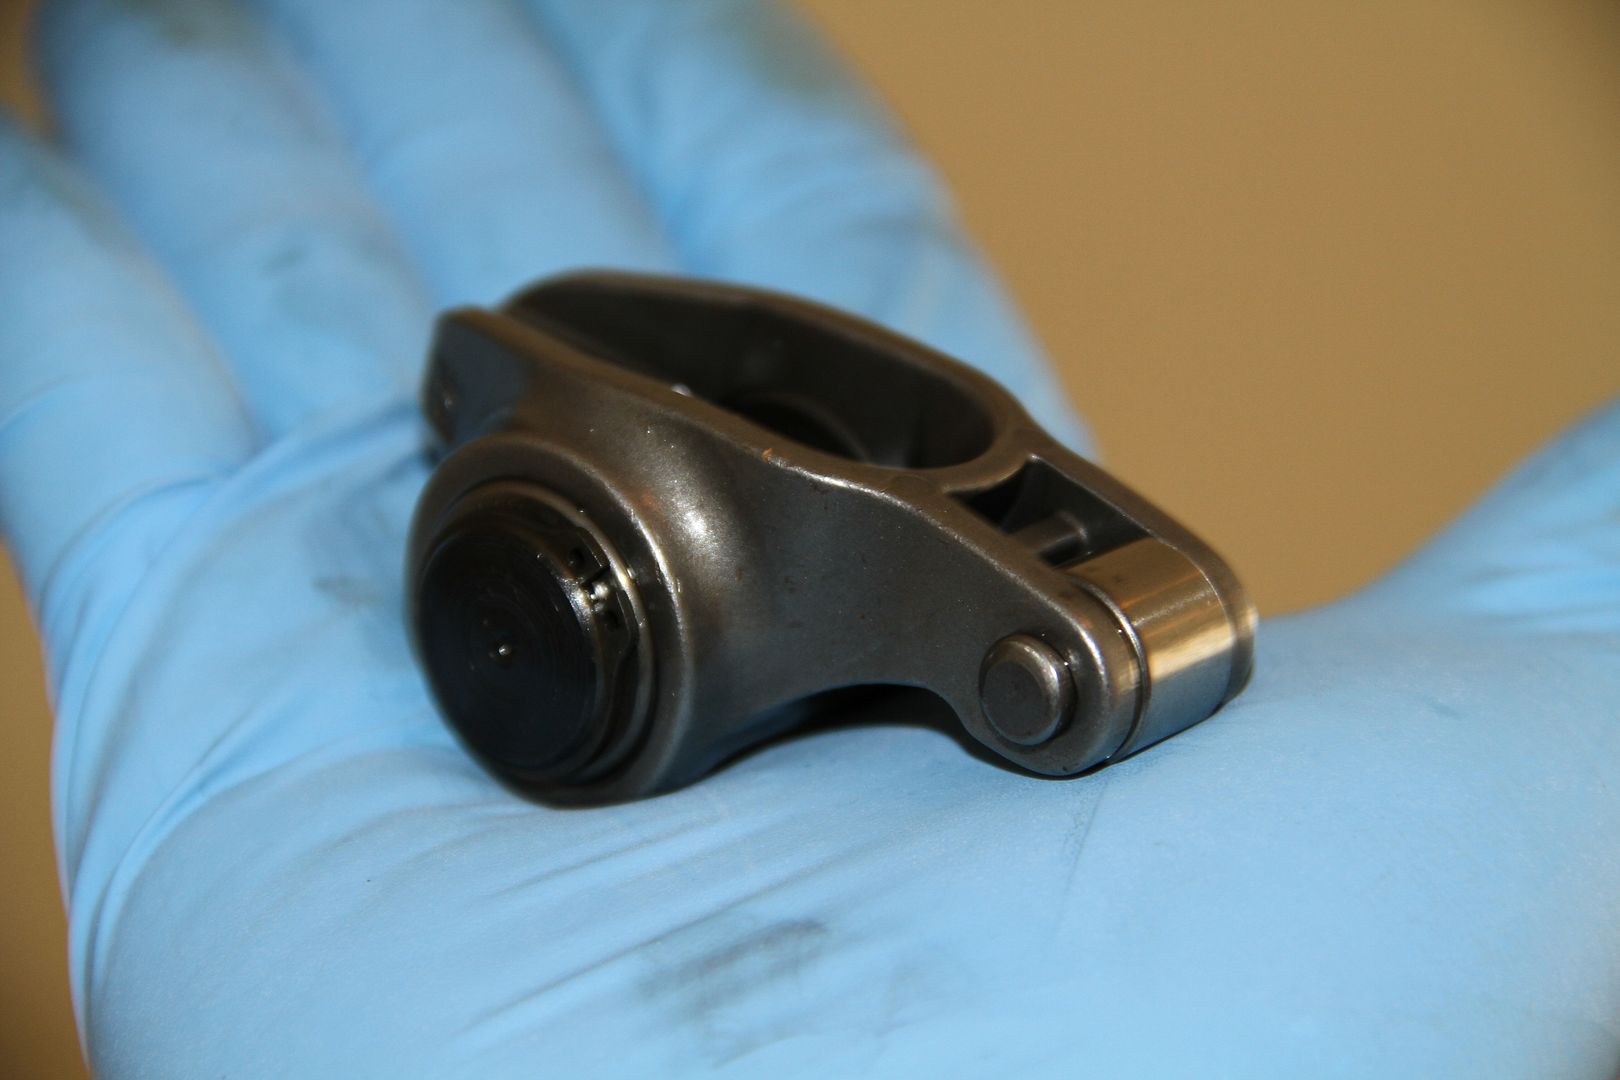
These things are so sick..
They come with there own guide plates.. You just need to torque them down to 22lb-ft.
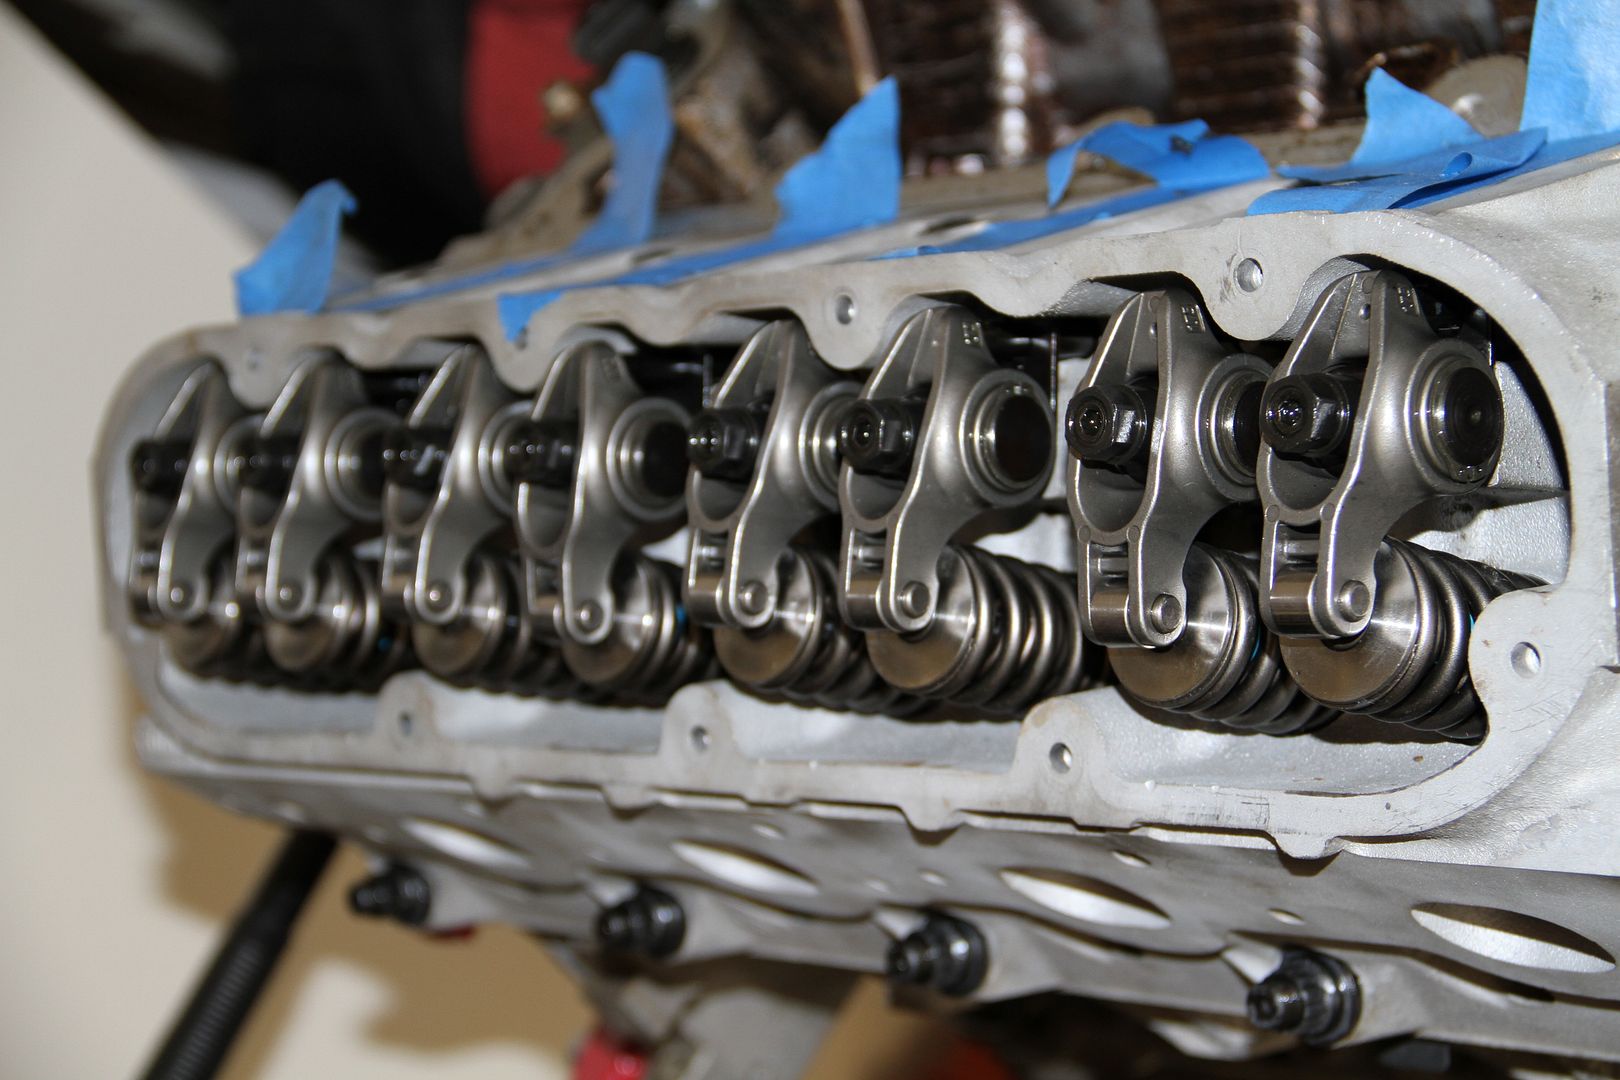
Next install the rocker arms, and also torque them down to 22lb-ft
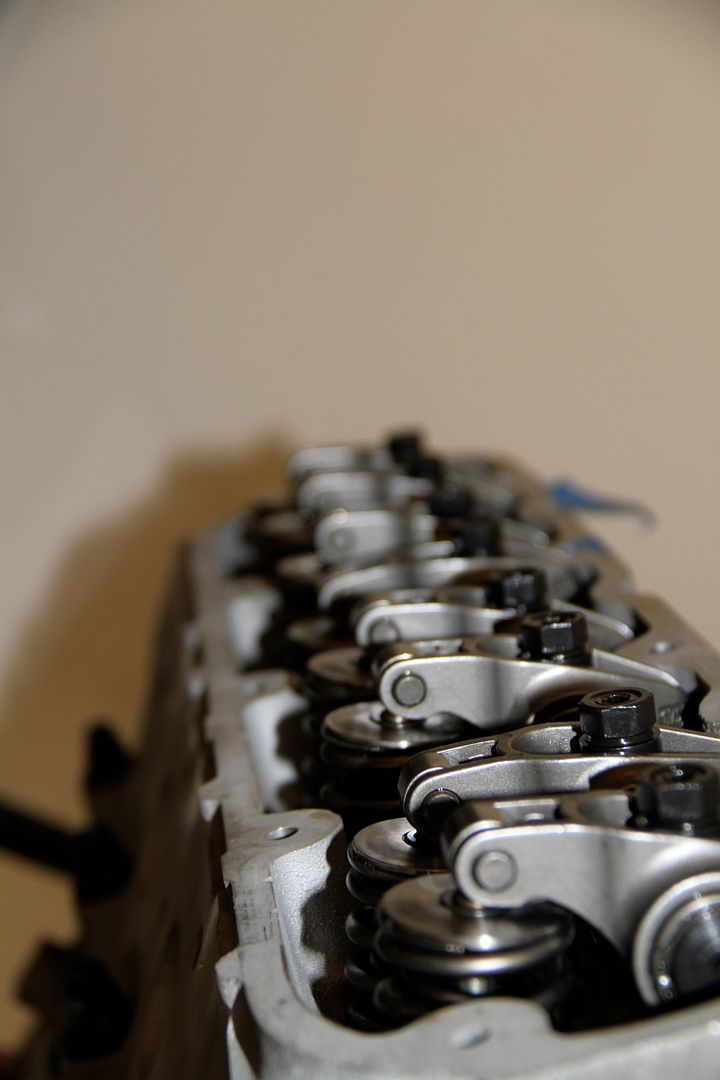
There you have it, all rocker arms installed, looks sick..
Now I painted my Valve covers the same black crinkle.. I think it looks legit..
Well folks there you have it. Heads all bolted up..
Total price so far: $3,076.96
Next week STAGE 1: Phase 3 'Front Drive Assembly & Accessories'
Beer of choice this week is DogFish Head again but their Raison D'Etre. A deep, mahogany Belgian-style brown ale brewed with beet sugar, raisins, and Belgian-style yeast.
Man I just love the after taste of this beer, def a good summer time beer..
Okay what I have to install today is some, Dual Valve Springs, Hardened Chromoly Pushrods and Titanium Retainers that came with the Camshaft package I mentioned last week..Also ARP head studs, Comp Pro Rocker Arms and Comp Cam High Performance Valve Locks.
Comp Pro Rocker Arms: $300 (got from LS1tech.com)
Comp Cam High Performance Valve Locks: $31.99
ARP 12-point head studs: $279.99
First we have the Dual Valve Springs and Titanium Retainers...
These things are sooo sick..
First you have to place the bottom Retainers..
Pretty straight forward on this part..
Next is the Valve Seals.. Now to install these you will need a 12mm and a hammer. Tap, Tap, Tap, take your time and make sure they are straight. You don't want to F one of these up and have to go out and buy new ones..
Seals all in place. Next reinstall the Valves
Bam!! Next are the Dual Springs
I bought some Comp Cam High Performance Valve Locks
Now you are going to use the same Valve Spring Compressor tool you rented from Advance Auto Parts to install them..
Place the Spring over the valve and then the top Retainer. Compress the Spring with the tool and then insert the Valve locks. Slowly release the tool and bam you have money...
All done with this head..On to the next..
Nice and easy.. These things looks so damn good..
Both heads are complete.. On to the next item at hand..
Next we have the lifters and lifter try. Pretty simple install...
Just place the roller lifters in the tray,, easy as it sounds..
Now drop into place...
Good to go...
And use a 10mm and torque to 106 in-lb.
Next we have the 12-point ARP head bolts
Comes with all the bolts to mount your heads to the block..
First you will install all the bolts in their proper location and tighten with an allen wrench.
Next install the head gasket. Mine came with my long block so I did not have to buy one.. It was brand new in the bag still.
Next I placed the heads on the block. Then installed the ARP bolts. Now to torque these down I followed the pic above and torque all 10 15mm bolts to 22lb-ft.
Edit: Okay I was confusing some people about the torque specs on the ARP bolts. You just need to follow the ARP instructions that came with the box.
Again it is a lot of work but worth it..
Close up...
Next are the Hardened Chromoly Pushrods
Texas Speed Shop knows their stuff and so glad they are in TX.. Good stuff..
To install the pushrods just drop them in...
Next are Comp Pro Rocker Arms. I got these off of LS1tech..
These things are so sick..
They come with there own guide plates.. You just need to torque them down to 22lb-ft.
Next install the rocker arms, and also torque them down to 22lb-ft
There you have it, all rocker arms installed, looks sick..
Now I painted my Valve covers the same black crinkle.. I think it looks legit..
Well folks there you have it. Heads all bolted up..
Total price so far: $3,076.96
Next week STAGE 1: Phase 3 'Front Drive Assembly & Accessories'
Last edited by Royal_T; 08-08-2011 at 11:42 AM.
 08-08-2011, 07:04 AM
#17
Some constructive feedback: (not only is it not going to run at all, it will likely bend valves the first time you spin the starter)
1.) Those rockers are stud-mount, not factory pedestal pieces...you don't torque the rocker nuts to 22 lb/ft, you bring each one's cam lobe to base circle and set to zero lash + 1/2 turn or whatever. Read up and fix it before you damage a valve.
2.) Should have wiped the cam thoroughly w/ mineral spirits to remove the preservative and any residual machining debris before oiling and installing.
3.) Should have oiled or assembly-lubed the valve stems so the guides aren't dry on startup.
4.) Reusing the factory lifters wouldn't have been my preference.
5.) Doesn't look like you cleaned the pushrods. Should have soaked them in mineral spirits, then blown out the centers to remove debris so it doesn't get pumped into the valvetrain on startup.
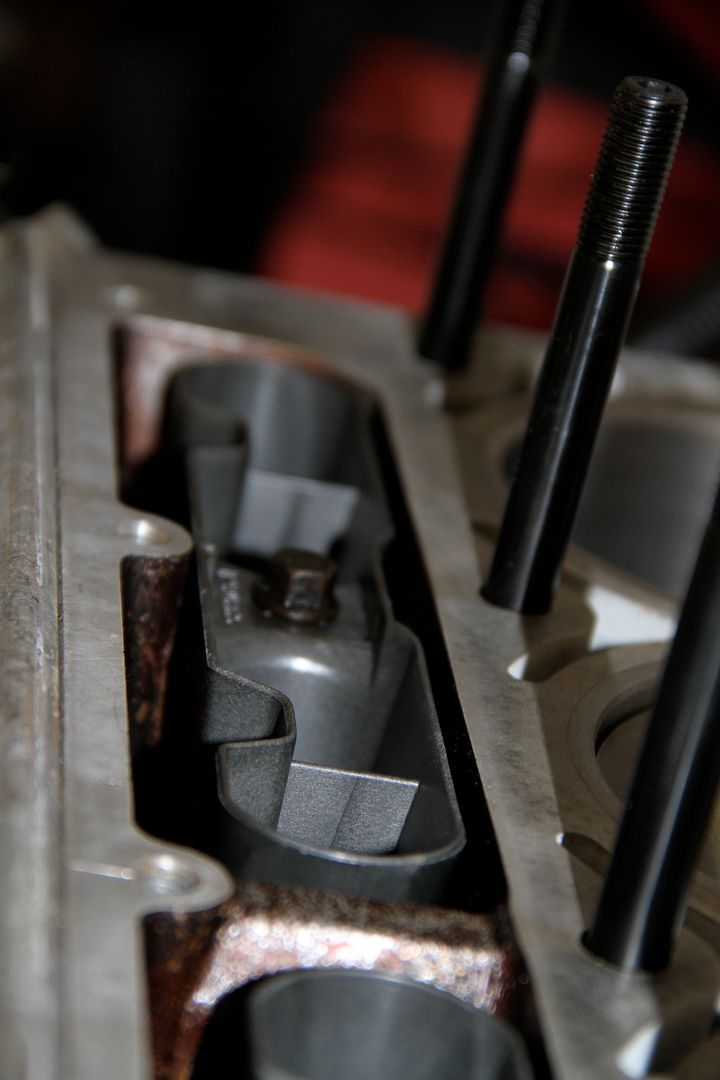
6.) Never seen an MLS gasket that is compatible w/ the older head design, usually these spew coolant. Do some reading on heads w/ the wedge-shaped cutout at the base.
7.) Doesn't look like you lubed the rockers & pushrods...takes a while for oil to get up there during first startup and they'll be running dry that whole time.
Good luck.
1.) Those rockers are stud-mount, not factory pedestal pieces...you don't torque the rocker nuts to 22 lb/ft, you bring each one's cam lobe to base circle and set to zero lash + 1/2 turn or whatever. Read up and fix it before you damage a valve.
2.) Should have wiped the cam thoroughly w/ mineral spirits to remove the preservative and any residual machining debris before oiling and installing.
3.) Should have oiled or assembly-lubed the valve stems so the guides aren't dry on startup.
4.) Reusing the factory lifters wouldn't have been my preference.
5.) Doesn't look like you cleaned the pushrods. Should have soaked them in mineral spirits, then blown out the centers to remove debris so it doesn't get pumped into the valvetrain on startup.
6.) Never seen an MLS gasket that is compatible w/ the older head design, usually these spew coolant. Do some reading on heads w/ the wedge-shaped cutout at the base.
7.) Doesn't look like you lubed the rockers & pushrods...takes a while for oil to get up there during first startup and they'll be running dry that whole time.
Good luck.
Last edited by crainholio; 08-08-2011 at 07:31 AM.
08-08-2011, 07:15 AM
#18
Here's more info on the difference in head gaskets:
https://ls1tech.com/forums/generatio...d-gaskets.html
edit to add: And did you really use angle torque on your ARP head studs???
Good gawd the beer selection is the only part of this assembly that has gone right.
https://ls1tech.com/forums/generatio...d-gaskets.html
edit to add: And did you really use angle torque on your ARP head studs???
Good gawd the beer selection is the only part of this assembly that has gone right.
Last edited by crainholio; 08-08-2011 at 07:25 AM.
08-08-2011, 11:13 AM
#19
Launching!
Thread Starter
Join Date: Oct 2009
Posts: 218
Likes: 0
Received 0 Likes
on
0 Posts
Some constructive feedback: (not only is it not going to run at all, it will likely bend valves the first time you spin the starter)
1.) Those rockers are stud-mount, not factory pedestal pieces...you don't torque the rocker nuts to 22 lb/ft, you bring each one's cam lobe to base circle and set to zero lash + 1/2 turn or whatever. Read up and fix it before you damage a valve.
2.) Should have wiped the cam thoroughly w/ mineral spirits to remove the preservative and any residual machining debris before oiling and installing.
3.) Should have oiled or assembly-lubed the valve stems so the guides aren't dry on startup.
4.) Reusing the factory lifters wouldn't have been my preference.
5.) Doesn't look like you cleaned the pushrods. Should have soaked them in mineral spirits, then blown out the centers to remove debris so it doesn't get pumped into the valvetrain on startup.
6.) Never seen an MLS gasket that is compatible w/ the older head design, usually these spew coolant. Do some reading on heads w/ the wedge-shaped cutout at the base.
7.) Doesn't look like you lubed the rockers & pushrods...takes a while for oil to get up there during first startup and they'll be running dry that whole time.
Good luck.
Here's more info on the difference in head gaskets:
https://ls1tech.com/forums/generatio...d-gaskets.html
edit to add: And did you really use angle torque on your ARP head studs???
Good gawd the beer selection is the only part of this assembly that has gone right.
https://ls1tech.com/forums/generatio...d-gaskets.html
edit to add: And did you really use angle torque on your ARP head studs???
Good gawd the beer selection is the only part of this assembly that has gone right.
But thanks again for the big help
08-16-2011, 12:23 AM
#20
Launching!
Thread Starter
Join Date: Oct 2009
Posts: 218
Likes: 0
Received 0 Likes
on
0 Posts
Sorry guys for the late update, was a crazy weekend.. Well back to the action
After fixing all the things crainholio suggested time to move on..Thanks
STAGE 1: Phase 3 'Front Drive Assembly & Accessories'
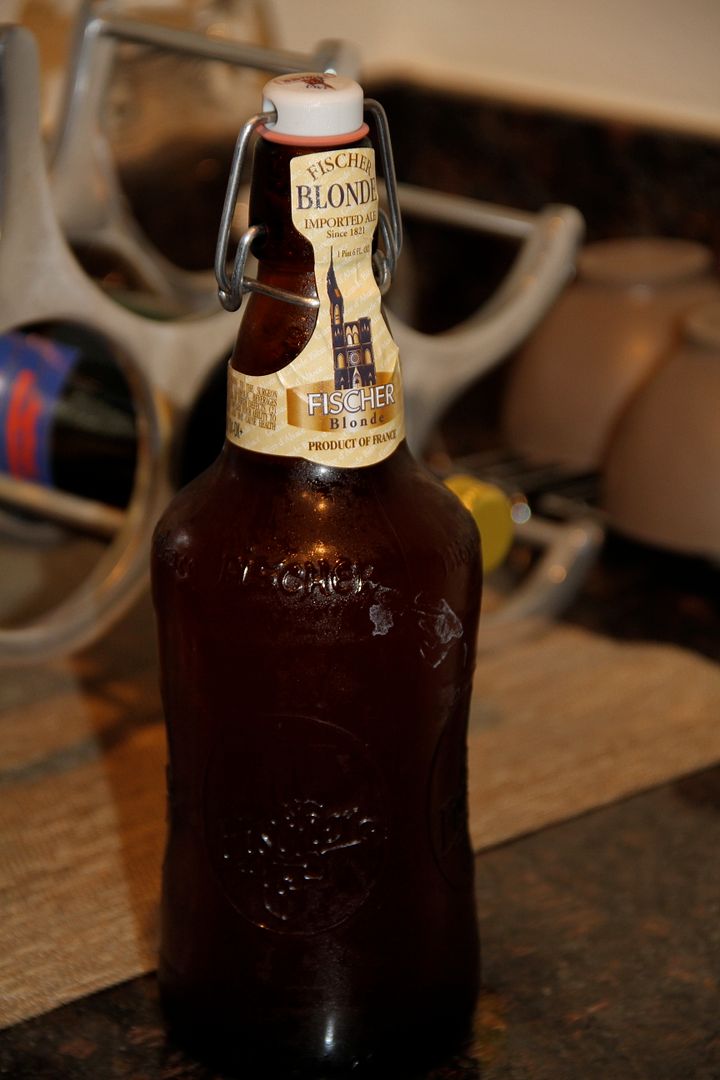
Beer of choice this week is Fischer Blonde, a blonde ale with a baright gold in color, this beer displays unique savour with subtle fruity accents. Beer is imported from France. Also has a pretty cool bottle top. Has a pretty good taste could be better but not bad with a good burger..
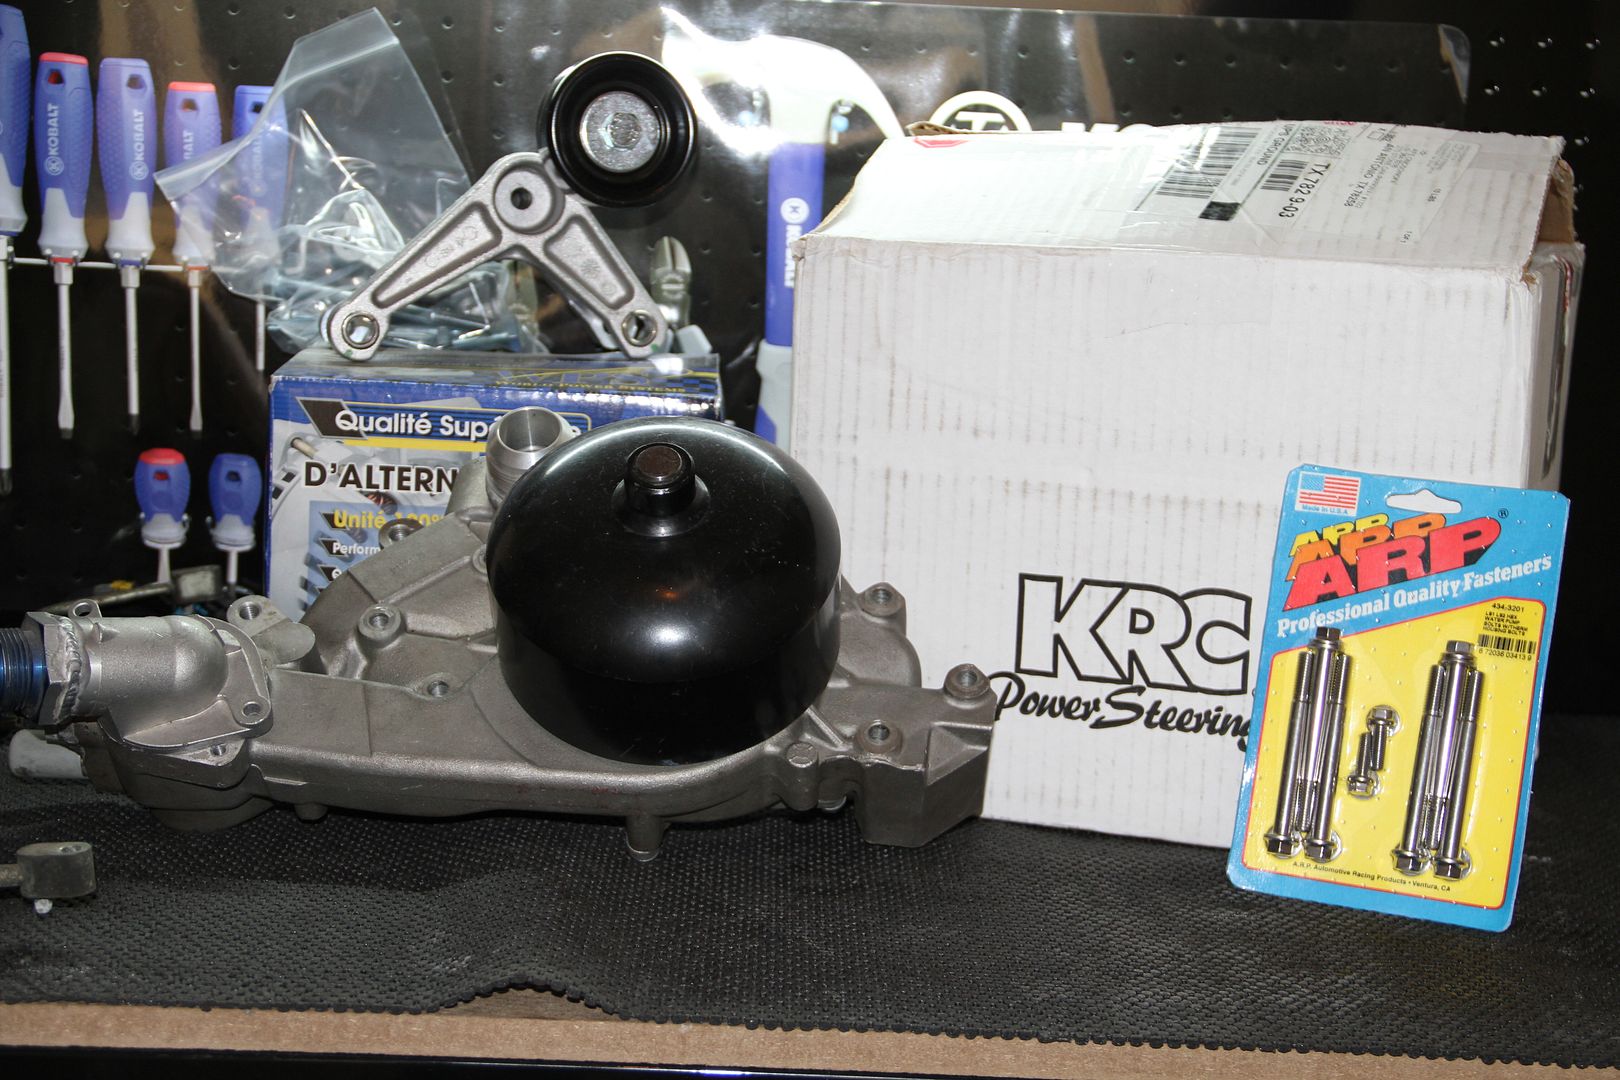
What we have to install today is a water pump with some AN fittings that I got from my good friend Stew, which also has a build thread going on with his LS1 S13 (check it out HERE), ARP Water pump bolts, Alternator, KRC tension pulley and a KRC drift power steering pump. Nothing but the best for my babe..
Water Pump: $150.00
ARP Water Pump Bolts: $37.00
Alternator: $97.99
KRC idler tensioned is: $178.75
KRC Drift power steering pump: $460.57
KRC F-body pump bracket is: $68.75
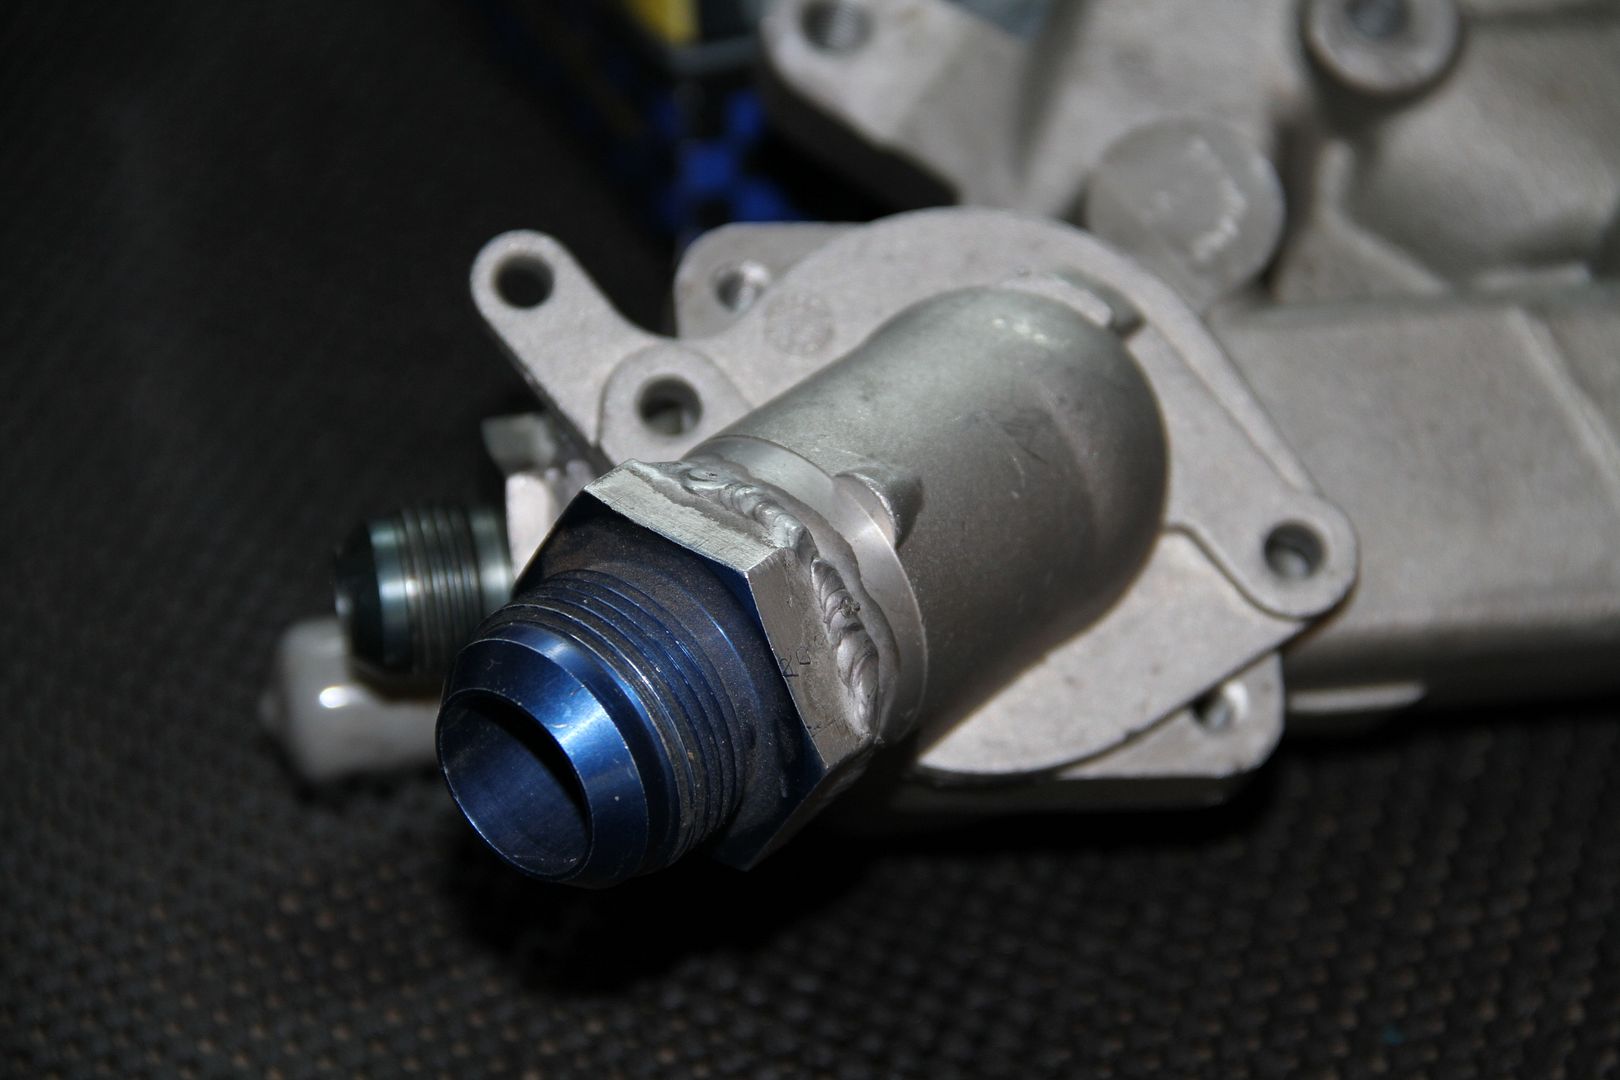
Stew had a -16AN welded in for the thermostat, but I will be changing this to a -20AN..

Here is a -20AN that I had welded for the inlet side..
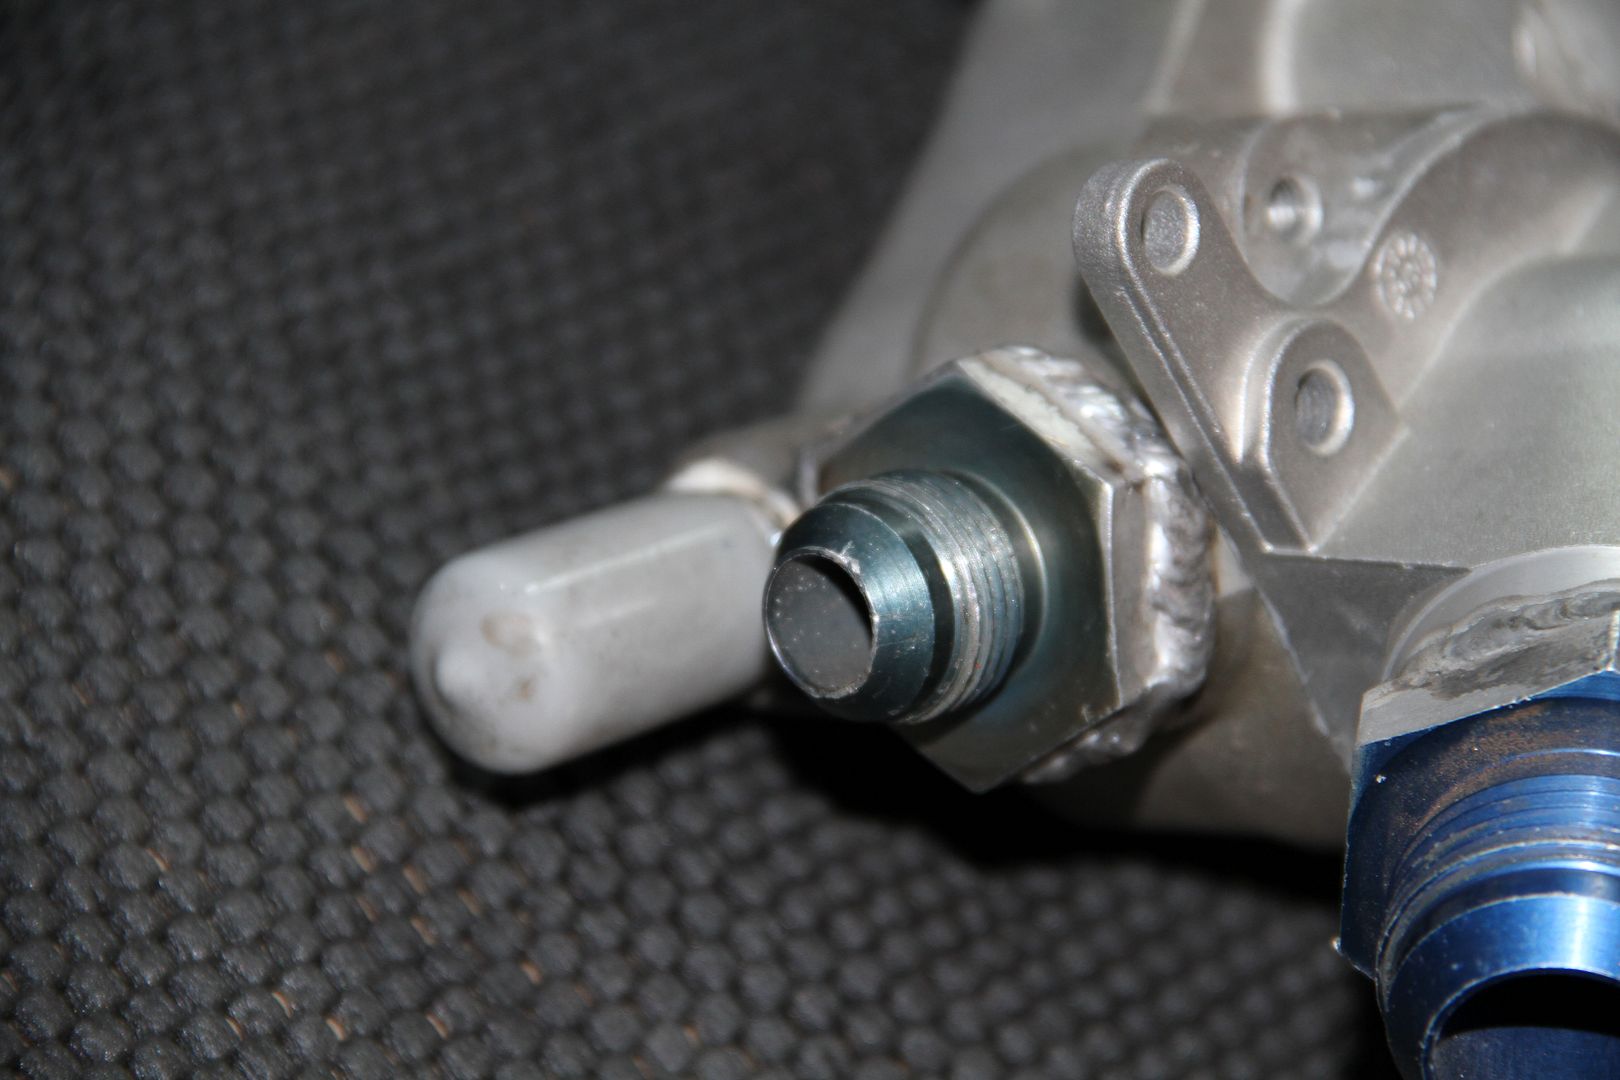
More AN fittings thanks to Stew, other inlet was welded shut,,
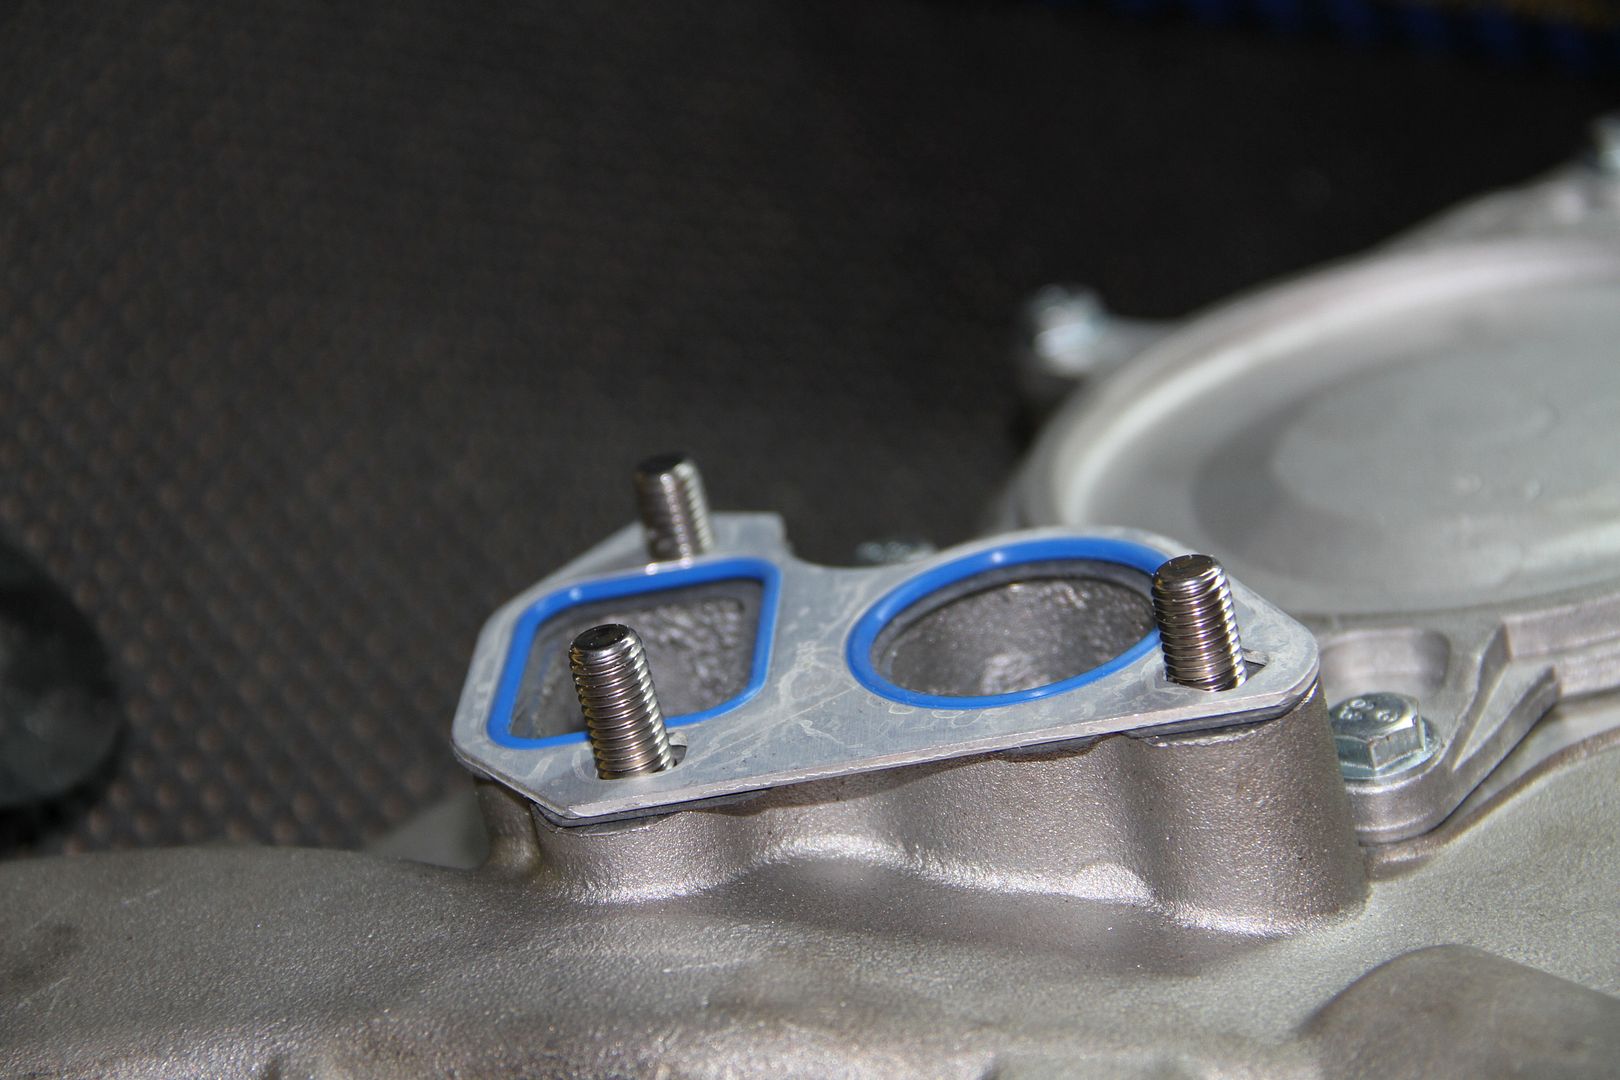
New Gaskets and ARP bolts

Bolt it up, and torque to 11 lb ft (First Pass) and 22 lb ft (Final Pass)
next is the alternator bracket
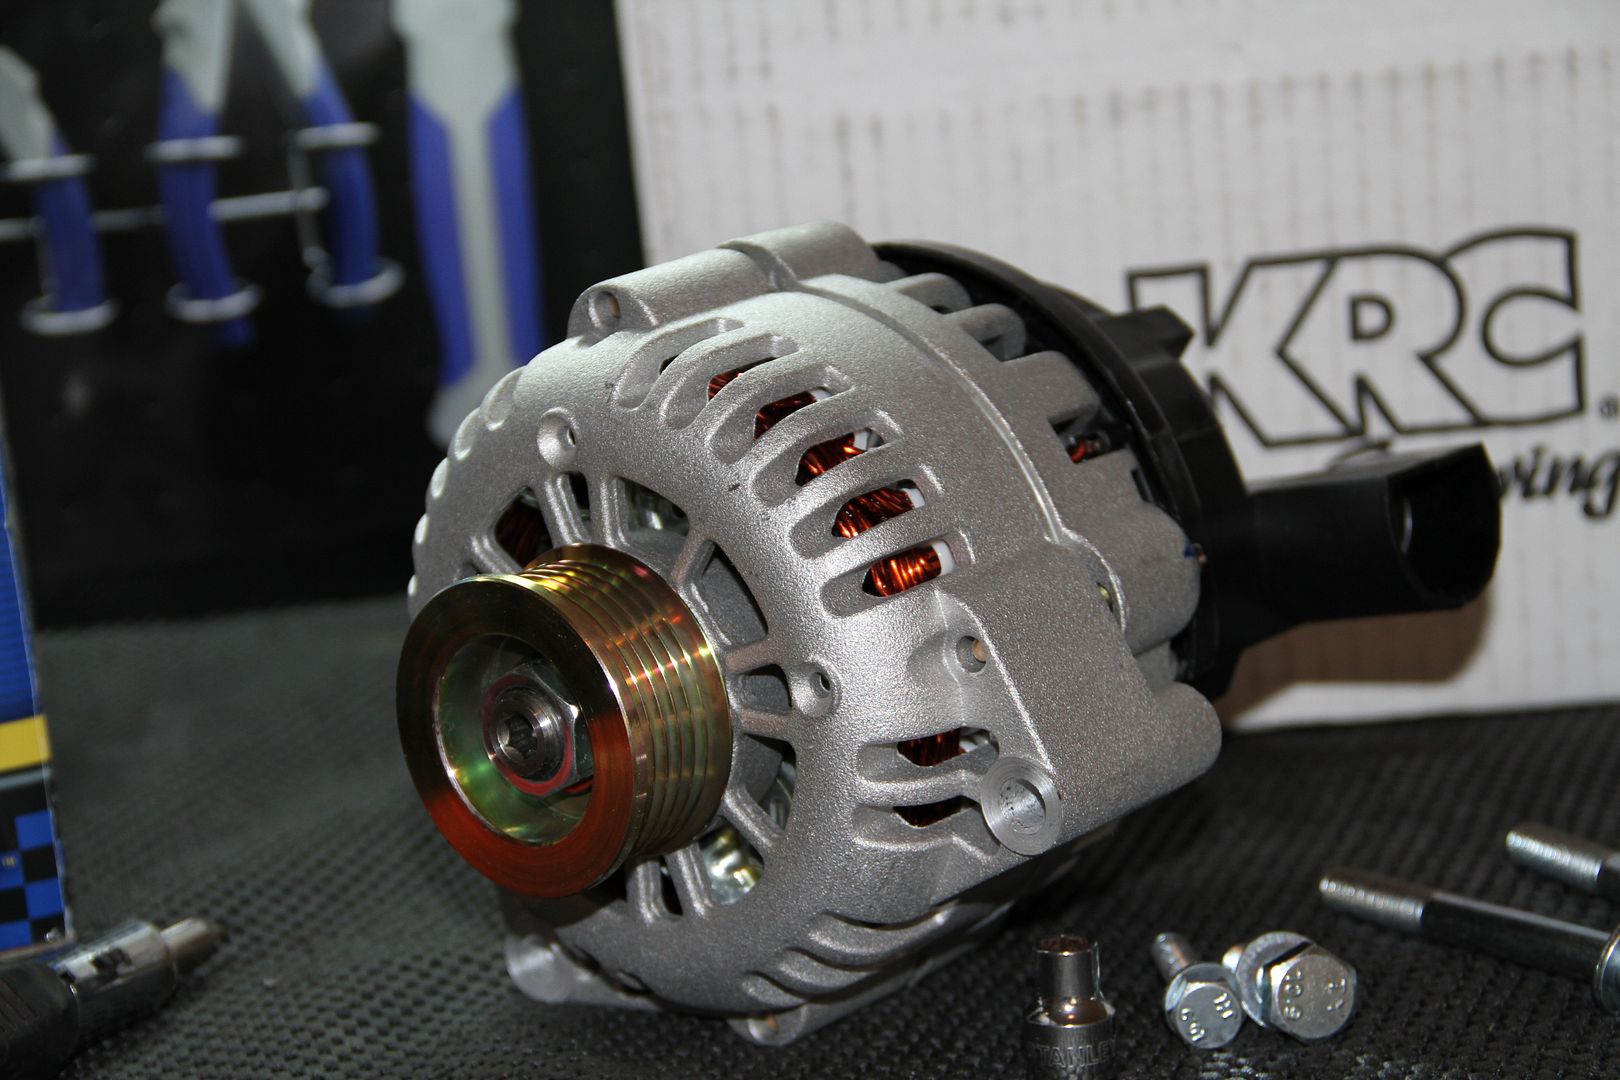
And the alternator its self..
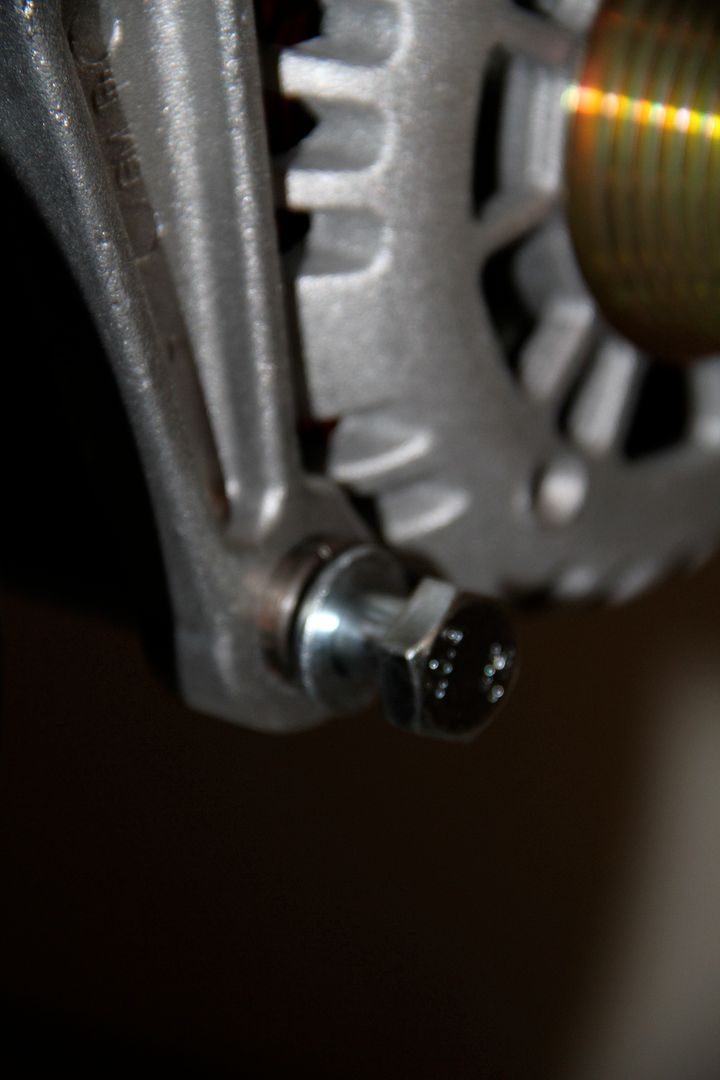
bolt it up
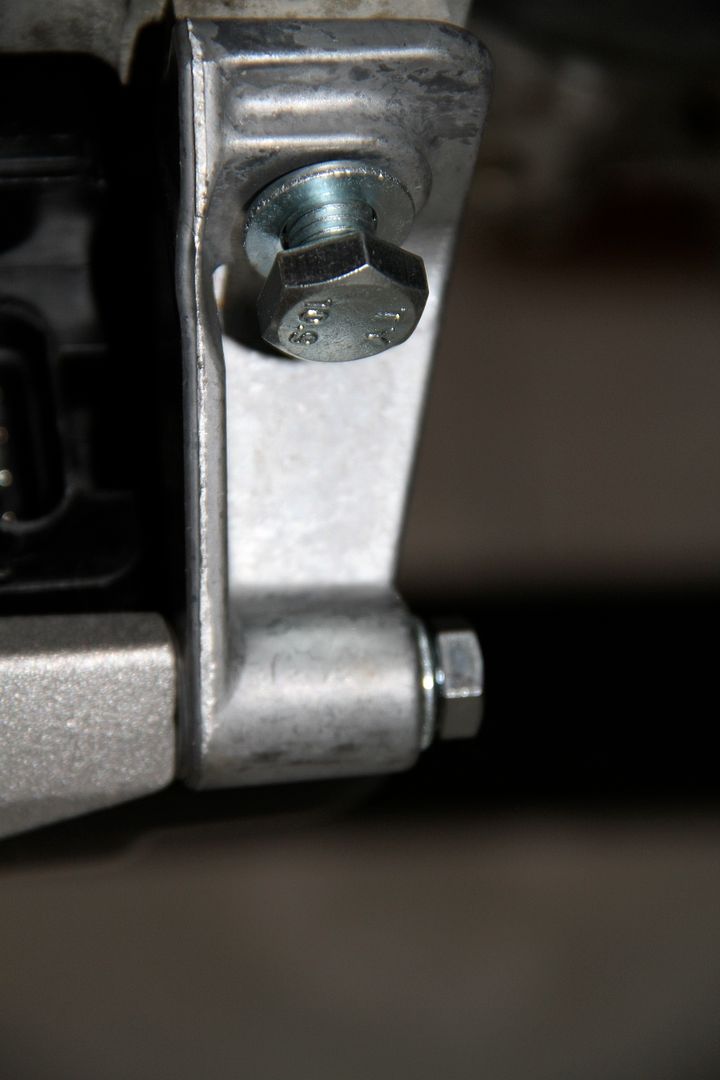
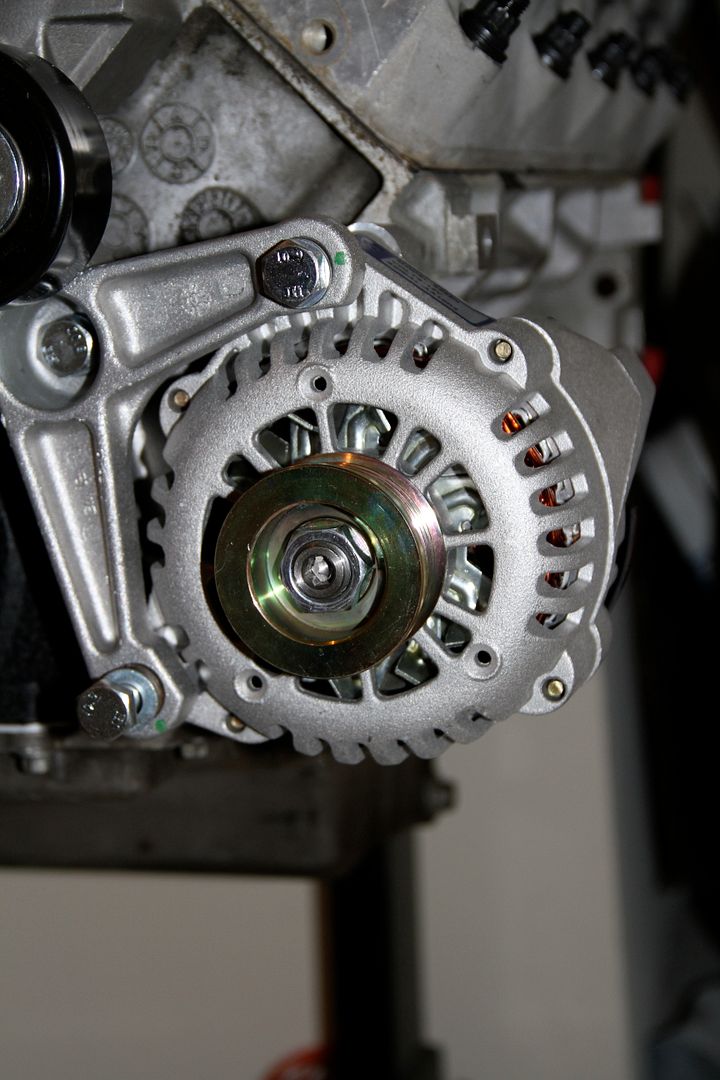
make sure you torque down
starting to come together
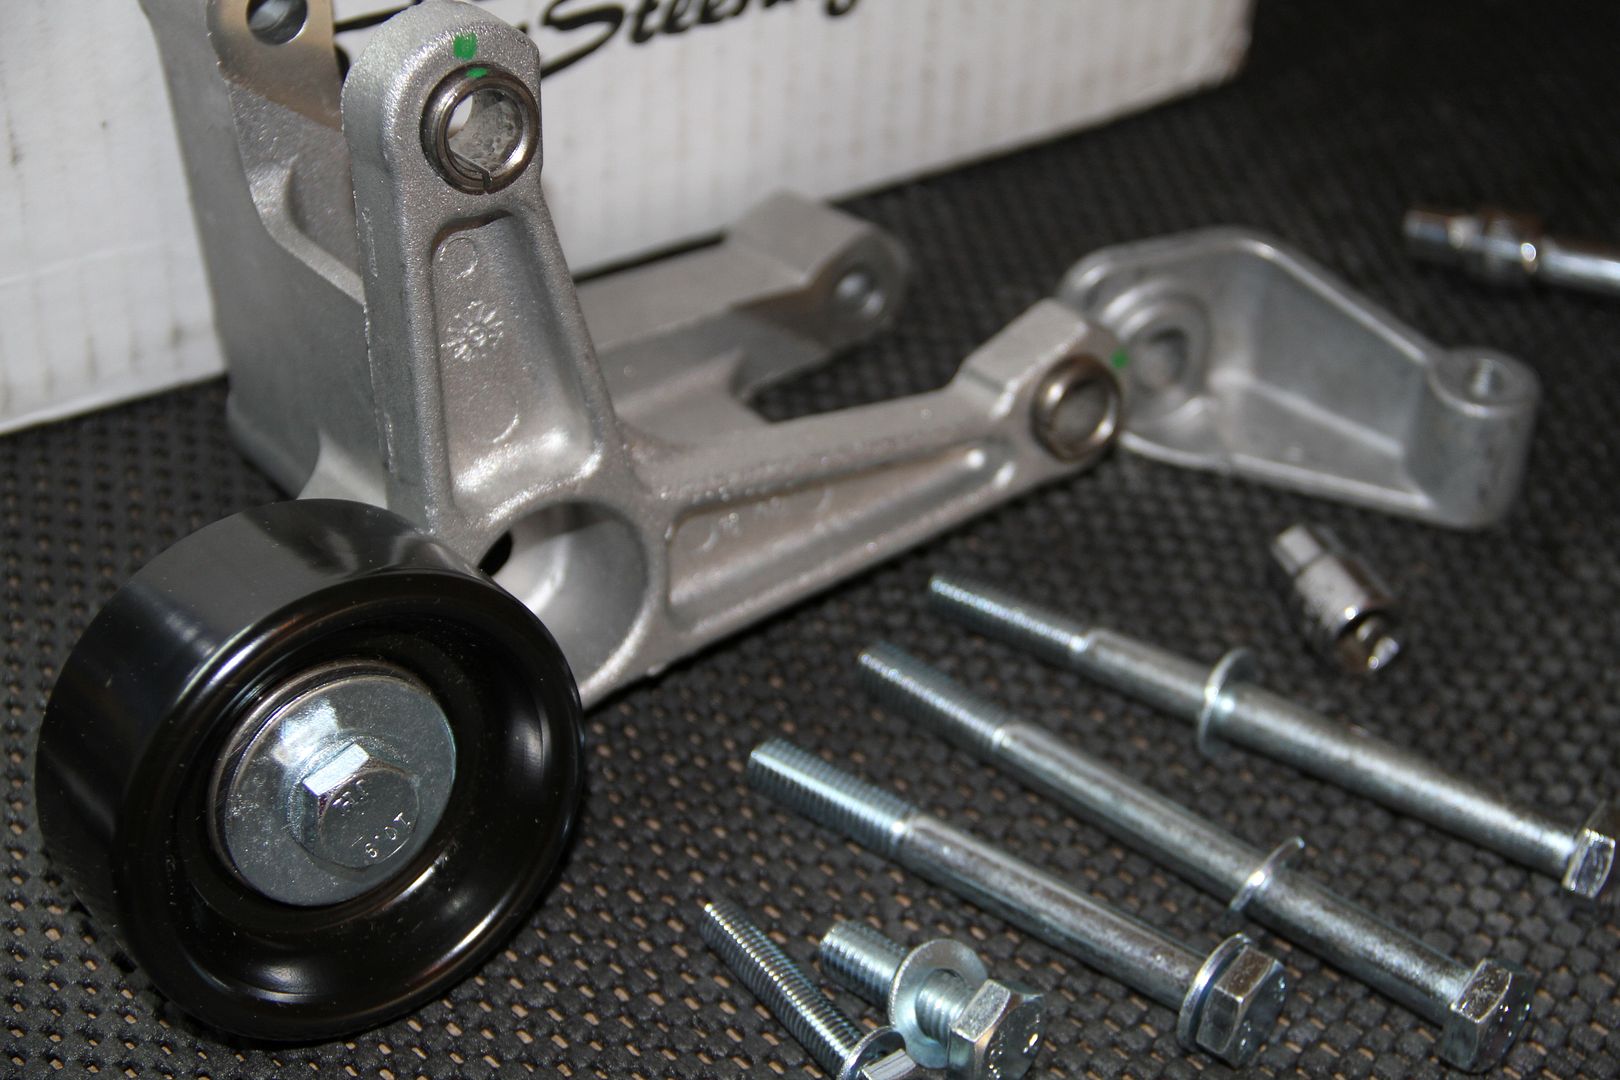
Next is the KRC goods,,
First up is the idler tension pulley.. KRC makes some nice products and would highly recommend them to any one.
Mount up the bracket first and follow the instructions for torque specs.
Already looks good.
Then mount up the bracket for the pulley itself and again follow the KRC instructions.
So pretty...
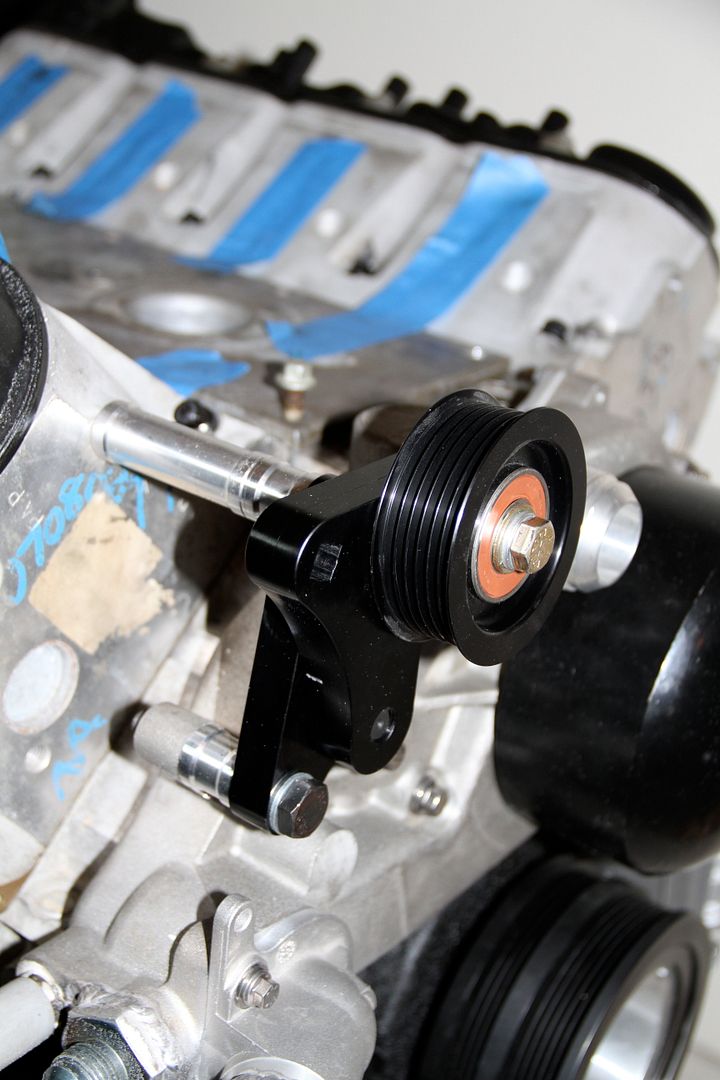
Then mount up the pulley itself. In this pic I have not fully installed the center bearing all the way, but you get the idea..
Perfect
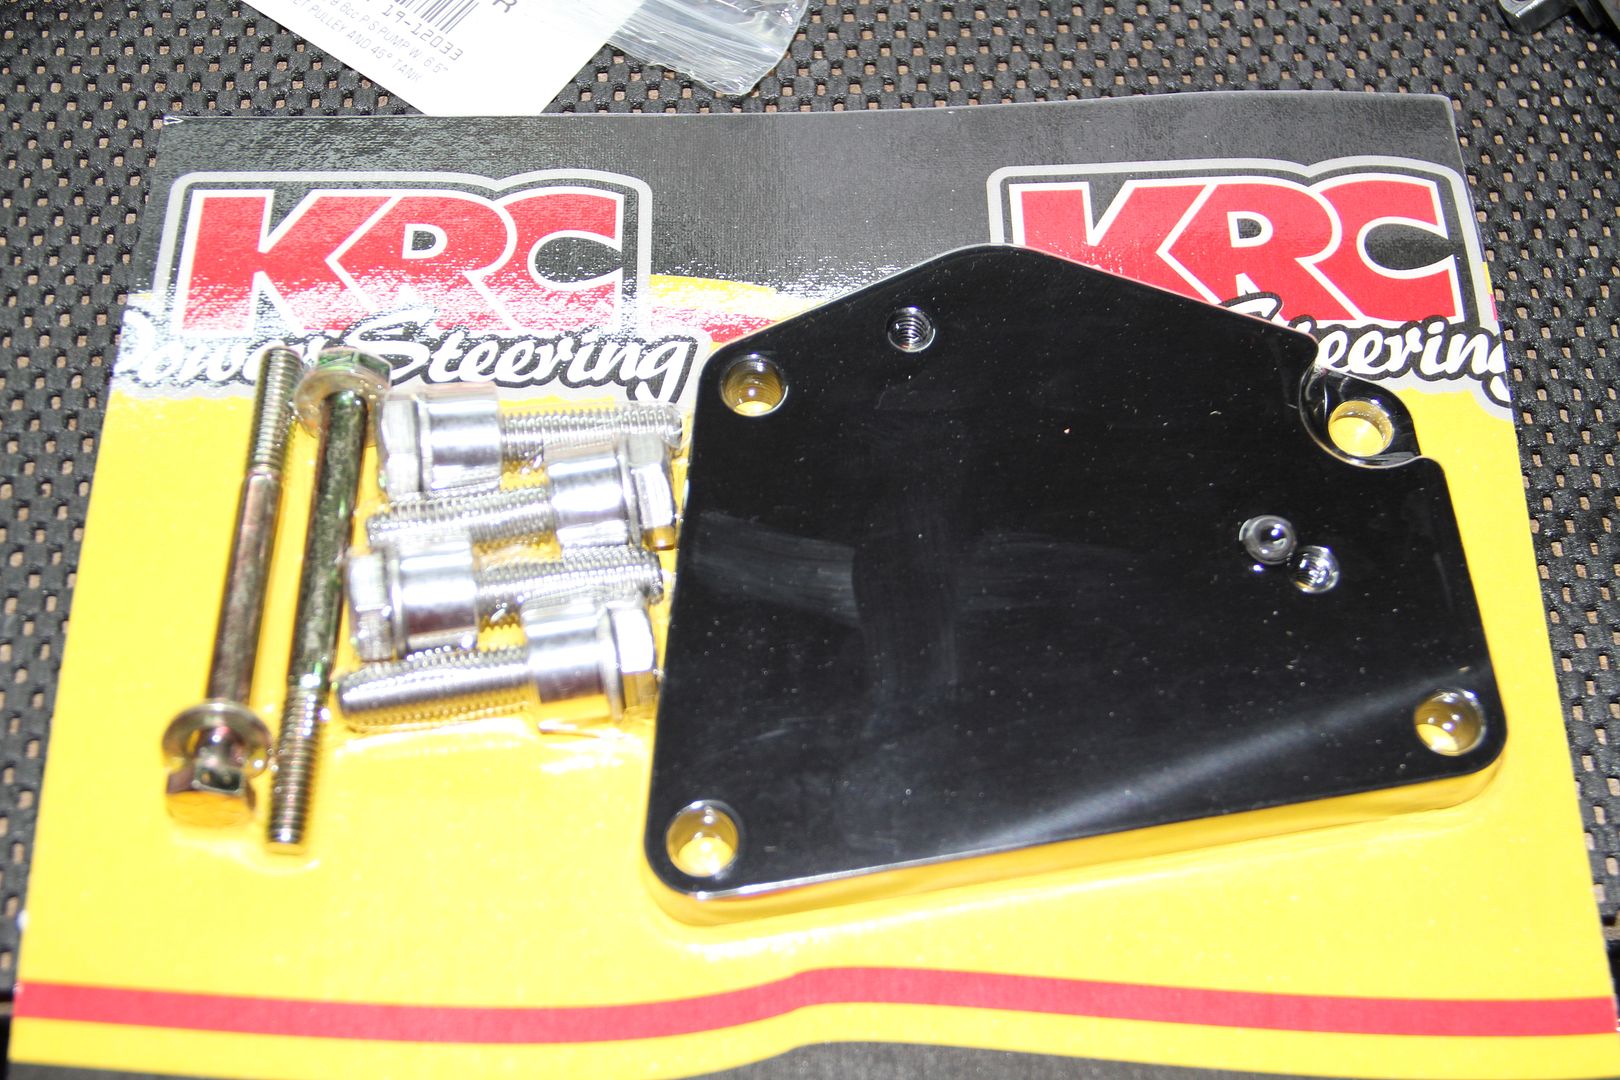
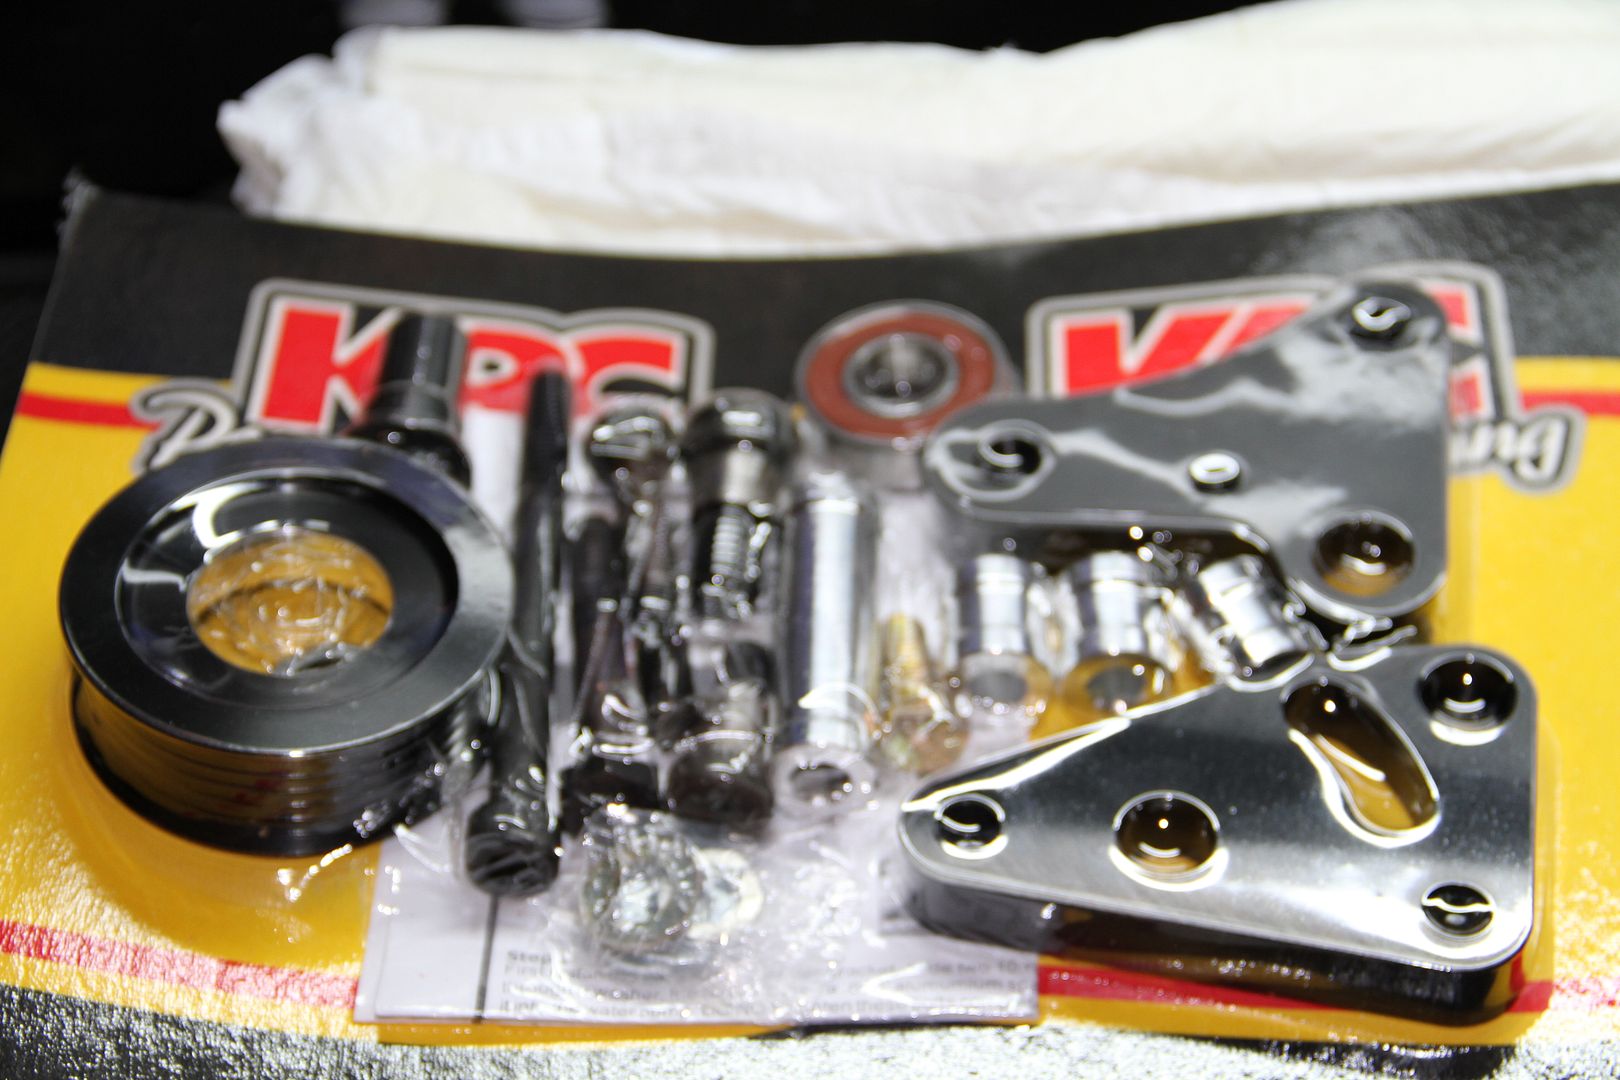
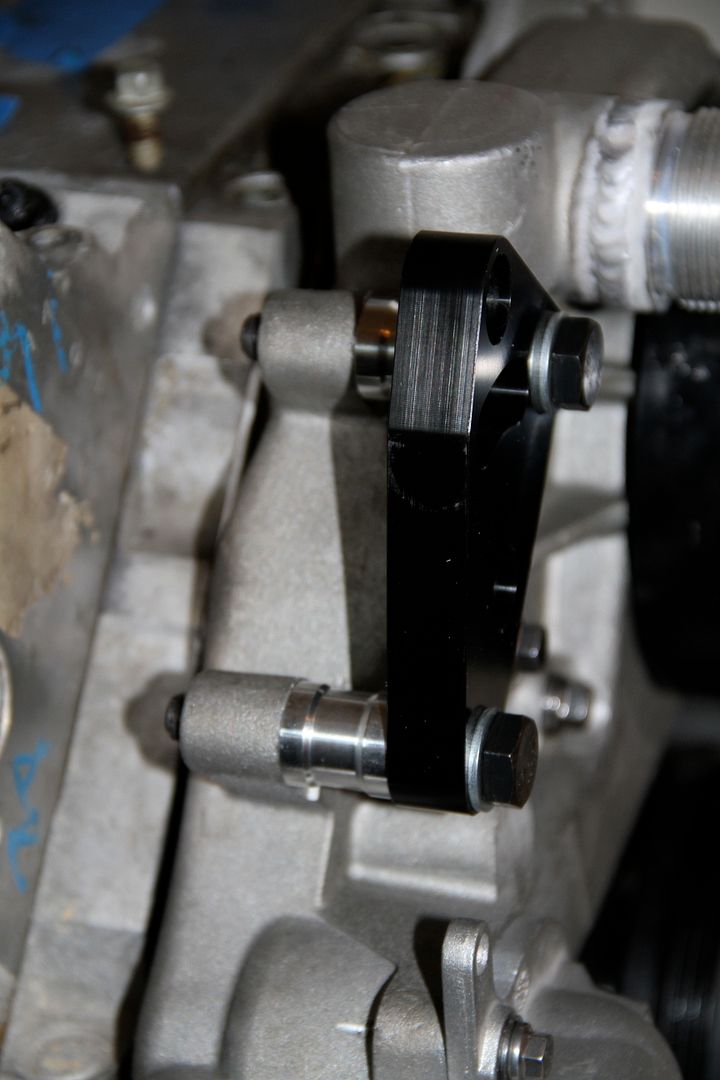
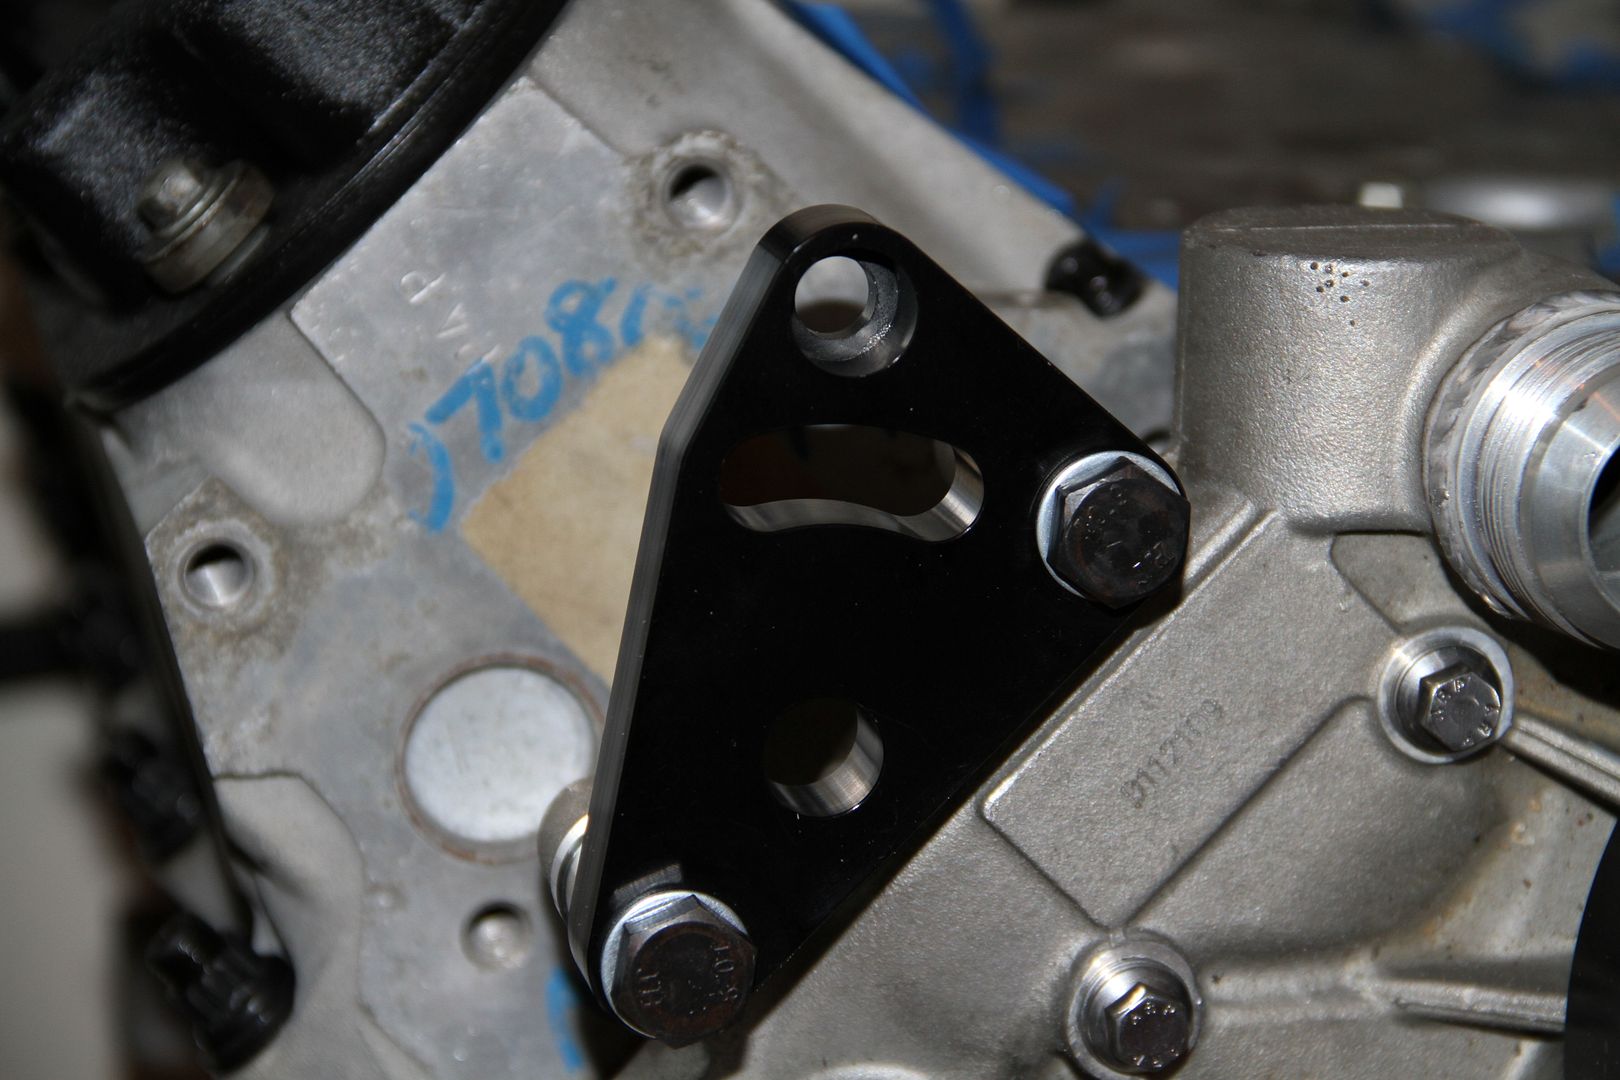
Next is the KRC Drift power steering pump bracket
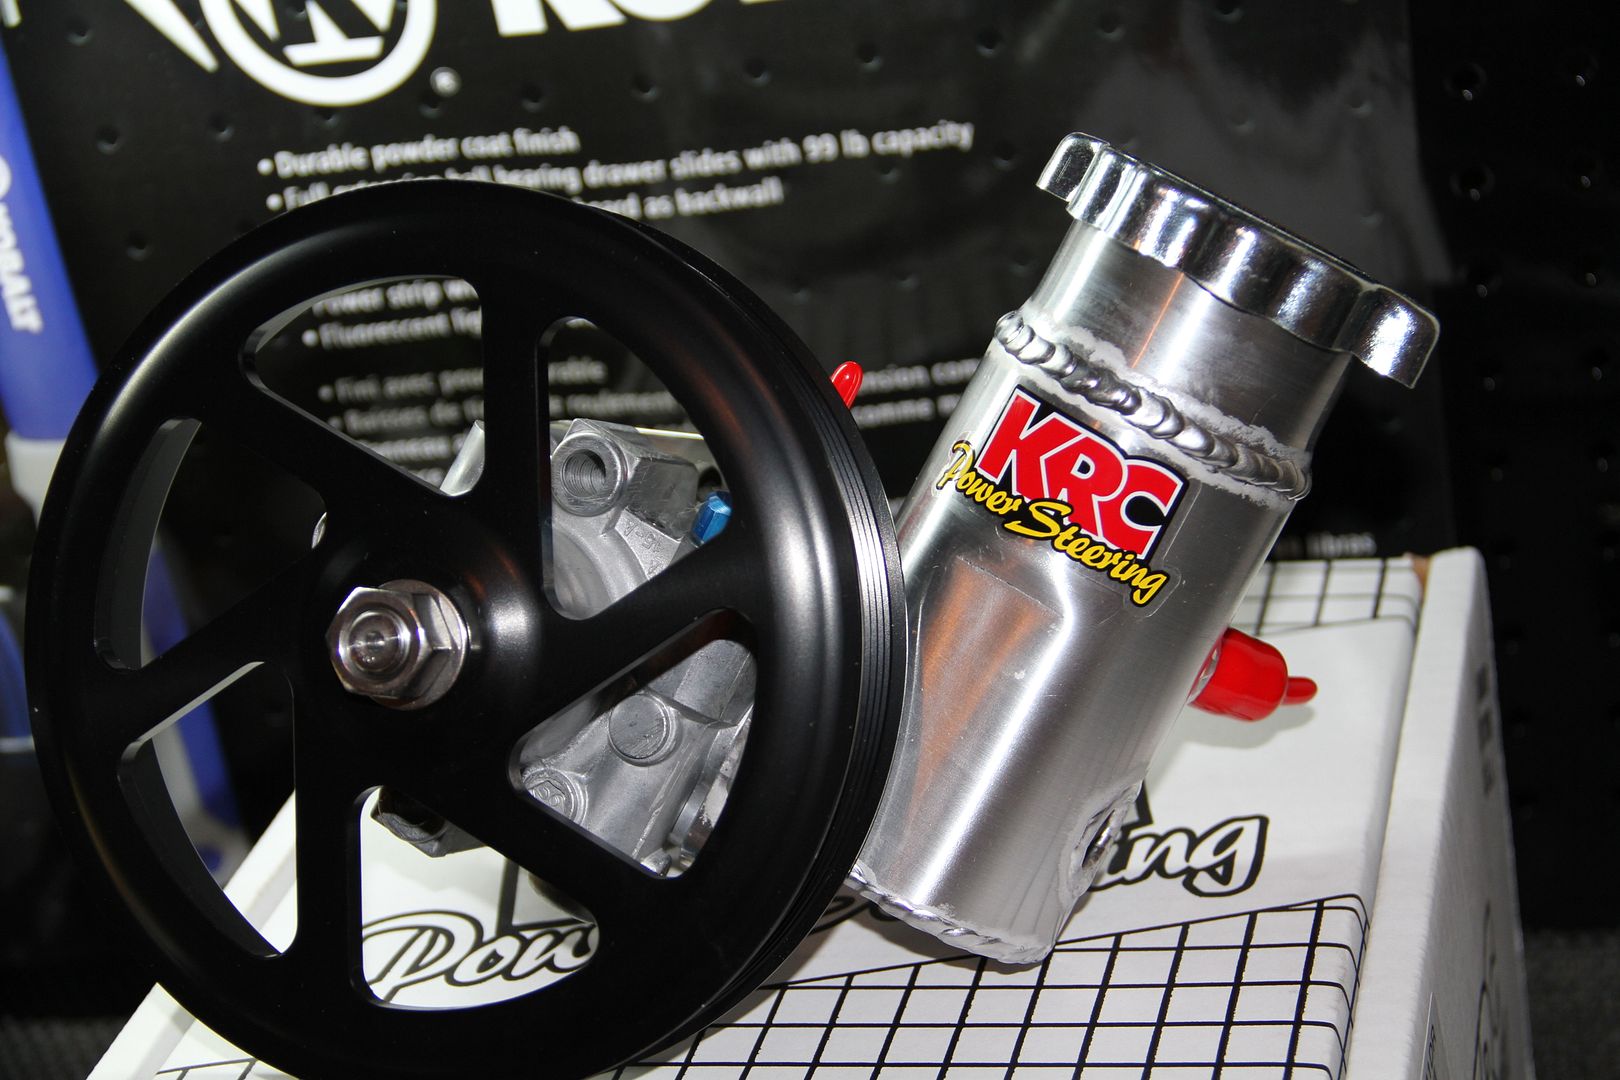
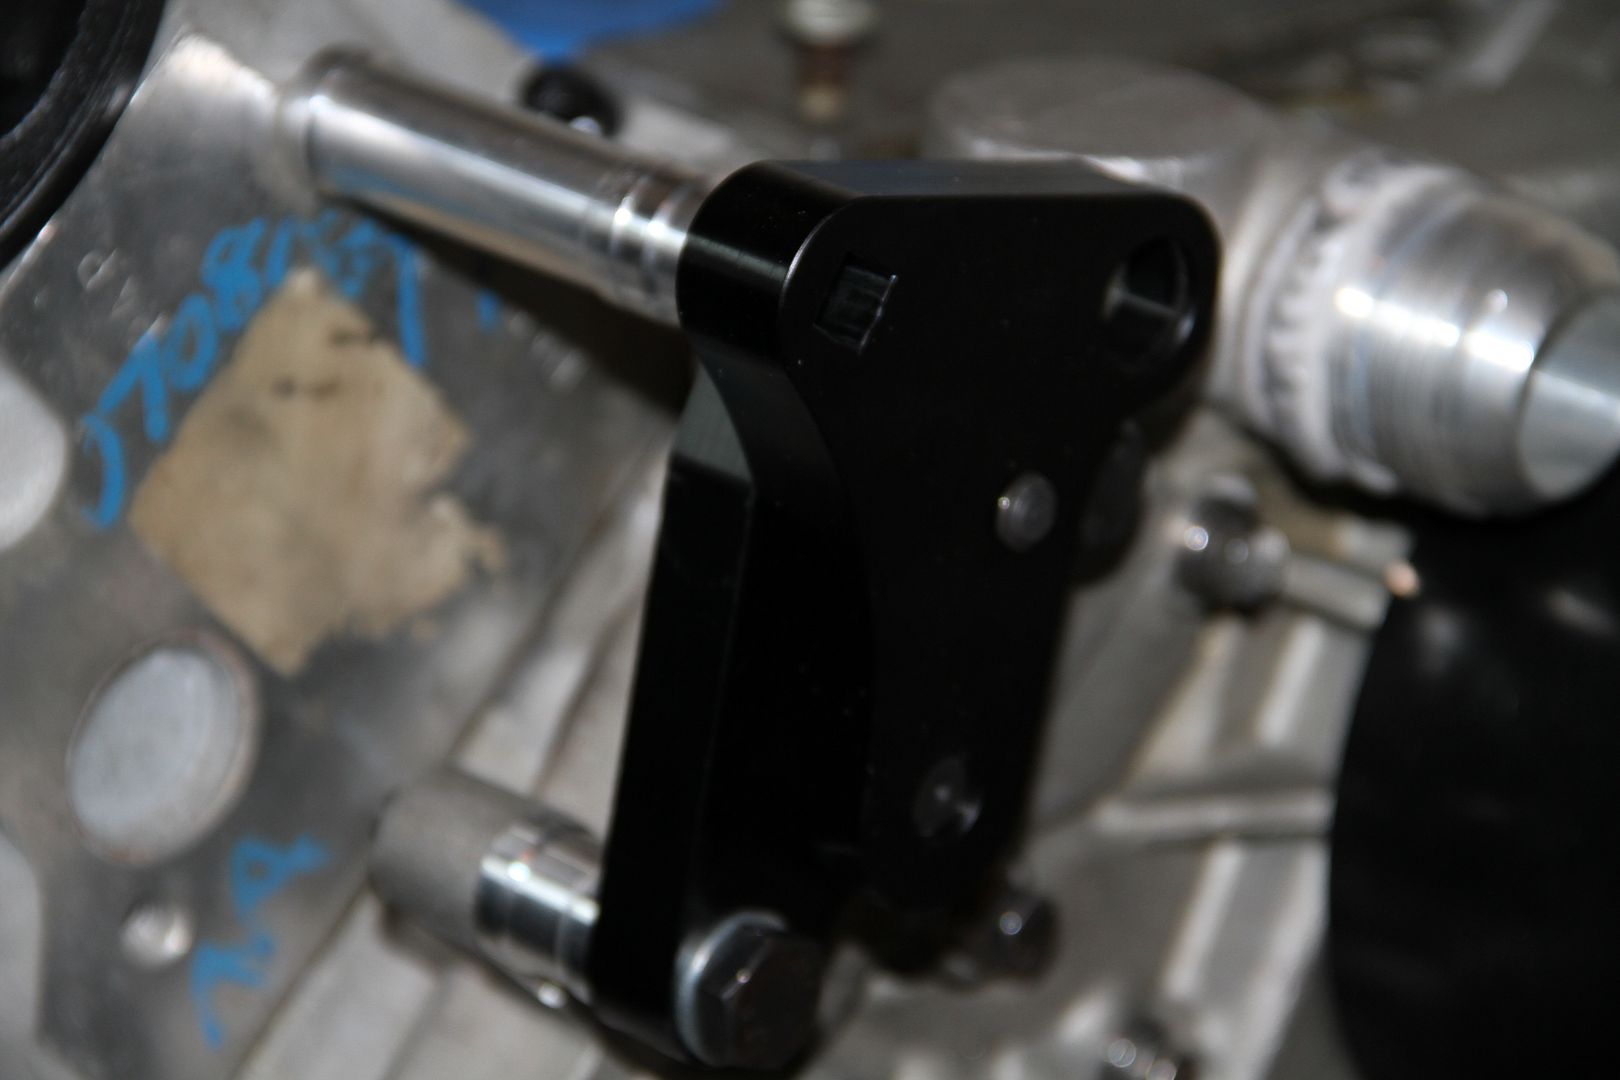
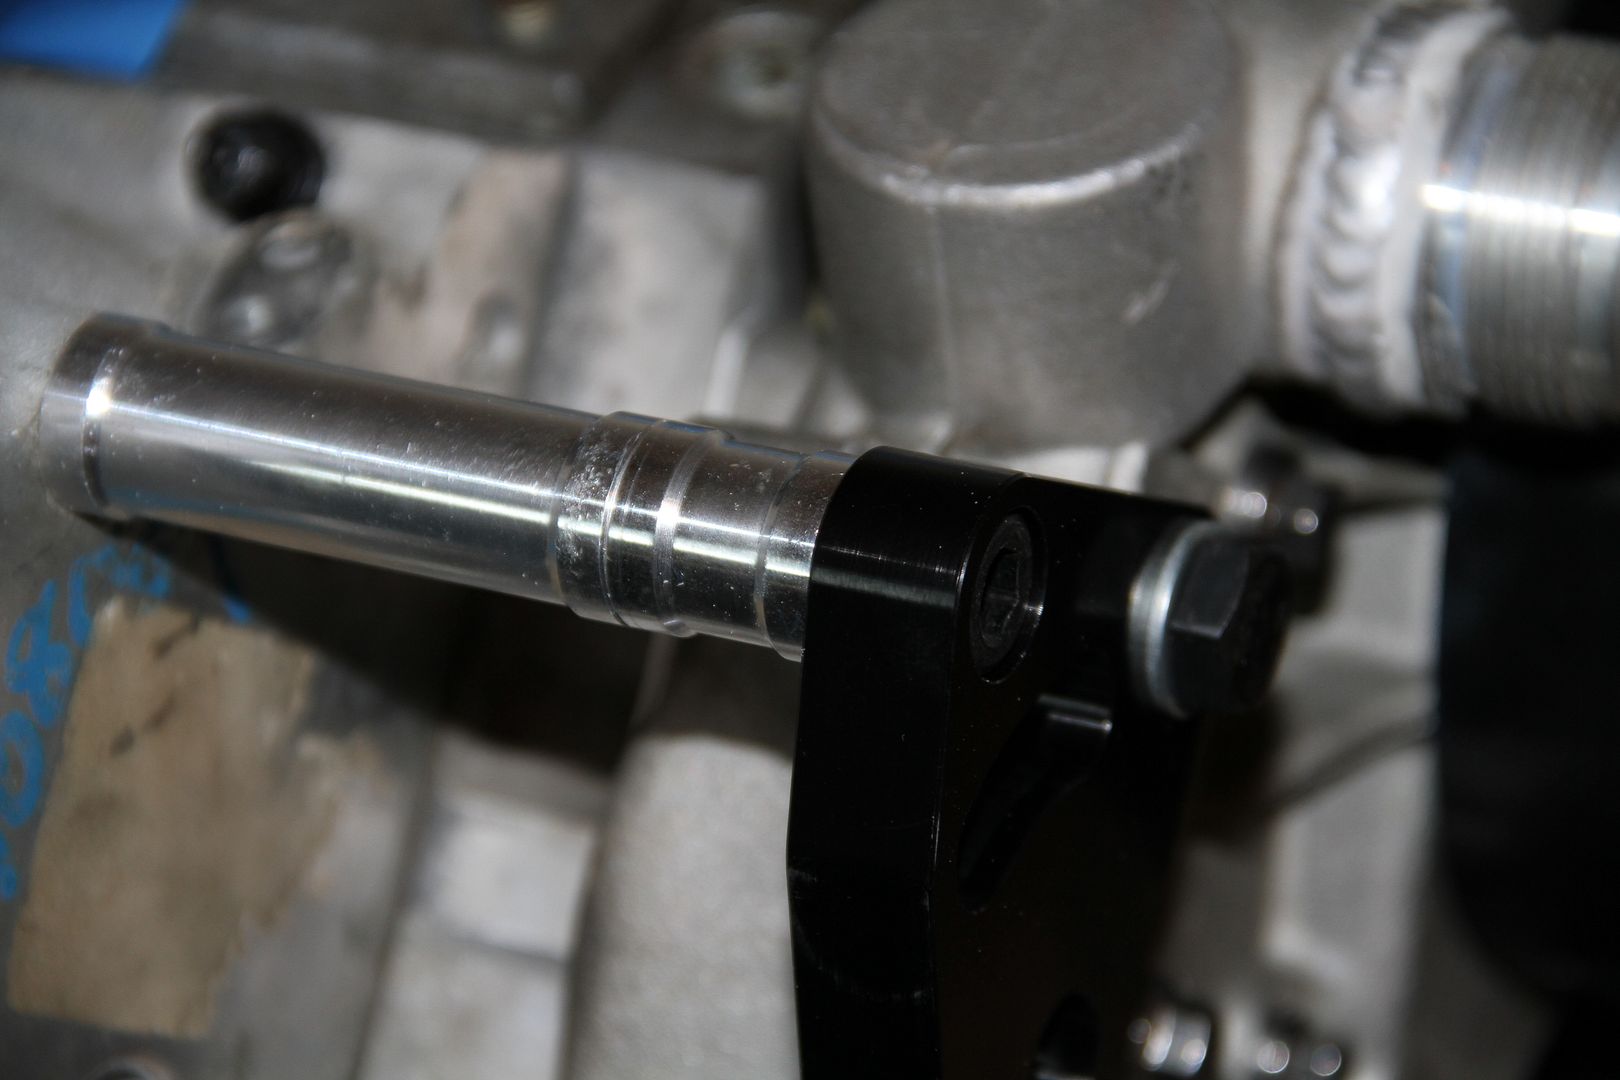
And the power steering pump itself too.
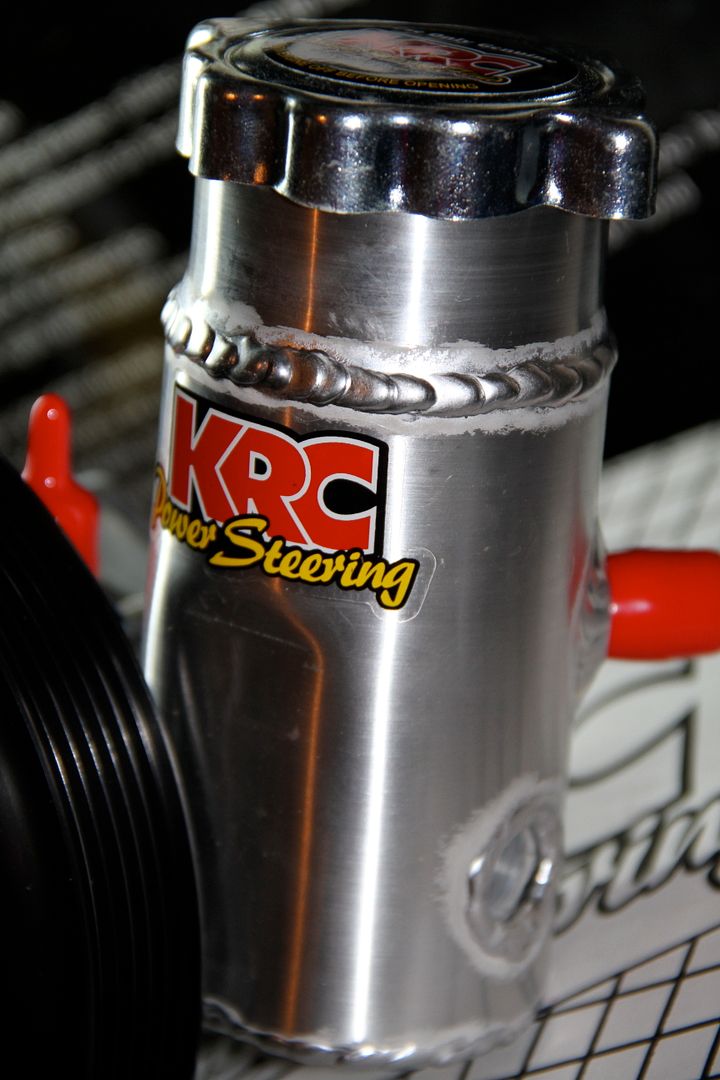
The craftsmanship of this power steering pump is damn good
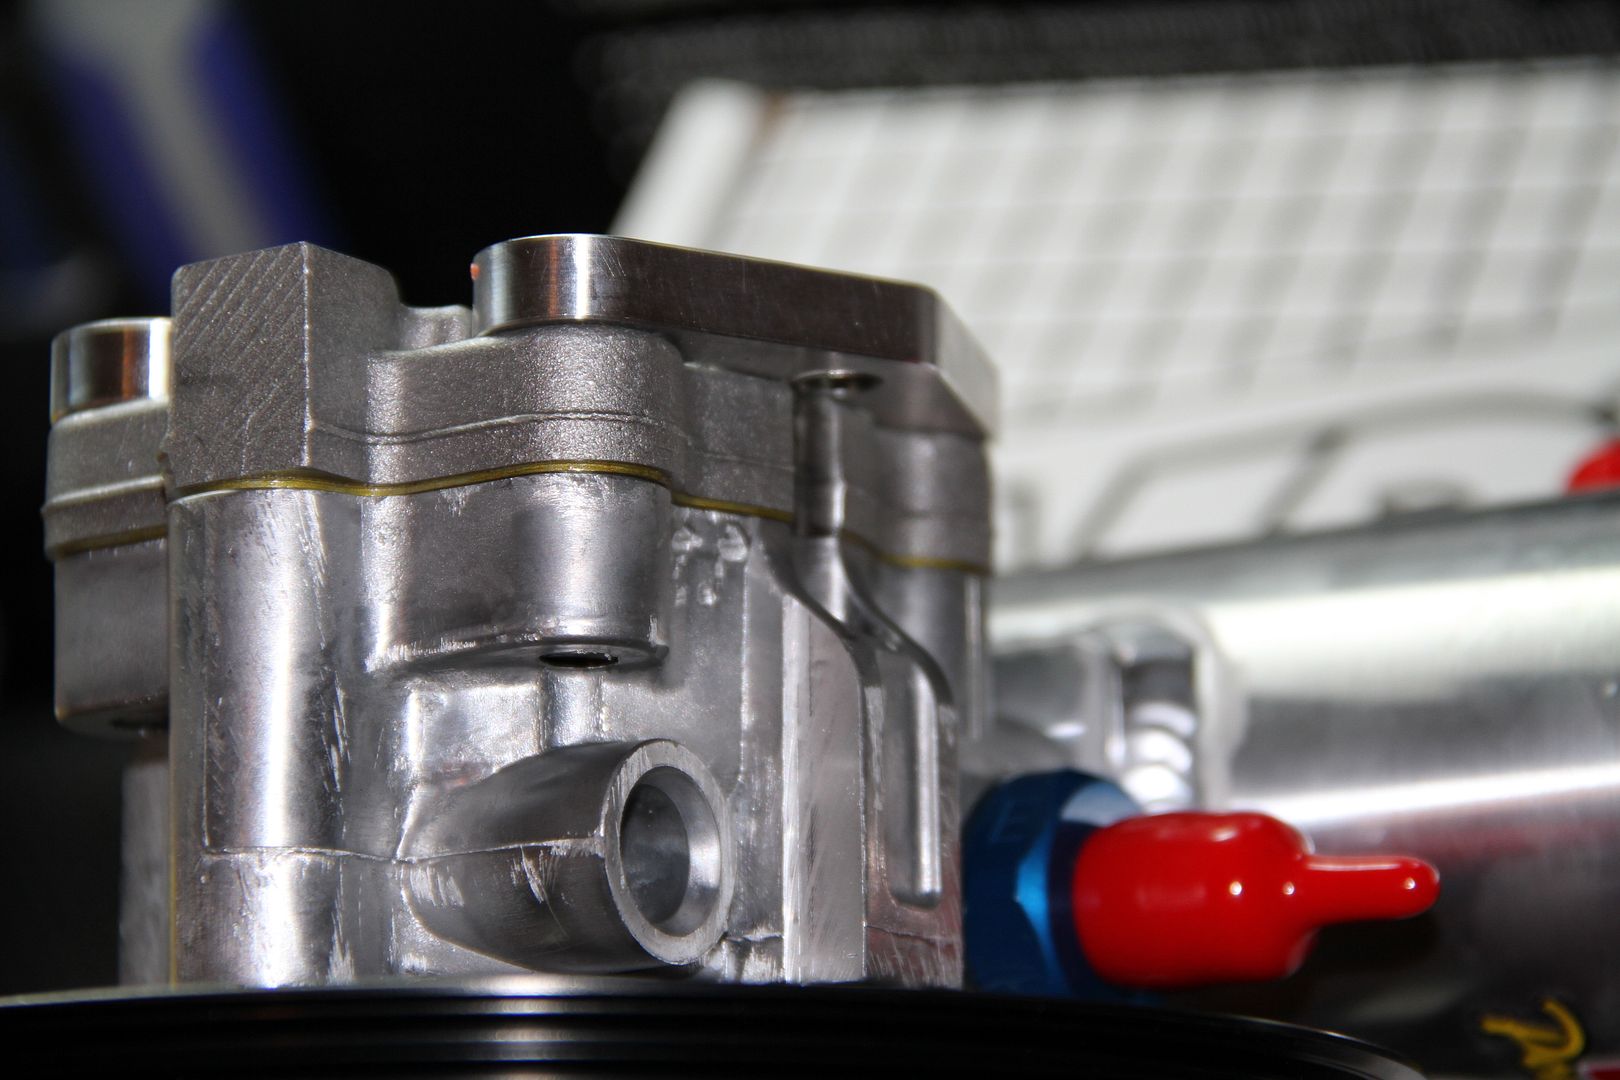
Comes with all the fittings you need.
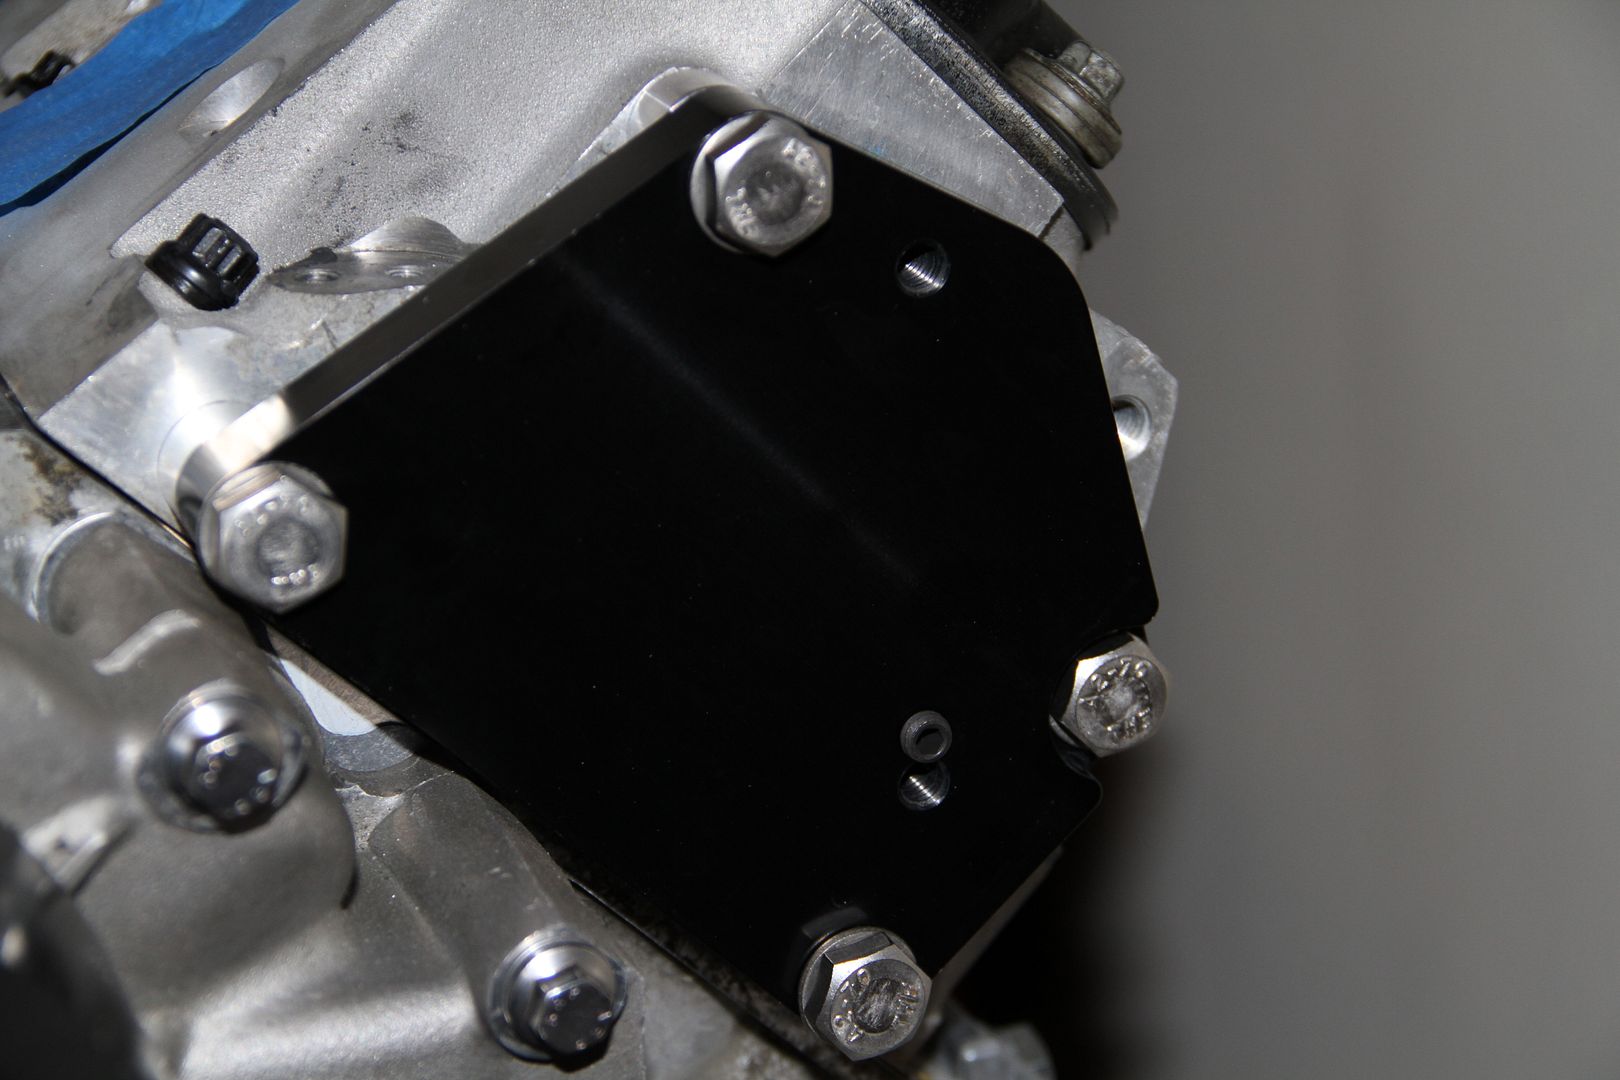
Mount up the bracket first, and be sure to follow the instructions.

Then mount up the power steering pump to the bracket. Again follow instructions for torque specs..
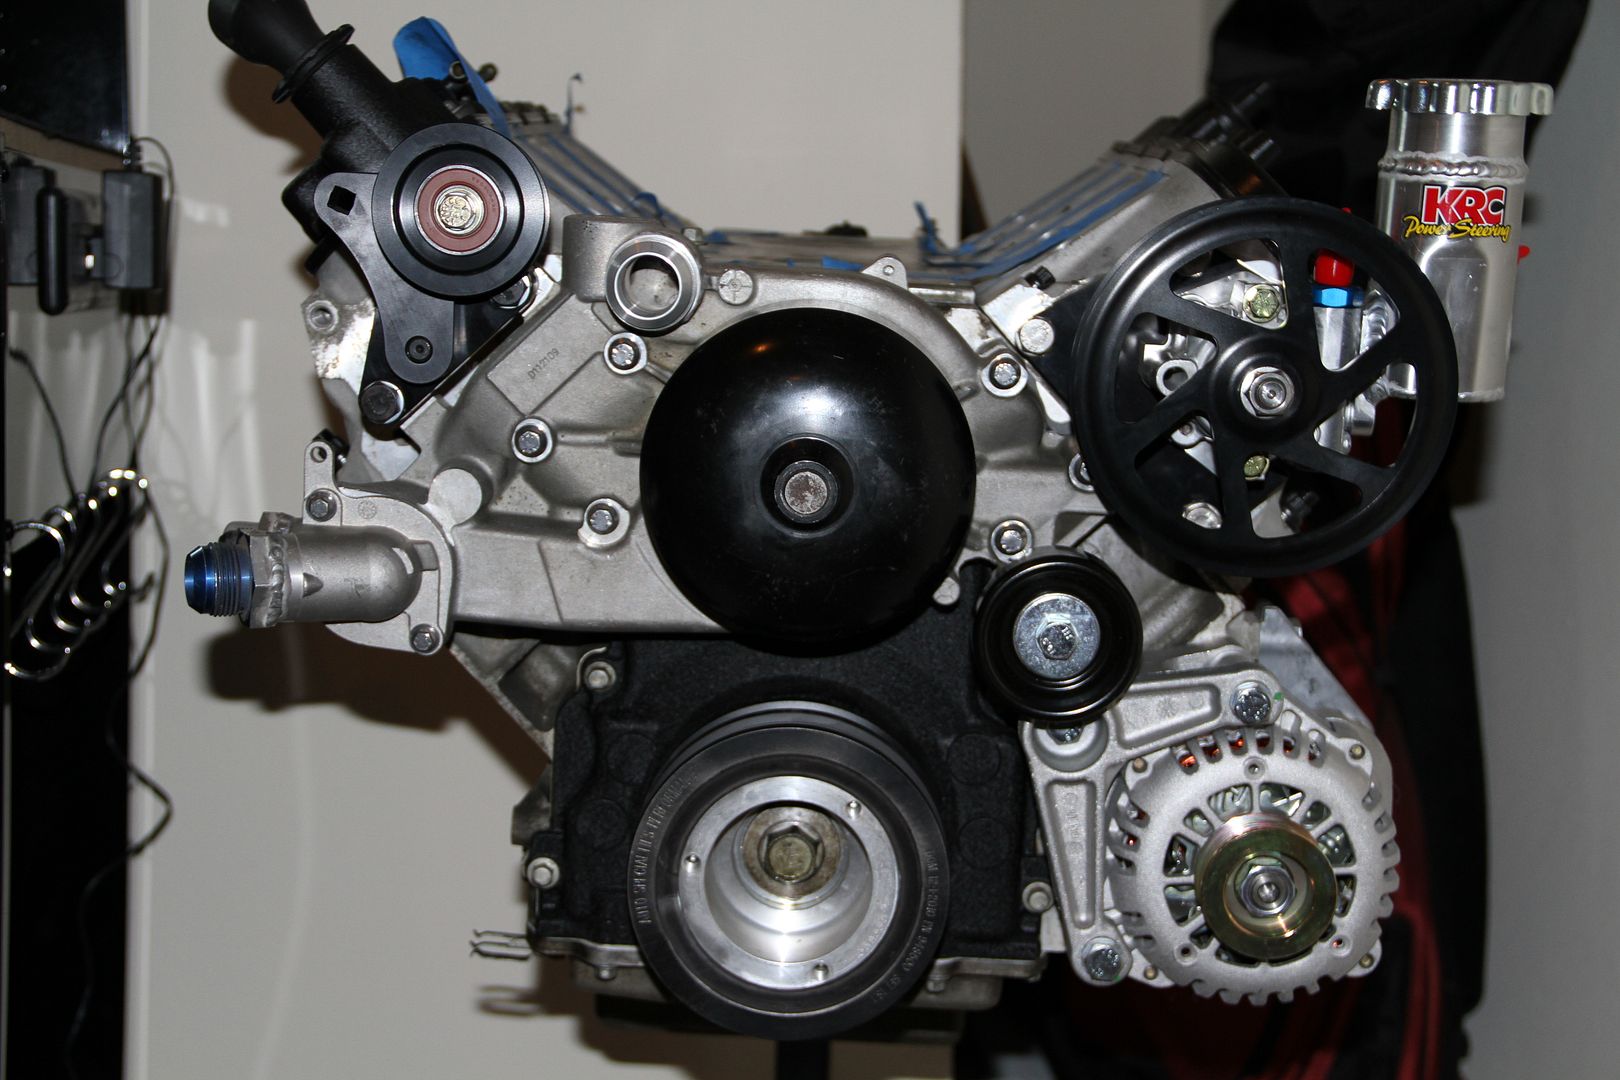
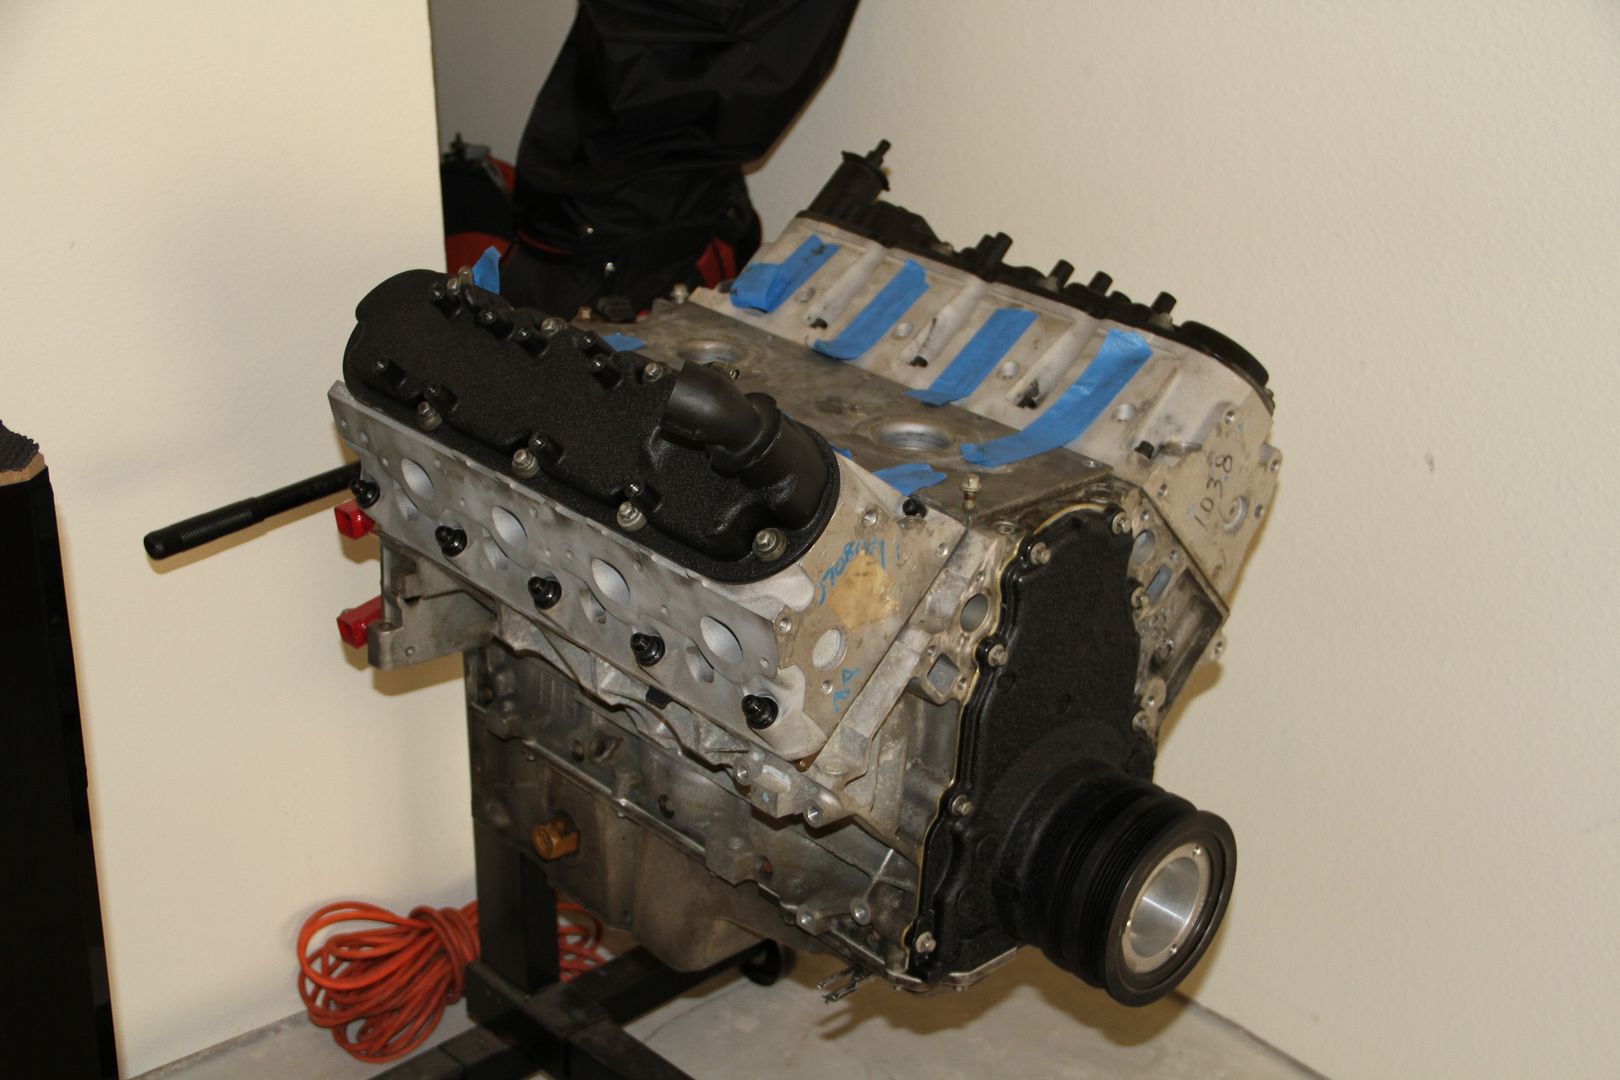
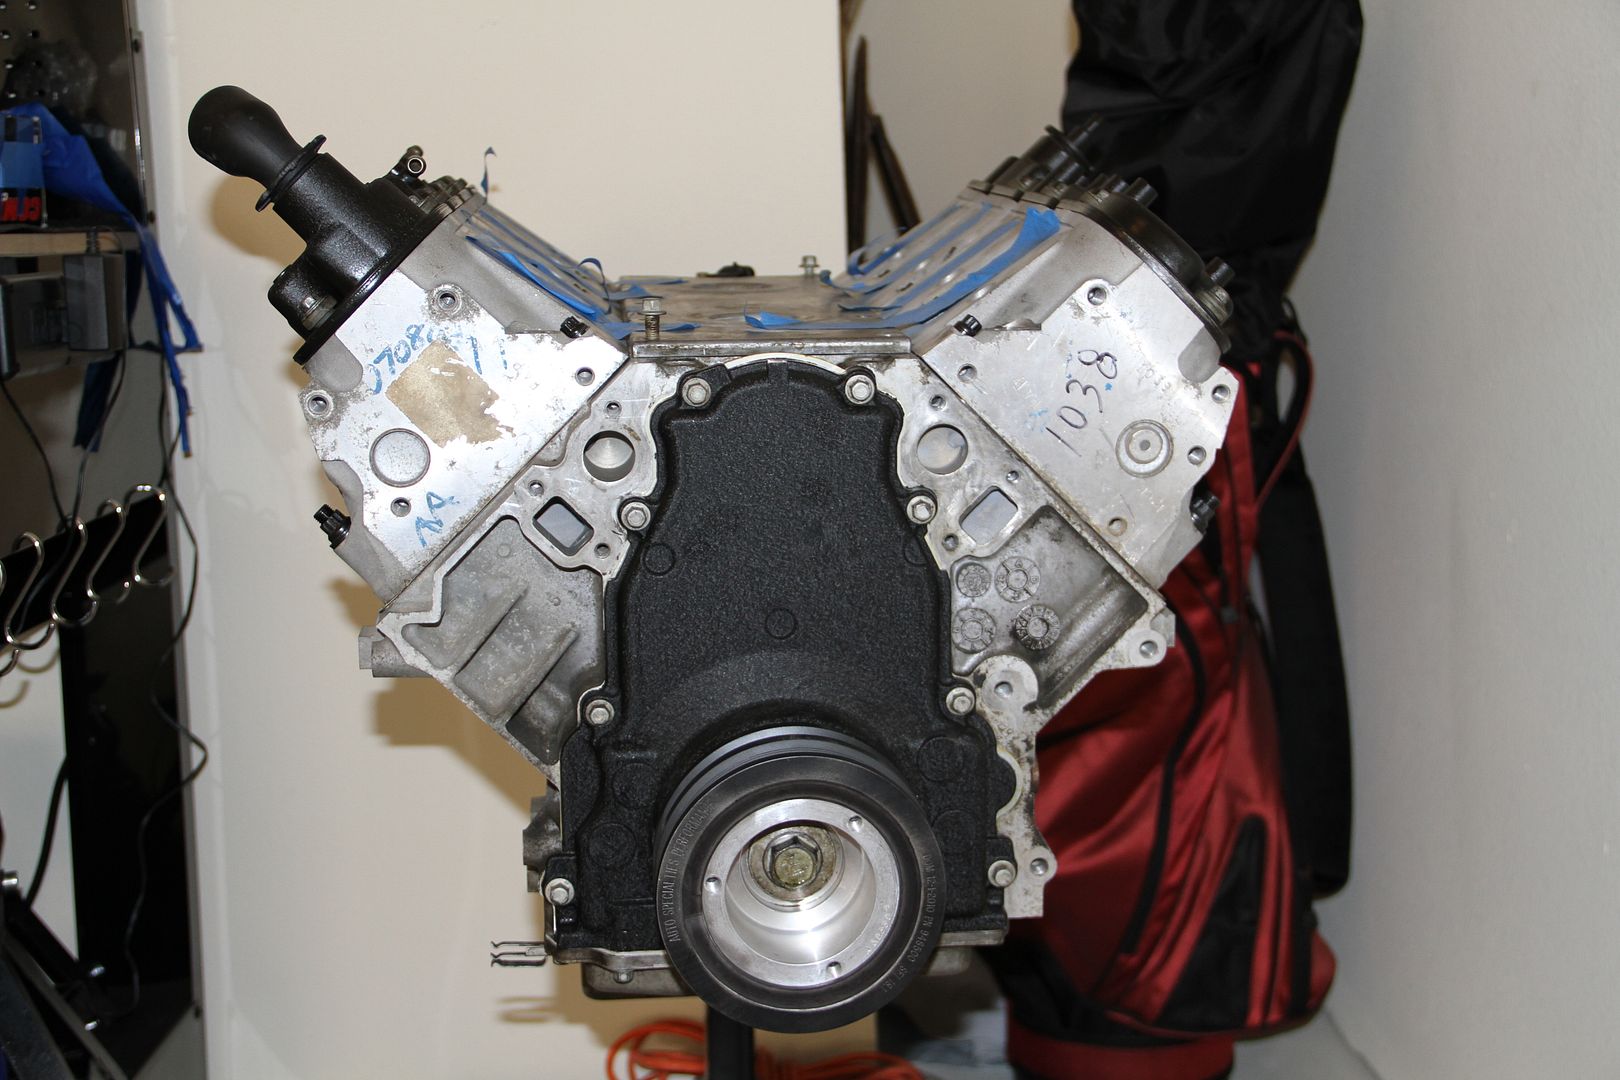
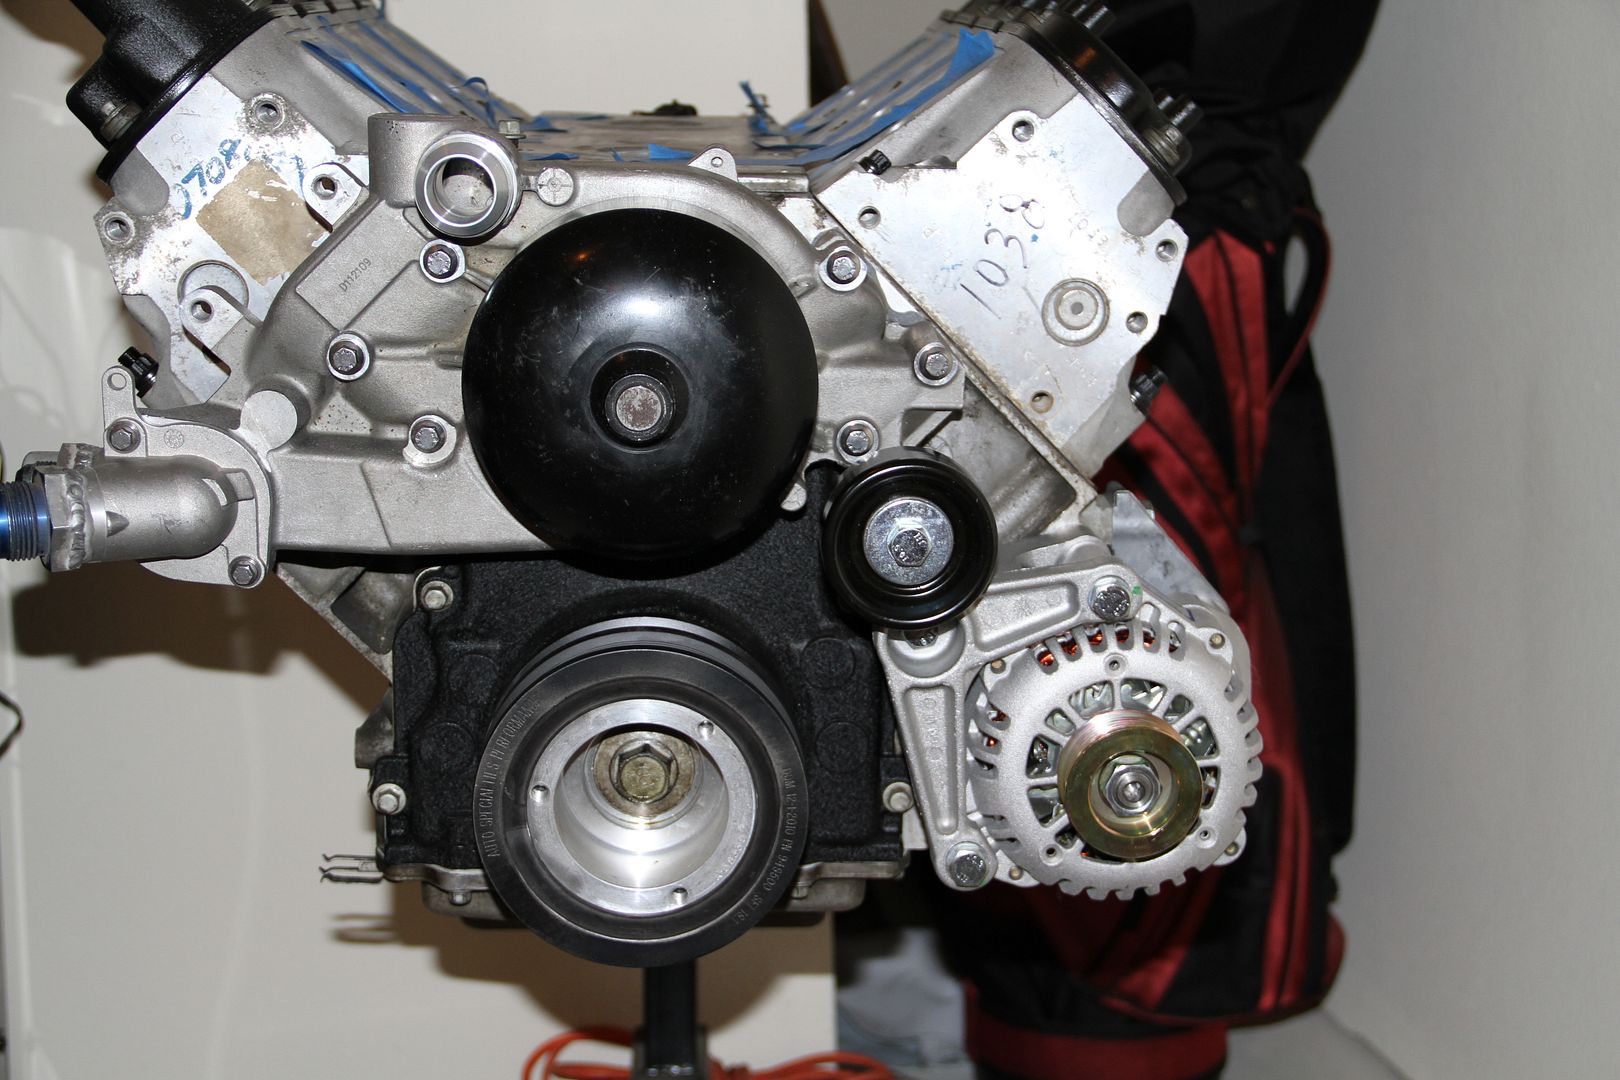
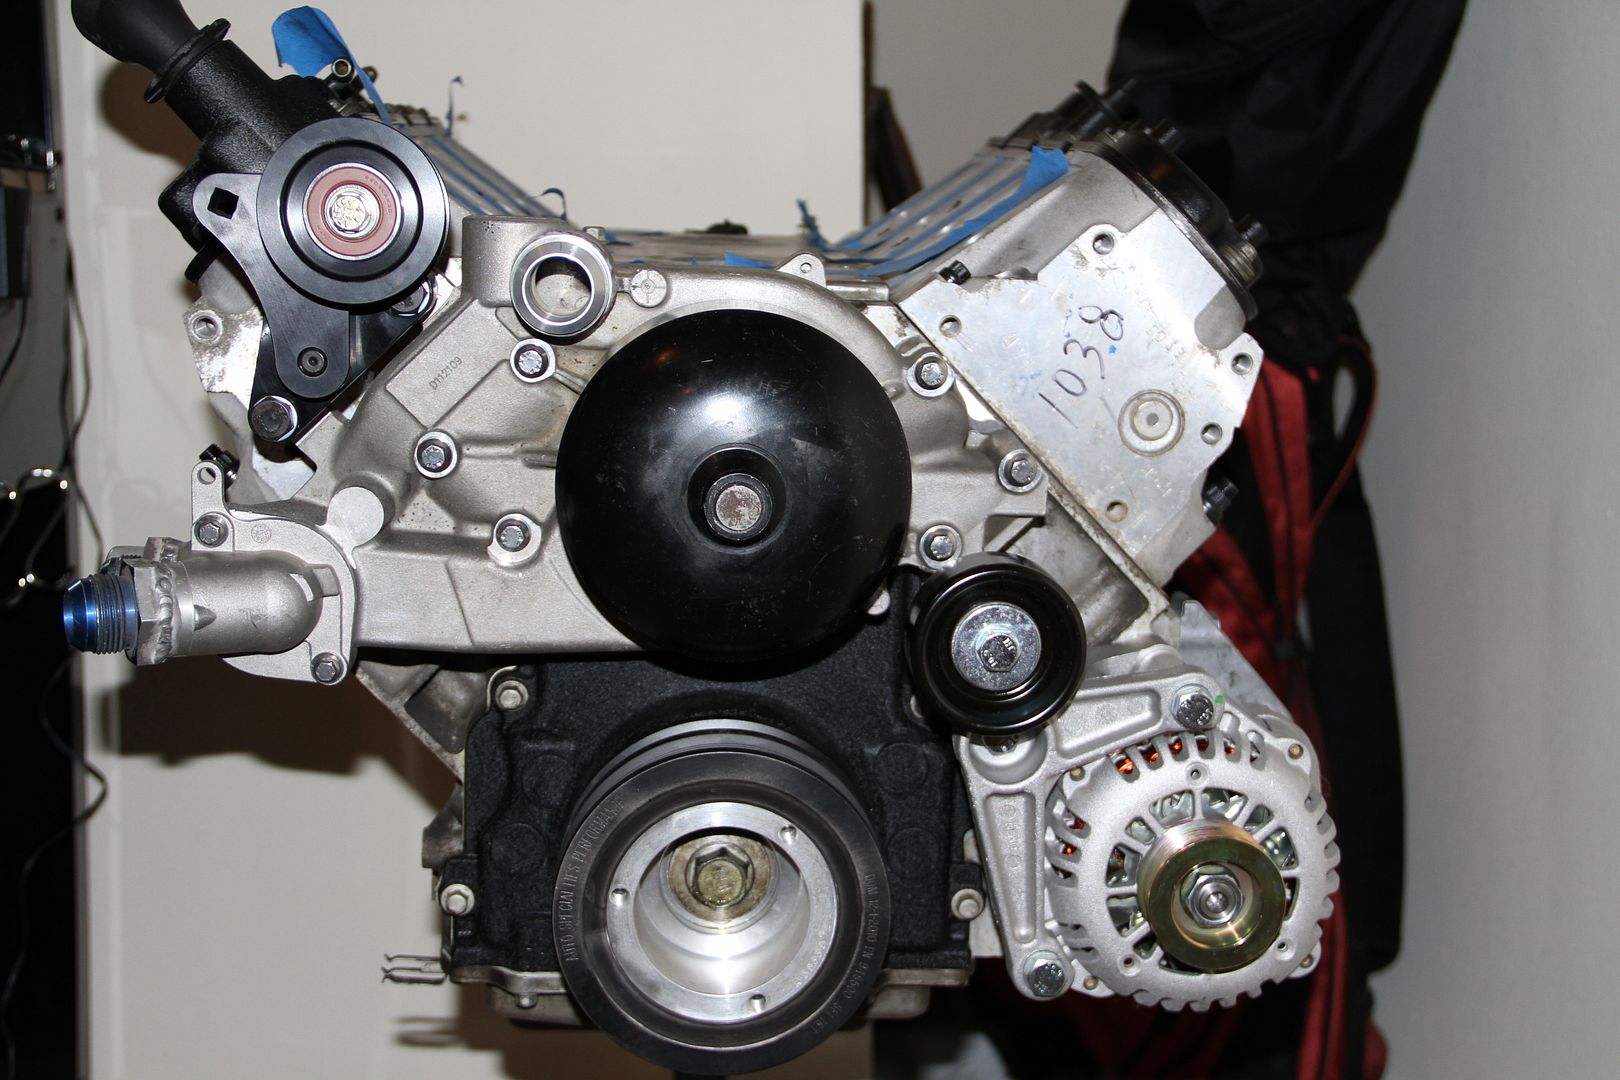
There you have it, almost looks like a complete motor. Coming together slowly but surely..
Total price so far: $4,070.02
Next week STAGE 1: Phase 4 'LS1 to LS6 PCV conversion'
After fixing all the things crainholio suggested time to move on..Thanks
STAGE 1: Phase 3 'Front Drive Assembly & Accessories'
Beer of choice this week is Fischer Blonde, a blonde ale with a baright gold in color, this beer displays unique savour with subtle fruity accents. Beer is imported from France. Also has a pretty cool bottle top. Has a pretty good taste could be better but not bad with a good burger..
What we have to install today is a water pump with some AN fittings that I got from my good friend Stew, which also has a build thread going on with his LS1 S13 (check it out HERE), ARP Water pump bolts, Alternator, KRC tension pulley and a KRC drift power steering pump. Nothing but the best for my babe..
Water Pump: $150.00
ARP Water Pump Bolts: $37.00
Alternator: $97.99
KRC idler tensioned is: $178.75
KRC Drift power steering pump: $460.57
KRC F-body pump bracket is: $68.75
Stew had a -16AN welded in for the thermostat, but I will be changing this to a -20AN..
Here is a -20AN that I had welded for the inlet side..
More AN fittings thanks to Stew, other inlet was welded shut,,
New Gaskets and ARP bolts
Bolt it up, and torque to 11 lb ft (First Pass) and 22 lb ft (Final Pass)
next is the alternator bracket
And the alternator its self..
bolt it up
make sure you torque down
starting to come together
Next is the KRC goods,,
First up is the idler tension pulley.. KRC makes some nice products and would highly recommend them to any one.
Mount up the bracket first and follow the instructions for torque specs.
Already looks good.
Then mount up the bracket for the pulley itself and again follow the KRC instructions.
So pretty...
Then mount up the pulley itself. In this pic I have not fully installed the center bearing all the way, but you get the idea..
Perfect
Next is the KRC Drift power steering pump bracket
And the power steering pump itself too.
The craftsmanship of this power steering pump is damn good
Comes with all the fittings you need.
Mount up the bracket first, and be sure to follow the instructions.
Then mount up the power steering pump to the bracket. Again follow instructions for torque specs..
There you have it, almost looks like a complete motor. Coming together slowly but surely..
Total price so far: $4,070.02
Next week STAGE 1: Phase 4 'LS1 to LS6 PCV conversion'