
95 Sonoma - LQ4, 4L80e, 76mm Turbo
 07-25-2012, 06:55 PM
#41
It is nice having it in the bed. Makes it really easy to work on. I just cut squares instead of holes for more airflow and because I'm to lazy to cut holes lol. I just ordered a .81 housing for my truck so hopefully i make boost before 3000rpm now. What ar is your turbo and Is that a ball bearing? And also wrap your exhaust pipe. It works suprisingly well.

 07-26-2012, 08:36 AM
#43
Staging Lane
Thread Starter

Join Date: Jan 2012
Location: Burbank, IL
Posts: 97
Likes: 0
Received 0 Likes
on
0 Posts
It is nice having it in the bed. Makes it really easy to work on. I just cut squares instead of holes for more airflow and because I'm to lazy to cut holes lol. I just ordered a .81 housing for my truck so hopefully i make boost before 3000rpm now. What ar is your turbo and Is that a ball bearing? And also wrap your exhaust pipe. It works suprisingly well.
This turbo is a t66, its got a .81 a/r and is a ball bearing. Im installing this one into my brothers mustang (v6). I originally was buying for a 5.3, but then i bought the 6.0 and had to change my setup a bit
you can go with this:
Click here
07-29-2012, 10:29 AM
#44
Staging Lane

Join Date: Feb 2012
Posts: 71
Likes: 0
Received 0 Likes
on
0 Posts
after reading that link, and having several of those brackets laying around i think i might try something similar. im not a fan of pancake compressors but fabricating ac lines on top of the engine would be much easier than cutting my frame and fabricating them through a space i cant fit my pinky finger between. and that would go ahead and make me decide to put the turbo in the bed. thanks for that man.
07-29-2012, 10:37 AM
#46
Staging Lane
Join Date: Feb 2012
Posts: 71
Likes: 0
Received 0 Likes
on
0 Posts
another thought, using the truck accessories waterpump and all will save me about 400 bucks and i can use my 6.0 return style intake and fuel rails. anyone know if those rails can handle the flow of 42lb injectors?
07-29-2012, 11:35 AM
#47
Staging Lane
Thread Starter
Join Date: Jan 2012
Location: Burbank, IL
Posts: 97
Likes: 0
Received 0 Likes
on
0 Posts
after reading that link, and having several of those brackets laying around i think i might try something similar. im not a fan of pancake compressors but fabricating ac lines on top of the engine would be much easier than cutting my frame and fabricating them through a space i cant fit my pinky finger between. and that would go ahead and make me decide to put the turbo in the bed. thanks for that man.
the truck rails appear to be much larger than ls1 so they should be fine. however, im just speculating
 08-06-2012, 07:49 PM
#49
Staging Lane
Thread Starter
Join Date: Jan 2012
Location: Burbank, IL
Posts: 97
Likes: 0
Received 0 Likes
on
0 Posts
Well, since Im at a standstill with my engine, and in the process of buying a house, Ive decided to Work on some other projects ive got in my garage so i dont have to worry about transporting them to the new house...
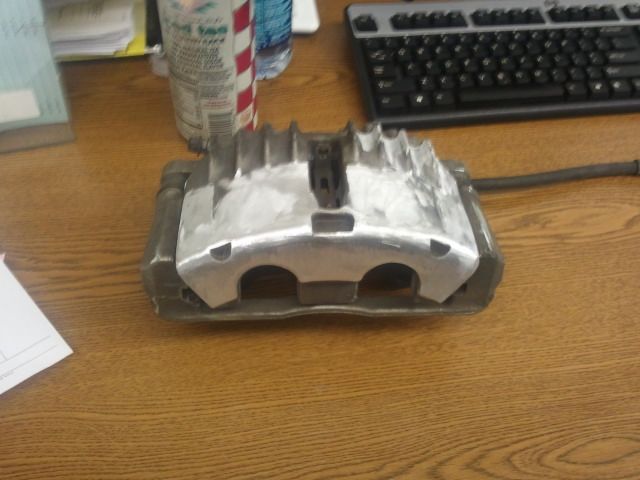
De-casting Trans Am Brakes (temporary until i set this truck up for autocross)
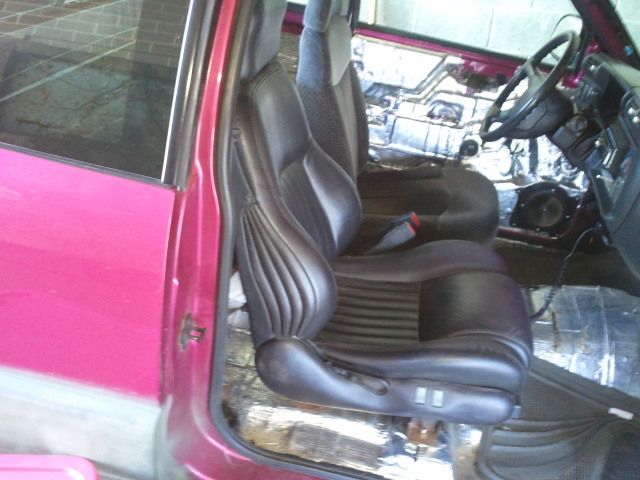
Also installed some trans am seats. Pink color on seats is from a project for my niece that i was building when the seats were in my garage.
Also, the power functions work on the both seats

De-casting Trans Am Brakes (temporary until i set this truck up for autocross)
Also installed some trans am seats. Pink color on seats is from a project for my niece that i was building when the seats were in my garage.
Also, the power functions work on the both seats
08-06-2012, 10:51 PM
#50
Teching In

Join Date: Jul 2012
Posts: 18
Likes: 0
Received 0 Likes
on
0 Posts
oh nice, i was wanting to put some nice leather seats in mine but i was worried about how to bolt them down without having to worry about going through the windshield in the worst case. did the bolt patterns match? i can do the wiring no prob.
08-07-2012, 12:04 AM
#51
Staging Lane
Thread Starter
Join Date: Jan 2012
Location: Burbank, IL
Posts: 97
Likes: 0
Received 0 Likes
on
0 Posts
Passenger side you unbolt the brackets from he s10 seat and the bracket from the trans am seat, and bolt the s10 bracket to the trans am seat... the bolt holes line up.
On the drives side, I had to get a bit creative due to the fact that I wanted to keep the power options. What I ended up doing was drilling out the rivets that hold the transam mounting brackets to the seat rail, and drilling out the rivets that hold th s10 mounting brackets to the adjuster. The I tapped the holes that the rivets were in on the trans am seat so I could add bolts. Then just drilled some holes in the s10 seat mounts to match up with the tapped holes on the trans am seat.
Both seats bolt to the factory locations. If I. Pull these seats out again, ill take some pictures, but I was in a small hurry today as I was finishing up
08-10-2012, 12:08 PM
#52
Staging Lane
Thread Starter
Join Date: Jan 2012
Location: Burbank, IL
Posts: 97
Likes: 0
Received 0 Likes
on
0 Posts
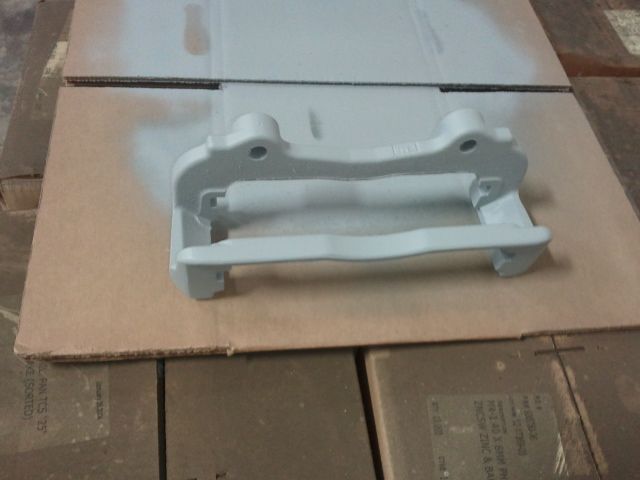
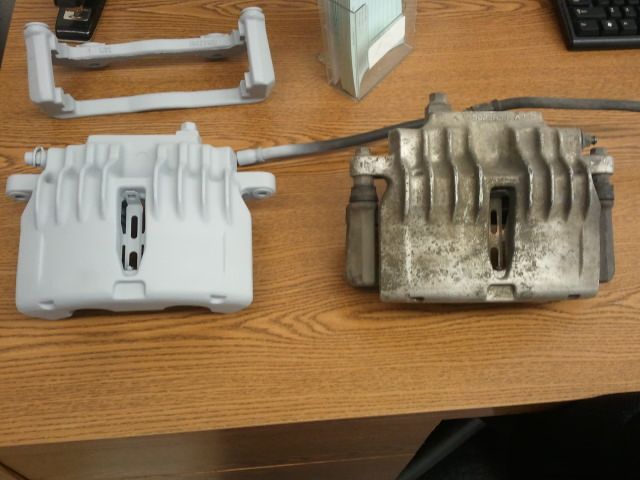
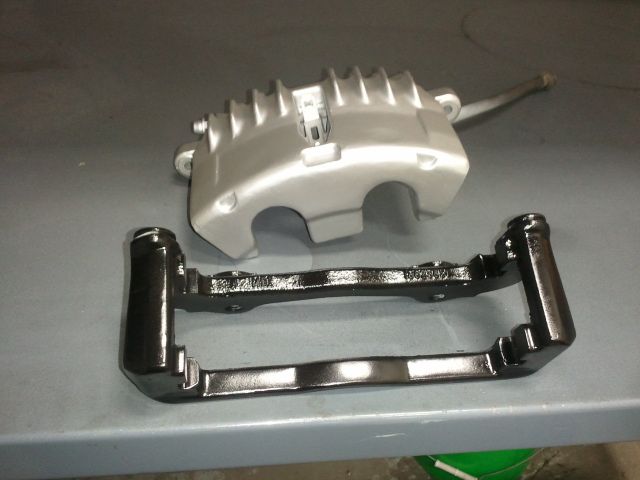
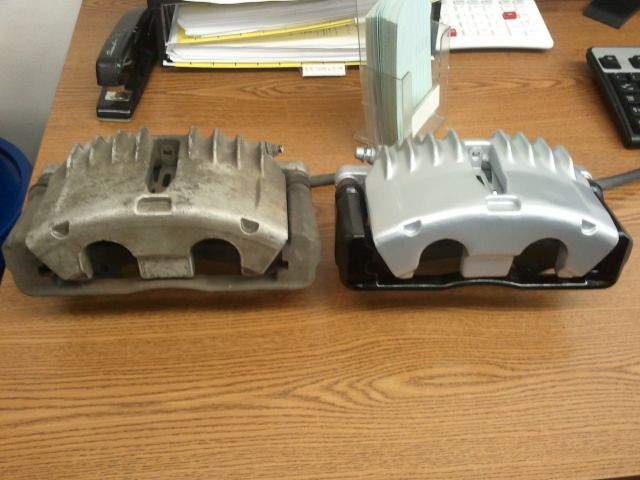
Well, I finished up the painting of my calipers. Both of them look the same now despite being different castings.
These should hold me over until i get my ctsv brakes
Also, dont mind the paint on all of the seals, these will be rebuilt prior to being installed.
on to the pics
Primer
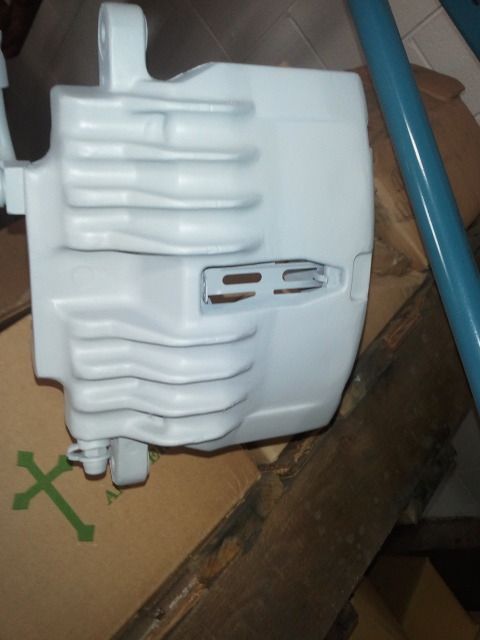
before and after primer (i hadnt even touched that caliper yet)
Paint
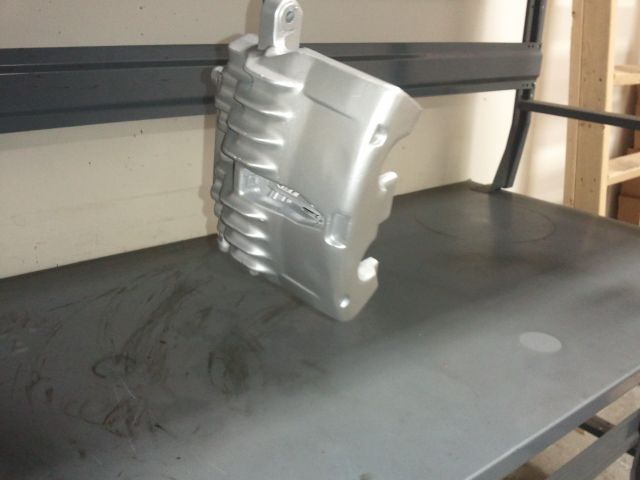
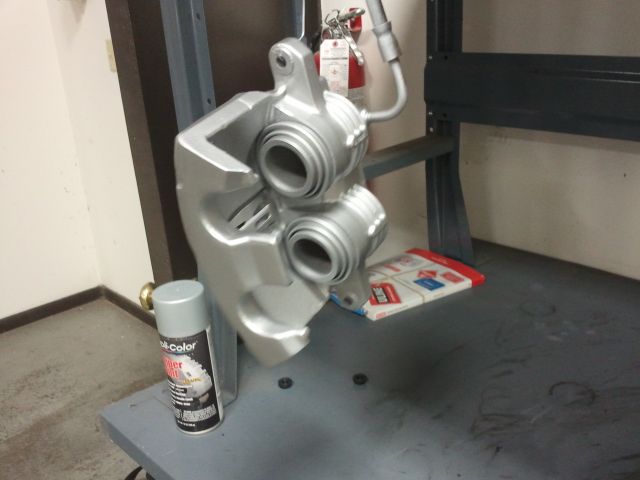
Finished
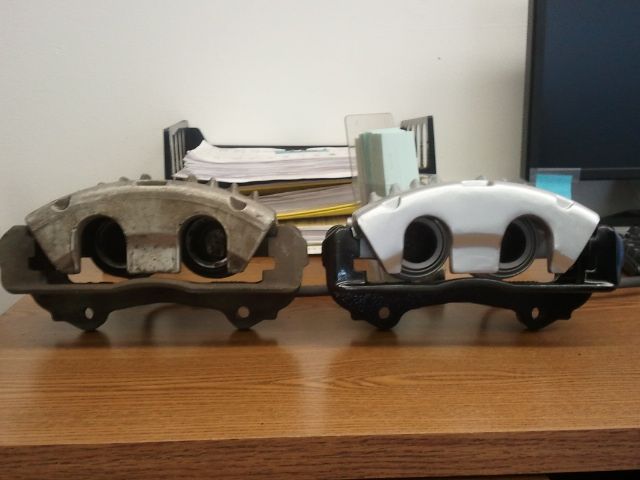
Before And After
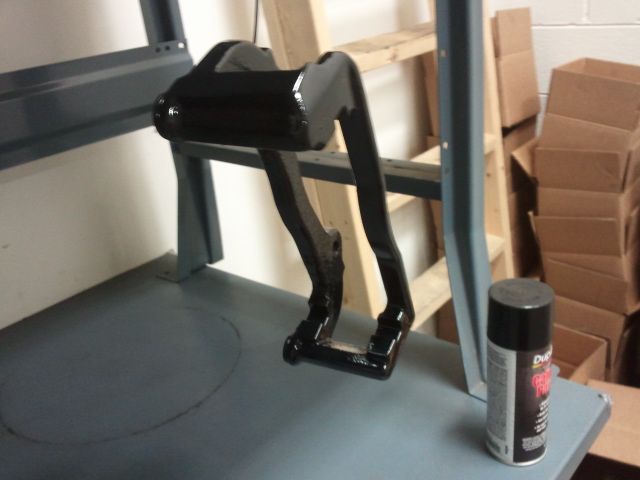
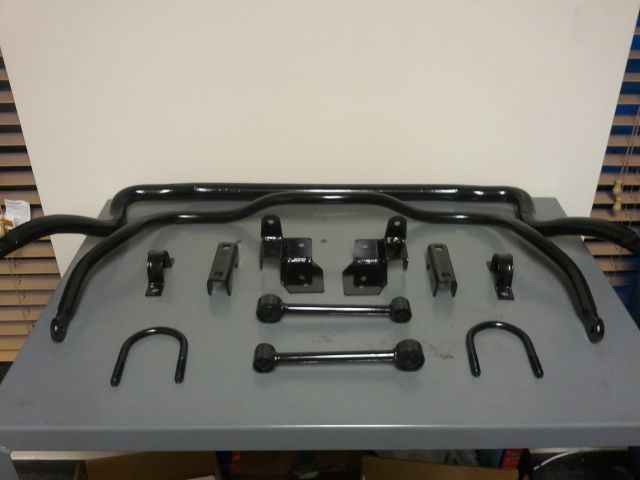
and also painted my zq8 sway bars and hardware
These should hold me over until i get my ctsv brakes
Also, dont mind the paint on all of the seals, these will be rebuilt prior to being installed.
on to the pics
Primer
before and after primer (i hadnt even touched that caliper yet)
Paint
Finished
Before And After
and also painted my zq8 sway bars and hardware
 10-10-2012, 08:22 AM
#55
Staging Lane
Thread Starter
Join Date: Jan 2012
Location: Burbank, IL
Posts: 97
Likes: 0
Received 0 Likes
on
0 Posts
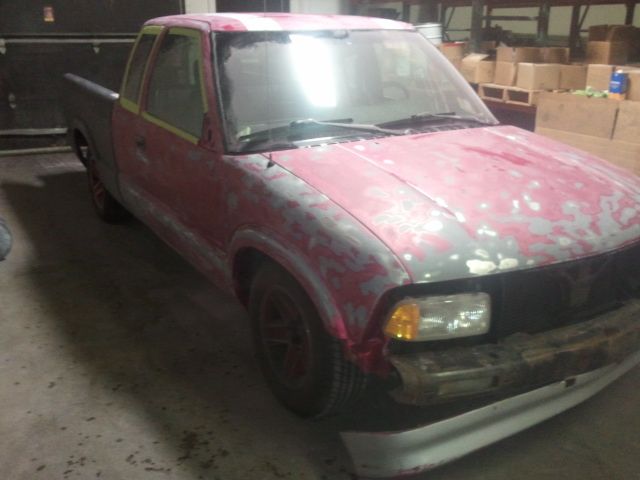
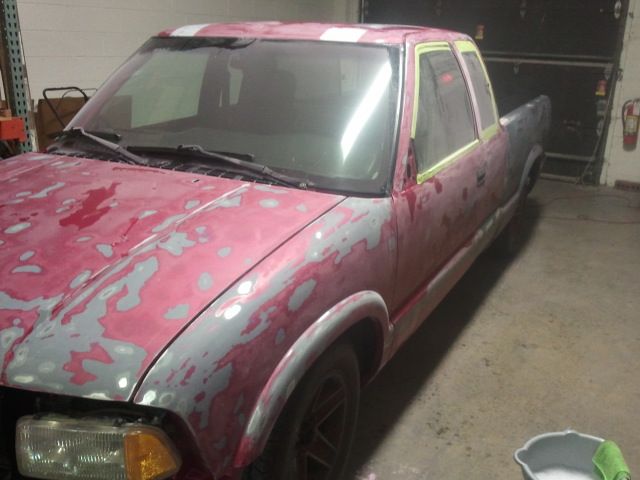
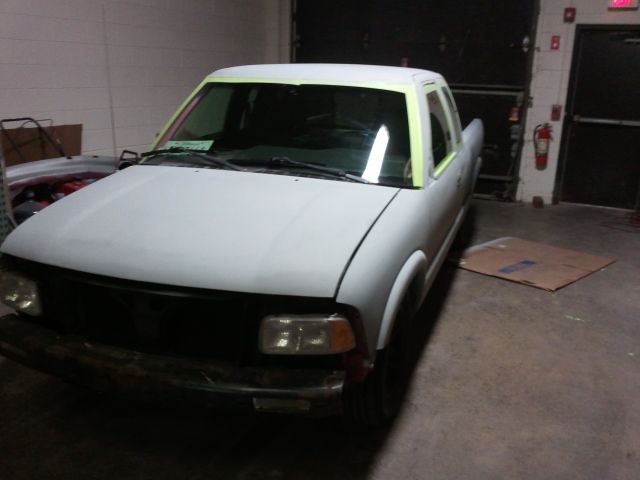
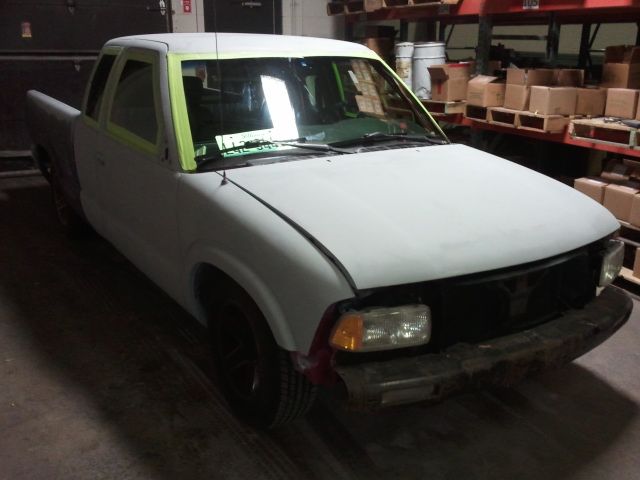
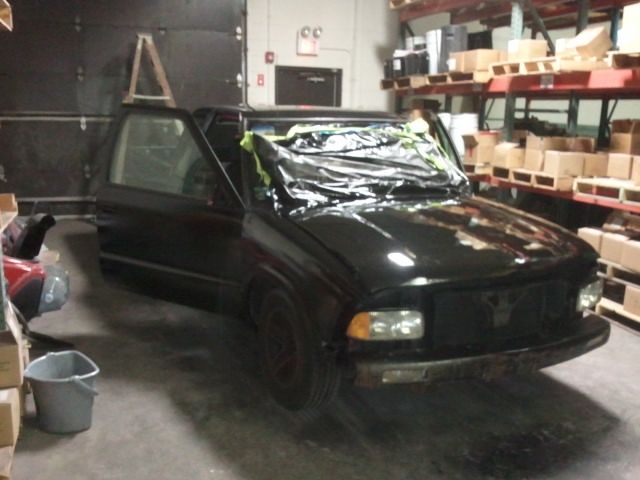
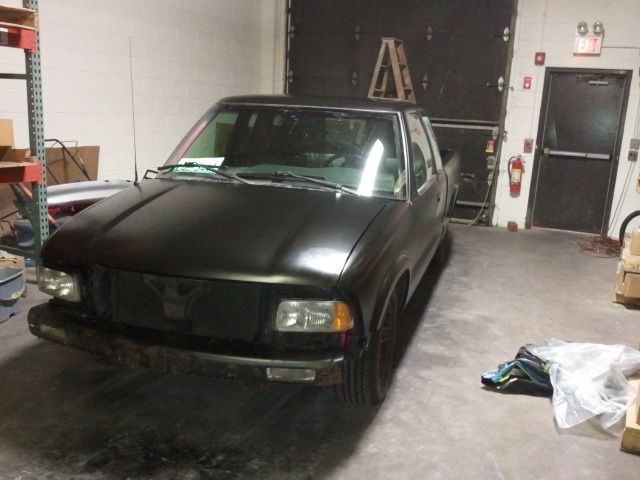
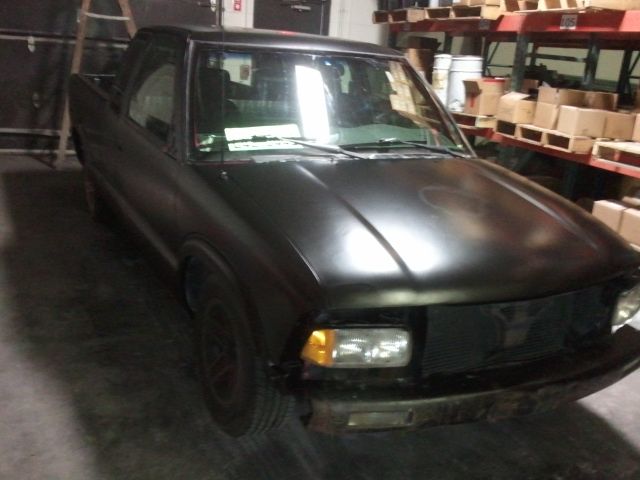
Well, Ive been stupid busy for the last few months. Working 82 hours a week really doesnt leave time or energy to do anything else. Havent gotten much done, but im getting tired of seeing the pink/green/black/silver/different green/nail polish/sanding marks on this truck. Ive decided to throw a cheap paint job down for now to keep myself content while i drive the truck around.

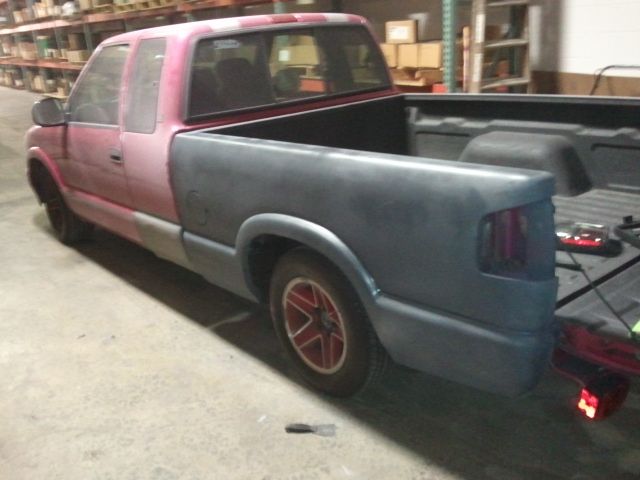
now that is just primer, but im hoping i can prime the entire truck by friday night and then paint it over the weekend.
hope I can update soon
now that is just primer, but im hoping i can prime the entire truck by friday night and then paint it over the weekend.
hope I can update soon

 08-23-2013, 01:18 PM
#57
Staging Lane
Thread Starter
Join Date: Jan 2012
Location: Burbank, IL
Posts: 97
Likes: 0
Received 0 Likes
on
0 Posts
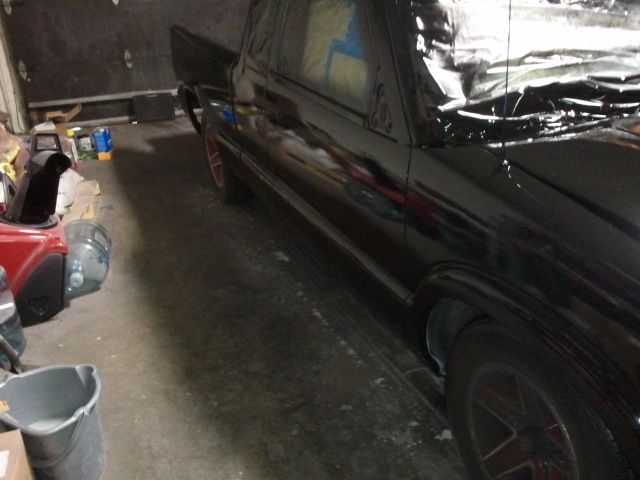
well, I had a little hang up in my progress, but no big deal.
My Trans Am finally gave up the ghost, so im taking the lq4 and swapping it into there so i can get it back on the road.
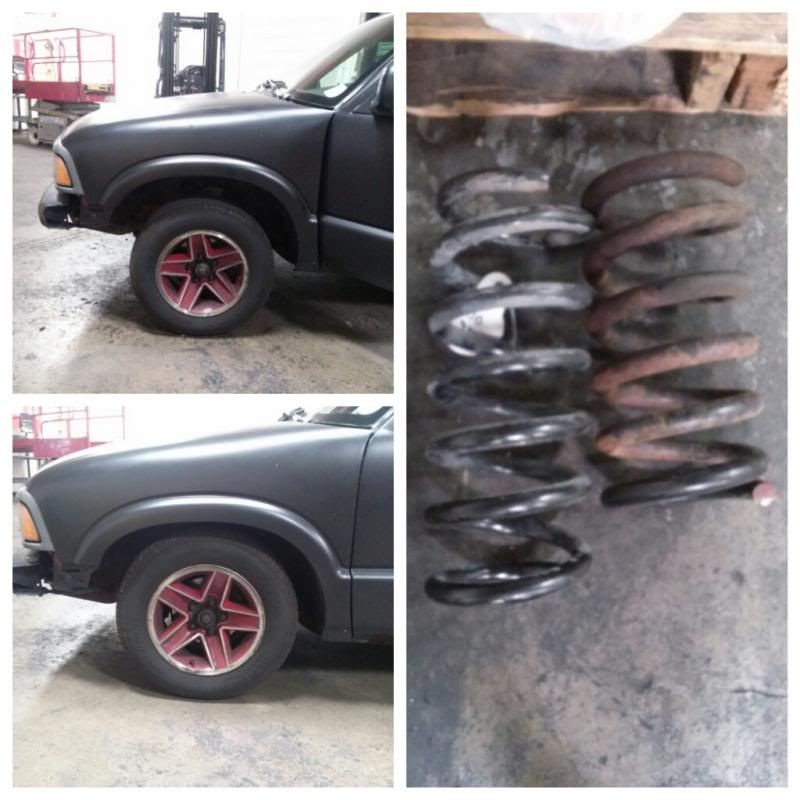
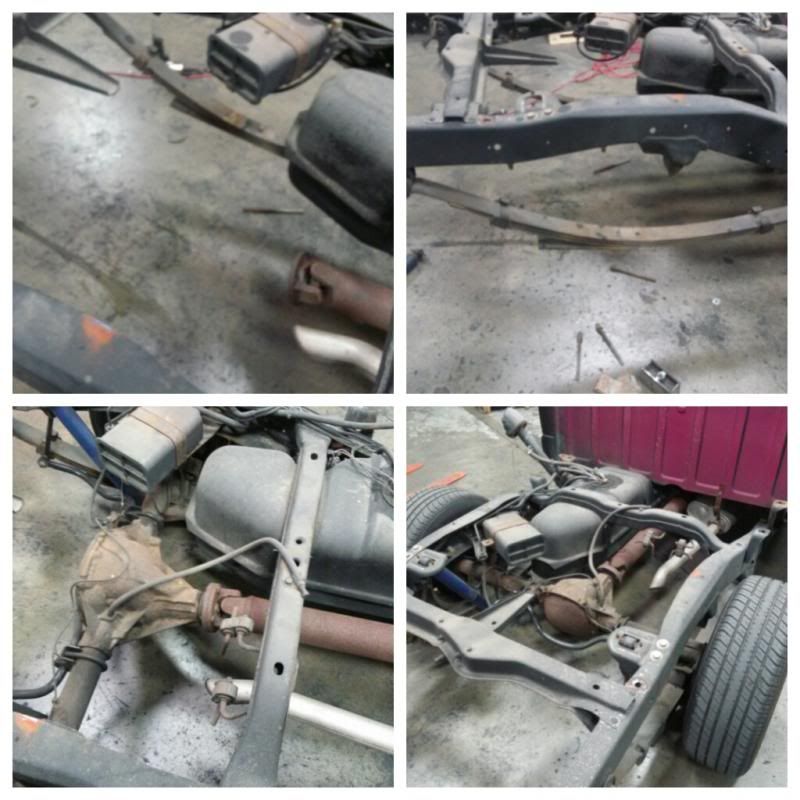
I did, however, fix my suspension problems for the time being.
Front springs were cut from the previous owner so i swapped them out for Zq8 springs that i bought about a year ago. I replaced the shocks. My ball joints, were shot so those were replaced with tall ball joints. While I was swapping it all, I discovered loose steering linkage so all of that was replaced. and finally a Blazer front sway bar was installed with energy suspension sway bar links. (the lower version is before)
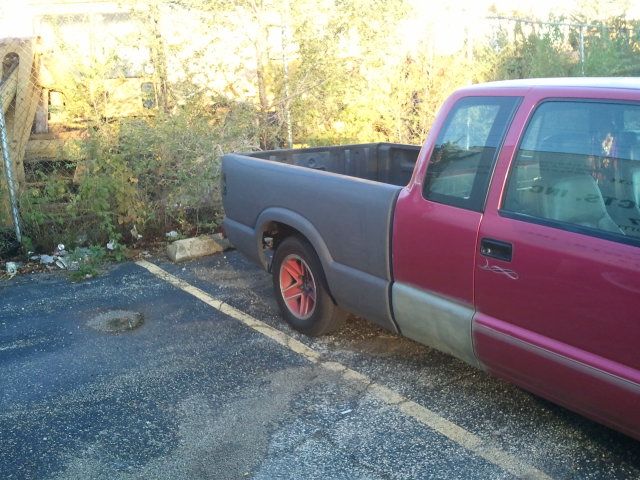
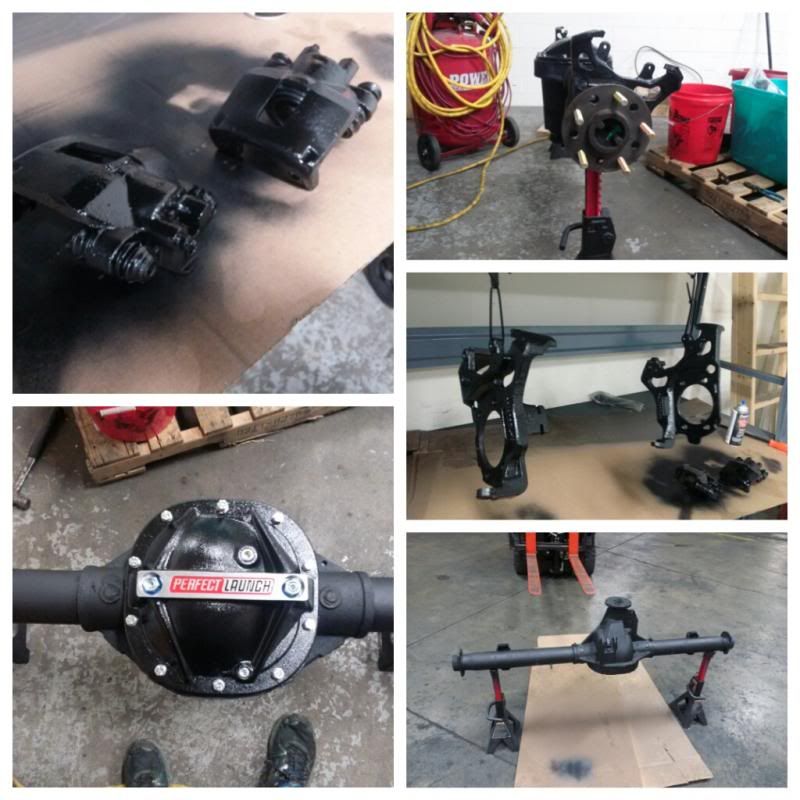
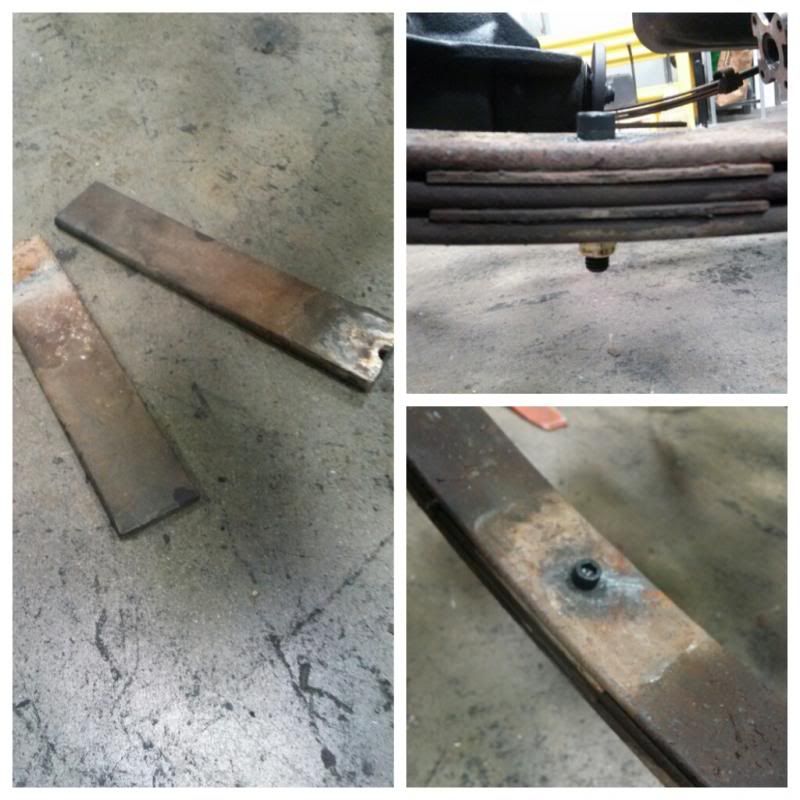
Next, I decided to rebuild and install the Ford 8.8 (disc brake, 3.73, Locker) and install it in the rear. While Installing I found out I had broken helper springs on both sides, so I pulled the center pins, removed the springs, and Installed new pins.
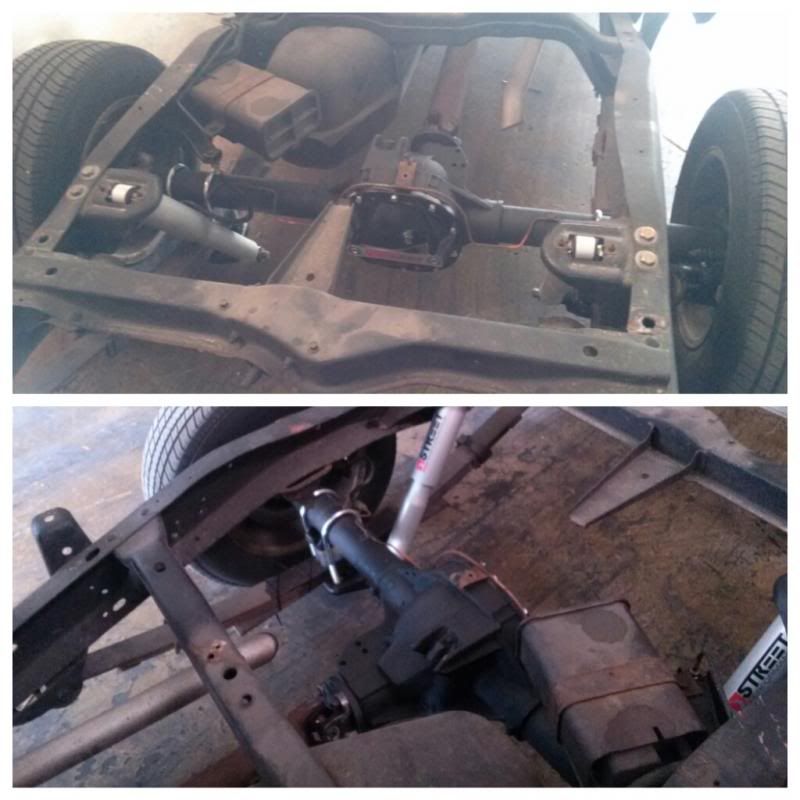
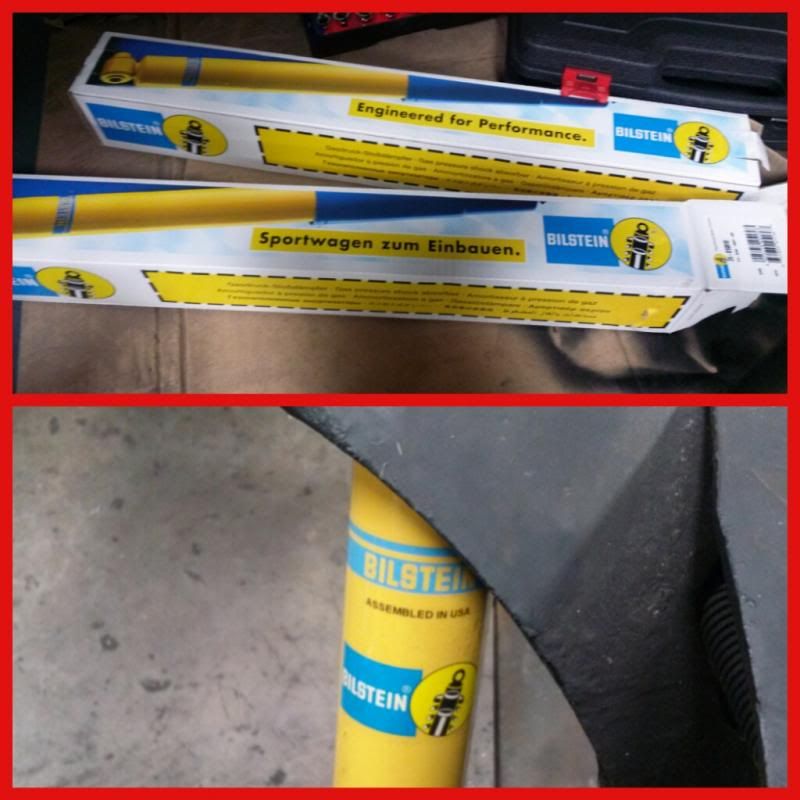
I had originally bought belltech shocks for the rear, but they were too short for my 2 inch lowered rear, so I bought some bilsteins and installed them, and the ride quality is much better.
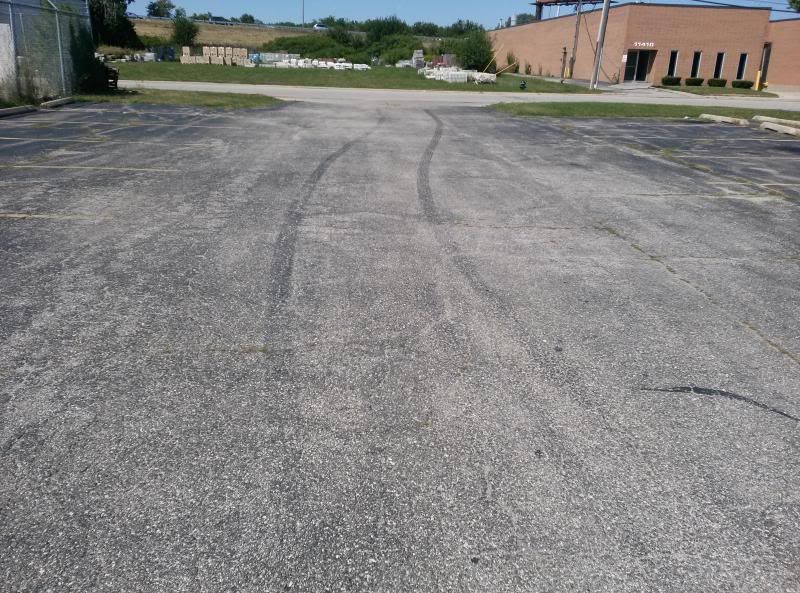
Its also really nice to be able to launch better and do 2 wheel burnouts as well as having some traction around sharp right turns.
The rear definitely looks more aggressive now too

My Trans Am finally gave up the ghost, so im taking the lq4 and swapping it into there so i can get it back on the road.
I did, however, fix my suspension problems for the time being.
Front springs were cut from the previous owner so i swapped them out for Zq8 springs that i bought about a year ago. I replaced the shocks. My ball joints, were shot so those were replaced with tall ball joints. While I was swapping it all, I discovered loose steering linkage so all of that was replaced. and finally a Blazer front sway bar was installed with energy suspension sway bar links. (the lower version is before)

Next, I decided to rebuild and install the Ford 8.8 (disc brake, 3.73, Locker) and install it in the rear. While Installing I found out I had broken helper springs on both sides, so I pulled the center pins, removed the springs, and Installed new pins.


I had originally bought belltech shocks for the rear, but they were too short for my 2 inch lowered rear, so I bought some bilsteins and installed them, and the ride quality is much better.

Its also really nice to be able to launch better and do 2 wheel burnouts as well as having some traction around sharp right turns.

The rear definitely looks more aggressive now too
