
5.3 4l60e swap into my RUSTY '71 C-10
 02-11-2013, 02:55 PM
#181

Great Thread. Im doing a 03 truck 5.3 w/4le60 into 68 firebird for wife. Your info is very helpfull. What would you do for fuel system if Im using stock tank and no room for lower sump, Corvette deal or weld in ring on top and drop pump? Does vette pump require lower sump? Would you buy harness or rework? And who best to flash computer or do you do your own? Thanks again for thread.


 03-05-2013, 04:45 PM
#186
 03-06-2013, 10:08 PM
#187

I'm not positive on years, but you would need an output shaft and a tail housing from a 2wd 4l60e. THe tailshaft would have the speed sensor in it also, and I would assume the output shaft would have a reluctor on it for the VSS also, but I took two transmissions to a tranny shop and had it done. I didn't want to learn how to do it on my own truck! But like BlueMaxCougar pointed out, unless you plan on having it rebuilt, it would probably be easier to find a 2wd tranny to start with. But if you already have a 4x4 trans, and you know it's good and just want to swap the parts over, a transmission shop should be able to do it for around $200, that's what they quoted me, but I had them freshen it up while they were in it.
03-11-2013, 10:54 PM
#190
So finally getting back to getting something done on this truck. When the weather gets real cold, I loose all my motivation to go out in a detached garage with no real heat, so it's been slow going. But lately I've been getting some stuff wraped up.
First a pic of the weather........
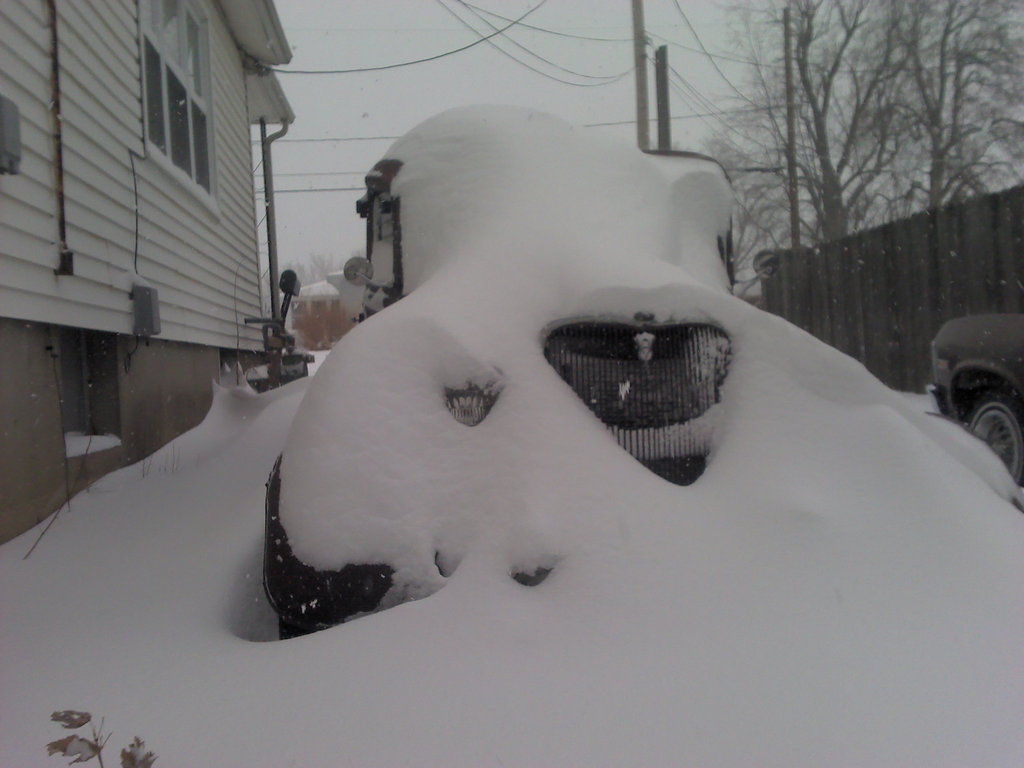
Luckily most of the snow has melted, and it's gotten just a little bit warmer.
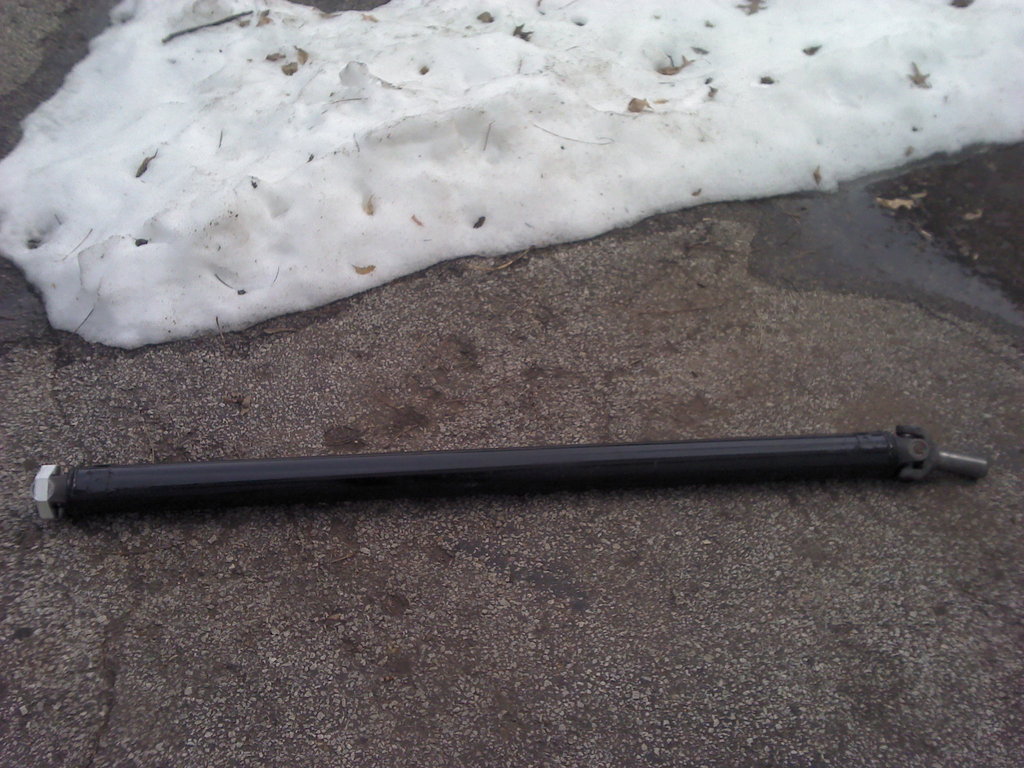
Had a new driveshaft made, the truck originally had a two piece shaft with a carrier bearing in it, and the carrier bearing was bad. Couldn't find a decent one at the junk yard to have shortened, so I took the measurments and my old yoke to a truck shop and new one made. Also has Spicer u joints which have to be better quality than the National ones all the auto parts stores around here sell.
Then started working on the A/C lines again. Got all the pieces TIG'ed together, and new hoses crimped on them.
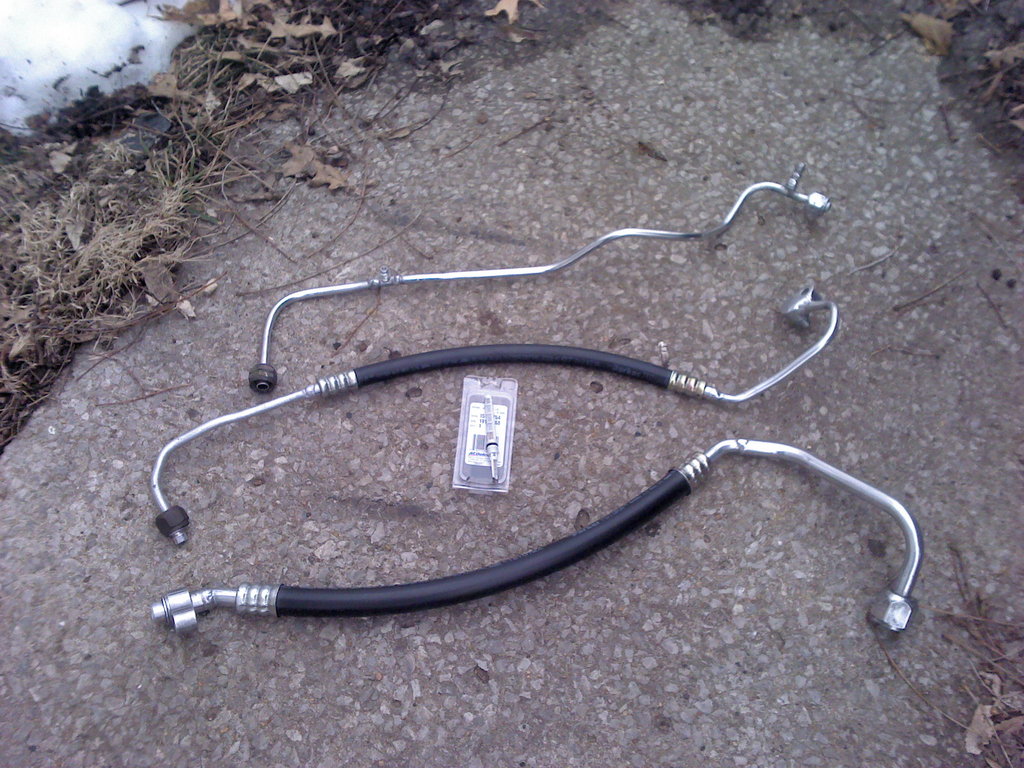
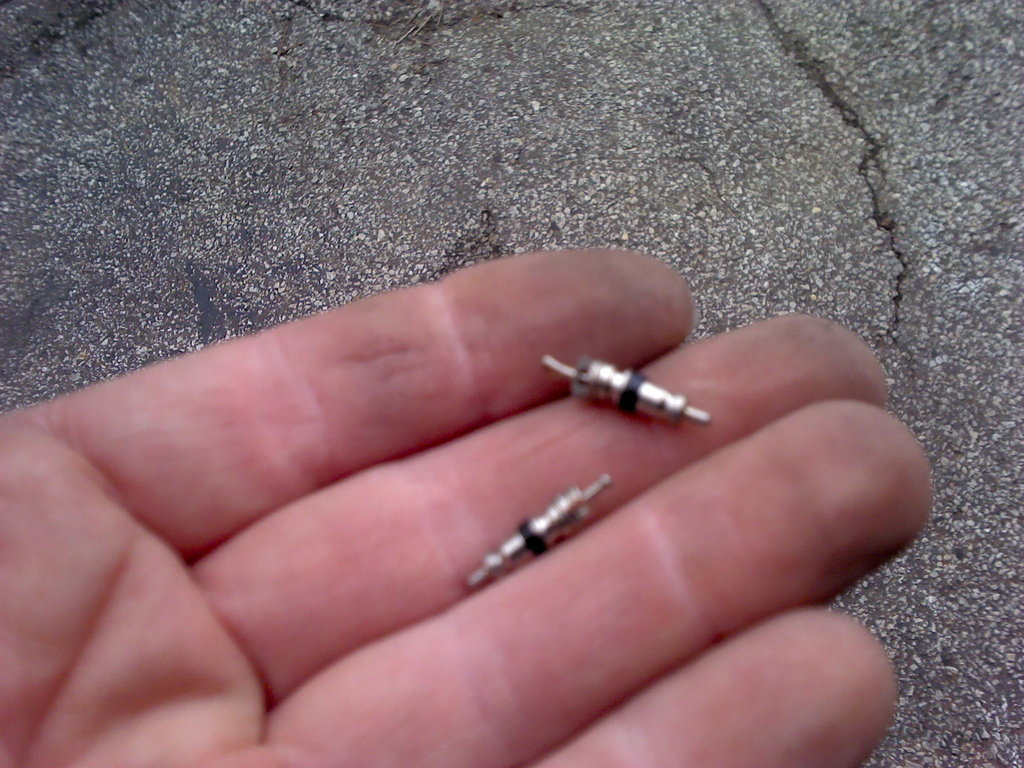
Had to spend like an eternity at the parts store trying to find all the right o rings, but finally did get them all. Also, always remember to change out the schrader valves in the service ports, they're super cheap, and it's good insurance. Didn't do it once, and regretted it!
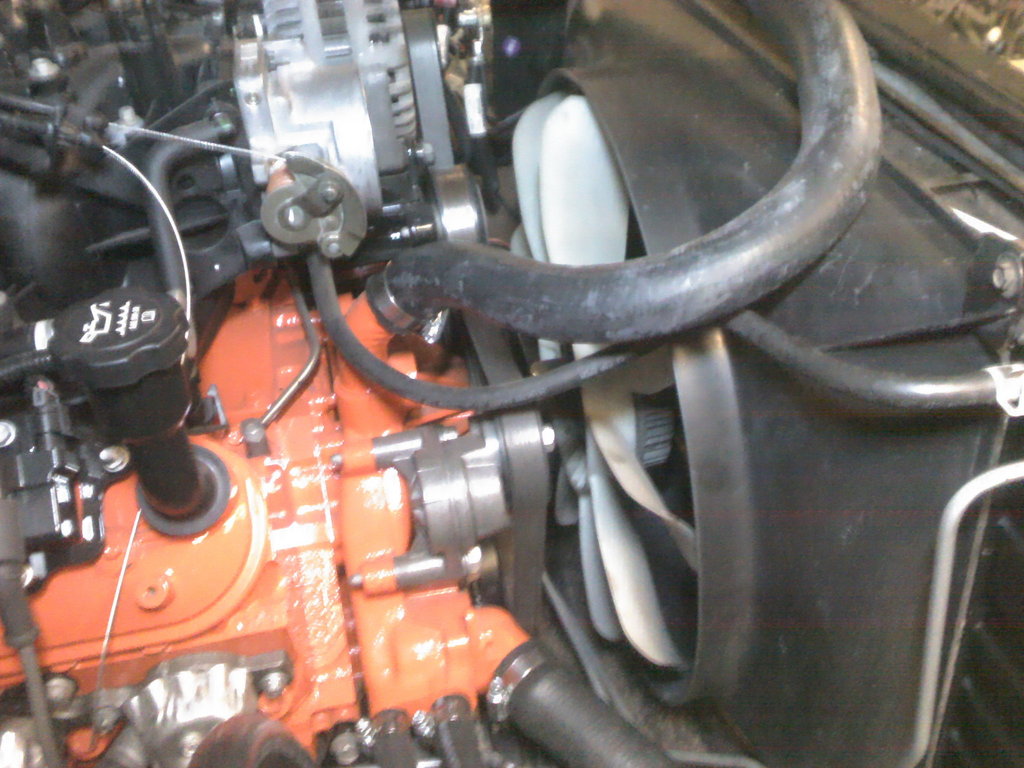
This is how the lines look on the compressor.
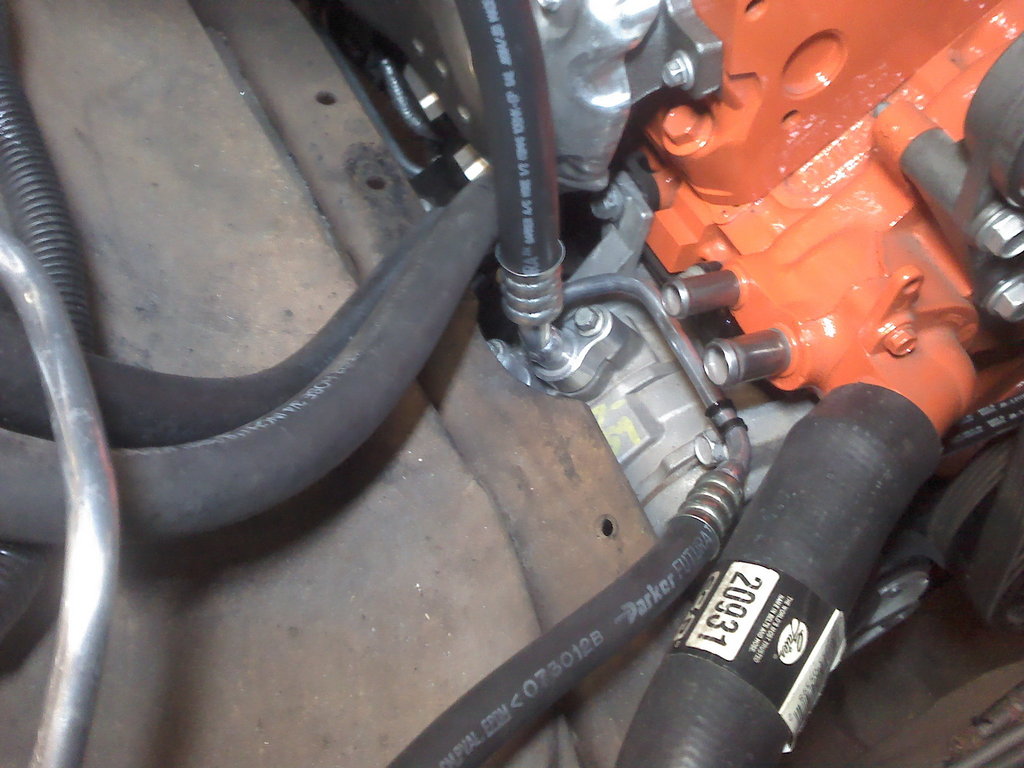
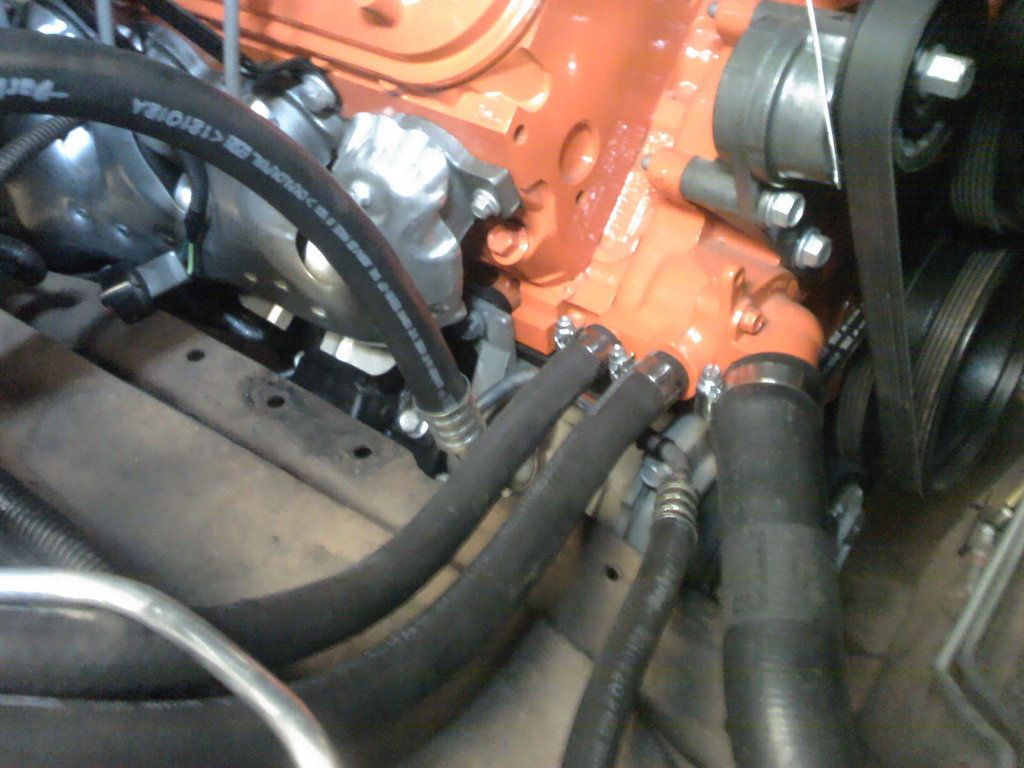
Made a little bracket to catch the high side line at the core support.
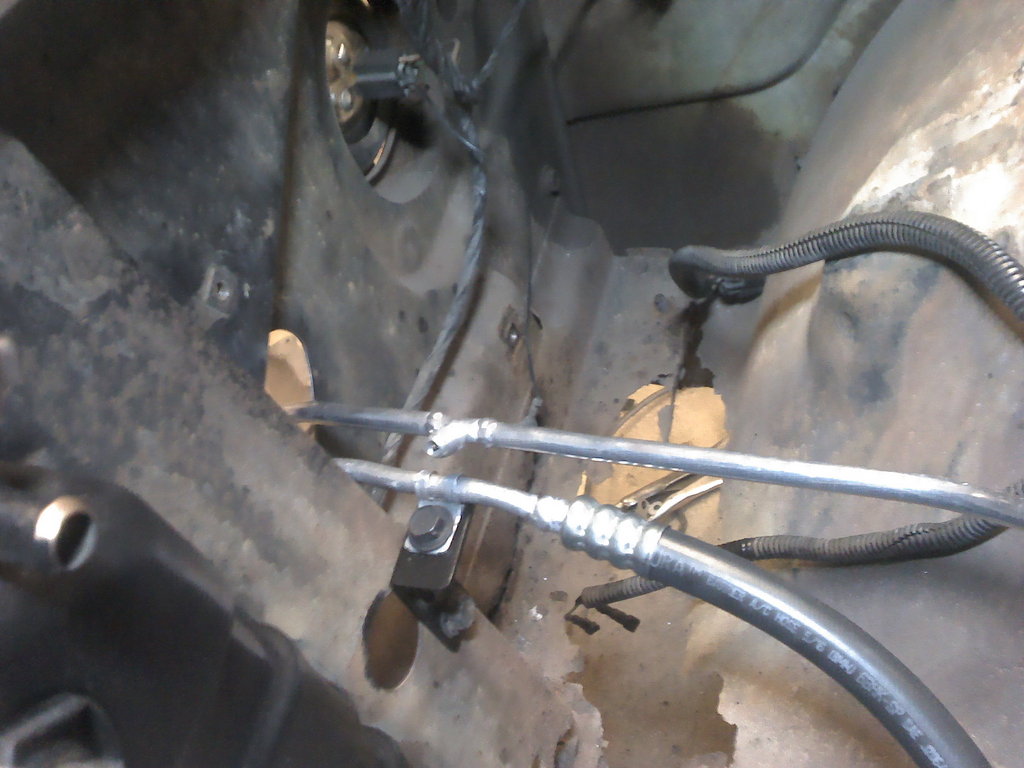
That fitting that looks like a service port is for the high pressure switch.
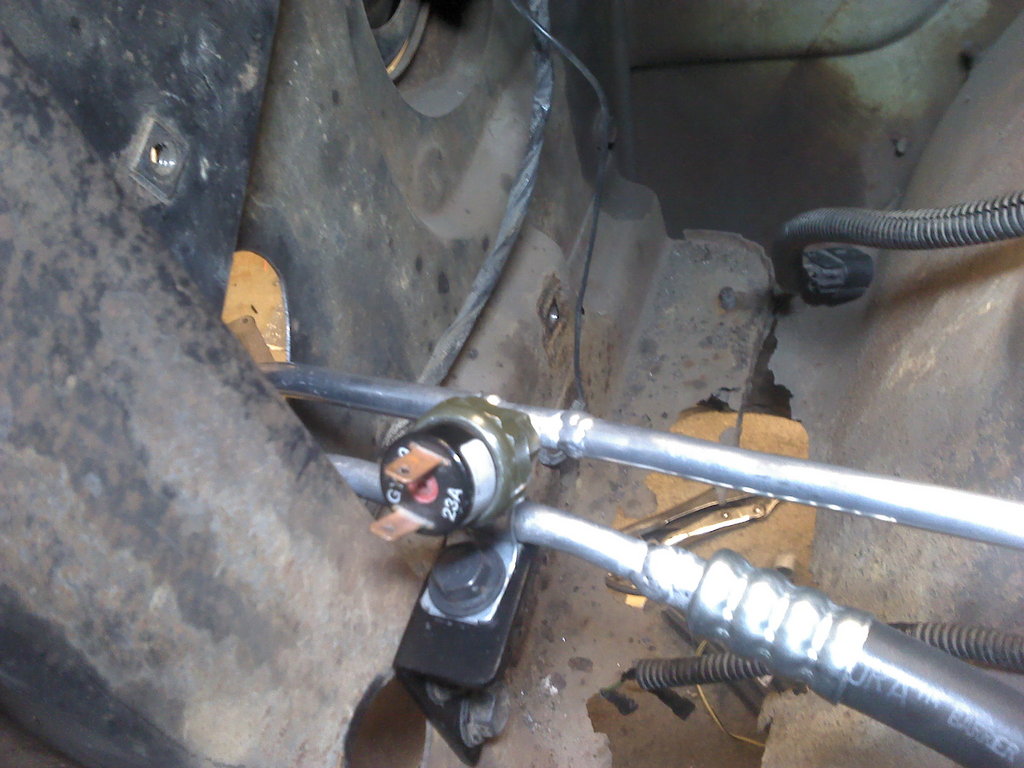
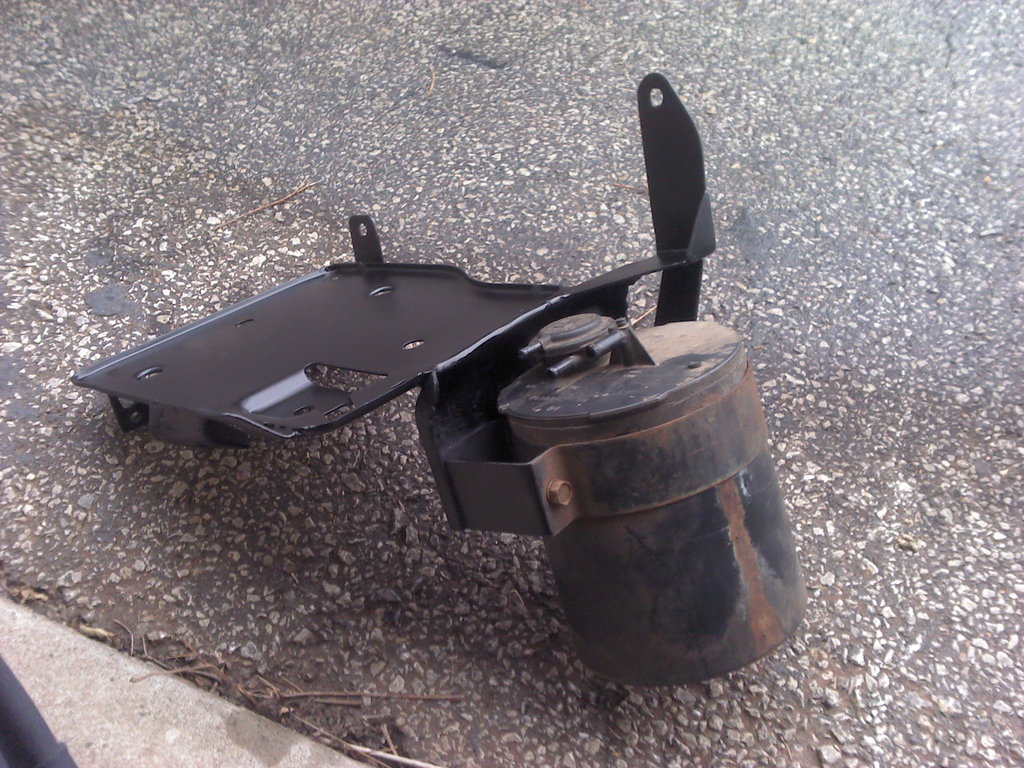
the line from the condenser to the evaporator is bolted to a bracket welded on the air cleaner bracket. The old charcoal cannister and bracket are attached to the air cleaner mount as well.
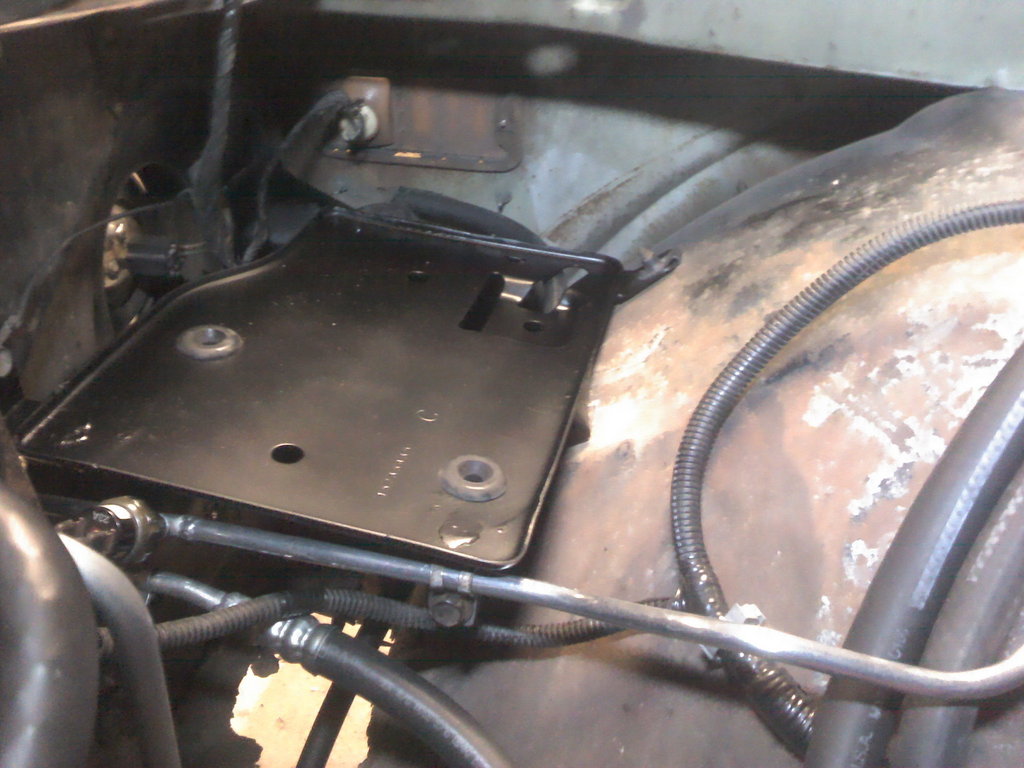
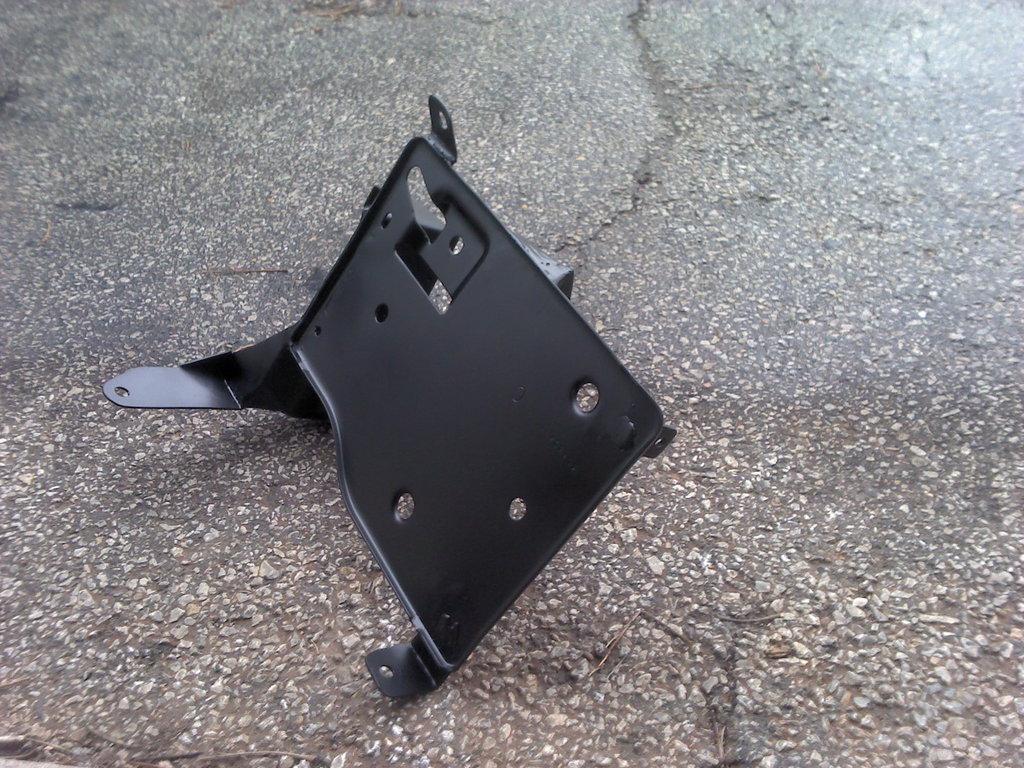
The air cleaner mounting bracket.
Today's total,
Driveshaft.... $235
A/C welding, 6 welds, at $10..... $60
A/C hose and crimp ferrules......$20
A/C orings, schrader valve cores, 134a adapters and oil.... $30
A/C accumulator........ $35
Orifice tube..... $3
First a pic of the weather........
Luckily most of the snow has melted, and it's gotten just a little bit warmer.
Had a new driveshaft made, the truck originally had a two piece shaft with a carrier bearing in it, and the carrier bearing was bad. Couldn't find a decent one at the junk yard to have shortened, so I took the measurments and my old yoke to a truck shop and new one made. Also has Spicer u joints which have to be better quality than the National ones all the auto parts stores around here sell.
Then started working on the A/C lines again. Got all the pieces TIG'ed together, and new hoses crimped on them.
Had to spend like an eternity at the parts store trying to find all the right o rings, but finally did get them all. Also, always remember to change out the schrader valves in the service ports, they're super cheap, and it's good insurance. Didn't do it once, and regretted it!
This is how the lines look on the compressor.
Made a little bracket to catch the high side line at the core support.
That fitting that looks like a service port is for the high pressure switch.
the line from the condenser to the evaporator is bolted to a bracket welded on the air cleaner bracket. The old charcoal cannister and bracket are attached to the air cleaner mount as well.
The air cleaner mounting bracket.
Today's total,
Driveshaft.... $235
A/C welding, 6 welds, at $10..... $60
A/C hose and crimp ferrules......$20
A/C orings, schrader valve cores, 134a adapters and oil.... $30
A/C accumulator........ $35
Orifice tube..... $3
03-11-2013, 11:13 PM
#191
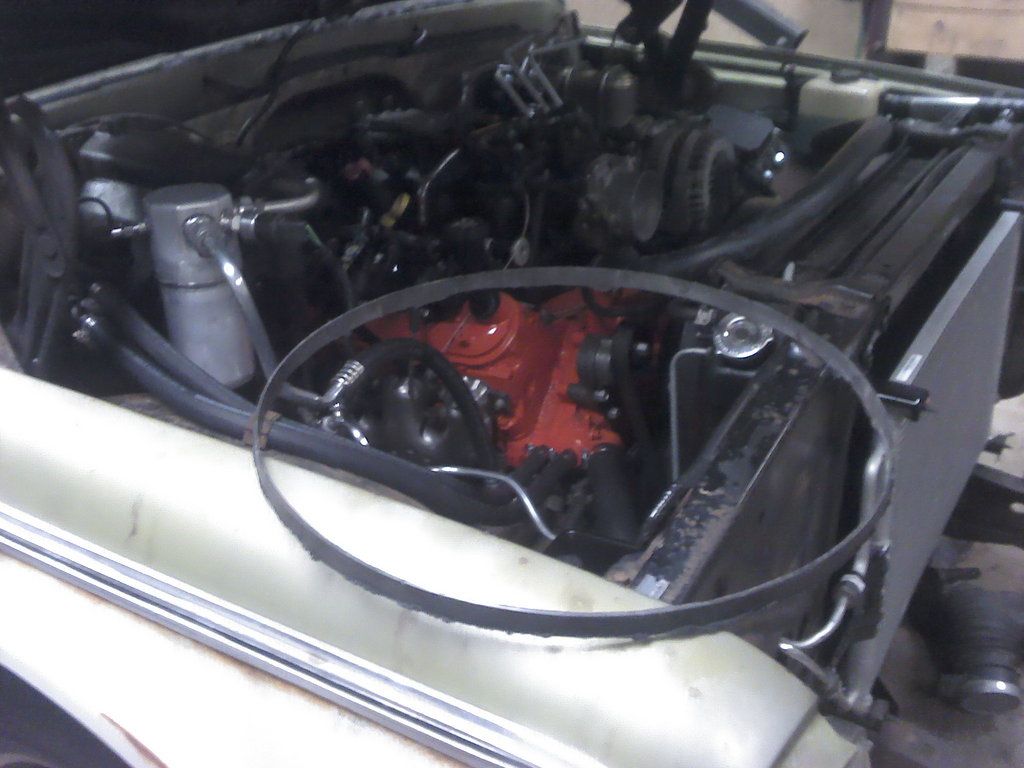
Got the radiator mounted for the last time, and also got all the coolant hoses on and clamped. Also put some antifreeze in it, the green stuff, not that Dexcool crap that turns to mud.

Then I trimmed the fan shroud about an inch, so now the fan is half in and half out of the shroud, just like it's supposed to be.

Hose clamps and 2 gallons of antifreeze.... $25
Then I trimmed the fan shroud about an inch, so now the fan is half in and half out of the shroud, just like it's supposed to be.
Hose clamps and 2 gallons of antifreeze.... $25


 03-12-2013, 09:39 PM
#195

The Master!!!!!!
03-13-2013, 03:59 PM
#196

Got the radiator mounted for the last time, and also got all the coolant hoses on and clamped. Also put some antifreeze in it, the green stuff, not that Dexcool crap that turns to mud.
Then I trimmed the fan shroud about an inch, so now the fan is half in and half out of the shroud, just like it's supposed to be.

Hose clamps and 2 gallons of antifreeze.... $25
Then I trimmed the fan shroud about an inch, so now the fan is half in and half out of the shroud, just like it's supposed to be.
Hose clamps and 2 gallons of antifreeze.... $25
 03-13-2013, 10:26 PM
#197
Thanks guys!
If the weather is nice, I'm thinking this weekend. But I don't get in a hurry anymore, they've almost become anti-climatic, so I just take my time and make sure everything is done right so I don't have to work on it later.
Ok, here's a link to my thread on it. Can't believe it's been almost 5 years ago, where does the time go????!!!! https://ls1tech.com/forums/conversio...you-drive.html
Ok, here's a link to my thread on it. Can't believe it's been almost 5 years ago, where does the time go????!!!! https://ls1tech.com/forums/conversio...you-drive.html
03-13-2013, 10:52 PM
#198
Been doing the boring non-swap related things that needed to be done lately. But I suppose being able to stop is something that should be higher on the priority list. 
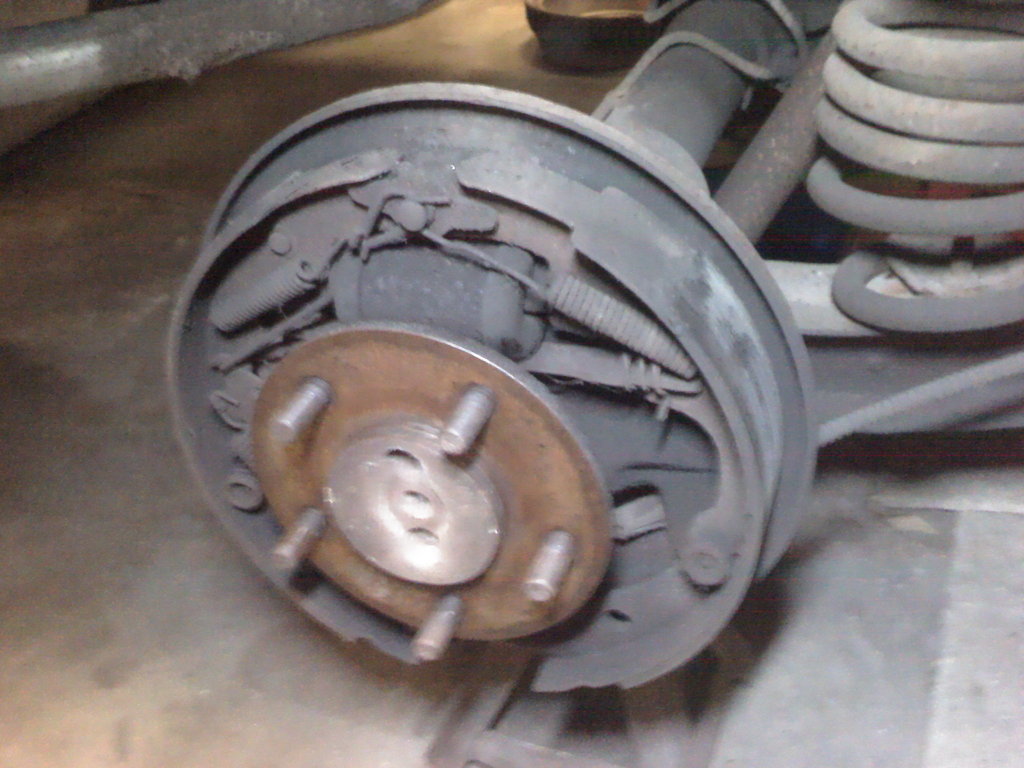
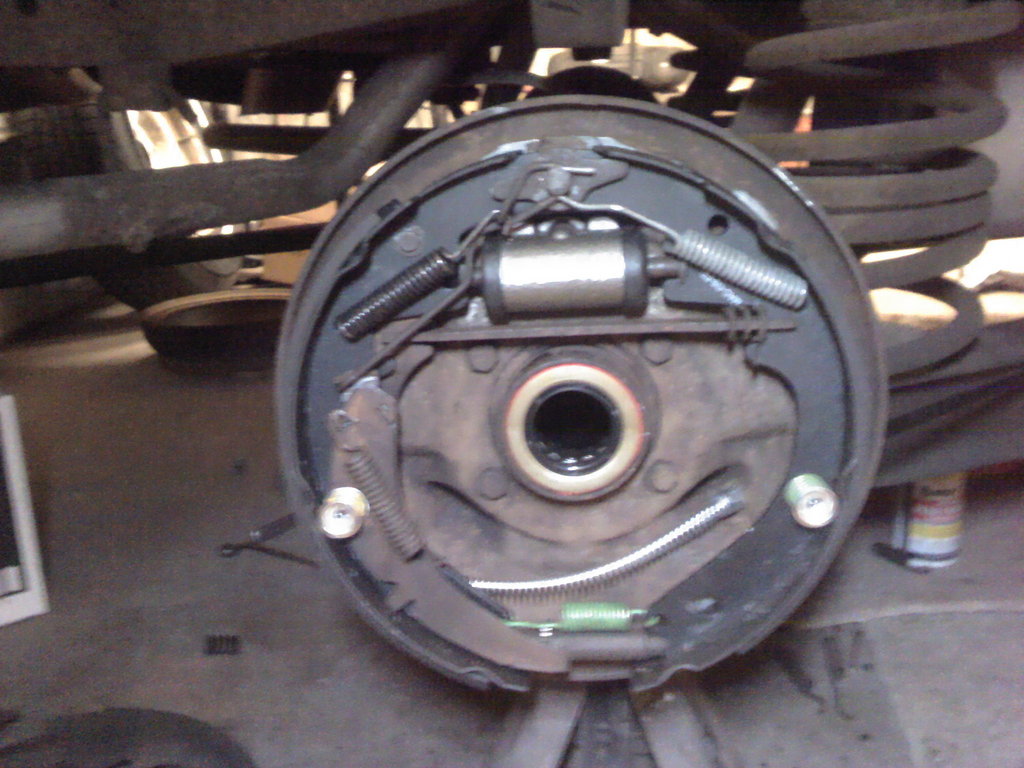
Right side wheel cylinder was toast. This explains why when I bought the truck the rear reservoir of the master cylinder was empty.
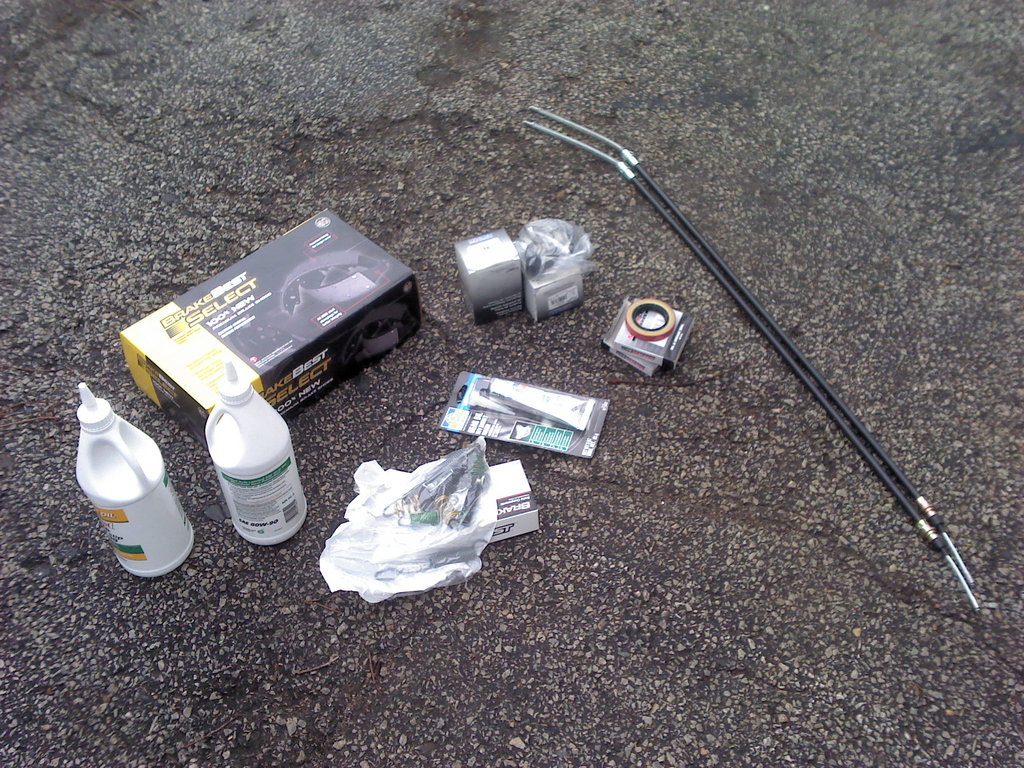
Bought some parts at the auto parts store and RockAuto.
One of the axle seals looked like it might have been leaking, but not sure since there was brake fluid all over, but since new seals are cheap I decided to go ahead and change them. The dif cover was seeping anyway, so I could fix that at the same time.
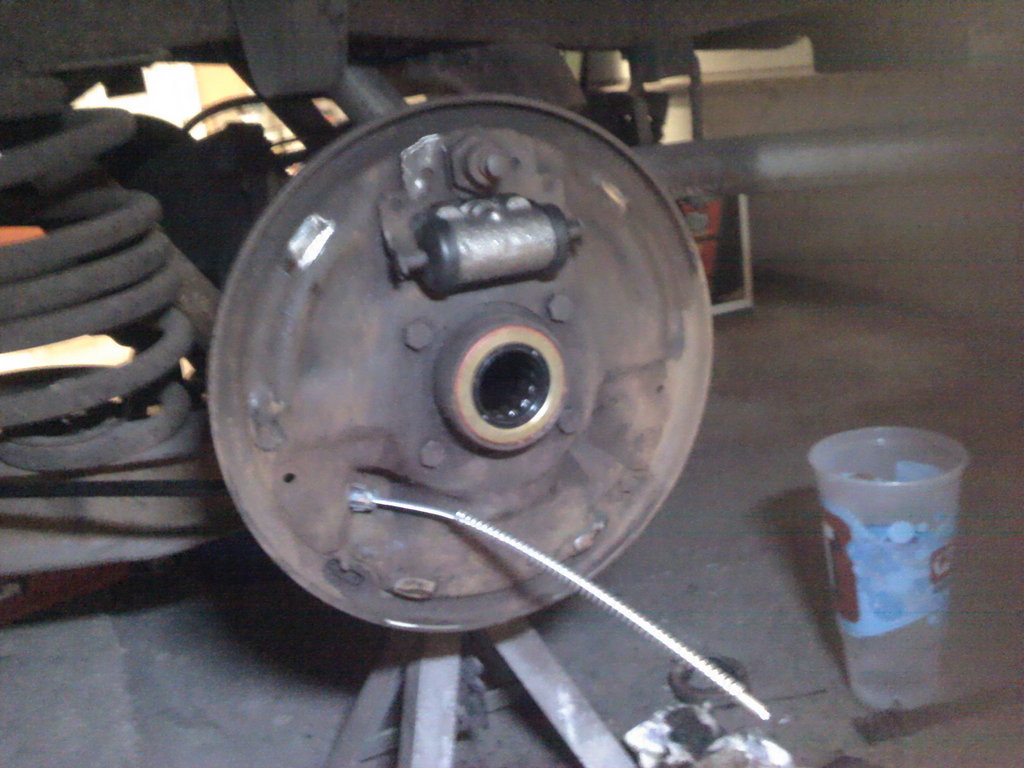
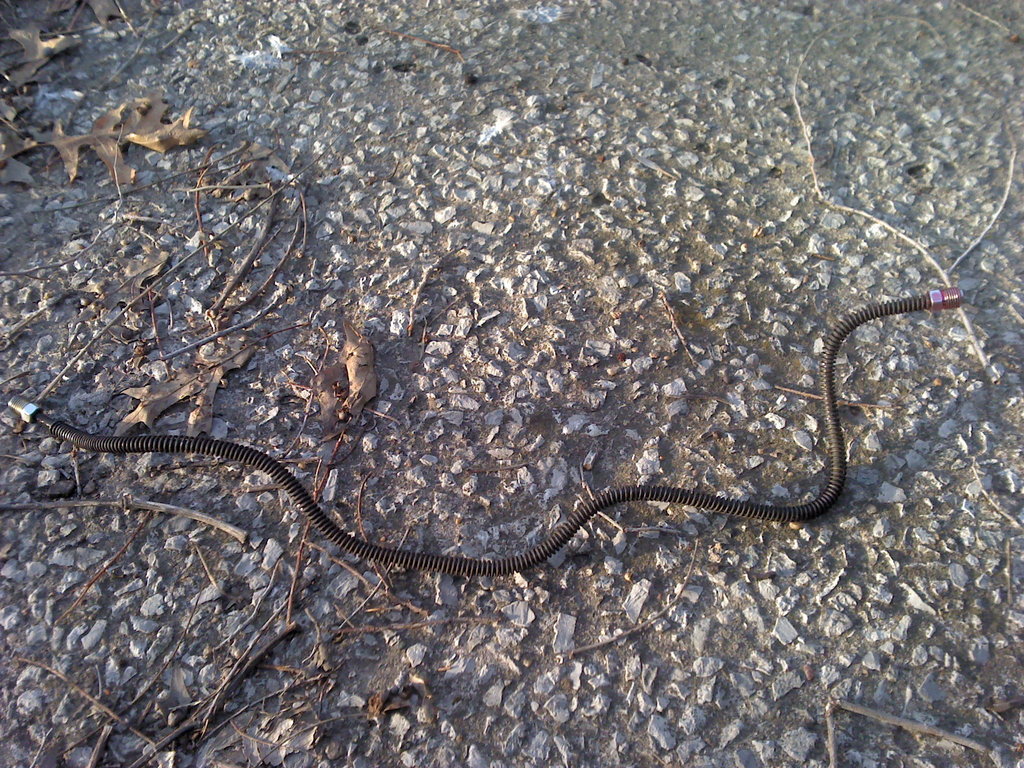
All was going well until I snapped off one brake line fitting that was rusted to the line, so I made a new one. Took the old brake line armor spring stuff off the old line and put it on the new one, can't really tell it's a new line now!
Brakes done, just need to put the axles back in.
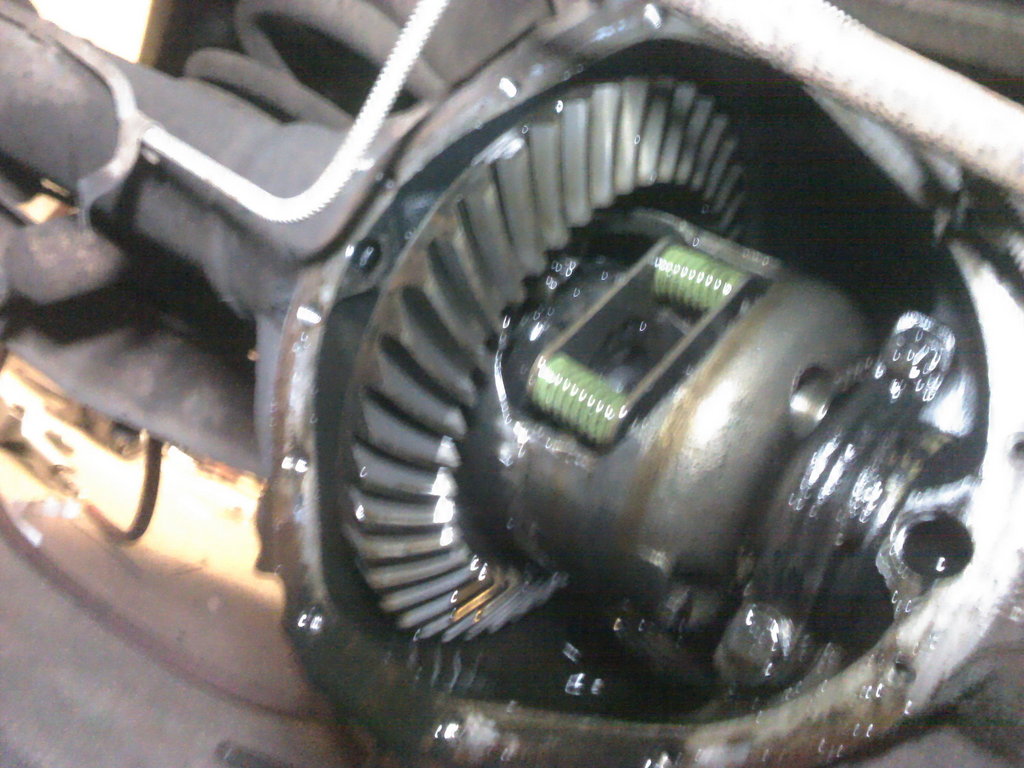
And just for good measure, a shot of the factory Posi....
Brake shoes..... $25
Wheel cylinders......$20
Brake spring kit....$5
Axle seals......$5
Gear lube, 2 quarts......$16
Gasket maker for dif cover......$7
Brake line and one fitting.......$15
Park brake cables........$30
Frame to axle brake hose......$30
Right side wheel cylinder was toast. This explains why when I bought the truck the rear reservoir of the master cylinder was empty.
Bought some parts at the auto parts store and RockAuto.
One of the axle seals looked like it might have been leaking, but not sure since there was brake fluid all over, but since new seals are cheap I decided to go ahead and change them. The dif cover was seeping anyway, so I could fix that at the same time.
All was going well until I snapped off one brake line fitting that was rusted to the line, so I made a new one. Took the old brake line armor spring stuff off the old line and put it on the new one, can't really tell it's a new line now!
Brakes done, just need to put the axles back in.
And just for good measure, a shot of the factory Posi....
Brake shoes..... $25
Wheel cylinders......$20
Brake spring kit....$5
Axle seals......$5
Gear lube, 2 quarts......$16
Gasket maker for dif cover......$7
Brake line and one fitting.......$15
Park brake cables........$30
Frame to axle brake hose......$30
03-17-2013, 02:29 PM
#199
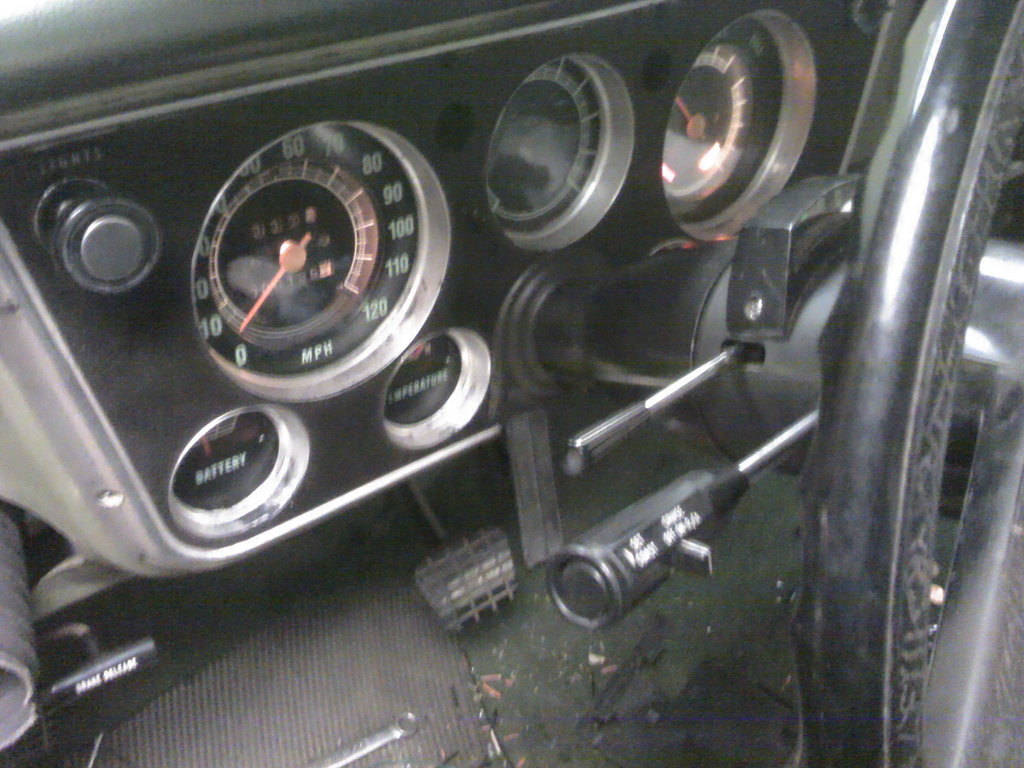
Spent some time this weekend lying on my back under the dash, but I got the brake pedal push rod adjusted so that the brake pedal is at the proper height. Also got the gauge cluster bolted in and the steering column bolted back up.
Then I made my cruise control lever, it's a hybrid it's self, made from several different levers, but I like the way it matches the look of the original lever, and the tilt lever. (Wow, I really need to clean up all the crap on the floor! )
)
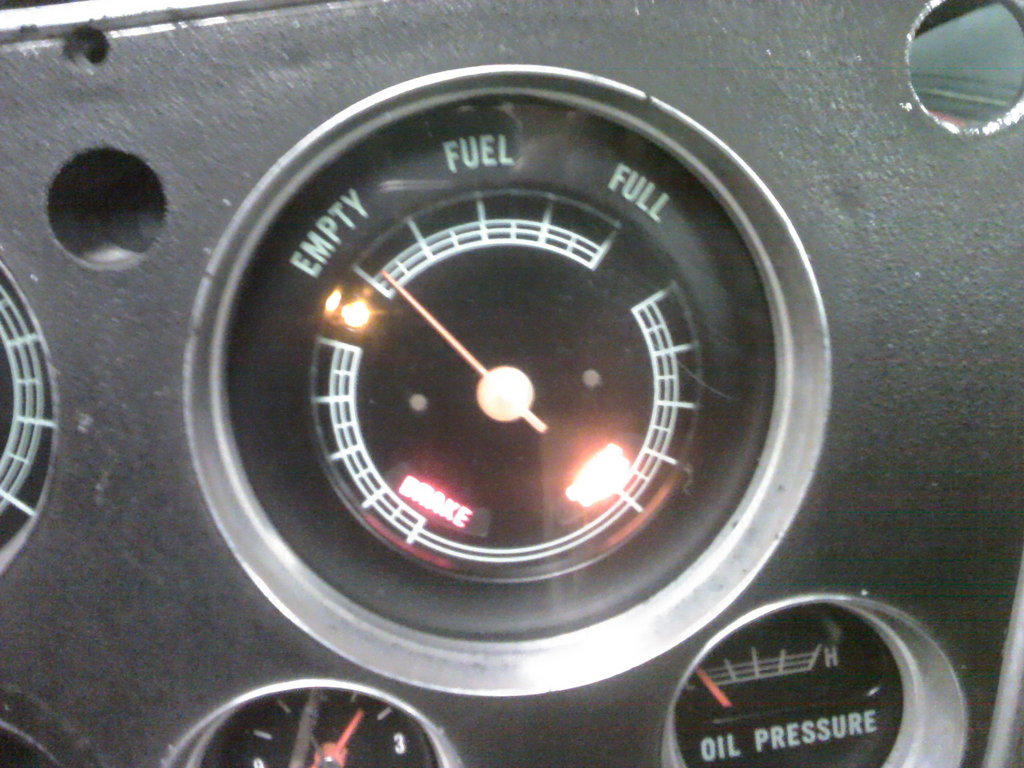
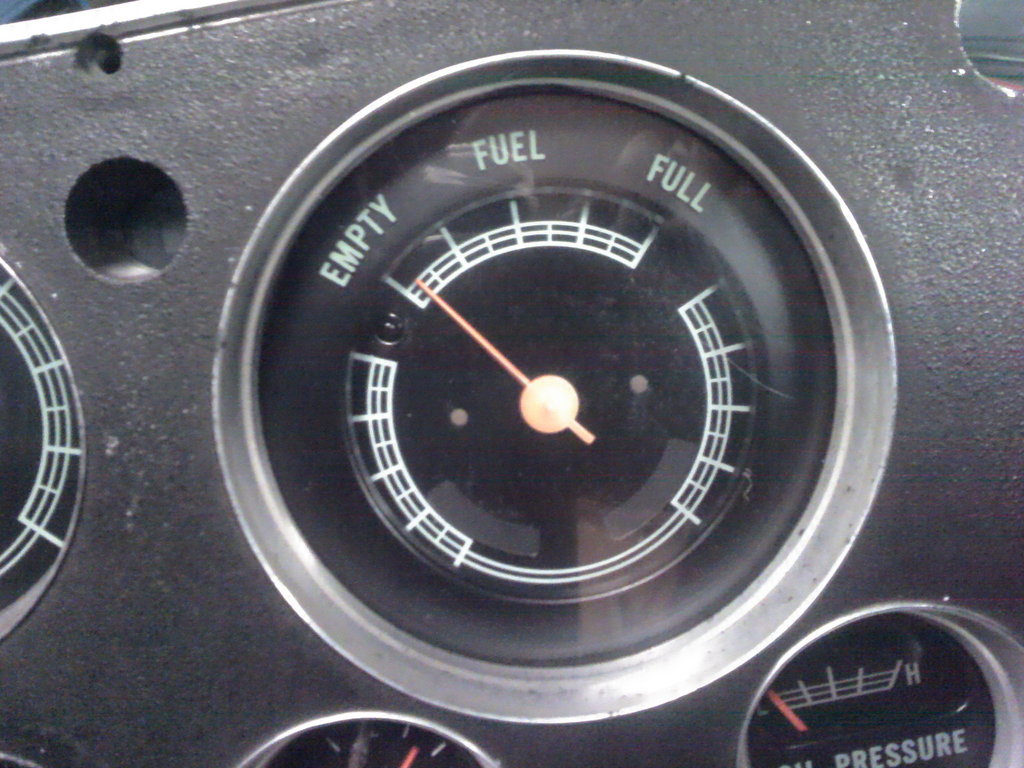
And here's a not so good pic of the gas gauge with the 'service engine' light in the unused spot in the lower right. The amber light in the upper left is the 'low fuel' light. I'm all about the modern features.
Then I made my cruise control lever, it's a hybrid it's self, made from several different levers, but I like the way it matches the look of the original lever, and the tilt lever. (Wow, I really need to clean up all the crap on the floor!
)And here's a not so good pic of the gas gauge with the 'service engine' light in the unused spot in the lower right. The amber light in the upper left is the 'low fuel' light. I'm all about the modern features.