

5.3 4l60e swap into my RUSTY '71 C-10
 08-21-2014, 11:06 AM
#301
TECH Apprentice
Just read thru this thread again. For the AC, what evap coil and condenser coil did you use? What about the accumulator?
Are all those parts from a late truck or some aftermarket?
Thanks in advance!
Are all those parts from a late truck or some aftermarket?
Thanks in advance!
 09-13-2014, 10:40 PM
#302
TECH Enthusiast
Join Date: Sep 2014
Location: alburnett, iowa
Posts: 732
Likes: 0
Received 0 Likes
on
0 Posts
I see people are wondering where to get ls motors. Try buying a complete salvage car,truck, or van. I been buying from IAAI(insurance auto auction incorperated) buyer registration to buy is $200 a year. You can buy as many you want but you have to watch what buyer fees are. Its based on money spent so know what your doing you be ok. sell off extra parts not needed scrap the rest. Rolled or rear ended cars usually the best to get.
11-24-2014, 11:22 AM
#303
Teching In

Join Date: Apr 2014
Location: MO
Posts: 15
Likes: 0
Received 0 Likes
on
0 Posts

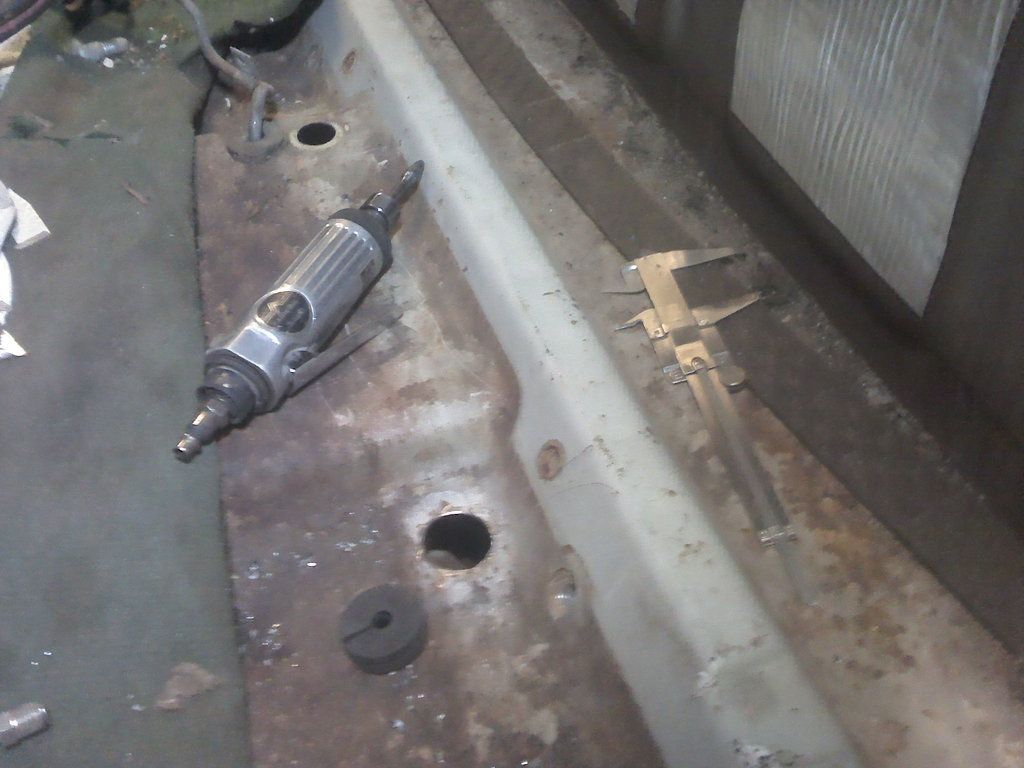
Finally got the fuel system finished, but ran into a problem with the Dorman 3/8 nylon to nylon fittings. The part of the fitting that goes inside the nylon line to keep the ferrule from collapsing the line was too big for the steel line to fit in. The 5/16 fittings worked fine, the steel line fit inside it with no problem, but the 3/8 was too big. So what I did was to get fittings for steel lines, but then had to find something to put in the nylon line to keep it from collapsing. The hardware store had some, but they were either too big or too small. Then I realized that a piece of 5/16 steel line was a perfect fit inside the 3/8 nylon line, but of course it couldn't be that easy, because it made getting the brass ferrule on impossible, it was just a tad too big. I could have used the nylon ferrules that came with the nylon to nylon fittings, but felt more comfortable tith the brass ones, so I took the 5/16 steel line piece and cut it lenghtwise with a cut off wheel and pinched it back together with a pair of pliers, perfect fit!
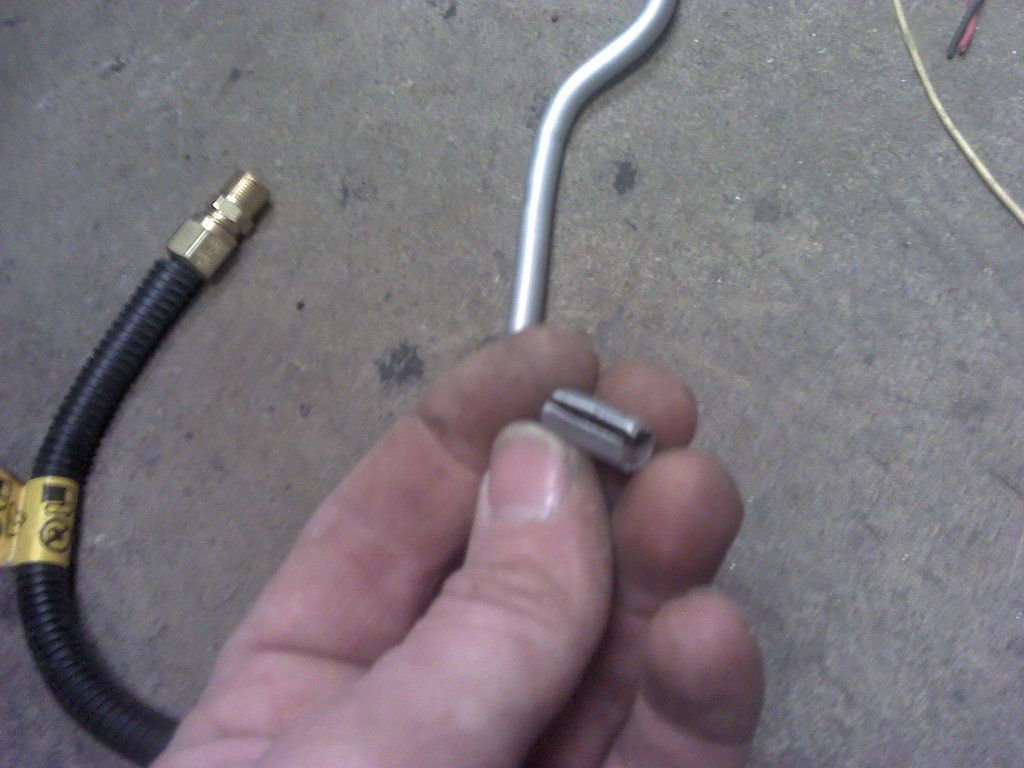
This is what it looks like in the line.
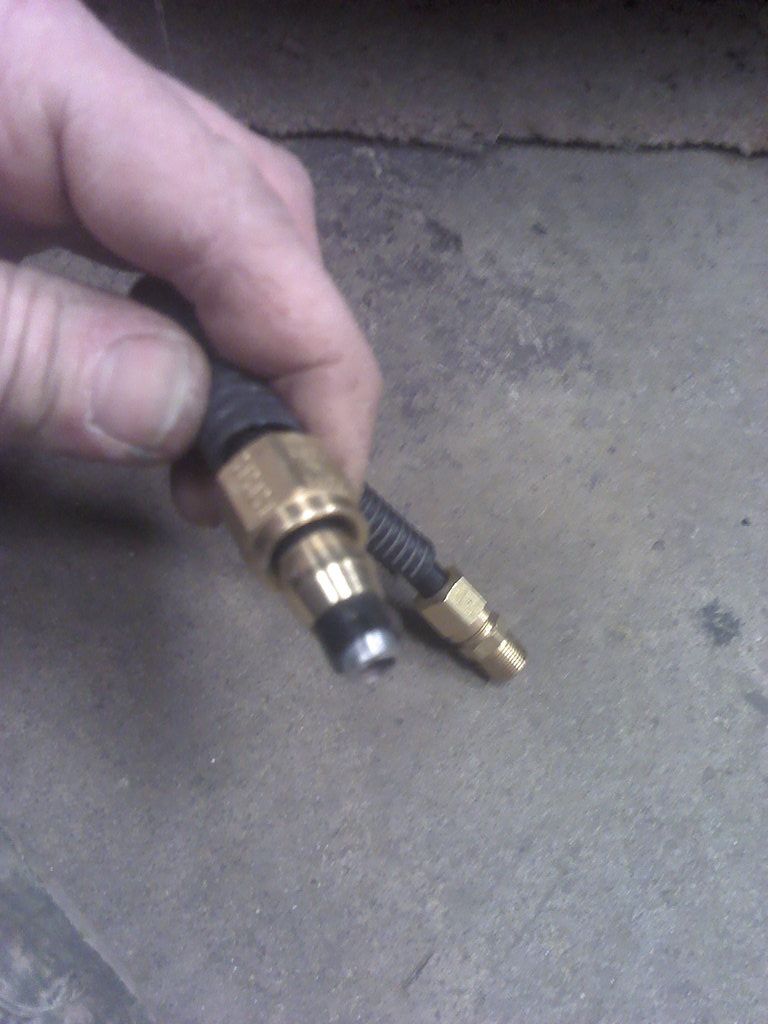
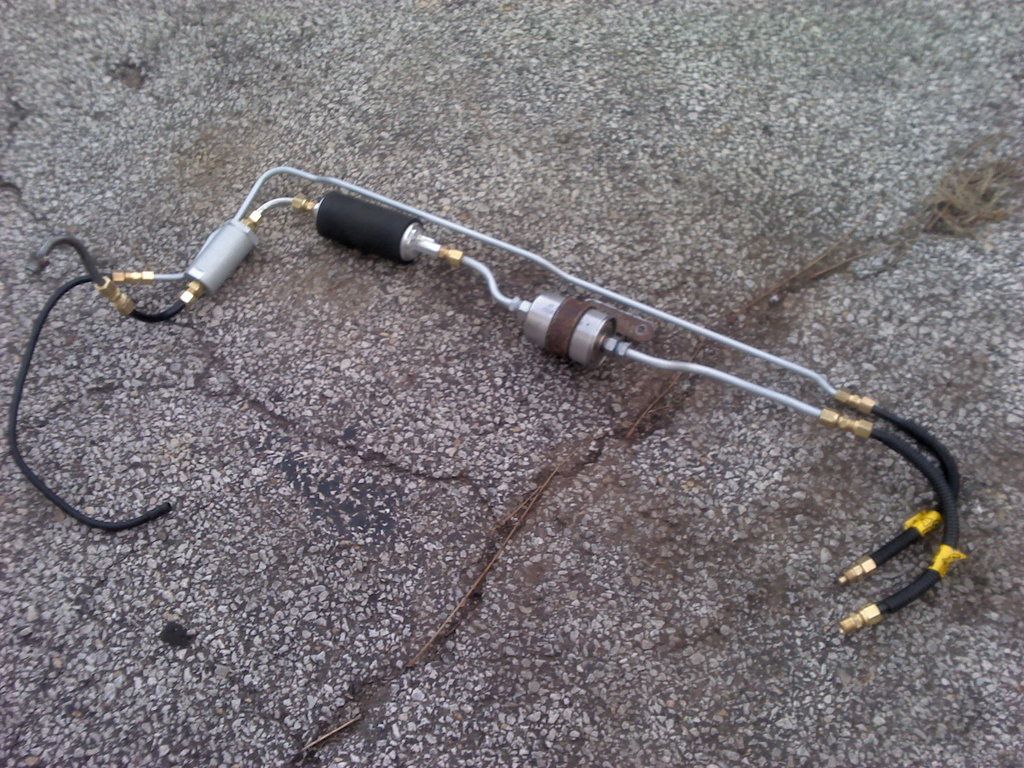
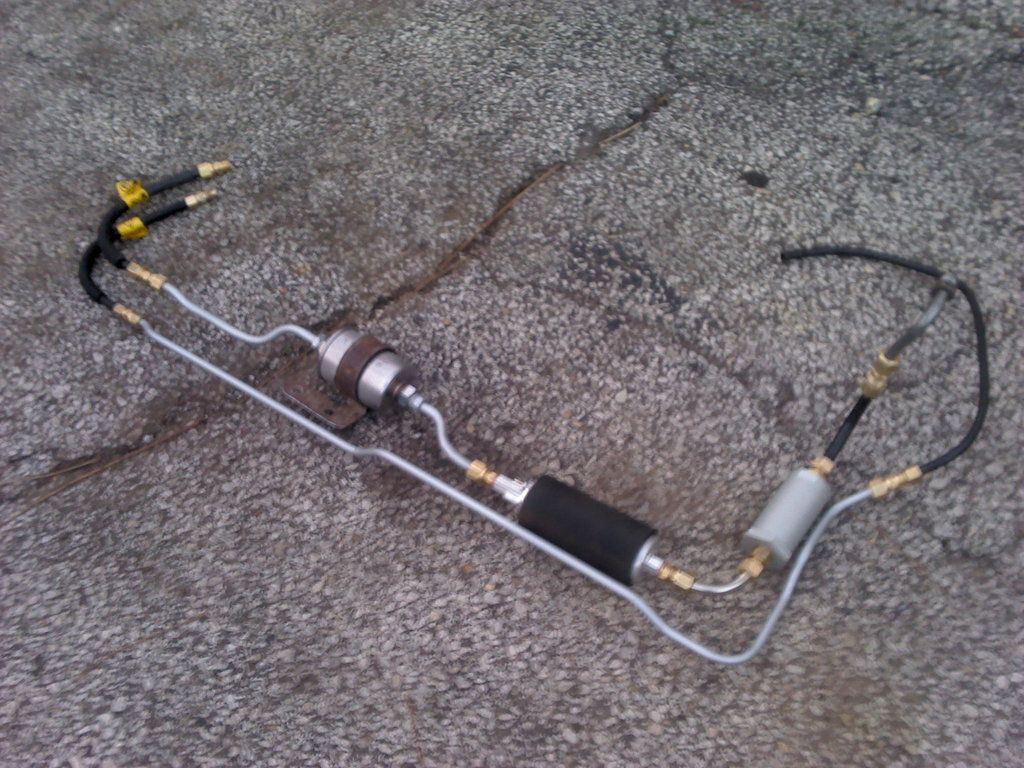
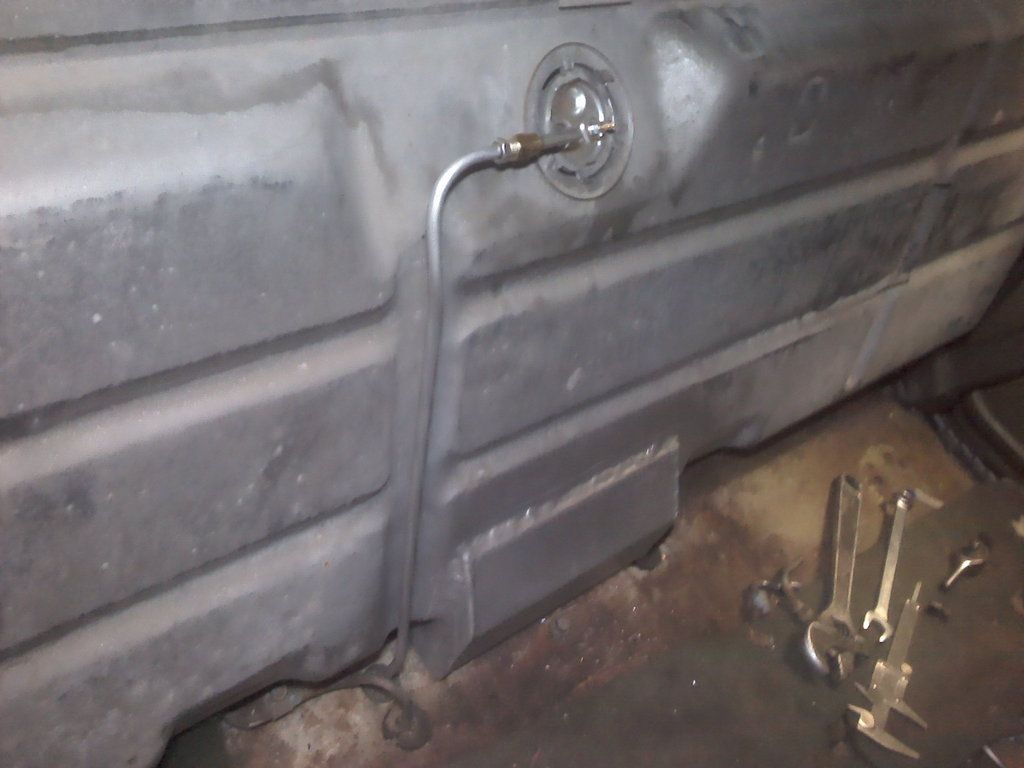
This is pretty much the whole fuel system, from the fitting that goes in the sump, to the 100 micron pre-filter, Walbro 255, to the Wix filter. Doesn't look like much, and is only a couple feet long, but took a while to get everything just the way I wanted it. Everything is secured and nothing is rubbing on anything to cause problems down the road.
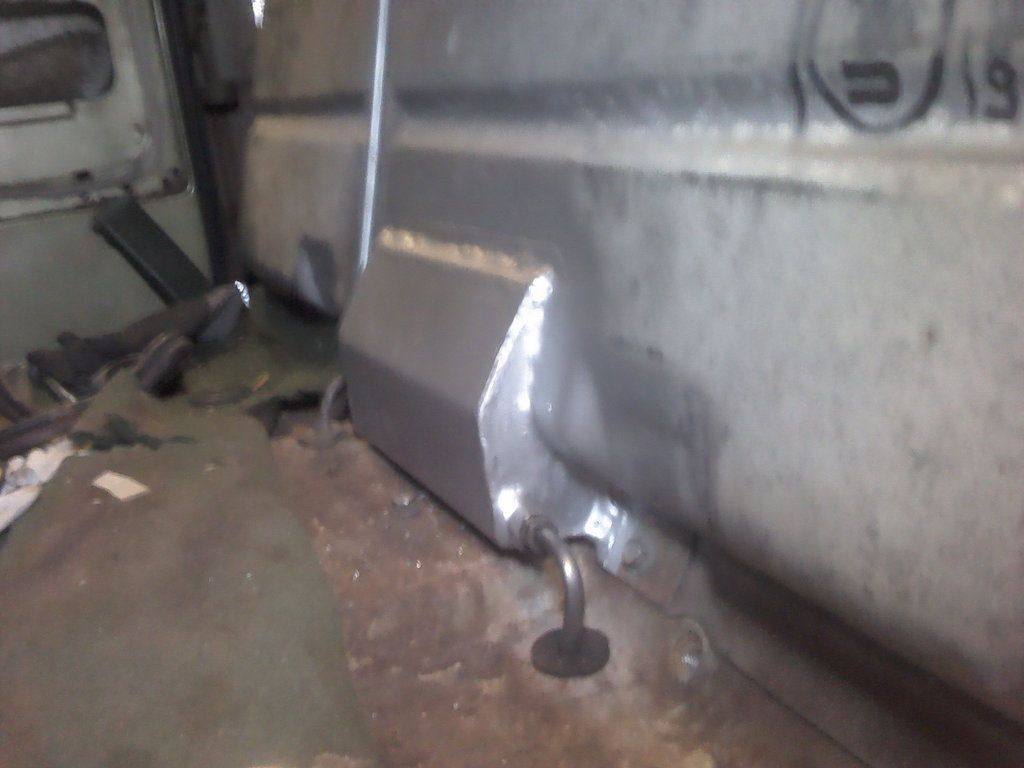
Cut a hole in the floor for the feed line to go through....
Tank back in and lines hooked up.
I bought a new fuel sender for a 6 cylinder since I needed a 5/16 line for a return, and my truck originally being a 350 had a 3/8 line sender. Made a new line for it too.
I'll try to get some pics of the lines installed tomorrow.
Fuel system wasn't all that expensive,
Walbro 255... $110
100 micron pre-filter.... $36
Wix fuel filter.... $15
Roughly $40 in compression fittings
Steel line.... $25
Grommet for floor $2
New fuel sender.... $30
Nylon line, factory steel line pieces with o ring fittings for fuel filter, clamps and fuel filter bracket all came from the u pull it.... $15
This is what it looks like in the line.
This is pretty much the whole fuel system, from the fitting that goes in the sump, to the 100 micron pre-filter, Walbro 255, to the Wix filter. Doesn't look like much, and is only a couple feet long, but took a while to get everything just the way I wanted it. Everything is secured and nothing is rubbing on anything to cause problems down the road.
Cut a hole in the floor for the feed line to go through....
Tank back in and lines hooked up.
I bought a new fuel sender for a 6 cylinder since I needed a 5/16 line for a return, and my truck originally being a 350 had a 3/8 line sender. Made a new line for it too.
I'll try to get some pics of the lines installed tomorrow.
Fuel system wasn't all that expensive,
Walbro 255... $110
100 micron pre-filter.... $36
Wix fuel filter.... $15
Roughly $40 in compression fittings
Steel line.... $25
Grommet for floor $2
New fuel sender.... $30
Nylon line, factory steel line pieces with o ring fittings for fuel filter, clamps and fuel filter bracket all came from the u pull it.... $15
I know this is a while back but could tell me what brand the 100 micron fuel filter is? I've scoured summit and ebay but not really anything that comes close to 100 micron. Most are 40 and down but the 100's that I have found are around $75.00 each.
Thanks
Ken
11-24-2014, 08:39 PM
#304
Guess I should have put that in the original post since a couple of people have asked. The $36 cost I was including shipping costs. I bought the small $27 one, been going good for over 13k miles now. http://www.robbmcperformance.com/products/filters.html
07-26-2015, 06:28 PM
#305

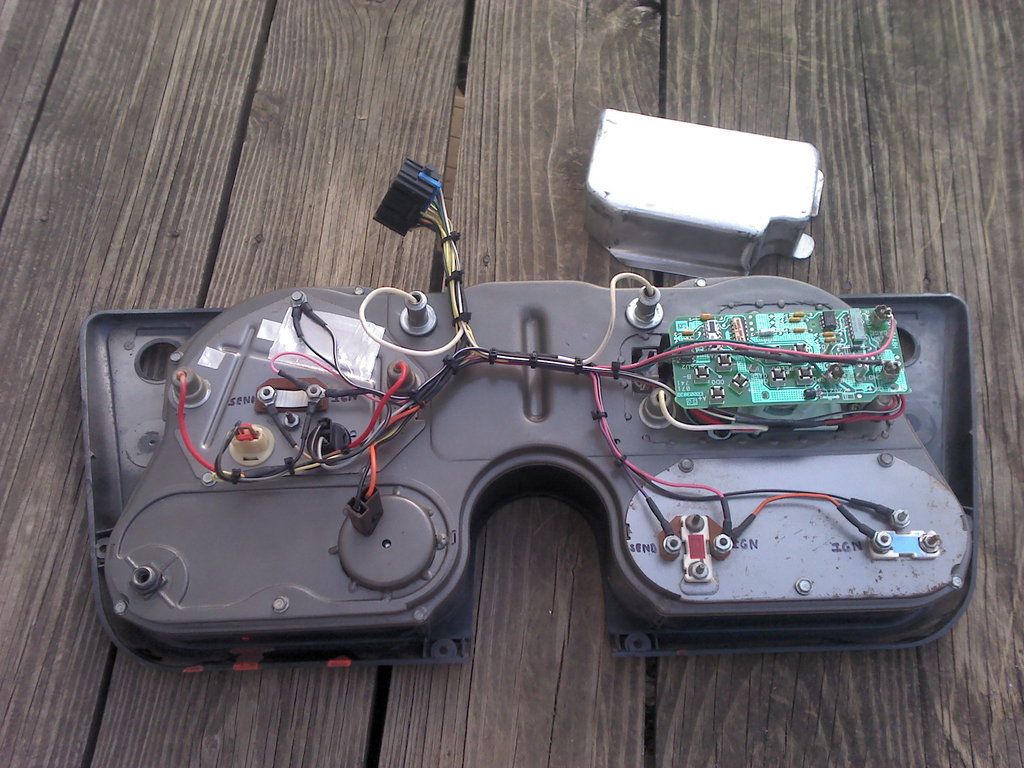
Not much in the way of progress in the last month, funny how not much gets done when you don;t work on it! Just way too cold around here these days.  But I did manage to get the gauges finished up since I could bring them inside where it's warm. I didn't paint the needles or put it all in a shiny new bezel since I'm going for an untouched look on the interior. The casual observer probably won't even notice the gauges have been modified, the way I like it. I also added a voltmeter in place of the original ammeter, a clock in the unused lower hole, and you can't see it, but there's a 'check engine' light in the lower corner of the gas gauge.
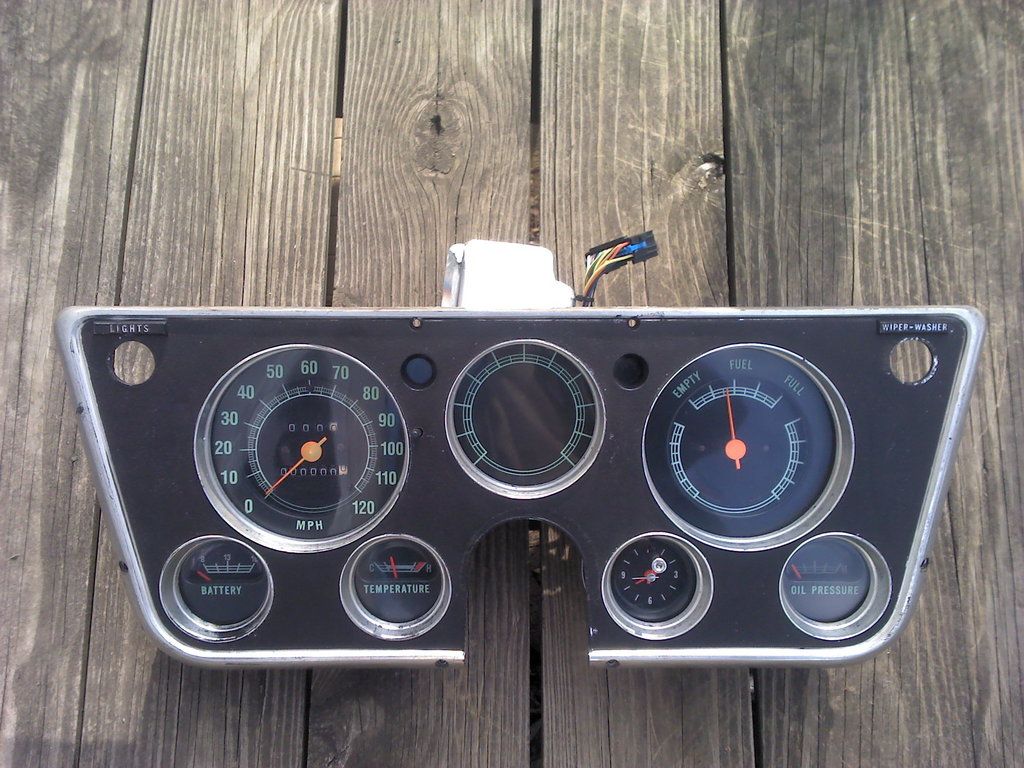
But I did manage to get the gauges finished up since I could bring them inside where it's warm. I didn't paint the needles or put it all in a shiny new bezel since I'm going for an untouched look on the interior. The casual observer probably won't even notice the gauges have been modified, the way I like it. I also added a voltmeter in place of the original ammeter, a clock in the unused lower hole, and you can't see it, but there's a 'check engine' light in the lower corner of the gas gauge.That is absolutely the nicest retrofit setup I have seen on a swap! It is much cleaner than any of the aftermarket gauge clusters out there. I read the entire thread, & then went to ebay & ordered a S10 cluster, lol! As I am getting ready to tackle this I have a question about the led for the high beam indicator. Our local Radio Shack closed a few months back so walking in & searching for one is out, do you have a part number so I can order it online, or a better picture of what I am looking for? And I am not quite sure about where you put the tint to keep the led from glowing when the dash lights are lit. Now on with the reading!
Oh, & I sent you a PM.
07-26-2015, 10:20 PM
#306
Thanks for the compliments. As for the LED, I don't have a part number for it. And all of our Radio Shacks are closed too. I can tell you it was small. I'm almost positive it was this one however. http://comingsoon.radioshack.com/rad...l#.VbWi2tLz5jo
The tint goes between the clear plastic mounting part and the speedo face, it dims the LED a bit, but at night it's still very noticeable, and does keep it from 'glowing' whenever the dash lights are on.
I can tell you it was small. I'm almost positive it was this one however. http://comingsoon.radioshack.com/rad...l#.VbWi2tLz5joThe tint goes between the clear plastic mounting part and the speedo face, it dims the LED a bit, but at night it's still very noticeable, and does keep it from 'glowing' whenever the dash lights are on.
 05-24-2016, 08:41 AM
#311
Teching In

Join Date: May 2016
Posts: 5
Likes: 0
Received 0 Likes
on
0 Posts
Thanks so much for the reply. Yes I would like to see how you routed your throttle cable and did you use your factory pedal because I've been told by a few people I need to run an aftermarket pedal 1970 suburban agin thank you
05-24-2016, 10:02 AM
#312

I used an Astro van module, and I "think" the cable is Astro too, but I do remember changing it, although I think it was with another Astro cable. I had to change the end that hooks to the throttle body since they were a little different, so there is a cable clamp on the end.


As for the gas pedal, I used the factory one. 1971 was the first year for a cable rather than the older linkage type, so with your '70, you could swap to the '71-2 pedal and cut a hole in the firewall for the cable to go through. It's been done a lot of times and isn't that hard to do.

I used a junkyard cable out of a 90's chevy van and cut it to fit, so there is a cable stop on the gas pedal too.
 01-20-2017, 05:30 PM
#314

Given the numerous aftermarket low mount sanden brackets out there for $$$ I'm surprised nobody is selling fittings like the one's you've fabbed up!
01-20-2017, 06:27 PM
#315
I think most of the mods to the A/C are in the thread. I used a square body evaporator to eliminate the POA valve and used a condenser out of a 98 Suburban I think it was. The hoses are custom made to go along with the custom fittings. The factory compressor fits nicely, but I did make my own engine stands so I could use the factory motor mounts, aftermarket mounts may not allowe the use of the stock compressor in that spot.
 01-28-2017, 10:27 PM
#317
 02-04-2018, 01:54 PM
#319
Teching In
Join Date: Feb 2018
Posts: 5
Likes: 0
Received 0 Likes
on
0 Posts
I have spent hundreds of hours researching the LS swap into a 67 C10 and I can watch this & read every page over & over. My question was the exhaust manifolds. You indicated they where Trailblazer SS. My searching has found 4x2, 4x4 SS Trailblazers over 2006 -2009 or some range like that. What did you TBSS manifolds come off of? They look and fit very well. My donor was an 03 Tahoe with a 5.3L. C10 forums indicate they don't fit because they are too wide. Is it best to get both or can the right side only work? I like your post on the OEM upper motor mount and the modified lower. My donor truck went away because my wife doesn't want anything around here, so I don't have the bottom half to work with. Great build. Looking forward to that info and your dash build should be a thread by itself. Wonderful analog look.
02-04-2018, 04:58 PM
#320
I posted on your thread on the other forum. As far as the manifolds go, 2wd and 4wd are the same on the TBSS and its variants. Basically if its a Trailblazer and it has a V8, it will have the manifolds you are looking for. you are correct, the truck manifolds are too wide at the rear, which makes them not a good candidate for a swap into a 67-72 truck. Usually when you find them, it will be a pair, so I'm not sure if a truck one will work on one side or not, but I do recall one side having more room than the other, but don't remember which, Thanks for the compliment, and there is a thread on the speedometer. Here's a link, http://67-72chevytrucks.com/vboard/s...d.php?t=512751 If it's something you want to try, I sell some of the parts to do it, there's a thread on that as well on the truck forum. http://67-72chevytrucks.com/vboard/s...d.php?t=600922
Last edited by ls1nova71; 02-04-2018 at 05:07 PM.