
5.3 4l60e swap into my RUSTY '71 C-10


 09-28-2012, 12:00 PM
#23
TECH Regular

I just picked up an engine a week ago and when I went to look at it the guy had cut his harness like that (and other places). I asked about the rest of it and it was sitting behind the motor in the shed. I was amazed, he had the common sense to remove it from the wreck but then got lazy and cut the thing...some people amaze me.
Jess
Jess
09-28-2012, 08:21 PM
#24
Registered User

Join Date: Sep 2012
Location: Wichita, KS
Posts: 2
Likes: 0
Received 0 Likes
on
0 Posts
This is a great swap. Looking forward to seeing more. My first truck was a '71 Chevy longbed. I miss that truck. I wish I would've kept it and made it half as nice as the ones you built. Love the two tone treatment.
10-01-2012, 10:35 PM
#25
Made some more progress, but not going as fast as I would like. It's my own fault, as I'm just a little too picky to do a 'quick and dirty' even on a rusty old beater. But I try to be patient, and take my time on things so the swap will be as reliable as possible. Cutting corners now will probably make me have to work on fixing it later, which with my luck would be on the side of the freeway at midnight in the middle of January in a foot of snow with temps around 1 degree! Not my idea of fun. But, it will get done soon enough.
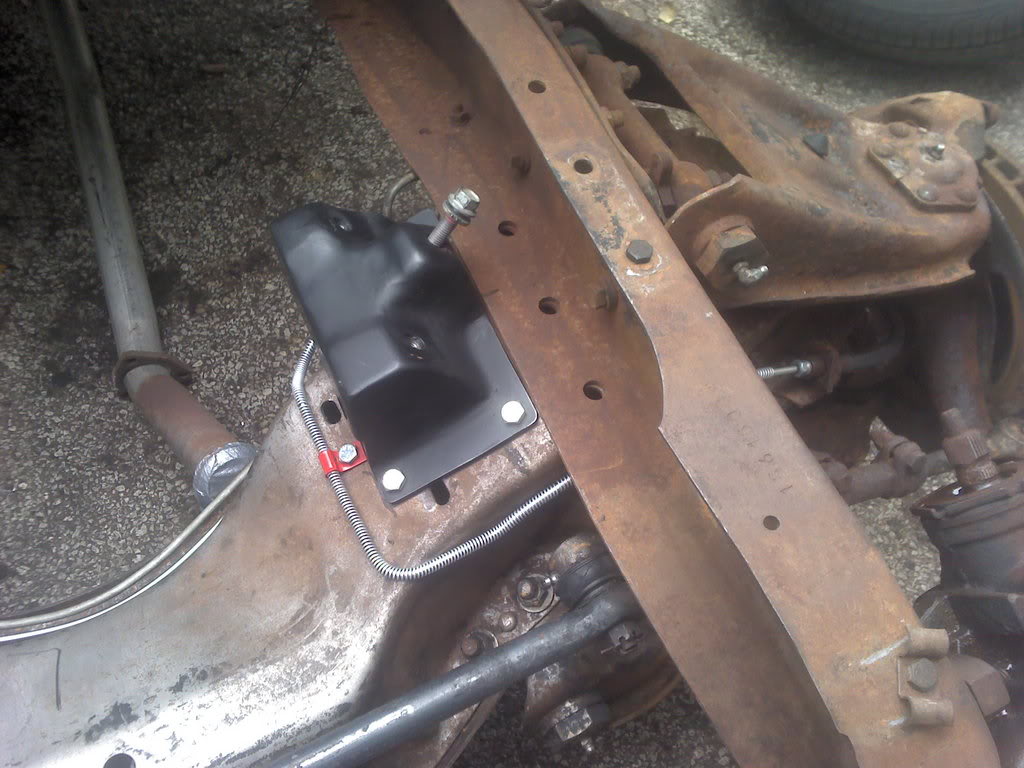
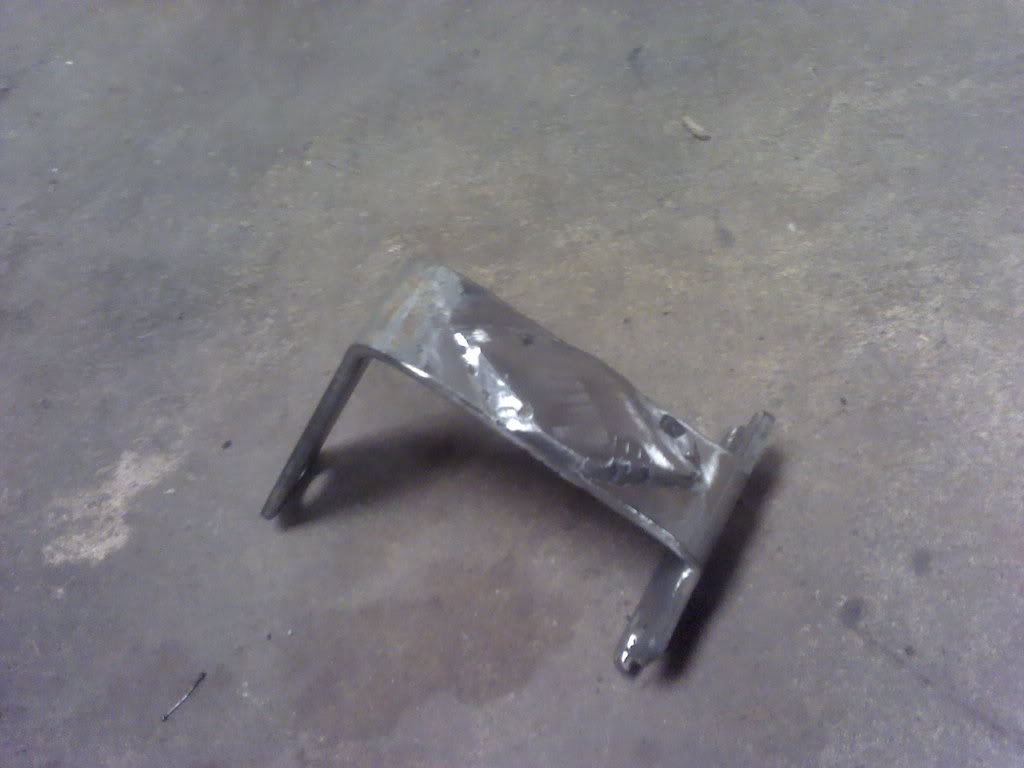
Spent some time and fabbed up some engine stands from part of the new truck mounts. I could have bought conversion mounts, but I want to put the engine where I want it, so this is what I did. Also I just like fabricating things out of metal, which is basically a way of saying I like to do things the hard way.
Total spent on mounts, $8 in metal, and $7 in cut off wheels and grinder discs.
Brake lines were $17
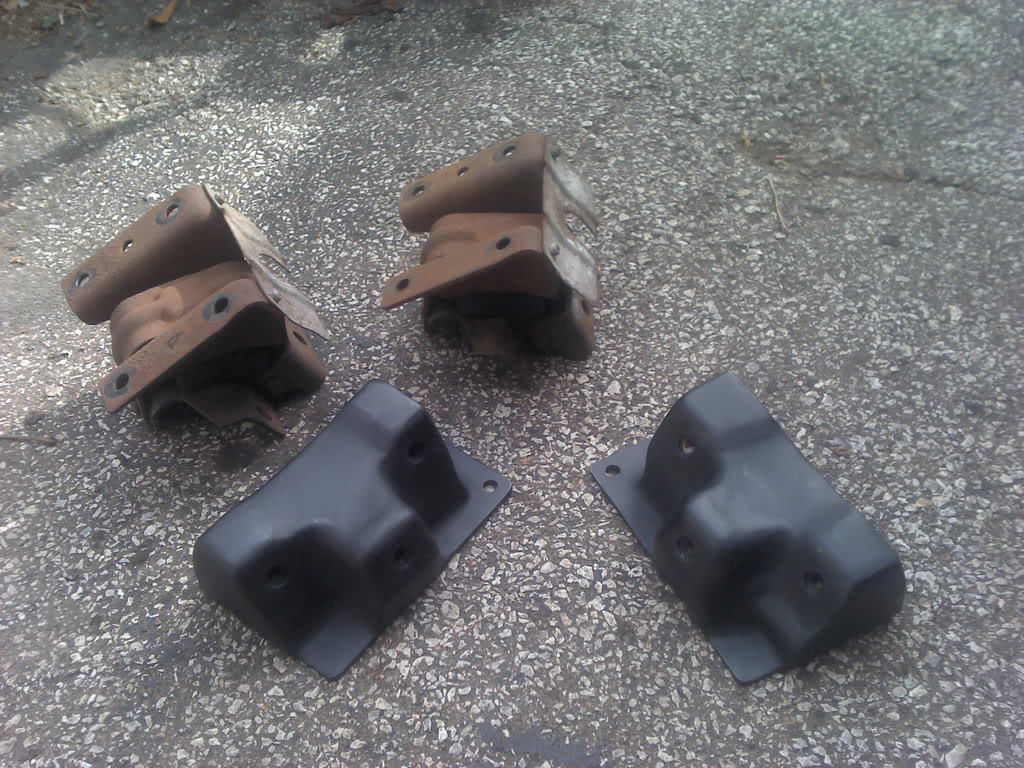
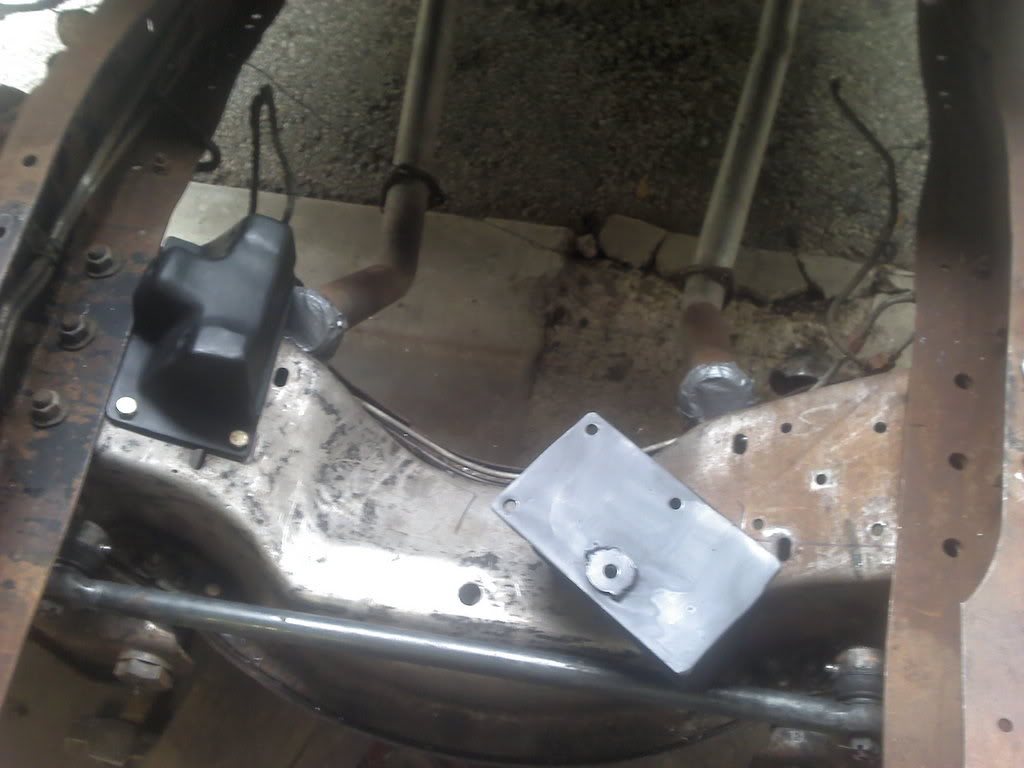
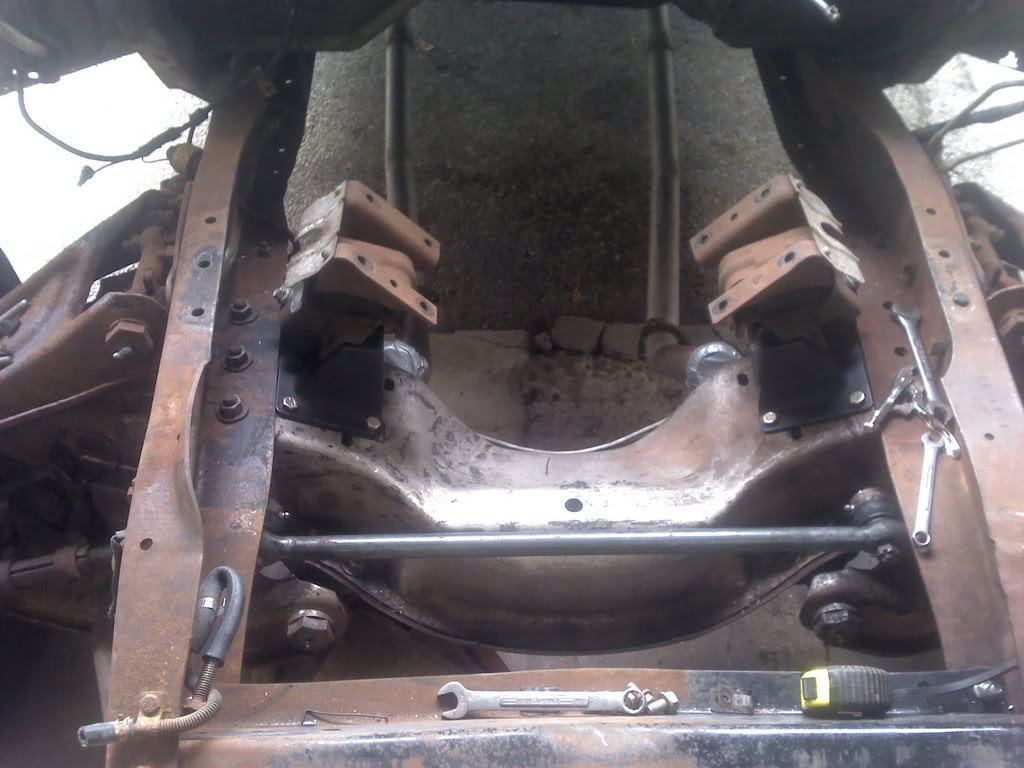
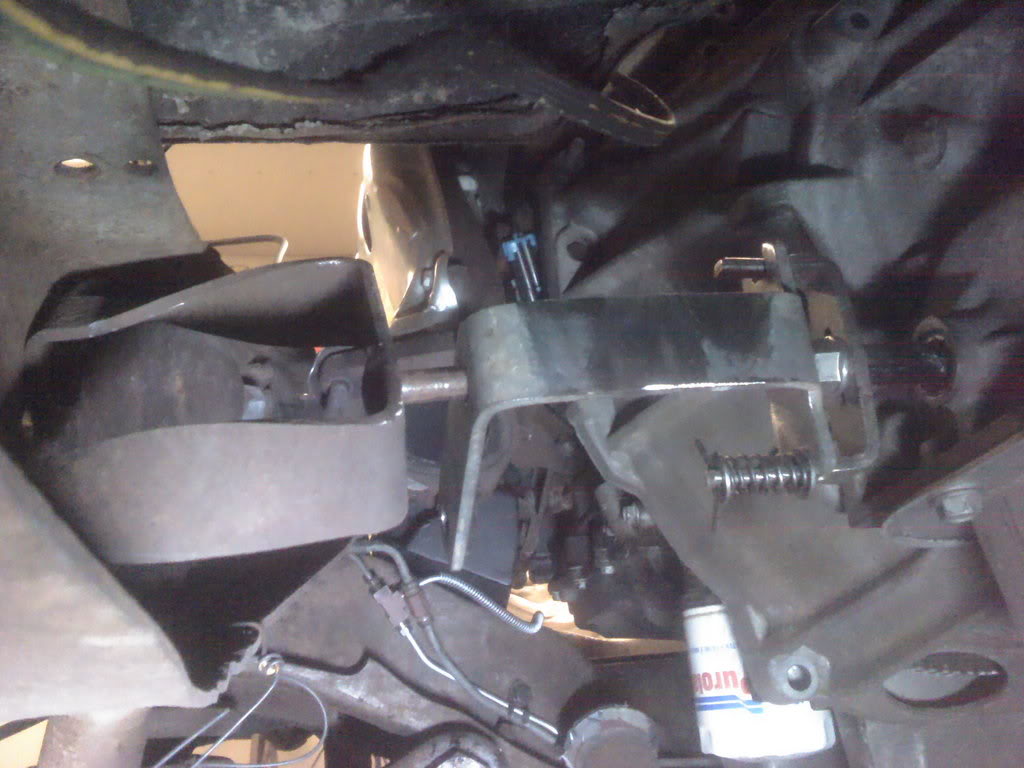
Mounted they look like this. The nice part about them, is if you've ever put an engine in a newer truck, you know how easy it is to drop the engine in. The mounts just practically fall into place.
Ran some new brake lines to go around the engine stands. More work, but the old lines are 41 years old, so replacing them isn't a bad idea anyway.
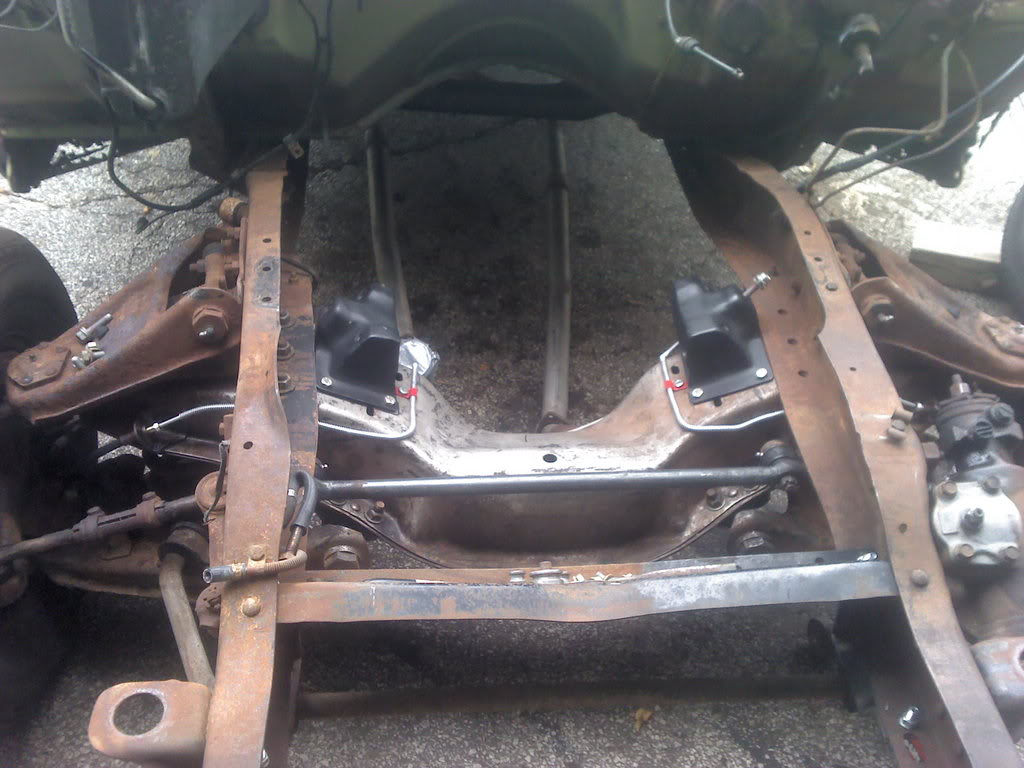
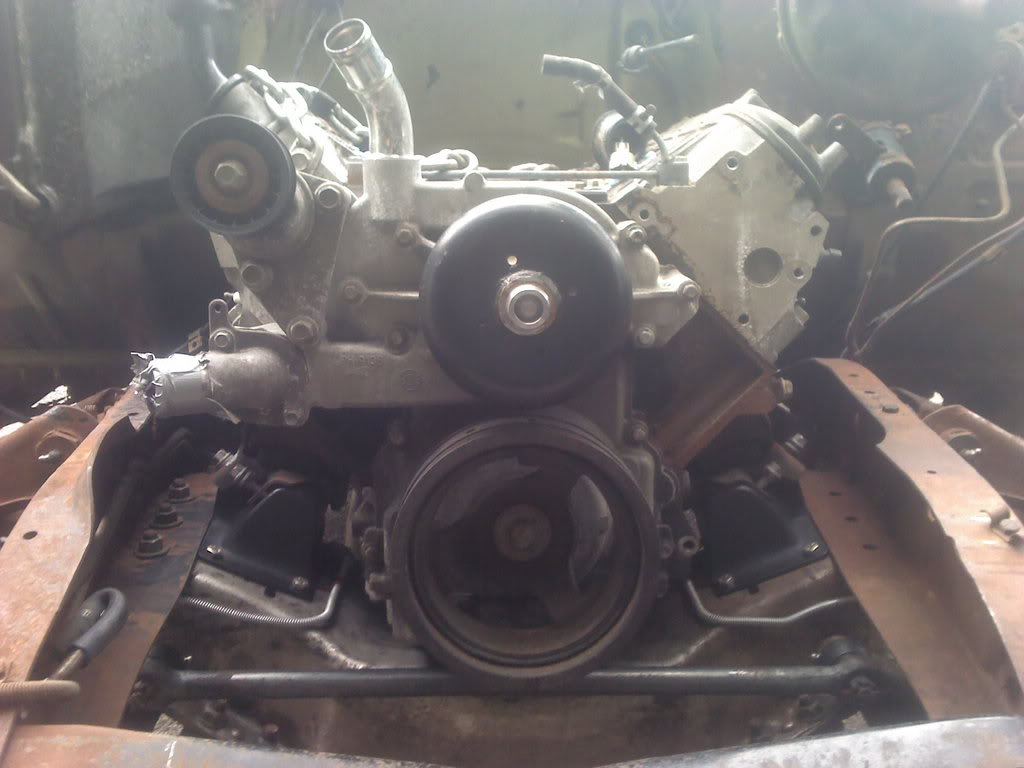
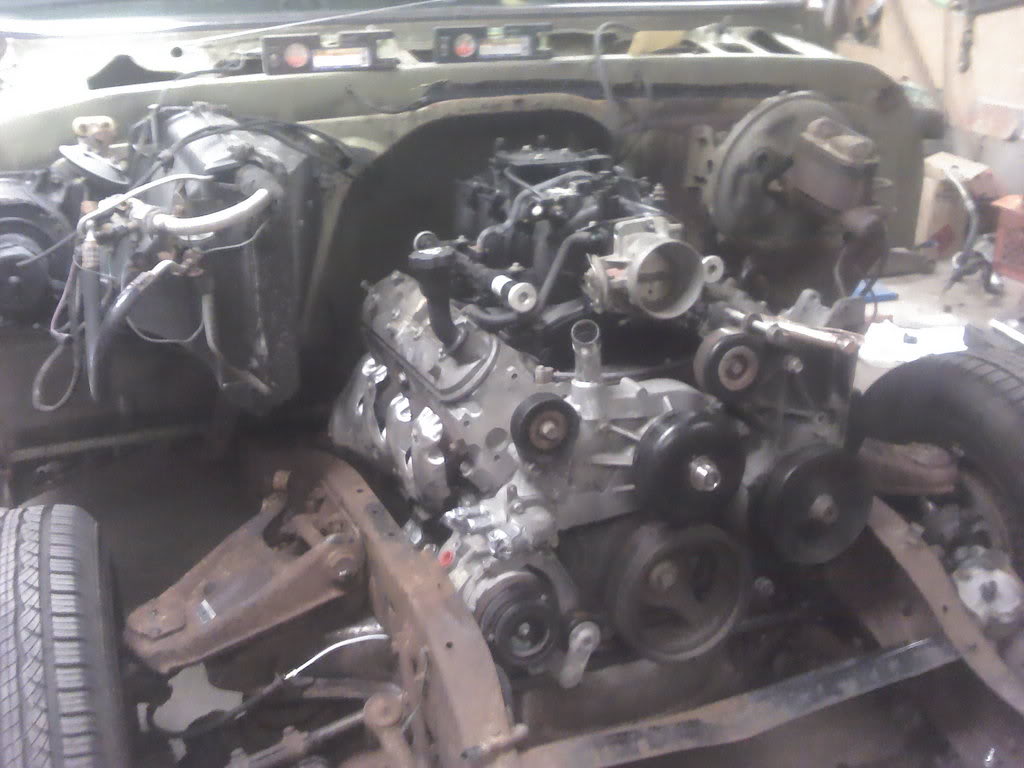
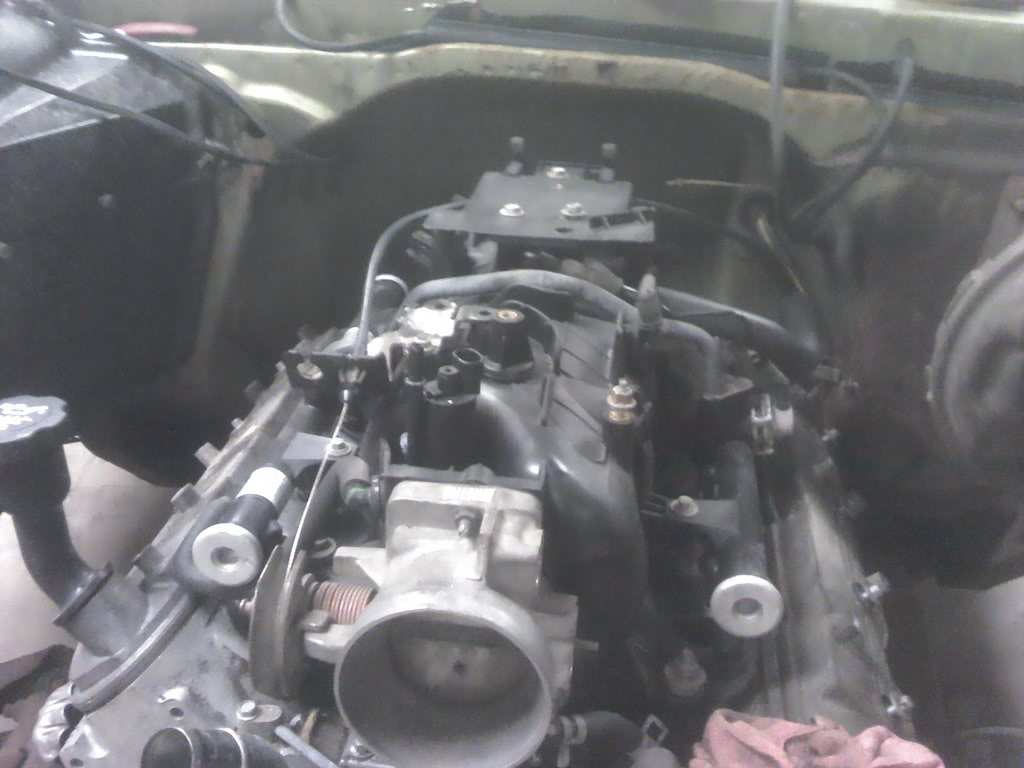
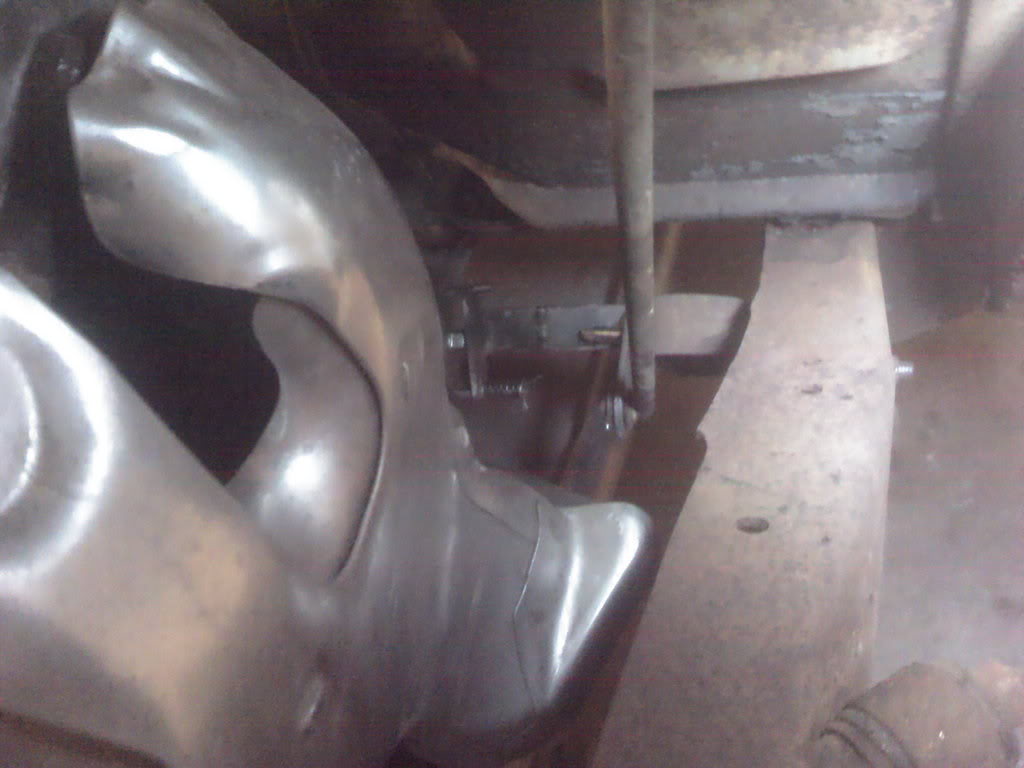
Then put the engine back in to make sure everything is still going to line up, and to see if, or where, I need to trim the frame. Only have to do a couple of spots, just for peace of mind. It's not hitting anything, but I like just a little more clearance in spots.
Spent some time and fabbed up some engine stands from part of the new truck mounts. I could have bought conversion mounts, but I want to put the engine where I want it, so this is what I did. Also I just like fabricating things out of metal, which is basically a way of saying I like to do things the hard way.
Total spent on mounts, $8 in metal, and $7 in cut off wheels and grinder discs.
Brake lines were $17
Mounted they look like this. The nice part about them, is if you've ever put an engine in a newer truck, you know how easy it is to drop the engine in. The mounts just practically fall into place.
Ran some new brake lines to go around the engine stands. More work, but the old lines are 41 years old, so replacing them isn't a bad idea anyway.
Then put the engine back in to make sure everything is still going to line up, and to see if, or where, I need to trim the frame. Only have to do a couple of spots, just for peace of mind. It's not hitting anything, but I like just a little more clearance in spots.
10-01-2012, 11:03 PM
#26
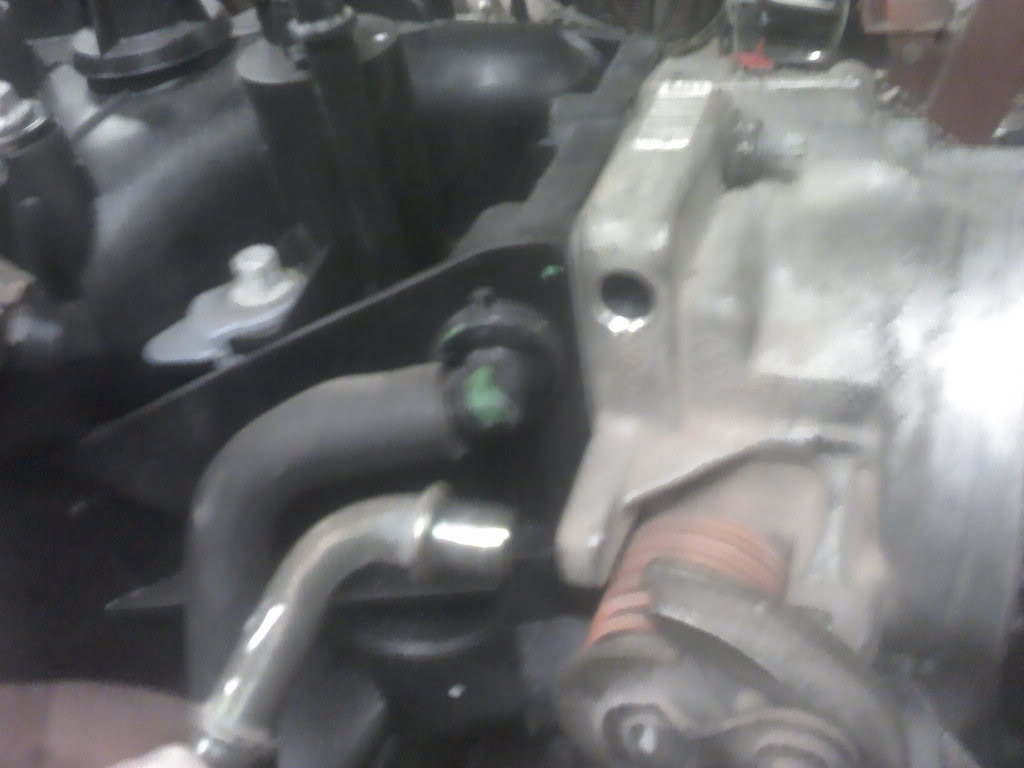
Moving right along, I found out that newer DBW intakes are differnt than the older DBC type. It seems they moved a pcv line from the throttle body to the intake, so putting a DBC throttle body on a DBW intake causes the two to hit each other. I pulled the line out of the throttle body, and will run a tap through it and then screw a pipe plug into it, no biggie.
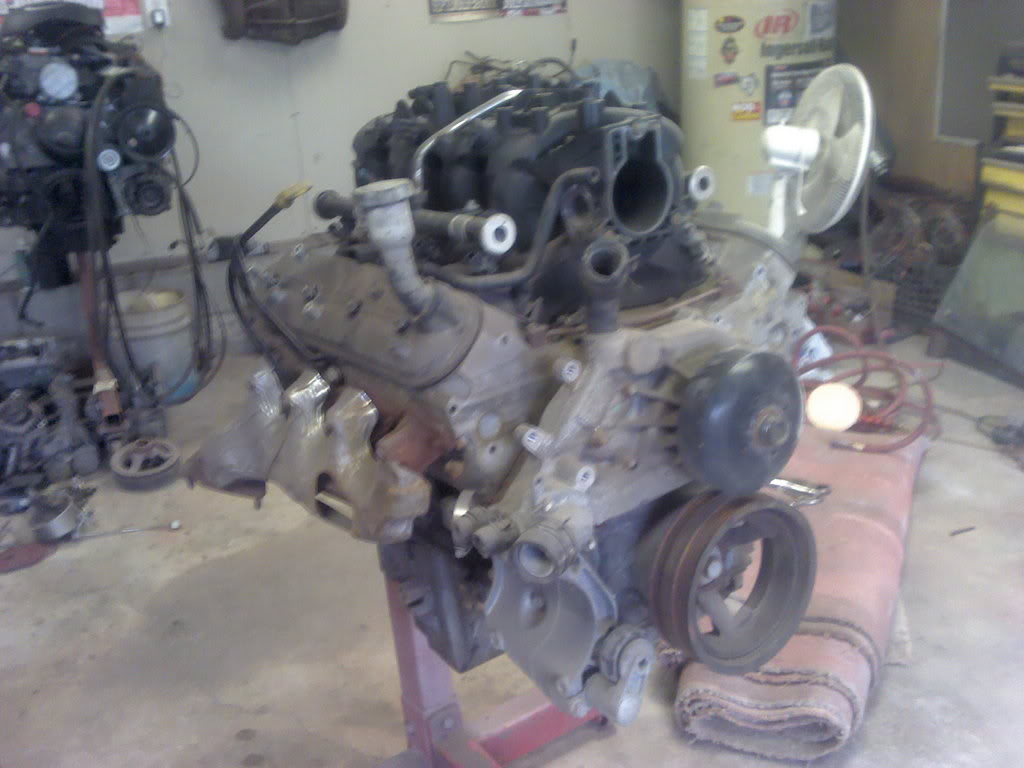
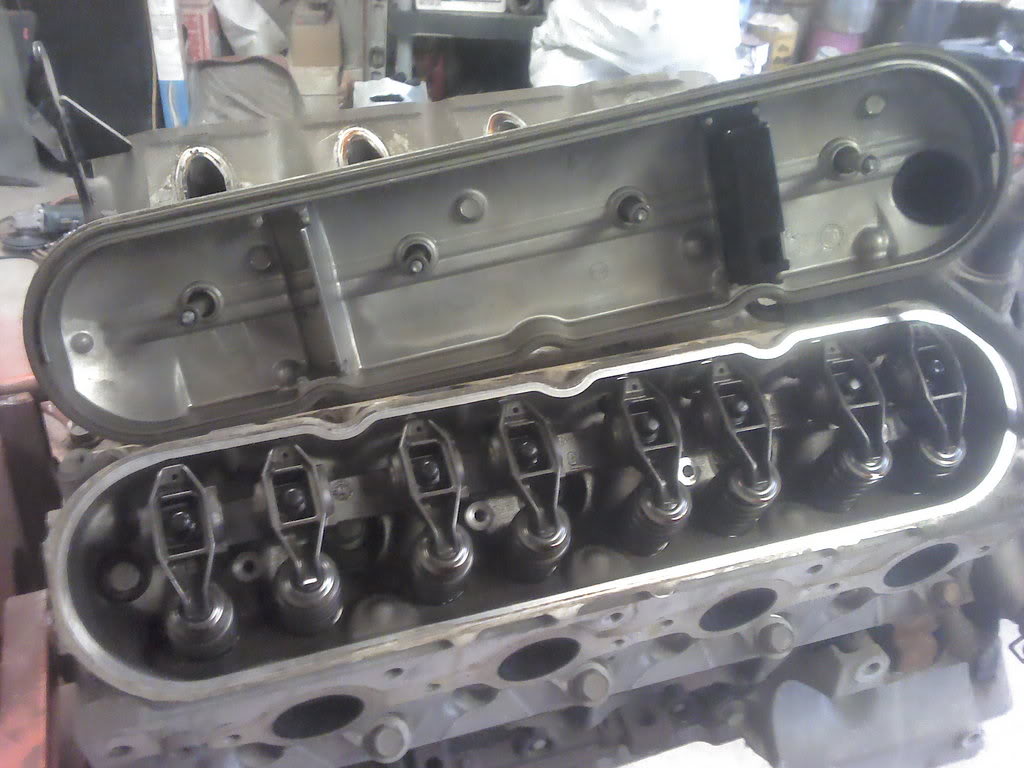
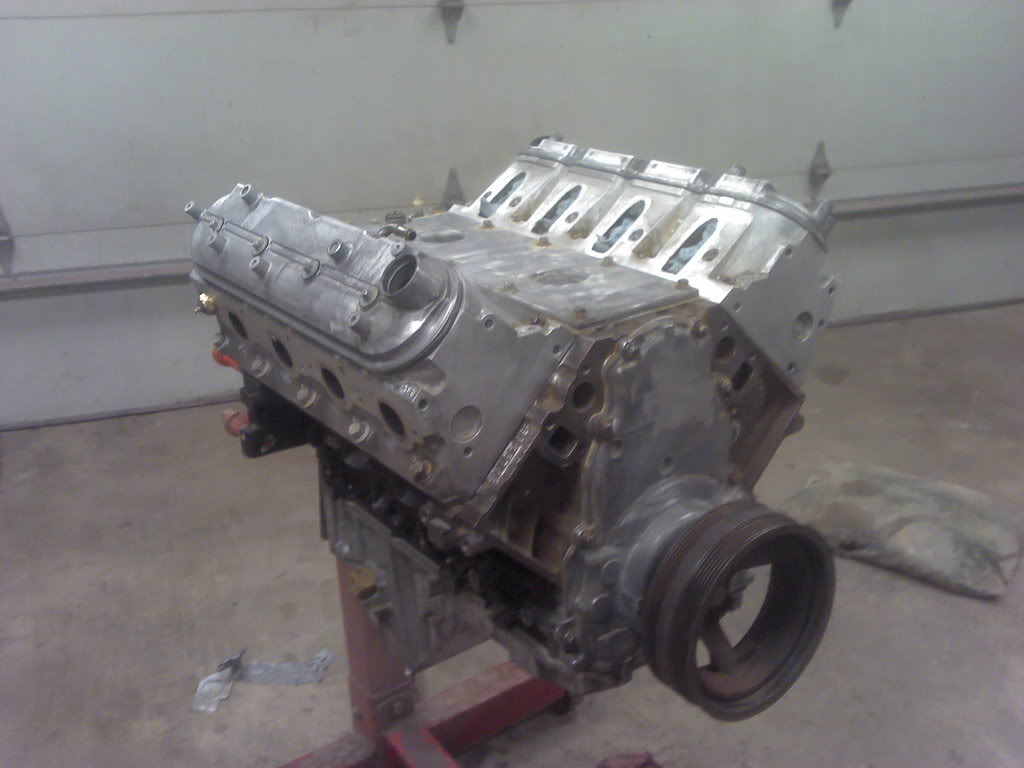
Then I decided to change engines. I've had this 2002 5.3 for years, bought it off Craigs List for $400, but it's not complete, and the intake was broken, so I never used it. The guy I got it from claimed it only had 7000 miles on it, and looking at the pulleys, they didn't have any paint worn off of them so I figured it might be true. I pulled the valve covers off, and it definitley looks low mile.
Tonight I got the big drill and tap out and drilled the head for the temp sender. Some people cringe at the thought of this, but I've done it multiple times with no problems. Just go slow, and don't get in a hurry!
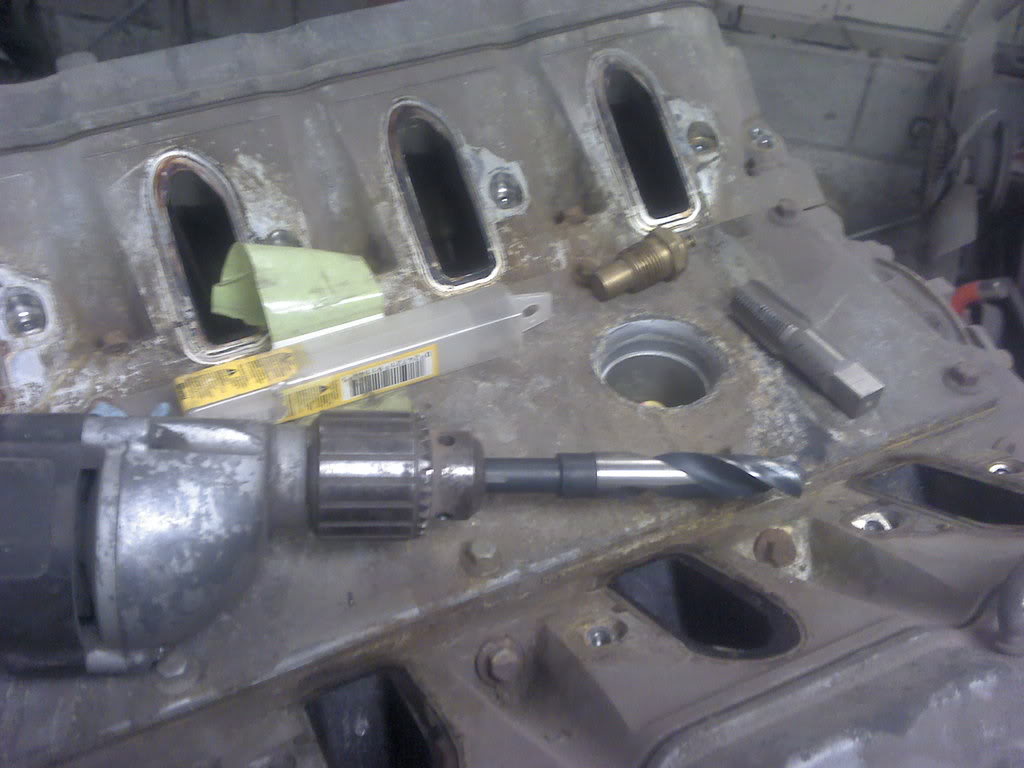
Run the big tap through it.
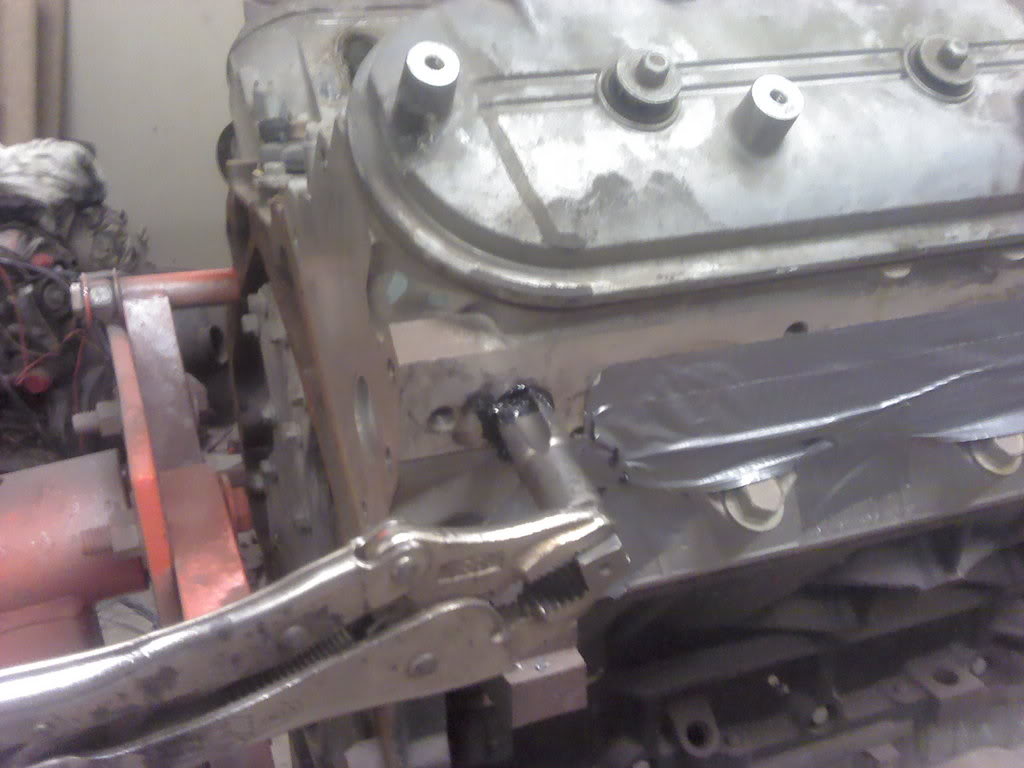
Done!
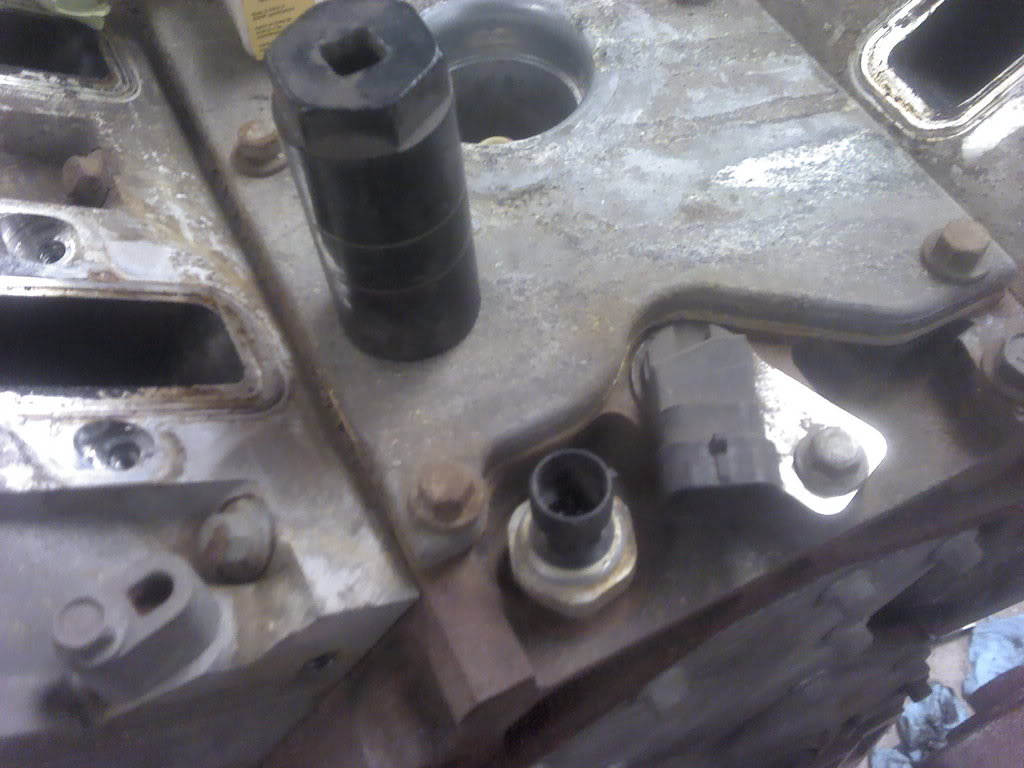
Then on to the oil pressure gauge line fitting. This has been talked about alot on here, but not sure if anybody ever put up any pics of the process.
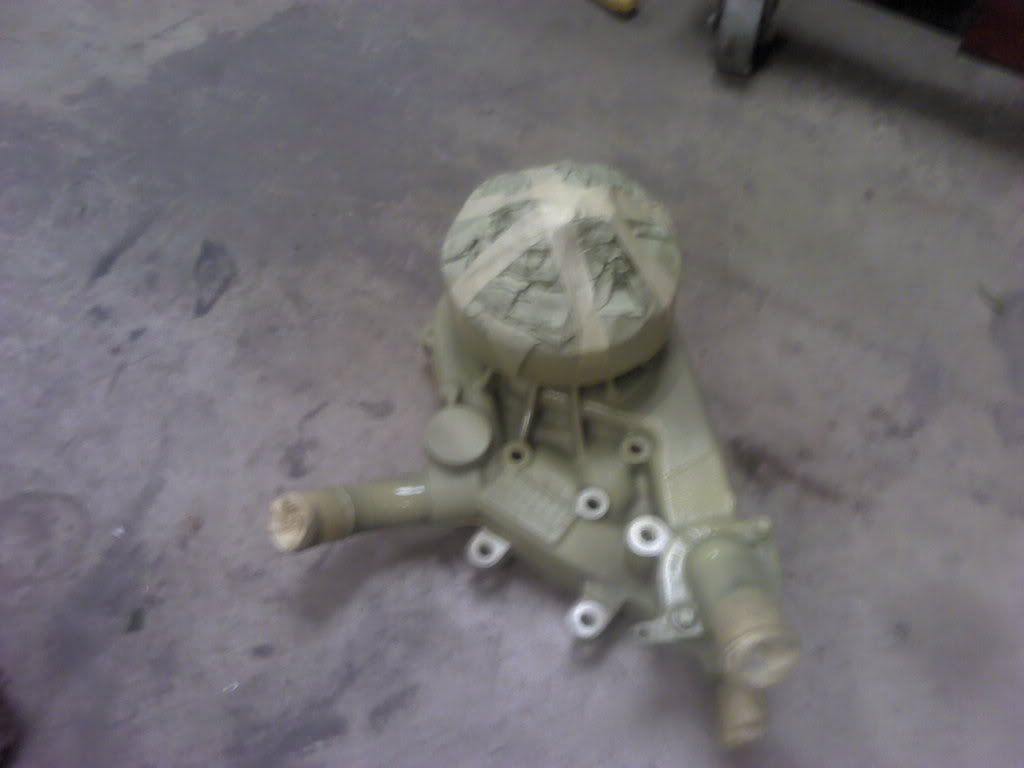
Start with the original sender.
Break off the plastic part. I take a grinder and grind it down to the base, then all the insides will come out easily.
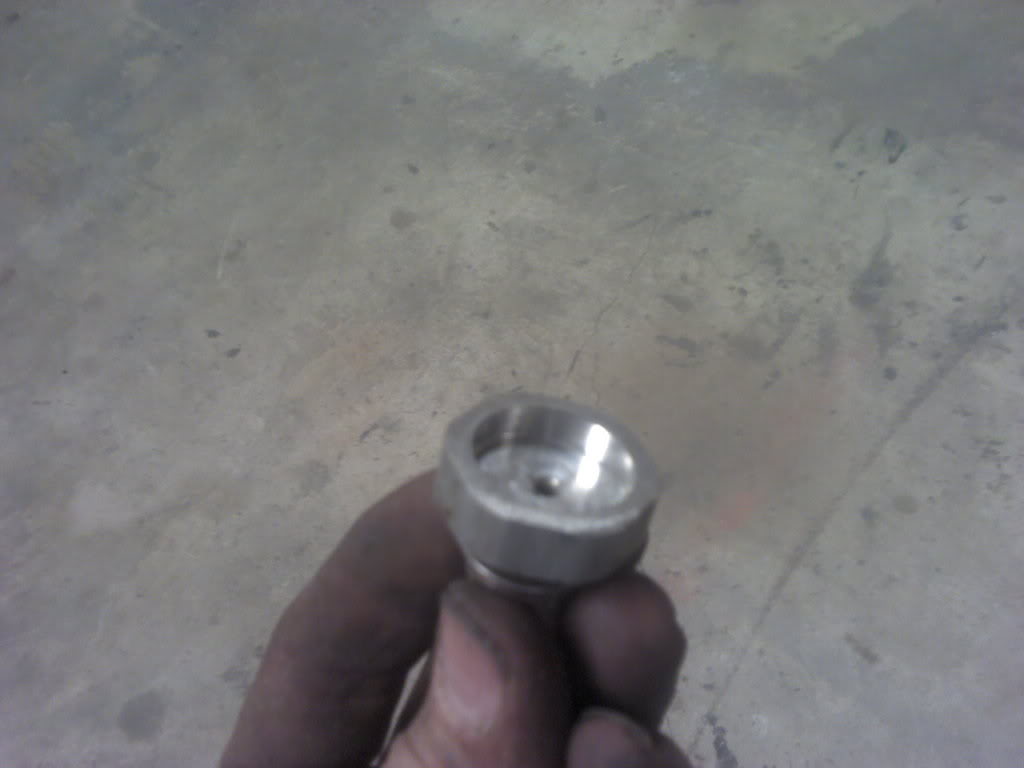
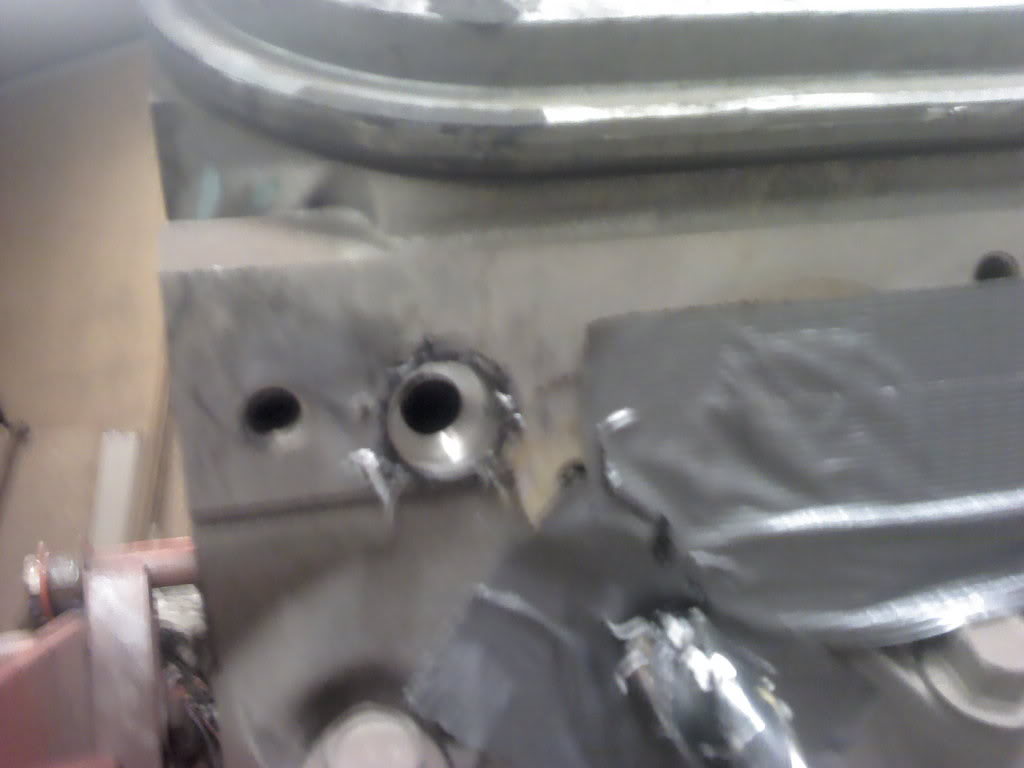
Then drill it out the size of your new sender, which in my case is a fitting for the oil pressure line.
Run a tap through it the size of your new sender.
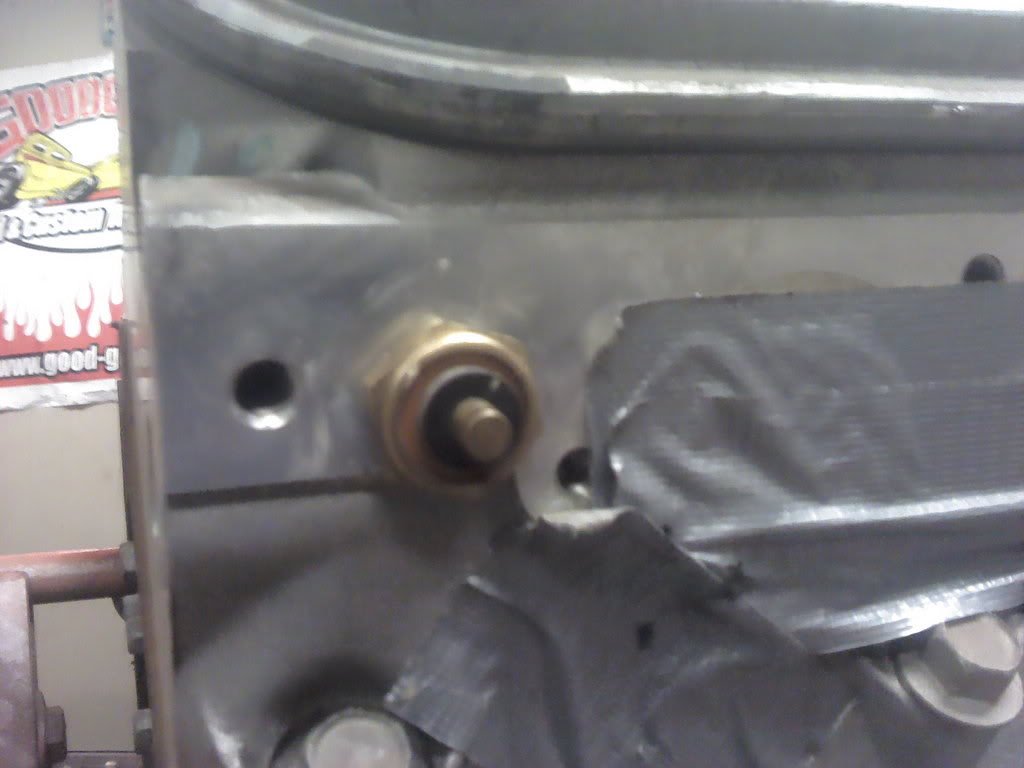
Then re-install it in the bloick! Super easy, and if you already have the tap and drill, it costs $0, and takes less than half an hour.
Todays investment $400 for new engine,
But also sold this today for $600!
Then I decided to change engines. I've had this 2002 5.3 for years, bought it off Craigs List for $400, but it's not complete, and the intake was broken, so I never used it. The guy I got it from claimed it only had 7000 miles on it, and looking at the pulleys, they didn't have any paint worn off of them so I figured it might be true. I pulled the valve covers off, and it definitley looks low mile.
Tonight I got the big drill and tap out and drilled the head for the temp sender. Some people cringe at the thought of this, but I've done it multiple times with no problems. Just go slow, and don't get in a hurry!
Run the big tap through it.
Done!
Then on to the oil pressure gauge line fitting. This has been talked about alot on here, but not sure if anybody ever put up any pics of the process.
Start with the original sender.
Break off the plastic part. I take a grinder and grind it down to the base, then all the insides will come out easily.
Then drill it out the size of your new sender, which in my case is a fitting for the oil pressure line.
Run a tap through it the size of your new sender.
Then re-install it in the bloick! Super easy, and if you already have the tap and drill, it costs $0, and takes less than half an hour.
Todays investment $400 for new engine,
But also sold this today for $600!
10-02-2012, 07:20 AM
#27
That is awesome and good info.Sounds as if you added an extra $200 for the project from the old engine sale.I'm learning a lot from this.Please keep posting the small details like the temp sensor and oil pressure sender how to.I hadn't seen either of these on here before.I'm still a noob so.....
10-03-2012, 08:44 PM
#28
On The Tree
iTrader: (7)

Join Date: May 2006
Location: Jonesboro, Arkansas
Posts: 196
Likes: 0
Received 0 Likes
on
0 Posts
love your other trucks, and this is special too!
I just got done with ls1 swap in a 70 shortwide, and this brings back some oh so fresh
memories lol.....what's the suspension plans? 4/6 drop on stock wheels and original paint????!!
I just got done with ls1 swap in a 70 shortwide, and this brings back some oh so fresh
memories lol.....what's the suspension plans? 4/6 drop on stock wheels and original paint????!!
10-03-2012, 10:39 PM
#29
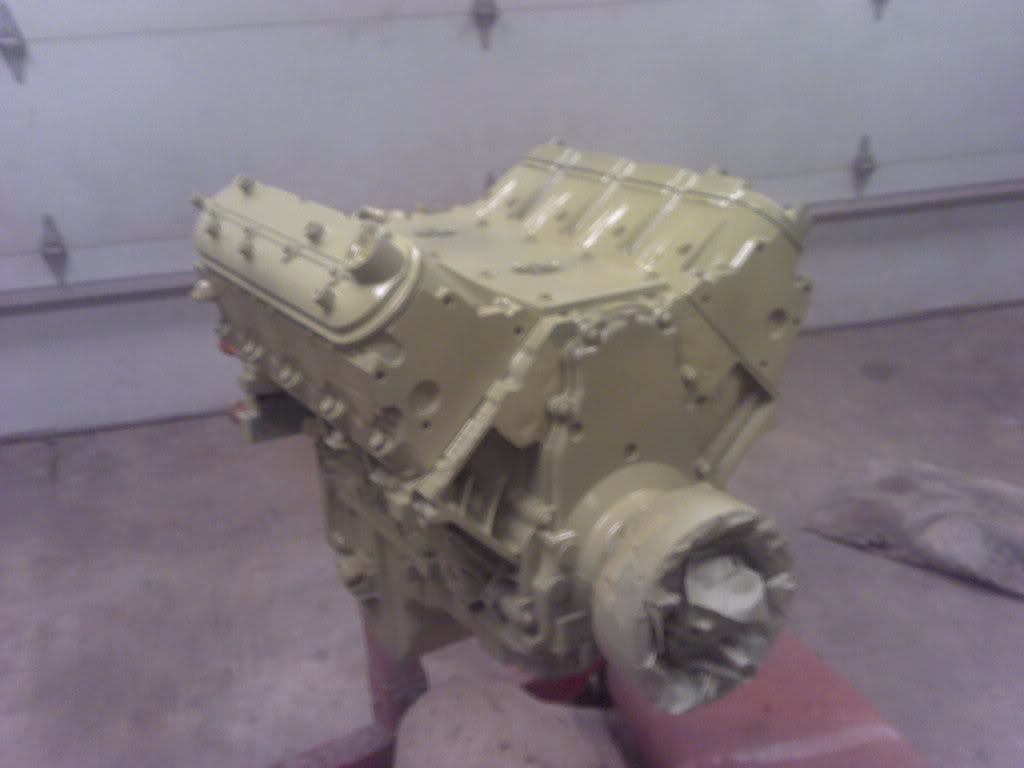
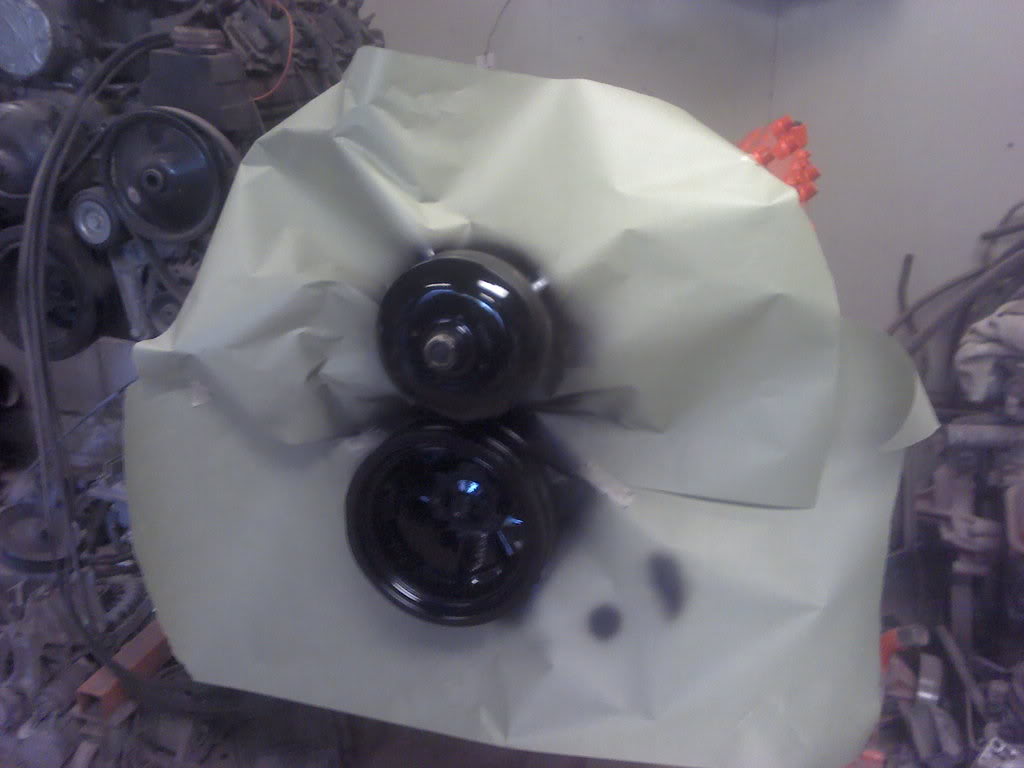
Last night I got the engine all cleaned up and painted. Cleaned, masked, etch primed, and painted in Chevrolet engine orange Centari. The paint and primer were left over from the last couple of trucks, but I did have to buy some more hardner for the paint. Also bought some new water pump gaskets, just to be sure.
Hardner... $10
Water pump gaskets... $20
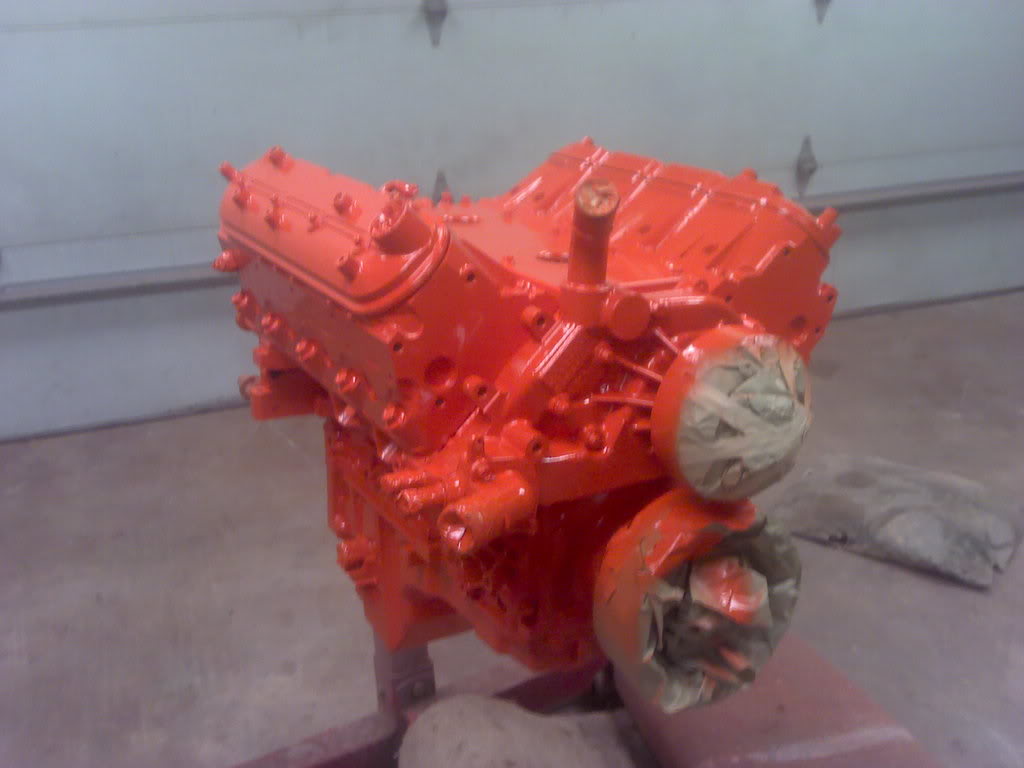
Tonight I cleaned up the pullies and painted them black. I masked off the part where the belt rides because sometimes painting that part makes the belt noisy.
 10-04-2012, 08:54 PM
#32
On The Tree
iTrader: (7)
Join Date: May 2006
Location: Jonesboro, Arkansas
Posts: 196
Likes: 0
Received 0 Likes
on
0 Posts
looks great, gettin a little closer!!
I did paint my powerbond pulley and water pump pulley, havn't got any noises yet thankfully.
I assume your using the stock tank with a walboro?
I did paint my powerbond pulley and water pump pulley, havn't got any noises yet thankfully.
I assume your using the stock tank with a walboro?
 10-04-2012, 10:58 PM
#34
 And yes, Walbro with factory tank is the game plan.
Sorry for the picture quality, I think it's the flourescent light in the garage.
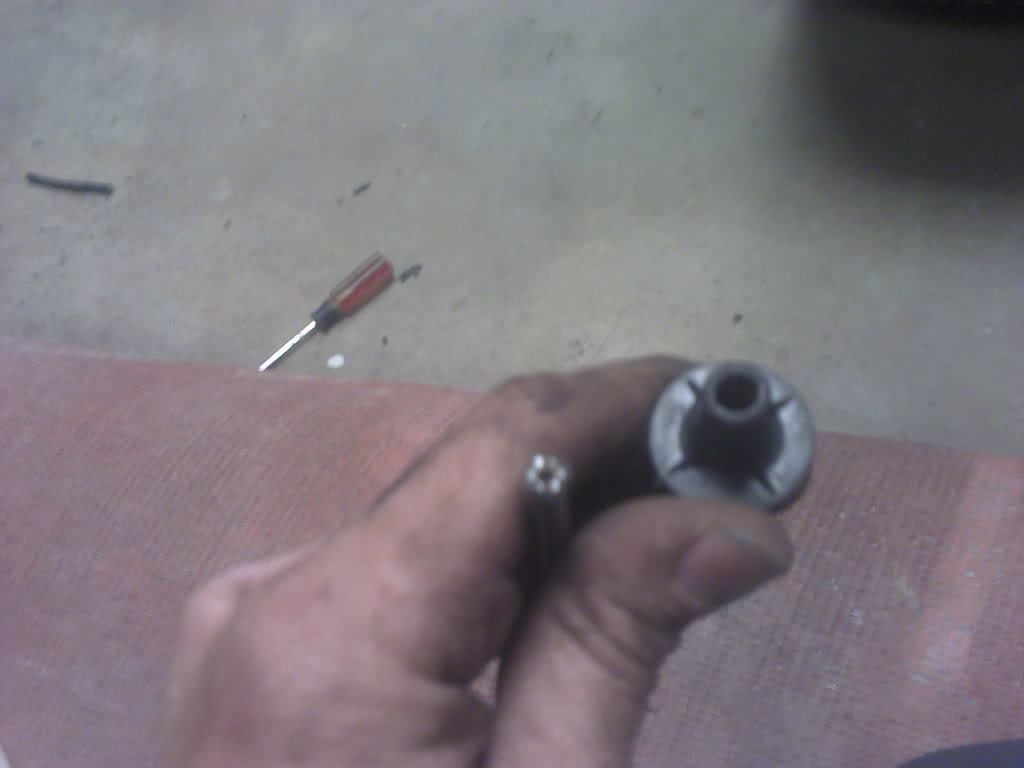
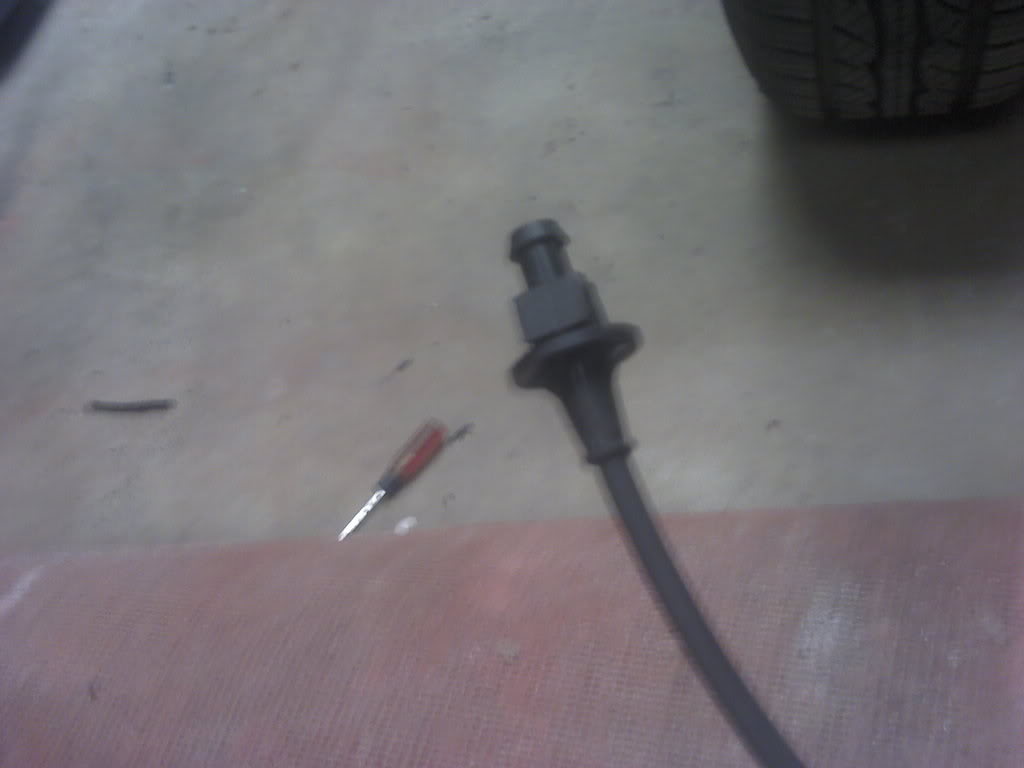
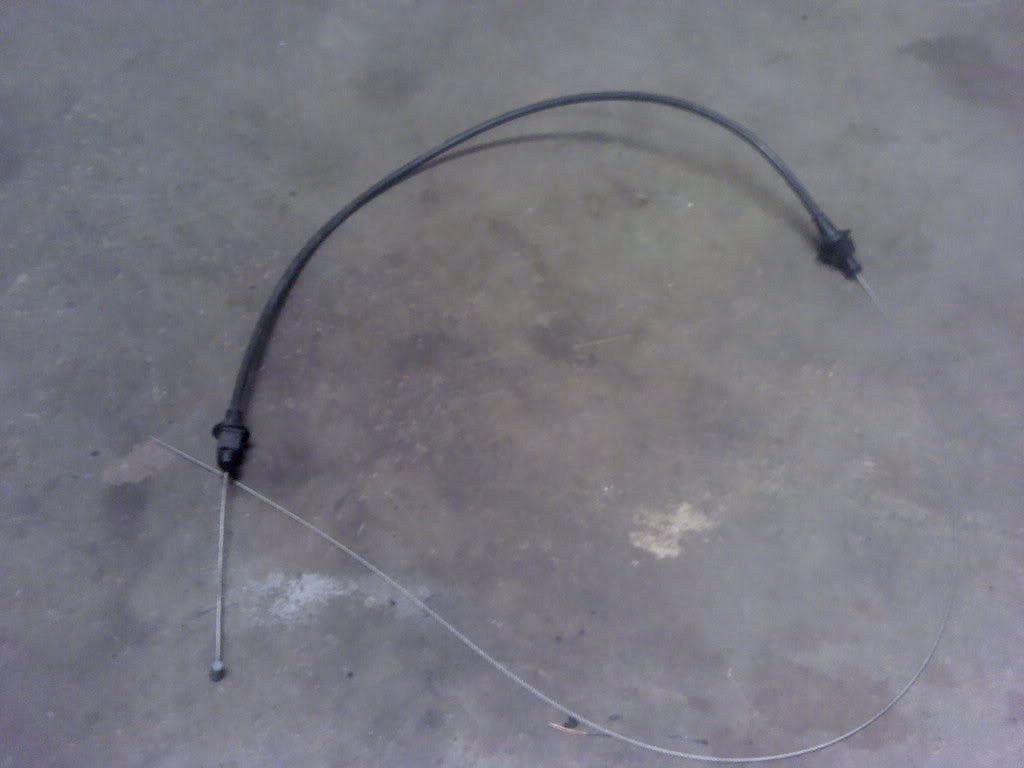
Got a throttle cable at the U-pick-it the other day off of a '94 Chevy van for $4. I just look for a long cable with the correct end to hook to the throttle body bracket, cut the gas pedal end off the inner cable and remove it, then cut the fire wall end off to length. Then take the original cable and pull the firewall part off (part that clips into the firewall), you have to twist and pull hard, but they will usually pull apart. Then slide the new throttle cable into it, I put a little super glue in it, but it's a really snug fit. After that, you slide the inside cable back in and put a cable stop on the other end. Cheap and easy! Just like me!
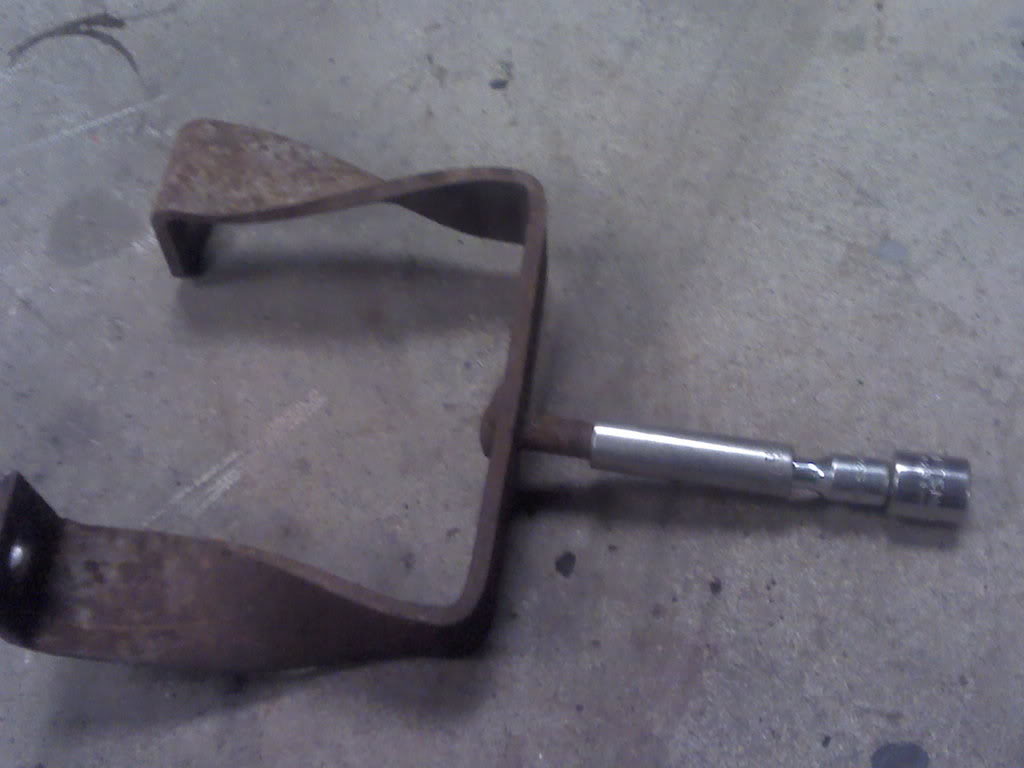
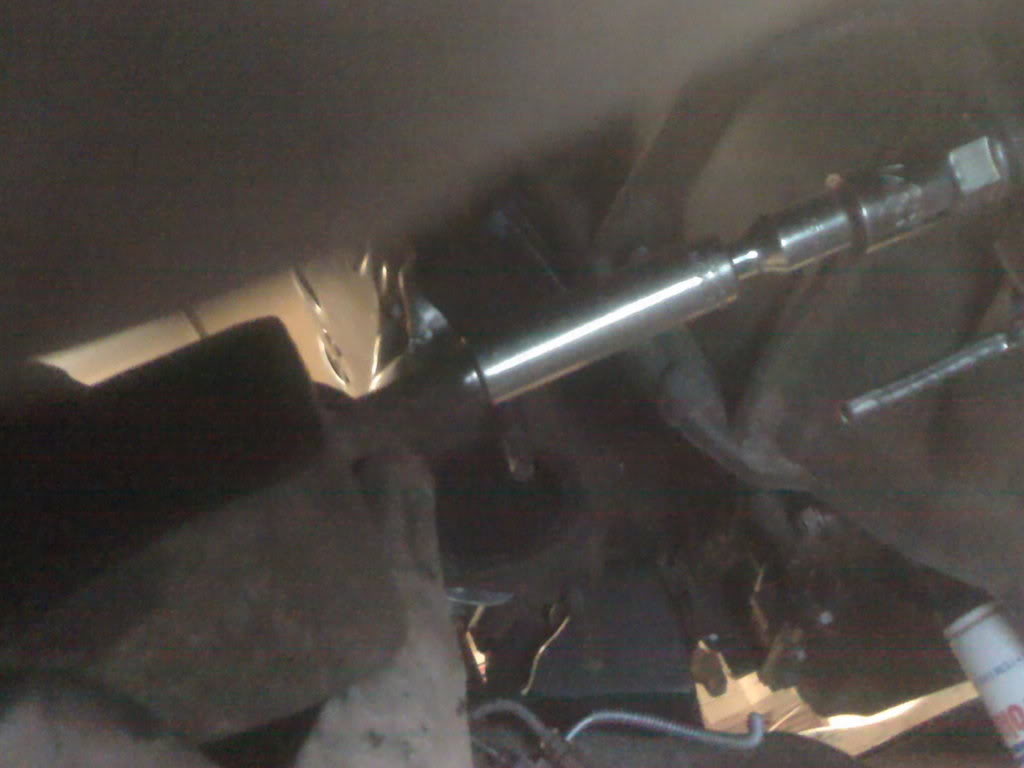
Then worked on the shift linkage. Had to move it back to match the transmission. I put a 3/8 socket and some extentions on it so I could get the pivot lined up with the shift shaft on the transmission, trying to 'eyeball it' never seems to work for me, so this way they were really close. Made it easier to mark where I needed to drill the new holes in the frame.
Couldn't get it where I wanted it because the frame mount that the body mount sits on was in the way, so I got it close then moved the pin on the shift linkage. Also had to cut the lever piece that goes between the frame mounted part and the shift shaft on the transmission because the new trans is a little wider than the original one, and you couldn't put it on without unbolting one of the brackets. I cut 1/2" out of it and welded it back together.
Then I overkilled the piece I welded together, just because. Can't make it too strong. That and I had an incident with a welded shift linkage arm breaking once, but that's another story...
Got it all hooked up to the column, works good, but the rod is a little too short, I'll take care of that later.
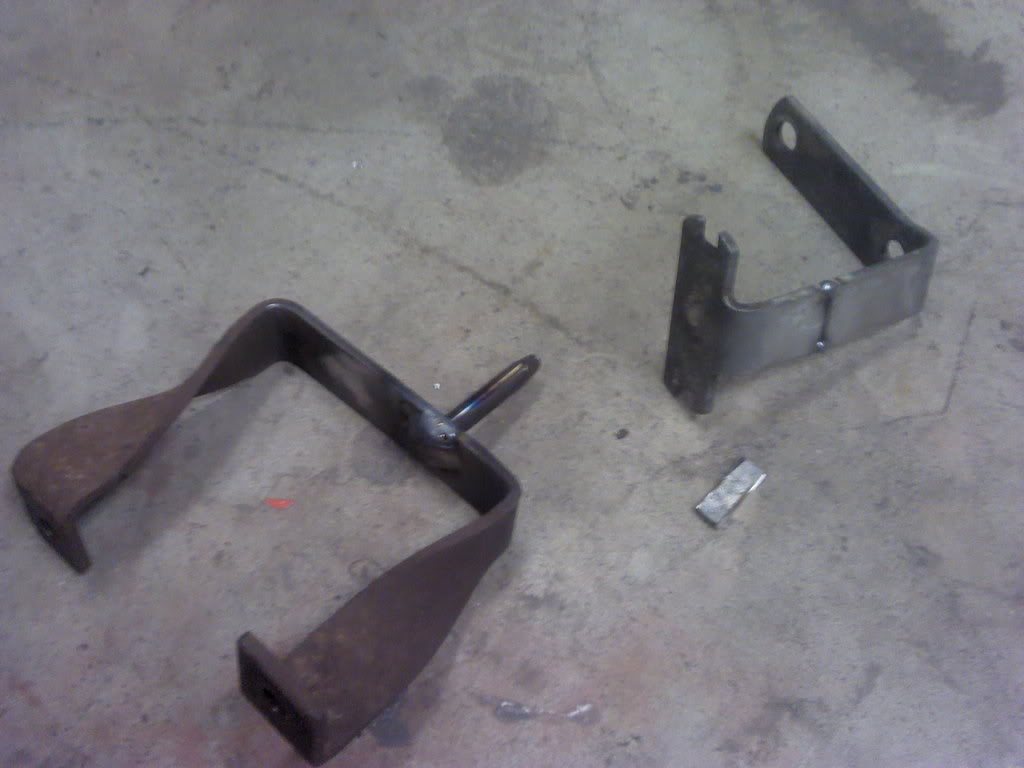
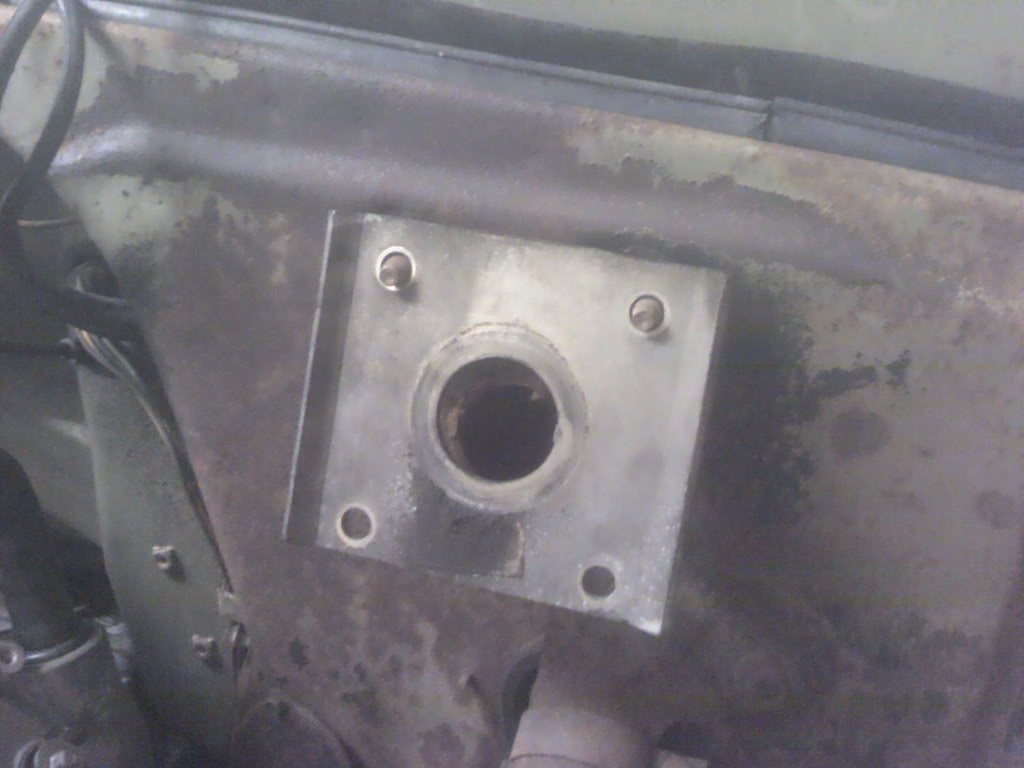
Pulled off the old vacuum booster, getting ready to install the hydroboost!
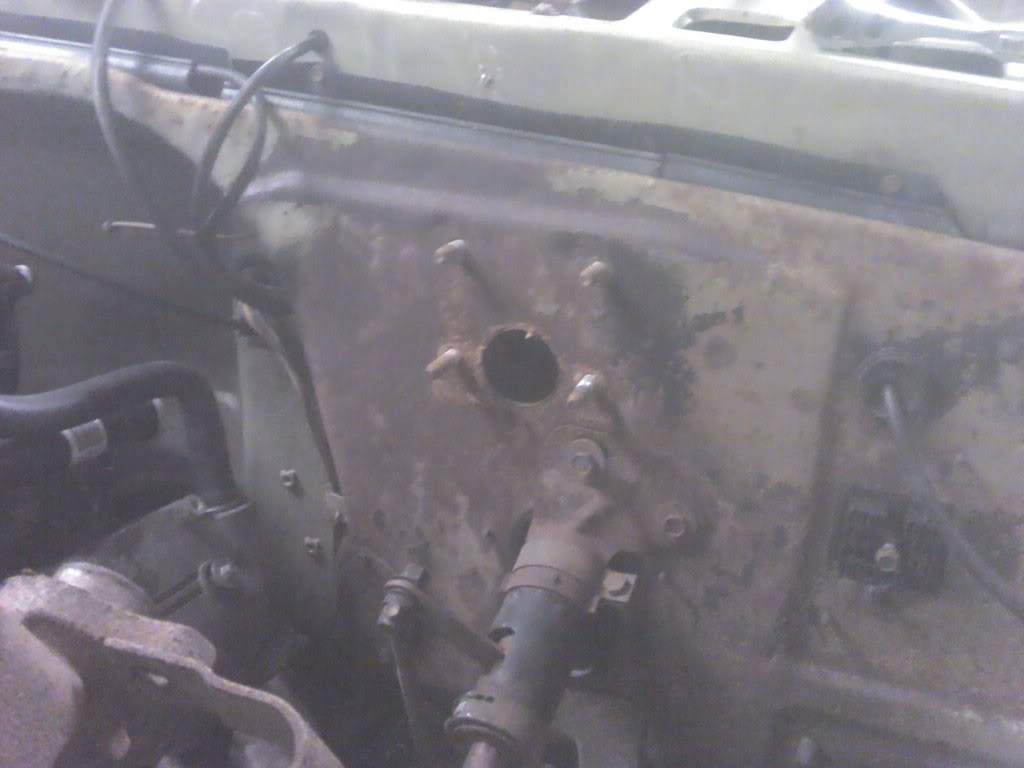
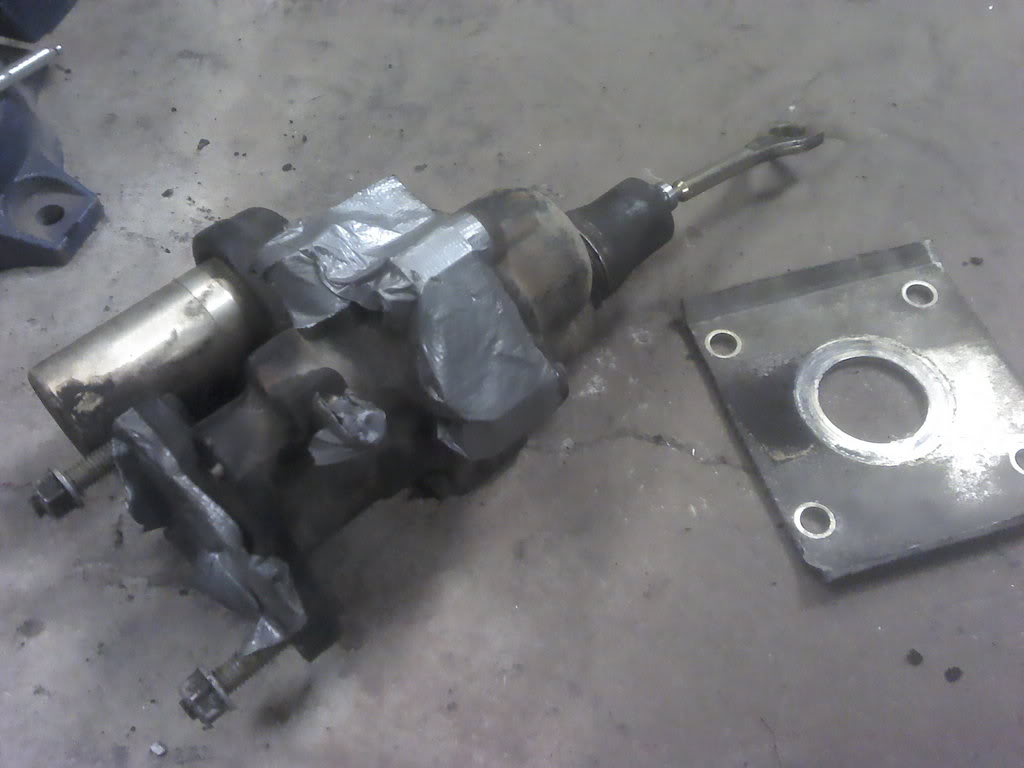
Just need to modify thes bracket a little bit.
 10-05-2012, 05:54 PM
#39
On The Tree
iTrader: (7)
Join Date: May 2006
Location: Jonesboro, Arkansas
Posts: 196
Likes: 0
Received 0 Likes
on
0 Posts
on the trans linkage I just done completely away with the factory brackets and used the stock rod welded to the shifter arm linkage on the side of the tranny, works great.
good idea on the cable, I went ahead an bought an fbody cable so I didnt have to modify anything, fits great and was just the right length to keep it hidden.....
good idea on the cable, I went ahead an bought an fbody cable so I didnt have to modify anything, fits great and was just the right length to keep it hidden.....