
5.3 4l60e swap into my RUSTY '71 C-10

 11-01-2012, 10:55 PM
#82
Been steadily working on this pile! Spent a fair ammount of time trying to get the power steering/hydroboost lines figured out (you'd think I'd remember what I used on the last truck, but my memory sucks and I didn't keep notes  ). Well, I got a new hose for the pump to hydroboost unit, and decided to go ahead and use the hydroboost to steering box hose, and the hydroboost to pump return hose that I got at the junkyard when I got the pump. I figured what the hell, they're free, and the worst thing that could happen is they'll leak, in which case I'll replace them.
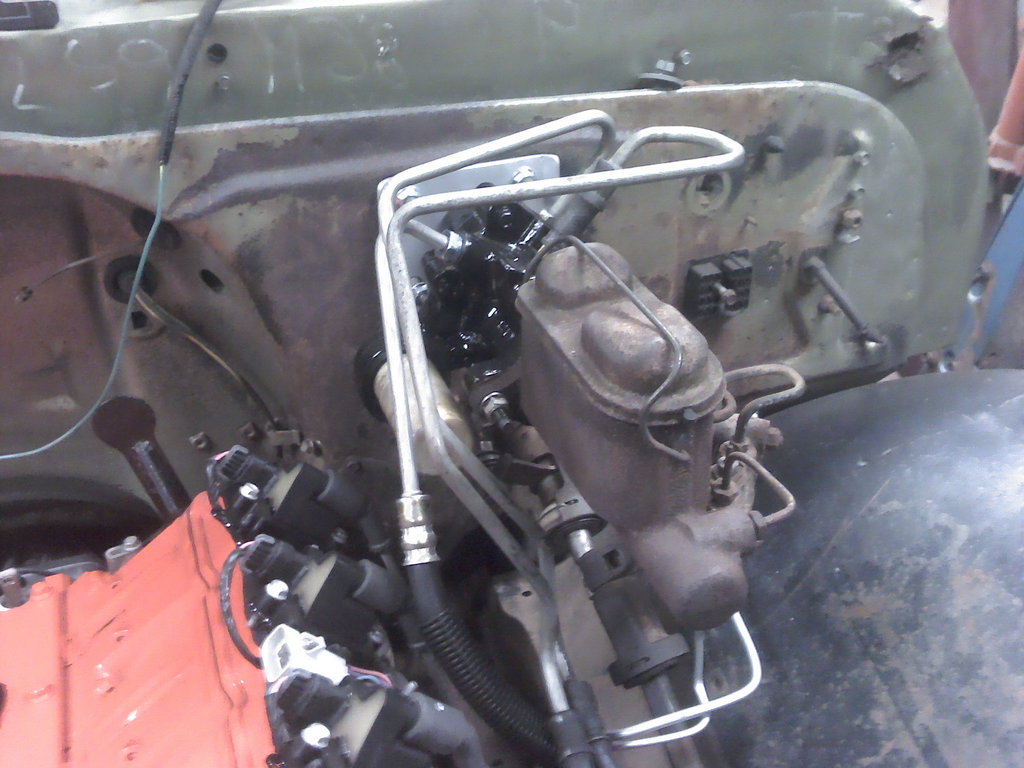
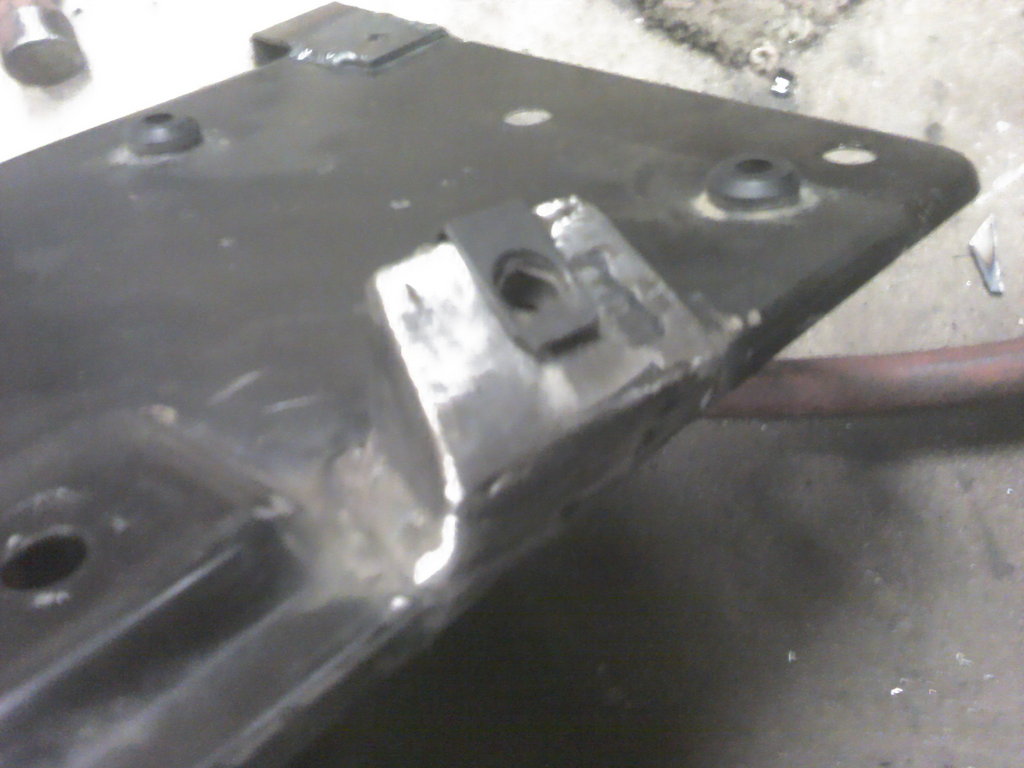
The hydroboost to steering box line from the '96 needed a little tweaking to get it to fit the box, but I think it turned out pretty good.
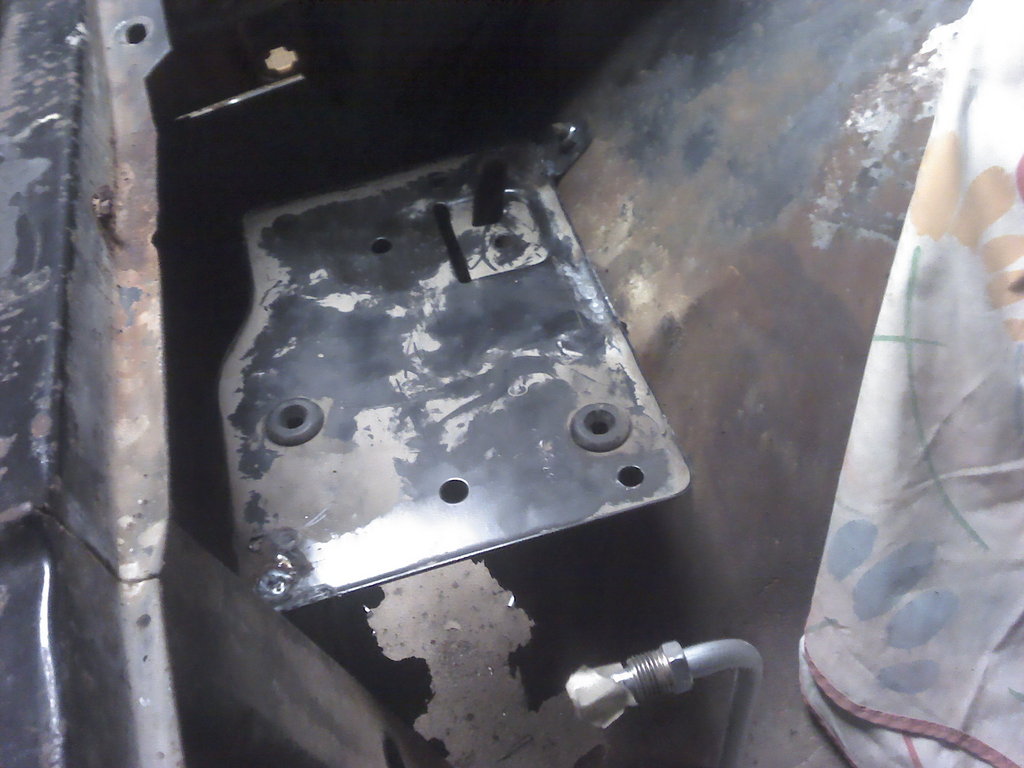
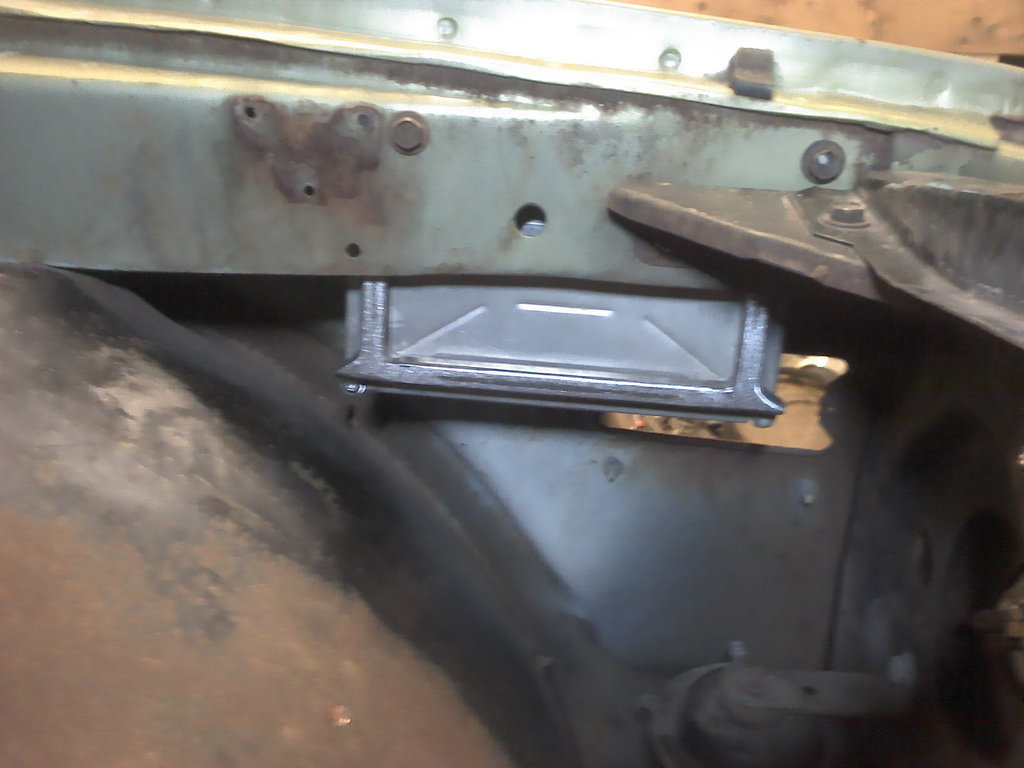
Then I made a bracket to hold the lines near the master cylinder so they stay where I want them, and they don't lay up against the exhaust manifold or anything.
New power steering pump to hydroboost hose.... $25
Other hoses..... free!
). Well, I got a new hose for the pump to hydroboost unit, and decided to go ahead and use the hydroboost to steering box hose, and the hydroboost to pump return hose that I got at the junkyard when I got the pump. I figured what the hell, they're free, and the worst thing that could happen is they'll leak, in which case I'll replace them.The hydroboost to steering box line from the '96 needed a little tweaking to get it to fit the box, but I think it turned out pretty good.
Then I made a bracket to hold the lines near the master cylinder so they stay where I want them, and they don't lay up against the exhaust manifold or anything.
New power steering pump to hydroboost hose.... $25
Other hoses..... free!
Last edited by ls1nova71; 11-01-2012 at 11:03 PM.
11-02-2012, 04:45 AM
#83
hello to all. LS1nova71, will you be relocating the battery tray to the left side of the truck? if so, the battery tray will block external regulator stuff. please post ur idea. youll probally remove the regulator since youll be using the lm7 stuff, rite?
 11-05-2012, 10:40 PM
#85
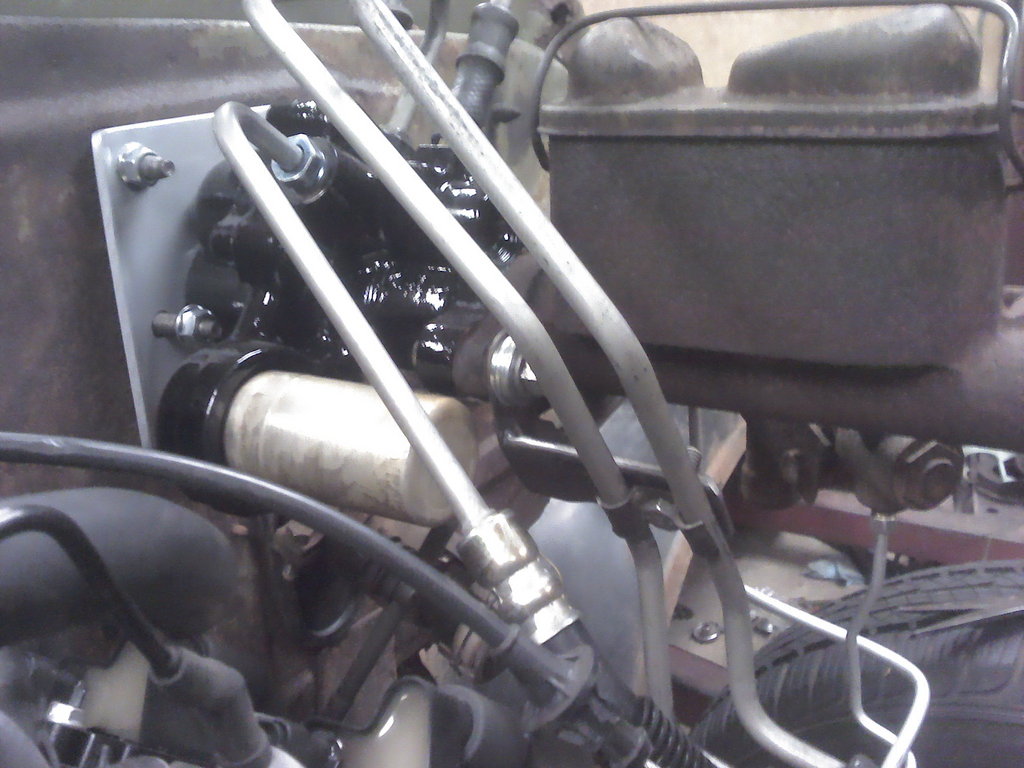
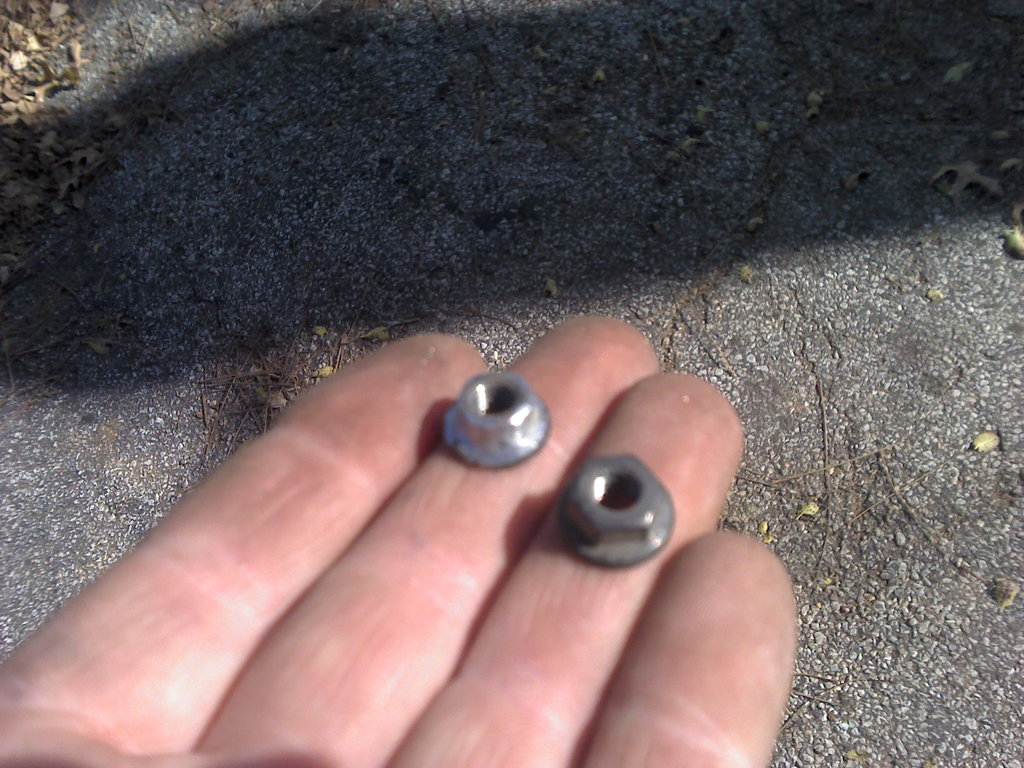
Got the brakes pretty much wrapped up. In order to use an original master cylinder, you have to put a spacer in the end of it since on the hydroboost the rod doesn't stick out as far as the original booster.
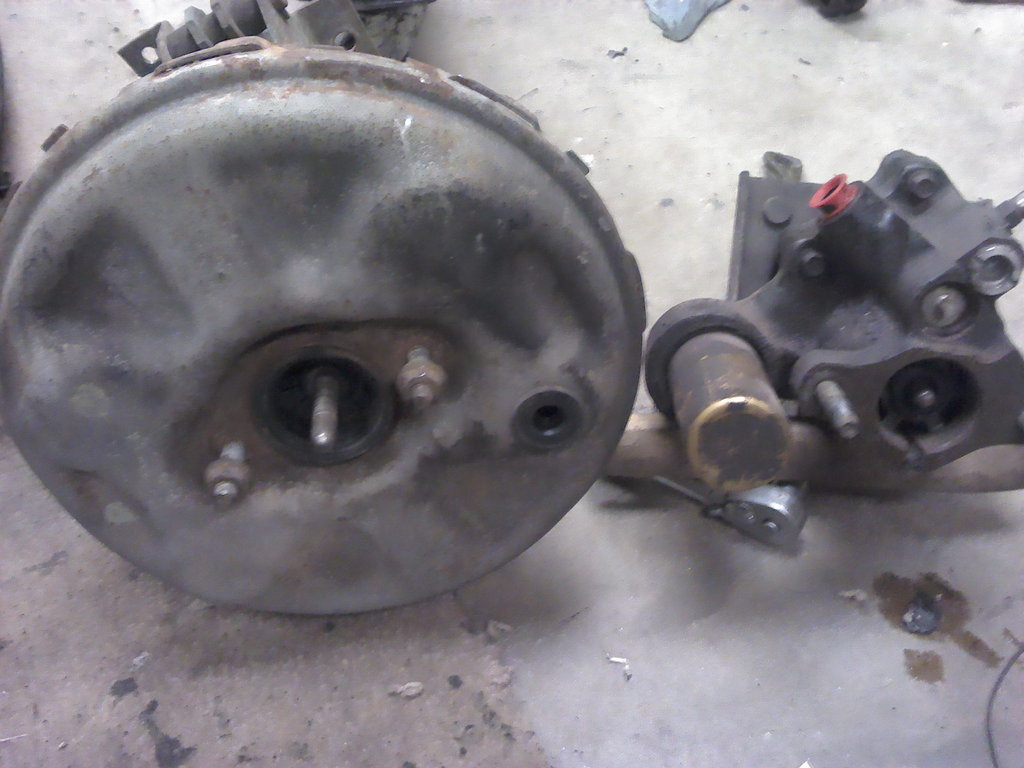
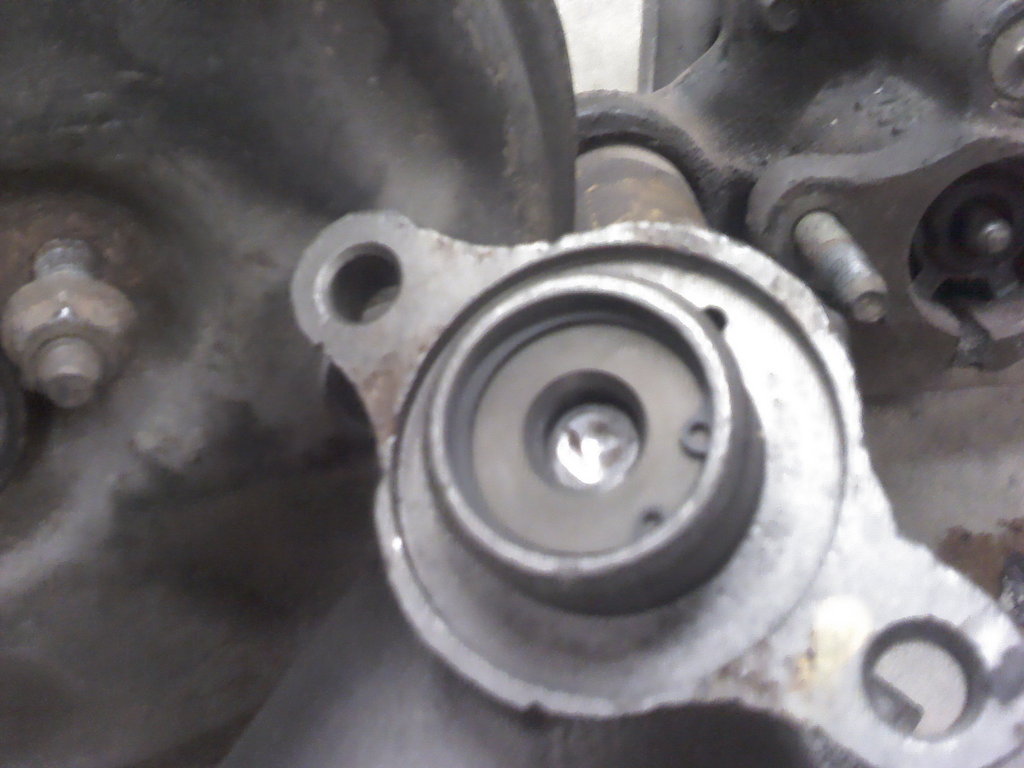
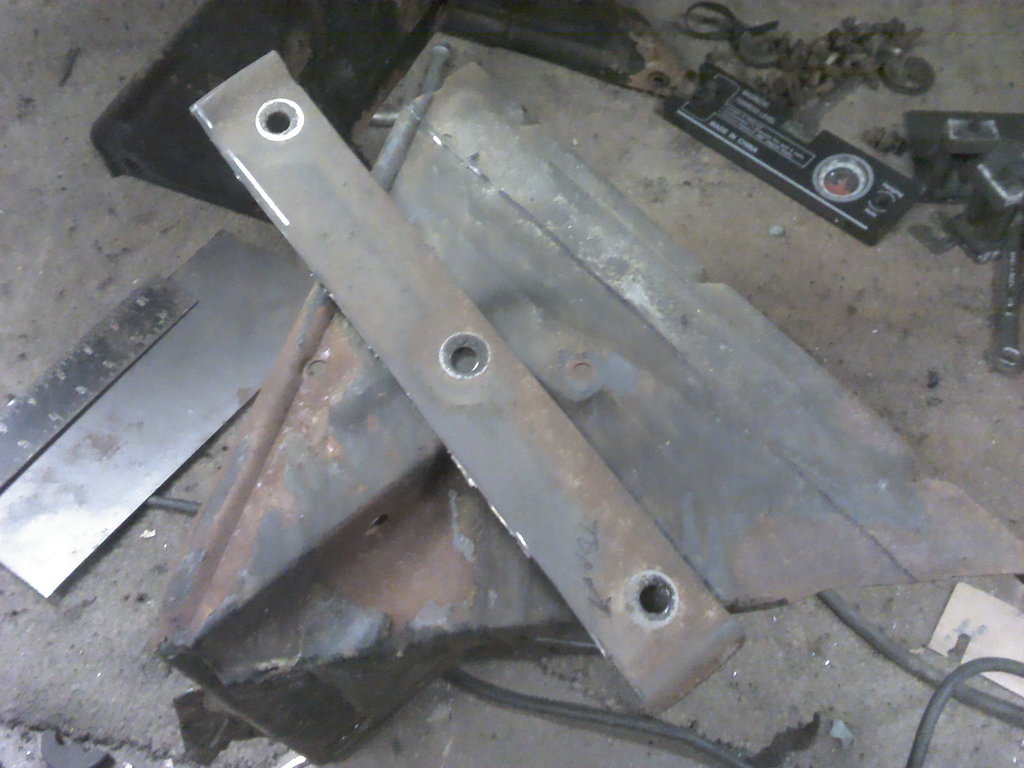
I measured the difference between the vacuum booster and the hydroboost, and the difference is a little over an inch, then I verified by measuring inside the master and it was the same, so I made a spacer out of an old extention, it fits in the master nice, and it didn't cost anything.
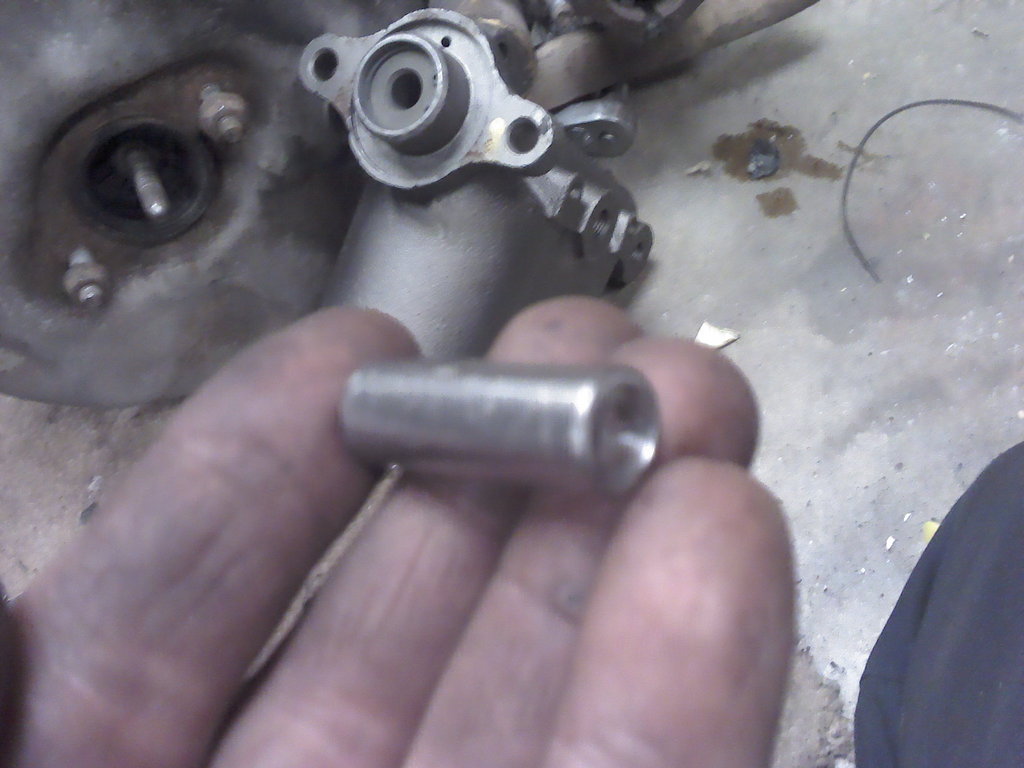
Installed in the master cylinder.
Then I bought a new master cylinder since the truck did have a few brake issues before, so I figured now was the time to fix it. Got a reman master and a quart of brake fluid for $25, I hope it lasts!
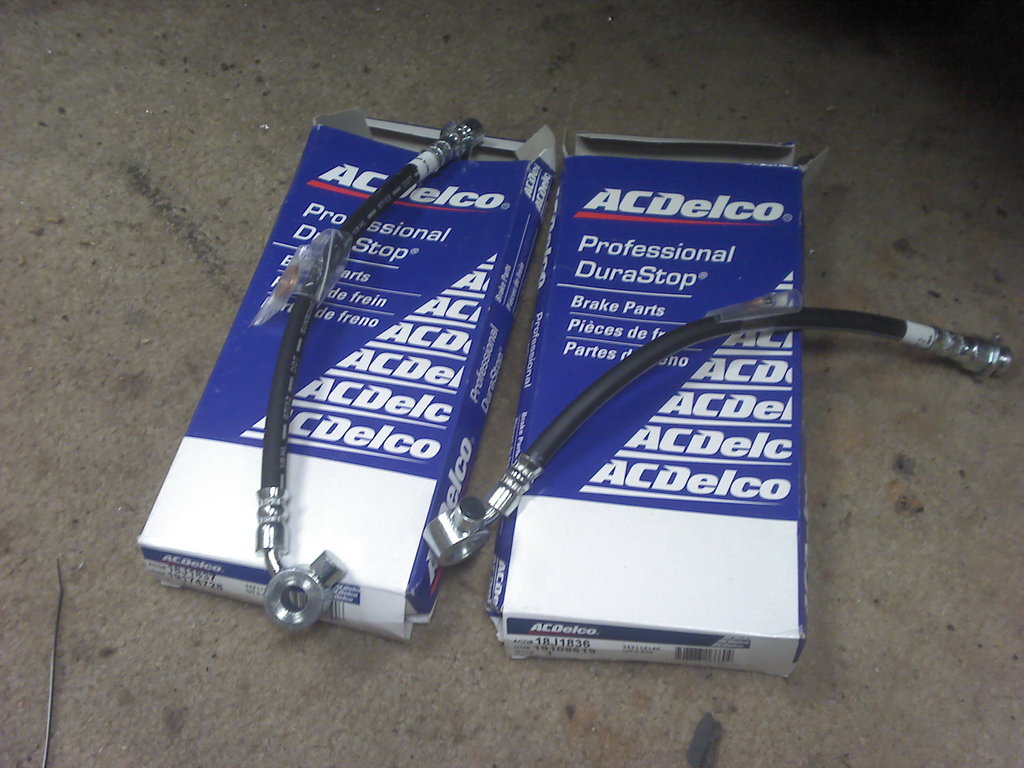
Then I thought I bought some good brake hoses, AC Delco, but upon further inspection I see that they're made in China. Apparently we can't make anything here anymore. Well in true China fashion, they didn't fit the brackets in the frame, they were close, but I still had to grind a little off the ends to get them to go on.
Then I tried to get the brake bleeders open on the calipers, and broke one smooth off! And the other side isn't budging either, so I guess I'll have to replace them too.
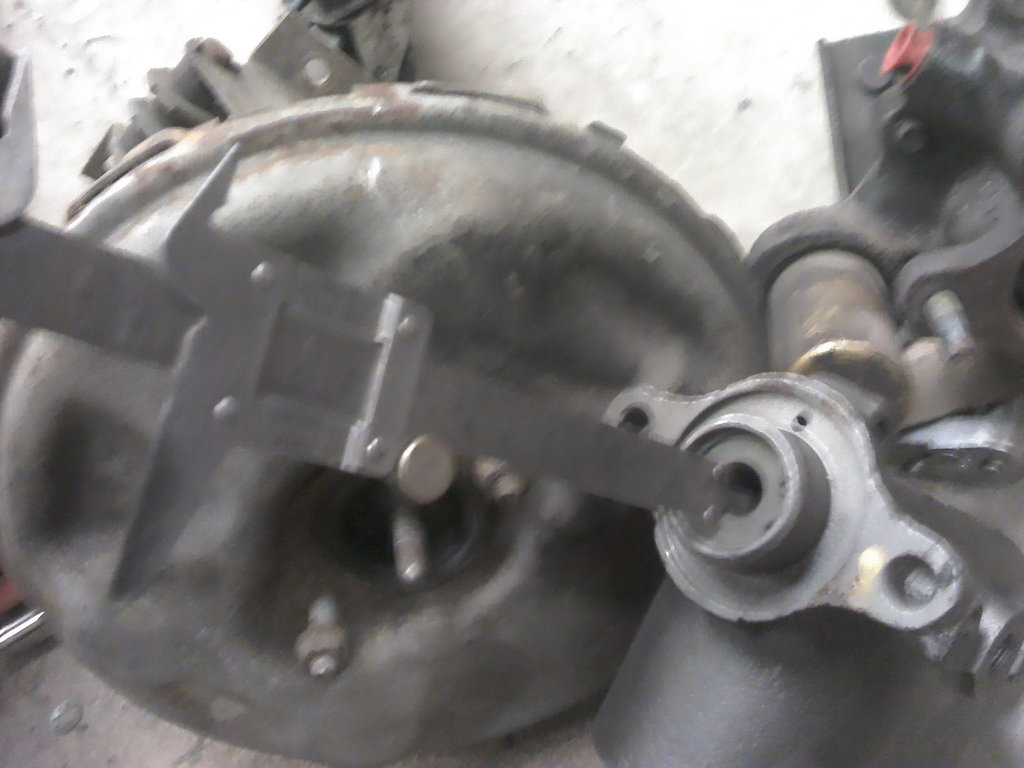
Should have also mentioned in the earlier update, that I replaced the steering box with one off of an '87. They are 3 1/4 turns lock to lock versus 4 1/4 turns of the original, they give you a little better road feel. Also they allow you to use the factory lines since they use o rings instead of double flares. Not to mention the old one leaked like a seive!
Steering box from junkyard... $30
Brake hoses..... $44
Master cylinder and brake fluid.... $25
I measured the difference between the vacuum booster and the hydroboost, and the difference is a little over an inch, then I verified by measuring inside the master and it was the same, so I made a spacer out of an old extention, it fits in the master nice, and it didn't cost anything.
Installed in the master cylinder.
Then I bought a new master cylinder since the truck did have a few brake issues before, so I figured now was the time to fix it. Got a reman master and a quart of brake fluid for $25, I hope it lasts!
Then I thought I bought some good brake hoses, AC Delco, but upon further inspection I see that they're made in China.
Apparently we can't make anything here anymore. Well in true China fashion, they didn't fit the brackets in the frame, they were close, but I still had to grind a little off the ends to get them to go on. Then I tried to get the brake bleeders open on the calipers, and broke one smooth off! And the other side isn't budging either, so I guess I'll have to replace them too.
Should have also mentioned in the earlier update, that I replaced the steering box with one off of an '87. They are 3 1/4 turns lock to lock versus 4 1/4 turns of the original, they give you a little better road feel. Also they allow you to use the factory lines since they use o rings instead of double flares. Not to mention the old one leaked like a seive!
Steering box from junkyard... $30
Brake hoses..... $44
Master cylinder and brake fluid.... $25
11-05-2012, 11:04 PM
#86
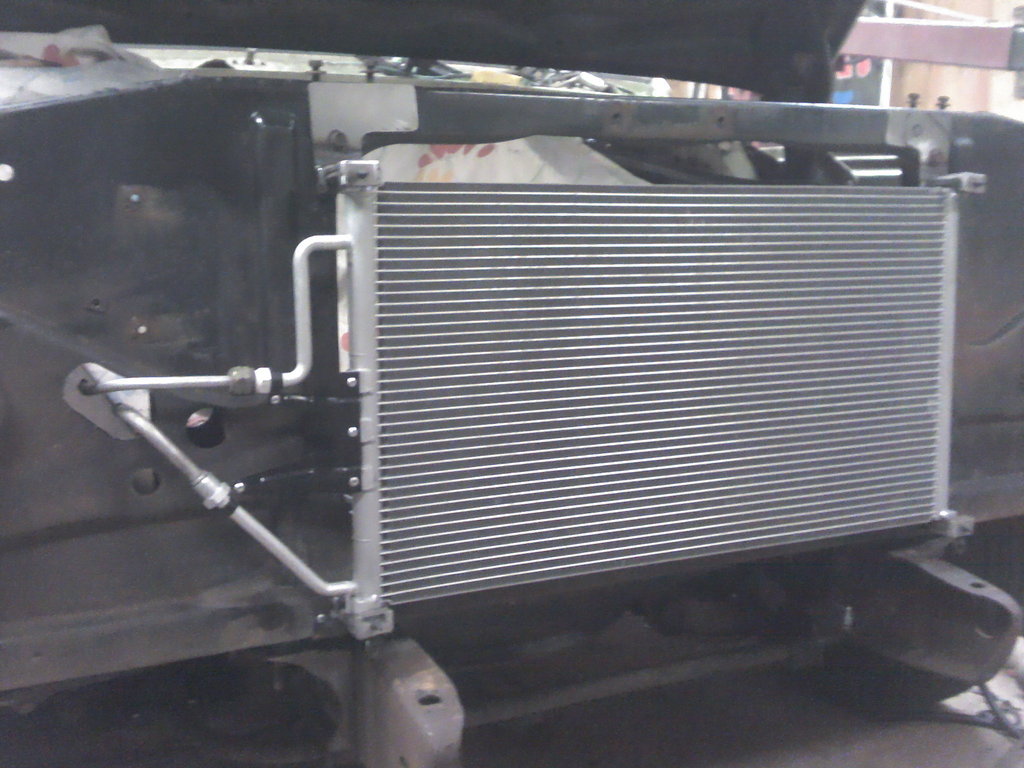
Got the front clip back on, then removed the grille in order to get the old A/C condenser out of the way.
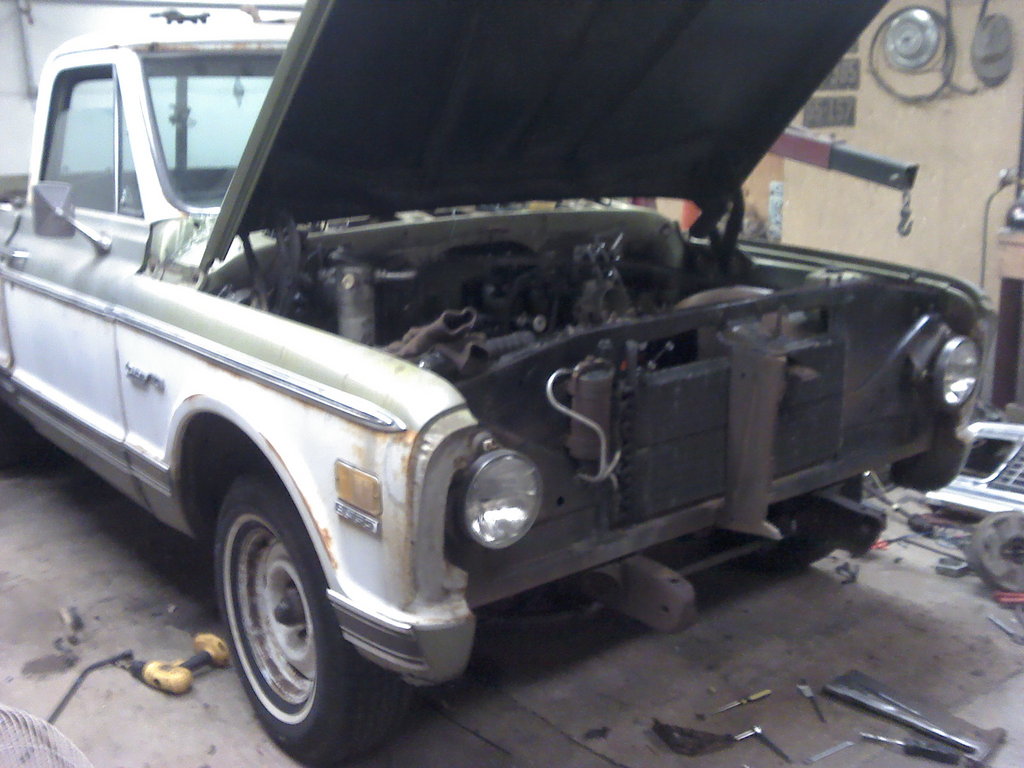
All of this needs to go! Been leaking for a while from the looks of it.

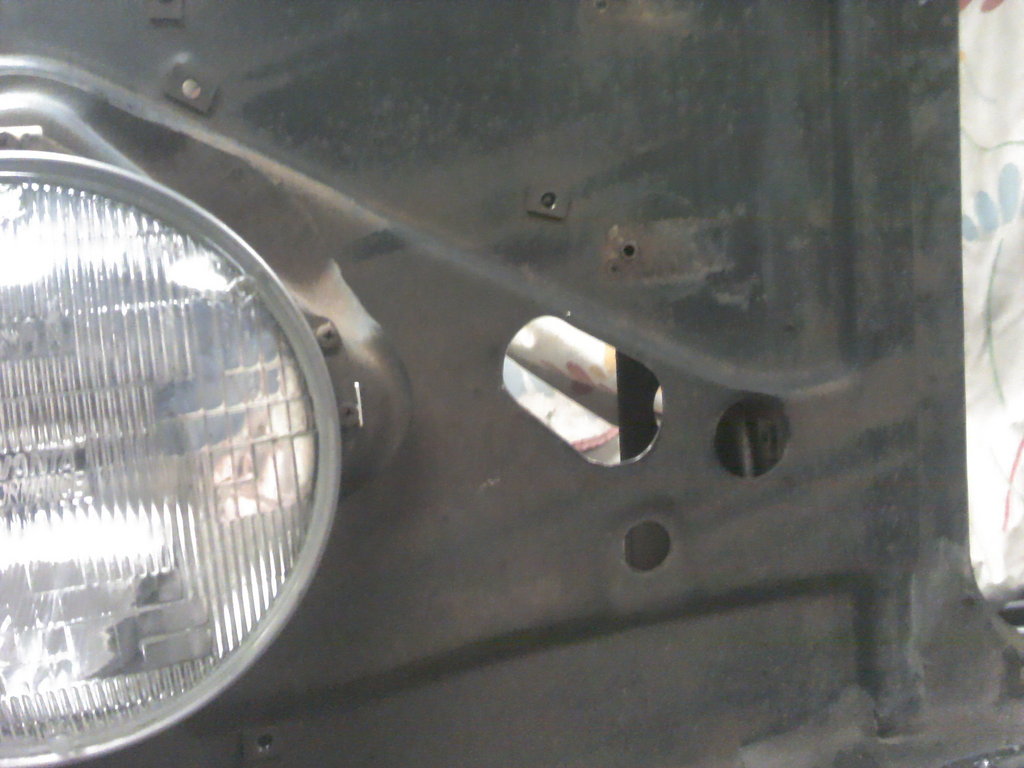
Cut a hole in the core support for the new lines to go through.
Then mounted the new condenser to see how the lines are going to work out. Looks good, but will leave off here on this for a while. Need to get the air cleaner mounted since the lines will be secured to the bottom of it.
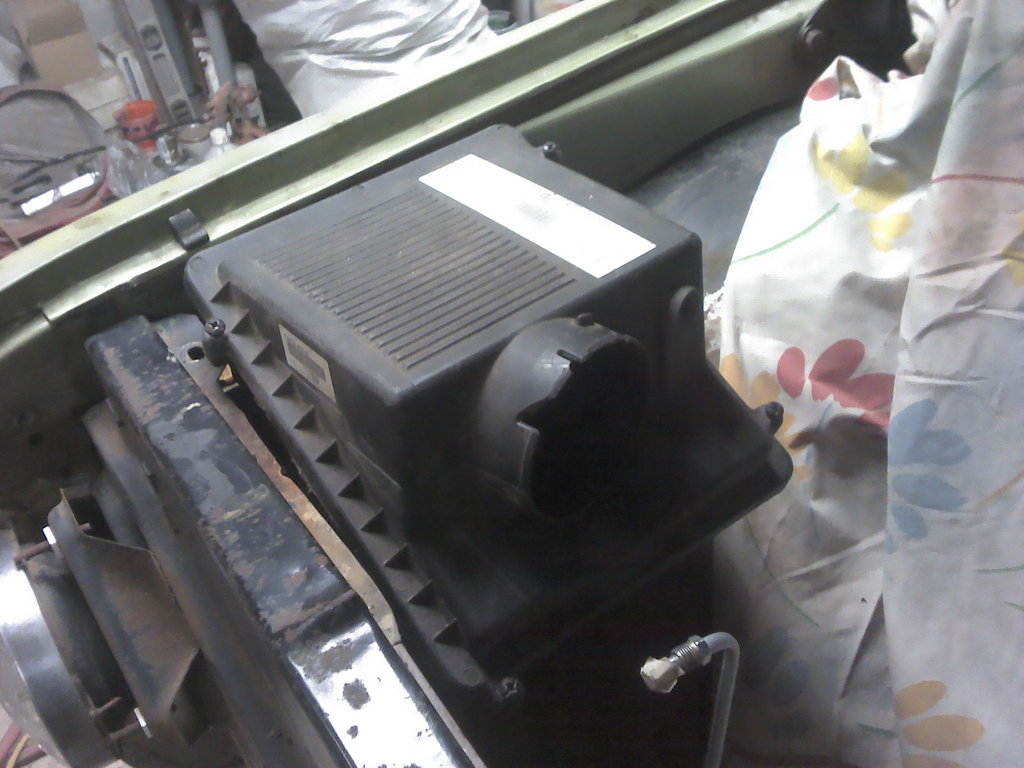
Got an air cleaner mount and fabbed some brackets ot mount it in the truck.
Then the air box just snaps in place like stock.
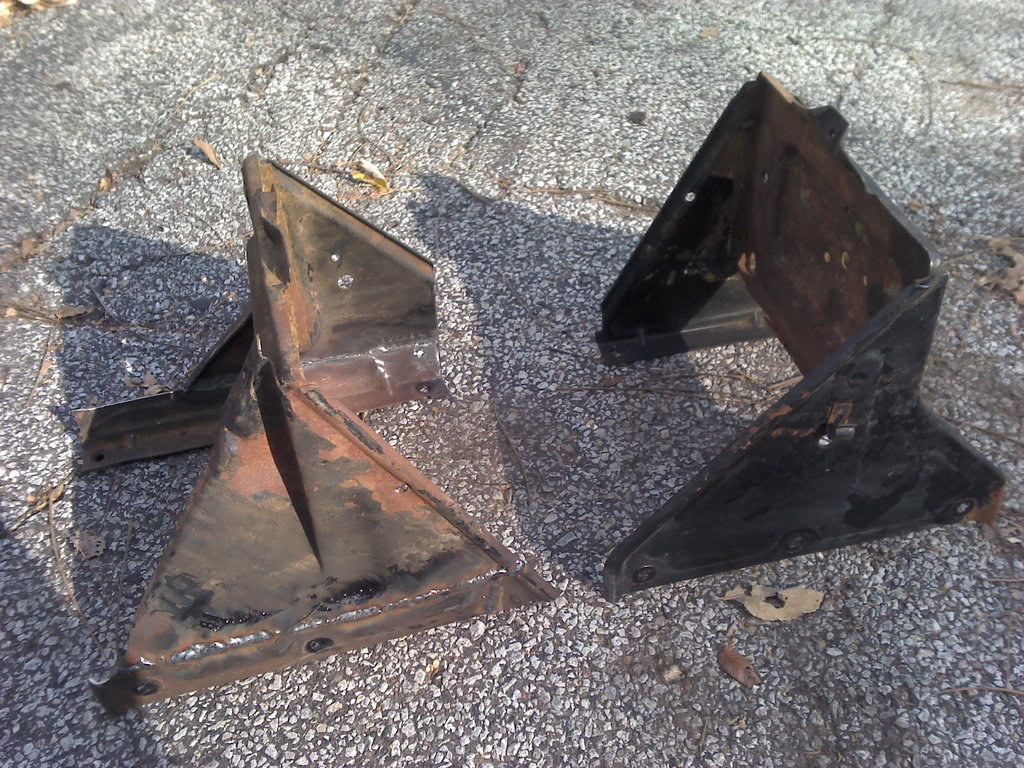
Since the battery originally was where the air cleaner is now, I moved it to the other side. In order to do this, I cut about 1 1/2" off the ends of the battery tray and flipped them upside down and sise for side, that way it makes a mirror image and will bolt on the left side of the core support.
Dec010974, I will be removing the stock voltage regulator and running the alternator through the PCM like stock.
This is what it looks like compared to an original one.
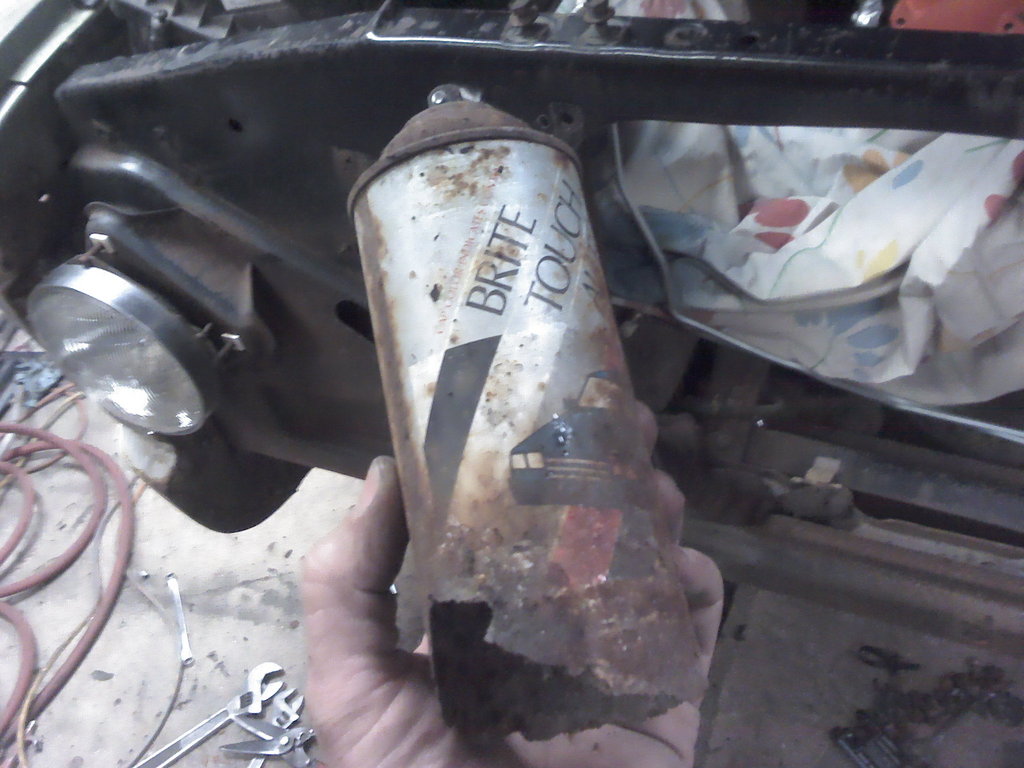
I found a can of black spray paint in the lower left fron fender, looks like it's been there a while!
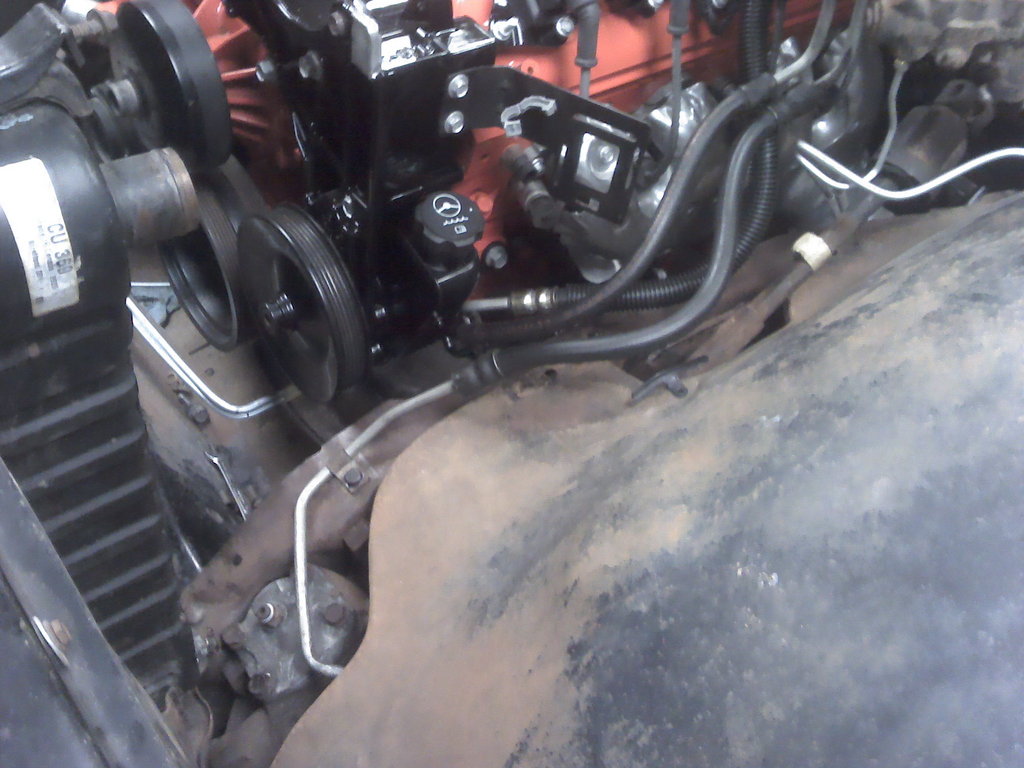
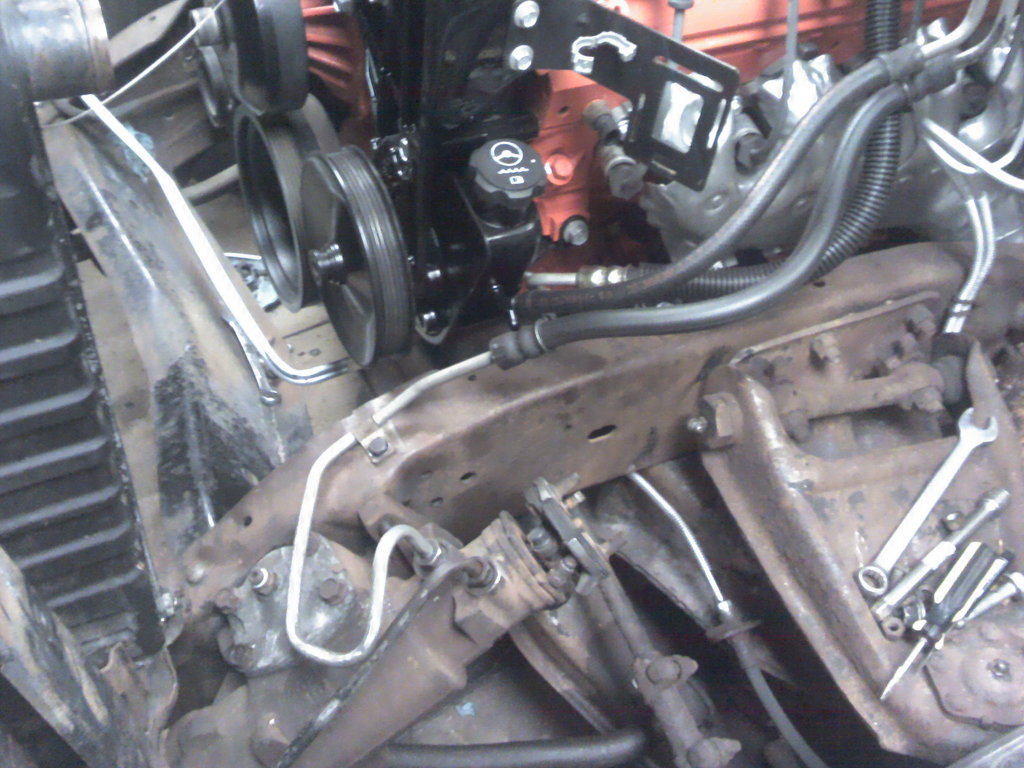
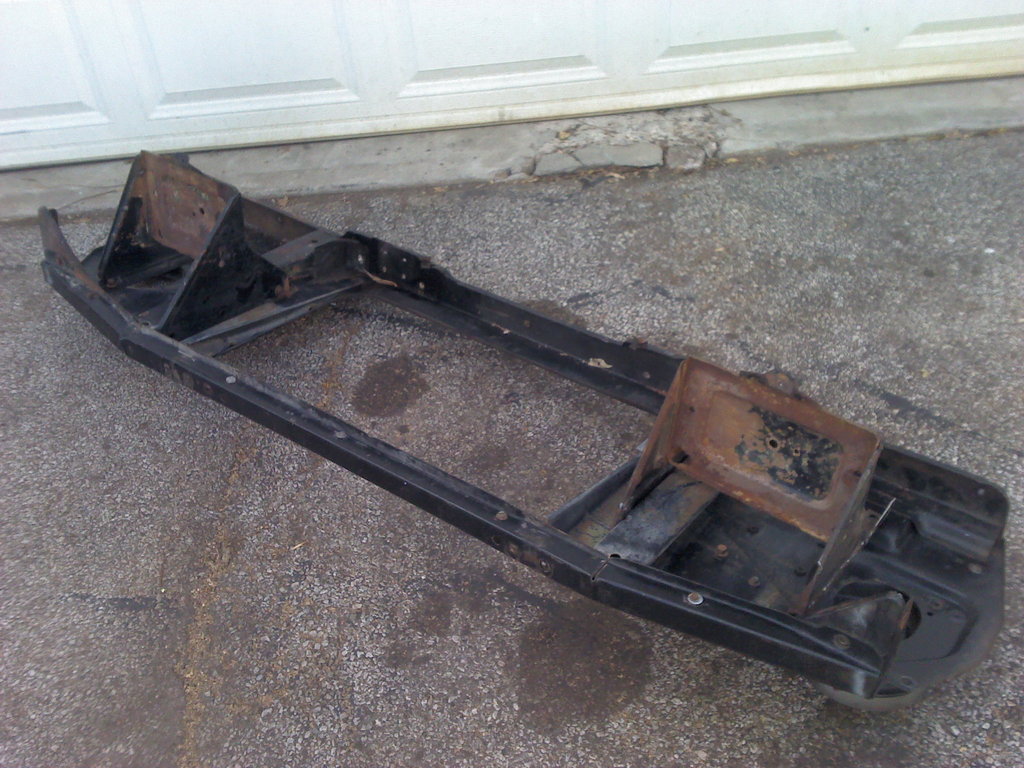
Also got the power steering cooler mounted and all the power steering lines are hooked up.
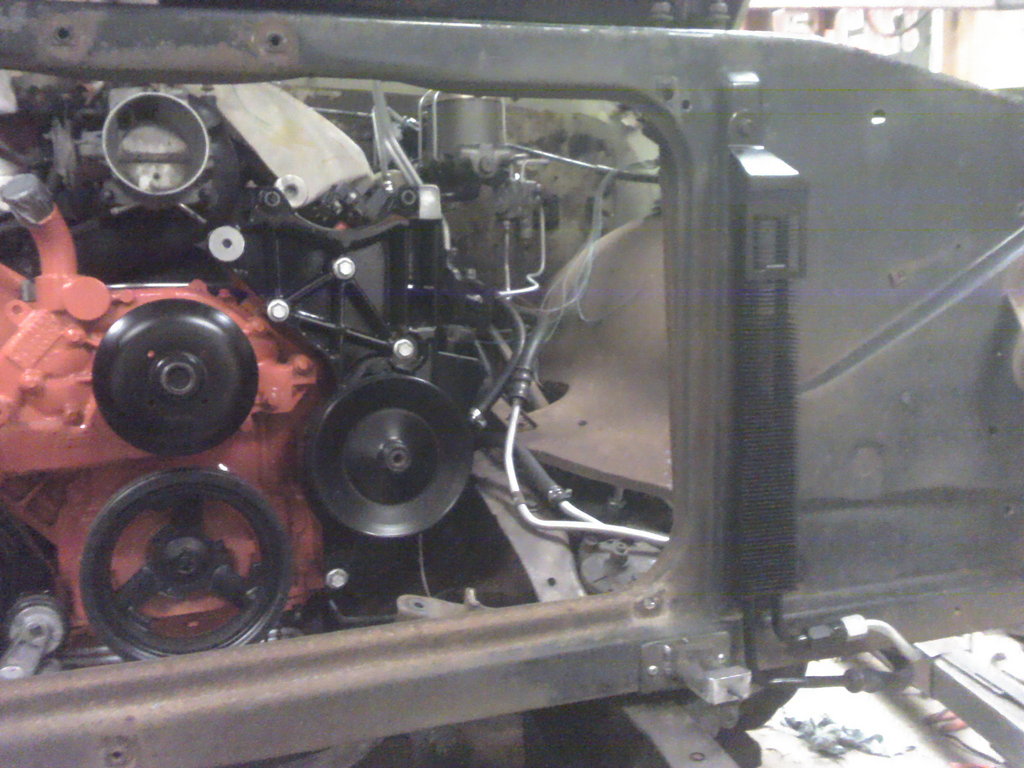

This is where I'm at as of tonight.
Air cleaner mount from junkyard.... $6
A/C condenser.... $103
Power steering cooler from junkyard.... $8
Hose clamps for return lines.... $6
All of this needs to go! Been leaking for a while from the looks of it.
Cut a hole in the core support for the new lines to go through.
Then mounted the new condenser to see how the lines are going to work out. Looks good, but will leave off here on this for a while. Need to get the air cleaner mounted since the lines will be secured to the bottom of it.
Got an air cleaner mount and fabbed some brackets ot mount it in the truck.
Then the air box just snaps in place like stock.
Since the battery originally was where the air cleaner is now, I moved it to the other side. In order to do this, I cut about 1 1/2" off the ends of the battery tray and flipped them upside down and sise for side, that way it makes a mirror image and will bolt on the left side of the core support.
Dec010974, I will be removing the stock voltage regulator and running the alternator through the PCM like stock.
This is what it looks like compared to an original one.
I found a can of black spray paint in the lower left fron fender, looks like it's been there a while!
Also got the power steering cooler mounted and all the power steering lines are hooked up.
This is where I'm at as of tonight.
Air cleaner mount from junkyard.... $6
A/C condenser.... $103
Power steering cooler from junkyard.... $8
Hose clamps for return lines.... $6
11-06-2012, 07:05 AM
#87
Teching In
Join Date: Aug 2011
Location: Weatherford, Tx.
Posts: 30
Likes: 0
Received 0 Likes
on
0 Posts
I wish you could make a video of your build. The step by step method as you explain with pictures is great.
If this was a series on TV I would be watching.
Thanks,
If this was a series on TV I would be watching.
Thanks,
11-15-2012, 11:01 PM
#88
It's been 10 days since I updated this, but it doesn't seem like I've gotten any further along. I guess I have, but it sure doesn't seem like 10 days worth.
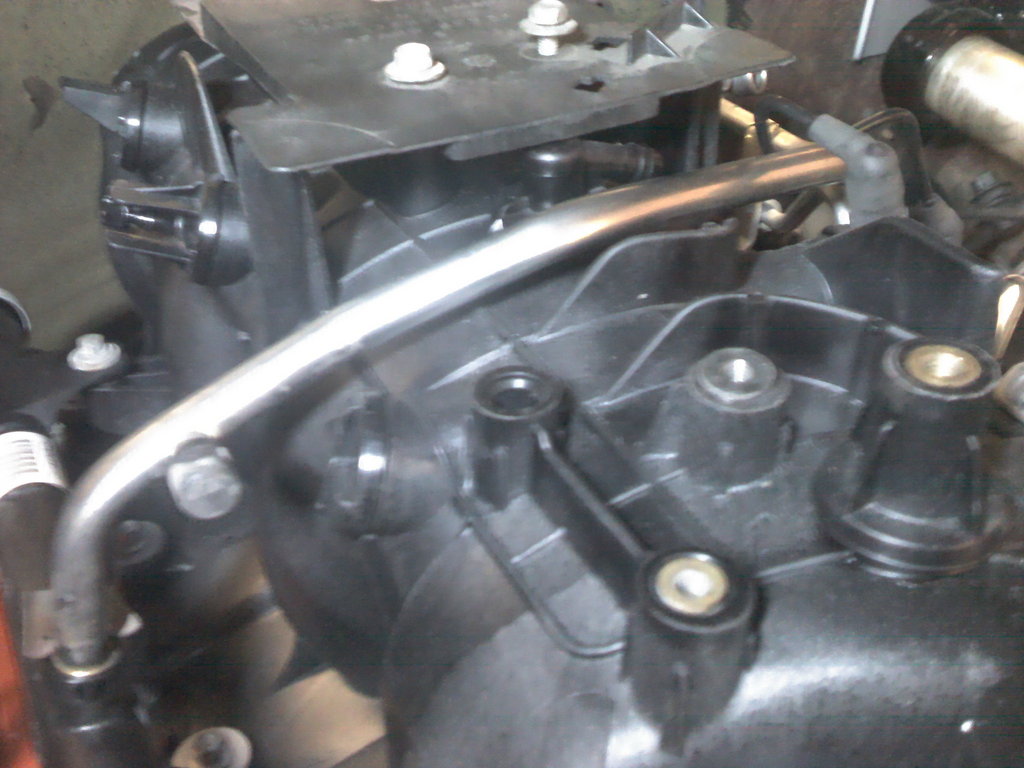
I got the PCM mounted under the left fender, I fabbed up a bracket out of some metal square tubing.

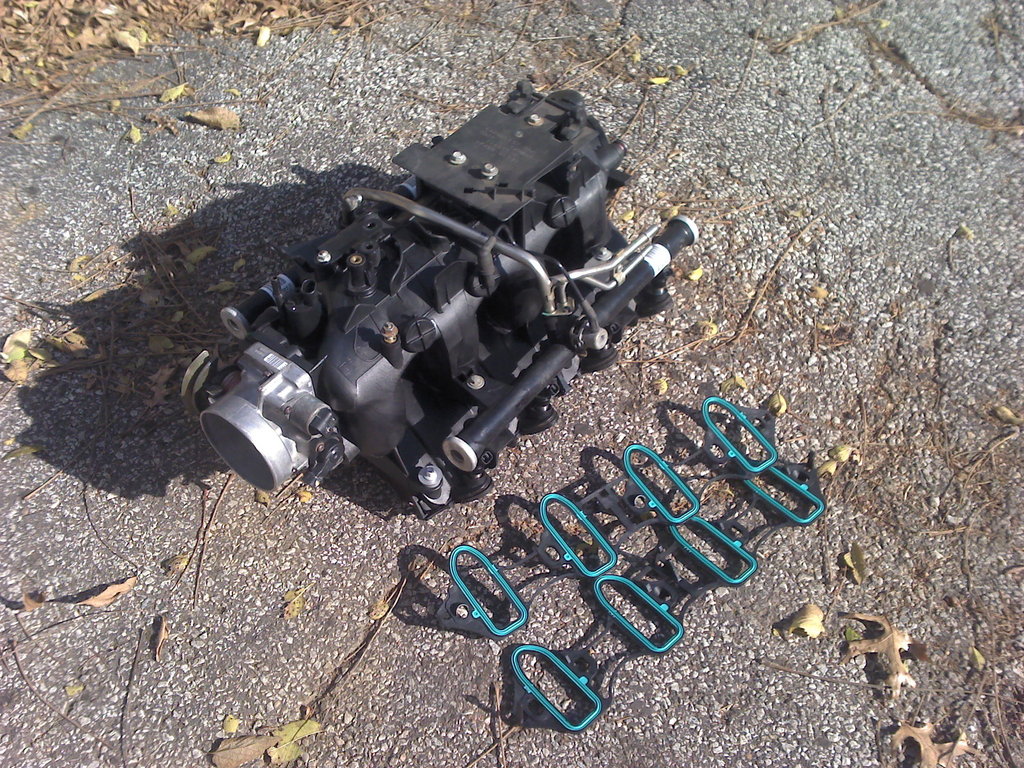
I also got the intake put on for the final time, and bought my first set of new intake gaskets, been doing these swaps for 12 years and never had to replace them before, but these just didn't look the best, so there's a first time for everything! The good part is they are AC Delco and I got them for $27!
Found a plug for the hole in the throttle body where I removwed the extra pcv tube. I tapped it and threaded the plug in.
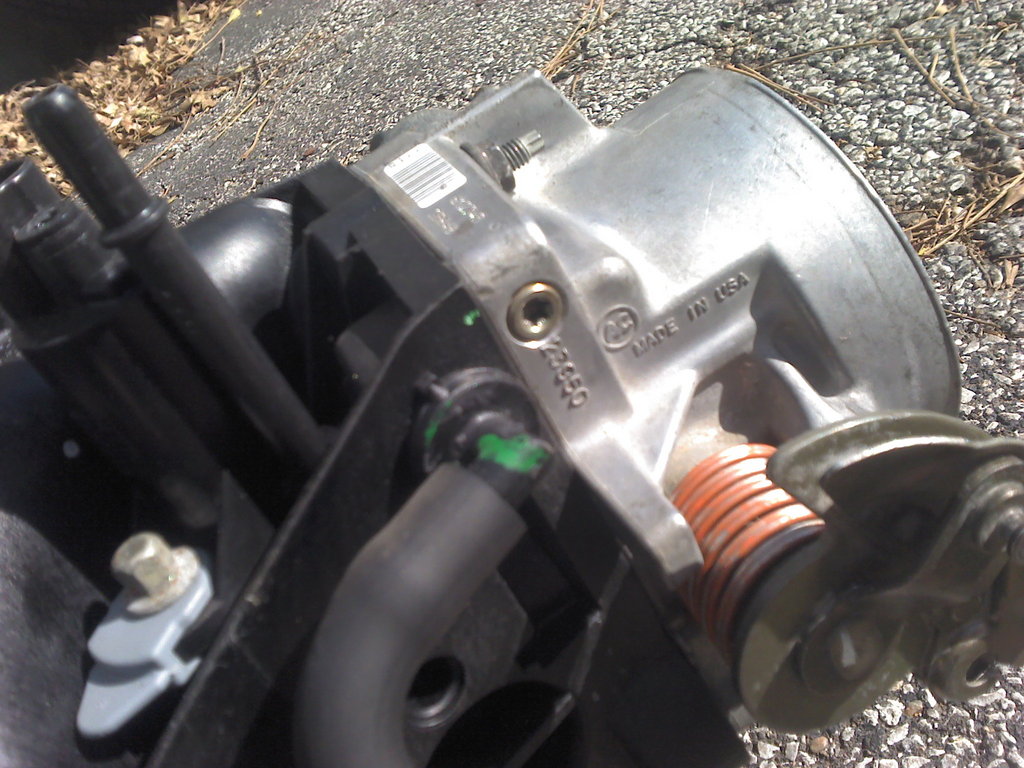
Had to make a couple of threaded inserts for the intake so I could bolt the throttle cable bracket to the DBW intake. The holes are there, just no inserts, so I found a couple of flange nuts and ground the hex part down a bit and epoxied them in.
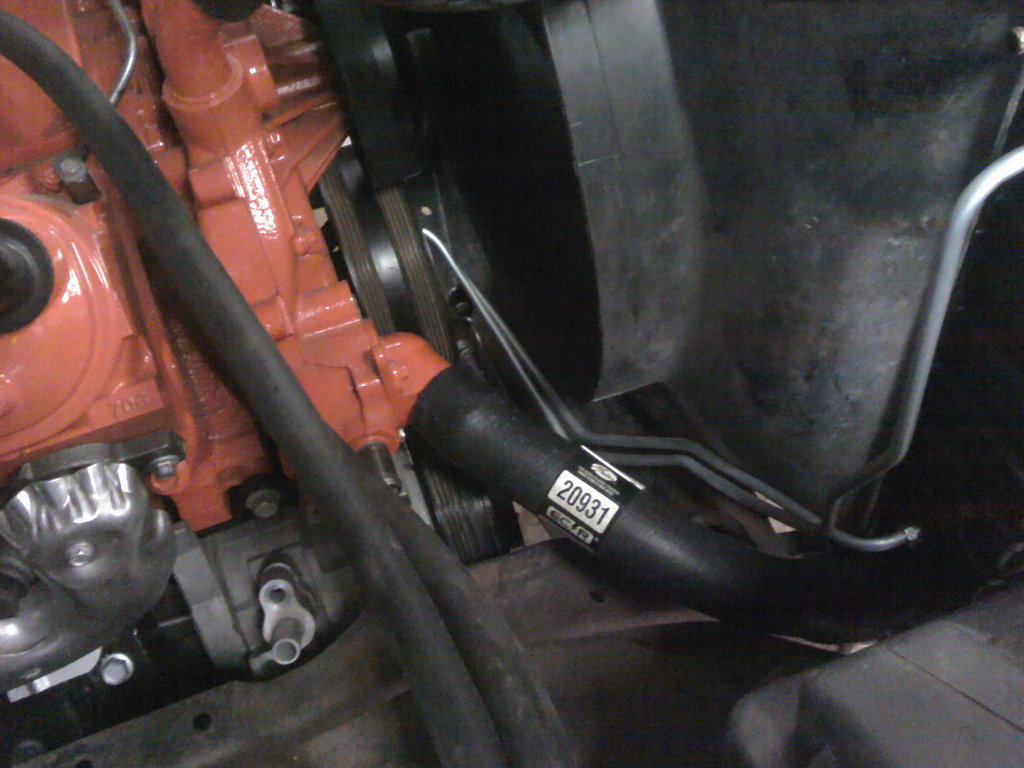
Then I spent some time at the auto parts store looking for a lower radiator hose. It pays to go to there alot, they let me go in back and look at them all, must be a couple of hundred of them back there, so after a while of looking, I found one that was shaped right and had two different size ends that match the radiator and the thermostat housing. You'd think after doing 3 of these trucks I would know what hose to use, but my memory sucks and I'm not good at keeping notes! So, I have a picture now for future reference with a Gates part number on it!
I also had the radiator cleaned out and had a fitting added to it for the steam line.
Intake gaskets.... $27
Radiator cleaned and fitting added.... $72
Lower radiator hose.... $23
Scrap metal tubing... $4
Some cut off wheels and grinder discs..... $12
I got the PCM mounted under the left fender, I fabbed up a bracket out of some metal square tubing.
I also got the intake put on for the final time, and bought my first set of new intake gaskets, been doing these swaps for 12 years and never had to replace them before, but these just didn't look the best, so there's a first time for everything! The good part is they are AC Delco and I got them for $27!
Found a plug for the hole in the throttle body where I removwed the extra pcv tube. I tapped it and threaded the plug in.
Had to make a couple of threaded inserts for the intake so I could bolt the throttle cable bracket to the DBW intake. The holes are there, just no inserts, so I found a couple of flange nuts and ground the hex part down a bit and epoxied them in.
Then I spent some time at the auto parts store looking for a lower radiator hose. It pays to go to there alot, they let me go in back and look at them all, must be a couple of hundred of them back there, so after a while of looking, I found one that was shaped right and had two different size ends that match the radiator and the thermostat housing. You'd think after doing 3 of these trucks I would know what hose to use, but my memory sucks and I'm not good at keeping notes! So, I have a picture now for future reference with a Gates part number on it!
I also had the radiator cleaned out and had a fitting added to it for the steam line.
Intake gaskets.... $27
Radiator cleaned and fitting added.... $72
Lower radiator hose.... $23
Scrap metal tubing... $4
Some cut off wheels and grinder discs..... $12
 11-17-2012, 08:51 PM
#90
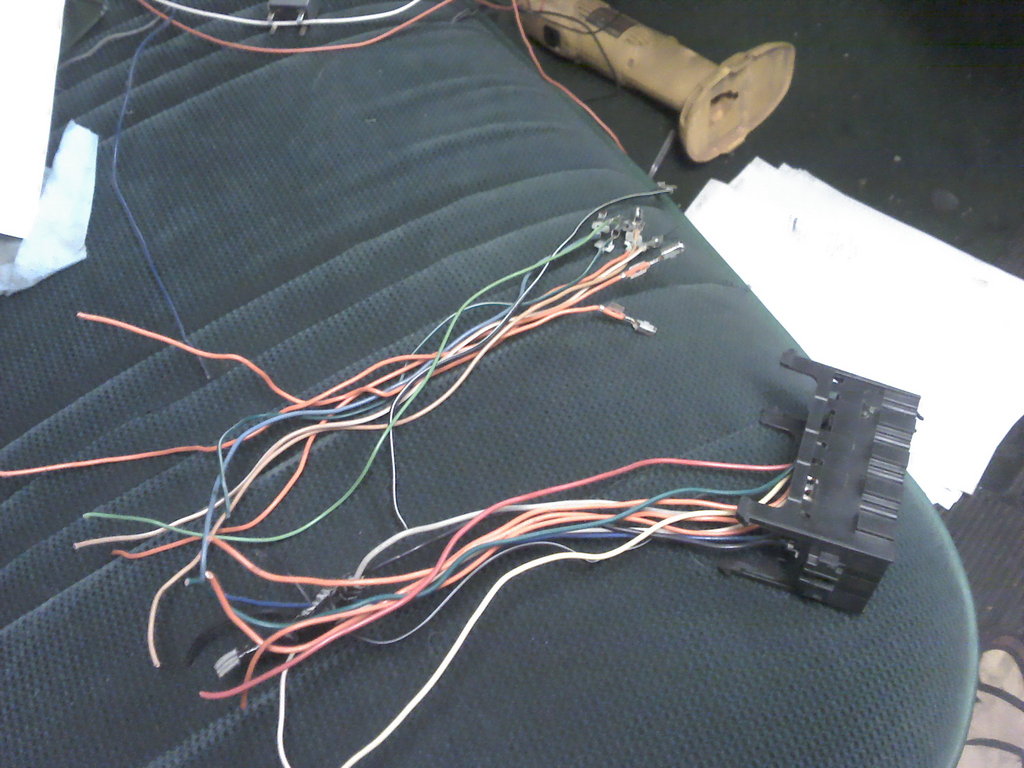
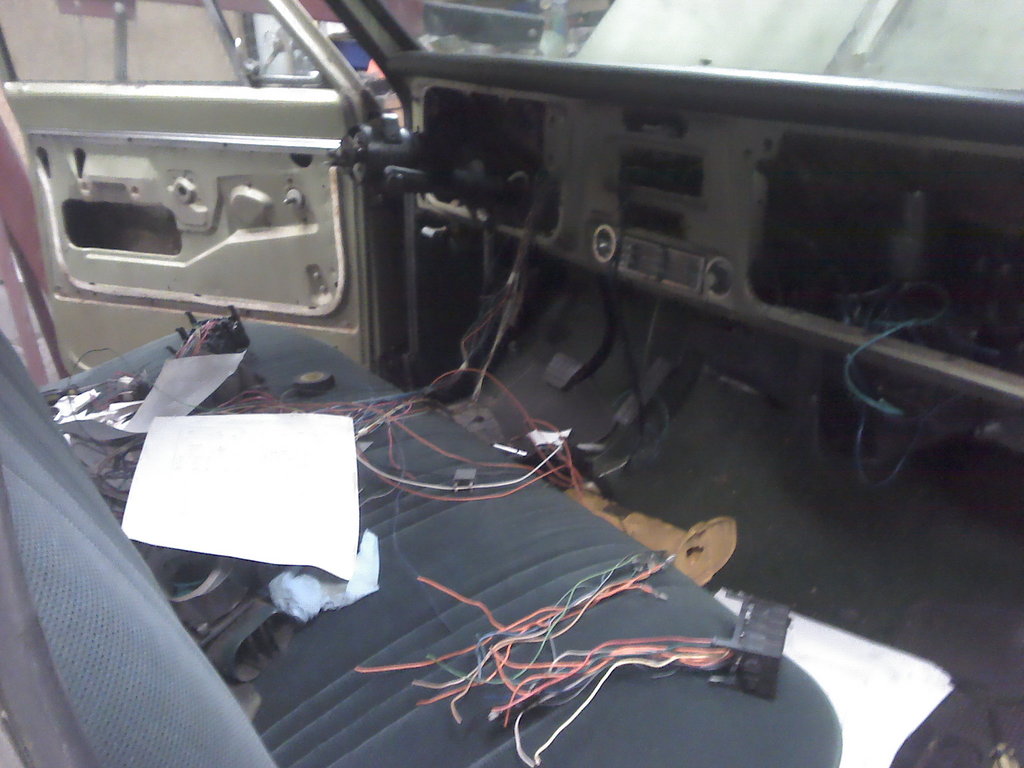
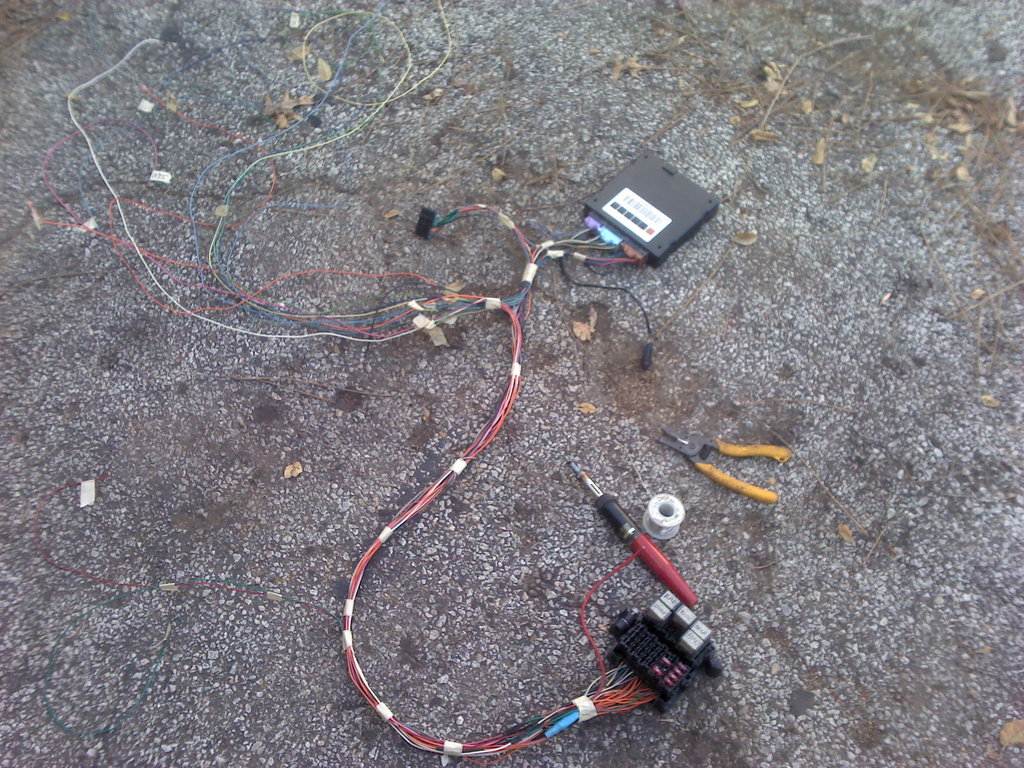
Been working on wiring up the BCM. Not all that hard, but definitely time consuming. I have about 10 pages of schematics, each with one specific part, headlights, park lights, dome light ect, so I have to keep going back and forth searching for everything and trying not to miss anything.
Ok, will somebody tell Photobucket to quit screwing around with it!!! It's pissing me off!
Ok, will somebody tell Photobucket to quit screwing around with it!!! It's pissing me off!
11-17-2012, 09:21 PM
#91
Eric, seems like I have seen PCM hidden like that on a couple other cars near me ;-)
I thought photobucket was messed up just for me. Btw, I can send you BCM only schematics. May be easier than multiple schematics. Gotta love tow haul,. Hint, hint, hint.
I thought photobucket was messed up just for me. Btw, I can send you BCM only schematics. May be easier than multiple schematics. Gotta love tow haul,. Hint, hint, hint.
11-18-2012, 06:49 PM
#92
Hey LS1nova71. i read that the stock manifolds that youre using are from TBSS. Is this true? my swap budget is down to nickels and dimes and id hate to spend mucho $$$$$ on headers. as review your pics the manifolds youre using seem to fit very well. help a swap brother out. better pics would help. clark.
11-20-2012, 10:52 AM
#95
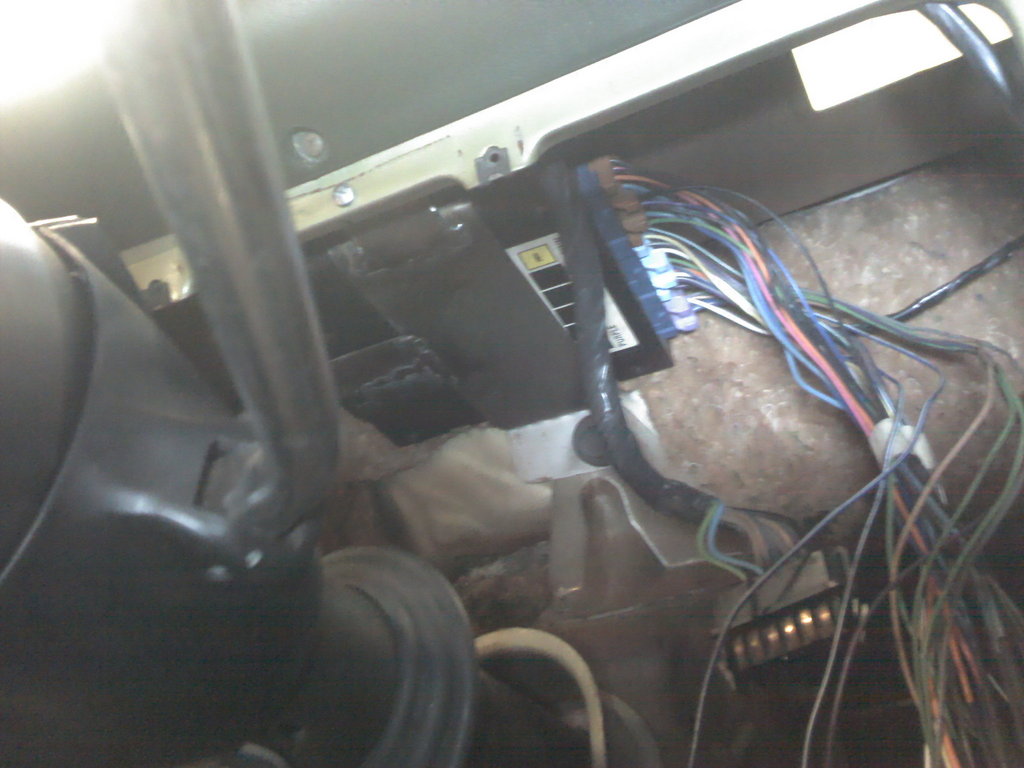
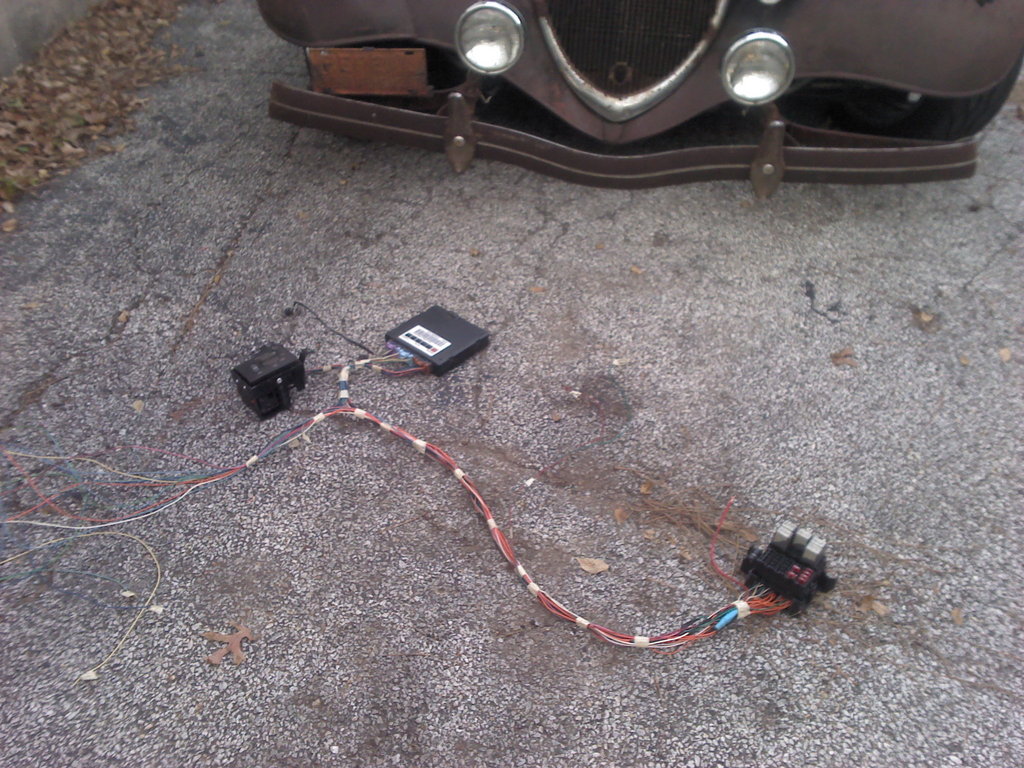
And now that Photobucket appears to be working again, here's the pics of the BCM wiring. The masking tape was just to hold it together while running wires, and is now gone and split loom is covering it, but I don't have the pic I took of it before I put it in the truck. I took a pic, but it disappeared! Anyway, now it's in the truck and the remaining wires are hooked up to the original harness for the headlights, dome light, radio power ect.
 11-20-2012, 08:56 PM
#96
On The Tree
iTrader: (6)
Join Date: Jan 2012
Location: Richmond MO
Posts: 132
Likes: 0
Received 0 Likes
on
0 Posts

Man you make everything look so easy. I enjoy ur builds man. Do you still have nova? I live 30 min east of independence I have seen that car at a few car shows wasn't it in a magazine once?
11-21-2012, 09:19 AM
#97
I still have the Nova, that's probably the one car I'll never get rid of! It was in HotRod, there's a link in my sig. My grandpa used to live in Richmond, spent alot of time there when I was a kid. Saw the build on your Camaro, nice looking car.
 11-23-2012, 08:58 PM
#100
Teching In

Join Date: Nov 2011
Posts: 17
Likes: 0
Received 0 Likes
on
0 Posts
Check out this project, some guy did a real nice install 6.0L 4L60e into a rusty 63 chevy pickup, they have all the right stuff.
http://www.spankysrodshop.net/index....olet&Itemid=14
http://www.spankysrodshop.net/index....olet&Itemid=14